Today’s Homeowner Radio Show | June 4, 2022

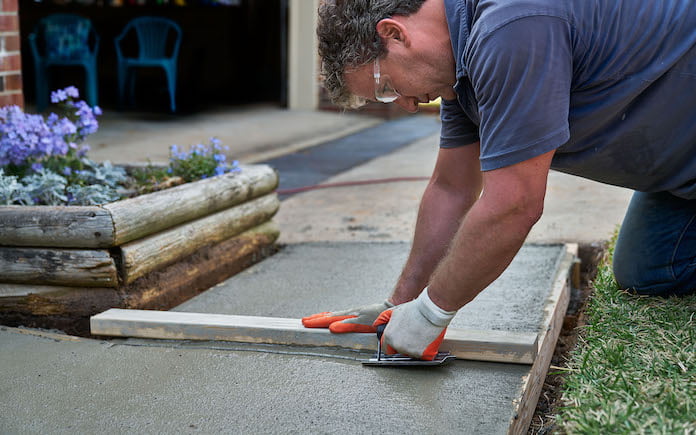
Bring a concrete patio back to life with a resurfaced and find the solution for this cracking paint. (Split image Quikrete and Judy Stringer) This week, we’re talking about cleaning copper pipes, solving a paint cracking mystery, and resurfacing a concrete patio. Cleaning Copper Pipes Oxidation turns copper pipes green. (Laurie Faille/Getty Images) It’s normal … Read more