How to Build a Twin Day Bed
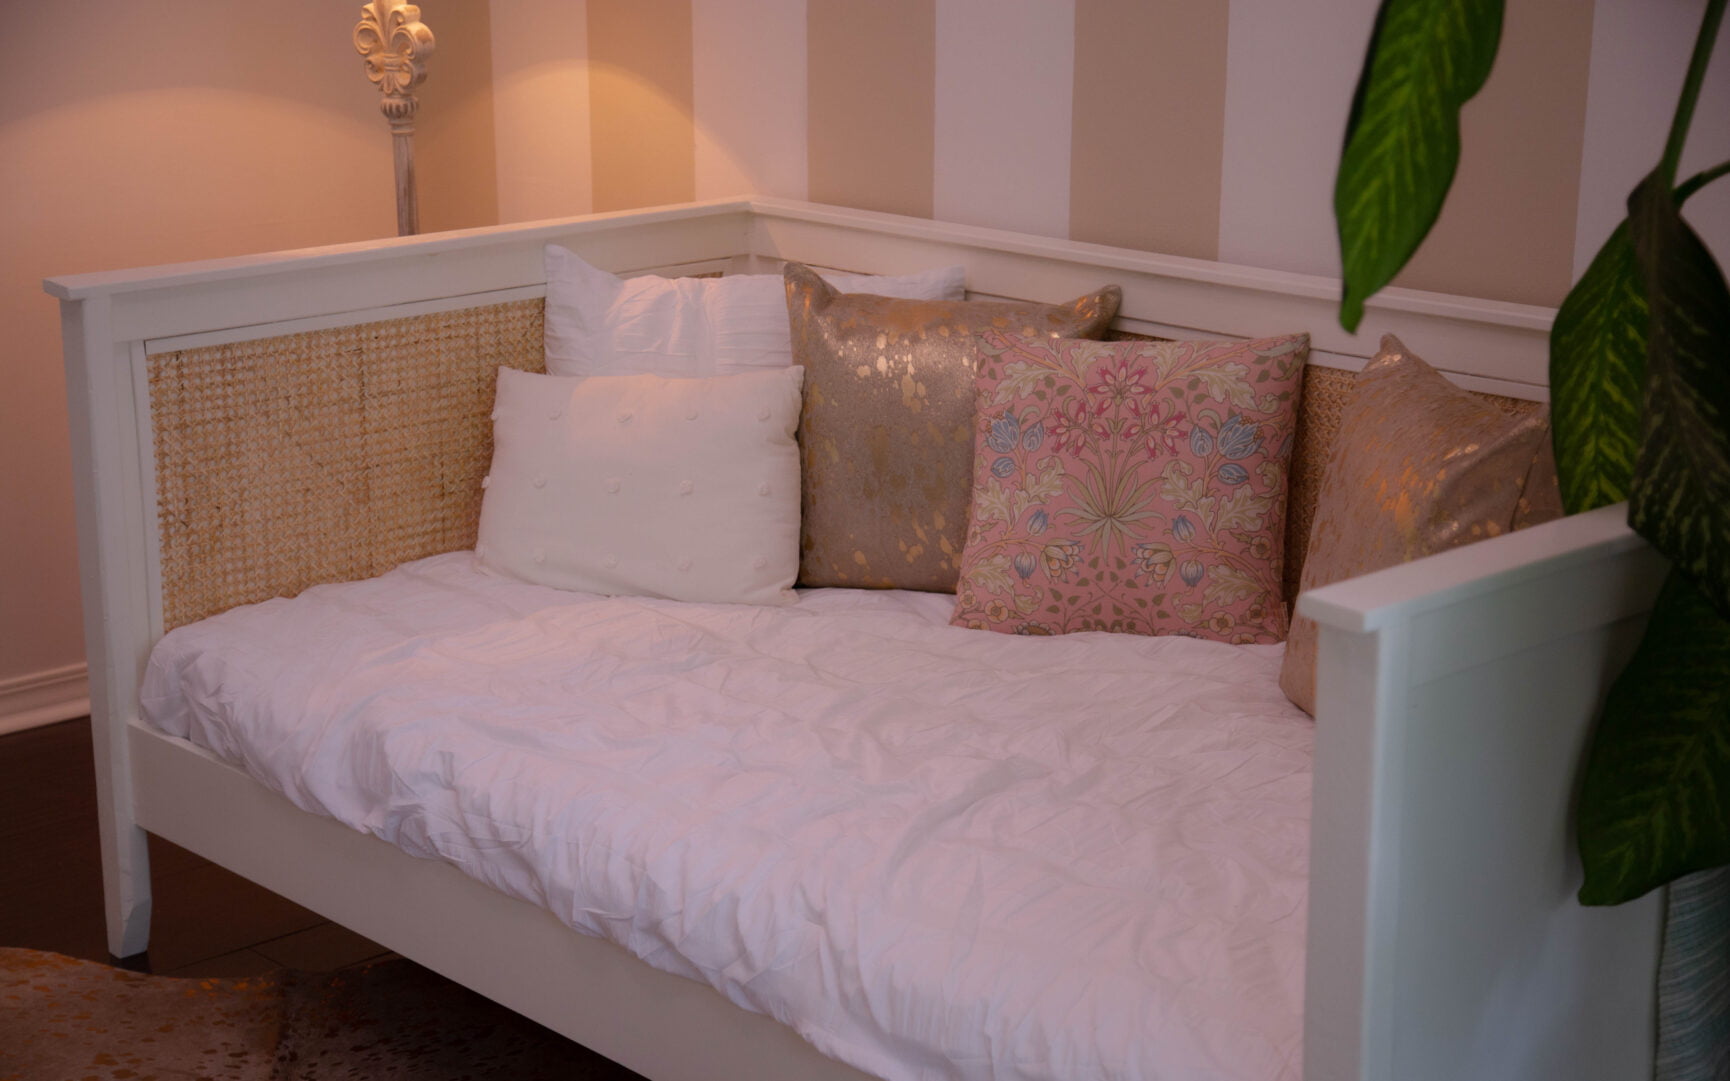
Day beds are versatile pieces of furniture that don’t have to be confined to a bedroom. Place a twin-sized one in a den for both comfy lounge seating and a spare bed for guests. Here’s how to build one yourself. Why is it called a day bed? Because it can be made in a day! … Read more