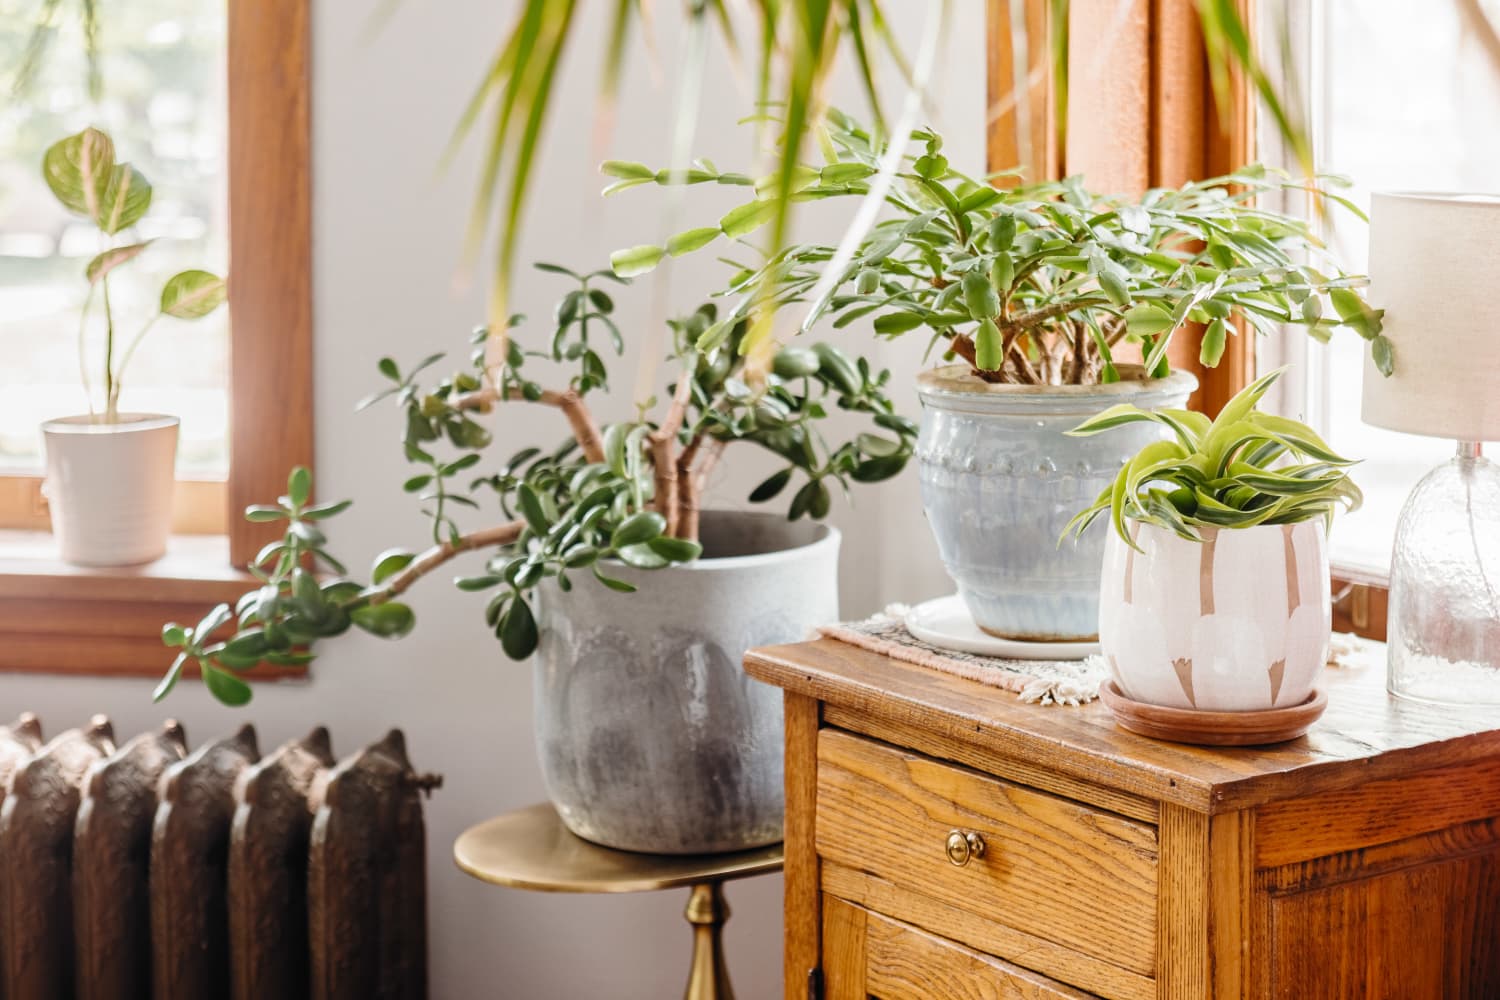
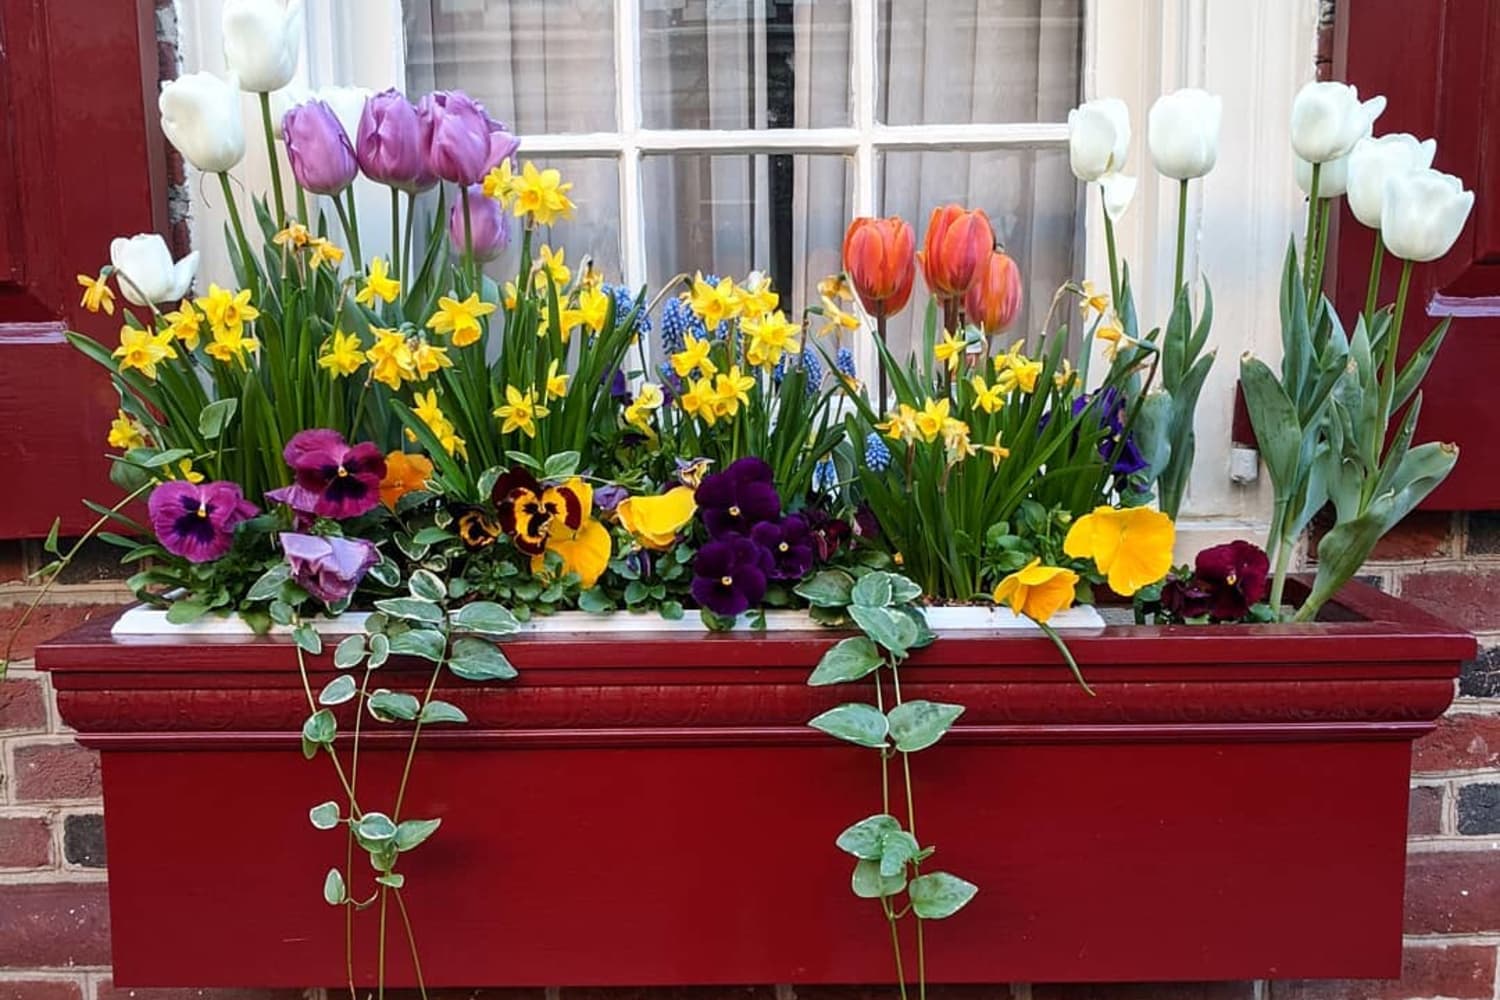
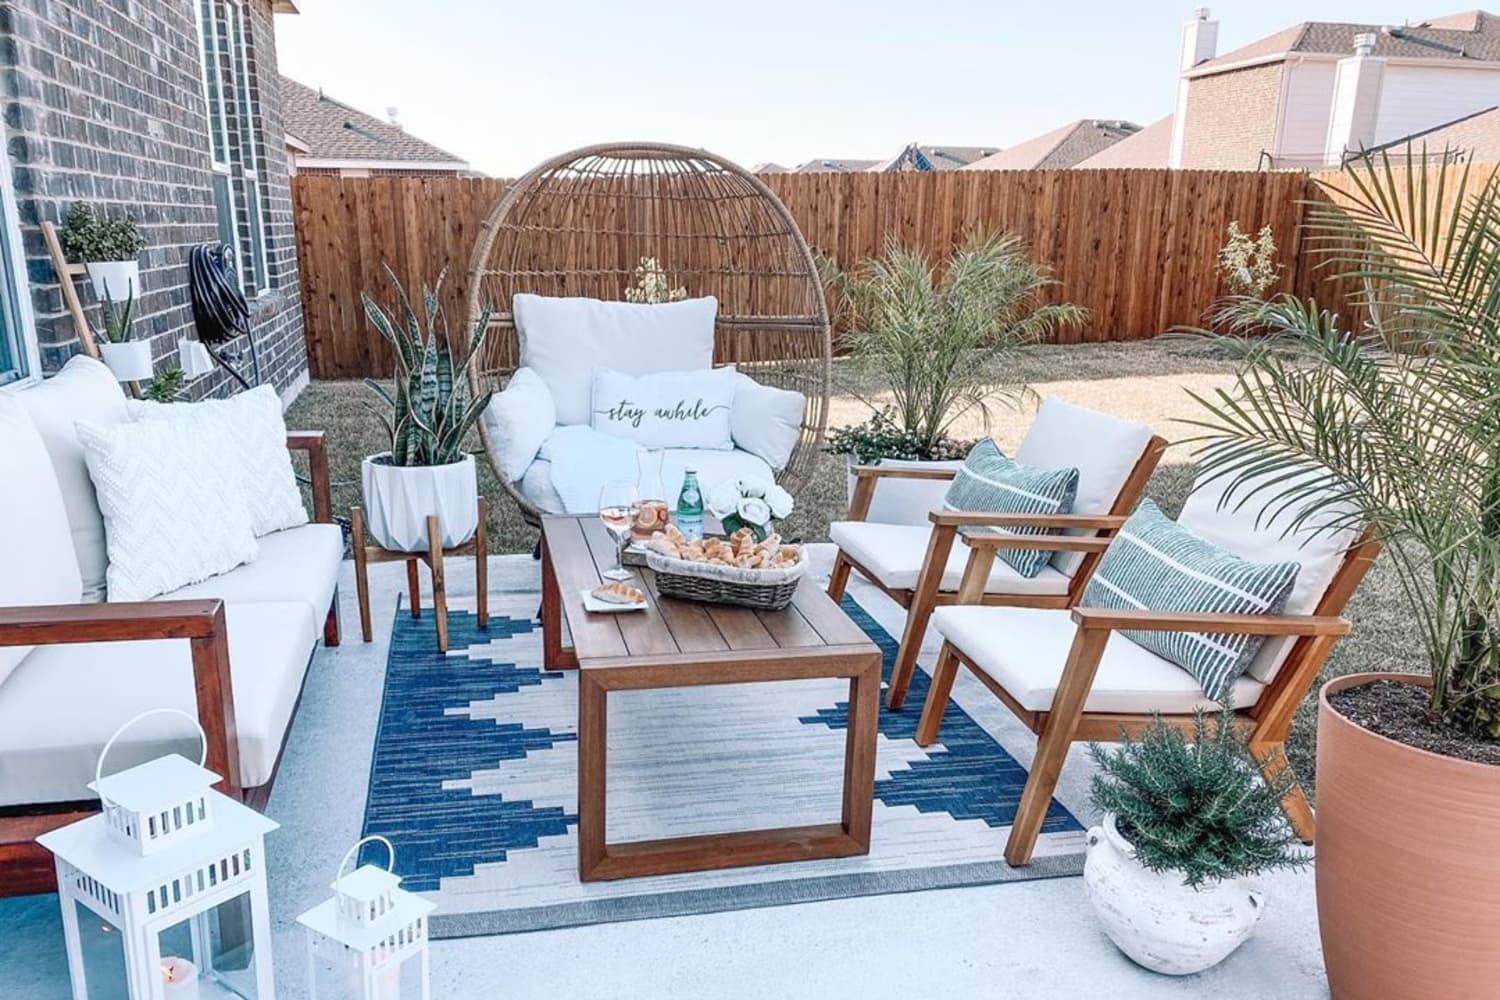
These Were the Most Popular Gardening Trends in 2021
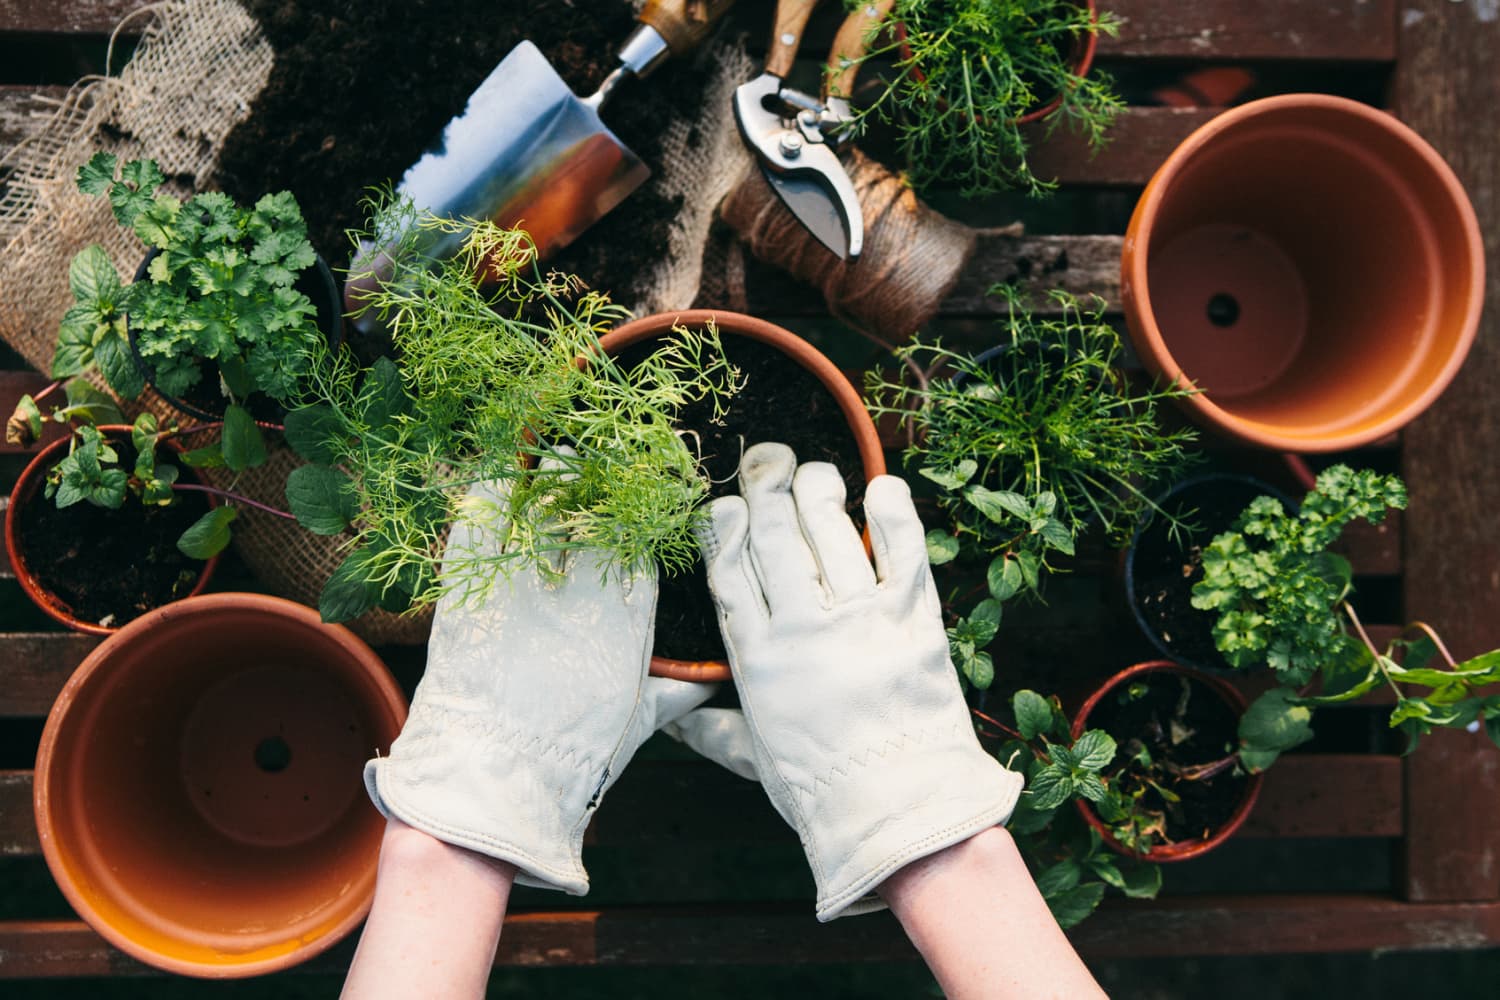
With people staying home more than ever the last couple years, gardening received a nice boost in popularity. From fire escape tomato plants to backyards with raised flower beds, it felt like everyone developed a green thumb at some point. But as new data shows, the type of gardening that people took part in over … Read more