Bed Bath & Beyond’s Vacuum Sale Includes Major Deals on Shark, Bissell, and More Top Brands

Bed Bath & Beyond’s Vacuum Sale Includes Major Deals on Shark, Bissell, and More Top Brands

We independently select these products—if you buy from one of our links, we may earn a commission.

Yet again, Bed Bath & Beyond is treating us to an amazing spring cleaning event: a huge vacuum sale! You’re not alone if you crave restocking your cleaning supplies once the weather starts to turn warm, especially if your old vacuum and mop need a refresh. It turns out spring cleaning is actually fun when you have the right gear! Whether you’re looking for the best vacuums to powerfully clean any floor surface or lightweight stick vacuums for hard floors and low-pile rugs, you’ll find one here at a steal. 

The Bed Bath & Beyond vacuum sale includes huge savings on Bissell and Shark in particular, as well as spray mops and cleaning supplies. Ahead, we’ve rounded up our favorite picks, including pet vacuums designed to suck up hair and remove allergens, lightweight easy-to-use stick vacuums, and a wet-dry vac that will deep clean your floors. Spring cleaning is about to get so much easier (and more fun!).

Erin Cavoto

Commerce Writer

Erin writes about all things shopping-related for The Kitchn, including highlighting small cookware brands, testing cool products, or scoping out need-to-know sales. She’s also a regular at the Trader Joe’s cheese section and has a never-ending supply of tea at home.

I’ve Used This Stain Remover on Everything from Clothes to Furniture and It’s Truly Magic in a Bottle

I’ve Used This Stain Remover on Everything from Clothes to Furniture and It’s Truly Magic in a Bottle

We independently select these products—if you buy from one of our links, we may earn a commission.

Here’s the deal: I’m a mess. Known to spill every liquid I carry — completely sober, mind you— I have either purchased or been gifted (you read that correctly) every stain remover under the sun. Some are effective, some disappoint, and some work great on certain materials but not others. But a few years ago, a friend’s mom introduced me to the magic that is Melaleuca PreSpot Concentrate. As someone who invests not just money, but time and care into her clothes and textiles, she’s got all the secrets.

Not only does the PreSpot Concentrate work on everything from brightly dyed linen garments to white cotton upholstery, but it’s meant to be decanted into whatever vessel you prefer at whatever strength you need. Now I can’t go a week without this natural, enzyme-powered stain remover saving my clothes, my couch, or my car seats! I had to spread the word — but if Cindy ever asks, you didn’t hear it from me.

What makes Melaleuca so special? The formula relies on tea tree oil and three naturally derived enzymes to lift stains so you can simply dab them away with a damp cloth. Protease enzymes debond protein stains like grass, blood, and milk from textiles; amylase enzymes work on starch stains like chocolate, tomato sauce, and gravy; and lipase enzymes attack oily stains like dressings, cooking oil, and cosmetics. Since the formula is completely natural, you can apply it to stubborn spots multiple times without harming the fabric itself or damaging the surface. That’s the key: With this magical find, you can start small and increase the potency of the concentrate from there for tougher stains.

To use Melaleuca, simply dilute the concentrate with water in a ratio that’s totally up to you (1:1 is a solid place to start). You can apply the mixture directly to stains or throw it in with your detergent for loads of laundry that need a little extra help. For delicate materials, a more diluted combination does the trick, and for more stubborn and set-in stains, you’ll probably need a higher contrate-to-water ratio. I keep it diluted in an amber spray bottle at home.

For on-the-go spills, I carry a hand-sanitizer-sized spray bottle with a mix that’s a bit more potent. It works in seconds to lift out everything from spaghetti sauce to puppy paw stains and even (the notorious) blood. It’s not as thick as other to-go stain removers that take longer to dry, so you won’t have to deal with those unsightly damp marks on your clothes that last way too long and look (almost) worse than the stain itself.

10 Essential Cleaning Tools Every Home Should Have

10 Essential Cleaning Tools Every Home Should Have

We independently select these products—if you buy from one of our links, we may earn a commission.

Whether you’re just getting started in a new space or looking to complete (or maybe upgrade) your cleaning kit, we’ve put together a list of the most essential cleaning tools that we believe no home should be without. If you want to buy new, we’ve included some helpful links to guide you to what we believe are the best buys in housekeeping. But it’s just as good — and maybe more fulfilling — to collect these staples as you go. Invest in your favorite must-haves, borrow others from family members, and slowly build a collection of house cleaning tools you can depend on, starting with the picks below.

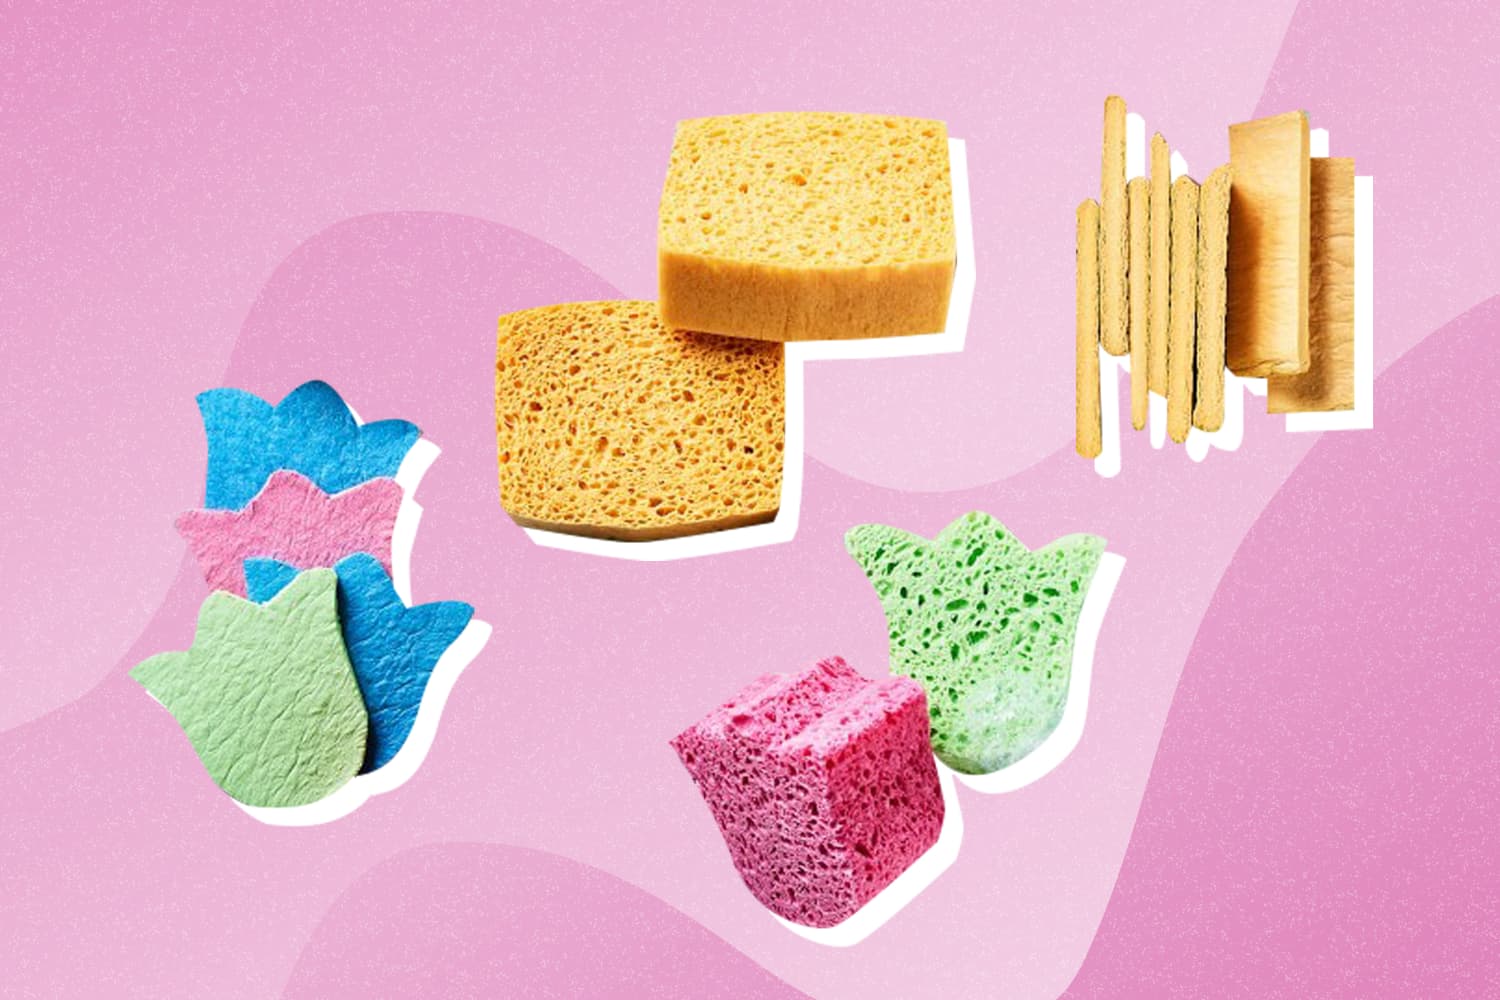
There are a huge variety of sponges out there. It’s nice to have a classic sponge around — especially something with an abrasive side to tackle any grimy, dirty surface. But if you want to explore your alternative side, you can try out sponge cloths that bridge the gap between sponge and towel, spaghetti sponges (they don’t require soap!), a Scrub Daddy that changes texture based on temperature, or silicone sponges that last almost forever.

Read our reviews of these different kinds of sponges:

I always keep a ton of white towels on hand. I picked up a couple of sets of cotton towels from Utopia, but you can find packs of these just about anywhere, even at the hardware store. They’ll always match, you’ll know when they’re dirty, and they can be easily bleached and disinfected without getting ruined. An eco-friendly alternative? Cut up old t-shirts.

Just like the white towels, getting a few of these to keep on hand can boost your cleaning power. Microfiber can often get surfaces clean on its own or with just a little water, and they shouldn’t scratch or leave streaks behind (which is why they’re great for windows).

These little tools are must-haves for keeping showers free from mold and mildew. They also work great on windows if that’s a part of your cleaning routine. To get the most life out of your squeegee, make sure you protect the blade from being damaged while you use and store it. If your squeegee is leaving streaks or just not performing as well as it once did, you’ll know it’s time to replace the blade.

A nice-sized bucket can do more than just stow your cleaning supplies; you can use it for mopping and a multitude of other household tasks, making it essential for sure. You can buy one online (this $20 option from OXO is great), but most people just pick ’em up from the local hardware store.

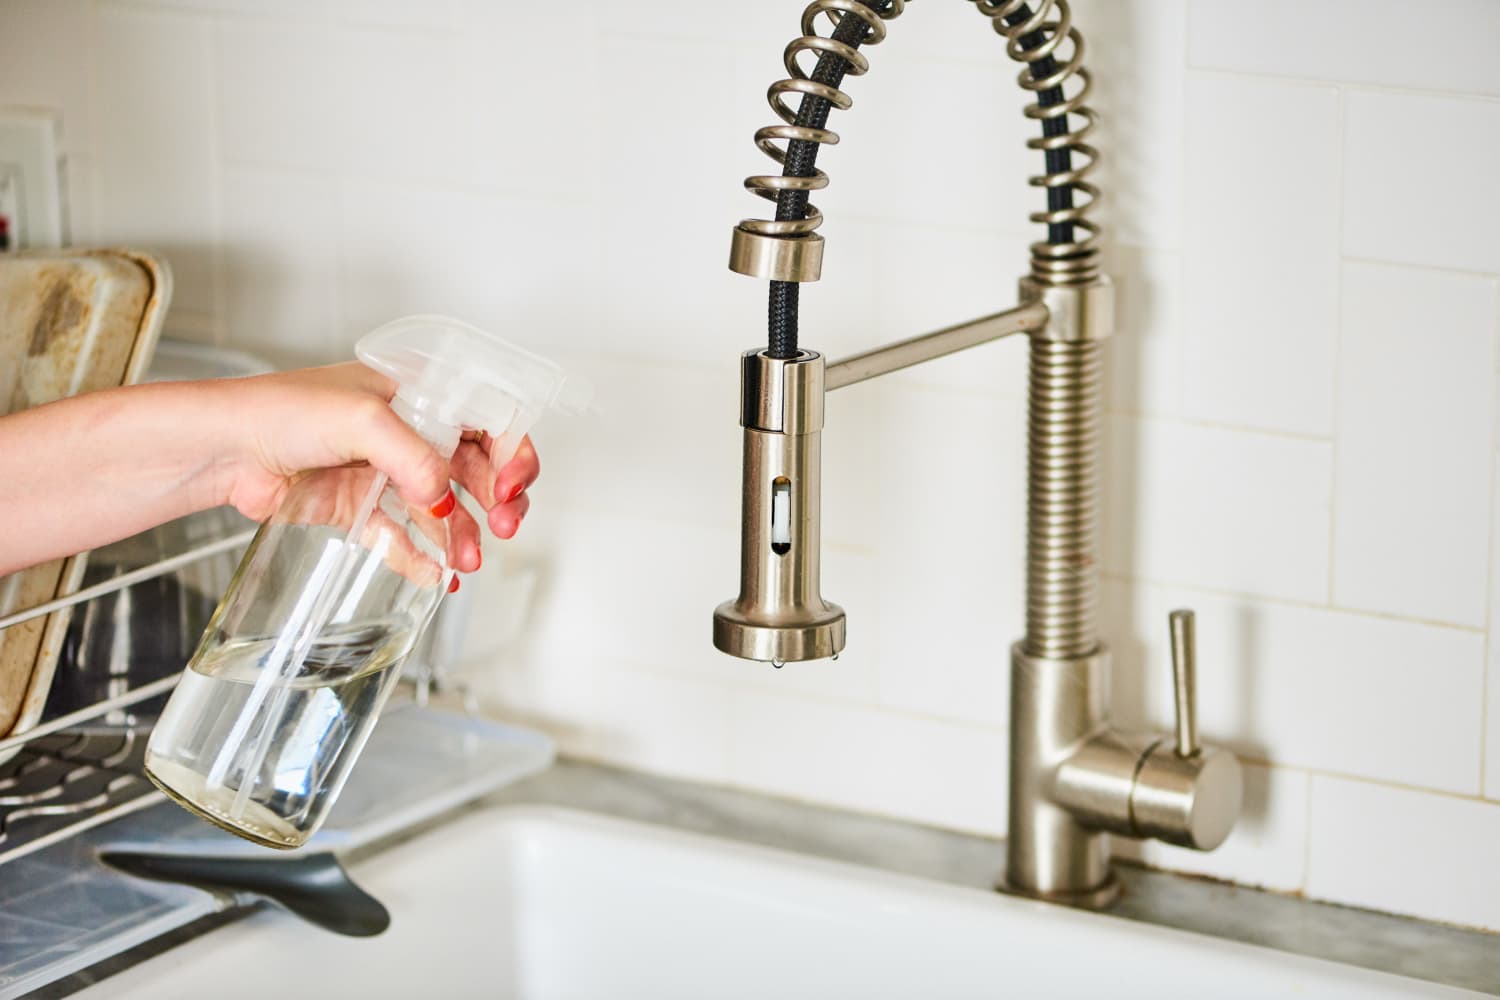
Keep spray bottles on hand if you ever need to rinse something off with water, or if you’ve been wanting to try your hand at making your own cleaners. Glass bottles will hold up to anything, and you can buy them one at a time for less than $16 or in multi-packs for a savings boost.

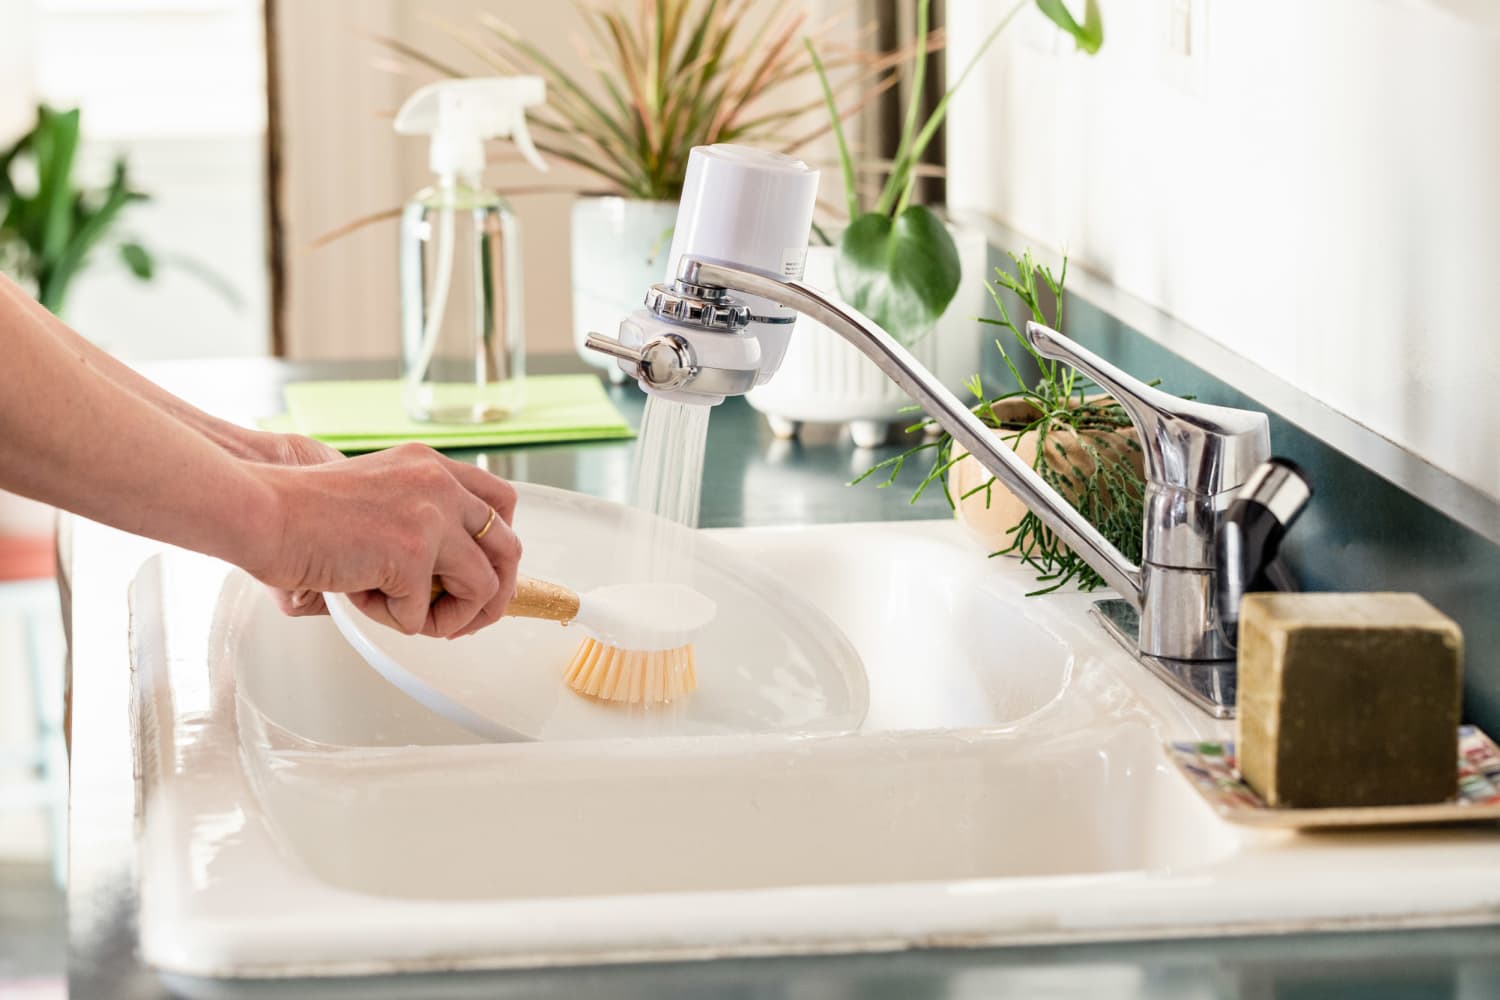
A sponge or cloth isn’t always going to work, so keep an all-purpose scrub brush on hand to use on tile, tubs, fixtures, and tough stains. You can use an old dish brush that you’ve retired from dish duty, or buy a heavy-duty cleaning scrubber. We love this one from OXO, and it’s only $10.

When you need something a little more refined than a scrub brush, a toothbrush is a great option. Disinfect some old toothbrushes and put them to work on grout, sink rims and all the other nooks and crannies in your house. You can even boil old toothbrushes in water to bend their heads and make them better at getting into tough-to-reach spots.

If you don’t have a spare toothbrush, you can buy a special detail cleaning brush that’ll do the same job (maybe even better!).

9. A Broom, Dustpan and Mop

If you have any hard surfaces like wood, tile, cork, and linoleum, you’ll need tools to get them clean. You should check out the instructions for different types of floors before you start, but most people can get along with a broom and dustpan and/or a dust mop. If you have pets or kids, you may want to get a wet mop as well, which will give you more power to clean up after spills or scrub grime from the floor.

If you have a really small apartment and don’t make very large messes, you can trade in a big broom for a hand broom and dust pan, like this $6 set from Target’s Made by Design line.

Here are some more solid vacuum recommendations:

Rachel Wray Thompson

Contributor

Rachel is an Chicago-based architect and LEED Accredited Professional. When she’s not designing homes, she enjoys spending her free time traveling, gardening, and playing with her french bulldog.

This $8 Household Must-Have Saved My Stairs (and My Security Deposit)

This $8 Household Must-Have Saved My Stairs (and My Security Deposit)

We independently select these products—if you buy from one of our links, we may earn a commission.

The place I used to rent in Philadelphia had four rooms: a kitchen/dining room, a living room, and two bedrooms. Sounds like a standard-sized apartment, right? Not exactly. This house spanned four floors, one room per floor. If you’ve ever wandered around downtown Philly, then you know what I’m talking about: They’re the charming — and very narrow — rowhouses that line the cobblestone alleys dating back to the 1700s, where you almost expect to see Ben Franklin walking out the door in his bifocals and coattails. And they are notorious for perilously steep stairways that often feel more like ladders.

I’d fallen on the stairs once or twice and gotten a few bruises (par for the course for me, honestly… ), but I wasn’t motivated to do anything about it until the first time my aging dog slipped. If you’re a dog owner, you know how the sound of your pet taking a tumble can break your heart, so I immediately took to the internet to find peel-and-stick stair treads that I could apply easily to prevent my little buddy from any other falls. I had 34 steps (!!) and found jute treads to affix to each of them — and they worked beautifully! I felt way more secure when I was running up and down, but more importantly, my dog was able to bop around with no problem.

It was a fantastic solution — until it was time to move. I pulled off the treads only to reveal a gooey residue still stuck to the stairs. After a few seconds of picking at it, I knew it wasn’t going to come off without a fight. I had a choice: leave the treads (goo and all) on the stairs and forfeit a chunk of my security deposit, or find a way to restore the wood to the condition it was in when I arrived. I opted for the latter, stocked up on a few bottles of Goo Gone, enlisted my mom to help, and got to work returning the stairs to their former glory.

Goo Gone has been a staple in my home for as long as I can remember, and it does exactly what its name suggests: gets rid of goo from pretty much any surface. I’m talking glue residue, caked-on grease, gum, window decals, and so much more, all without stripping the surface of whatever you’re working on. I can’t count the number of times my mother told me to “Go grab the Goo Gone!” throughout my life for tasks like removing the stickers from the bottoms of new glassware or getting the double-sided tape off of the windows when the Thanksgiving decorations came down. But could this “magic” potion match up to centuries-old hardwood floors? Well, it took a few bottles of Goo Gone, two pairs of rubber gloves, a few rags, and a lot of elbow grease, but you’d better believe we cleaned off every last speck of glue, and I recouped every penny of my security deposit.

It wasn’t until I was writing this post that I discovered that Goo Gone actually makes a whole suite of products with more tailored uses: Automotive, Kitchen Degreaser, Graffiti Remover, Tile & Grout… the list goes on. I just ordered the Oven & Grill Cleaner — which I am super excited to try on my horrifyingly greasy barbecue — but rest assured, there will always be a bottle of the OG Goo Gone in my cleaning arsenal.

Buy: Goo Gone, 8 ounces, $7.60

9 Areas of the Home You Commonly Forget to Clean, and How to Deal With the Dirt

9 Areas of the Home You Commonly Forget to Clean, and How to Deal With the Dirt

You've cleaned your home from top to bottom - or so you think. Here are nine things most people forget to clean!

Occasionally you won’t notice how dirty something in your house is until it’s that dirt is called out. You drop something under your couch and discover a gang of dust bunnies living underneath. You throw open your curtains and find yourself in a front-row seat to a dust dance-off floating right in front of your face. Since it’s spring cleaning season, now is as good a time as any to tackle those forgotten areas of your home. And don’t feel bad: everyone forgets them! So let’s look together at these nine areas of the home that are often neglected, and explore how to give them the care they need.       

1. Baseboards 

While you may remember to vacuum your baseboards and trim regularly, they probably haven’t had a good scrub in a while. To tackle this chore, start by vacuuming your baseboards to remove any dust and dirt. Next, fill a bucket with warm water and a bit of dish soap, and dunk an old rag into the mixture. Ring out the rag as much as possible, and wipe away the dirt. If you have unpainted baseboards and want to protect the wood, use a wood cleaner in lieu of the dish soap and water. If you’re dealing with tougher stains on painted trim, try a melamine sponge. Clean nooks and crannies with an old toothbrush. Wipe your baseboards dry with a cloth when you’re finished.


2. Ceiling fans and light fixtures

You’ve just finished cleaning your living room. It’s spotless, you think. Until you look up. Oh no! Those fan blades can collect a lot of dust. Before you to turn them on in the warming weather, give them a wipe down. First switch off the light. Next, grab a ladder and your dusting vacuum attachment (the one with the bristles) to remove the bulk of the dust first. Next, simply wipe clean with a slightly damp cloth. This goes for both the light fixtures in your home and fan blades. While you’re up there, go ahead and change the direction of your ceiling fan since it’s warming up (for summer, they should rotate counterclockwise to pull cool air down).


3. Light switches

Your hands come in contact with a load of surfaces over the course of the day, and a lot of those surfaces carry bacteria. To eliminate the grime buildup, the best way to clean light switch plates is to use a disinfectant spray or disinfectant wipes. If you’re using a spray cleaner, spray onto a cloth – never directly on the switch plate. Wipe the light switch clean with a cloth, and detail clean with a Q-tip. Once your switch is clean, buff dry with a cloth. 

While you don’t touch wall outlets with the same frequency you do light switch plates, sometimes these get dirty, too. Before cleaning your dirty outlets, consider turning the power off first as an extra safety measure. Of course, do not spray directly onto the outlet. Additionally, do not clean inside the outlet – just the surface, and preferably just the plate. After buffing dry, wait a while before turning the power back on to ensure the surface has completely dried.


4. Doors

I don’t know how I forget this chore so frequently, and hopefully you can relate so I don’t feel so guilty. My doors are always dirty! The ledges on the door are frequently covered in dust and pet hair, and the bottom half is covered in scuff marks. To clean your doors, use a vacuum to remove excess dust, and a dish soap/water mixture with a cloth to clean. Here are the areas of your doors you should be giving attention to:

  • The kick plate
  • The knob
  • Ledges and railings
  • The crack of the door (DUST ALERT! Check behind the hinges, where the door butts up with the wall)

Just like with the baseboards of your home, if you are worried about damaging the door, use a wood cleaner. If your door is painted, you can use a melamine sponge to clean tougher scuff marks.


5. Electronic screens

To clean the electronics in your home and life, grab a clean microfiber cloth. If you can power down the electronic, do so. If your electronics aren’t too dirty, circular motions with a microfiber cloth should suffice. If not, add a few drops of distilled water to your cloth and wipe. Never spray moisture directly onto your electronics, and don’t use standard household cleaners. 


6. Air vents covers

The key to cleaning air vents is to clean dryly. Air vents are dusty, and using moisture could potentially smear the dust onto your walls and ceiling, creating an even bigger mess. Start by turning off the heat or A/C (you don’t want all that dust blowing into your face while you work!), then vacuum up what dust you can. Finish off by using a microfiber cloth. Scrub off particularly dirty marks using a slightly damp melamine sponge. 


 7. Lamp shades

Light shades seem tricky to clean because you can’t scrub them. They have to be cleaned, though, because they still attract dust like a magnet. The solution is remarkably simple. Clean your paper or fabric lamp shades is with a lint roller. A couple swipes and it’s sayonara, dust! 

8. Kitchen trash can

It might look fine from a distance of a few feet, but if you need further convincing that your trash can is nasty, put your face up to it. Yeah, it’s gross. Move your can outside (or to your bathtub if you don’t have a yard), and hose it down with water. Fill up the bottom with a bit of hot water, then add a cup of white vinegar. Use this water/vinegar solution to scrub the can with a bristled brush. Rinse, and towel dry (or let dry in the sun!). 

9. Under the bed

To clean under your bed, you really have to move your bed. This sounds like a lot of effort, but once you uncover how much dust and dirt you’ve been sleeping just inches away from, you’ll be grateful you made the effort. Don’t forget to check behind the headboard, too! Use a vacuum and/or a mop to get all those dust bunnies.

You've cleaned your home from top to bottom - or so you think. Here are nine things most people forget to clean!

Share this spring cleaning checklist on Pinterest!

Do you participate in Spring Cleaning? Or do you prefer to do your deep cleaning at a different time of year? What areas of your home slip your mind when you’re cleaning? Let me know in the comments!