by Furnishly | Jul 4, 2025 | Design Inspiration, Style
Danielle BlundellExecutive Director of Home
As Apartment Therapy’s Executive Home Director, I head up our decorating, trends, and designer coverage. I studied Media Studies at UVa and Journalism at Columbia and have worked in media for more than a decade. I love homes, heels, the history of art, and hockey — but not necessarily in that order.
by Furnishly | Jul 1, 2025 | Design Inspiration, Style
We
independently select these products—if you buy from one of our links, we may earn a commission. All prices were accurate at the time of publishing.
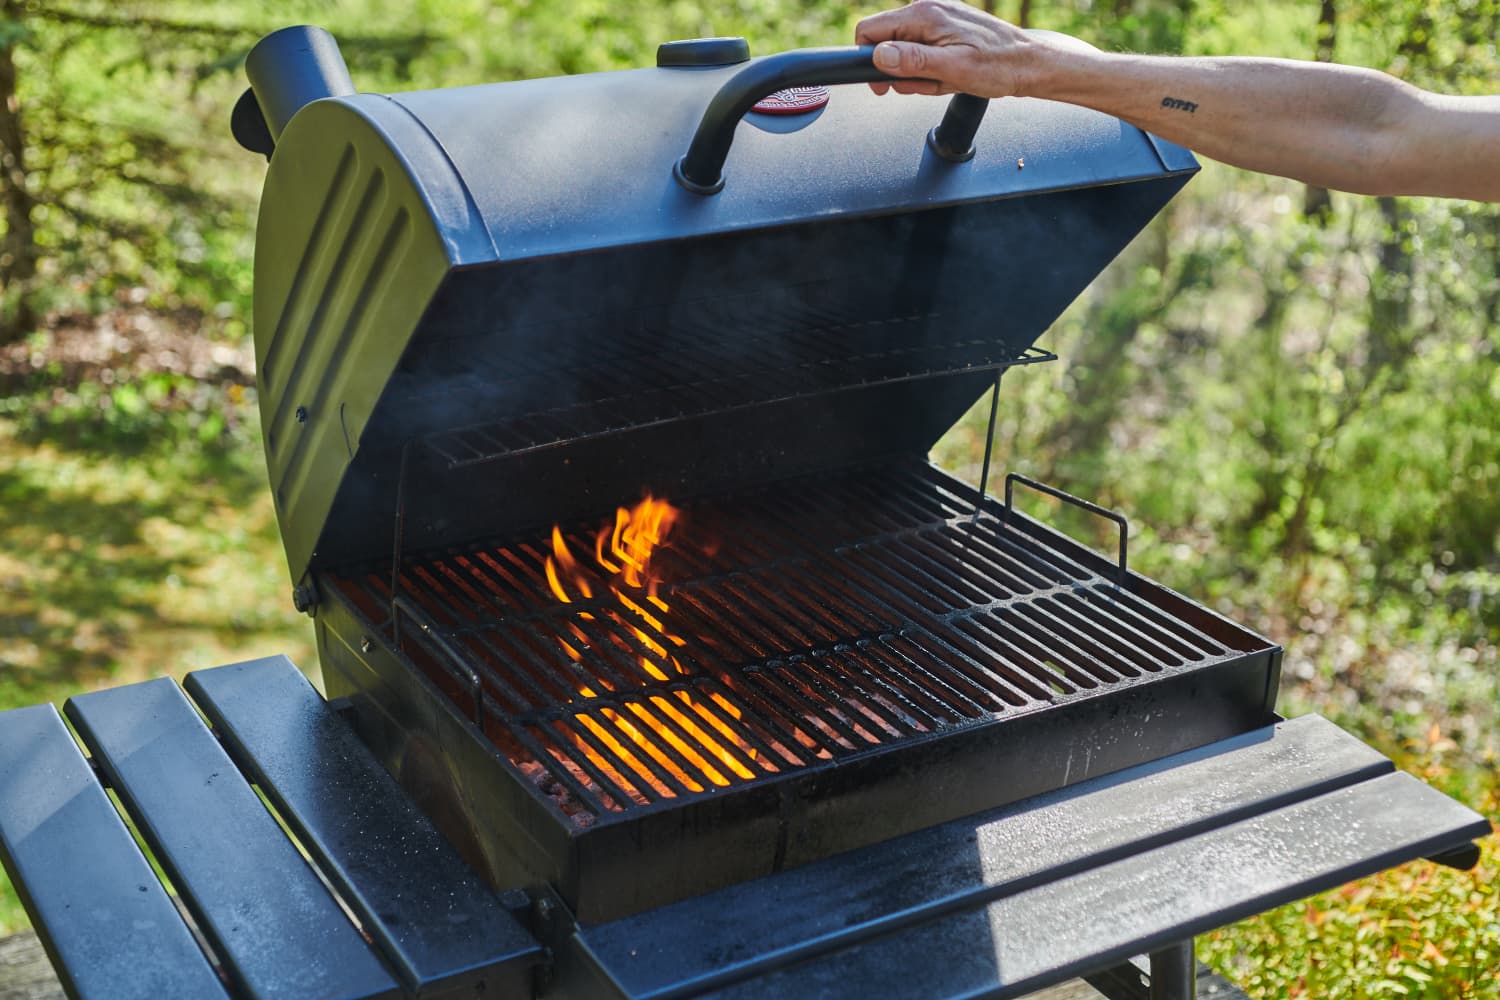
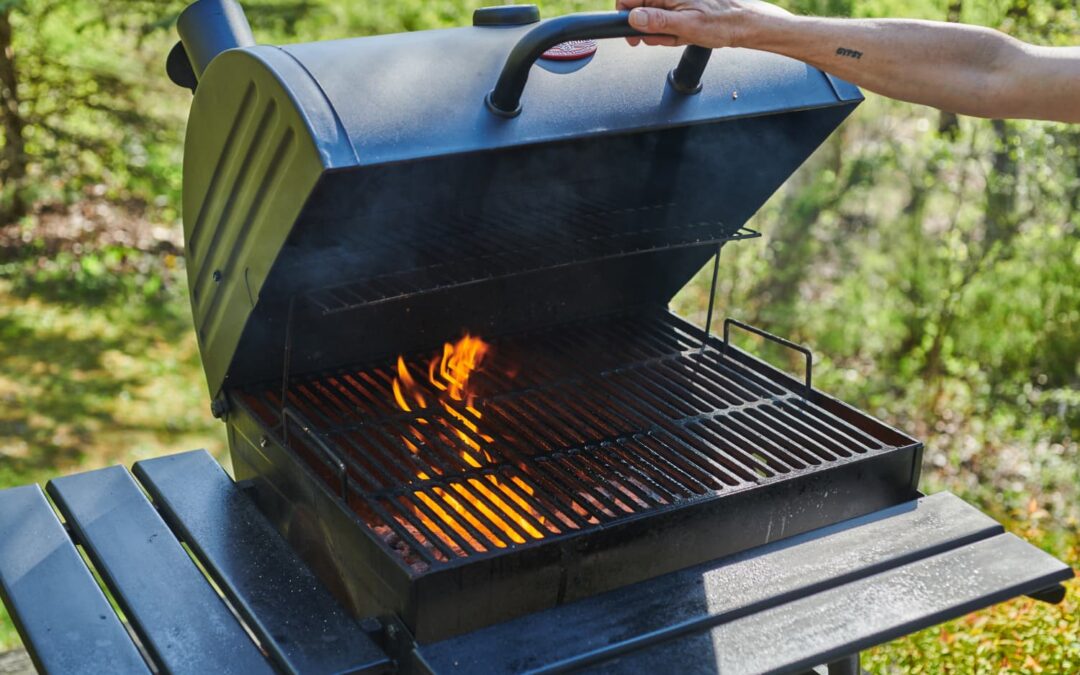
My husband happily serves as our resident grill master. I’m grateful for not only all the delicious food he dishes up, but also that he often takes care of grill cleanup duties. But now that we’ve recently added a Blackstone griddle to our Weber grill setup, I’ll be gladly pitching in with outdoor cleanup.
I won’t lie: I’m skittish around outdoor gas cooktops, especially with cleanup. Unlike letting a kitchen stovetop cool before you wipe it down, it’s actually easier to clean a grill when it’s still hot. So when I saw the rave reviews about the safe and easy-to-use Grill Rescue Brush, I knew I had to try it.
What Is the Grill Rescue Brush?
The Grill Rescue Brush is more than just a simple grill brush. It features a thick but soft cleaning head made of aramid fiber, which is the same fabric used in firefighter gear, so it’s not only durable but also heat-resistant. The cleaning sponge attaches to a long, sturdy red handle that’s lightweight but powerful. In fact, it’s “so strong you can run it over with your truck and it still won’t snap,” according to the website.
This nifty gadget was created by a firefighter not to prevent grill fires, but to protect people from grill brush injuries sustained by ingesting wire bristles that had fallen off during cleaning and ended up in grilled food. This is not an overreaction. Between 2002 and 2014, approximately 1,700 ER visits in the United States were reported due to ingested grill brush bristles. I once grabbed a grill brush by the bristles and found that to be painful enough, which made me even more excited to try Grill Rescue.
Why I Love the Grill Rescue Brush
I usually reserve my fangirling for indoor cleaning gadgets, but the Grill Rescue Brush is deserving of all the praise. To start, it’s incredibly simple to use. Here’s how it works:
I was a bit worried about the steam, so I was very glad that the brush has such a long handle to keep your hand at a safe distance. It was very satisfying to scrub the food residue off and watch the steam help release any greasy residue. The steam dissipates rather quickly, so you do have to work a bit fast. (You can also reheat and turn off the grill if needed.)
My husband normally uses a traditional grill brush or a ball of aluminum foil attached to the end of a long barbecue fork to clean the grill. But, after using the Grill Rescue, he was thoroughly impressed with how easy and effective it was. “Looks better than it did before I started grilling,” he said.
Why I’ll Keep Using the Grill Rescue Brush to Clean My Grill
I’m excited to try the Grill Rescue Brush on our new griddle, which needs a nonabrasive method to keep it clean. The reviews from other Blackstone griddle owners are stellar, although the commonly suggested tip is to carefully scrape off as much grease as possible before using Grill Rescue, as the cleaner head can be a chore to clean off later if not done properly.
As expected, the cleaning head looked a little worse for wear after I finished with the grill. But it’s super easy to clean. Just pinch one of the levers on either side of the head to pop it off, then scrub it by hand or put it in the dishwasher. I’m all for doing things the easy way, so into the dishwasher it went. It wasn’t sopping wet when it came out, but I did leave it on the kitchen windowsill to dry in the sun for next time.
The website says the cleaning head typically lasts between 25 and 100 uses, though maintenance and storage play a big role in longevity. The company reports that some customers have used it more than 600 times before replacing it, so I feel confident that Grill Rescue will come to the rescue with barbecue cleanup for a very long time.
by Furnishly | Jun 29, 2025 | Design Inspiration, Lighting, Style
Danielle BlundellExecutive Director of Home
As Apartment Therapy’s Executive Home Director, I head up our decorating, trends, and designer coverage. I studied Media Studies at UVa and Journalism at Columbia and have worked in media for more than a decade. I love homes, heels, the history of art, and hockey — but not necessarily in that order.

by Furnishly | Jun 28, 2025 | Design Inspiration, Style
Olivia Harvey is a freelance writer and award-winning scriptwriter from outside Boston, Massachusetts. She’s a big fan of scented candles, getting dressed up, and the 2005 film adaptation of Pride and Prejudice starring Keira Knightley. You can make sure she’s doing okay via…read more

by Furnishly | Mar 13, 2023 | Design Inspiration, Style
We independently select these products—if you buy from one of our links, we may earn a commission. All prices were accurate at the time of publishing.
I want to tell you about one of my favorite budget decor items, but fist, let’s flash back to my first time attending a live auction 15 years ago. My friends had brought me to a barn sale in upstate New York as part of our weekend entertainment. Before the auction began, we were allowed to walk around and look at the lots of things that would be sold. I was overwhelmed by the sheer number of objects on offer.
Once the bidding began, we sat in the bleachers in the cold, drafty room watching as bidders scored antique bureaus for half the cost of something from Target, art for even less — the prices were gobsmackingly low. I didn’t particularly need anything that March afternoon, but I was swept up in the excitement of the bidding and the deals. When the auctioneer brought a pair of carved marble lamps up to the block, I raised my hand to enter the fray, and not a soul bid against me. I got the pair for a cool $20! I hadn’t even gotten a close look at them when we’d walked around the preview, but I figured they were so cheap, I’d surely scored a deal.
For more content like this follow
When I went to pick up my prize at the end of the auction, I had second thoughts about my hasty purchase. These lamps were a little old-fashioned. I mean that in an endearing way, of course, but I wondered: How were they going to look in my Brooklyn apartment, where almost all of my furniture was vaguely mid-century modern with a smattering of IKEA to round out the collection? My friends assured me they were great, and I tucked them into the back of my station wagon.
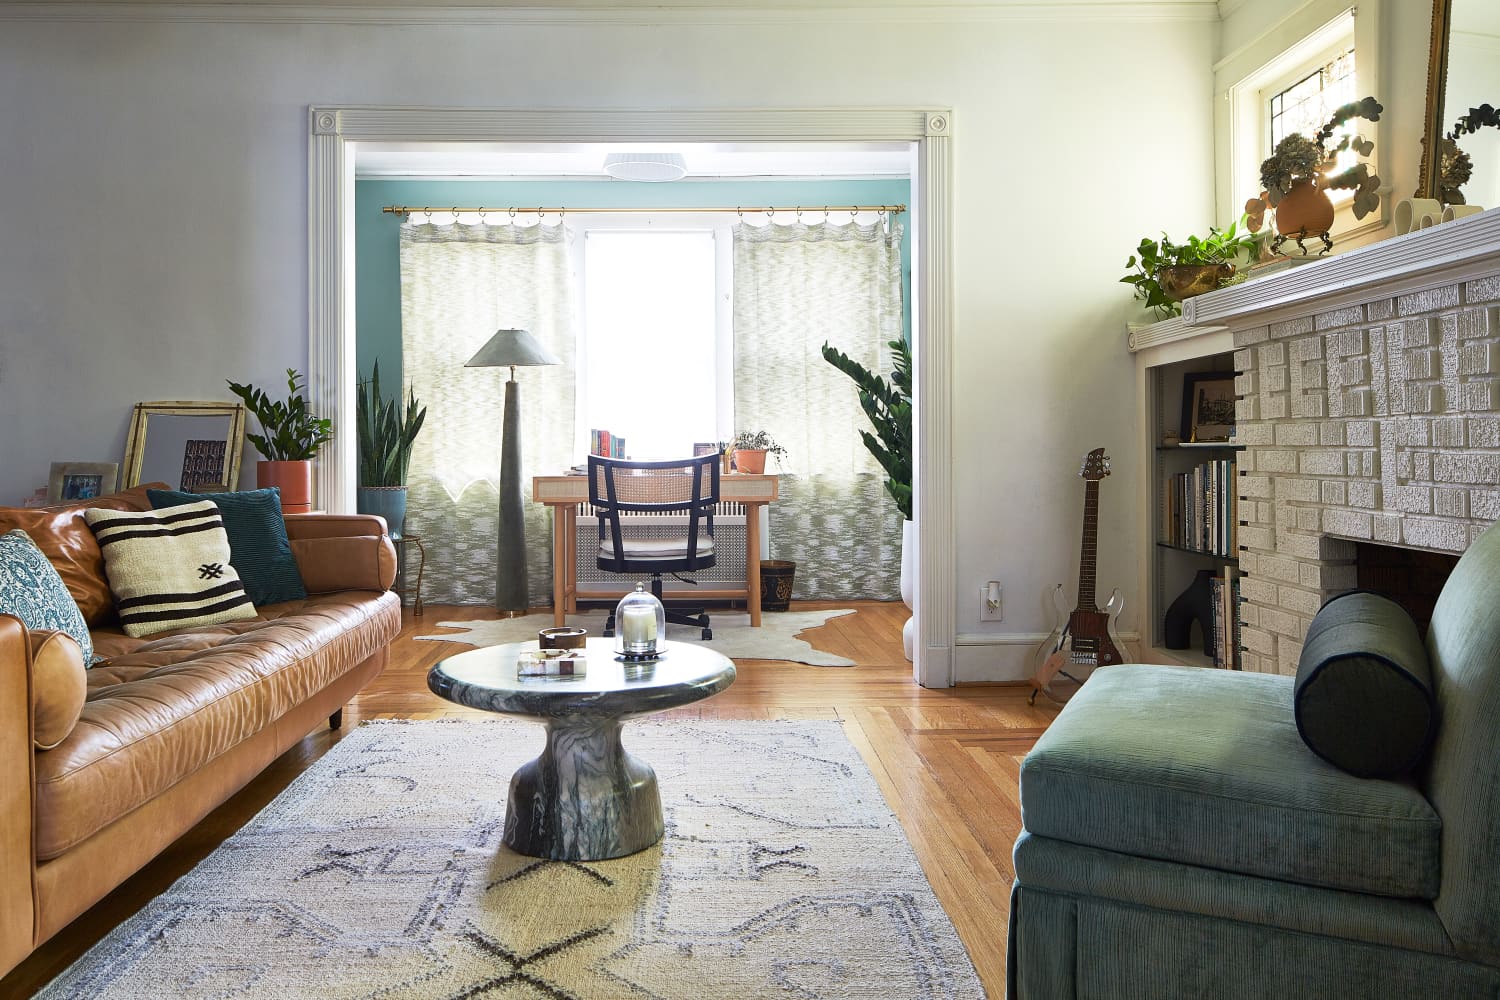
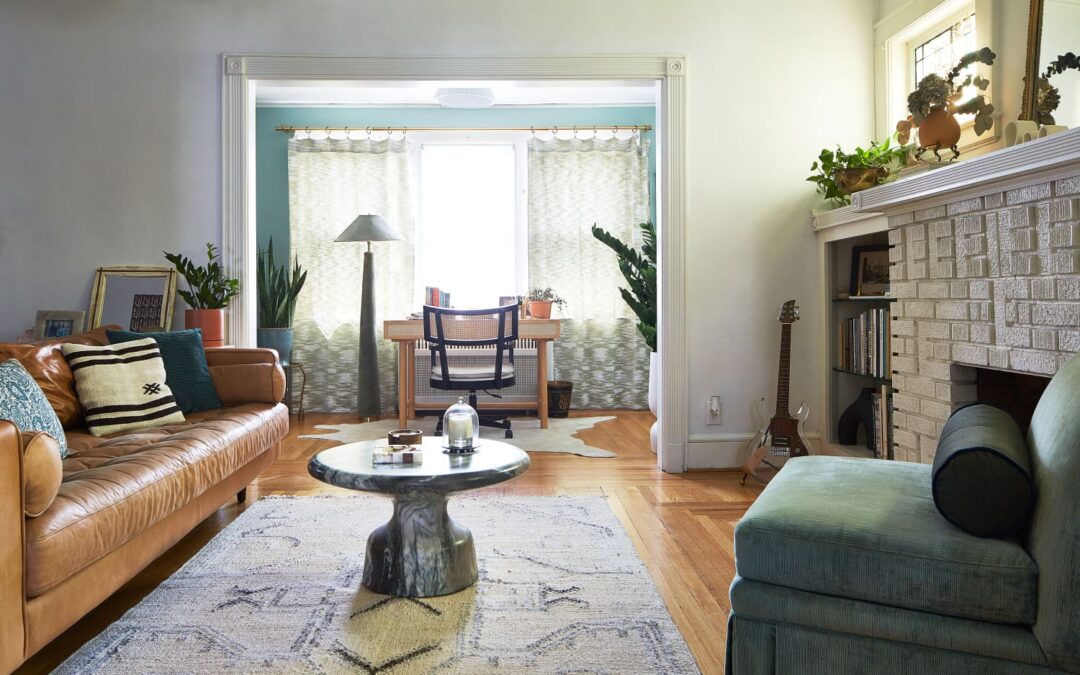
Back at home, I set up the lamps in my living room, and something magical happened: They elevated the whole room. Instead of looking too fussy, they looked effortless — chic, even. The room gained more of a collected-over-time look. My big-box store lamp landed on the stoop for someone else to take home.
A year or so later, I spotted a similar pair of alabaster lamps at a yard sale. Much more diminutive in size than my first pair, these possessed some truly awful glass shades that made them look decidedly uncool. By then, though, I knew the bases were classic style chameleons. They were also the perfect size to place on a dresser. I think I spent another $20 on these, and then bought shades to refresh their look for another $25.
More than a decade and two moves later, I still have those two pairs of vintage stone lamps in my home. After using them in many rooms and noticing them in other homes, I believe vintage alabaster or marble lamps can elevate any room. Part of their design power lies in purchasing a pair. With two matching lamps, a room feels even more finished — like something picked out by a decorator — not just something you stumbled upon at a yard sale.
If you don’t have a local vintage shop, you can buy similar lamps on eBay and Etsy for a little more (but still usually less than $100 a piece or even $50, if you really search); a quick search revealed this $80 stunner on Etsy. Your keywords beside “lamp” should be “marble,” “alabaster,” “carved,” and, if you subscribe to my idea of symmetry, “pair.” Don’t get dissuaded by a hideous shade; a replacement is just a click away, and you’ll still have spent less than you would have on a new lamp.
Still not convinced vintage marble lamps are a must? Let Nate Berkus persuade you. He’s definitely on “Team Vintage Stone Lamp,” and I am, too.