Ryobi’s Compact Lithium Rotary Tool Offers Precise Power
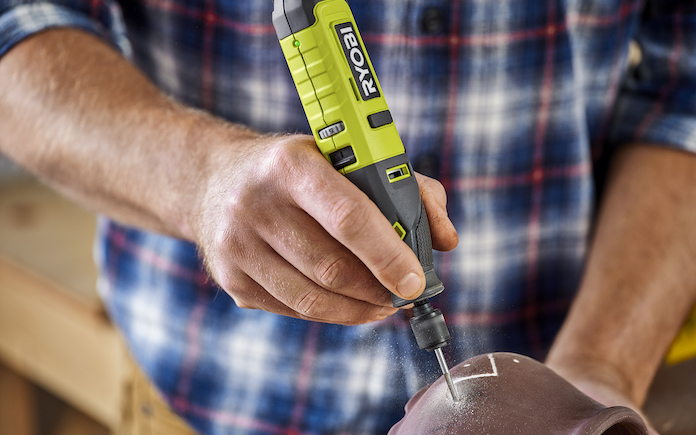
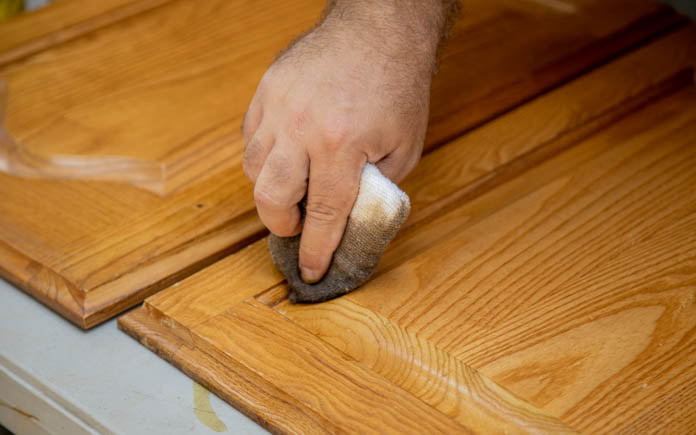
A rotary tool is a staple for any toolbox because it’s so handy for small, delicate jobs. Need to cut a small hole into drywall, sand a tight spot on a piece of furniture, or remove rust from a metal appliance? Grab a rotary tool — specifically the new Ryobi USB Lithium Rotary Tool. It … Read more