Do Baseboards Have to be Removed to Install Laminate Flooring? | Ep. 160
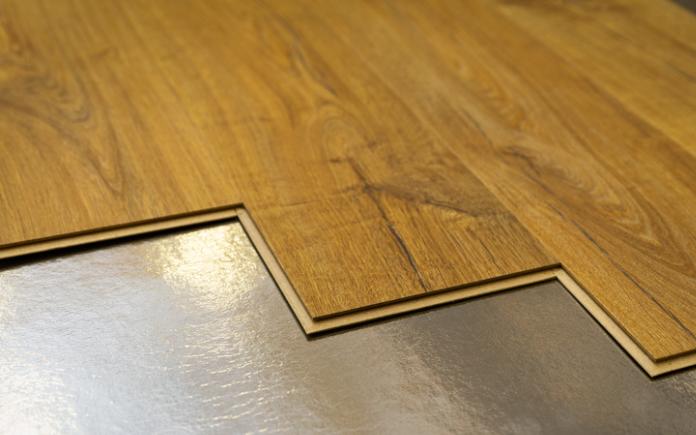
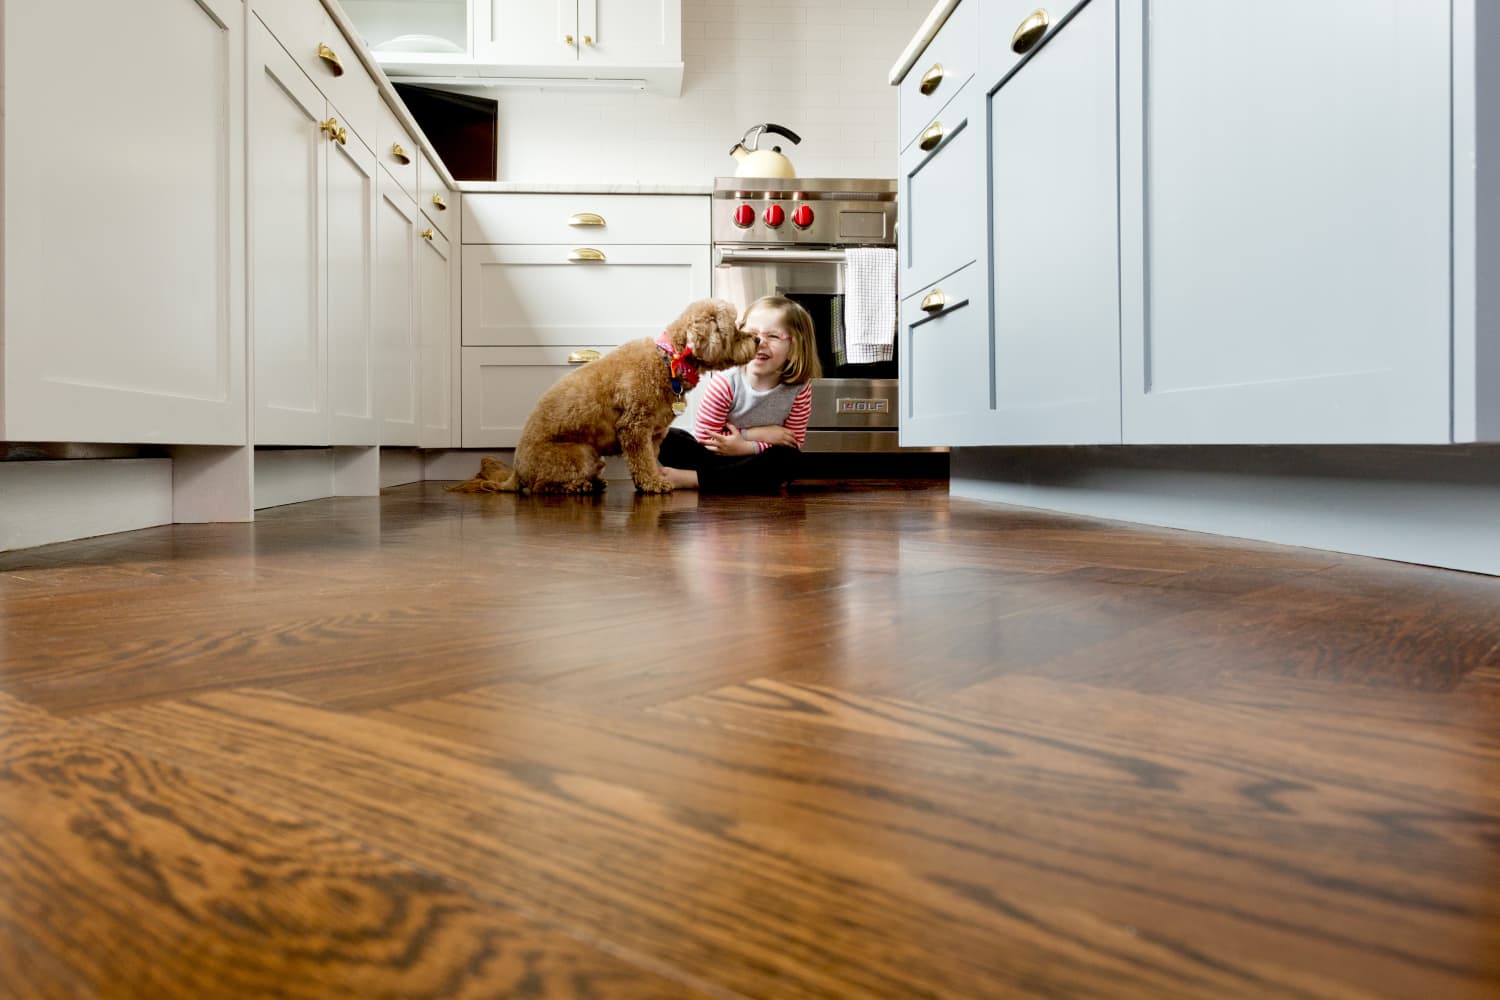
It’s possible to install laminate flooring without removing baseboards. Laminate flooring is a cost-friendly way to update the look of your floors, but when installing it, you have to take into account the space it needs against baseboards. This type of flooring floats on top of the floor’s surface, so over time, it will expand … Read more