The One Thing You Should Bring to Every Home You Tour
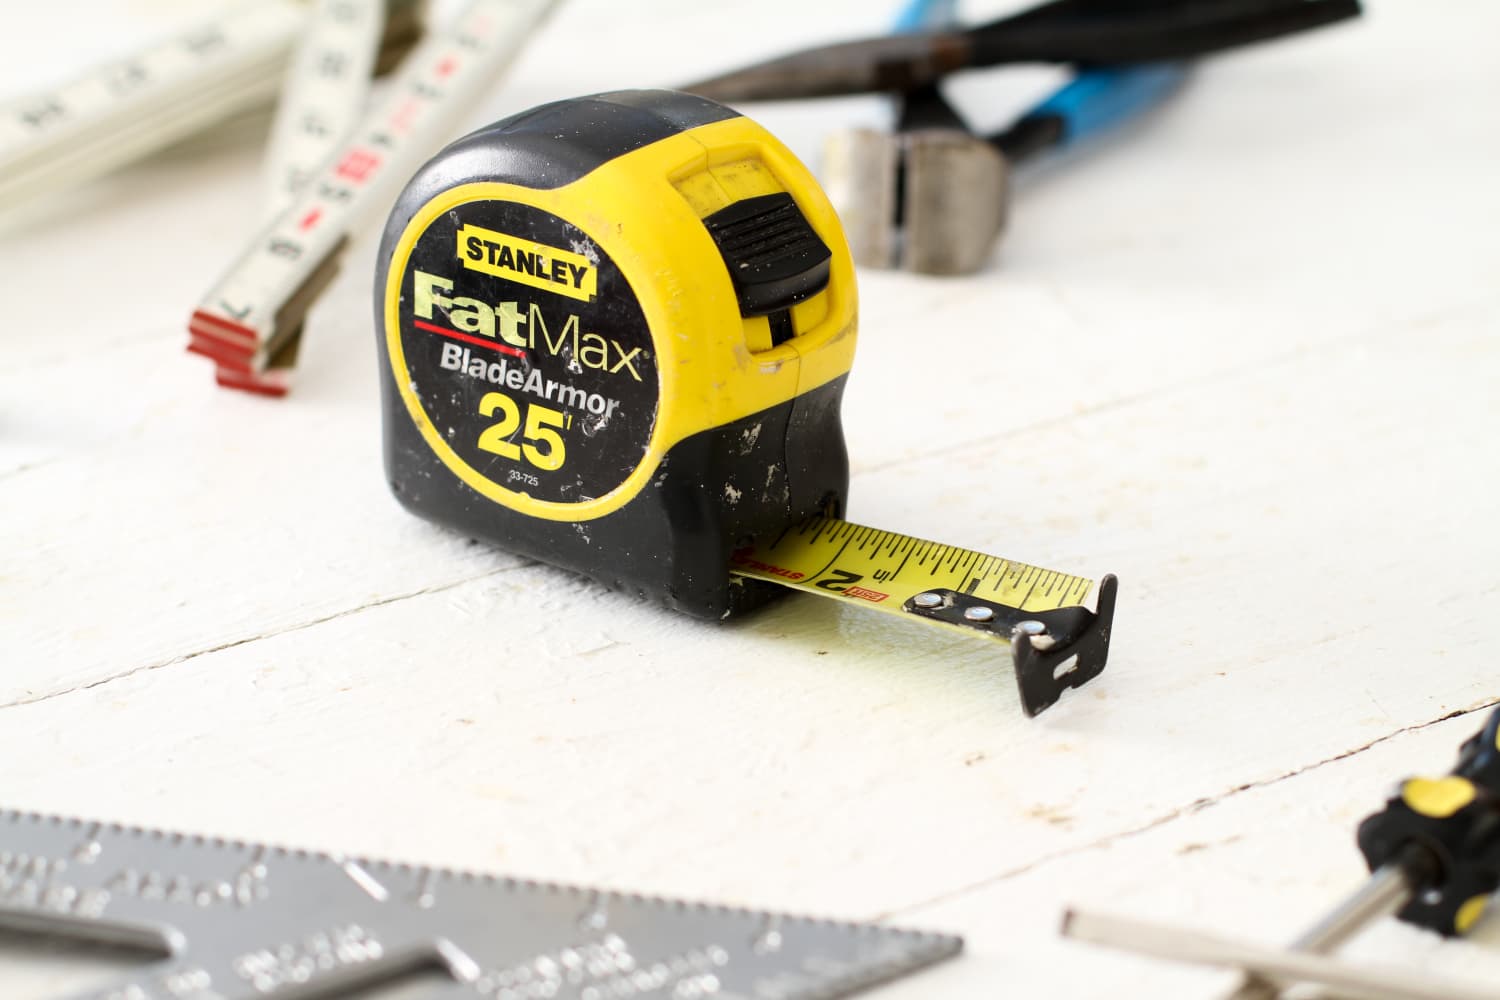
Guessing the size of a room during a home tour is never a good idea — especially when you’re trying to figure out if your larger pieces of furniture will even fit through the doorway. This is where a tape measure comes in handy and is an absolute must when going on home tours. Take … Read more