Retractable Screens: Blur the Line Between Indoors and Out
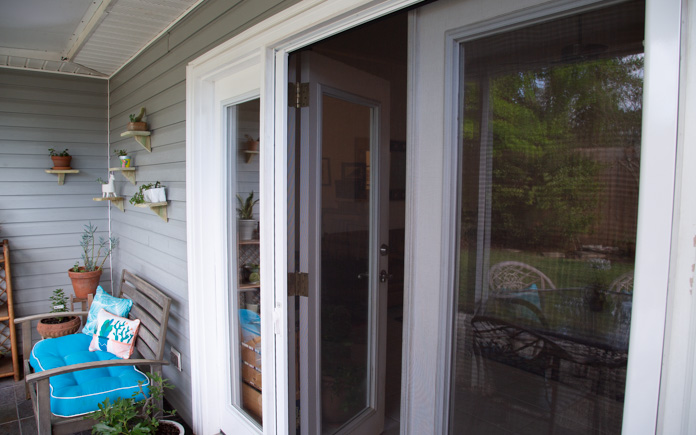
Retractable screens let your home breathe in the outdoors — but not the bugs. Imagine a screen door that disappears when you don’t need it. One that protects you from bugs without downgrading your home’s appearance. Well, you no longer need to imagine; it exists. A retractable screen door blurs the line between indoors and outdoors, … Read more