51 Large Planters to Upgrade Your Plant Game

51 Large Planters to Upgrade Your Plant Game

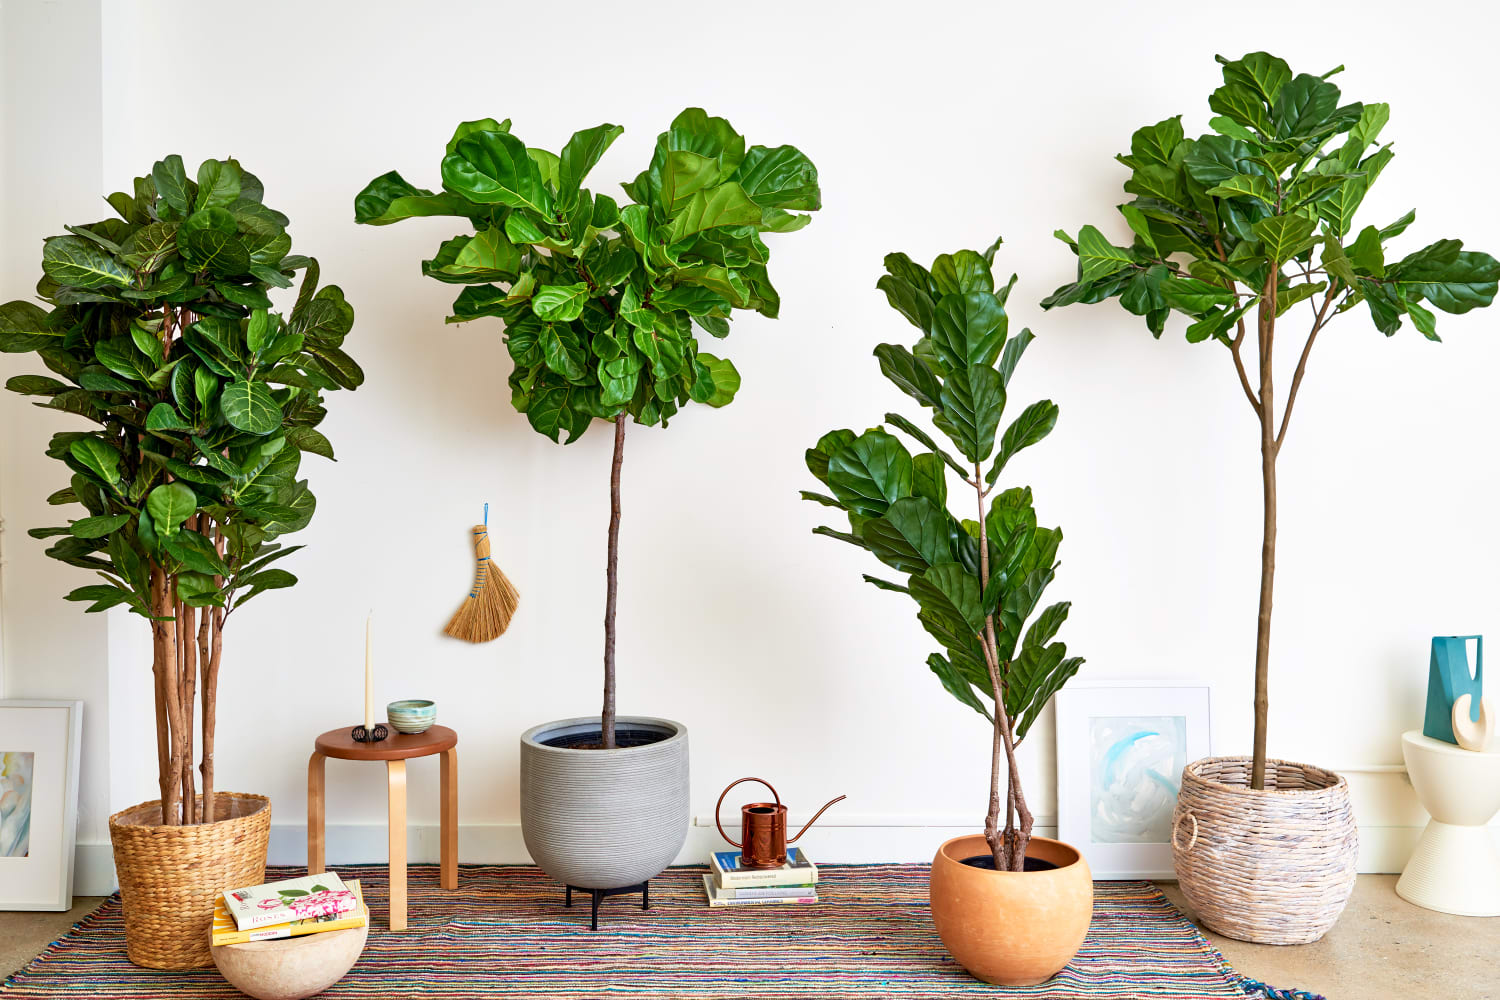
Are your favorite houseplants outgrowing their pots? Are you thinking about investing in an indoor tree or other oversized plant? It might be time to upgrade your planter selection! In this post, we’ve collected attractive planters for every style. From beautiful handmade ceramic planters to lightweight plastic planters, from fun rustic designs to timeless traditional picks. This compilation spans stylish planters for indoor settings and outdoor placement alike. The one thing each planter has in common is that they’re all impressively large and spacious. Your plants will love the extra room and you’re sure to love the look.

Product Of The Week: Animal Succulent Planters

Product Of The Week: Animal Succulent Planters

Take a walk on the wild side with one of these colourful animal succulent planters. Choose from an elephant, lion, giraffe, or rhino, or collect the whole zoo.

Get it here.

Recommended Reading:  50 Unique Animal Planters To Help You Bring Nature Indoors

Did you like this article?

Share it on any of the following social media channels below to give us your vote. Your feedback helps us improve.

I Don’t Have a Green Thumb, But These Stylish Planters Are Keeping My Plants Alive

I Don’t Have a Green Thumb, But These Stylish Planters Are Keeping My Plants Alive

We independently select these products—if you buy from one of our links, we may earn a commission. All prices were accurate at the time of publishing.

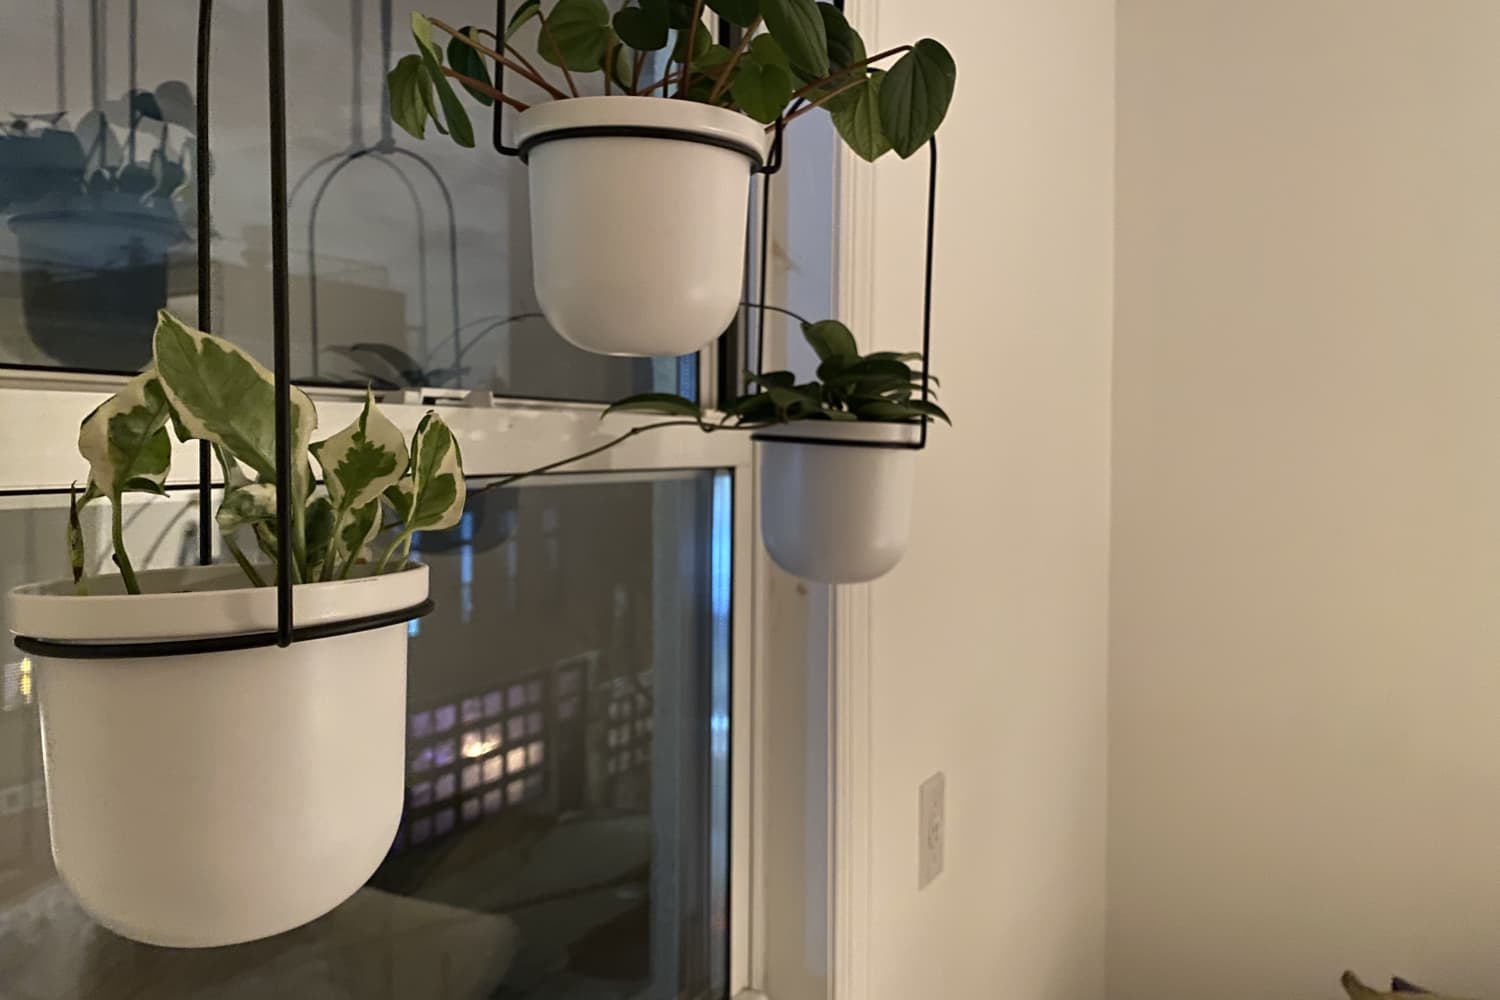
Bright, natural light in my apartment is a rare sight, but when it does come, it cheekily aims itself at the back wall of my living room, spitefully dodging each and every floor plant I have. Plant stands could never quite reach the light, nor did they protect my plants from my cat’s frequent and destructive munchies. I’d also failed too many times at hanging plants from the ceiling to attempt that route again. Discovering Loop Living’s wall hanging planter bundles gave me some relief — maybe I could display my plants in a cool way while keeping them fed and away from my cat. It was the installation I was worried about.

But take it from me: There’s nothing to worry about. Loop Living’s wall planters come in a small, lightweight box along with the screw and anchor needed to install them. They even have how-to videos that clearly visualize the assembly process, which I found extremely helpful, just be sure to hang your plants on a concrete, brick, or studded wall — no drywall! I apprehensively started with just one planter from my bundle of two, but I was able to install the floating hanger arm in no time at all. The rope and wooden hoop planter holder are already attached, so not only was the hardest part already done… It wasn’t even that hard! Once I had my plant happily repotted in its new Loop Living self-watering planter (there’s a video on that, too), I nestled the small dish that’s included into the hanger’s wood hoop, following suit with my plant. Done.

Here’s the exciting part: One week later, my English ivy (for which I had little hope) was thriving. Like, twice-as-many-leaves thriving. The self-watering mechanism involves rope that extends through the bottom of the planter and rests inside the small dish. The dish acts as a water reservoir, feeding water to the rope which slowly carries moisture back into the plant. Now, I can leave for weeks at a time and not worry about my plants. I can even leave the room for a few minutes and not worry about my cat dotting them with bite marks. Not only do I have living (read: thriving) wall art now that gets me all the compliments, but it’s art that sustains and fortifies itself, growing, changing, and getting more beautiful over time. When’s the last time anything under $100 did as much for your space?

Weekend Project: Make These Large-Scale Modern Concrete Planters

Weekend Project: Make These Large-Scale Modern Concrete Planters

This tutorial will guide you through all the steps to making your own, large-scale DIY concrete planters at home. 

DIY large scale concrete planters

This summer, we moved into a new studio space on a bustling avenue that cuts right through the heart of St. Paul and Minneapolis. We love it; our huge floor-to-ceiling-windows look out into the sun-filled street and sidewalks where we can watch the light-rail trains go rolling by. But the people looking back at us don’t have as much to look at; our storefront is still looking a little shabby and unloved. So we decided to start out office transformation from the outside in: with a few large-scale DIY concrete planters.

These planters are easy to make

Ahh… concrete. It’s kind of a miracle substance. Look around, and you’ll start to notice that practically everything is made of concrete. It’s strong, durable, infinitely moldable, easy to work with, and looks oh so sharp!

We partnered with Quikrete for this project, so we wanted to try out their countertop concrete mix, which has an additive that lets the mixed concrete flow and consolidate better at a lower water-to-cement ratio. It’s great for, duh, countertops, but also any other concrete project where you want a really nice finish.
A smooth finish and texture

For this project, we wanted to build some planters that were large and impressive. They’re going to go out on the street in front of our office, where lots of people will see them. And we didn’t want to just go to the big box hardware store and buy a few faux Tuscan jobs; where’s the fun in that?! This is a DIY site, and it wouldn’t do to have some generic store-bought planters sitting in front of our HQ.

So we came up with the idea of using concrete footing tubes … you know, those cardboard concrete tube forms you can use to make fence post footings? They’re perfect because they come in lots of sizes, and are easy to cut down to length. They make perfect concrete planter molds. We went with a basic cylinder-shaped planter; simple but stylish. Here’s how we did it:

[embedded content]

Materials

  • 3 – 80-lb. bags of Quikrete® Countertop Mix 
  • 3 Quikrete Quik-tube® building forms (16″, 12″ and 8″ diameters)
  • 2 PVC drain caps (2″ diameter)
  • 3 sheets of corrugated plastic, smooth-top
  • Non-stick cooking spray
  • Duct tape
  • Silicone caulk
  • 1 length 2″ PVC (we actually didn’t end up needing this)
  • 1 roll of wire mesh
  • Plastic garbage bag or sheeting
materials for DIY concrete planters
  • A large concrete mixing tray
  • A shovel (for mixing)
  • Caulking gun
  • A utility knife (or circular saw, optional)
  • A tape measure

How to Make Your Own DIY Concrete Planters

Step 1

Decide how tall you want your planter to be. We made our first one 24″ tall. Then mark that on the tube (in our case, I started with the 12″ diameter tube), and cut the tube at that length. You can use a sharp utility knife, or, to go faster, use a circular saw to carefully make the cut.

mark the cardboard tube molds
A person is using a red marker and a soft measuring tape to draw a line around a cylindrical object.
cut the molds to height

Step 2

To make the inside part of the form, mark your smaller tube at a length 1.75″ shorter than the first (this will account for the height of the PVC drain cap and also makes up the base of the planter. For example:

Our first planter was 12″ in diameter and 24″ in height. So our inner tube (8″ diameter) was cut to 22.25″ in height. 

Step 3

Now place the smaller tube (the one that will end up inside the larger one) on your plastic sheet and trace it. Then cut out that circle with a utility knife. This will be the base of the smaller tube.

cut the plastic base for the concrete mold

Step 4

Tape the plastic circle you just cut out to the bottom of the smaller tube, taping it neatly all the way around so that it won’t let concrete through.  Then wrap the whole cylinder in plastic, taping it on. This isn’t strictly necessary, but it’ll make the form easier to pull away from the concrete later. 

A pair of man hands taping a roll of black plastic with blue tape.

Step 5

Now place the PVC drain cap in the center of the cylinder’s plastic ‘lid’, and screw it in place. Now your interior form is ready to go. 

A person waving their hands over a blue and white object.
A man applies paint in the middle of a blue taped circle

Step 6

Place the smaller tube on top of a clean sheet of the corrugated plastic, with the ‘cap’ side up. You’ll adhere it to the plastic using the silicone caulk.

use caulk to seal the bottom of the mold

Don’t do this!
Believe it or not, we often make mistakes when doing DIY projects! Here’s something we tried that you shouldn’t: putting a wire mesh into the mold.  

A person lifting up a blue round item with a plastic cover.

I thought this would add strength to the planter. It probably would’ve, but it also made it really hard to get the concrete distributed evenly within the mold, and, honestly, it’s a planter … it’s not like anyone’s going to be standing on it. So, if I were you, I’d leave the wire mesh out … the planters will be plenty strong without it.

Here’s how the whole mold comes together:

DIY concrete planter molds diagram

Step 7

After spraying the interior tube with cooking spray, set the outside tube down around it and adhere it to the base with silicone caulk. Once the caulk has dried, your form is ready for concrete.

Step 8

Open a bag of Quikrete and mix it according to the directions on the back! I can’t stress this enough; unless you’re an expert concrete-mixer-guy/gal, just swallow your pride and follow the directions. Things will turn out much better. For a project like this, where a nice, even, smooth finish is most important, you want the concrete to be pretty wet (wetter even than it looks in my photos below). A wetter mix will flow into the form better and give a smoother, more even surface finish. 

A person puts a scoop of Quickpete into a pan.
A man mixing commercial grade concrete with water in a rectangular box
Cement is being mixed in a container on a blue tarp.

Step 9

Fill the form all the way to the top, making sure to pack the material in well (you can use a dowel to make sure it all gets in there).

At this point, you’ll want to vibrate the form with a rubber mallet, an orbital sander, or even a reciprocating saw (with the blade taken out). Vibration helps the concrete compact, eliminating air bubbles in within the mix.

The ‘top’ here will actually be the base of the planter. Smooth it out with a trowel or rubber concrete float, making sure not to cover the drain (this face won’t be visible, so don’t worry about making it too perfect).

A person uses a trowel to flatten the surface and smooth the surface of concrete in a large container.

Step 10

After letting your planters dry for 48 hours, take them out of the molds! You can cut the cardboard away with a utility knife, and then the mold should just peel off pretty easily by hand. 

A container of Quik-Tube building forms.
That’s it! Your planter is done. If there are any rough or sharp edges, you can knock them down with a bit of hand sanding. 
DIY tube concrete planter
DIY large planter made of cement
A vase lying on top of a table cloth with yellow flowers in it.
Two vase lying on top of a table cloth having plants in them.

We love how our planters turned out. They’re crazy heavy, which makes them hard to move around, but perfect for an outdoor, public location. Once we get them into place, we’ll be ready to move on to our next office transformation DIY project: custom-printed window signage!

A green thick plant in a round stone planter.
A yellow and green plant in a gray planter.

This post was sponsored by Quikrete, but all opinions are mine alone. Thanks for supporting the brands help that make Curbly possible.

Product Of The Week: Novelty Ceramic Succulent Planters

Product Of The Week: Novelty Ceramic Succulent Planters

Add cartoon cool to your desk, dining table, or window sill with these funny face novelty ceramic succulent planters, which come complete with spectacles!

Get it here.

Recommended Reading:  50 Unique Pots & Planters

Did you like this article?

Share it on any of the following social media channels below to give us your vote. Your feedback helps us improve.