Complete Your Smart Home with Rheem’s Water Softener
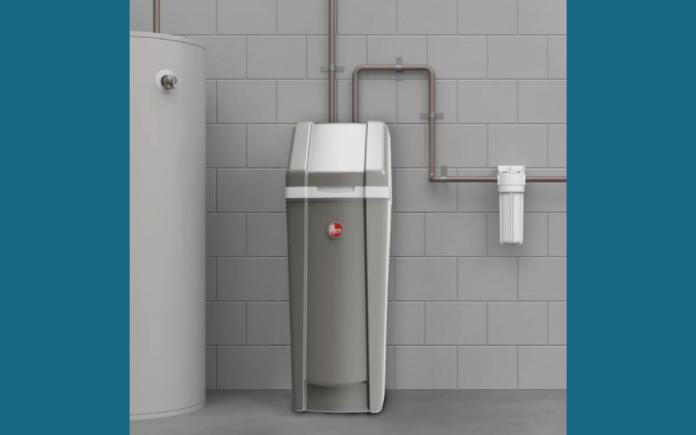
The newest Rheem water softener will boost your home’s efficiency. If you live in an area with hard water, you know the difficulties it presents. Mineral deposits build up in appliances, reducing their efficiency, and stains show up on dishes, sinks and toilet bowls. The solution is a whole-house water softening system, but those can … Read more