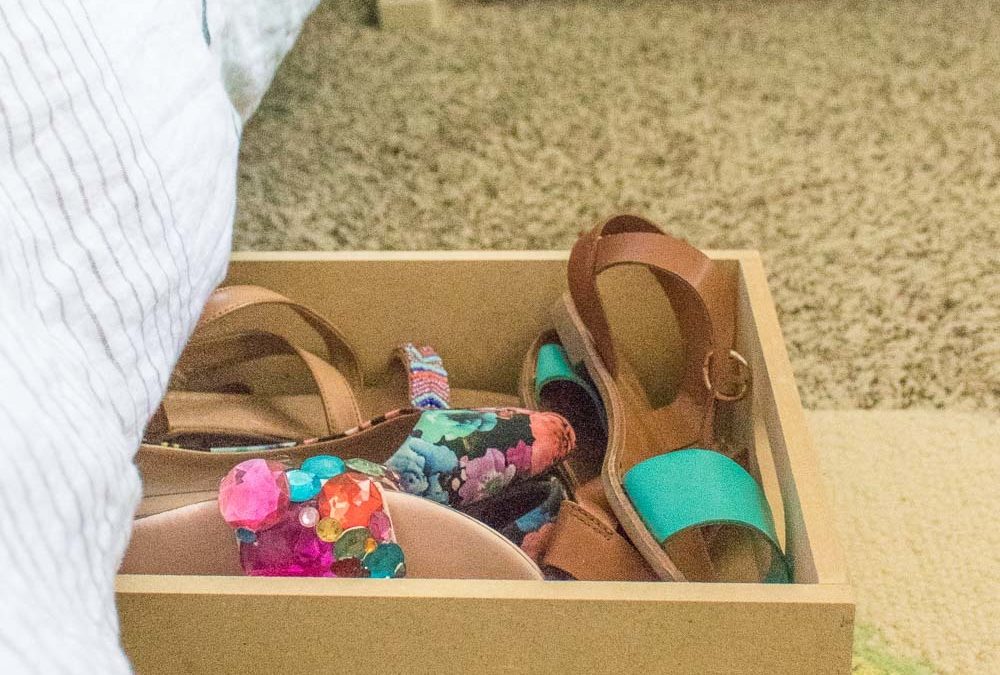
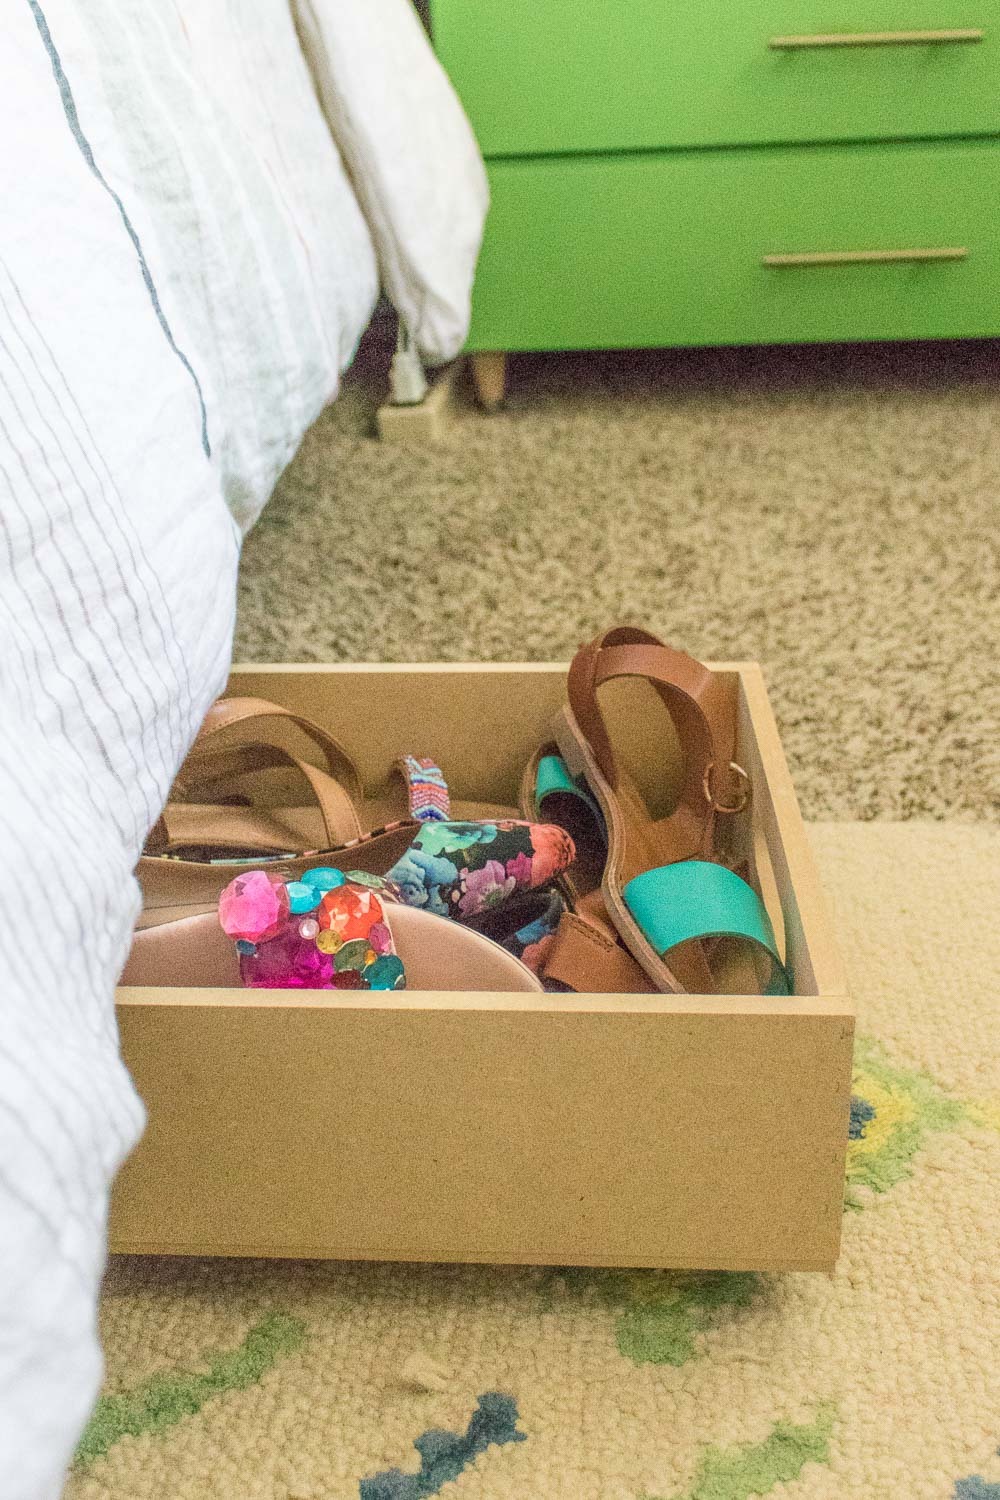
Since I live in a relatively small apartment, I look for space everywhere I can. In my home, there there are few nooks or crannies left unfilled! One of the few spaces left unfilled after two years in this unit was under my bed, and since my shoe collection was getting a little crowded (no shame!), I decided it was time to make my own under-the-bed rolling storage to store away the shoes I wear less often, like my sandals, that would slide easily under the bed and out of sight. It turns out this was easier to achieve than I thought!
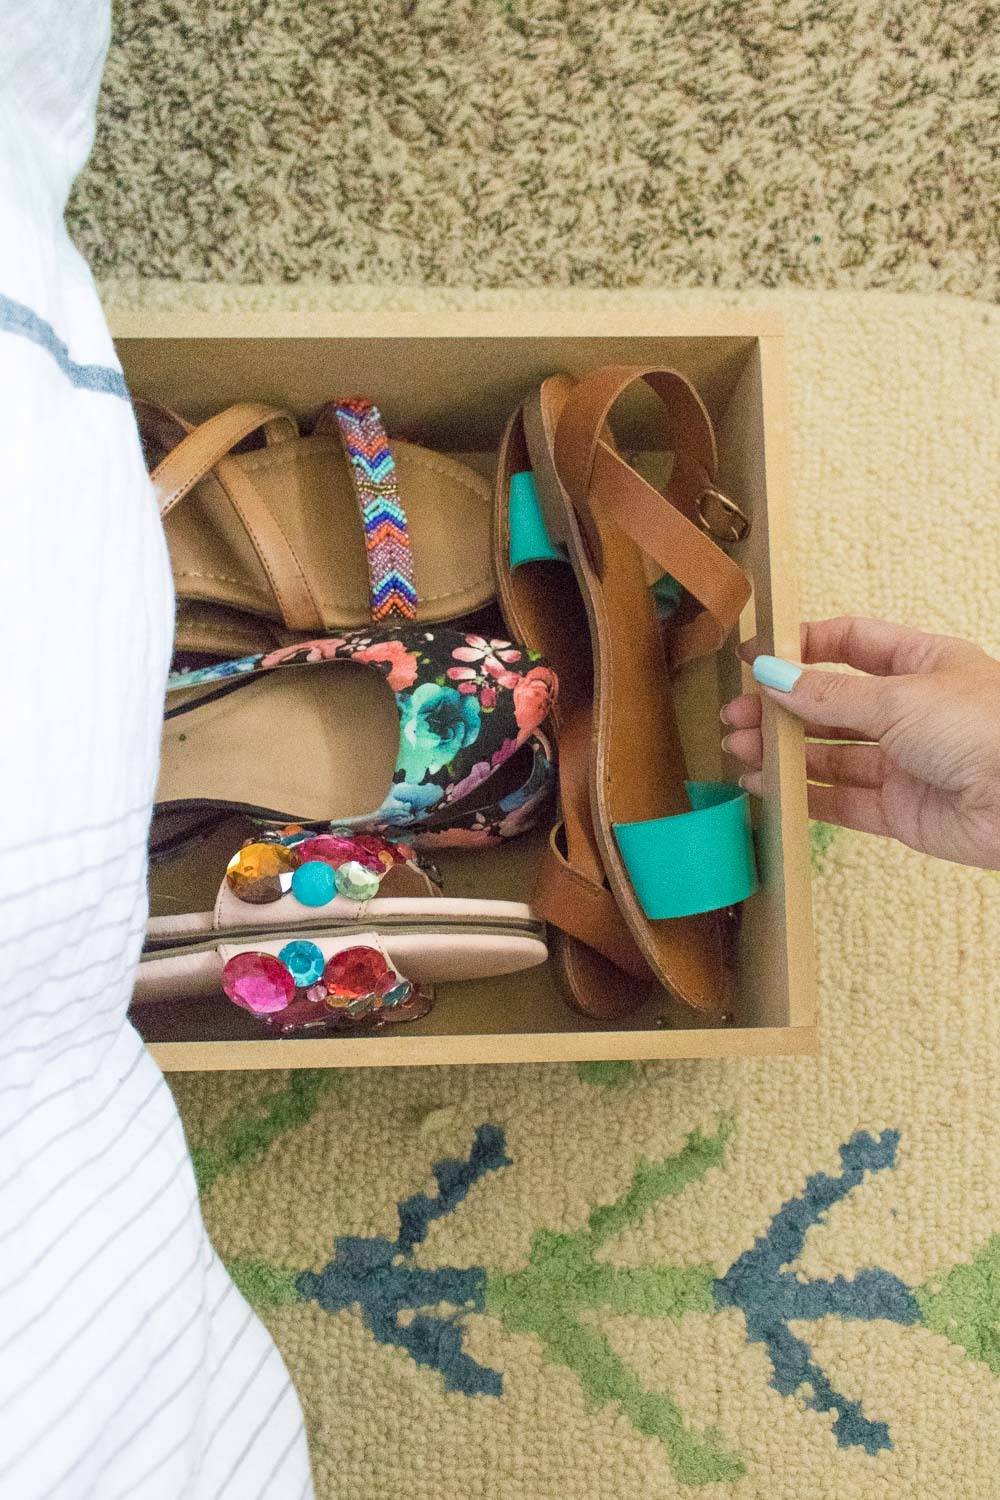
I purchased really basic wood boxes from the craft store that were thin enough to fit under my bed. Since this wood is very soft and inexpensive, it’s easy to drill through, and because it was sliding under my bed, I wasn’t too concerned with its appearance. Each box holds several pairs of shoes, so the rolling boxes quickly freed up space in my closet to go on another shopping spree!
I was really inspired by this rolling under-the-bed box that seemed simple enough to recreate with a few basic supplies, and you can make them in minutes.
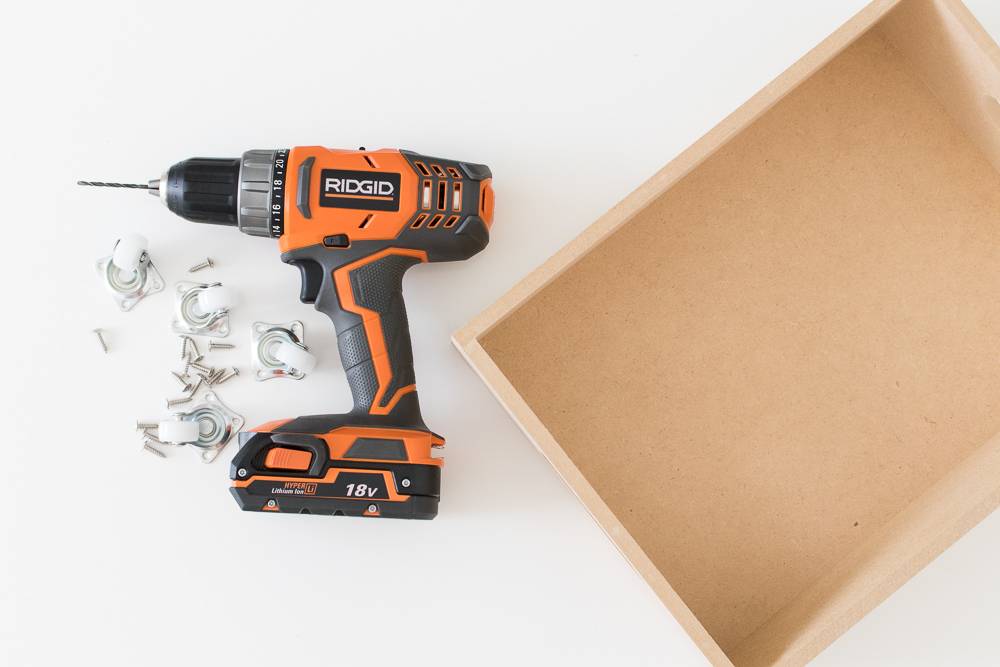
Materials:
Wood box, height fits under bed
4 small caster wheels, screws included
Drill with attachments
Pencil
Paint/stain (optional)
Step
First, paint the box if desired. I have a more natural wood look in my bedroom, so I kep the wood natural.
Step
Turn the box over. On the bottom, place the caster wheels in all four corners and trace the screw holes with a pencil.
Step
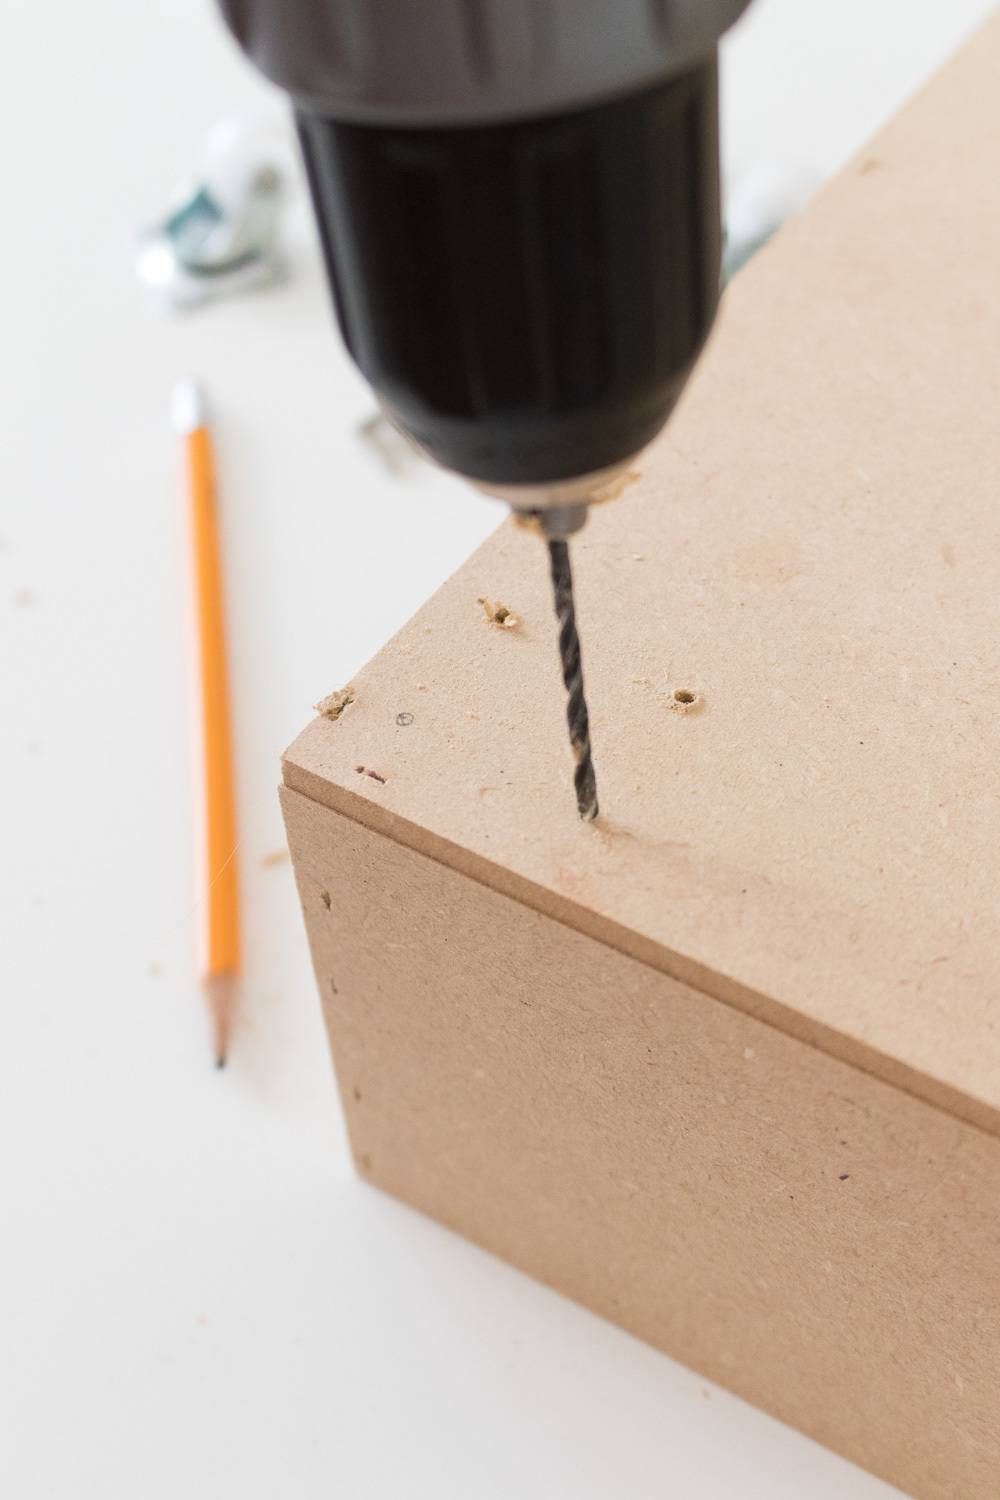
Drill small guide holes for the screws (4 for each wheel).
Step
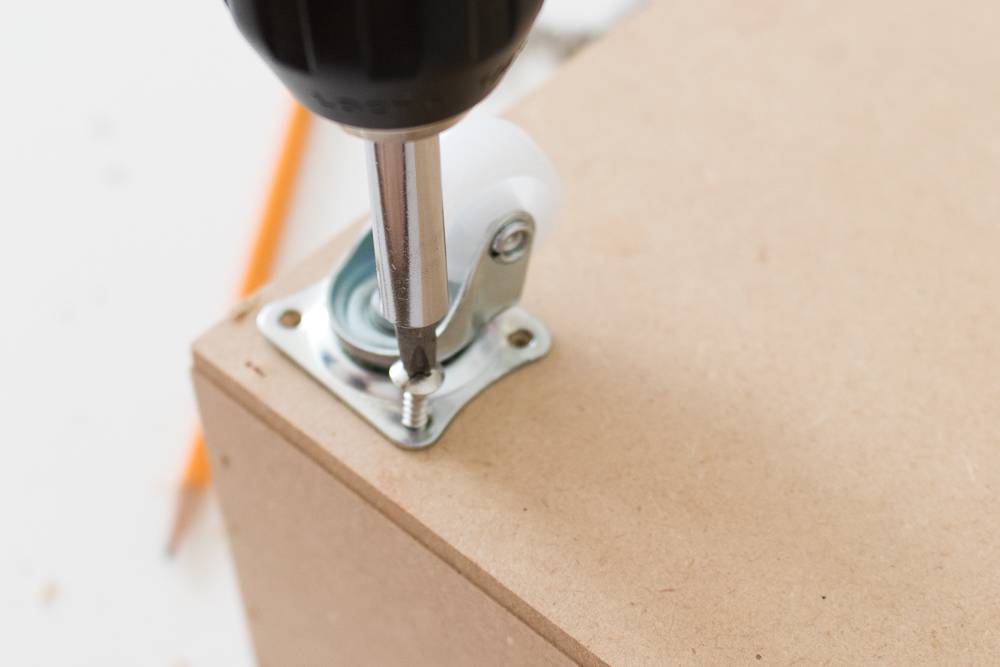
Then place the wheels over the holes and screw in the screws under tight and sturdy.
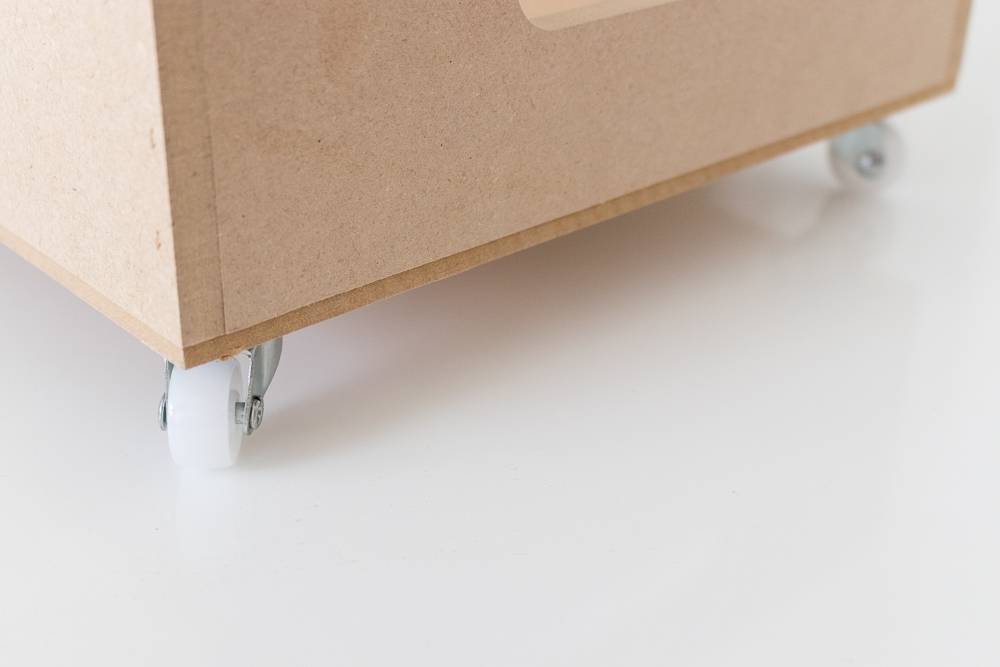
It’s that easy! Turn the box over and fill with items like shoes that will be able to collect dust. If you’re concerned about dust, be sure to package items inside of airtight bags before storing under the bed.
We independently select these products—if you buy from one of our links, we may earn a commission.
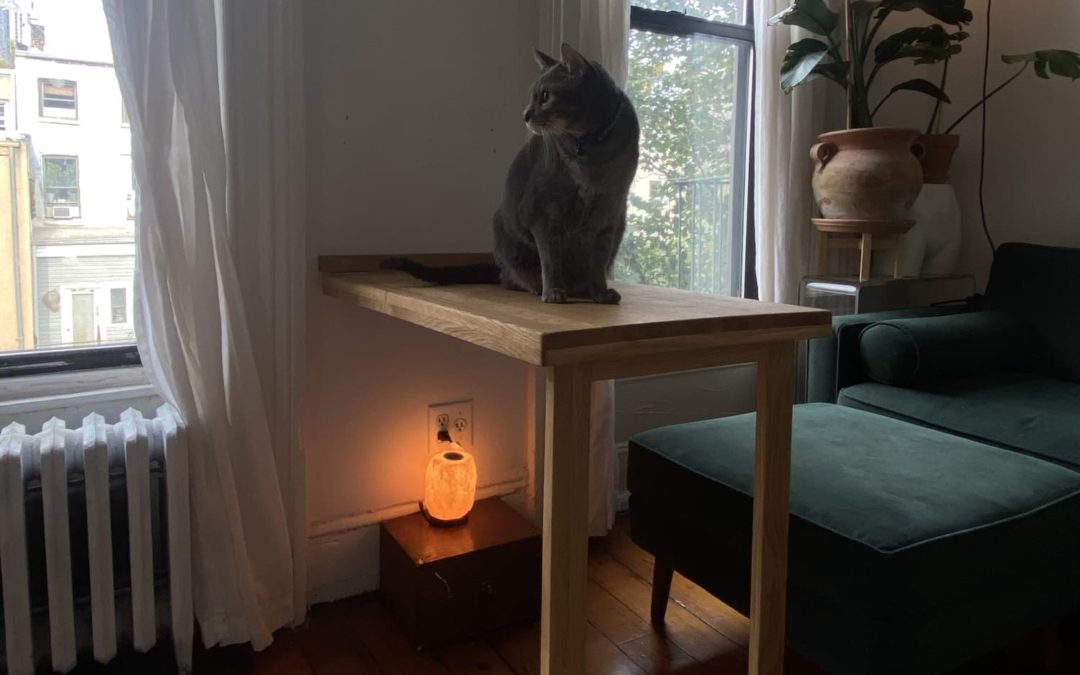
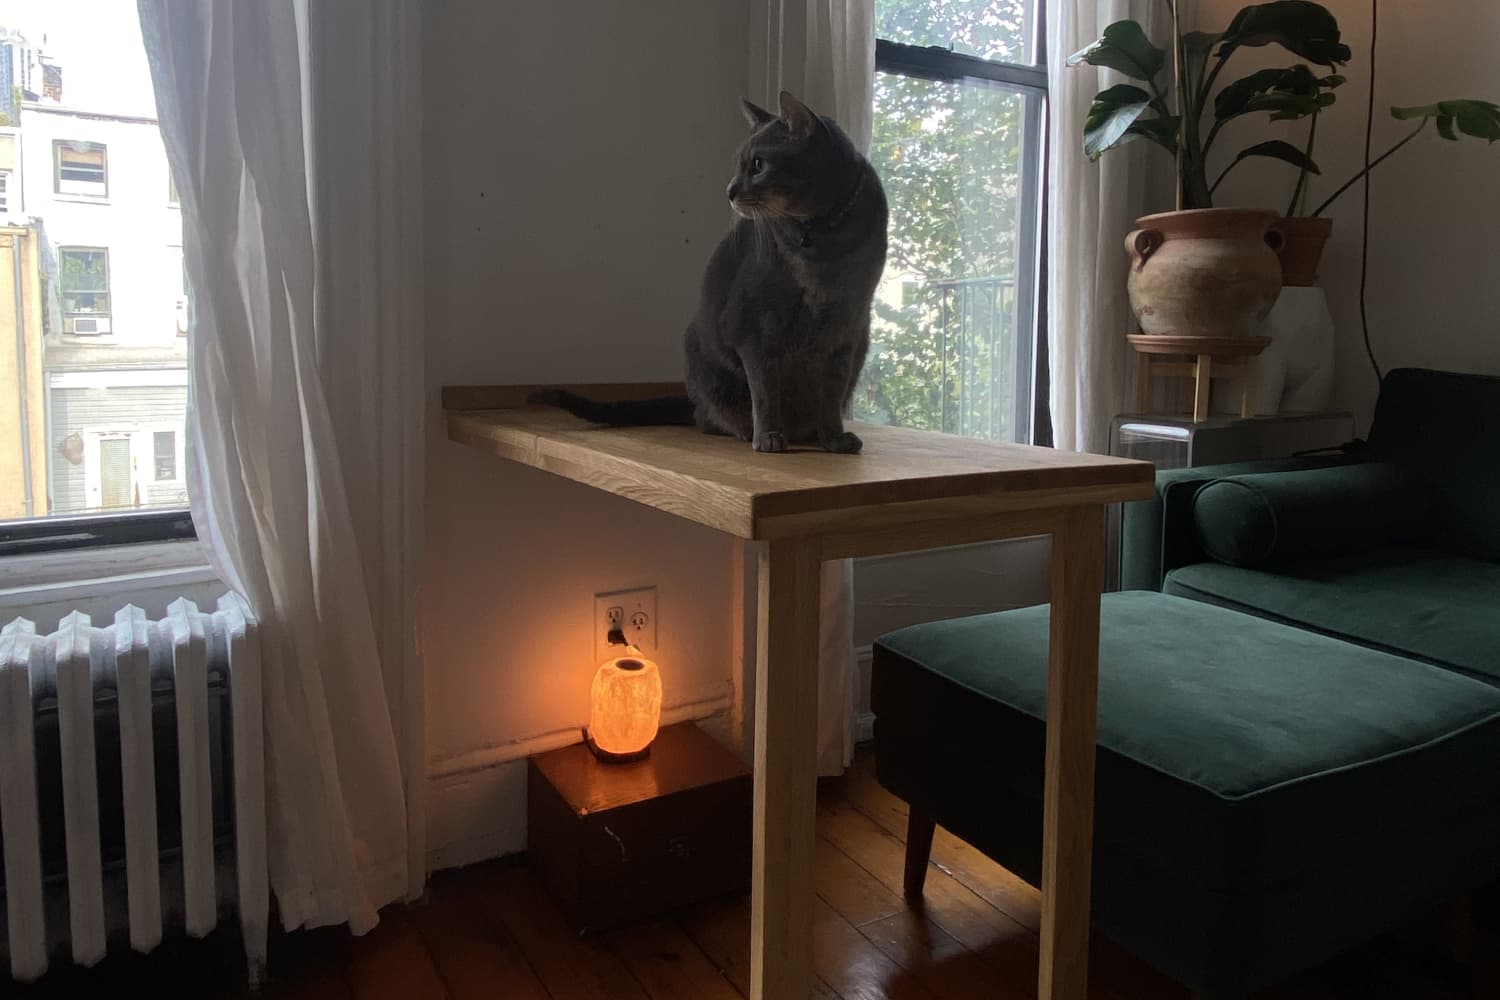
Since the start of the age of working from home, I have put off turning any part of my apartment into a home office. First of all, I simply do not have the room. Second, if I did somehow find space for a small desk and chair, anything I saw that was within my budget seemed either too big or, frankly, unsightly. Then one day, Etsy’s algorithm struck me with this Murphy-style drop down table. Nearly two years later, I can finally say I have the comfortable, practical, attractive work-from-home set-up I never thought possible.
My roommate, Meryl, and I decided to pull the trigger on this guy, figuring we could both work on our laptops on either side at any given time. With the cost split between us, it would be a steal. We also needed a desk stat — working from the floor on our coffee table or folded like pretzels in armchairs was no longer working. The desk arrived in two weeks from Lithuania where the talented woodworkers behind Good Mood Woods are based. And in 2021? It already felt like magic. I was nervous to mount it myself, but too excited to wait for Meryl or watch a TaskRabbit get all the glory. Luckily, it came pre-assembled in two pieces, the measurements of which were all exact, and it ended up taking me all of 10 minutes to mount. This includes the time I spent perfecting the right angle between the legs and table, which I used an ottoman and a ton of books to do. In the end, while I’m pleased with my work, I’d call this a two-person job if you want to make sure everything’s exact.
The table comes in three finishes: oiled, varnished, and unfinished. Since we opted for the oiled version, which I felt would give it that finished look and some protection without too much shine, I gave it a quick clean and wood oil rub down before getting straight to work. Choosing a finish, to me, leaves room for the creativity I crave when it comes to permanent fixtures in the home. I like to refinish and even paint my furniture all the time, and the light wood when oiled or unfinished makes this an option. That said, I may never paint this piece — it’s too good as it is to hide the details or personality of the wood. Now, this drop-down table is both a centerpiece and a functional part of my home.
When we’re not using it for morning coffee catch-ups or as an all-day work station, it smoothly folds back up and stays put with help from two knobs which spin into place and hold the desk flush with the wall. We even use the catcher with these knobs as a small shelf which holds a plant and some essential oils. So whether or not the table’s in use, the wall mounting details still have a purpose. I’ve already whipped out the Etsy page at two parties and showed off my beautiful drop-down desk like a proud new parent. For the sake of us all, I’m taking my rave review off the streets and putting it right here. You’re welcome!
There’s a quick and easy way to find the center of a board — and you don’t need your tape measure or to work complicated math problems.
Just make a self-centering jig!
To do this, drill three holes into a short length of 1-by-2. On each end of the 1-by-2, drill a 3/8-inch-diameter hole, and then drill a 5/16-inch-diameter hole in the middle.
Then take 2-inch-long, 3/8-inch-diameter wooden dowels and hammer them into the outside holes. These are the pins.
When you use the center finder, simply sit it on a board and rotate it until the pins make contact with the edges.
Then, put your pencil in the middle hole and slide it along. You’ll have a line right down the exact center of the board!
It doesn’t matter what size the board is, as long as the jig is long enough, and the jig’s center hole is exactly centered between the two pins.
Watch the video above for Joe Truini’s center finder in action!
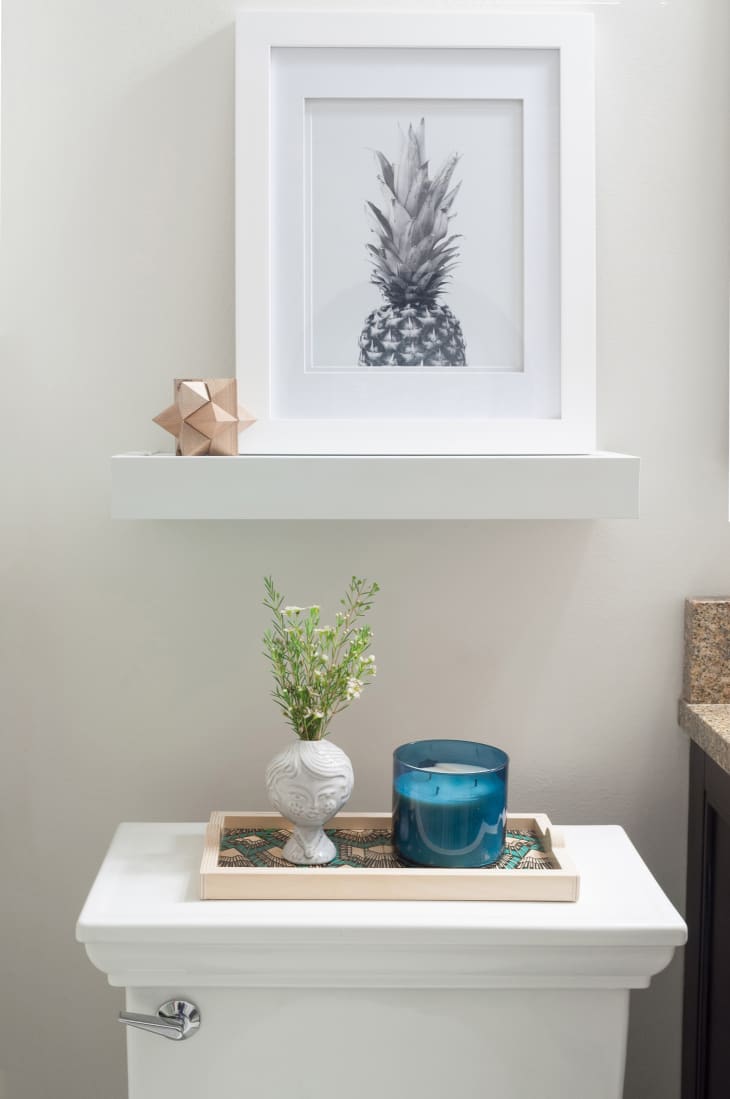
Floating shelves don’t take up any floor space and fit practically anywhere. What’s not to love? And no matter how big or small your home, there’s always a spot that could benefit from a little bit of added storage and décor.
Below, some ways to DIY floating shelves for every skill level—we’re talking from “I feel comfortable using thumbtacks” to “Let me get my power tools.” You’ve got this!
(Image credit: Charles Dundas-Shaw)
Skeptical? Us too. That’s why we tested it out ourselves. Perfect for renters and people who want more storage without needing to purchase lumber, this floating shelf kit from Amazon comes with everything you need. The hardware has a level built in and can be installed using your thumbs (seriously). Once that initial piece of hardware is on, the shelf slips on to the brackets and you’re done.
Pros: No tools, super fast
Cons: Only holds 15 pounds, limited colors/ materials
We bet you’ve either used or know someone who has used IKEA’s MOSSLANDA picture rails. They’re like The Beatles of home decorating accessories. They’re endlessly versatile. These minimal floating shelves are a breeze to hang up, and they’re so minimal, a hammer and a level are the most complex tools you’ll need. Because they’re so slim, they can fit in any and every room to help hold everything from artwork to out-the-door essentials.
Pros: Inexpensive, versatile, easy to install
Cons: Some tools required, won’t hold much weight
The ‘It Only Looks Hard’ Option
Want to impress the super handy person in your life? This floating shelf looks hard to hang, but the secret is the sturdy hardware that can transform almost any piece of wood into a shelf. You do need some power tool experience, since you’ll need to create holes to fit the hardware into using a drill bit. We recommend this hardware if you need to hang more than one shelf too; it’s an affordable option.
Pros: Affordable, personalization, can choose a weight range
Cons: Some power tool skills necessary, can take an hour or two
The Shelf Meets Open Box Look
Consider this the two for one model. Not only can you style objects on top, but you can also use the inside of the shelf for storage. Plus, it’s not too hard to make yourself. You’ll want to cut pine boards to the width you need, and nail or screw them together to form a box. If you’re looking to add a fancy touch to the shelf, you can cut miter the corners so the boards sit flush together. Instead of having to create a framework for the shelf to sit on, this method involves screwing in a stud to hang. Then paint or stain it with whatever color complements your home.
Pros: More storage, no framework
Cons: Some tools/DIY knowledge required, can take some time
For Experienced DIY Enthusiasts
So here’s the thing with these types of shelves: If you want it all, you have to do the work. This version is more complicated to build, but it lasts, can hold a significant amount of weight and it looks handcrafted. So it’s worth the time and the effort that goes into it. You build a long box that only has three sides. On the wall you affix a self-made wooden framework, which the box will slide onto to form the shelf. You’ll need a variety of supplies from raw materials, to wood glue, to a pocket hole jig. This isn’t for a first time DIYer, but the results are fab.
Pros: Beautiful final version, can hold up
Cons: Time consuming, requires more experience
Open shelving in kitchens is only becoming more popular, but can you achieve the look on your own? With Plank & Pillow’s DIY you can, but this one takes a bit more involvement. Brooke and Henry hung brackets, which the pine shelves they created were slid onto. This will hold heavier items and (as you can see) looks absolutely beautiful.
Caylin is a contributor for The Kitchn, specializing in all things entertaining and crafting. She lives in Rhode Island with her husband and her four rescue cats.