Now that summer has arrived, we’re leaving the windows open and making the most of our gardens. But with this comes the nuisance of wasps, and if you want to keep wasps away from your home, you need to understand what’s attracting them. And these are five unusual household items inadvertently attracting wasps to your home.
I’d wager most of us want to know how to get rid of wasps. These buzzing pests not only have a nasty sting, but can sometimes behave aggressively and are a phobia to many. So, if you want to avoid a home and garden full of wasps, you need to address the things that attract them.
While there are many ways to deter wasps, including using scent or even fake wasp nests, let’s address the root cause of what’s attracting them to your home in the first place.
Latest Videos From
1. Sweet candles and diffusers
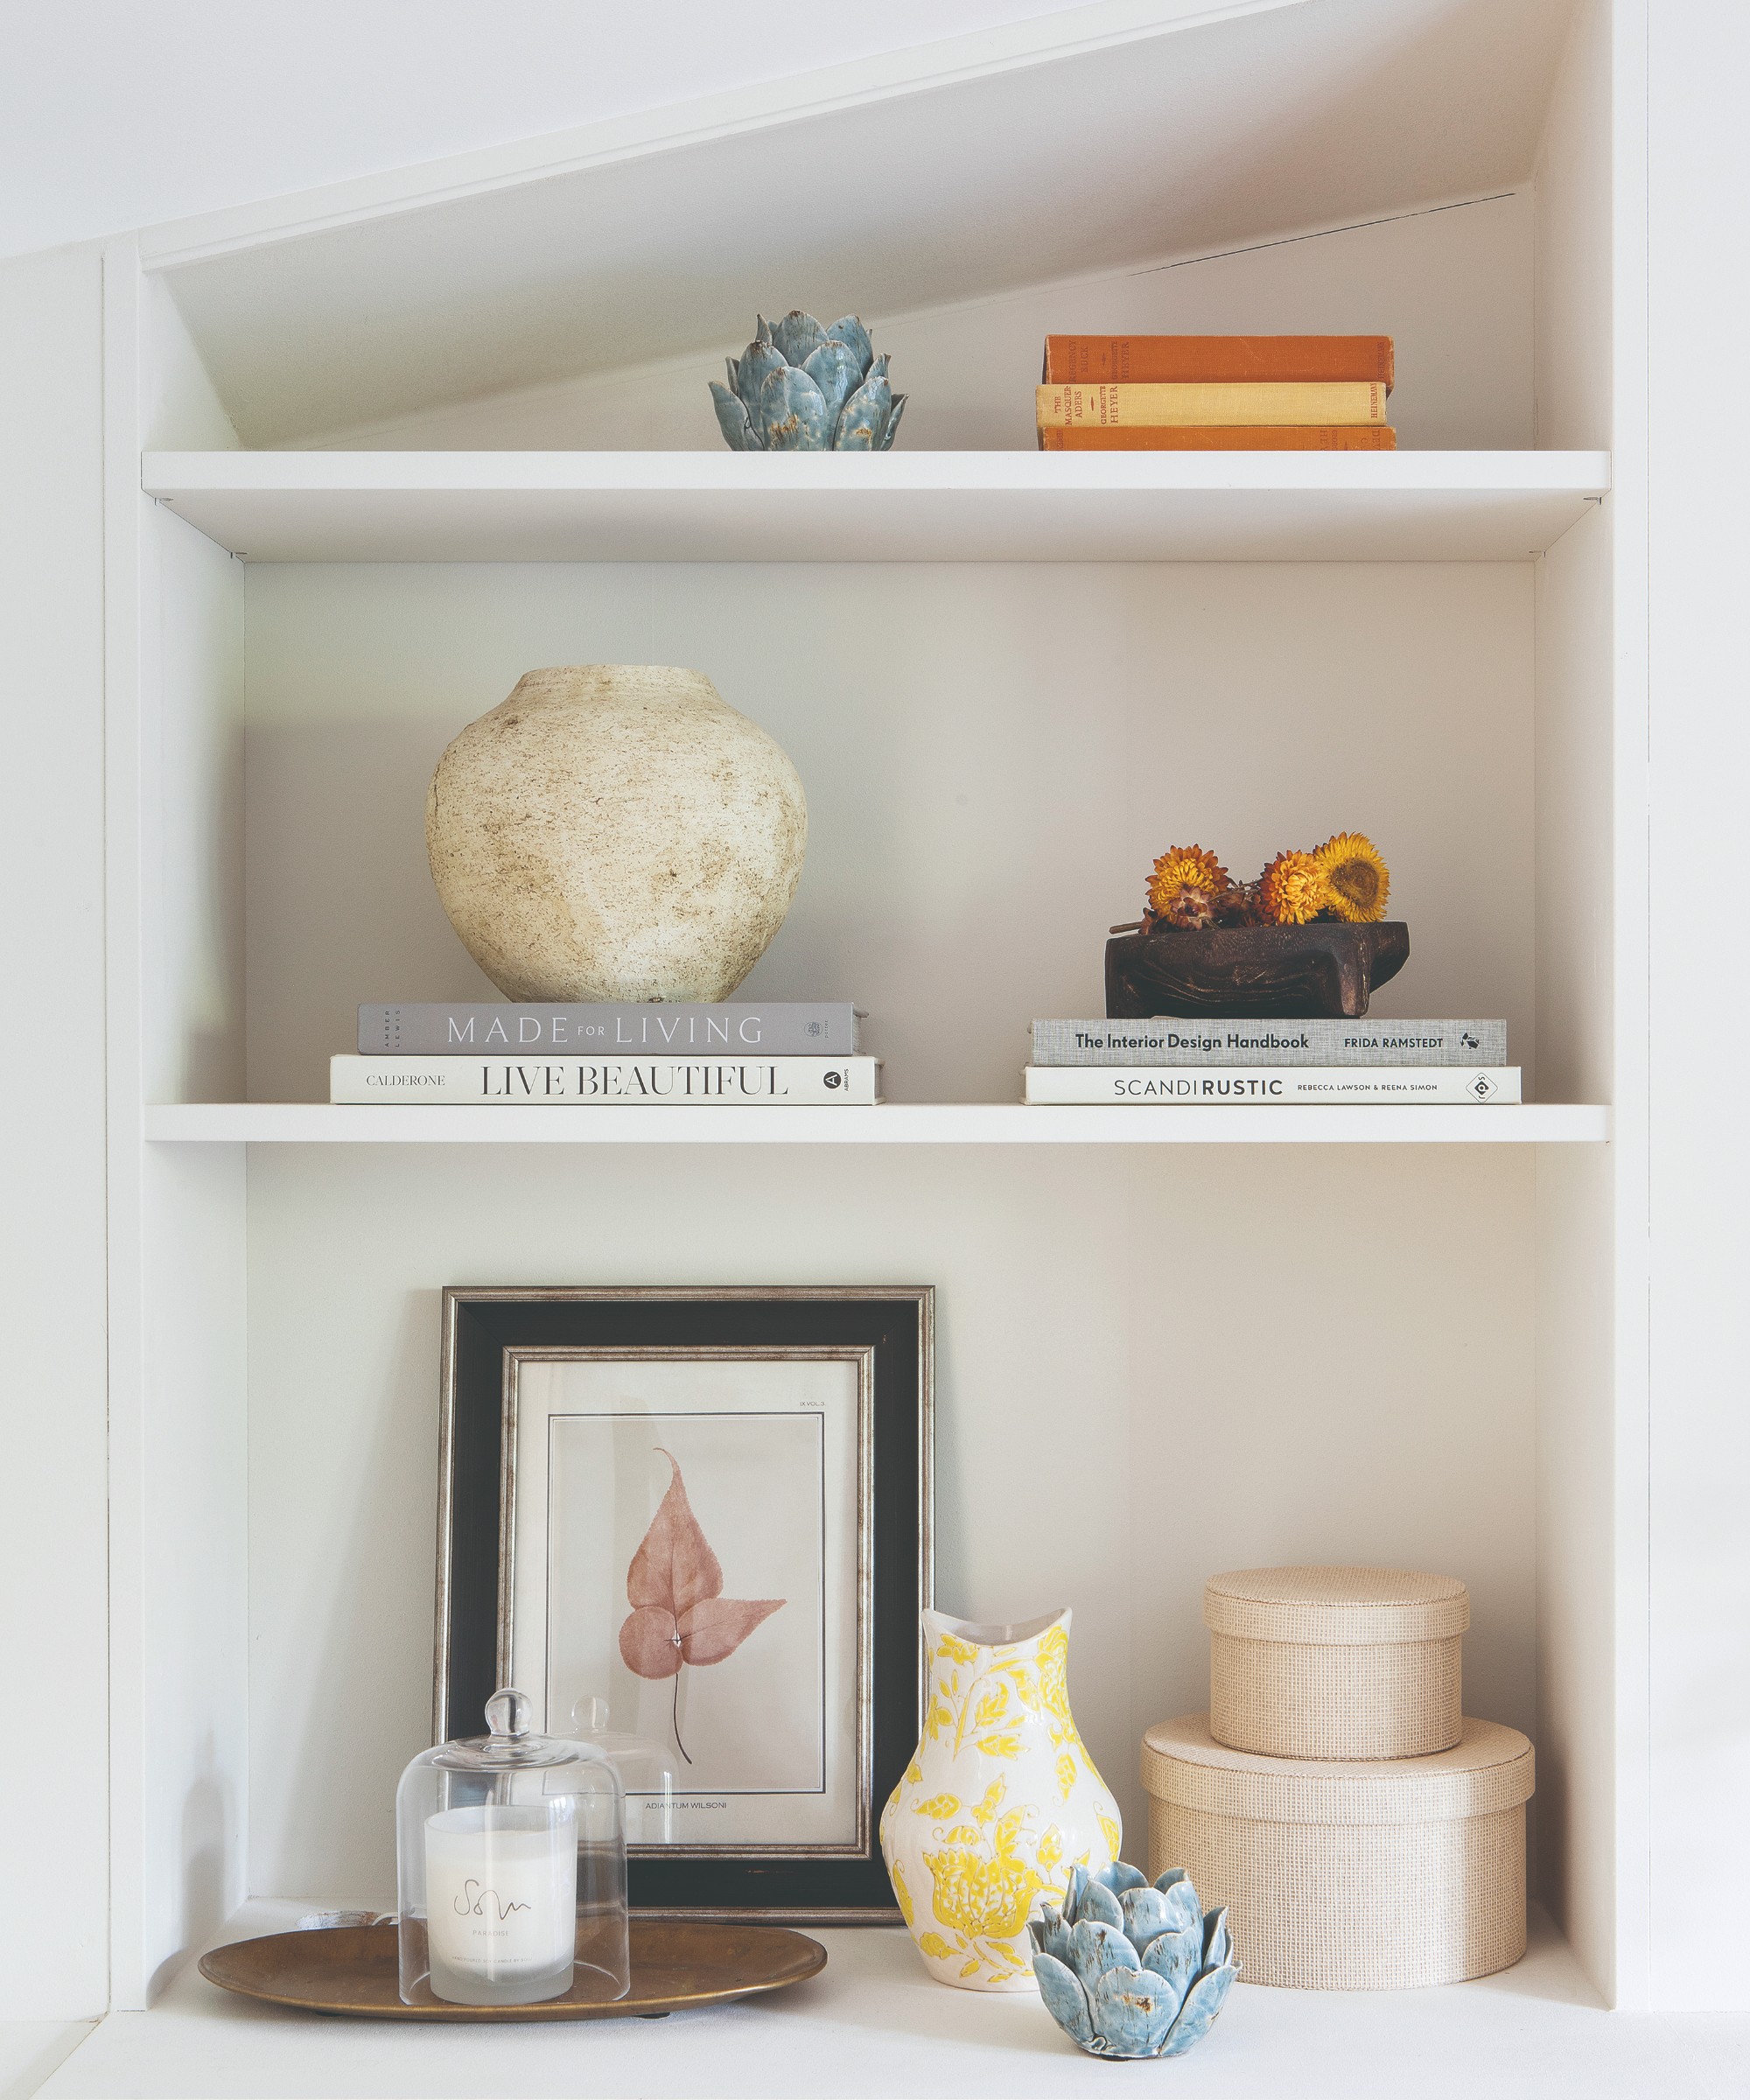
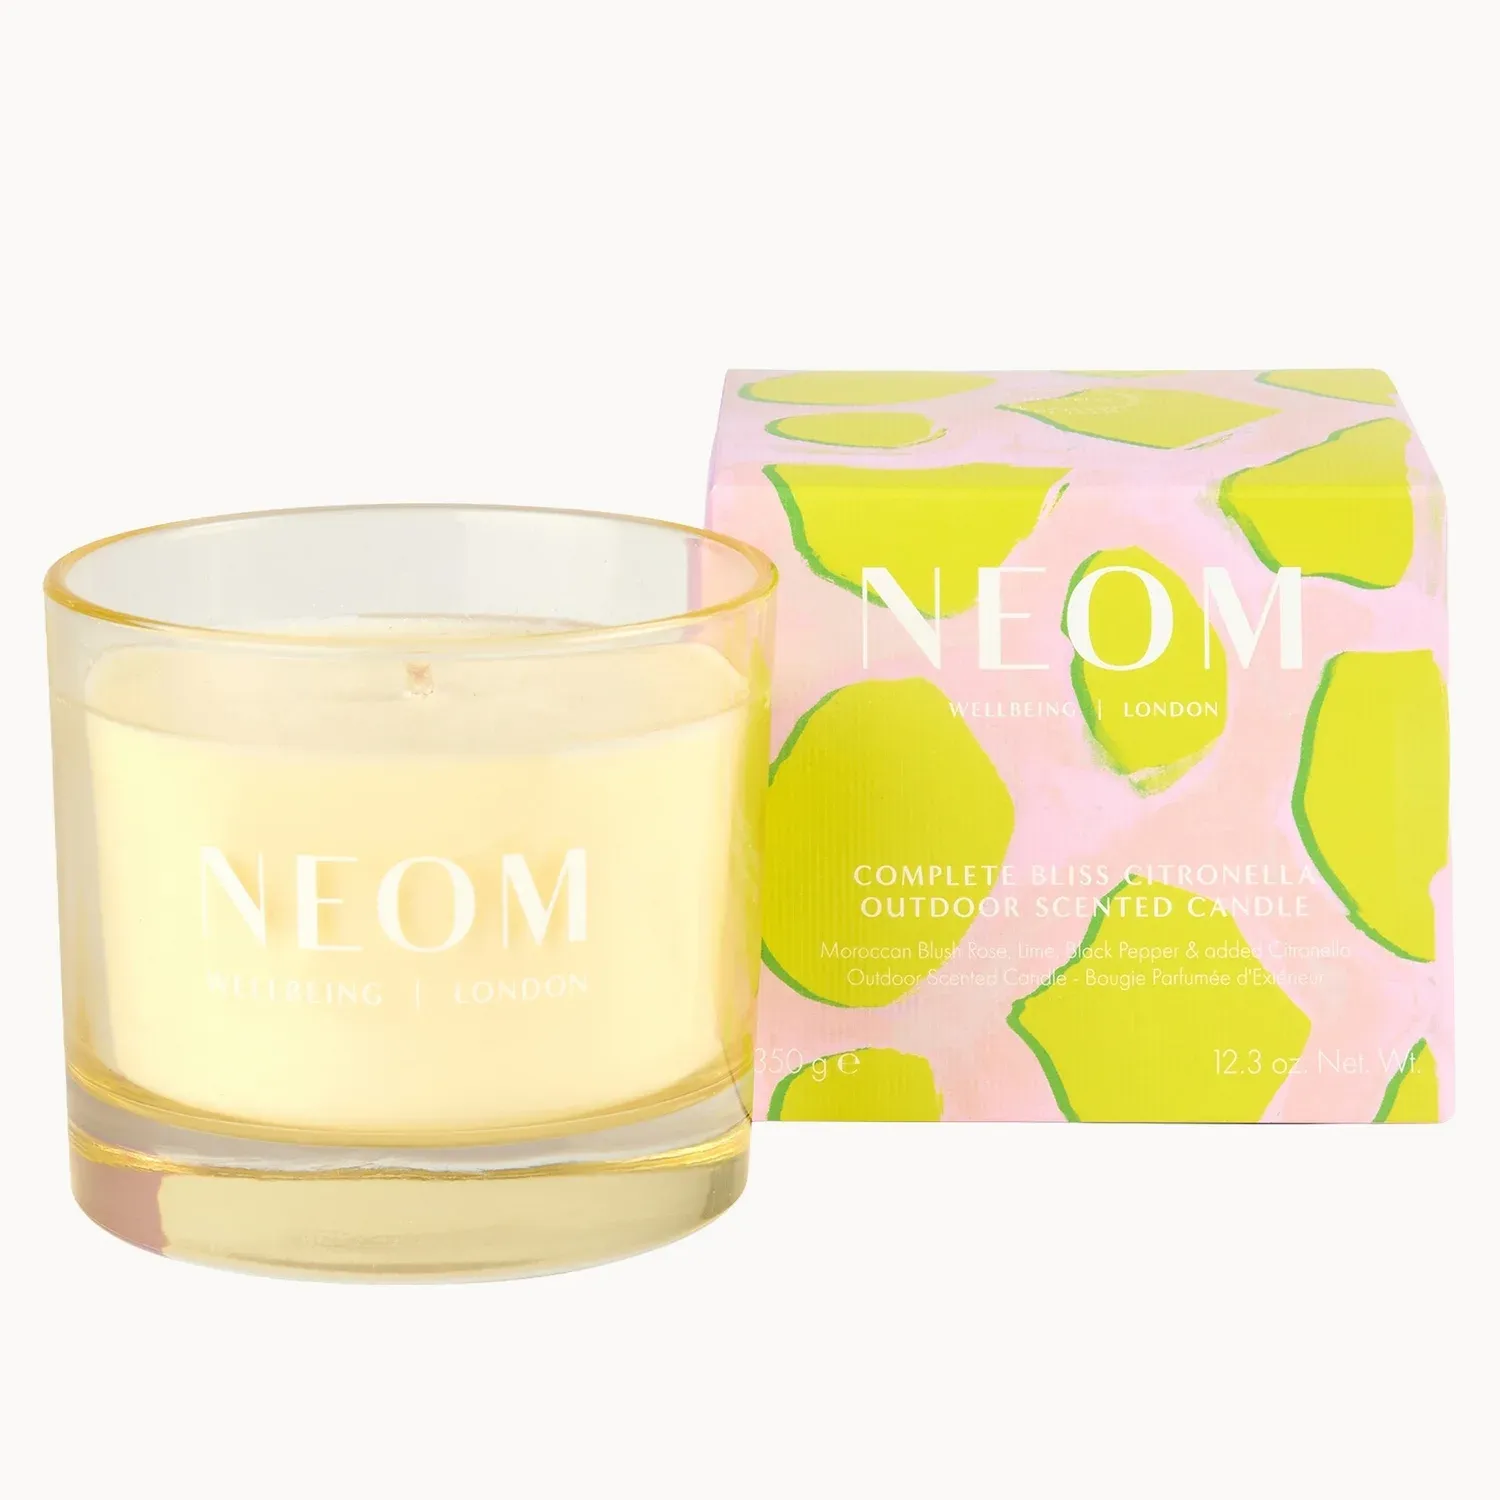
In summer, more often than not, the best candles and reed diffusers we choose for our home have a sweet, fruity scent. While gourmand vanilla or floral rose smells amazing to you and me, unfortunately, wasps are a huge fan of these fragrances, too.
(Image credit: Future PLC/James French)
‘Fruity or floral scented candles and reed diffusers are one of the most overlooked wasp attractants in the home. Wasps are drawn to sweet smells in the same way they are drawn to ripe fruit, and a diffuser pumping out mango or tropical scents near an open window is essentially a welcome sign. Swap to more neutral or citrus-based scents, which are less attractive to wasps and actively repellent in the case of citronella,’ explains Mosh Latifi, co-owner of EcoCare Pest Management.
Sign up to our newsletter for style inspiration, real homes, project and garden advice and shopping know-how
(Image credit: Future PLC/Bee Holmes)
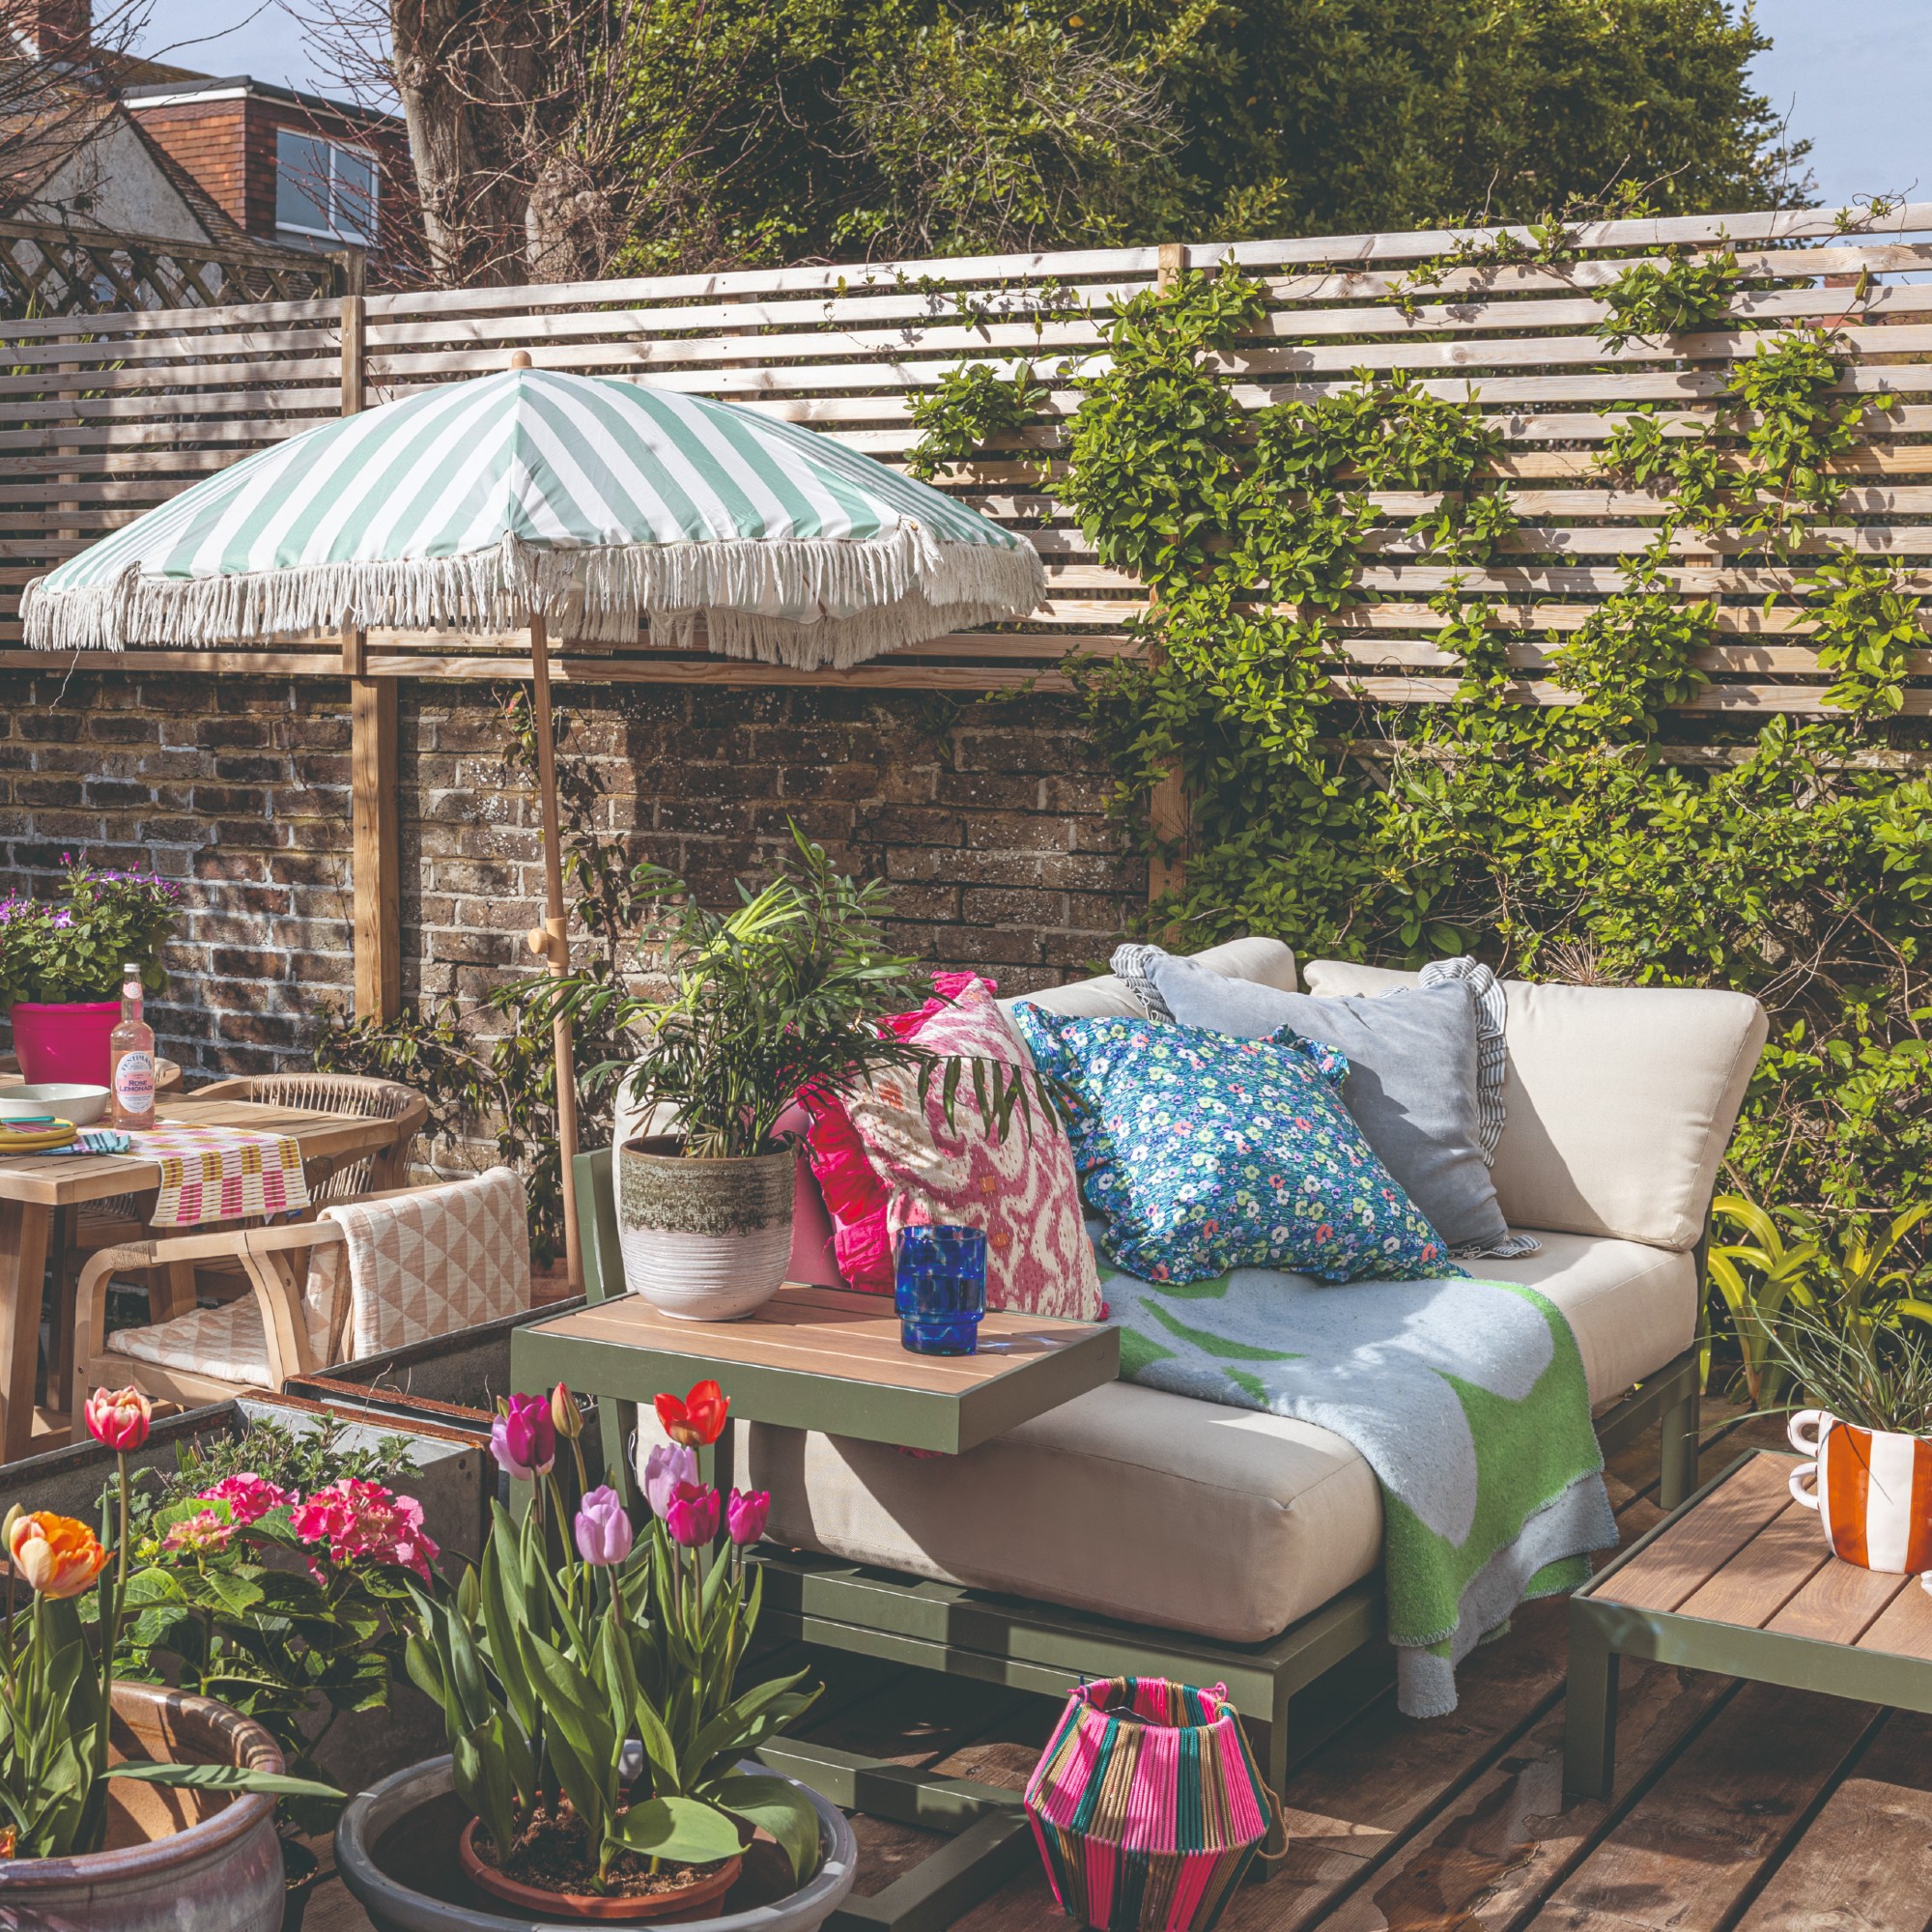
‘This one isn’t a major attractor, but outdoor cushions can sometimes provide sheltered spots for wasps to investigate, particularly if they’re left outside all season. In some cases, worn or damaged furnishings may also provide fibres that certain species can use when building nests. Storing cushions away when they’re not in use and replacing badly frayed items can help minimise the risk,’ says Luke Newnes, gardening expert at Hillarys.
Yep, the bag for life you picked up from the supermarket and currently have stashed in a cupboard, drawer, or even your car could be attracting wasps to your home – especially if you haven’t cleaned it before storing it.
(Image credit: Getty Images/ d3sign)
‘Reusable bags that have carried groceries and not been washed regularly can retain food odours that attract wasps, particularly if stored in a warm car boot or shed. Give bags a regular wash, especially during summer, and do not store them near entry points to the house,’ says Mosh.
4. Standing water and leaky taps
You should check your garden and home for any leaky taps or stagnant water, as this can also attract wasps to your home.
(Image credit: Future PLC/Katie Lee)
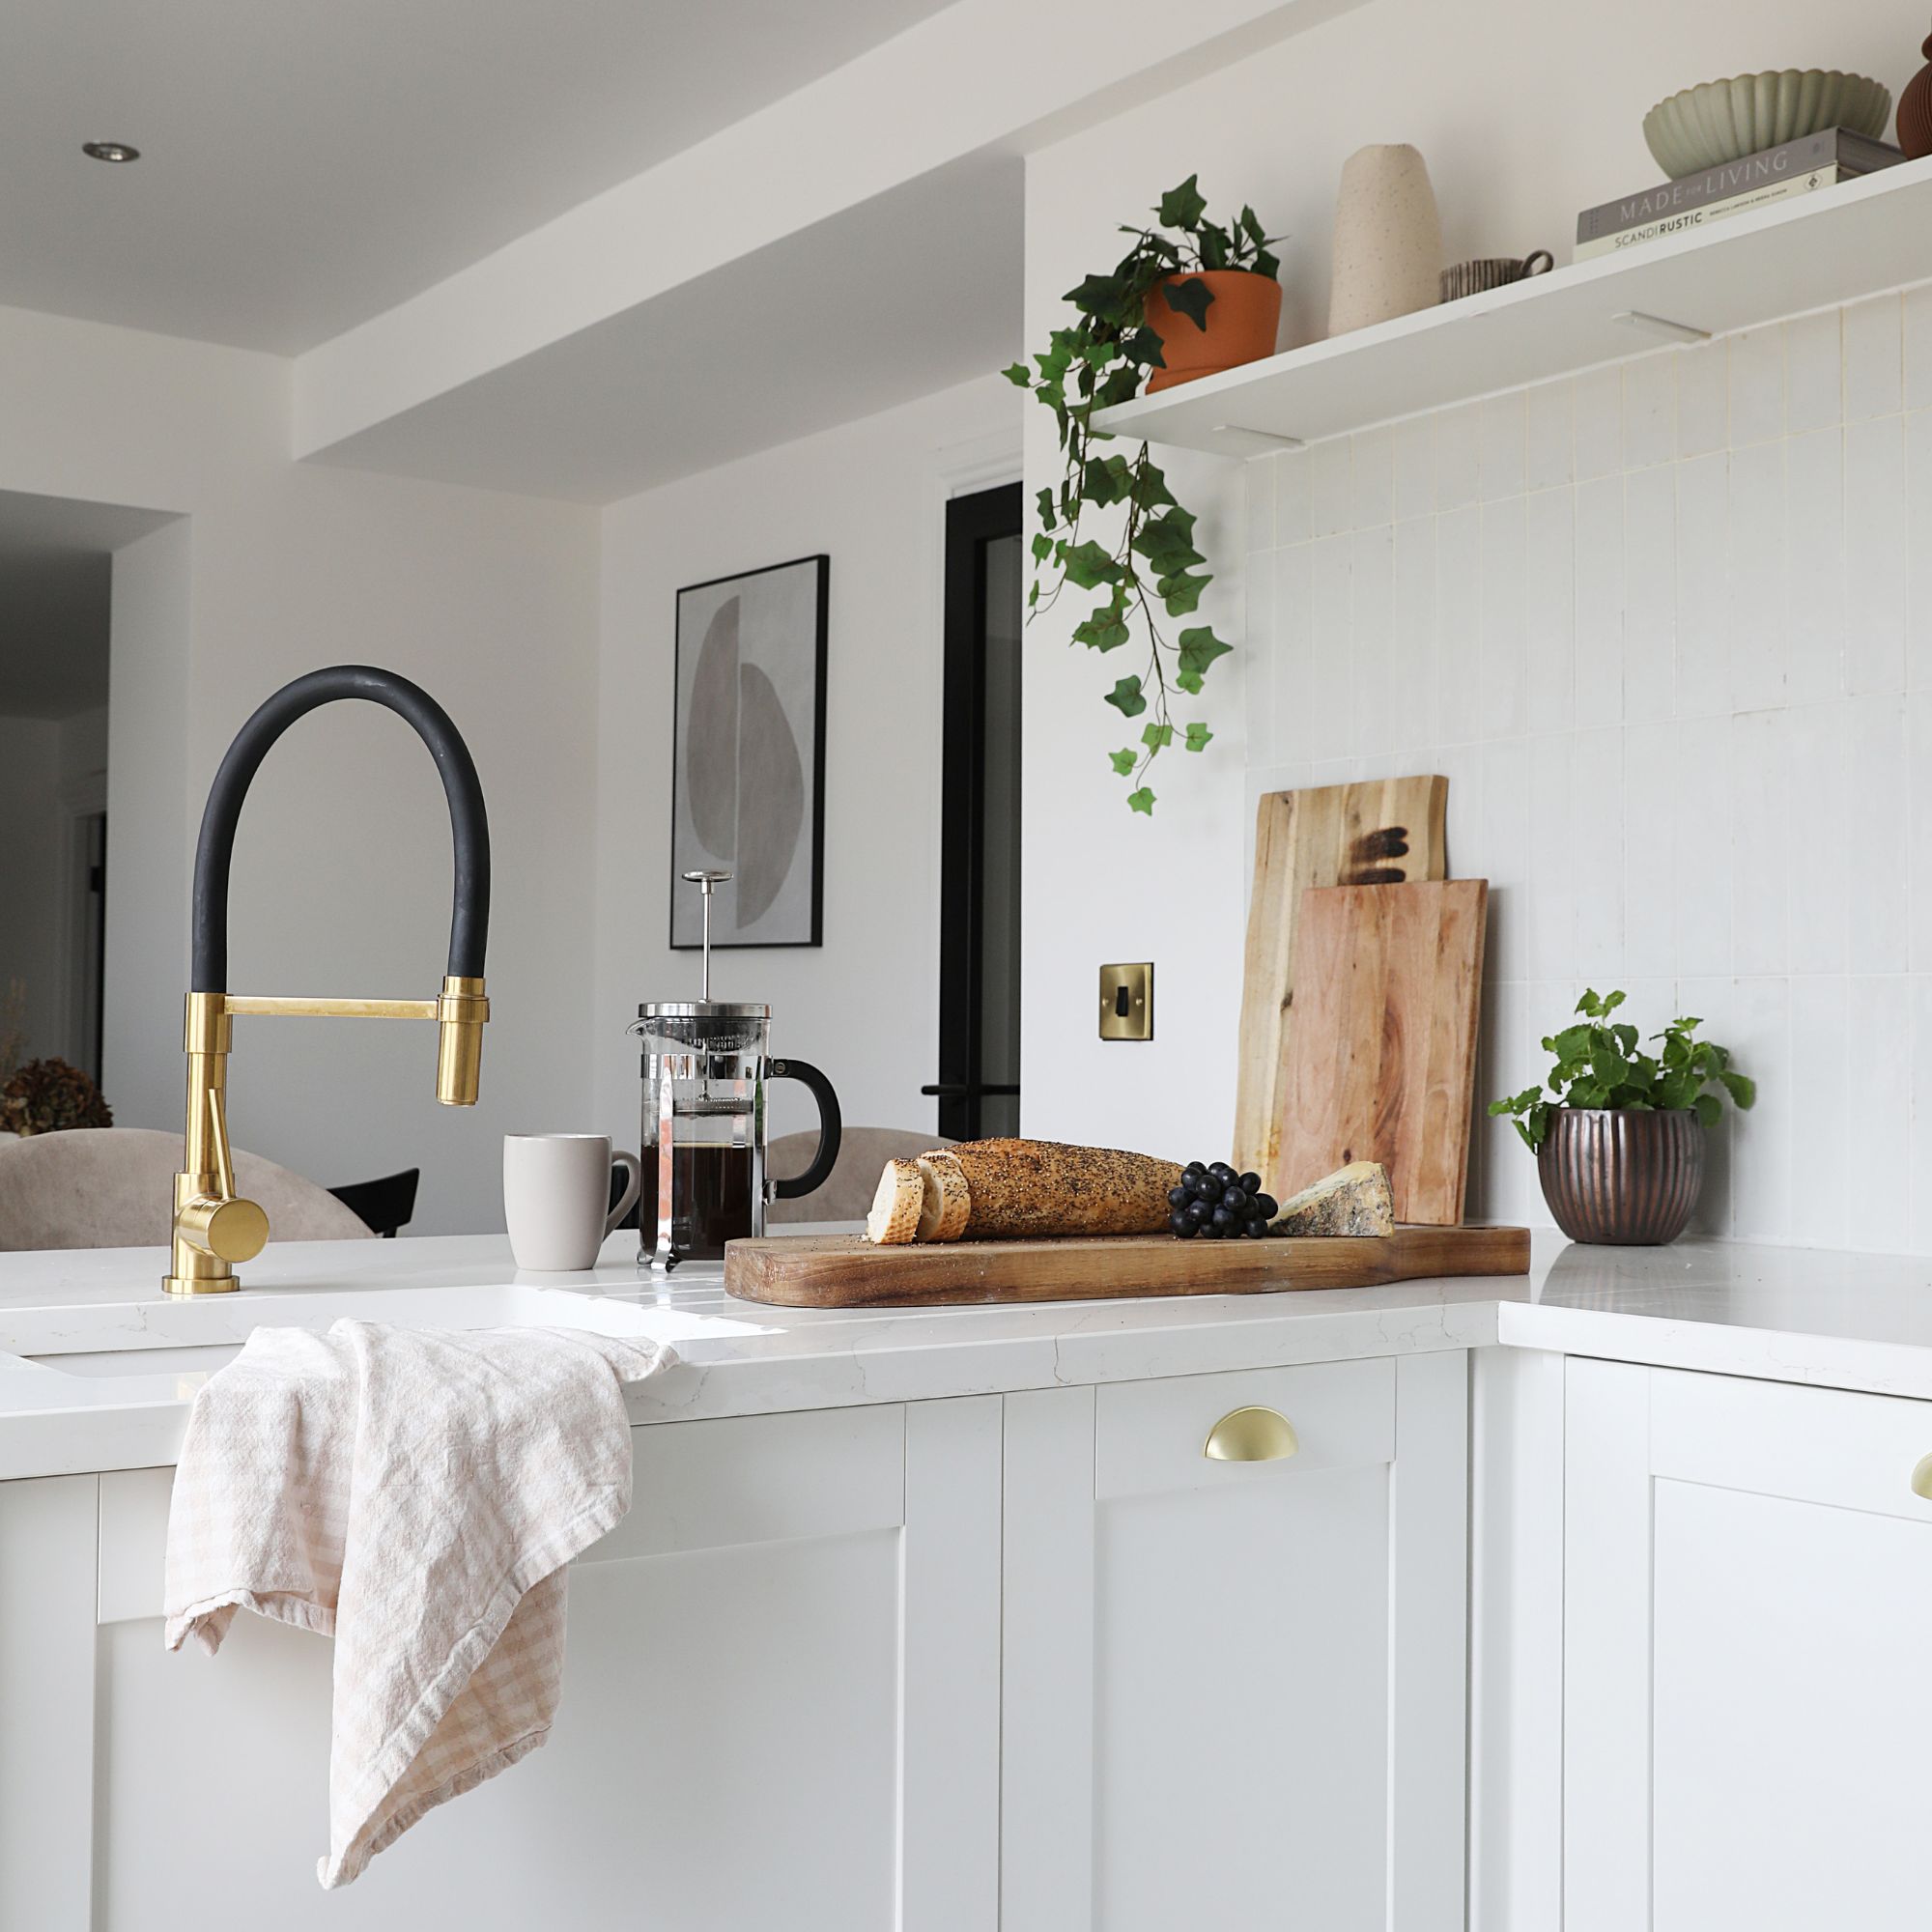
‘Like most insects, wasps need water, particularly during hot, dry weather. Dripping taps, water collecting in plant trays, bird baths or other damp areas can become regular drinking spots. Fixing leaks and removing unnecessary standing water won’t prevent wasps entirely, but it can make your garden less attractive to them,’ says Luke.
If you have a bird bath and want to continue to support birds in hot weather, you don’t have to remove it. Simply position it a bit further away from your home to reduce the distance from you and any wasps. You could also consider planting plants that wasps dislike, to deter them from coming near the area.
5. Pet food
Last but not least is pet food, which can also attract wasps to your home if left out after your pets have finished eating.
(Image credit: Future PLC / Joanna Henderson)
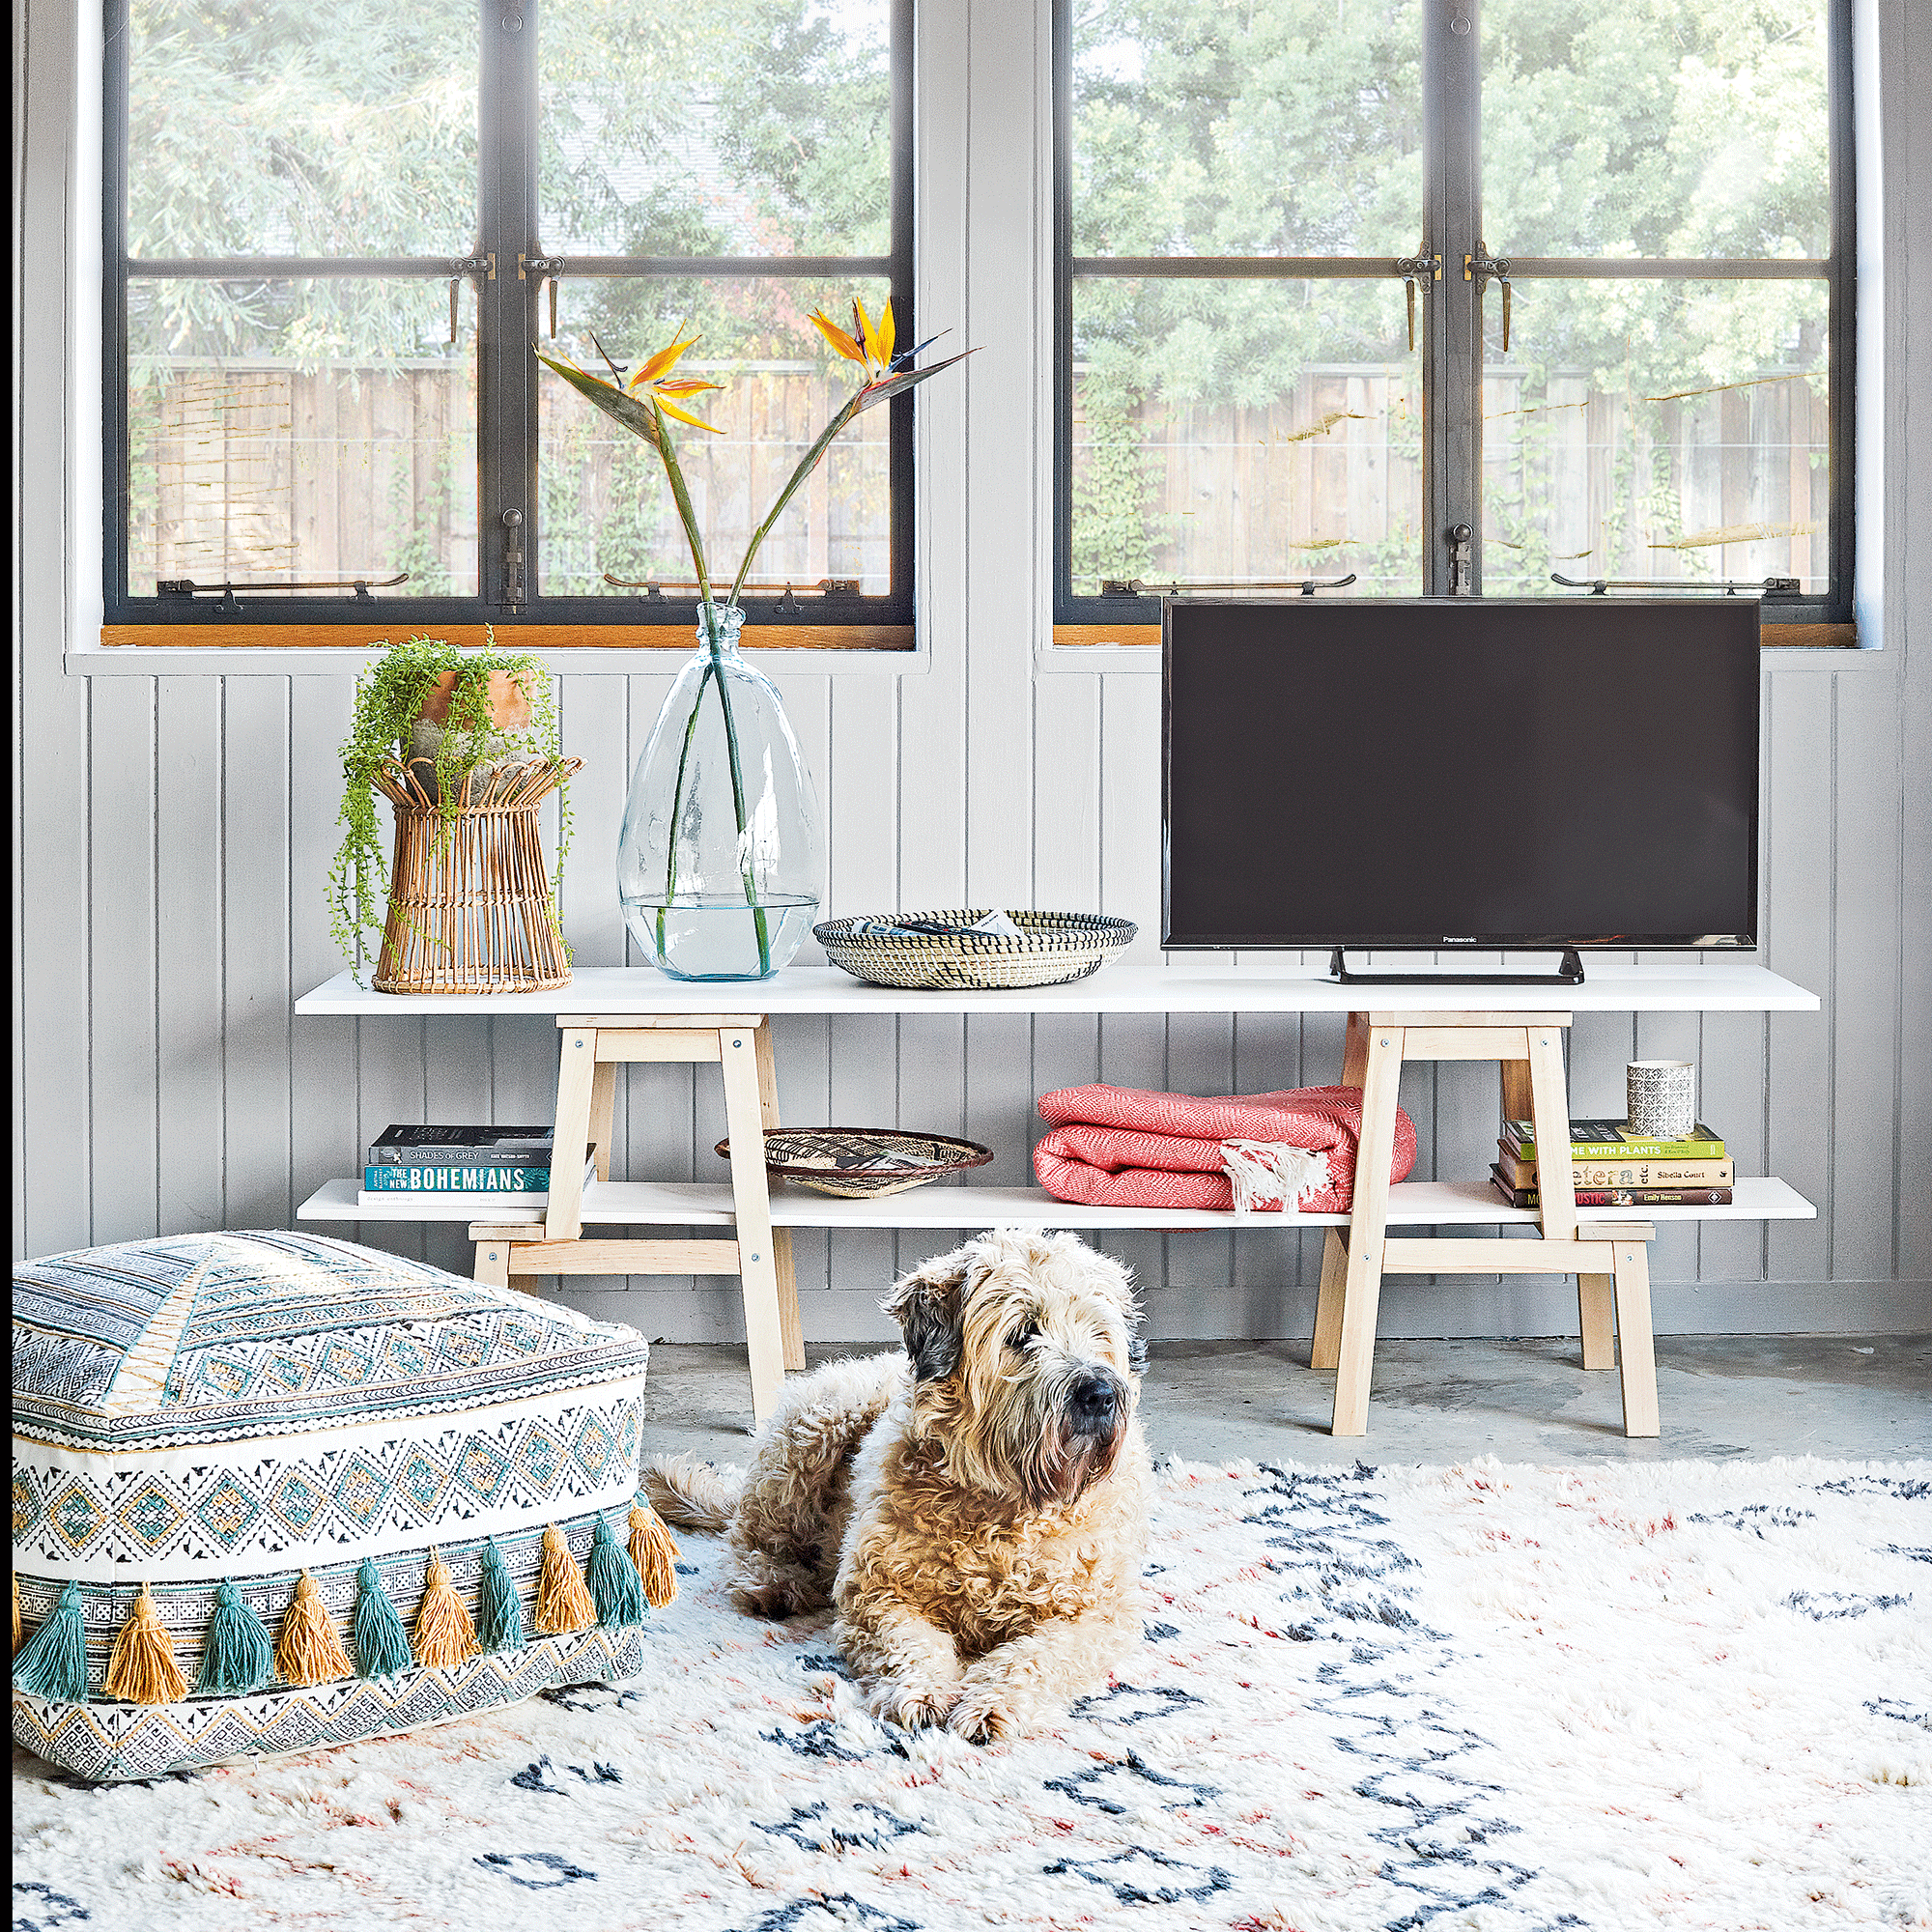
‘Cat and dog food left in bowls outside, or even inside near an open door or window, attracts wasps looking for protein as much as sugar. Wasps actively seek protein sources in summer to feed their larvae, and pet food is an easy target. Remove pet bowls as soon as feeding is finished rather than leaving them down all day,’ says Mosh.
<aside data-block-layout="hero" data-block-type="featured-product" data-editorial-currency="GBP" data-editorial-merchant-name="£9.99 at Amazon" data-editorial-price="9.99" data-hawk-json="{"product":{"variants":{"Default":{"image":{"copyright":"","height":500,"id":"nB9m33EtfFrKDkvghSh3zS","mimeType":"image\/jpeg","mos":"https:\/\/cdn.mos.cms.futurecdn.net\/nB9m33EtfFrKDkvghSh3zS.jpg","role":"","width":500,"credit":"Waspinator","alt":"Waspinator Wasp Nest Decoy – 2 Pack, Fake Wasp Nest for Outdoor Hanging, Yellow Jackets & Bee Repellent, Waterproof & Tear-Resistant Deterrent for Outdoor, Patio & Garden","caption":""},"strapline":"
Wasps instinctively avoid other colonies, so if they spot a decoy nests, they will avoid the area. This is a great chemical-free, environmentally-friendly deterrent.","brand":"Waspinator","name":"Waspinator Wasp Nest Decoy – 2 Pack","urlStyle":"","layout":"hero","noFollow":true,"noAffiliateTracking":false,"promoLabel":"","price":9.99,"salePrice":null,"currency":"GBP","linkLayout":"text","sponsored":false,"hawkProductNameMatchedCode":"","review":{"cons":[],"id":"","name":"","pros":[],"rating":0,"strapline":"","url":""},"id":"","externalId":"b9ca0555a12a536dd536740433aae01ad89f81fb","lastCheckedPriceDate":"","link":{"url":"https:\/\/target.georiot.com\/Proxy.ashx?tsid=107653&GR_URL=https%3A%2F%2Famazon.co.uk%2FSuper-Ninja-Wasp-Nest-Decoy%2Fdp%2FB0DDCKWNPV%2Fref%3Dasc_df_B0DDCKWNPV%3Ftag%3Dftr-idealhome-gb-21%26ascsubtag%3Dhawk-custom-tracking-21","linkText":"\u00a39.99 at Amazon","editorialMerchantName":"\u00a39.99 at Amazon","merchantName":"Amazon UK","merchantId":1027,"merchantNetwork":"Amazonuk","merchantUrl":"amazon.co.uk"}}}}}” data-link=”https://target.georiot.com/Proxy.ashx?tsid=107653&GR_URL=https%3A%2F%2Famazon.co.uk%2FSuper-Ninja-Wasp-Nest-Decoy%2Fdp%2FB0DDCKWNPV%2Fref%3Dasc_df_B0DDCKWNPV%3Ftag%3Dftr-idealhome-gb-21%26ascsubtag%3Dhawk-custom-tracking-21″ data-link-merchant=”Amazon UK” data-link-text=”£9.99 at Amazon” data-merchant-id=”1027″ data-merchant-name=”Amazon UK” data-merchant-network=”Amazonuk” data-merchant-url=”amazon.co.uk” data-model-brand=”Waspinator” data-model-name=”Waspinator Waspinator” data-name=”Product Block merchantlink widget” data-render-type=”fte” data-show-fallback=”button” data-widget-type=”merchantlink” class=”hawk-root”>
Wasps instinctively avoid other colonies, so if they spot a decoy nests, they will avoid the area. This is a great chemical-free, environmentally-friendly deterrent.
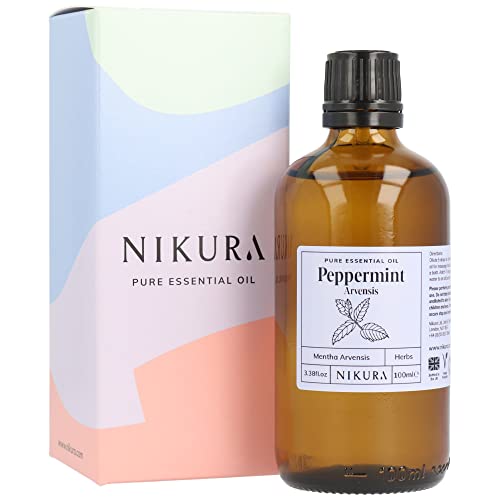
<aside data-block-layout="hero" data-block-type="featured-product" data-editorial-currency="GBP" data-editorial-merchant-name="£9.99 at Amazon" data-editorial-price="9.99" data-hawk-json="{"product":{"variants":{"Default":{"image":{"copyright":"","height":500,"id":"jqQBQhiYggh6oPKYUwRoS4","mimeType":"image\/jpeg","mos":"https:\/\/cdn.mos.cms.futurecdn.net\/jqQBQhiYggh6oPKYUwRoS4.jpg","role":"","width":500,"credit":"nikura","alt":"Nikura Peppermint Essential Oil (arvensis) – 100ml | Perfect for Repelling Spiders, Rats, Mice, Bugs, Ants | Great for Hair, Headaches Relief, Energy Boost, Skin, Candle Making | Vegan & Uk Made","caption":""},"strapline":"
Fun fact, wasps really don’t like the scent of peppermint as it disrupts their abilty to find food and follow pheromone trails. Simple wipe the oil around windows, doors and other entryways to deter them.","brand":"nikura","name":"Nikura Peppermint Essential Oil (arvensis) – 100ml ","urlStyle":"","layout":"hero","noFollow":true,"noAffiliateTracking":false,"promoLabel":"","price":9.99,"salePrice":null,"currency":"GBP","linkLayout":"text","sponsored":false,"hawkProductNameMatchedCode":"","review":{"cons":[],"id":"","name":"","pros":[],"rating":0,"strapline":"","url":""},"id":"","externalId":"c4ded6fc9d879aa0132cdc7027402c59f22a1ee4","lastCheckedPriceDate":"","link":{"url":"https:\/\/target.georiot.com\/Proxy.ashx?tsid=107653&GR_URL=https%3A%2F%2Famazon.co.uk%2F100-Peppermint-Arvensis-Essential-100ml%2Fdp%2FB079ZZ83VT%2Fref%3Dsr_1_5_sspa%3Ftag%3Dftr-idealhome-gb-21%26ascsubtag%3Dhawk-custom-tracking-21","linkText":"\u00a39.99 at Amazon","editorialMerchantName":"\u00a39.99 at Amazon","merchantName":"Amazon UK","merchantId":1027,"merchantNetwork":"Amazonuk","merchantUrl":"amazon.co.uk"}}}}}” data-link=”https://target.georiot.com/Proxy.ashx?tsid=107653&GR_URL=https%3A%2F%2Famazon.co.uk%2F100-Peppermint-Arvensis-Essential-100ml%2Fdp%2FB079ZZ83VT%2Fref%3Dsr_1_5_sspa%3Ftag%3Dftr-idealhome-gb-21%26ascsubtag%3Dhawk-custom-tracking-21″ data-link-merchant=”Amazon UK” data-link-text=”£9.99 at Amazon” data-merchant-id=”1027″ data-merchant-name=”Amazon UK” data-merchant-network=”Amazonuk” data-merchant-url=”amazon.co.uk” data-model-brand=”nikura” data-model-name=”nikura Nikura Peppermint Essential Oil (arvensis) – 100ml” data-name=”Product Block merchantlink widget” data-render-type=”fte” data-show-fallback=”button” data-widget-type=”merchantlink” class=”hawk-root”>
Fun fact, wasps really don’t like the scent of peppermint as it disrupts their abilty to find food and follow pheromone trails. Simple wipe the oil around windows, doors and other entryways to deter them.
I’d have never guessed that a few of these items would attract wasps to my home – especially my bag for life! But now we know the unusual things that attract wasps, we can ensure we don’t leave them lying around. Prevention is better than a cure, after all.
You see a bonsai tree and assume it’s supposed to be small.
But small is relative. Some bonsai trees max out at 6 inches tall. Others stretch to 3 feet. The difference isn’t luck or magic, it’s biology, container choice, and how much control you decide to take. Most bonsai beginners don’t realize that bonsai size isn’t fixed at purchase. It’s an ongoing negotiation between the tree’s natural growth pattern and the restrictions you impose through pruning, root work, and pot selection.
If you’ve ever wondered whether your bonsai will outgrow its pot, whether indoor bonsai trees stay smaller than outdoor ones, or how different species compare in final size, you’re asking the right questions.
This guide breaks down exactly what determines bonsai size and how to predict, control, and optimize the growth of your miniature trees.
Quick Answer: How Big Do Bonsai Trees Get?
Most bonsai trees range from around 4 inches (10cm) to 3 feet (90cm) tall, depending on the species, pot size, pruning techniques, and growing conditions. Some small bonsai trees remain under 3 inches (8cm) for decades, while big bonsai trees can exceed 4 feet (1.2m) tall and still be considered bonsai.
The important thing to understand is that bonsai size is not fixed when you buy the tree. Its eventual size depends largely on how you cultivate it. Regular pruning, root restriction, container choice, watering, and fertilisation all influence how large a bonsai becomes over time.
Are Bonsai Trees Naturally Small?
One of the most common misconceptions about bonsai is that they are special dwarf tree species.
In reality, bonsai is not a type of tree. It is a growing technique. As a general rule, almost any woody tree or shrub can be trained with the art of bonsai, including maples, pines, junipers, elms, ficus trees, azaleas, and many others.
A bonsai tree is genetically identical to its full-sized counterpart growing in nature. The difference comes from careful cultivation. Through root pruning, branch pruning, wiring, and container restriction, growers encourage the tree to remain compact while developing the appearance of a mature, full-sized specimen.
This is why a bonsai can stay under 12 inches (30cm) tall for decades while still developing the thick bark, branching structure, and character of a much older tree.
Can a Bonsai Grow Into a Full-Size Tree?
Yes, in many cases it can.
One of the biggest misconceptions about bonsai is that they are permanently miniature. In reality, most bonsai trees are ordinary tree species that have been carefully trained and maintained in containers.
If a bonsai is planted in the ground or transferred to a much larger container and allowed to grow freely, it can eventually become much larger than it was as a bonsai. A Japanese maple bonsai, for example, may eventually grow into a substantial garden tree if given enough space and years of unrestricted growth.
However, the process is not instantaneous. Bonsai trees have often undergone years of pruning and root restriction, which can temporarily slow growth while the tree re-establishes itself.
This ability to switch between periods of unrestricted growth and refinement is one of the techniques many bonsai growers use when developing thicker trunks and stronger branch structures. A tree may be allowed to grow vigorously for several years before being returned to a smaller bonsai container for refinement.
Ultimately, bonsai trees stay small because growers continually manage their size. Left to grow naturally, most species will eventually become far larger than their bonsai form suggests.
“The word “bonsai” literally means “planted in a container” and originates from the Japanese art form that evolved from earlier Chinese penjing traditions.”
Bonsai Size Classifications: The Traditional Categories
Shohin bonsai tree
Most people think bonsai means tiny, but bonsai actually encompasses a surprisingly wide range of sizes.
Traditional Japanese bonsai classifications help growers describe trees according to their height and display requirements. While the exact measurements vary slightly between sources, the following guide provides a useful overview:
Classification
Approximate Height
Keshitsubo
Up to 3 inches (8cm)
Shito
2–4 inches (5–10cm)
Mame
4–8 inches (10–20cm)
Shohin
5–8 inches (13–20cm)
Komono
6–10 inches (15–25cm)
Kifu
10–16 inches (25–40cm)
Chuhin
16–24 inches (40–60cm)
Omono
24–48 inches (60–120cm)
Smaller bonsai require more frequent watering and precise maintenance, while larger specimens offer greater visual impact and more design possibilities. Most bonsai enthusiasts find themselves drawn to Shohin, Komono, or Kifu-sized trees because they strike a practical balance between artistic expression and ease of care.
Understanding these classifications also helps when shopping for bonsai. A Shohin bonsai is intended to remain compact, while a Chuhin or Omono bonsai will naturally require considerably more growing space.
Species Matters More Than You Think
Not all bonsai trees grow at the same rate or reach the same final size.
Genetics set the ceiling. Even with aggressive root pruning and canopy trimming, a Chinese Elm will naturally want to push larger than a Juniper. Some species have compact growth habits that make them ideal for small pots. Others fight you every step of the way, sending out vigorous shoots and thick roots that constantly test your container’s limits.
Here’s how common species compare in growth tendencies:
Slow and compact growers (easier to keep small): Japanese Maple, Juniper, Azalea, Boxwood. These species respond well to restriction and naturally produce fine branching. They’re forgiving if you miss a pruning session and rarely outgrow their pots faster than expected.
Moderate growers (balanced effort): Chinese Elm, Ficus, Jade. These trees grow steadily but predictably. They’ll push new growth during active seasons but won’t explode out of control. Expect to root prune every 2 to 3 years and trim new shoots several times per growing season.
Aggressive growers (constant vigilance required): Trident Maple, Wisteria, Willow. These species can double their root mass in a single season if left unchecked. They produce thick, fast-growing shoots and require frequent intervention to maintain size. If you want a tree that stays small, avoid these unless you’re prepared for high-maintenance care.
Japanese maples are particularly popular for bonsai due to their elegant branching structure, seasonal colour changes and manageable growth habit.
Choosing a species that naturally aligns with your size goals saves you years of frustration. A slow-growing Juniper will happily stay in a 6-inch smaller pot for a decade. An aggressive Trident Maple in the same pot will need root work every year just to survive.
Typical Mature Sizes of Popular Bonsai Species
Different species naturally lend themselves to different bonsai sizes. While regular pruning and root work can control growth, some trees are easier to keep small than others.
Species
Typical Bonsai Height
Juniper
6–24 inches (15–60cm)
Chinese Elm
8–30 inches (20–75cm)
Japanese Maple
10–24 inches (25–60cm)
Ficus
8–36 inches (20–90cm)
Jade Plant
6–18 inches (15–45cm)
Azalea
6–24 inches (15–60cm)
Boxwood
8–24 inches (20–60cm)
Pine
10–36 inches (25–90cm)
These figures are not strict limits, but they provide a useful guide for beginners choosing a species that matches their available space and maintenance preferences.
Best Bonsai Trees for Beginners
If you’re new to bonsai, choosing the right species can make a huge difference to your success. Some trees are naturally more forgiving than others, tolerating occasional mistakes with watering, pruning, and positioning while still maintaining an attractive shape.
Among the best beginner bonsai trees are:
Ficus
Ficus is often considered one of the easiest bonsai species to grow indoors. It tolerates lower humidity levels than many tropical trees, responds well to pruning, and recovers quickly from minor mistakes. Its glossy green leaves and attractive trunk structure also make it a popular decorative choice.
Chinese Elm
Chinese Elm is a favourite among bonsai enthusiasts because it grows vigorously, develops attractive branching, and adapts well to a variety of growing conditions. It is often recommended as a first bonsai because it is both resilient and relatively easy to shape.
Juniper
Juniper is one of the most recognisable bonsai species and is widely available from garden centres and bonsai nurseries. It is an outdoor bonsai that responds well to training and naturally develops the rugged appearance many people associate with traditional bonsai trees.
Jade Plant
Technically a succulent rather than a true tree, Jade makes an excellent beginner bonsai. It requires less frequent watering than many species and can tolerate periods of neglect better than most traditional bonsai.
Japanese Maple
For those willing to provide a little extra care, Japanese Maple offers stunning seasonal colour and elegant branching. While slightly more demanding than Ficus or Chinese Elm, it rewards growers with some of the most beautiful bonsai displays available.
When choosing your first bonsai, focus on selecting a healthy tree that suits your growing environment. A species that naturally thrives indoors or outdoors in your climate will always be easier to care for than one that requires conditions you cannot easily provide.
“Some bonsai trees are hundreds of years old. One of the most famous examples is a Japanese white pine that survived the atomic bombing of Hiroshima in 1945 and is believed to be over 400 years old.”
How Container Size Controls Bonsai Tree Growth
Your pot isn’t just decorative, it’s the primary growth regulator.
When you restrict root space, you restrict the tree’s ability to gather water and nutrients, which directly limits how much foliage it can support. A bonsai in a shallow 4-inch (10cm) small pot physically cannot grow as large as the same species in a 12-inch (30cm) training larger pot, no matter how much you fertilise or how ideal the growing conditions are
This is why serious growers use container size strategically:
Smaller pots slow growth. Less root space means less nutrient uptake, which means slower shoot elongation and smaller leaves. If your goal is to keep a tree compact, choose the smallest pot that still allows the root ball to fit without excessive crowding.
Training pots accelerate development. Want thicker trunks and faster branch ramification? Move your tree into a larger container or even plant it in the ground for a season. Unrestricted roots mean explosive growth, which you can later refine once the structure is where you want it.
The depth of the pot matters as much as the width. A shallow container restricts vertical root growth and forces the tree to develop a flatter, more compact root system. Deep pots allow tap roots to form, which drives more vigorous upward growth.
Most beginners make the mistake of keeping their bonsai in the same pot for too long. Roots circle the container, become root-bound, and the tree’s health declines. Even if you want to limit size, you still need to root prune and repot every 2 to 4 years depending on species. You’re not giving the tree more space, you’re refreshing the root system so it can continue thriving in the same small container.
The container is your most powerful tool. Use it intentionally, and you control the final size more than any other single factor.
Root Pruning Keeps An Ornamental Tree Small
If you never touch the roots, your bonsai will eventually outgrow any pot.
Root pruning is the reset button. Every time you remove a portion of the root mass, you force the tree to rebuild its underground structure. This temporarily slows top growth because the tree redirects energy toward root recovery. The result is a smaller, more refined root ball that fits back into the same size pot, keeping the tree’s overall dimensions in check.
How often you root prune depends on species and growth rate. Fast growers like Ficus or Trident Maple may need root work every year. Slow growers like Juniper can go 3 to 5 years between sessions. The timing matters because root pruning during the wrong season can shock the tree and stunt growth for months.
Here’s what happens during a proper root prune:
You remove the tree from its pot and gently comb out the root ball. Thick, circling roots get trimmed back by one-third to one-half. Fine feeder roots stay mostly intact because they handle water and nutrient absorption. You place the tree back in the same pot with fresh soil, which improves drainage and gives the roots access to new nutrients without increasing the container size.
Skipping root pruning doesn’t just make your tree bigger, it makes it weaker. Root-bound trees can’t absorb water efficiently, they become susceptible to disease, and their growth becomes erratic. Regular root work keeps the tree healthy and small, which is the entire point of bonsai cultivation.
Canopy Pruning and Wiring Shape Final Size
Trimming branches isn’t just about aesthetics, it’s about controlling how much energy the tree puts into vertical growth.
Every time you prune a shoot, you stop that branch from elongating. The tree responds by pushing energy into buds lower on the branch, which creates denser foliage and finer ramification. Over time, this process creates the illusion of an ancient tree in miniature because the branching structure becomes more complex without the tree becoming taller.
Pruning frequency directly impacts size. If you let a Ficus grow unchecked for six months, it’ll add a foot of height and produce long, leggy branches. If you trim every two weeks during the growing season, it’ll stay compact and bushy. The tree has the same amount of energy in both scenarios, but in the second case, you’re redirecting that energy laterally instead of vertically.
Wiring works in tandem with pruning. When you wire a branch and bend it downward or horizontally, you slow its growth. Vertical shoots grow faster because of a hormone called auxin that concentrates at the highest point of the tree. By repositioning branches, you distribute auxin more evenly, which encourages balanced growth and prevents the tree from shooting upward.
Timing your pruning sessions around the tree’s growth cycle maximizes your control. Most species push hard in spring, slow down in summer, and go dormant in fall and winter. Pruning during active growth keeps the tree in check. Pruning during dormancy sets the stage for controlled growth when the next season starts.
You can’t prune a tree into submission if you ignore the roots, and you can’t rely on root work alone if you let the canopy run wild. Both have to work together, and the frequency of each determines whether your bonsai stays 8 inches tall or slowly creeps toward 2 feet.
Indoor vs. Outdoor Growth Differences
Where you keep your bonsai completely changes how big it gets.
Outdoor trees grow faster and larger. They receive full-spectrum sunlight, natural temperature fluctuations, and seasonal dormancy cues that promote healthy, vigorous growth. An outdoor Juniper in ideal conditions can easily push 18 to 24 inches over several years, even with regular pruning.
Indoor trees stay smaller by default. Limited light, stable temperatures, and lack of dormancy slow growth significantly. A Ficus kept indoors under artificial light will grow at half the rate of the same tree placed on a sunny patio. This makes indoor bonsai easier to maintain at smaller sizes, but it also means they require less frequent root work and pruning.
Light is the biggest differentiator. Outdoor trees receive 10 to 12 hours of direct sunlight during the growing season, which drives photosynthesis and growth. Indoor trees rarely get more than 4 to 6 hours of indirect light, even near a south-facing window. Less light equals slower growth, smaller leaves, and more compact overall size.
Temperature swings also play a role. Outdoor trees experience hot days, cool nights, and seasonal cold that trigger dormancy. This dormancy period is critical for many species, it allows the tree to rest and reset for explosive spring growth. Indoor tropical species like Ficus don’t experience dormancy, so their growth is steadier year-round but never reaches the same peak intensity as outdoor trees in spring.
If you want a bonsai that stays small with minimal intervention, keep it indoors. If you want a tree with dramatic growth that you can shape and refine over time, grow it outdoors and commit to more frequent maintenance.
“Bonsai trees are often designed to mimic the appearance of ancient trees found in nature, complete with weathered trunks, exposed roots, and dramatic branch structures.”
Where Should You Display Bonsai Trees?
Choosing the right location for a bonsai is about more than aesthetics. The amount of light, temperature, humidity, and airflow a tree receives will directly affect its health, growth rate, and long-term size.
The best display location depends largely on whether your bonsai is an indoor or outdoor species.
Indoor Bonsai Displays
Tropical species such as Ficus bonsai trees, dwarf Jade, and Fukien Tea trees are commonly grown indoors. These bonsai generally prefer bright, indirect light and stable temperatures throughout the year.
Position indoor bonsai close to a bright window whenever possible, ideally one that receives several hours of natural daylight each day. Avoid placing trees directly beside radiators, fireplaces, air-conditioning units, or draughty exterior doors, as sudden temperature changes can stress the plant.
Many homeowners enjoy incorporating bonsai into Japandi, minimalist, and Japanese-inspired interiors, where their sculptural forms can become a striking focal point.
Outdoor Bonsai Displays
Many traditional bonsai species, including Junipers, Pines, Japanese Maples, and Elms, are best grown outdoors. These trees benefit from natural seasonal changes and often require a winter dormancy period to remain healthy. They’re a great addition to a Japanese-style zen garden.
Suitable outdoor locations include:
Patios
Courtyards
Balconies
Garden terraces
Dedicated bonsai benches
A slightly elevated position often works best, helping to improve airflow around the tree while allowing the intricate branch structure to be viewed at eye level. Outdoor bonsai should be protected from extreme winds, severe frosts, and prolonged exposure to harsh afternoon sun if the species is sensitive.
Creating a Feature Display
One of the reasons bonsai have remained popular for centuries is their ability to create a sense of calm and focus within a space.
A single well-positioned bonsai can become a focal point on a shelf, console table, sideboard, or garden stand. Many enthusiasts display their trees alongside natural materials such as stone, wood, gravel, or moss to create a miniature landscape effect.
In Japanese-inspired gardens, bonsai are often combined with carefully selected planting, water features, and architectural elements to create a balanced and harmonious environment.
“Traditional bonsai display is considered an art form in itself, with carefully chosen pots, stands, accent plants, and viewing angles all contributing to the overall presentation.”
Remember That Health Comes First
While bonsai can be highly decorative, their growing conditions should always take priority over appearance.
A tree displayed in the perfect design location but receiving insufficient light is unlikely to thrive. When choosing where to position a bonsai, always consider the needs of the species first and the aesthetics second.
The healthiest bonsai are usually the most beautiful, developing dense foliage, strong branching, and the mature character that makes these miniature trees so captivating.
Age Doesn’t Determine Size
A 30-year-old bonsai isn’t automatically bigger than a 5-year-old one.
This confuses beginners because age and size are linked in normal trees. But bonsai breaks that rule. A juniper kept in a 6-inch pot for three decades will look ancient but stay under 12 inches tall. A Chinese Elm grown in the ground for five years could have a 3-inch trunk diameter and stand 4 feet tall before being styled into bonsai form.
Age affects appearance, not size. Older trees develop thicker bark, more refined branching, and the visual weight that makes them look like miniature versions of full-grown specimens. Younger trees look juvenile no matter how big they get because they lack the textural detail that comes with time.
This is why experienced growers separate development stages from display stages. During development, the tree might spend years in a large training pot or even in the ground, where it’s allowed to grow aggressively to build trunk thickness and primary branching. Once the structure is established, the tree gets moved into a bonsai pot, where size is restricted but the appearance of age continues to develop.
You can buy a 20-year-old bonsai that’s 8 inches tall, or you can buy a 3-year-old sapling and grow it to 8 inches in two years with the right techniques. The older tree will have more character, but the younger tree will reach the same size faster if that’s your priority.
Don’t assume age equals size. In bonsai, age equals refinement. Size is entirely about how you manage roots, canopy, and container dimensions.
Does a Bonsai Trunk Keep Getting Thicker?
One area that often confuses beginners is the difference between height growth and trunk development.
A bonsai may remain exactly the same height for many years while its trunk continues to thicken. In fact, one of the primary goals of bonsai cultivation is to create a tree that appears old and powerful despite its small size.
Over time, the bark becomes more textured, the trunk develops taper, and the branch structure becomes increasingly refined. This is why a 30-year-old bonsai can look far more impressive than a younger tree of identical height.
Many growers deliberately allow periods of stronger growth early in a bonsai’s development to encourage trunk thickening before transitioning to a more refined maintenance routine that prioritises size control.
Fertilizer and Watering Impact the Growth Rate of Bonsai Trees
You can’t starve a tree into staying small, but you can manage its growth speed through feeding schedules.
Heavy fertilization drives vigorous growth. If you’re using a high-nitrogen fertilizer every two weeks during the growing season, your bonsai will push new shoots aggressively and try to outgrow its container. This is useful during development when you want rapid thickening, but it works against you if your goal is maintaining a small, refined tree.
Moderate feeding keeps growth steady. Most hobbyists use a balanced fertilizer at half strength every 4 to 6 weeks. This provides enough nutrients to keep the tree healthy without triggering explosive growth. The tree produces new shoots and roots at a manageable pace, which means less frequent pruning and repotting.
Watering frequency also plays a role, but not in the way most people think. Overwatering doesn’t make trees grow bigger, it kills roots and weakens the tree. Underwatering stresses the tree and causes dieback. Consistent watering at the right frequency keeps the tree healthy, which allows it to respond predictably to your pruning and training efforts.
If you want to slow growth without harming the tree, reduce nitrogen-heavy fertilizers and switch to a balanced or low-nitrogen formula. You’ll still feed the tree, but you won’t be pushing it to grow faster than you can manage. Combine this with appropriate pruning and root work, and you can dial in the exact growth rate you want.
What Is the Largest Bonsai Tree?
While many people picture bonsai as tiny tabletop trees, some bonsai are surprisingly large.
Certain historic bonsai specimens in Japan stand more than 4 feet (1.2 metres) tall and require several people to move them safely. These larger trees still qualify as bonsai plants because they have been cultivated using traditional bonsai techniques and maintained in containers throughout their lives.
At the opposite end of the scale, miniature bonsai known as Shito or Keshitsubo bonsai can be small enough to fit comfortably in the palm of your hand or even inside a teacup-sized container.
This enormous size range highlights one of the most fascinating aspects of bonsai. The art form is not defined by a specific height, but by the techniques used to create the illusion of a mature tree in miniature.
Bonsai trees are often associated with Japanese garden design, where they are used alongside carefully placed stones, water features and architectural plants to create a sense of balance and scale.
“Some bonsai enthusiasts spend decades developing a single tree, gradually refining its shape and character over the course of a lifetime.”
Final Thoughts
The size of a bonsai tree is determined by far more than age alone. Species selection, root restriction, pruning practices, container size, light levels, watering habits, and fertilisation all influence how large a bonsai becomes over time.
Most bonsai ultimately remain somewhere between 6 inches (15cm) and 3 feet (90cm) tall, but the potential range is much broader. Some remain tiny enough to sit in the palm of your hand, while others become substantial landscape-quality specimens that require multiple people to move.
The good news is that bonsai size is largely under your control. By understanding how a root structure, branches, containers, and growing conditions interact, you can maintain a tree at the size that best suits your space and goals.
With consistent proper care, a bonsai can remain compact for decades while continuing to develop the character, refinement, and appearance of a mature tree many times its size.
Frequently Asked Questions
How tall does a bonsai tree get?
Most bonsai trees grow between 6 inches (15cm) and 3 feet (90cm) tall, although there are exceptions at both ends of the scale. Miniature bonsai can remain under 3 inches (8cm) tall, while some large bonsai trees exceed 4 feet (1.2 metres) in height.
Do bonsai trees stay small naturally?
No. Bonsai trees are not naturally dwarf trees. They are kept small through a combination of root pruning, branch pruning, careful watering, container restriction, and regular maintenance. Without these techniques, many bonsai species would eventually grow into much larger trees.
Can a bonsai tree grow into a full-size tree?
In many cases, yes. If a bonsai is planted in the ground or moved into a much larger container and allowed to grow freely, it can become significantly larger over time. Because bonsai trees are genetically identical to normal trees of the same species, they retain much of their natural growth potential.
What is the tallest bonsai tree?
Some large bonsai specimens classified as Omono bonsai can exceed 4 feet (1.2 metres) in height. While these trees are much larger than the miniature bonsai many people imagine, they are still considered bonsai because they have been cultivated and maintained using traditional bonsai techniques.
How long does it take a bonsai tree to reach its full size?
This depends on the species and the grower’s goals. Some bonsai reach their intended display size within 5 to 10 years, while others continue developing for decades. Even when a bonsai stops getting taller, its trunk, bark, and branch structure can continue to mature and improve with age.
Can bonsai trees outgrow their shallow pots?
Yes. Over time, a tree’s roots gradually fill the available space inside the container. Without regular root pruning and repotting, a bonsai can become root-bound, leading to reduced vigour, poor water absorption, and declining health.
Are indoor bonsai smaller than outdoor bonsai?
Indoor bonsai often grow more slowly because they receive less light and experience fewer seasonal changes. This can make them easier to maintain at smaller sizes. Outdoor bonsai trees generally grow more vigorously and may require more frequent pruning and root work to control their size.
Which bonsai species stays the smallest?
Junipers, boxwoods, azaleas, and certain dwarf varieties of Japanese maple are among the easiest species to maintain at compact sizes. However, almost any bonsai species can be kept small with proper cultivation techniques.
Does a bigger pot make a bonsai grow larger?
Generally, yes. Larger pots provide more room for root development, allowing the tree to absorb more water and nutrients. This often results in faster growth, larger leaves, and a larger overall tree. Smaller pots help restrict growth and maintain compact proportions.
Can you keep a bonsai tree small forever?
With consistent care, many bonsai can remain at roughly the same size for decades. Regular pruning, root maintenance, appropriate fertilisation, and careful pot selection allow growers to maintain a desired size while continuing to improve the tree’s appearance and character.
Seeing that energy bills are set to increase by 13% on average from 1 July, and the temperature is starting to rise, I’m sure, like me, the cost of running any cooling appliances is on your mind. If you’re looking for cheap ways to cool a home during a heatwave, you’re in luck, as I spoke to several energy experts for their three simple hacks.
As much as I adore summer and warm weather (who doesn’t?)My flat often feels like a furnace when temperatures soar. While the best portable air conditioners are one of the best ways to stay cool, they can be expensive investments, costing hundreds of pounds for a unit.
So, if you want to cool a home on a budget and offset rising energy costs, here are three hacks you should try this heatwave.
‘Windows are one of the main sources of heat gain in a home. When sunlight passes through glass, it turns into heat and gets trapped inside. Closing blinds or curtains during peak sunlight hours can reduce this ‘greenhouse effect’, helping interiors stay noticeably cooler without relying on energy-intensive solutions like fans or air conditioning,’ says Yvonne Keal, product expert at Hillarys.
‘With energy prices still a concern following the latest Ofgem announcement, passive cooling methods like this are a smart way to cut costs. By keeping rooms naturally cooler, you can reduce the need for electric fans or portable air conditioning units, which can cost anywhere from 2p to over 30p per hour to run, depending on the appliance.’
Blackout blinds (such as this £14.40 option at Dunelm) and thermal curtains (£26.66 at Argos) can be particularly effective at keeping heat out. This is because they are specially designed to stop heat from escaping in winter and to stop heat from filtering into your home during summer.
Sign up to our newsletter for style inspiration, real homes, project and garden advice and shopping know-how
2. Turn off heat generating appliances
It turns out that it’s not just sunshine making your home feel too hot. Left-in plugs can also generate excess heat. So, you should ensure you’re switching off all plugs when not in use to reduce temperature and save money on your energy bill (because vampire appliances will add to your bill even when not in use). If you’re someone who often forgets to turn off plugs, it’s worth investing in smart plugs (£29.99, Argos) so you can control your plugs from your phone.
(Image credit: Getty Images)
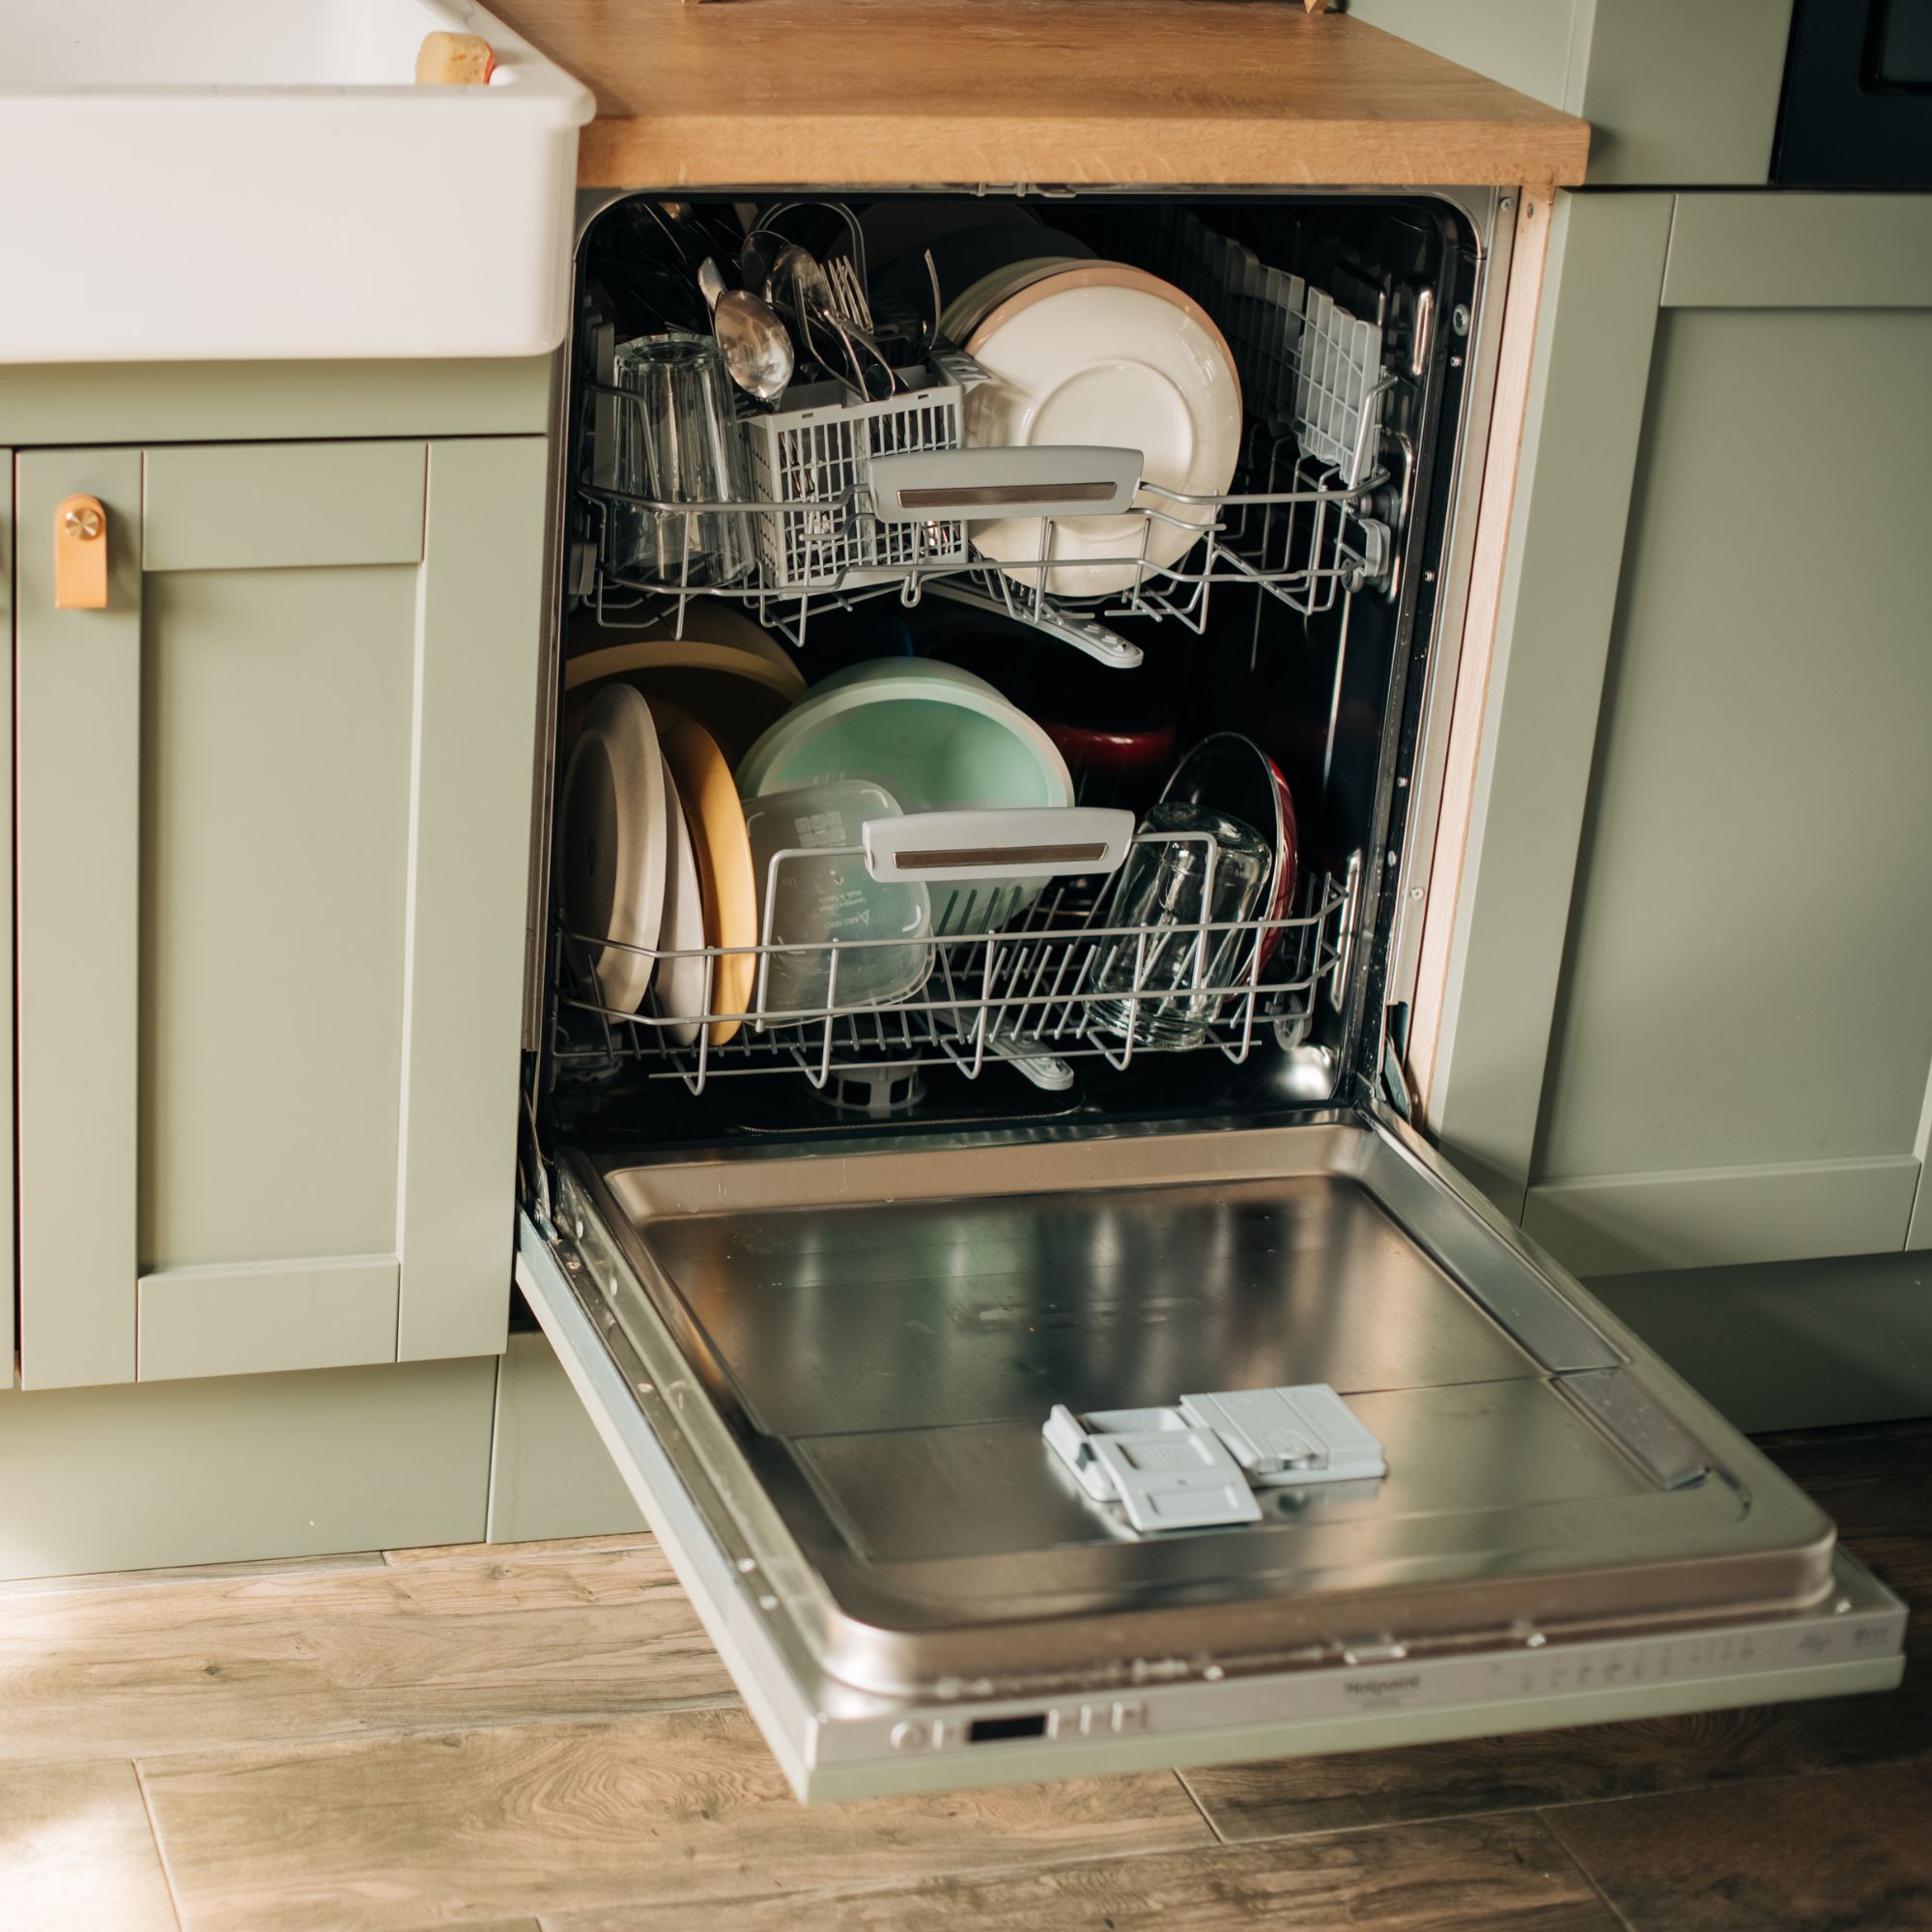
‘Anything that plugs in and warms up, such as ovens, dishwashers, tumble dryers, gaming consoles, or even phone chargers left plugged in, can add a surprising amount of heat to a room. Try running dishwashers and washing machines early in the morning or late at night, and air-dry clothes outside or on a rack rather than using the tumble dryer,’ says Sam Carter, home heating and cooling expert (HVAC) at Appliances Direct.
‘Also, swap oven cooking for salads, cold proteins or microwave meals during the hottest part of the day. You’d be amazed at how much cooler a kitchen feels when the oven hasn’t been on. Switching to ‘no cooking’ meals costs nothing and saves energy too.’
3. Hang a damp sheet over your window
This free hack turns bedding into an air conditioner. All you need to do is hang a bed sheet, which has been dampened in cold water, over your window, and the air will cool as it passes through.
(Image credit: Future PLC)
‘As the warmer air enters your home, the moisture on the sheet helps to lower the temperature, creating a cooler, more refreshing breeze. Make sure that the room is well ventilated so that the evaporated water has somewhere to escape to,’ says Ruth MacEachern, ventilation specialist at envirovent.
‘Keeping your home well-ventilated during a heatwave is key to preventing temperatures from rising too much. Small changes can have a big impact, helping to keep your home cool and manageable during warmer periods.’
Stay cool
If you’re still struggling to beat the heat, a portable air conditioner really can make a world of difference. If you’ve been wondering if portable air conditioners are worth it, experts say they cost between 20p and 68p per hour to run, in line with the most recent Price Cap.
Remember, portable air conditioners are already selling out fast across different brands and retailers. Now is the time to buy if you want one.
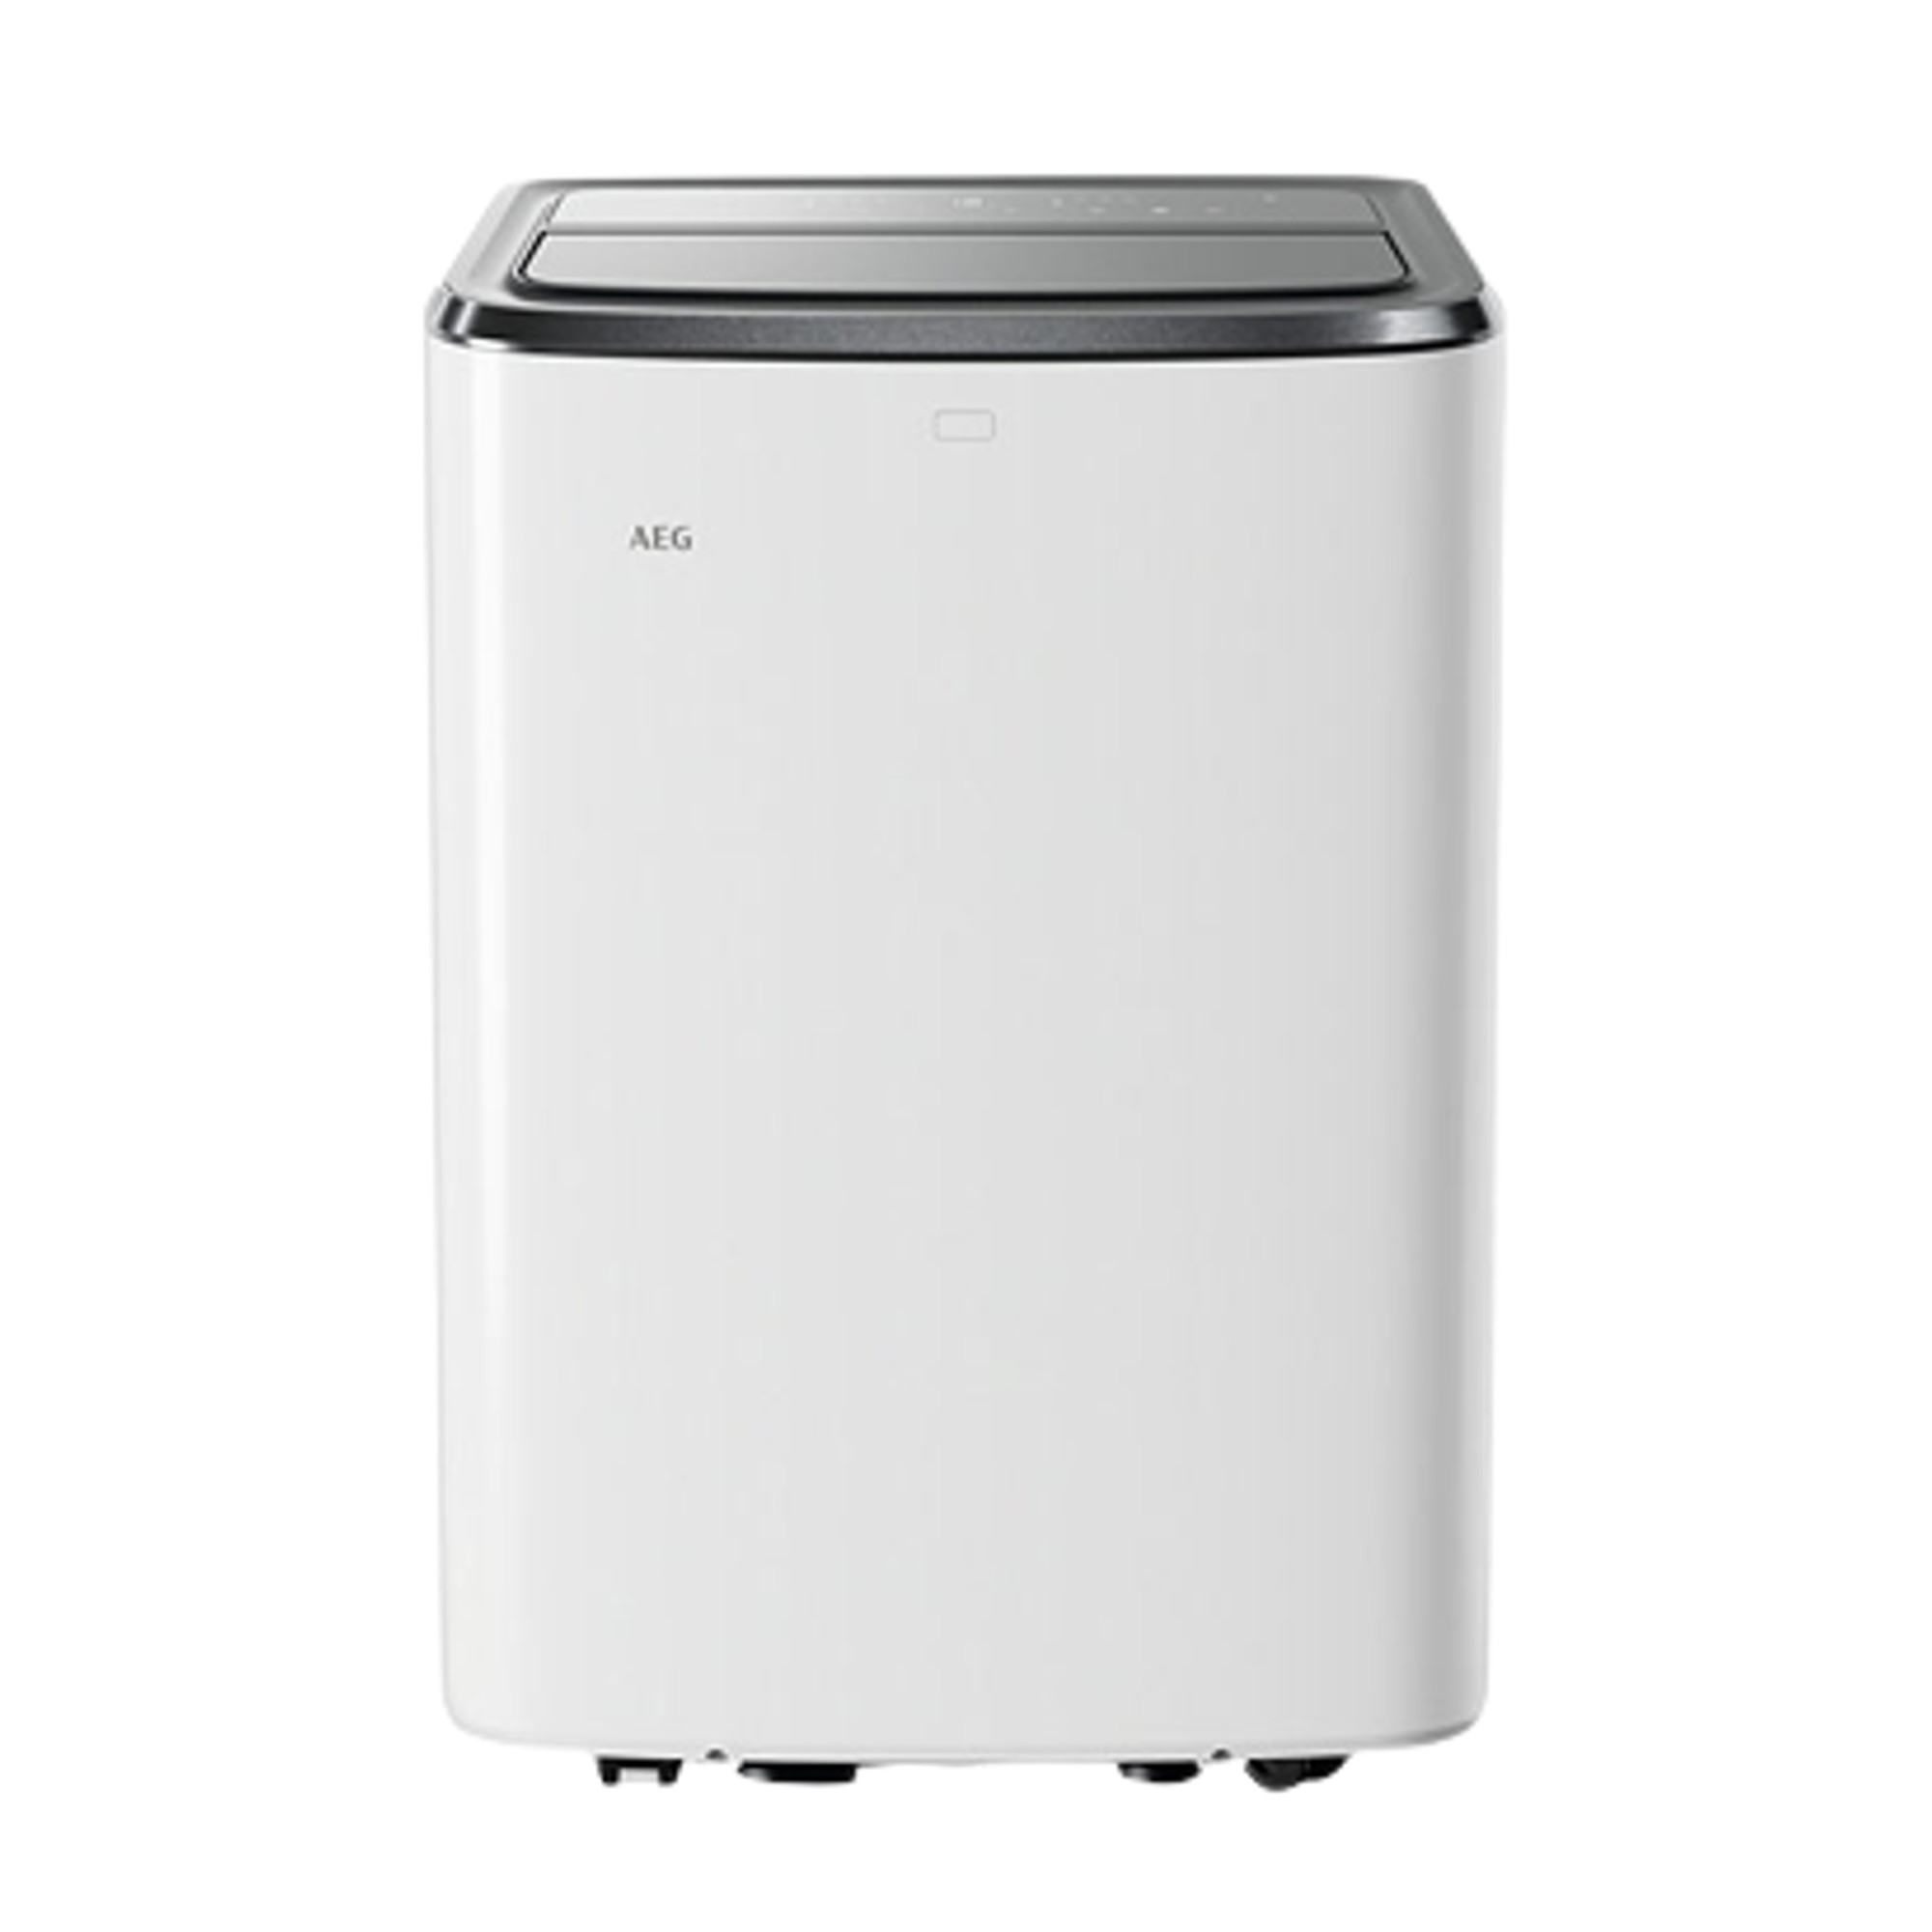
AEG
AEG Comfort 6000 Air Conditioner – Grey / White
<aside data-block-layout="hero" data-block-type="featured-product" data-editorial-currency="GBP" data-editorial-merchant-name="£499 at AO" data-hawk-json="{"product":{"variants":{"Default":{"image":{"copyright":"","height":2000,"id":"v9Lo7bZxmdDJ8qNw9CQX8o","mimeType":"image\/jpeg","mos":"https:\/\/cdn.mos.cms.futurecdn.net\/v9Lo7bZxmdDJ8qNw9CQX8o.jpg","role":"","width":2000,"credit":"AEG","alt":"AEG Comfort 6000 Portable Air Conditioner","caption":""},"strapline":"
Rated Ideal Home’s most powerful portable air conditioner, it’s easy-to-use and relatively quiet compared to it’s 2600 wattage. It has a easy-to-read LED display and WiFi connectivity so you can control it from your phone.","brand":"AEG ","name":"AEG Comfort 6000 Air Conditioner – Grey \/ White","urlStyle":"","layout":"hero","noFollow":true,"noAffiliateTracking":false,"promoLabel":"","price":null,"salePrice":null,"currency":"GBP","linkLayout":"text","sponsored":false,"hawkProductNameMatchedCode":"","review":{"cons":[],"id":"","name":"","pros":[],"rating":0,"strapline":"","url":""},"id":"","lastCheckedPriceDate":"","link":{"url":"https:\/\/www.awin1.com\/awclick.php?awinmid=19526&awinaffid=103504&clickref=hawk-custom-tracking&p=https%3A%2F%2Fao.com%2Fproduct%2Faxp26u339cw-aeg-comfort-6000-air-conditioner-grey-96096-825.aspx","linkText":"\u00a3499 at AO","editorialMerchantName":"\u00a3499 at AO","merchantName":"AO.com","merchantId":185803,"merchantNetwork":"AW","merchantUrl":"ao.com"}}}}}” data-link=”https://www.awin1.com/awclick.php?awinmid=19526&awinaffid=103504&clickref=hawk-custom-tracking&p=https%3A%2F%2Fao.com%2Fproduct%2Faxp26u339cw-aeg-comfort-6000-air-conditioner-grey-96096-825.aspx” data-link-merchant=”AO.com” data-link-text=”£499 at AO” data-merchant-id=”185803″ data-merchant-name=”AO.com” data-merchant-network=”AW” data-merchant-url=”ao.com” data-model-brand=”AEG ” data-model-name=”AEG AEG Comfort 6000 Air Conditioner – Grey / White” data-name=”Product Block merchantlink widget” data-render-type=”fte” data-show-fallback=”button” data-widget-type=”merchantlink” class=”hawk-root”>
Rated Ideal Home‘s most powerful portable air conditioner, it’s easy-to-use and relatively quiet compared to it’s 2600 wattage. It has a easy-to-read LED display and WiFi connectivity so you can control it from your phone.
Pro Breeze
Pro Breeze® 12000 Btu Portable Air Conditioner –
<aside data-block-layout="hero" data-block-type="featured-product" data-editorial-currency="GBP" data-editorial-merchant-name="£549.99 at Amazon" data-editorial-price="549.99" data-hawk-json="{"product":{"variants":{"Default":{"image":{"copyright":"","height":500,"id":"oMkxEhdHkuTcGsFaSz78WX","mimeType":"image\/jpeg","mos":"https:\/\/cdn.mos.cms.futurecdn.net\/oMkxEhdHkuTcGsFaSz78WX.jpg","role":"","width":400,"credit":"Pro Breeze","alt":"Pro Breeze\u00ae 12000 Btu Portable Air Conditioner – Smart Home Wifi Compatible With 24-Hour Digital Timer, Smart Display & Window Venting Kit Included – Air Conditioning Unit for Home & Office","caption":""},"strapline":"
The Amazon bestseller is perfect for cooling a room fast. It has both voice control and app connectivity for ease of use, and features three speeds and four multi-purpose operating modes including air cooling, dehumidifying, fan only and sleep.","brand":"Pro Breeze","name":"Pro Breeze\u00ae 12000 Btu Portable Air Conditioner – ","urlStyle":"","layout":"hero","noFollow":true,"noAffiliateTracking":false,"promoLabel":"","price":549.99,"salePrice":null,"currency":"GBP","linkLayout":"text","sponsored":false,"hawkProductNameMatchedCode":"","review":{"cons":[],"id":"","name":"","pros":[],"rating":0,"strapline":"","url":""},"id":"","externalId":"24c0a55866a9d2ce46311c6072d3d54336f0b15b","lastCheckedPriceDate":"","link":{"url":"https:\/\/target.georiot.com\/Proxy.ashx?tsid=107653&GR_URL=https%3A%2F%2Famazon.co.uk%2Fdp%2FB0CSZ7MS2C%3Ftag%3Dftr-idealhome-gb-21%26ascsubtag%3Dhawk-custom-tracking-21%26geniuslink%3Dtrue%26th%3D1","linkText":"\u00a3549.99 at Amazon","editorialMerchantName":"\u00a3549.99 at Amazon","merchantName":"Amazon UK","merchantId":1027,"merchantNetwork":"Amazonuk","merchantUrl":"amazon.co.uk"}}}}}” data-link=”https://target.georiot.com/Proxy.ashx?tsid=107653&GR_URL=https%3A%2F%2Famazon.co.uk%2Fdp%2FB0CSZ7MS2C%3Ftag%3Dftr-idealhome-gb-21%26ascsubtag%3Dhawk-custom-tracking-21%26geniuslink%3Dtrue%26th%3D1″ data-link-merchant=”Amazon UK” data-link-text=”£549.99 at Amazon” data-merchant-id=”1027″ data-merchant-name=”Amazon UK” data-merchant-network=”Amazonuk” data-merchant-url=”amazon.co.uk” data-model-brand=”Pro Breeze” data-model-name=”Pro Breeze Pro Breeze® 12000 Btu Portable Air Conditioner -” data-name=”Product Block merchantlink widget” data-render-type=”fte” data-show-fallback=”button” data-widget-type=”merchantlink” class=”hawk-root”>
The Amazon bestseller is perfect for cooling a room fast. It has both voice control and app connectivity for ease of use, and features three speeds and four multi-purpose operating modes including air cooling, dehumidifying, fan only and sleep.
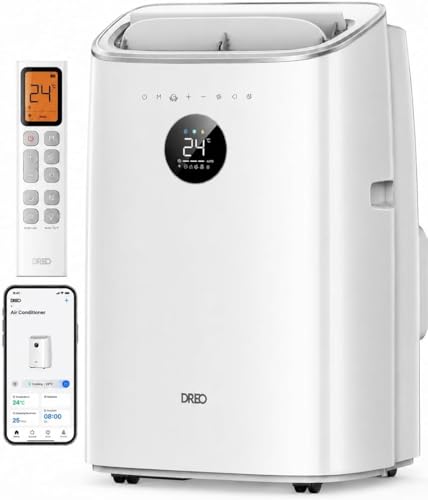
DREO
Dreo 7500 Btu Portable Air Conditioner, 3-In-1 Cool/fan/dry
<aside data-block-layout="hero" data-block-type="featured-product" data-editorial-currency="GBP" data-editorial-merchant-name="£399.99 at Amazon" data-editorial-price="399.99" data-hawk-json="{"product":{"variants":{"Default":{"image":{"copyright":"","height":500,"id":"bG3uXQJichH47K75VMPEUX","mimeType":"image\/jpeg","mos":"https:\/\/cdn.mos.cms.futurecdn.net\/bG3uXQJichH47K75VMPEUX.jpg","role":"","width":428,"credit":"DREO","alt":"Dreo 7500 Btu Portable Air Conditioner, 3-In-1 Cool\/fan\/dry Quiet Ac Unit for Bedroom\/office, Smart App\/voice\/remote Control, Drainage-Free, Universal Window Kit, 2.5l\/h Dehumidification, Ac318s","caption":""},"strapline":"
Our expert reviewer is currently in the process of testing this portable AC, but she has said it is ‘effective, easy to use and surprisingly low noise.’ Control the machine via your voice, using Siri, Amazon Alexa and Google Home. It can also be used a fan and dehumidifier.","brand":"DREO","name":"Dreo 7500 Btu Portable Air Conditioner, 3-In-1 Cool\/fan\/dry ","urlStyle":"","layout":"hero","noFollow":true,"noAffiliateTracking":false,"promoLabel":"","price":399.99,"salePrice":null,"currency":"GBP","linkLayout":"text","sponsored":false,"hawkProductNameMatchedCode":"","review":{"cons":[],"id":"","name":"","pros":[],"rating":0,"strapline":"","url":""},"id":"","externalId":"2dbf5902e9fd6d315e0a3c66f93a9607a4b9b546","lastCheckedPriceDate":"","link":{"url":"https:\/\/target.georiot.com\/Proxy.ashx?tsid=107653&GR_URL=https%3A%2F%2Famazon.co.uk%2FDREO-Conditioner-Drainage-Free-Universal-Dehumidification%2Fdp%2FB0GVJXQ9J5%3Ftag%3Dftr-idealhome-gb-21%26ascsubtag%3Dhawk-custom-tracking-21","linkText":"\u00a3399.99 at Amazon","editorialMerchantName":"\u00a3399.99 at Amazon","merchantName":"Amazon UK","merchantId":1027,"merchantNetwork":"Amazonuk","merchantUrl":"amazon.co.uk"}}}}}” data-link=”https://target.georiot.com/Proxy.ashx?tsid=107653&GR_URL=https%3A%2F%2Famazon.co.uk%2FDREO-Conditioner-Drainage-Free-Universal-Dehumidification%2Fdp%2FB0GVJXQ9J5%3Ftag%3Dftr-idealhome-gb-21%26ascsubtag%3Dhawk-custom-tracking-21″ data-link-merchant=”Amazon UK” data-link-text=”£399.99 at Amazon” data-merchant-id=”1027″ data-merchant-name=”Amazon UK” data-merchant-network=”Amazonuk” data-merchant-url=”amazon.co.uk” data-model-brand=”DREO” data-model-name=”DREO Dreo 7500 Btu Portable Air Conditioner, 3-In-1 Cool/fan/dry” data-name=”Product Block merchantlink widget” data-render-type=”fte” data-show-fallback=”button” data-widget-type=”merchantlink” class=”hawk-root”>
Our expert reviewer is currently in the process of testing this portable AC, but she has said it is ‘effective, easy to use and surprisingly low noise.’ Control the machine via your voice, using Siri, Amazon Alexa and Google Home. It can also be used a fan and dehumidifier.
Rising energy bills can cause stress for any household. Using free cooling hacks where you can will help, but you should reach out to your energy supplier for support if you’re stuggling to pay your bills.
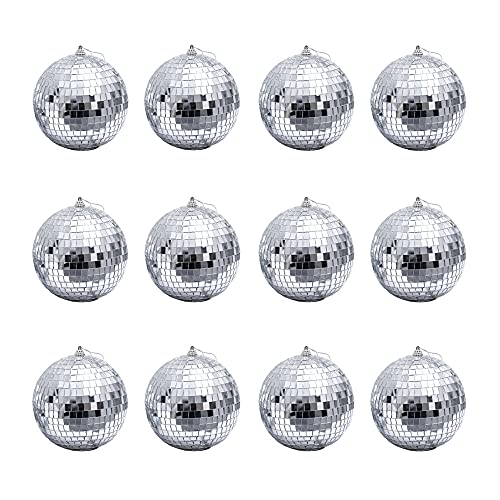
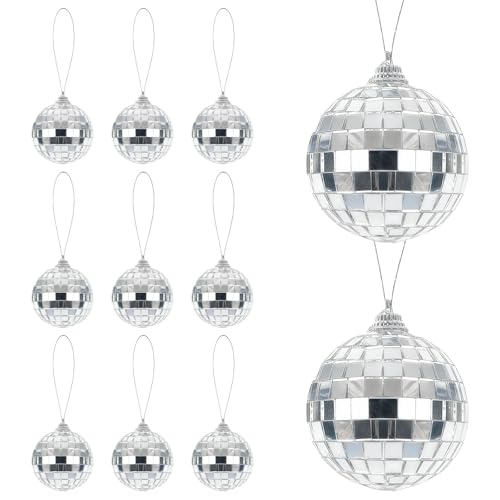
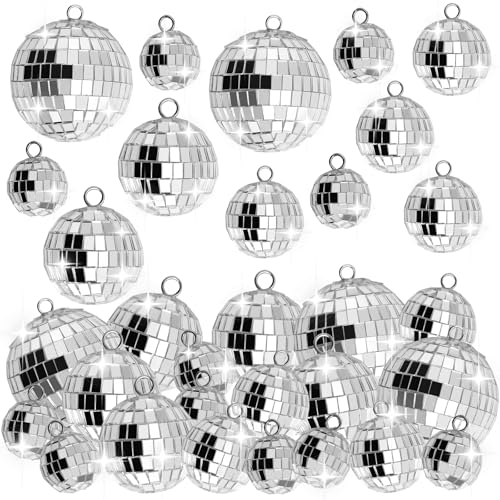
Garden experts have revealed a quirky method to deter pests from a garden and all you need is a handful of discoballs (just like these £8.89 hanging ornaments from Amazon).
Disco style may certainly be in fashion for 2026, and when it comes to your garden, it can be a really useful tool for deterring garden pests. If you want to deter wasps and flies and keep pests off your plants, a glittering mirrorball can be helpful.
The light that reflects off a disco ball can disrupt how flies and other insects navigate, in turn putting them off coming near your plants. It’s a harmless deterrent, but one that will also make your garden glitter like Studio 54.
Latest Videos From
The disco ball hack
Before you head off and make your veg patch glimmer like the ‘70s, it’s important to understand how the hack works, and luckily, the answer is simple. It’s all about using reflected light to disturb pests’ navigation paths.
(Image credit: Getty Images/ Niklas Storm)
‘Gardeners can use disco balls to deter pests as insects like flies rely on light and reflection when navigating, and their sense of direction can be affected by the reflections cast by a disco ball spinning in direct sunlight. This will not harm them, but can be annoying enough that they may start to avoid the area,’ says Richard Barker, horticultural expert and commercial director of LBS Horticulture.
‘The reflections cast by the disco ball can interfere with pests’ sense of direction, as they can be reliant on light and reflection to navigate. In order for this to work, the disco ball needs to be in direct sunlight with some wind to make it spin.’
(Image credit: Getty Images/ Maria Casinos)
As Richard explains, placement is really important for this hack to work. You need to put the disco balls where they can catch a breeze, and of course, near the areas you want to deter pests from.
Sign up to our newsletter for style inspiration, real homes, project and garden advice and shopping know-how
‘For disco balls to be most effective, they must be hung where they will get maximum direct light and be able to catch any breezes to make them swing or spin. They also need to be placed close to where they are most needed to deter pests. For example, to keep gnats, flies, wasps or mosquitoes away from seating or eating areas, hang them over outdoor furniture, around patios etc, etc., says Lucie Bradley, garden and greenhouse expert at Easy Garden Irrigation.
‘If you have problems with gnats or flies near your bins, then this is also a good place to suspend disco balls. Or places where there is lots of footfall, such as next to gates or entrances. If you want to use them to deter birds from your fruits or vegetables, then place them closer to where they are growing, hanging them from trees, from shepherds crooks or basket brackets, as long as they are not in the shadows and not totally sheltered from the wind.’
‘Although it can be a good method to use, the weather conditions may not always be reliable enough to supply enough direct sunlight and wind for it to be effective. If there is no wind to spin the disco ball, it can also potentially become a fire hazard if light reflects onto a dry, flammable surface for a prolonged period of time, such as brittle grass,’ says Richard.
‘The hack will also not work at night, so it is best paired with other methods of pest control that genuinely work, such as fly traps. You should also avoid things that attract pests in the first place, such as leaving food uncovered or leaving bins open.’
Lucie agrees, however, points out that the disco ball method is a cost-effective one and one that doesn’t rely on chemicals. Again, she recommends it with other methods as part of a multi-pronged approach to tackling pests.
‘To make them last as long as possible, keep them out in your garden only in spring and summer and then store them through autumn and winter to protect them from the worst weather. Ideally disco balls with blown plastic cores will be better than those with polystyrene centres as they will be better at resisting wet weather conditions,’ she adds.
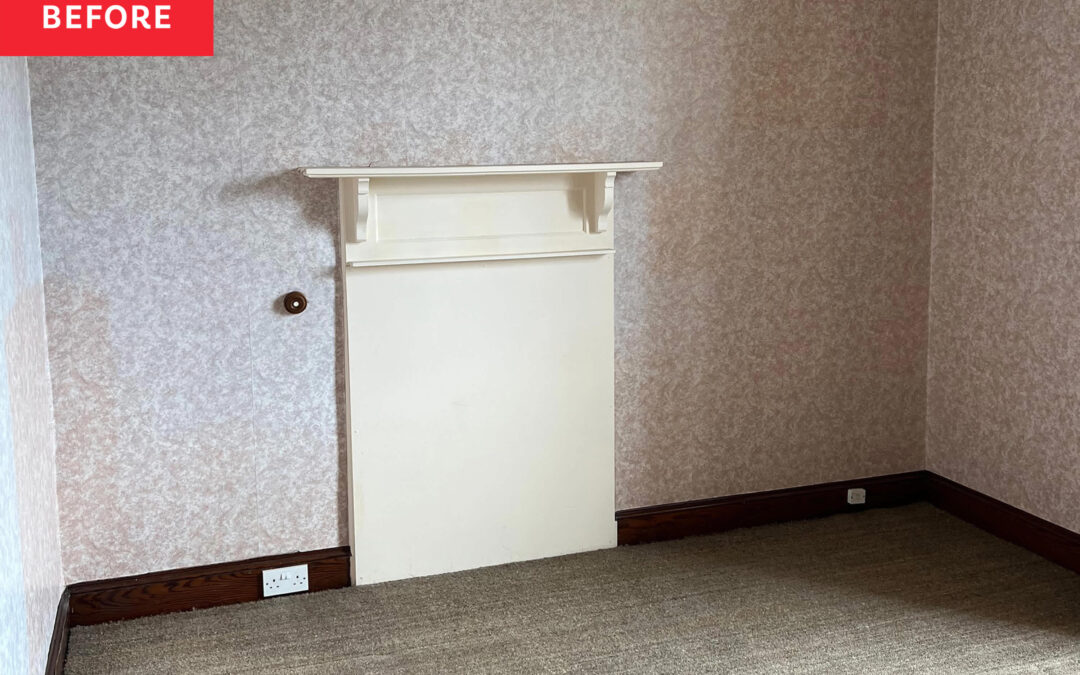
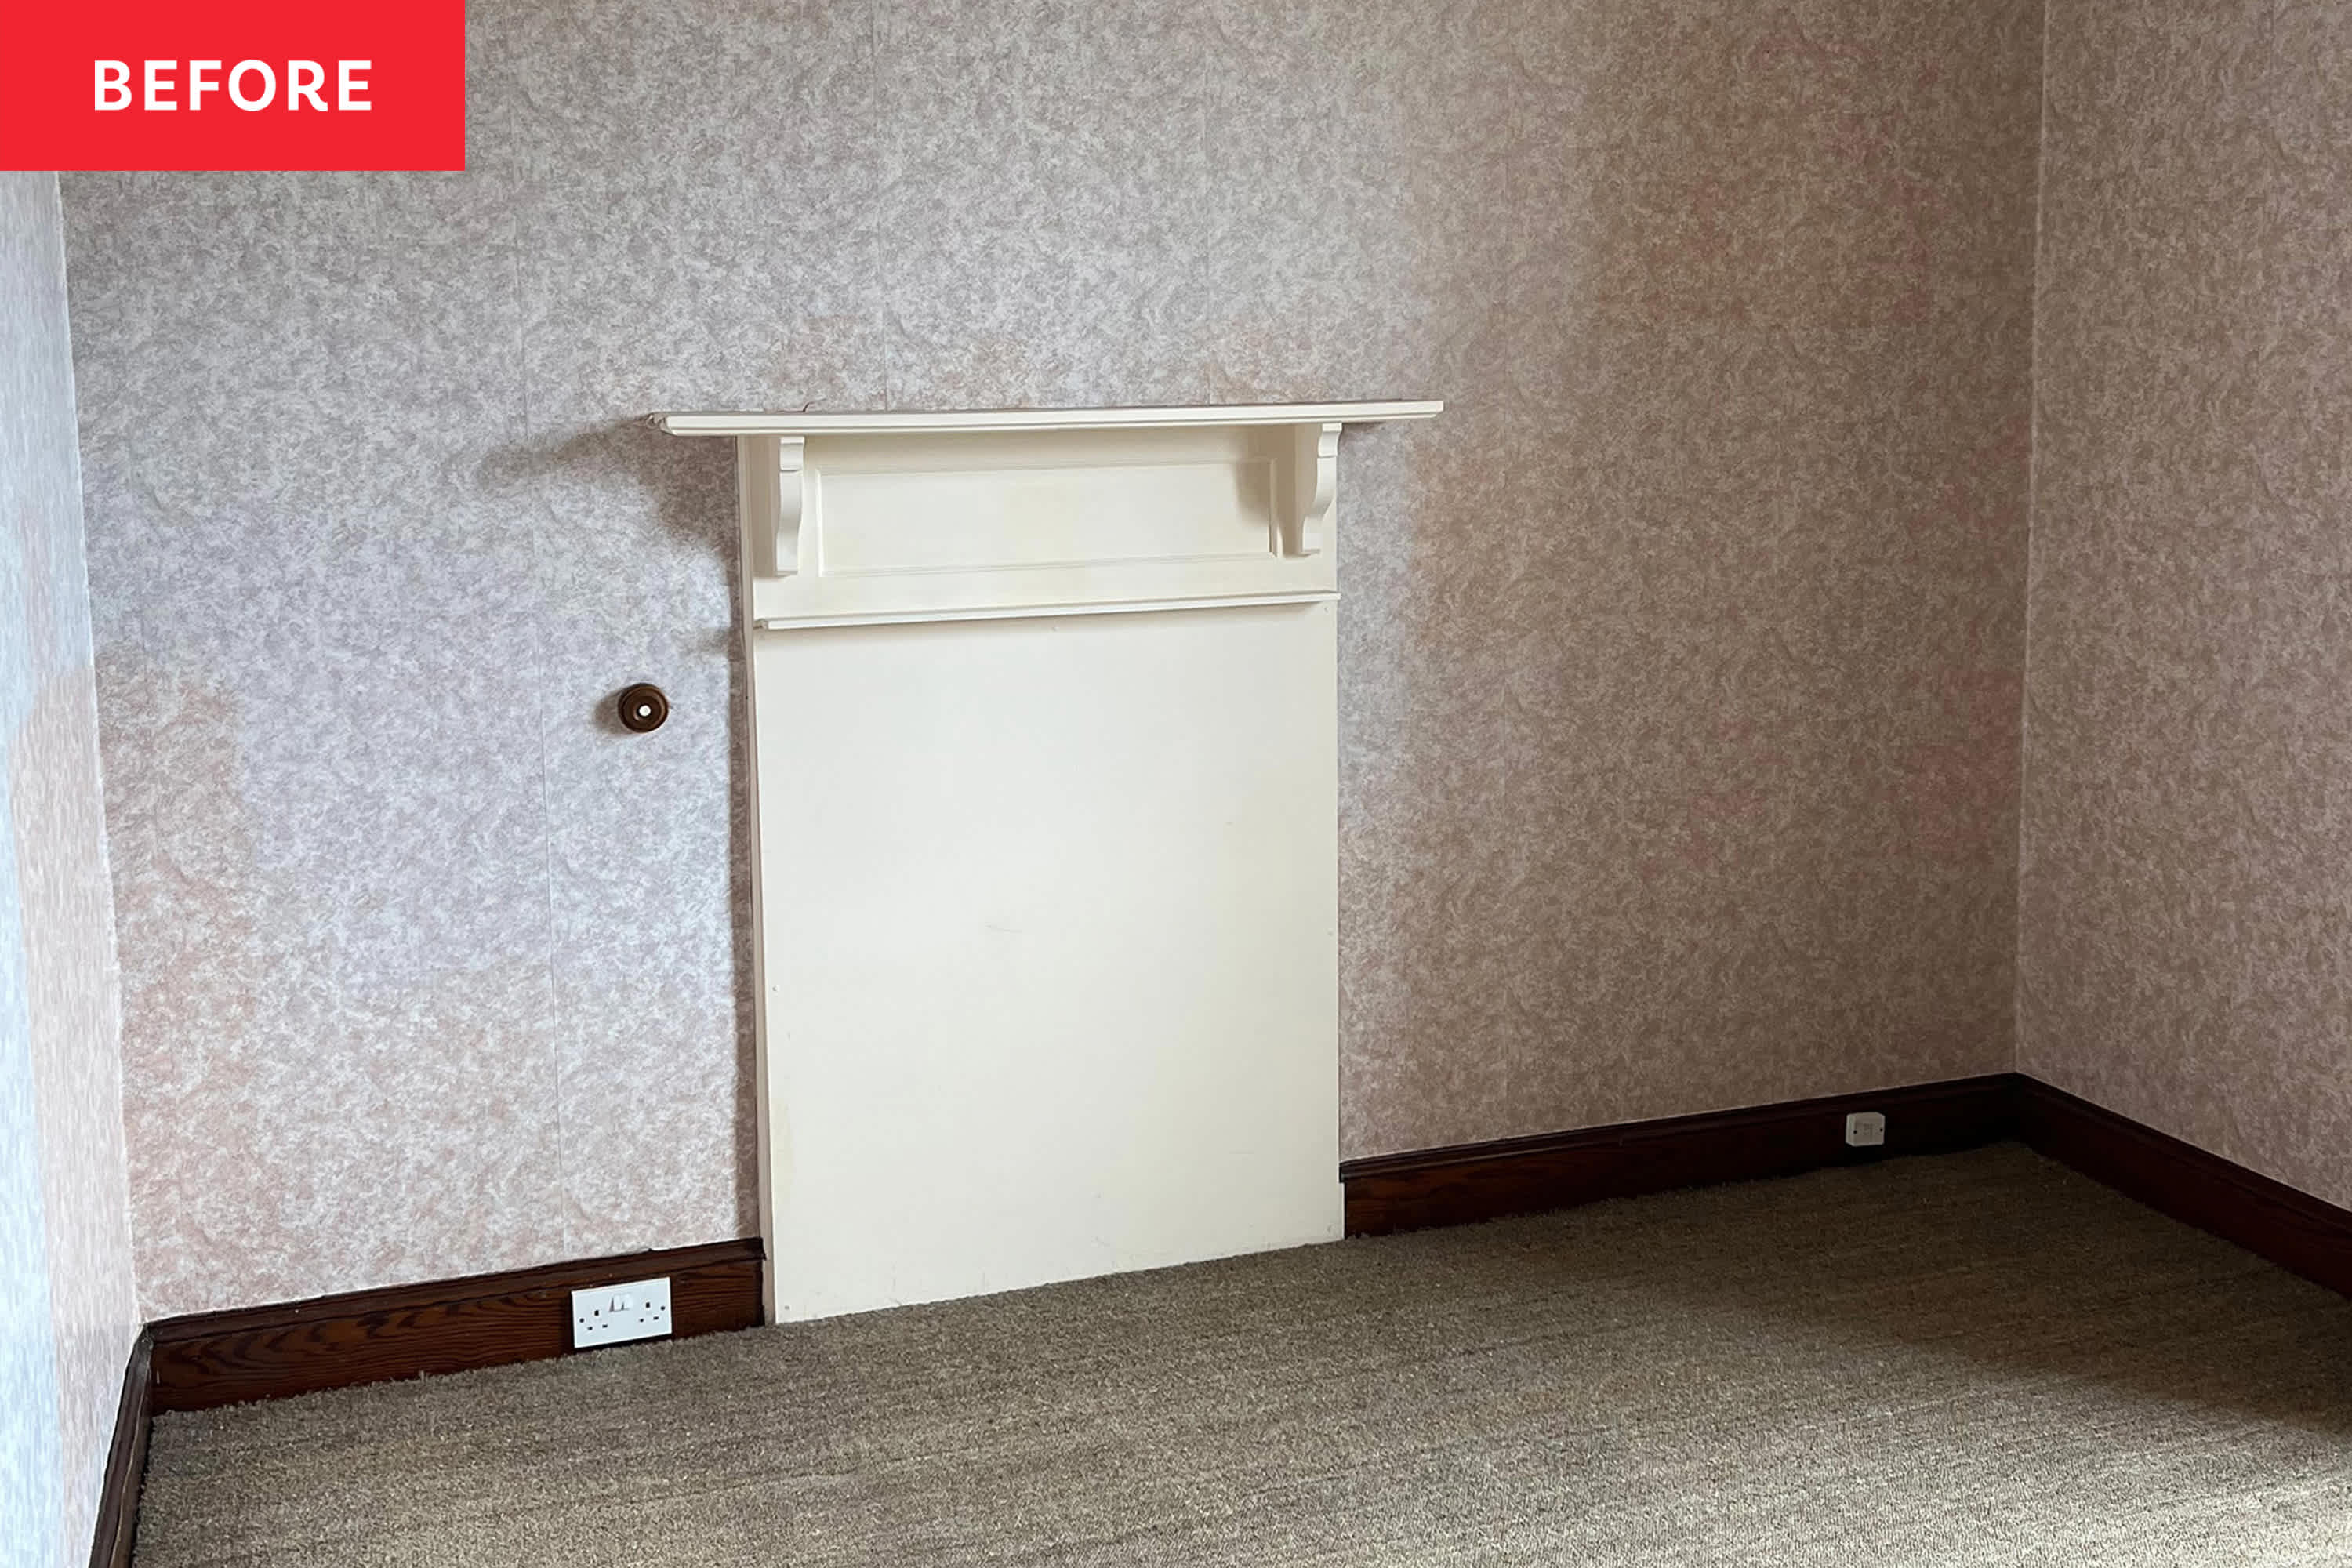
A color consultant discovered a bright cobalt blue Victorian fireplace boarded up in her 1890s home office — and it pulled the whole room together. READ MORE…
The Y2K revival charged back into fashion during lockdown and has shown absolutely no signs of slowing down since. And the latest outdated trend to become cool again? Turquoise. Although experts say this hue never actually goes out of fashion, provided you know how to style it well.
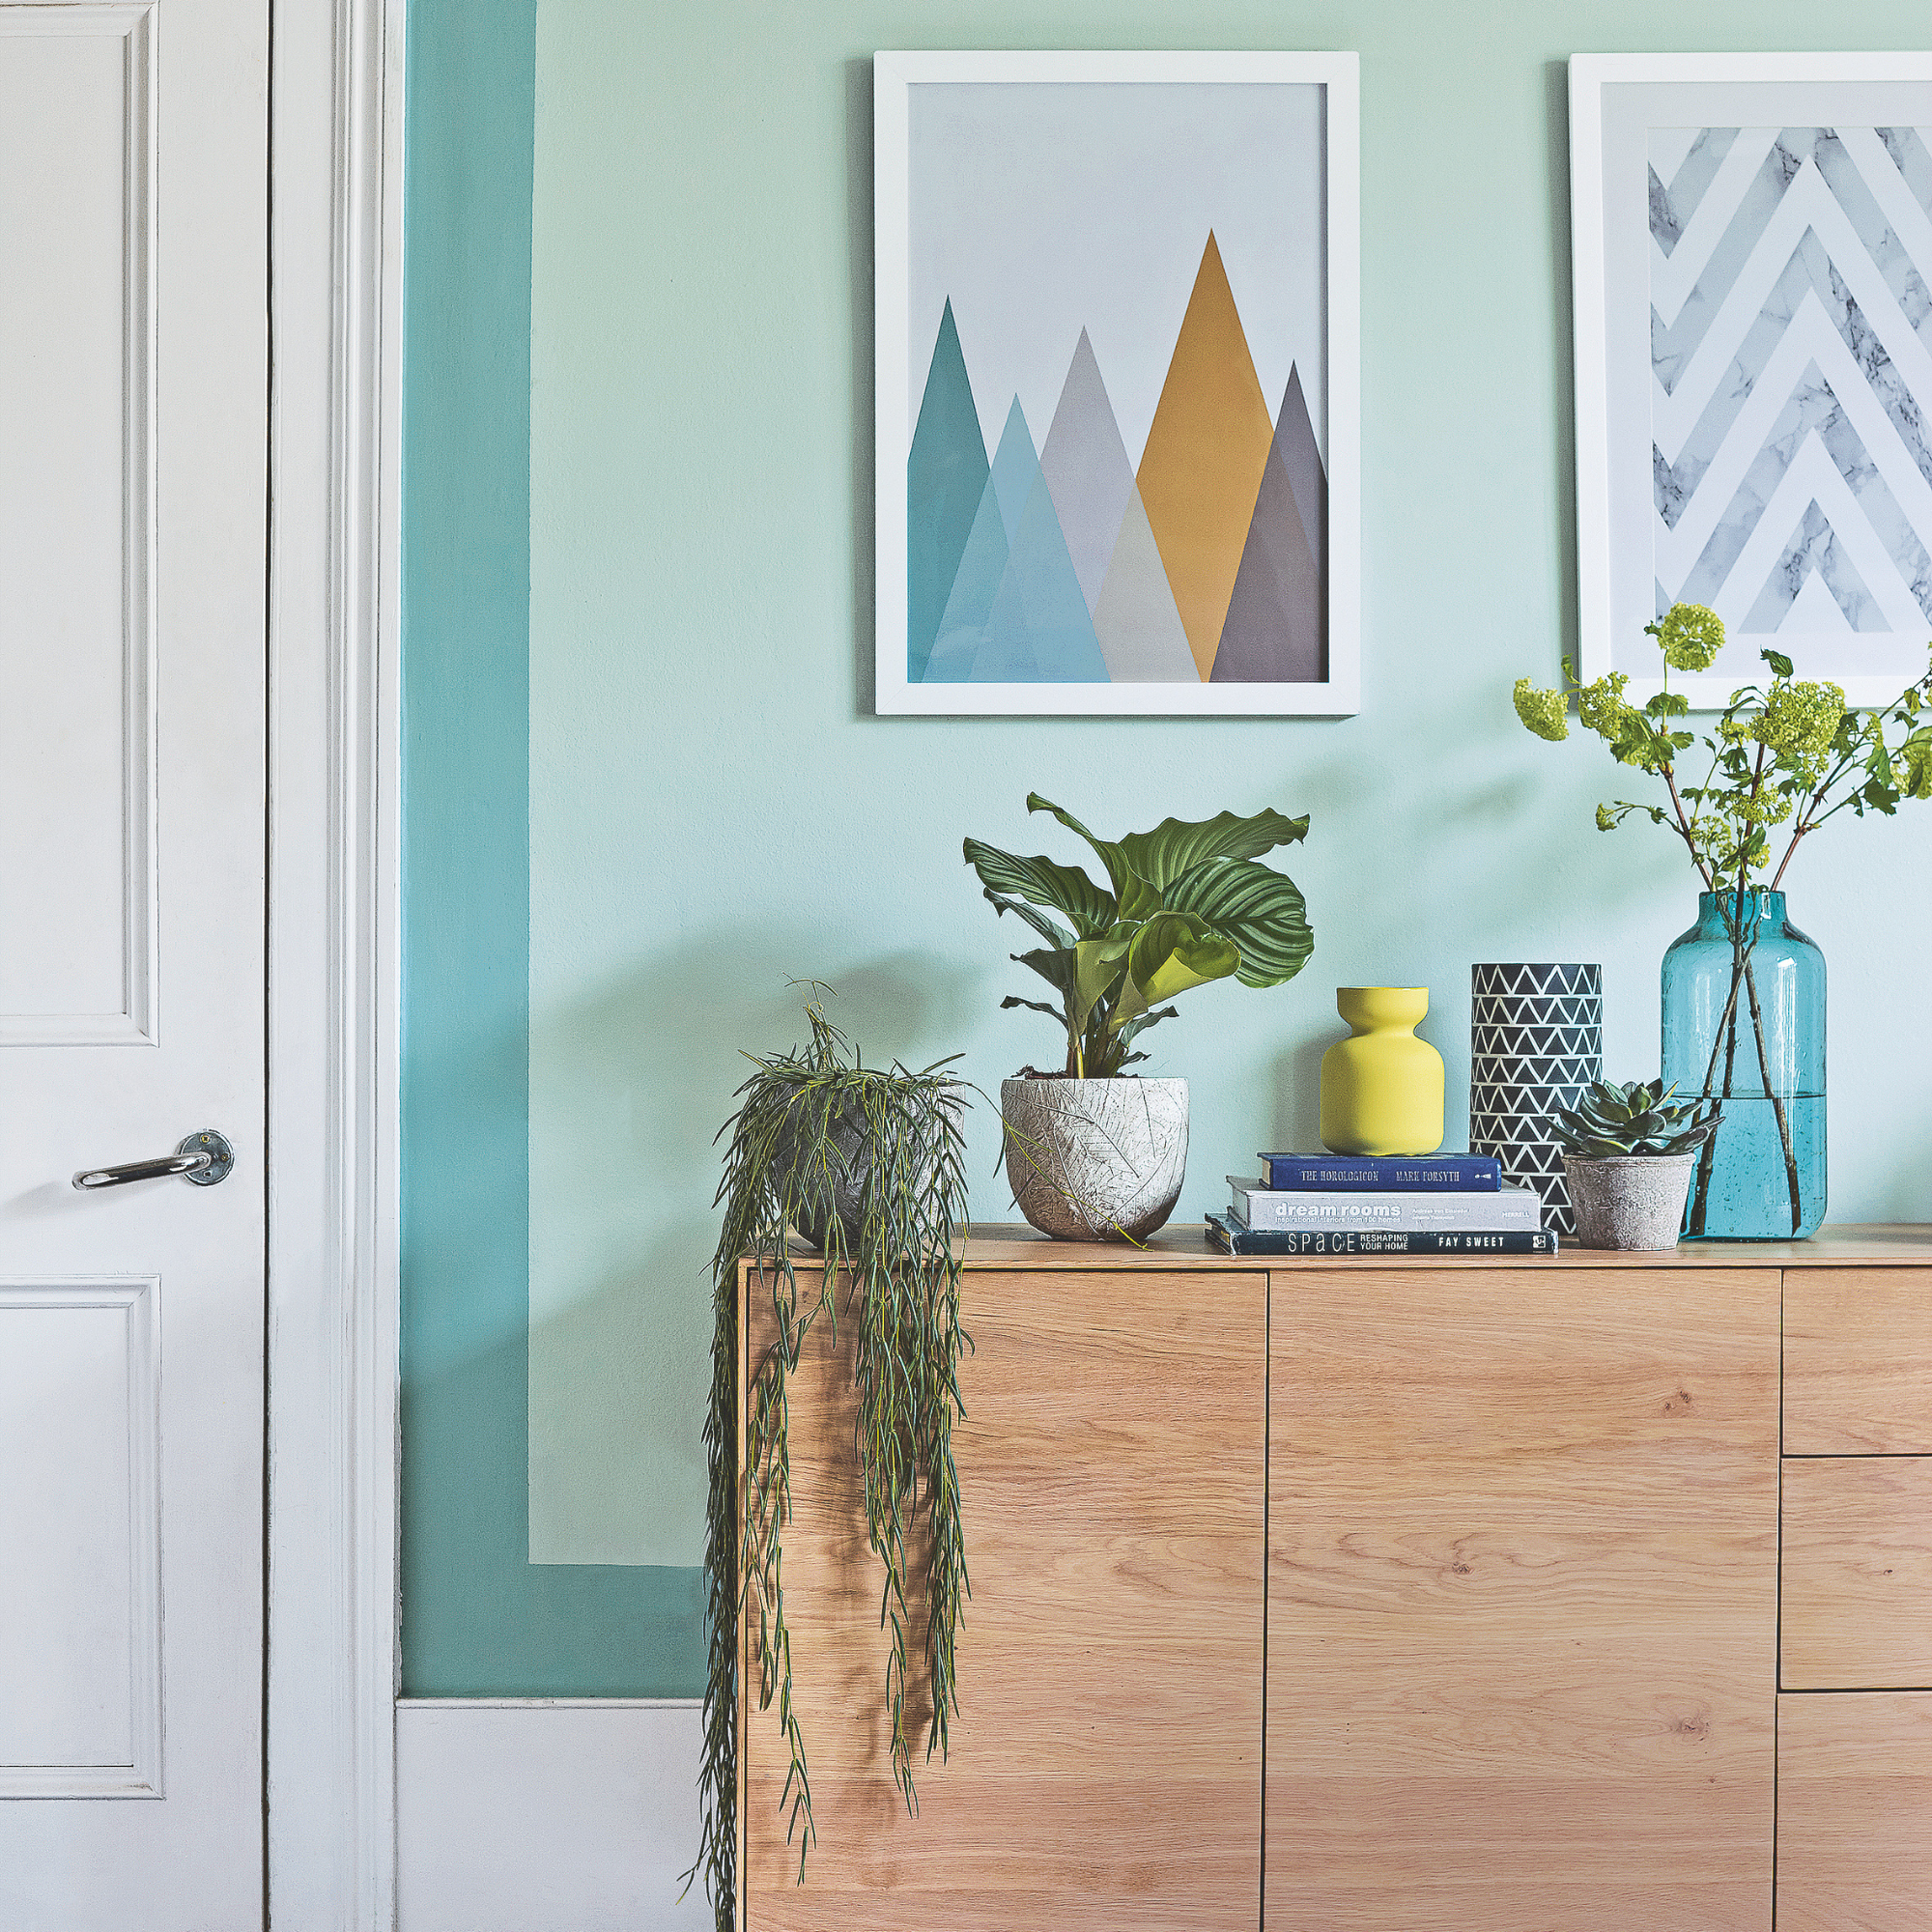
Blue was always destined to be one of the biggest colour trends of 2026, but I never expected that particular hue to be turquoise. But I’ve been seeing this bold, summery shade everywhere, from the racks of my favourite clothes stores, to the homes of my favourite influencers online.
This retro colourway is perfect for the summer months. It’s striking and refreshing, while offering some early 2000s nostalgia. Here’s how you can make it work in your home in 2026.
Latest Videos From
Why is turquoise trending?
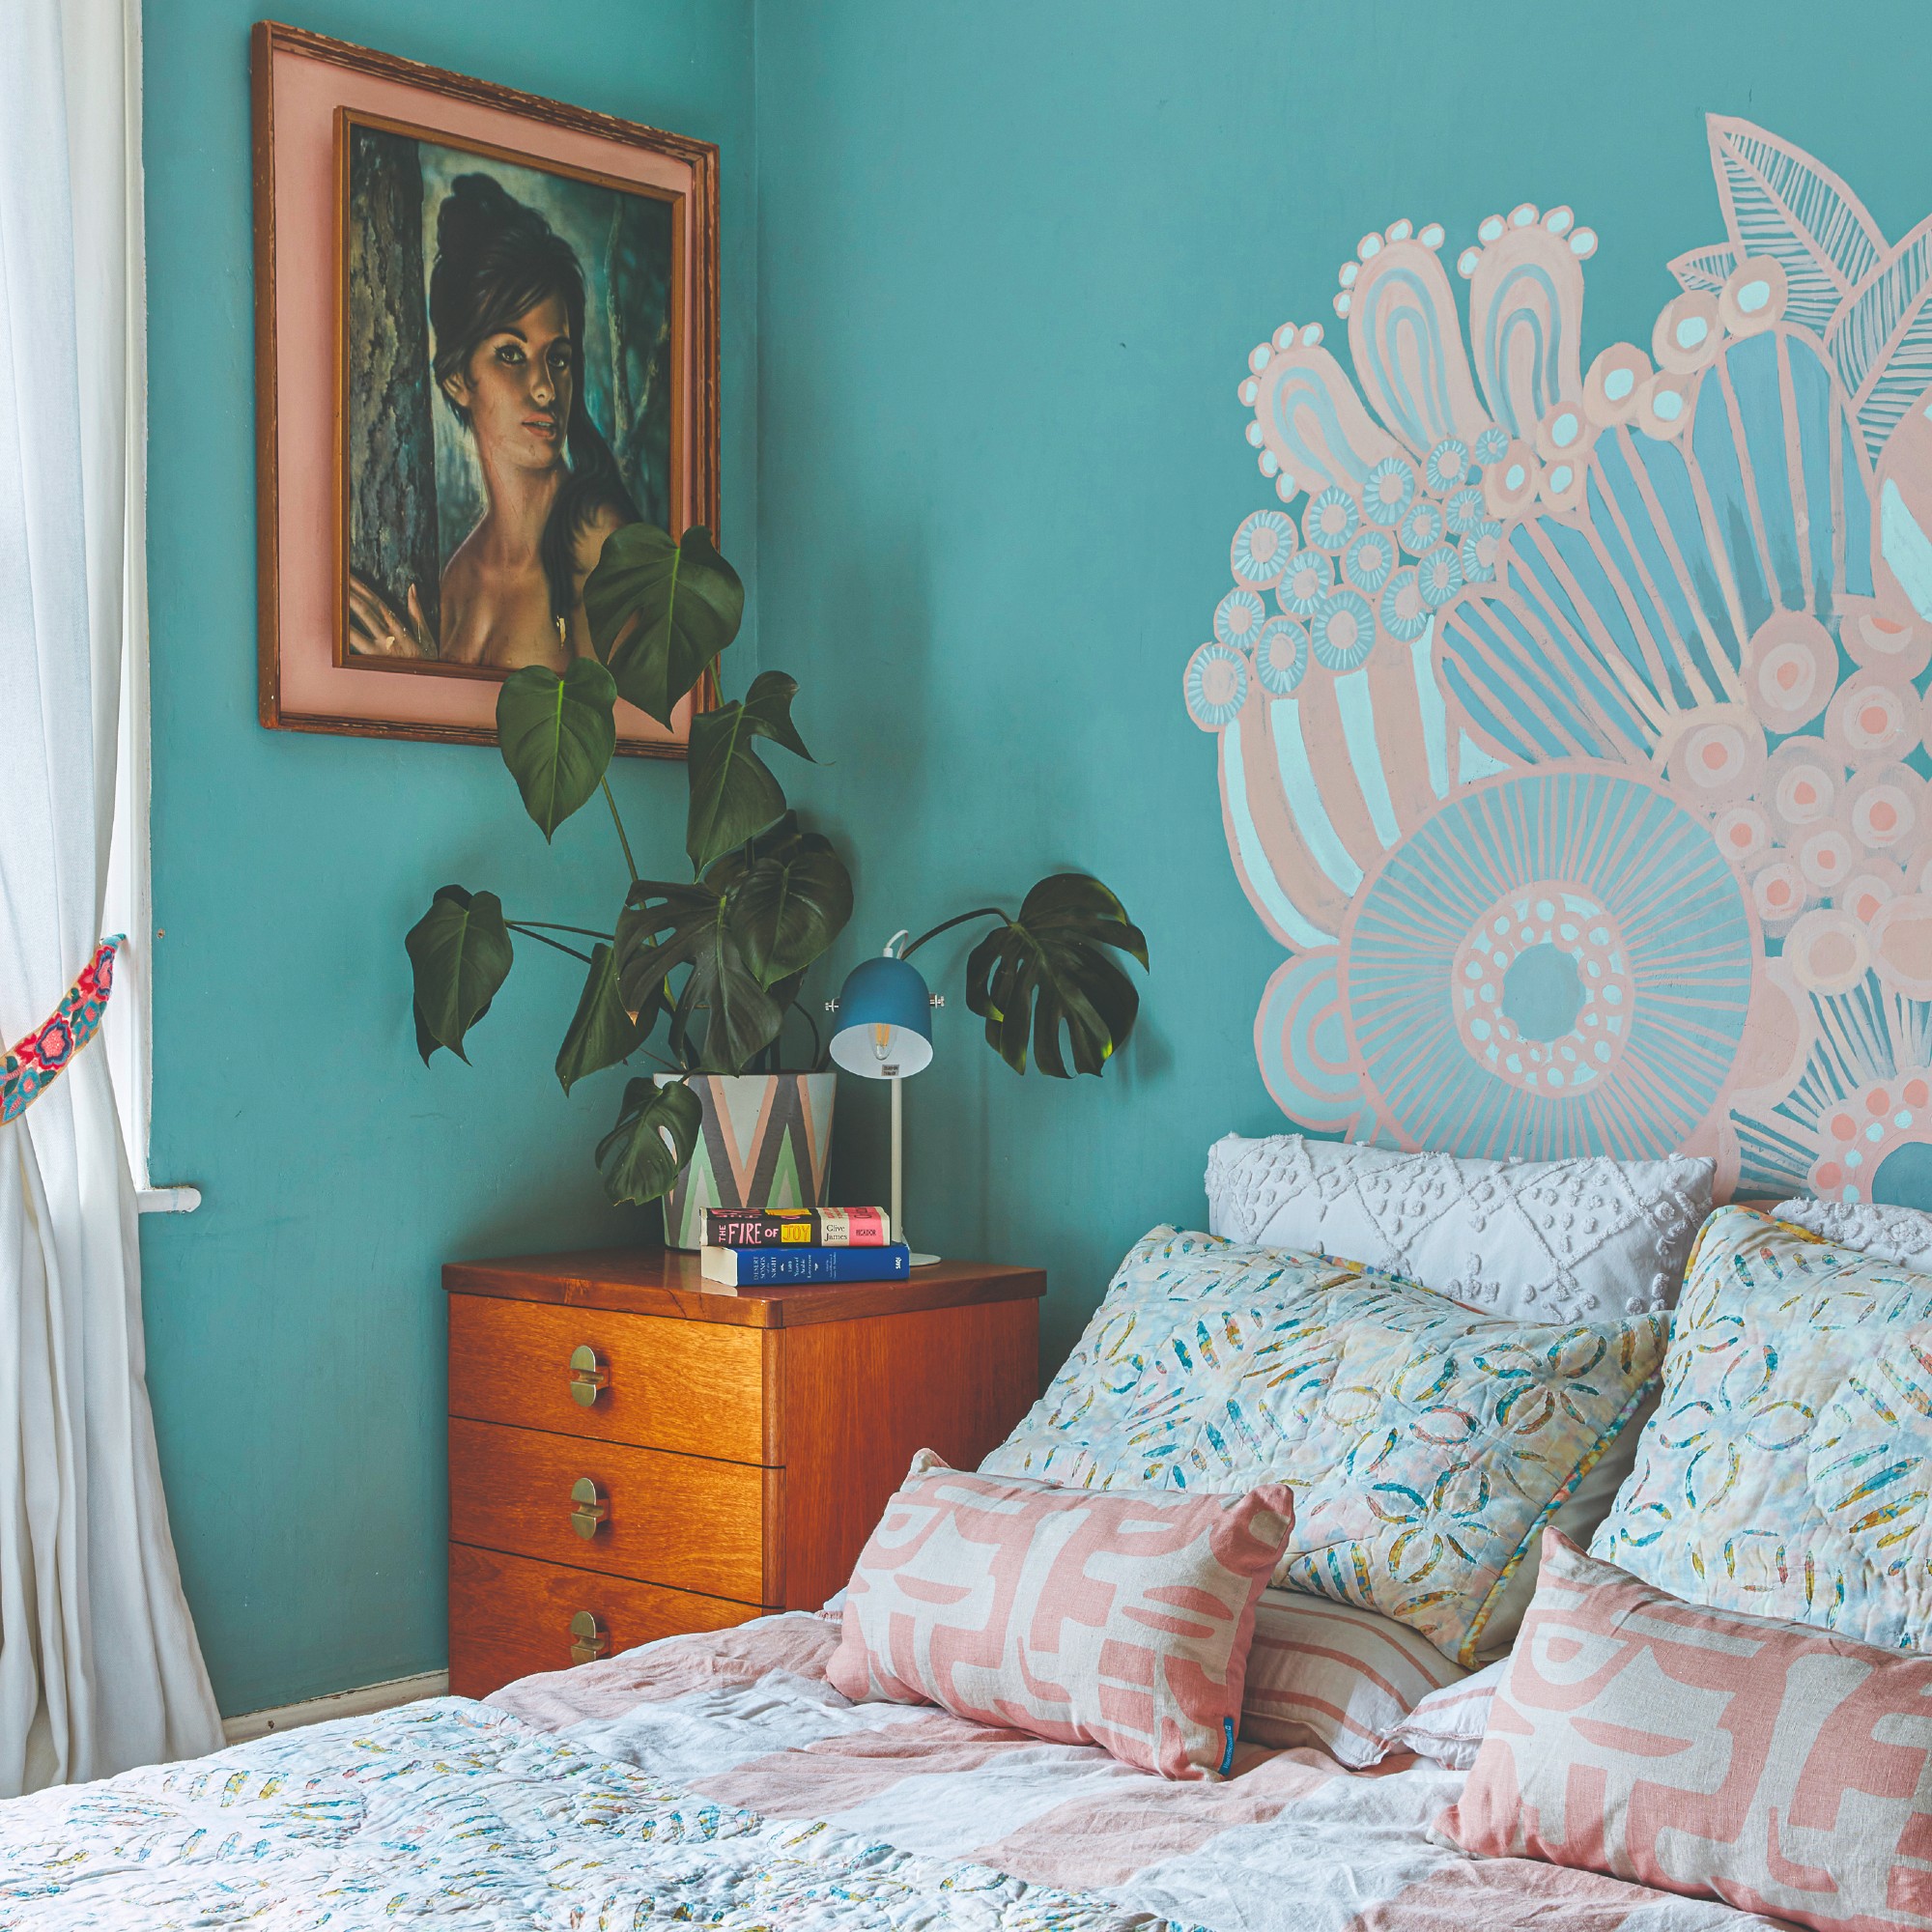
If you’ve been seeking new blue bedroom ideas or blue living room ideas, turquoise is the curveball shade you should consider if you’re looking for a paint shade that packs a punch (and delivers on nostalgia). You probably remember turquoise’s last reign of popularity back in the 2000’s, but it actually has its roots in mid-century design.
(Image credit: Future PLC/ Joanna Henderson)
‘The trend for turquoise dates back to as early as the 1950s, where a bathroom drenched in the shade was a common sight, as tiles, basins, sinks and baths were all blocked in colour. The shade was also common for kitchen appliances and accessories to add a pop of colour to more muted backdrops,’ explains Donna Taylor, colour and design manager at Johnstone’s Paint.
‘Last in the limelight in the late 2000s, the hue plays on nostalgia trends for Millennials and older Gen Z who are looking to decorate their first homes, with a 100% increase in Pinterest searches for turquoise colour inspiration in the last month alone.
(Image credit: Future PLC/Douglas Gibb)
‘This nostalgia movement, paired with the ongoing popularity of maximalism, has put turquoise back at the top of the wish list for those looking to redecorate this summer. The colour carries a playfulness and packs personality with its warm tone that blends blue and green to reach a vibrant middle ground,’ Donna continues.
Sign up to our newsletter for style inspiration, real homes, project and garden advice and shopping know-how
‘The Y2K movement is seeing people reflect on the 2000s and bringing back old trends. Capturing the essence of revisiting your inner child, turquoise is a fun, vibrant shade, and that’s why people love it!’
How to style turquoise in 2026
If your inner child is itching to add a splash of colour to your home, we say go for it. Turquoise will not look dated if you style it via a 2026 lens. Period. For this, it works best as an accent colour. You can even use it as your own ‘red thread’, adding pops of the colour throughout your home for a cohesive look.
(Image credit: Future PLC/ Douglas Gibb)
‘Today, we’re seeing turquoise used in ever more sophisticated and versatile ways. From colour drenching to feature walls and painted furniture, to using as an accent to rooms painted in warm colours like gold, clay red and pink shades,’ says Marianne Shillingford, creative director and colour expert at Dulux.
‘And for those looking to make more of a statement, turquoise can also be paired with sunny yellows, like Pale Citrus, or orange tones, such as Copper Blush, to create a vibrant, summer holiday-inspired palette.’
(Image credit: Future PLC/Kasia Fiszer)
Donna agrees, again stating that turquoise performs well as an accent colour in modern homes. However, she does say it pairs well with lighter blues and cool pinks, such as Johnstone’s Pink Cadillac (£18, Argos).
‘Turquoise often works well as an accent rather than the main colour in a room. This could be a feature wall, or to brighten up furniture like coffee tables, bookshelves or sideboards to add some personality,’ she says.
‘If you’re not sure how turquoise will fit into your home, start with some cushions and a throw to get used to it at first, before you start getting the brushes ready.’
Shop the turquoise trend
Little Greene
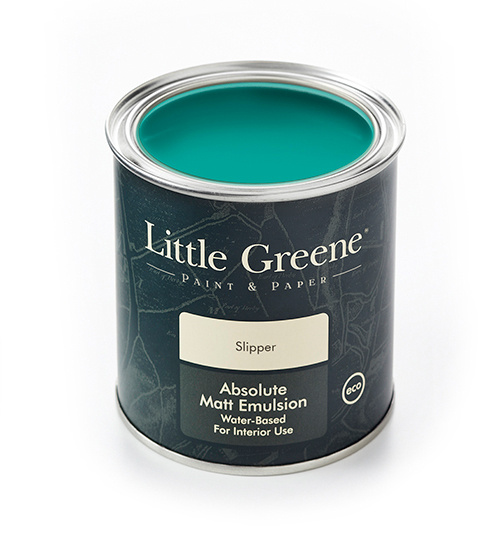
Slipper
<aside data-block-layout="hero" data-block-type="featured-product" data-editorial-currency="GBP" data-editorial-merchant-name="£31 at Little Greene" data-hawk-json="{"product":{"variants":{"Default":{"image":{"copyright":"","height":536,"id":"2ubzZ9fuZL552692G78cLC","mimeType":"image\/jpeg","mos":"https:\/\/cdn.mos.cms.futurecdn.net\/2ubzZ9fuZL552692G78cLC.jpg","role":"","width":500,"credit":"Little Greene ","alt":"Little Greene , Slipper","caption":""},"strapline":"
Inspired by the catwalk runways of Paris, Milan and London, this highly-pigmented paint shade is bold and expressive. Do you dare try it?","brand":"Little Greene ","name":"Slipper","urlStyle":"","layout":"hero","noFollow":true,"noAffiliateTracking":false,"promoLabel":"","price":null,"salePrice":null,"currency":"GBP","linkLayout":"text","sponsored":false,"hawkProductNameMatchedCode":"","review":{"cons":[],"id":"","name":"","pros":[],"rating":0,"strapline":"","url":""},"id":"","lastCheckedPriceDate":"","link":{"url":"https:\/\/www.littlegreene.com\/slipper?","linkText":"\u00a331 at Little Greene","editorialMerchantName":"\u00a331 at Little Greene","merchantName":"littlegreene.com"}}}}}” data-link=”https://www.littlegreene.com/slipper?” data-link-merchant=”littlegreene.com” data-link-text=”£31 at Little Greene” data-merchant-name=”littlegreene.com” data-model-brand=”Little Greene ” data-model-name=”Little Greene Slipper” data-name=”Product Block merchantlink widget” data-render-type=”fte” data-show-fallback=”button” data-widget-type=”merchantlink” class=”hawk-root”>
Inspired by the catwalk runways of Paris, Milan and London, this highly-pigmented paint shade is bold and expressive. Do you dare try it?
Pooky Lighting
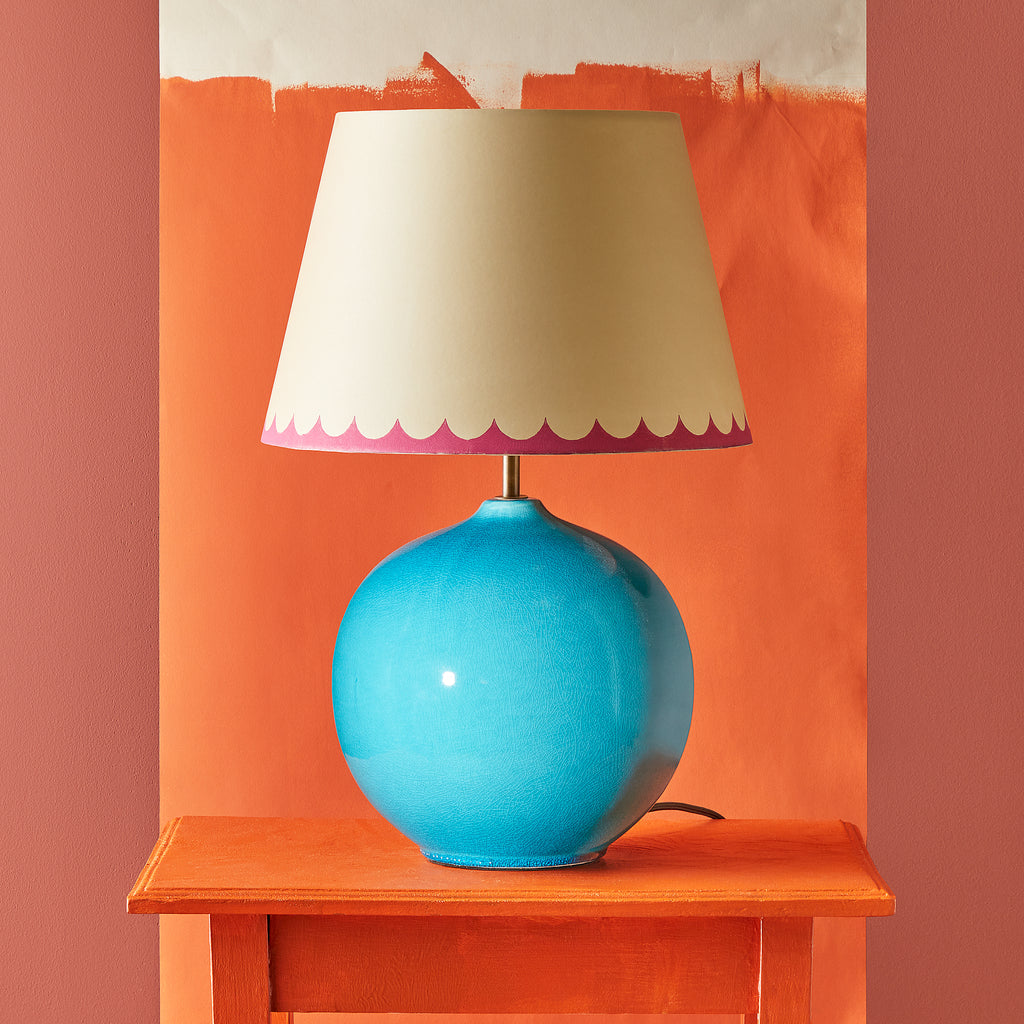
Olly Table Lamp in Turquoise
<aside data-block-layout="hero" data-block-type="featured-product" data-editorial-currency="GBP" data-editorial-merchant-name="£94 at Pooky " data-editorial-price="94" data-hawk-json="{"product":{"variants":{"Default":{"image":{"copyright":"","height":1024,"id":"chj2MFW2U3xatRSs9zLTf9","mimeType":"image\/jpeg","mos":"https:\/\/cdn.mos.cms.futurecdn.net\/chj2MFW2U3xatRSs9zLTf9.jpg","role":"","width":1024,"credit":"Pooky Lighting","alt":"Olly Table Lamp in Turquoise","caption":""},"strapline":"
This shade of blue is stunning, and is complemented beautifully by the simple cream and pink lampshade. Pooky is always an excellent lighting choice, too.","brand":"Pooky Lighting","name":"Olly Table Lamp in Turquoise","urlStyle":"","layout":"hero","noFollow":true,"noAffiliateTracking":false,"promoLabel":"","price":94,"salePrice":null,"currency":"GBP","linkLayout":"text","sponsored":false,"hawkProductNameMatchedCode":"","review":{"cons":[],"id":"","name":"","pros":[],"rating":0,"strapline":"","url":""},"id":"","externalId":"a4bdf1d74162e1ec819b23b99871508beba0f538","lastCheckedPriceDate":"","link":{"url":"https:\/\/www.awin1.com\/awclick.php?awinmid=20426&awinaffid=103504&clickref=hawk-custom-tracking&p=https%3A%2F%2Fwww.pooky.com%2Fproducts%2Folly-table-lamp-in-turquoise","linkText":"\u00a394 at Pooky ","editorialMerchantName":"\u00a394 at Pooky ","merchantName":"Pooky","merchantId":538624,"merchantNetwork":"AW","merchantUrl":"pooky.com"}}}}}” data-link=”https://www.awin1.com/awclick.php?awinmid=20426&awinaffid=103504&clickref=hawk-custom-tracking&p=https%3A%2F%2Fwww.pooky.com%2Fproducts%2Folly-table-lamp-in-turquoise” data-link-merchant=”Pooky” data-link-text=”£94 at Pooky ” data-merchant-id=”538624″ data-merchant-name=”Pooky” data-merchant-network=”AW” data-merchant-url=”pooky.com” data-model-brand=”Pooky Lighting” data-model-name=”Pooky Lighting Olly Table Lamp in Turquoise” data-name=”Product Block merchantlink widget” data-render-type=”fte” data-show-fallback=”button” data-widget-type=”merchantlink” class=”hawk-root”>
This shade of blue is stunning, and is complemented beautifully by the simple cream and pink lampshade. Pooky is always an excellent lighting choice, too.
daals
Indra Suzani Cyan Blue Crewelwork Wool Embroidered Cushion
<aside data-block-layout="hero" data-block-type="featured-product" data-editorial-currency="GBP" data-editorial-merchant-name="£37.99 at Daals" data-editorial-price="37.99" data-hawk-json="{"product":{"variants":{"Default":{"image":{"copyright":"","height":1024,"id":"PqihqE9bNbXnWzCt7RRTST","mimeType":"image\/jpeg","mos":"https:\/\/cdn.mos.cms.futurecdn.net\/PqihqE9bNbXnWzCt7RRTST.jpg","role":"","width":1024,"credit":"daals","alt":"Indra Suzani Cyan Blue Crewelwork Wool Embroidered Cushion","caption":""},"strapline":"
If you don’t want to pick up a paintbrush, a statement cushion can do a lot of heady lifting. I adore the bold blue and intricate pattern of this one.","brand":"daals","name":"Indra Suzani Cyan Blue Crewelwork Wool Embroidered Cushion","urlStyle":"","layout":"hero","noFollow":true,"noAffiliateTracking":false,"promoLabel":"","price":37.99,"salePrice":null,"currency":"GBP","linkLayout":"text","sponsored":false,"hawkProductNameMatchedCode":"","review":{"cons":[],"id":"","name":"","pros":[],"rating":0,"strapline":"","url":""},"id":"","externalId":"10884ee0129f1fb15c78e98fc7f3e10669ea2b74","lastCheckedPriceDate":"","link":{"url":"https:\/\/www.daals.co.uk\/products\/indra-suzani-cyan-blue-crewelwork-wool-embroidered-cushion?","linkText":"\u00a337.99 at Daals","editorialMerchantName":"\u00a337.99 at Daals","merchantName":"daals.co.uk"}}}}}” data-link=”https://www.daals.co.uk/products/indra-suzani-cyan-blue-crewelwork-wool-embroidered-cushion?” data-link-merchant=”daals.co.uk” data-link-text=”£37.99 at Daals” data-merchant-name=”daals.co.uk” data-model-brand=”daals” data-model-name=”daals Indra Suzani Cyan Blue Crewelwork Wool Embroidered Cushion” data-name=”Product Block merchantlink widget” data-render-type=”fte” data-show-fallback=”button” data-widget-type=”merchantlink” class=”hawk-root”>
If you don’t want to pick up a paintbrush, a statement cushion can do a lot of heady lifting. I adore the bold blue and intricate pattern of this one.
I personally think the turquoise trend is perfect for summer, bringing holiday vibes to the comfort of your own home. And by carefully using it as an accent colour in your home, you’ll extend its lifespan long after the holiday season ends.
Smeg’s retro kettle and toaster have become something of a homeware icon. You’ll find Smeg’s instantly recognisable small appliances on the worktops of the most stylish of kitchens, and we’ve even given the kettle one of the best kettle top spots – it’s a beautiful design that is just as easy to use.
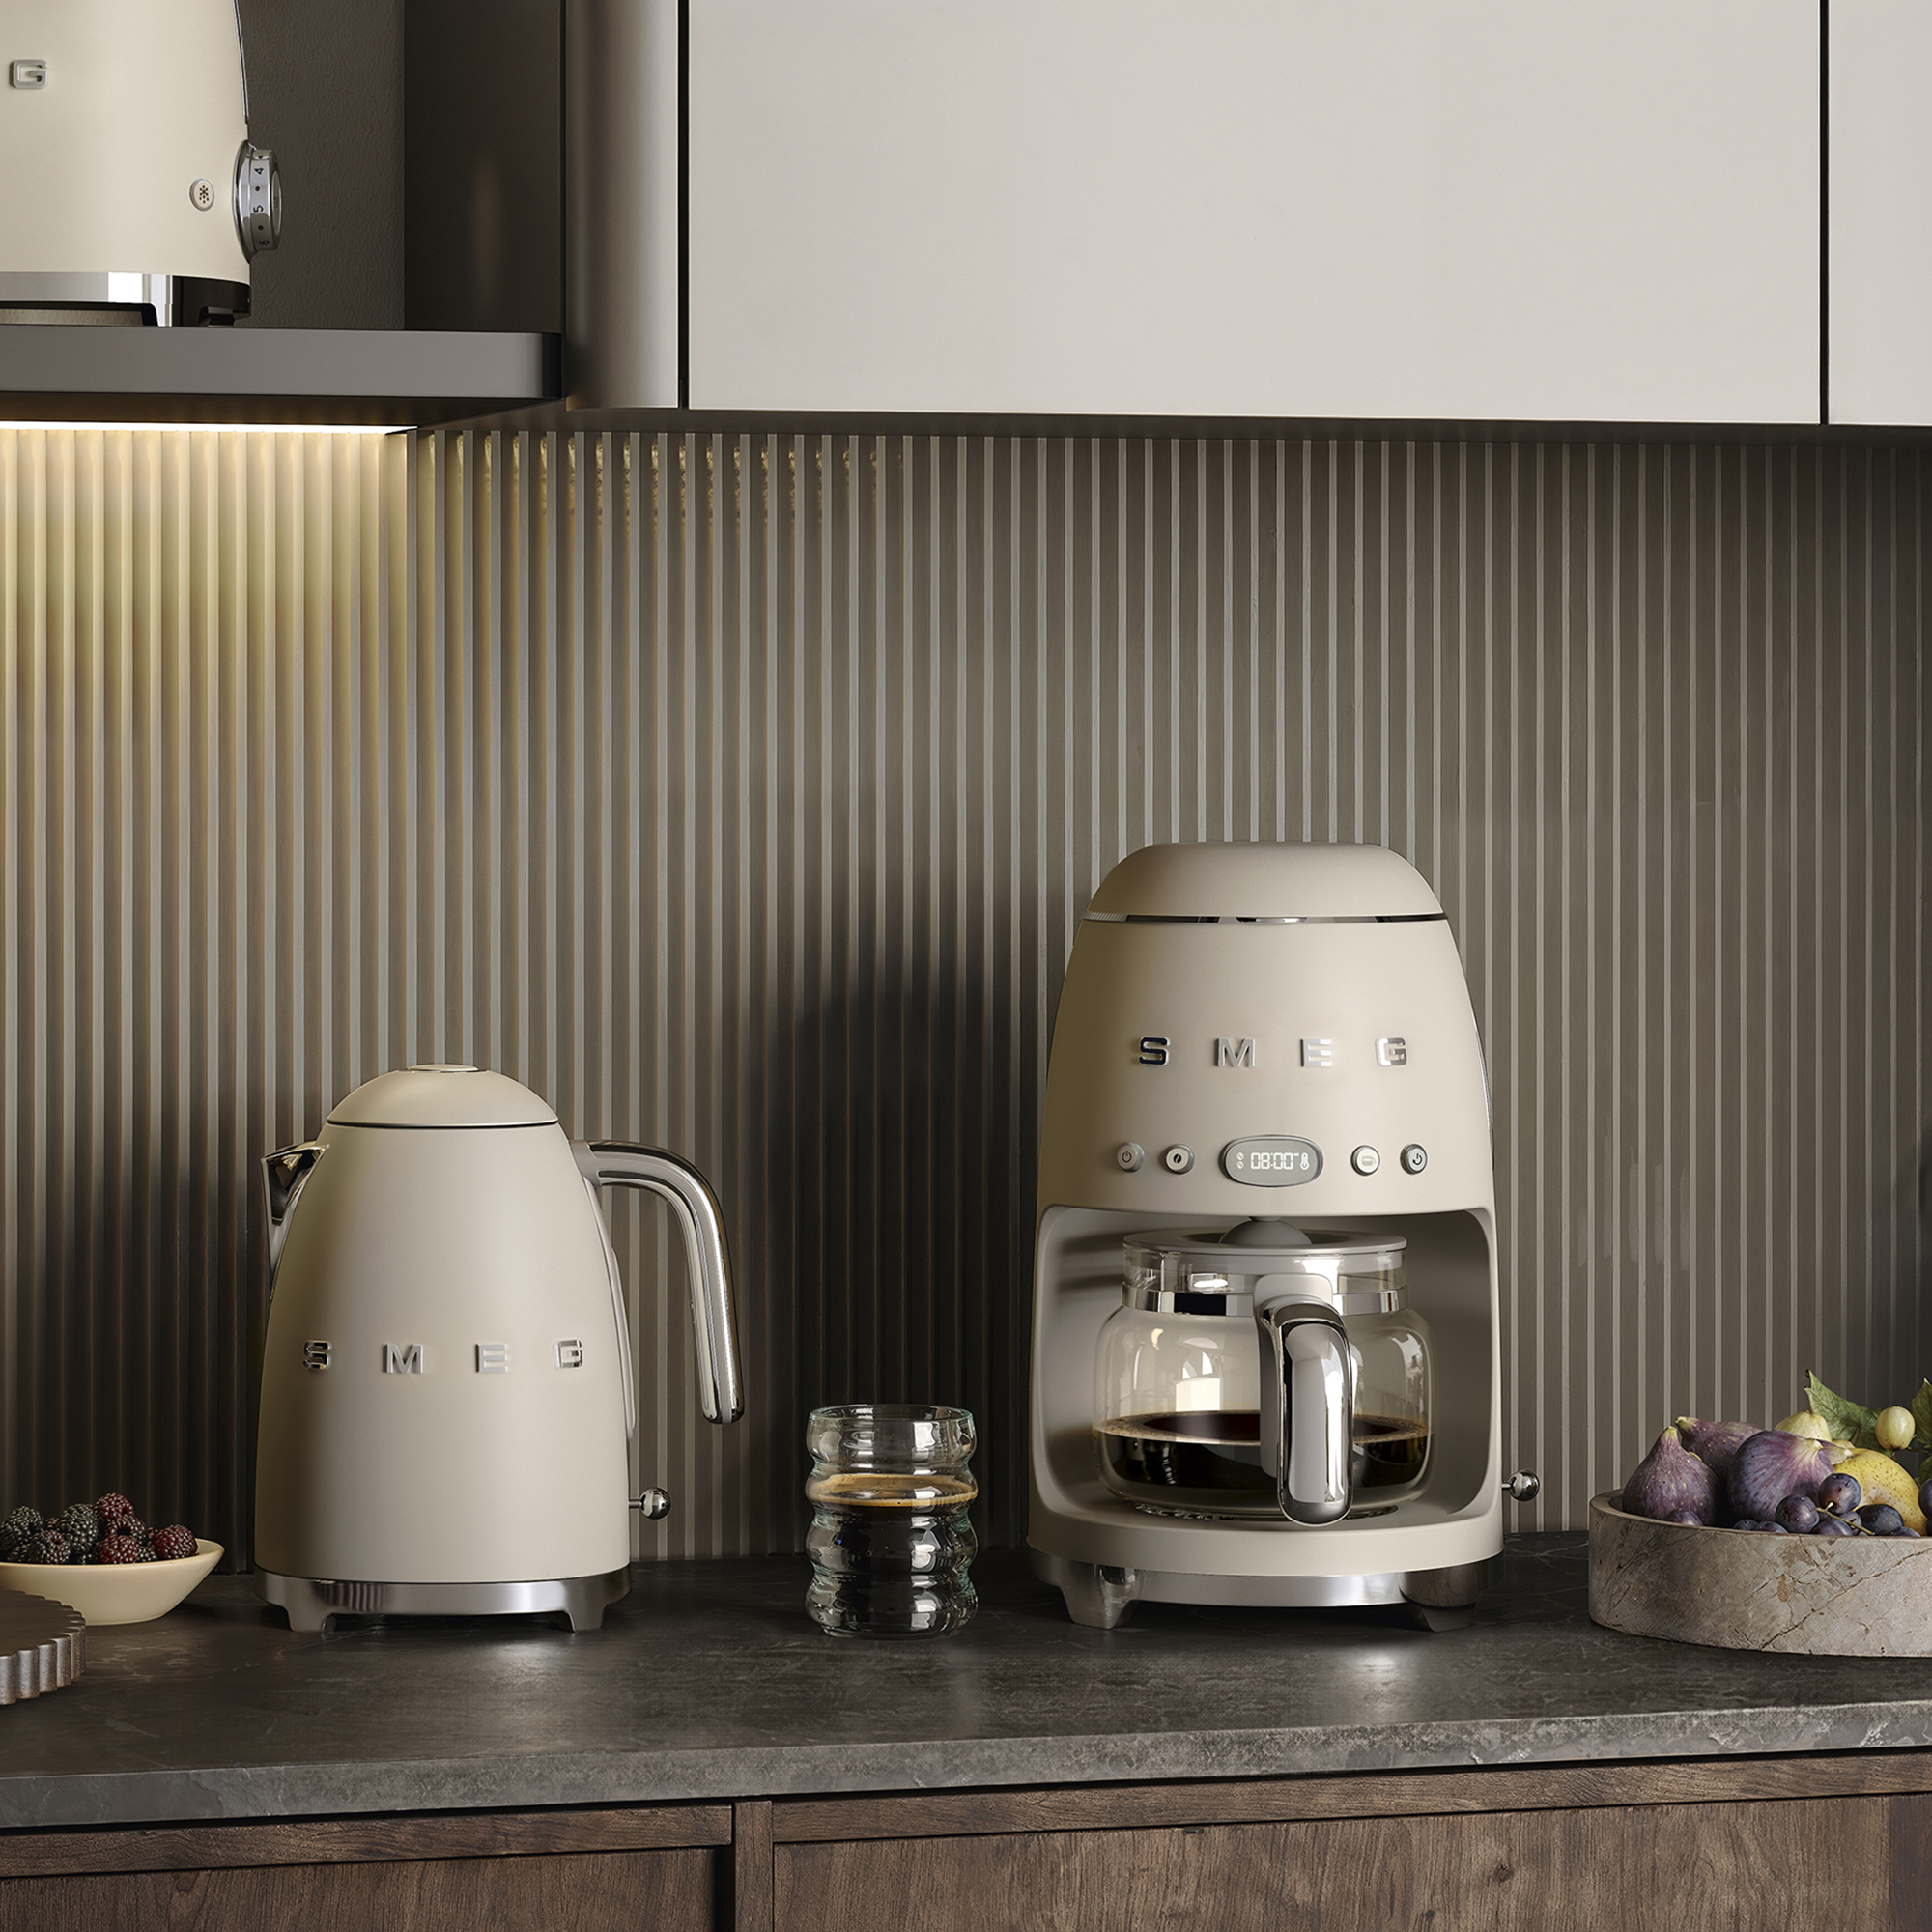
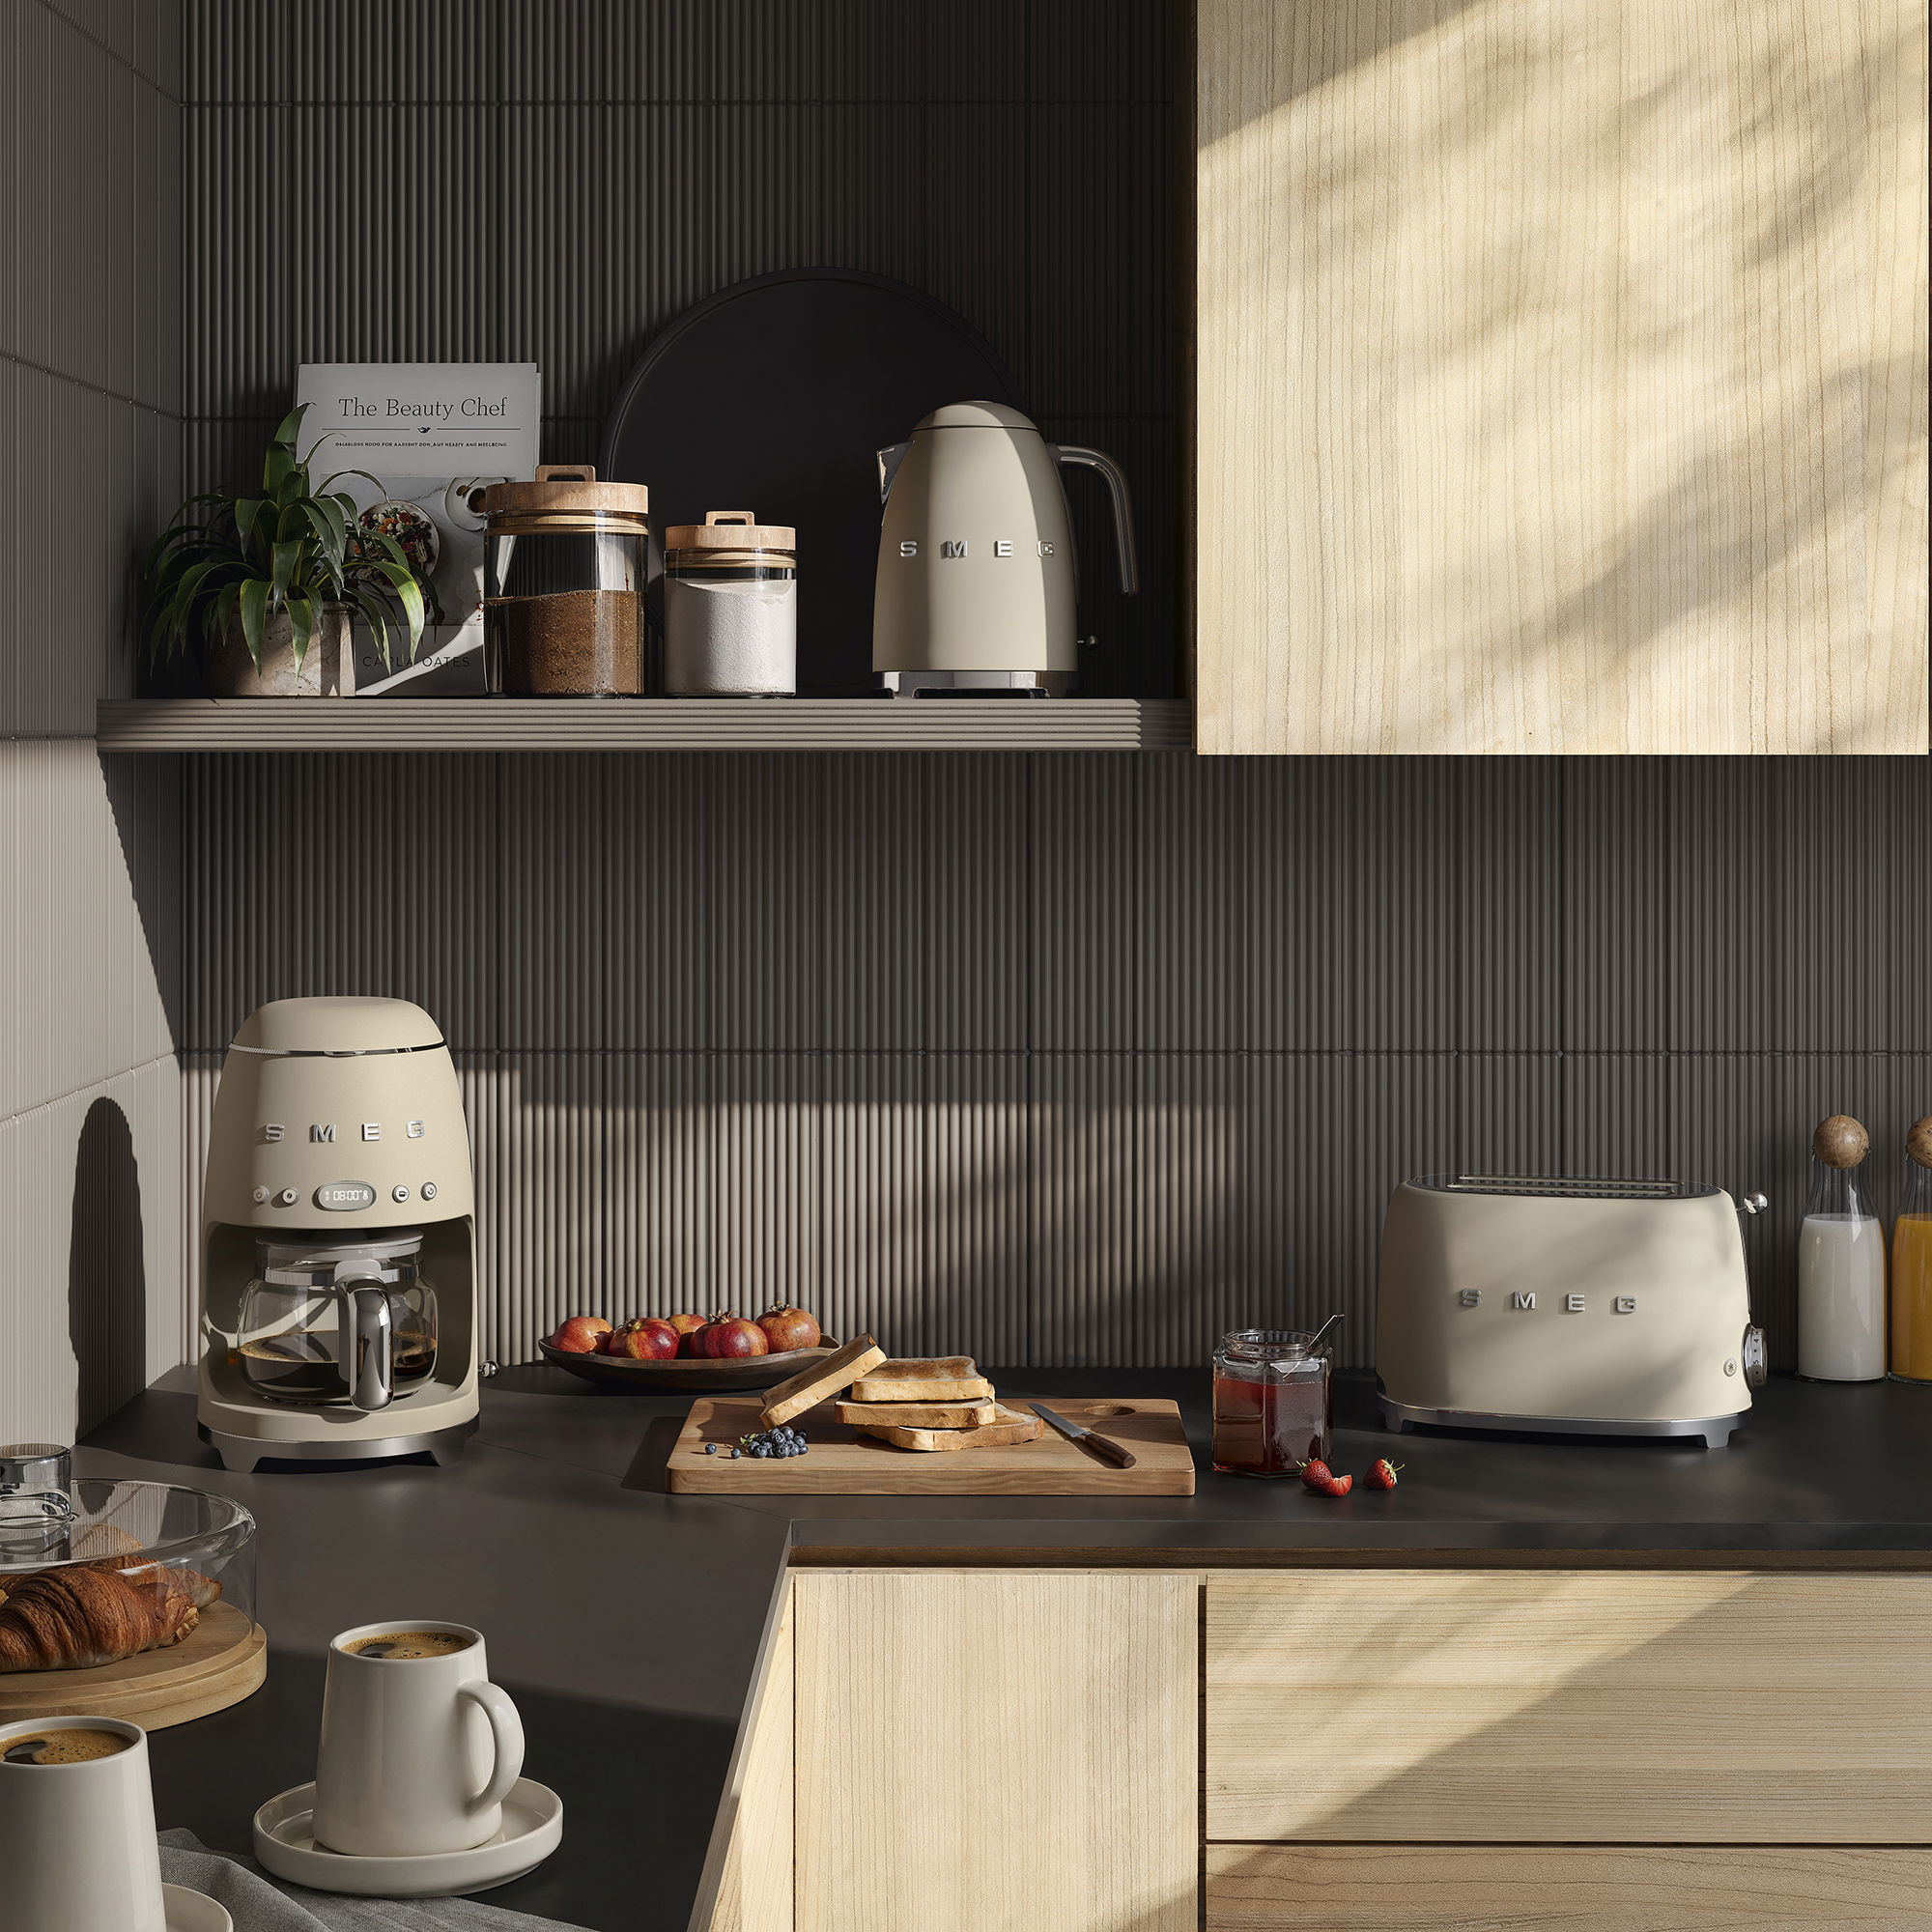
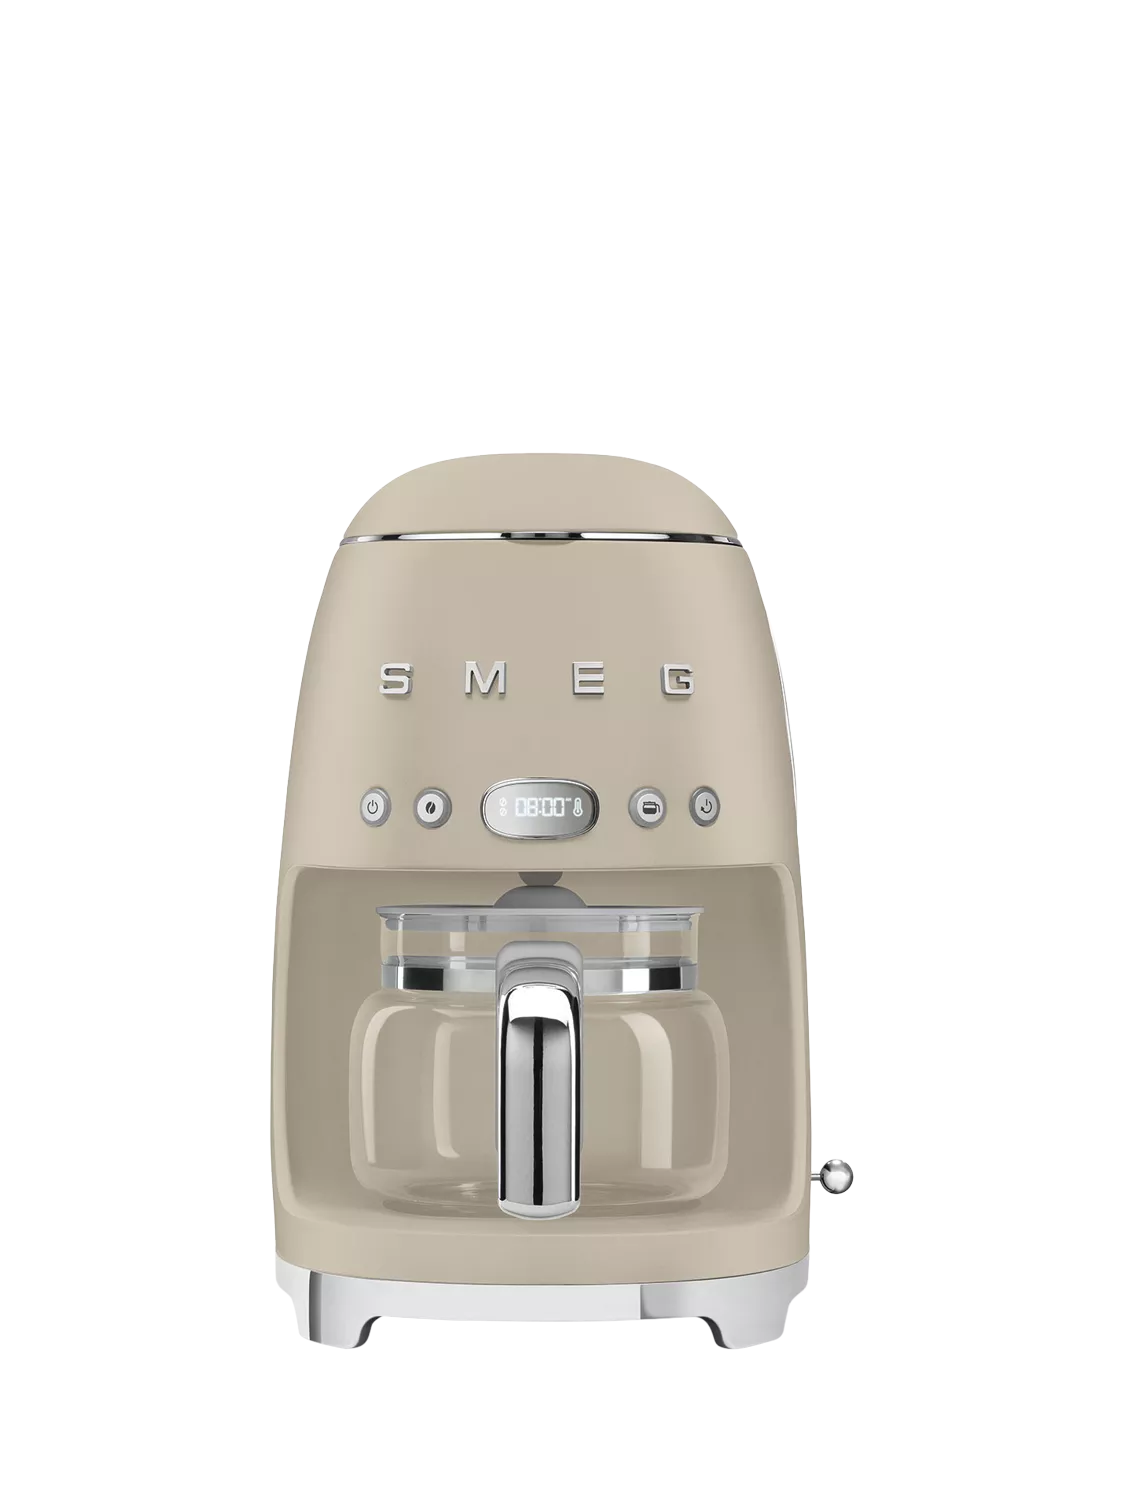
And while the current colours of Smeg’s small appliances are timeless, a new trend-focused tone has entered the scene and with it comes a fresh perspective. The retro style has always leaned more traditional, but Smeg’s new Moonlight collection has a contemporary look to blend into sleek, minimalist kitchens.
(Image credit: Smeg)
Moonlight, the new matte colourway from Smeg, is ‘designed to bring softness, warmth and balance into the home,’ says the brand. It reflects a growing trend towards neutral shades, away from classic white or cream, and calmer palettes in our homes.
Latest Videos From
Typically, small appliances put practicality first. Often in stainless steel or black plastic, aesthetics weren’t high on the agenda. Smeg started to change this with their retro kettle and toaster which came in a variety of vintage-themed colours, from cream to pink and blue.
While this has allowed us to be playful with appliances and use them to add to an overall kitchen colour scheme, the statement shades didn’t offer much scope for people who favour a more understated design.
(Image credit: Smeg)
The texture also differs from the classic shiny small appliances from Smeg – it has a smooth matte finish which is perfect for hiding fingerprints and allowing your small appliances to sit subtly in the background of your kitchen.
‘Smeg’s kettle and toaster range is already the height of refined luxury, but this new sophisticated neutral shade is tailor-made for anyone who wants to add a warm colour to their kitchen without committing to a bold colour,’ explains Molly Cleary, Ideal Home’s Kitchen Appliances Editor.
Sign up to our newsletter for style inspiration, real homes, project and garden advice and shopping know-how
‘The matte finish is not only bang-on-trend but has the benefit of being easier to keep looking clean too. As someone with a white Smeg toaster, I can tell you it needs a lot of maintenance to keep looking fresh. I’m very tempted to invest in a kettle in Moonlight and make them mix and match instead for those reasons!’ she adds.
(Image credit: Smeg)
If you love the shape and overall design of the Smeg appliances but haven’t found a colour to suit your kitchen then the Moonlight collection is one to try – particularly if you want a fuss-free option that escapes fingerprints.
<aside data-block-layout="horizontal" data-block-type="featured-product" data-hawk-json="{"product":{"variants":{"Default":{"image":{"copyright":"","height":2000,"id":"UEREX7ubi3tLNsS4pTdJrQ","mimeType":"image\/jpeg","mos":"https:\/\/cdn.mos.cms.futurecdn.net\/UEREX7ubi3tLNsS4pTdJrQ.jpg","role":"","width":2000,"credit":"Future PLC","alt":"Ideal Home logo on white background","caption":""},"strapline":"
While not many of us can dream of having a large pond or full-sized water feature in our gardens, mini ponds are accessible to all – even if you don’t have a garden at all.
All living things need water, and having a mini pond is excellent for improving biodiversity. It can help support wildlife such as birds and insects, and can be an attractive focal point. They’re cheap or even free to create, too – all you need is a large container and a little imagination. The larger the container you can find, the better, as it will give you more scope for planting and ‘pondscaping’.
The most important thing is that wildlife will need good access to the water – and a safe exit point. If you’re using a smooth-sided container such as an old Belfast sink, smaller animals may fall in and get stuck. Create exit and access ramps by piling stones against the inside and outside of the container, or position planks of wood. You can also position some additional rocks and plants around the outside to provide cover for shyer animals.
Water is essential to the lifecycle of the dragonfly, as it lays its eggs underwater. They then spend much of their early life underwater before hatching and emerging as the beautiful, delicate insects we know. Image by DerWeg via Pixabay
You can sink your container in the ground, if you want to, but it’s certainly not obligatory. Above-ground containers work just fine, and are easier to maintain as they involve less stooping down. Whatever you choose, you may want to fence it off from curious pets and small children.
Old metal containers can work well as mini ponds. Watch out for signs of it rusting through, though! You can always add an inner liner to be on the safe side. If you’re using a metal container, put it in a shady area so that it doesn’t heat up to much and evaporate the water. Photo by MrsBella via Pixabay
Your pond may be pint-size, but it will still need some maintenance. You’ll need to clear it of leaves and other debris regularly, top it up in hot weather and remove ice in the winter. Standing water can also attract mosquitoes, so you can mitigate this by installing a pump to keep the water moving. Planting oxygenating plants will help, too.
Hedgehogs can become dehydrated, particularly in hot or dry weather. Make sure you create sloping access to your pond to allow them to drink safely. Photo by alsen via Pixabay
How to create a mini pond
First, choose your container. Large tubs, old sinks, half barrels and even large washing up bowls all work well. If your container isn’t 100% waterproof, you’ll also need to line it with something.
Ideally, choose a site in semi-shade that’s not too near trees or other mature shrubs, or you’ll be forever clearing up leaves.
Position the container in its final place, and put some large rocks and gravel in the bottom. Add some small water plants, such as miniature water lilies – three or four different species works well for biodiversity.
Even bees need water! Honey bees in particular need a source to water to help with honey product. Photo by diegods72 via Pixabay
Fill the pond, ideally using rainwater, which is better for promoting biodiversity. Any subsequent top ups should be done with rainwater, too.
Sit back and wait. It will take a little while for local wildlife to discover the new facility in town, but you’ll soon be visited by a variety of feathered and furry critters.
Sage green is one of the most popular paint shades for a bedroom, and with its soft, calming tones, it’s easy to see why. This classic colourway has earned a reputation for being a ‘safe’ choice, but it’s a classic for a reason. Millie Mackintosh’s sage green bedroom is proof that this timeless paint shade can be both calm and characterful.
Sage green is one of the best shades of green for a bedroom. It’s calming and grounding – exactly what you’d hope to achieve when creating a sleep environment. But due to the popularity of this green bedroom idea, many now avoid the safe choice, for fear that it comes across as boring.
If Millie Mackintosh’s bedroom proves anything, it’s that safe doesn’t equal boring. Opting for a soft sage shade and matching Chinoiserie wallpaper, Millie’s bedroom is the perfect balance of comfort and character.
Latest Videos From
Millie Mackintosh’s sage green bedroom
I love the opportunity to have a snoop into celebrity homes, and Millie Mackintosh’s was definitely a treat for the eyes, as the Made in Chelsea star is not scared to embrace colour. Millie frequently shares glimpses of her homelife and motherhood via TikTok and Instagram, and it was here that I spotted her stunning green bedroom.
‘Green has been an incredibly popular choice in interiors for a few years now, and it’s definitely not going anywhere. What we’re seeing is a shift towards more nuanced, sophisticated tones, like earthy, muted greens and warmer, nature-inspired shades, so the colour still feels fresh but also timeless. Millie’s bedroom is a great example of how green can feel both calming and elevated,’ explains Victoria Robinson, style and trend expert at Hillarys.
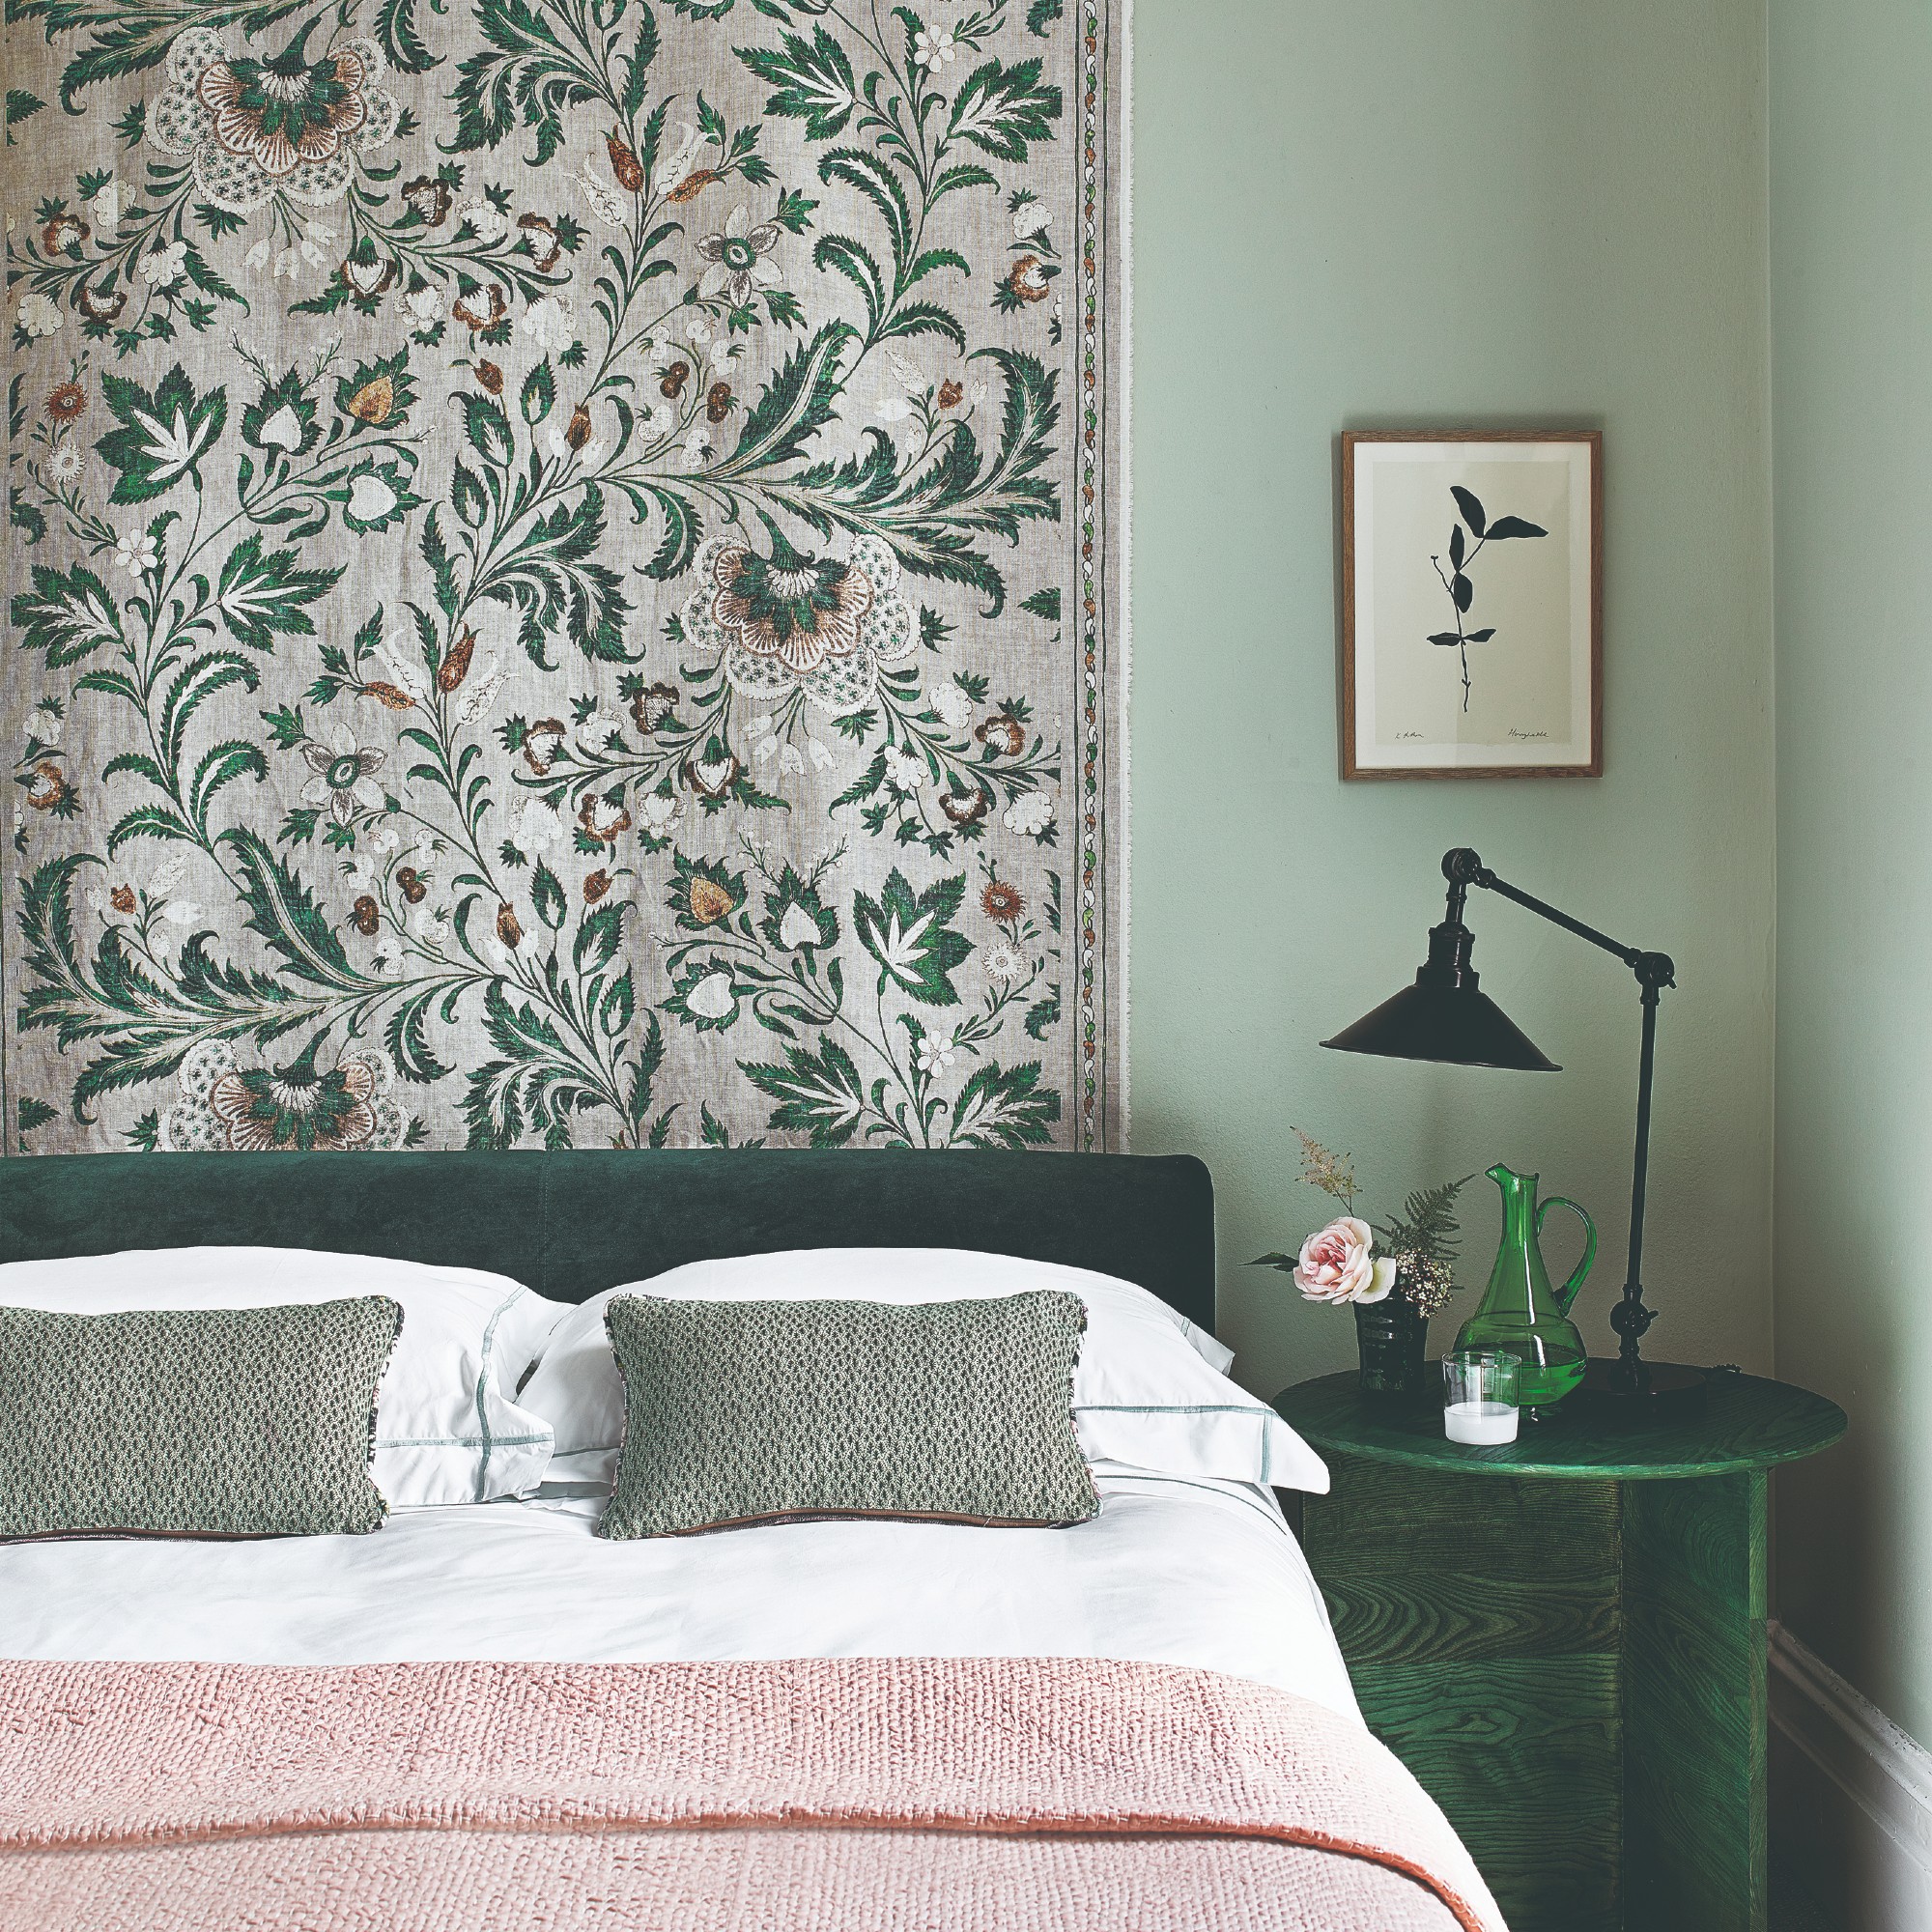
‘What I particularly like about her space is how layered it feels. The combination of painted walls with wallpaper adds depth and interest, which is key when working with a single colour family. It stops the room from feeling flat and instead creates a really cocooning, considered look which is perfect for a bedroom.’
Millie’s bedroom has been colour-drenched in the soft sage, which gives a cocooning feel that’s perfect for relaxing. I’m also a fan of the freshness of the tone, which maintains an airy look. Green remains one of the biggest colour trends of 2026, but Millie’s bedroom looks more timeless than trendy.
Sign up to our newsletter for style inspiration, real homes, project and garden advice and shopping know-how
‘The soft chalky sage green used in Millie’s bedroom is a particularly timeless choice. Botanical greens such as Dulux Heritage’s Sage Green and Waxed Khaki have a wonderfully grounding quality, helping spaces feel relaxed, restorative and supportive of our wellbeing. They also sit right in the middle of the visual spectrum, which is part of what makes them so balanced, versatile and easy to live with in our homes,’ says Marianne Shillingford, Creative Director and Colour Expert at Dulux.
‘What I love most about this room is how naturally it brings the outdoors in. The soft sage green decorated with delicate Chinoiserie patterns creates a calm, restful space that’s full of character while still feeling light and relaxed. The Chinoiserie effect and colour work beautifully together because they complement each other so stylishly. The pale sage green and delicate floral pattern create a look that feels tranquil, elegant and full of character.’
How to get the look
Here, sage green’s reputation as a ‘safe’ shade works in your favour. It is considered safe because it is so easy to use, and the end result is always so beautiful.
‘This bedroom is a wonderful reminder that a calming, neutral backdrop doesn’t have to mean white, grey or beige. Green can work in much the same way, bringing a sense of peace and relaxation while adding more depth and personality to a space,’ says Marianne.
‘Green is one of the easiest colours to live with because it feels so familiar and reassuring. This room shows how this colour and pattern can be layered together in a way that feels uncluttered, inviting, characterful and restful, proving that embracing a little more colour doesn’t have to come at the expense of calm.’
The key to achieving a bedroom such as Millie’s is to ensure that your paint shades, wallpapers or furnishing match and at the very least complement each other.
(Image credit: Future PLC/Polly Wreford)
‘The wallpaper and paint work well together here because they sit within the same tonal palette. That said, achieving this balance can be tricky. If the undertones don’t quite match, it can clash rather than complement. The easiest way to get it right is to choose shades that have a similar base, for example, pairing warm greens with other warm greens, and always test samples in the space before committing,’ explains Victoria.
‘If I had one note, it would be to ensure there’s enough contrast to keep the scheme feeling dynamic. When everything sits very closely in tone, you risk losing definition, so bringing in different textures or slightly lighter and darker accents can really help.’
Shop sage green
Millie Mackintosh’s bedroom is proof that sage green is more than a safe option. When used well, it can create a calming sleep space that is packed with character and style.
Laura Ashley
Laura Ashley Lloyd Wallpaper, Sage Green
<aside data-block-layout="hero" data-block-type="featured-product" data-editorial-currency="GBP" data-editorial-merchant-name="Was £52, now £41.60 at John Lewis" data-editorial-price="41.6" data-hawk-json="{"product":{"variants":{"Default":{"image":{"copyright":"","height":2000,"id":"RBq2v5A9JuDWWv8iQgBonB","mimeType":"image\/webp","mos":"https:\/\/cdn.mos.cms.futurecdn.net\/v2\/t:500,l:0,cw:1500,ch:1500,q:80\/RBq2v5A9JuDWWv8iQgBonB.webp","role":"","width":1500,"credit":"Laura Ashley","alt":"Laura Ashley Lloyd Wallpaper, Sage Green","caption":"","crop":{"top":500,"left":0,"cropWidth":1500,"cropHeight":1500,"quality":80}},"strapline":"
If you’ve been inspired by Millie’s wallpaper, this stunning Laura Ashley design is currently on sale at John Lewis.","brand":"Laura Ashley","name":"Laura Ashley Lloyd Wallpaper, Sage Green","urlStyle":"","layout":"hero","noFollow":true,"noAffiliateTracking":false,"promoLabel":"","price":41.6,"salePrice":null,"currency":"GBP","linkLayout":"text","sponsored":false,"hawkProductNameMatchedCode":"","review":{"cons":[],"id":"","name":"","pros":[],"rating":0,"strapline":"","url":""},"id":"","externalId":"4c14e65d156e911417e36ede89fc8a6c9c05e0d3","lastCheckedPriceDate":"","link":{"url":"https:\/\/john-lewis-and-partners.pxf.io\/c\/221109\/871855\/12148?subId1=hawk-custom-tracking&sharedId=hawk-prefix&u=https%3A%2F%2Fwww.johnlewis.com%2Flaura-ashley-lloyd-wallpaper-sage-green%2Fp113597003","linkText":"Was \u00a352, now \u00a341.60 at John Lewis","editorialMerchantName":"Was \u00a352, now \u00a341.60 at John Lewis","merchantName":"John Lewis","merchantId":179552,"merchantNetwork":"ImpactRad","merchantUrl":"johnlewis.com"}}}}}” data-link=”https://john-lewis-and-partners.pxf.io/c/221109/871855/12148?subId1=hawk-custom-tracking&sharedId=hawk-prefix&u=https%3A%2F%2Fwww.johnlewis.com%2Flaura-ashley-lloyd-wallpaper-sage-green%2Fp113597003″ data-link-merchant=”John Lewis” data-link-text=”Was £52, now £41.60 at John Lewis” data-merchant-id=”179552″ data-merchant-name=”John Lewis” data-merchant-network=”ImpactRad” data-merchant-url=”johnlewis.com” data-model-brand=”Laura Ashley” data-model-name=”Laura Ashley Laura Ashley Lloyd Wallpaper, Sage Green” data-name=”Product Block merchantlink widget” data-render-type=”fte” data-show-fallback=”button” data-widget-type=”merchantlink” class=”hawk-root”>
If you’ve been inspired by Millie’s wallpaper, this stunning Laura Ashley design is currently on sale at John Lewis.
Next
Sage Green Supersoft 100% Brushed Cotton Duvet Cover Plain and Pillowcase Set
<aside data-block-layout="hero" data-block-type="featured-product" data-editorial-currency="GBP" data-editorial-merchant-name="From £25 at Next" data-editorial-price="25" data-hawk-json="{"product":{"variants":{"Default":{"image":{"copyright":"","height":2400,"id":"P3n9zNKdZN4rhXFJggdnZE","mimeType":"image\/jpeg","mos":"https:\/\/cdn.mos.cms.futurecdn.net\/v2\/t:280,l:0,cw:1800,ch:1800,q:80\/P3n9zNKdZN4rhXFJggdnZE.jpg","role":"","width":1800,"credit":"Next","alt":"Sage Green Supersoft 100% Brushed Cotton Duvet Cover Plain and Pillowcase Set – Size Single","caption":"","crop":{"top":280,"left":0,"cropWidth":1800,"cropHeight":1800,"quality":80}},"strapline":"
If you’re not looking to redecorate, a sage duvet set can also create a calming effect. This one is brushed cotton for added comfort.","brand":"Next","name":"Sage Green Supersoft 100% Brushed Cotton Duvet Cover Plain and Pillowcase Set","urlStyle":"","layout":"hero","noFollow":true,"noAffiliateTracking":false,"promoLabel":"","price":25,"salePrice":null,"currency":"GBP","linkLayout":"text","sponsored":false,"hawkProductNameMatchedCode":"","review":{"cons":[],"id":"","name":"","pros":[],"rating":0,"strapline":"","url":""},"id":"","externalId":"cc0bcfa0af50eb41776daad7518223ada3a53b0c","lastCheckedPriceDate":"","link":{"url":"https:\/\/click.linksynergy.com\/deeplink?id=kXQk6%2AivFEQ&mid=53096&u1=hawk-custom-tracking&murl=https%3A%2F%2Fwww.next.co.uk%2Fstyle%2Fst555187%2Fb84335%3F","linkText":"From \u00a325 at Next","editorialMerchantName":"From \u00a325 at Next","merchantName":"Next UK","merchantId":491232,"merchantNetwork":"LSfutureusLlc","merchantUrl":"next.co.uk"}}}}}” data-link=”https://click.linksynergy.com/deeplink?id=kXQk6%2AivFEQ&mid=53096&u1=hawk-custom-tracking&murl=https%3A%2F%2Fwww.next.co.uk%2Fstyle%2Fst555187%2Fb84335%3F” data-link-merchant=”Next UK” data-link-text=”From £25 at Next” data-merchant-id=”491232″ data-merchant-name=”Next UK” data-merchant-network=”LSfutureusLlc” data-merchant-url=”next.co.uk” data-model-brand=”Next” data-model-name=”Next Sage Green Supersoft 100% Brushed Cotton Duvet Cover Plain and Pillowcase Set” data-name=”Product Block merchantlink widget” data-render-type=”fte” data-show-fallback=”button” data-widget-type=”merchantlink” class=”hawk-root”>
If you’re not looking to redecorate, a sage duvet set can also create a calming effect. This one is brushed cotton for added comfort.
Lick
Lick Green 09 Matt Emulsion Paint, 2.5l
<aside data-block-layout="hero" data-block-type="featured-product" data-editorial-currency="GBP" data-editorial-merchant-name="Was £39, now £31.20 at B&Q" data-editorial-price="31.2" data-hawk-json="{"product":{"variants":{"Default":{"image":{"copyright":"","height":2000,"id":"i58Nn8YfYzgkopvRoxzraA","mimeType":"image\/webp","mos":"https:\/\/cdn.mos.cms.futurecdn.net\/i58Nn8YfYzgkopvRoxzraA.webp","role":"","width":2000,"credit":"Lick","alt":"Lick Green 09 Matt Emulsion Paint, 2.5l","caption":""},"strapline":"
Reviews say this stunning sage paint is high-quality, offering an excellent finish. They also say it is easy to apply, with great pigmentation.","brand":"Lick","name":"Lick Green 09 Matt Emulsion Paint, 2.5l","urlStyle":"","layout":"hero","noFollow":true,"noAffiliateTracking":false,"promoLabel":"","price":31.2,"salePrice":null,"currency":"GBP","linkLayout":"text","sponsored":false,"hawkProductNameMatchedCode":"","review":{"cons":[],"id":"","name":"","pros":[],"rating":0,"strapline":"","url":""},"id":"","externalId":"12f6942caa4f841667794e5739aad23578514d7e","lastCheckedPriceDate":"","link":{"url":"https:\/\/diy.pxf.io\/c\/221109\/1632830\/18948?subId1=hawk-custom-tracking&sharedId=hawk-prefix&u=https%3A%2F%2Fwww.diy.com%2Fdepartments%2Flick-green-09-matt-emulsion-paint-2-5l%2F5060756113770_BQ.prd","linkText":"Was \u00a339, now \u00a331.20 at B&Q","editorialMerchantName":"Was \u00a339, now \u00a331.20 at B&Q","merchantName":"B&Q","merchantId":299090,"merchantNetwork":"ImpactRad","merchantUrl":"diy.com"}}}}}” data-link=”https://diy.pxf.io/c/221109/1632830/18948?subId1=hawk-custom-tracking&sharedId=hawk-prefix&u=https%3A%2F%2Fwww.diy.com%2Fdepartments%2Flick-green-09-matt-emulsion-paint-2-5l%2F5060756113770_BQ.prd” data-link-merchant=”B&Q” data-link-text=”Was £39, now £31.20 at B&Q” data-merchant-id=”299090″ data-merchant-name=”B&Q” data-merchant-network=”ImpactRad” data-merchant-url=”diy.com” data-model-brand=”Lick” data-model-name=”Lick Lick Green 09 Matt Emulsion Paint, 2.5l” data-name=”Product Block merchantlink widget” data-render-type=”fte” data-show-fallback=”button” data-widget-type=”merchantlink” class=”hawk-root”>
Reviews say this stunning sage paint is high-quality, offering an excellent finish. They also say it is easy to apply, with great pigmentation.
Developing new habits, even when it comes to something like saving money by eating more leftovers, is all about incremental changes. That’s a lesson I’ve learned in the last few weeks with my adoption of Lakeland‘s inexpensive Freeze Pods (which will set you back £8 via Lakeland).
My problem with freezing leftovers has historically been with portion sizes. If I have a batchload of chilli, for example, I rarely have enough food containers to break it down into lunch and dinner sized portions and sometimes have to put the whole amount into one container. That makes it a real struggle to properly siphon off a share for a single person.
Enter: these nifty Freeze Pods, which not only provide the perfect lunch or dinner sized portion (depending if you use the 2 or 3 sectioned version) but are also ready to be used in your oven or even the best air fryer for reheating. Here are three reasons I’m telling everyone I know to buy a set.
Latest Videos From
1. They’re easy to use
The thing that makes the use of these Freeze Pods so seamless is the silicone material. As with using a silicone ice cube tray over a plastic one, it so much easier to pop the contents of a singular pod out without disturbing the other two than it would be with a harder material.
The 3-segmented version contains space for 250 gram portions, which I’ve found ideal for lunches. I’ve been pairing leftover pasta with a side salad for a summertime lunch.
Popping out one section of the 3-part Freeze Pod.
(Image credit: Future)
I’ve found the Freeze Pod with two sections is better suited to dinners, with the square size owing itself to full meals like a lasagne. Though the base is made of silicone, the pod has a hard plastic top, which means you can stack the two together neatly within your freezer.
2. They’re cooking safe
These pods are microwave, oven and air fryer safe – music to my ears! While I love my microwaveable stainless steel food containers for food prep and storing leftovers in the fridge they can only be used in the microwave for 2 minutes at a time. So if you want to defrost something heavier, the Freeze Pod is a much better choice.
Sign up to our newsletter for style inspiration, real homes, project and garden advice and shopping know-how
If you’re serving lunch for two or three people, you could put the entire Freeze Pod into the microwave too. That means you only need to portion food out once in the entire cooking process and any time you can save on the washing up is a big win for me.
(Image credit: Future)
I’m not the only one who loves the versatility of these handy pods. On Lakeland’s website you can find that both of these products currently have a 4.5 out of 5 star rating with customers praising the quality and value of each.
One reviewer nicely summed up why they work for them, saying ‘Great sizing and even better for popping out blocks to wrap and stack in the freezer. The larger ones are perfect for individual lasagnes, cottage pies etc. The smaller ones are perfect for portions of rice, mash, beans and any other side you want to freeze. I absolutely love them.’
3. They’re affordable
I’ve written before about my enthusiasm for Lego lunches, which rely on these modular-style freeze pods in order to create leftovers that are varied rather than boring.
Up until Lakeland released these Freeze Pods, the other alternatives on the market for this kind of food container were very pricey indeed. In the US the brand Souper Cubes (which you can buy in the UK via Amazon) is very popular, with its huge range of materials, sizes and colours and John Lewis has a range made in collaboration with chef Deliciously Ella too.
In my mind Lakeland’s pods are your best bet if you prioritise affordability and quality, but I’ve listed some alternative shapes below in case they suit you better.
John Lewis
x Deliciously Ella
Silicone Small Food Storage Cube Tray & Lid, 6 x 125ml
Souper Cubes
the Cookie Tray
<aside data-block-layout="hero" data-block-type="featured-product" data-editorial-currency="GBP" data-editorial-price="34.99" data-hawk-json="{"product":{"variants":{"Default":{"image":{"copyright":"","height":500,"id":"ma7T7JfTQv4hmgxwMJK9JA","mimeType":"image\/jpeg","mos":"https:\/\/cdn.mos.cms.futurecdn.net\/ma7T7JfTQv4hmgxwMJK9JA.jpg","role":"","width":500,"credit":"Souper Cubes","alt":"Souper Cubes the Cookie Tray – Silicone Molds for Baking – Freeze and Store Perfect Cookie Dough Rounds – Convenient Baking Supplies – Lavender With Sprinkles – 2-Pack","caption":""},"strapline":"
Having dessert ready for you in the freezer will make an end-of-the-day sweet treat even better. This tray is tailor-made for cookies and other puddings.","brand":"Souper Cubes","name":"the Cookie Tray ","urlStyle":"","retailer":"","layout":"hero","linkText":"","noFollow":false,"noAffiliateTracking":false,"promoLabel":"","price":34.99,"salePrice":null,"currency":"GBP","linkLayout":"text","sponsored":false,"hawkProductNameMatchedCode":"","review":{"cons":[],"id":"","name":"","pros":[],"rating":0,"strapline":"","url":""},"id":"","externalId":"732e4f8a9144f6816ca9b919226b686c463f71ec","lastCheckedPriceDate":"","link":{"url":"https:\/\/target.georiot.com\/Proxy.ashx?tsid=107653&GR_URL=https%3A%2F%2Famazon.co.uk%2FSouper-Cubes-Cookie-Freeze-Perfect%2Fdp%2FB08DBV2YVL%3Fref_%3Dast_sto_dp%26tag%3Dftr-idealhome-gb-21%26ascsubtag%3Dhawk-custom-tracking-21","merchantName":"Amazon UK","merchantId":1027,"merchantNetwork":"Amazonuk","merchantUrl":"amazon.co.uk"}}}}}” data-link=”https://target.georiot.com/Proxy.ashx?tsid=107653&GR_URL=https%3A%2F%2Famazon.co.uk%2FSouper-Cubes-Cookie-Freeze-Perfect%2Fdp%2FB08DBV2YVL%3Fref_%3Dast_sto_dp%26tag%3Dftr-idealhome-gb-21%26ascsubtag%3Dhawk-custom-tracking-21″ data-link-merchant=”Amazon UK” data-merchant-id=”1027″ data-merchant-name=”Amazon UK” data-merchant-network=”Amazonuk” data-merchant-url=”amazon.co.uk” data-model-brand=”Souper Cubes” data-model-name=”Souper Cubes the Cookie Tray” data-name=”Product Block merchantlink widget” data-render-type=”fte” data-show-fallback=”button” data-widget-type=”merchantlink” class=”hawk-root”>
Having dessert ready for you in the freezer will make an end-of-the-day sweet treat even better. This tray is tailor-made for cookies and other puddings.
OXO
Good Grips Silicone Reusable Bag
<aside data-block-layout="hero" data-block-type="featured-product" data-editorial-currency="GBP" data-editorial-price="13.05" data-editorial-was-price="15" data-hawk-json="{"product":{"variants":{"Default":{"image":{"copyright":"","height":500,"id":"hdvtjNfn7aF3miCPU827VN","mimeType":"image\/jpeg","mos":"https:\/\/cdn.mos.cms.futurecdn.net\/hdvtjNfn7aF3miCPU827VN.jpg","role":"","width":500,"credit":"OXO","alt":"Oxo Good Grips Silicone Reusable Bag \u2013 Stand-Up Snack (335ml\/12 Oz) \u2013 Oat","caption":""},"strapline":"
These OXO bags come highly recommended from our News Writer Kezia, who says they helped her cut down on food waste. For things that won’t fit into a flat-lying container, they’re so handy.
It might seem counterintuitive at first to splash out money on containers to help you meal prep, especially if your aim is to limit your spending on lunches and dinners, but I’ve found it’s the right products that can make all the difference. Could you see the benefit of Freeze Pods for your kitchen?