.tasty-pins-banner-container{display:block;margin-bottom:20px;position:relative;width:-moz-fit-content;width:fit-content}.tasty-pins-banner-container a{cursor:pointer;display:flex;font-size:14px;font-weight:700;letter-spacing:1px;line-height:1.8em;text-transform:uppercase}.tasty-pins-banner-container a:hover{opacity:1}.tasty-pins-banner-container .tasty-pins-banner{align-items:center;bottom:0;cursor:pointer;display:flex;justify-content:center;left:0;padding-bottom:1em;padding-top:1em;position:absolute;right:0}.tasty-pins-banner-container .tasty-pins-banner svg{margin-right:4px;width:32px}.tasty-pins-banner-container .tasty-pins-banner span{margin-top:4px}.tasty-pins-banner-container a.tasty-pins-banner{text-decoration:none}.tasty-pins-banner-container a.tasty-pins-banner:hover{opacity:.8}.tasty-pins-banner-container a.tasty-pins-banner-image-link{flex-direction:column}.tasty-pins-banner-container a img{margin-bottom:0}.entry-content .wp-block-image .tasty-pins-banner-container img{margin-bottom:0;padding-bottom:0}#et-boc .et-l div .et_pb_image_wrap .tasty-pins-banner-container .tasty-pins-banner{padding-bottom:1em!important;padding-top:1em;text-decoration:none}#et-boc .et-l div .et_pb_image_wrap .tasty-pins-banner-container a.tasty-pins-banner{cursor:pointer;display:flex;font-size:14px;font-weight:700;line-height:1.8em;text-transform:uppercase}#et-boc .et-l div .et_pb_image_wrap .tasty-pins-banner-container a.tasty-pins-banner span{letter-spacing:2px;margin-top:4px}.et-db #et-boc .et-l .et_pb_module .tasty-pins-banner-container a:not(.wc-forward){padding-bottom:0}
I grew up as a Girl Scout and did my fair share of camping, and the s’mores were always my favorite part. Even as an adult, I would toast s’mores on my gas stove, but sadly my current home has an electric stove, leaving me without a makeshift campire to make s’mores. Rather than letting that stop me, I made this portable s’mores fire pot with Sterno ethanol gel canisters and a planter pot!
This is an incredibly easy project to whip up with a pot and rocks, but it’s the perfect way to enjoy homemade s’mores with the same feeling of a campfire. As long as you burn the gel in a safe environment, it’s completely safe and easy to use. Get ready to make a lot of s’mores!
Materials:
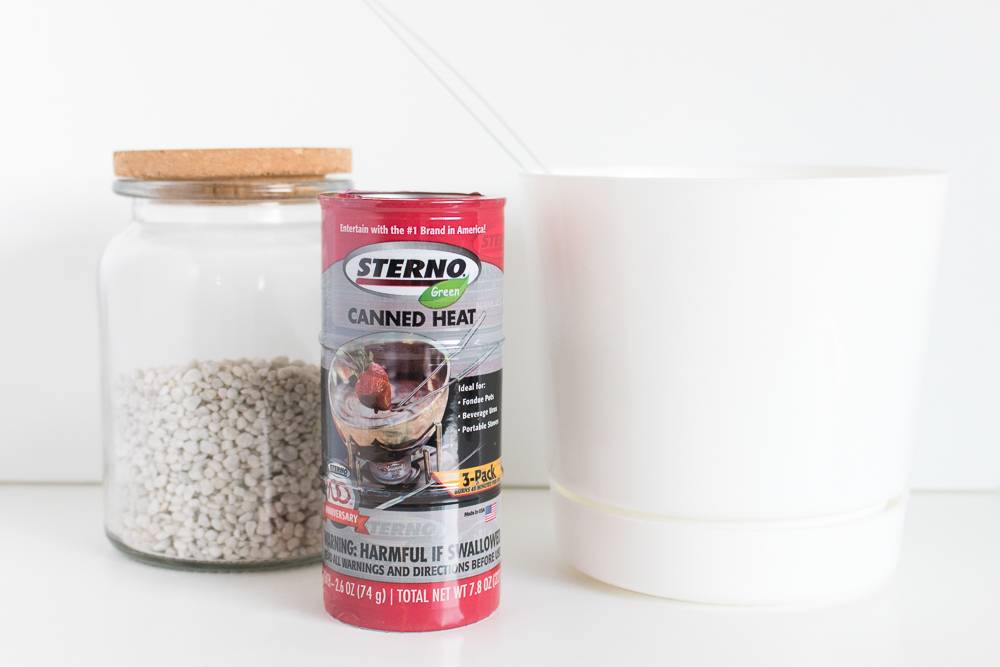
Sterno ethanol gel canisters
Ceramic pot, heat safe
Rocks
Step
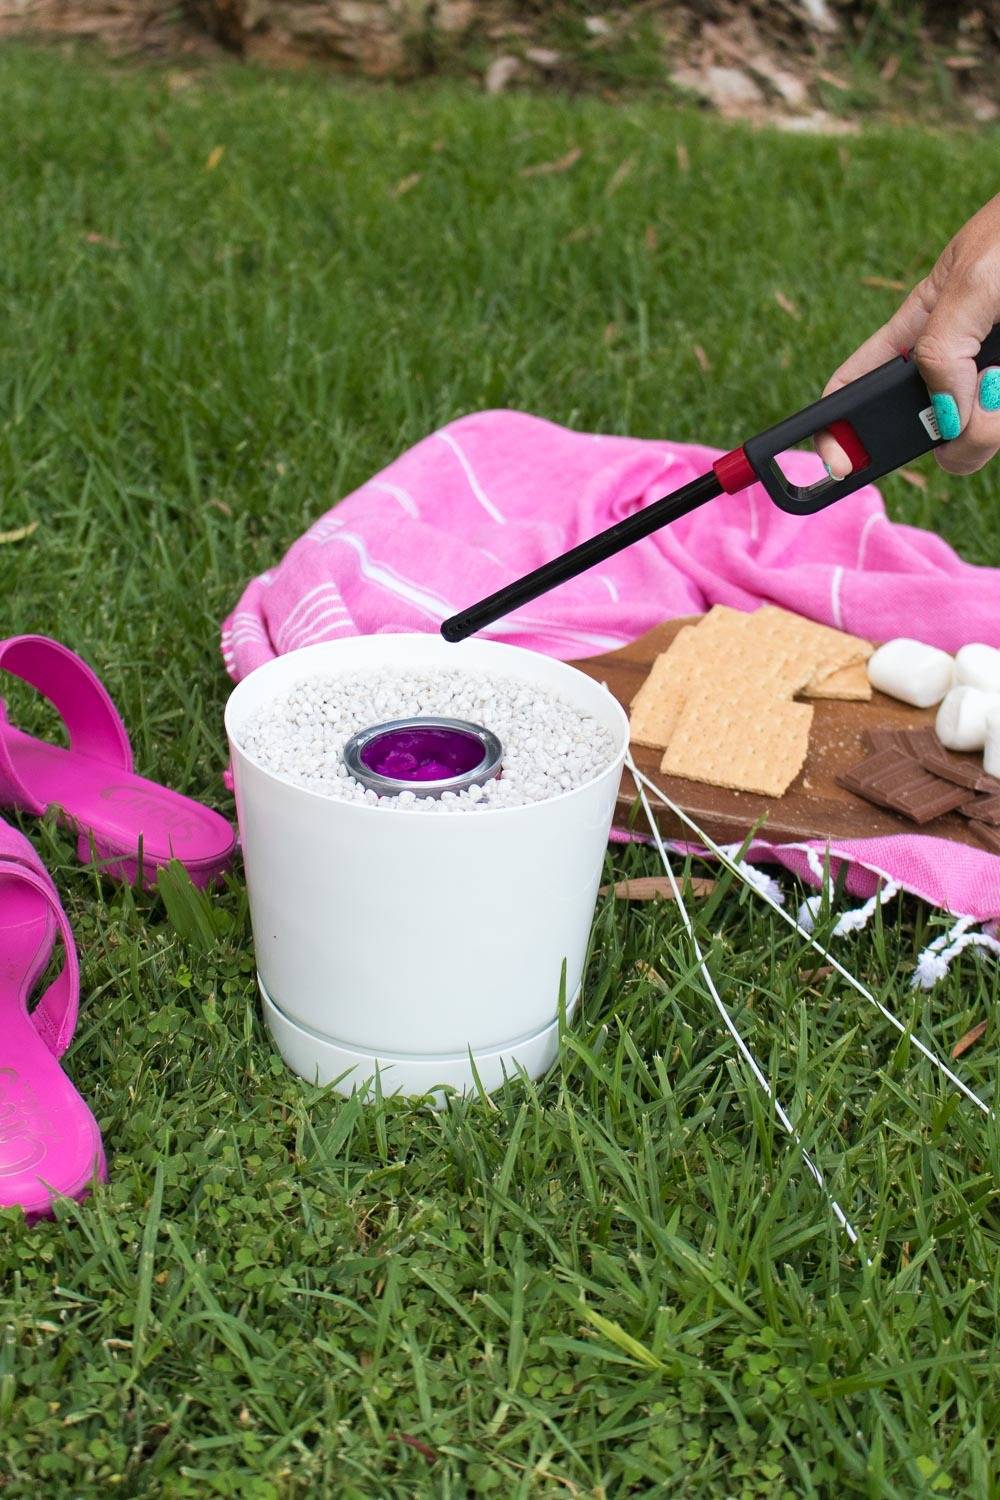
Place any larger rocks at the bottom of the pot. Then add small rocks until it is about 3/4 full.
Step
Carefully insert a Sterno ethanol gel canister into the center of the rocks.
Step
To use, carefully pry off the top of the canister with a screwdriver. Inside is a gel. When ready to toast marshmallows, light the gel with a long-stemmed lighter. The fire may not be easily visible because of the size. Stick marshmallows onto skewers and toast over the open flame just like a regular fire!
Step
To extinguish the flame, carefully place the lid back on top. This suffocates the fire and puts it out almost immediately. Note, Sterno canisters are intended for single-use.
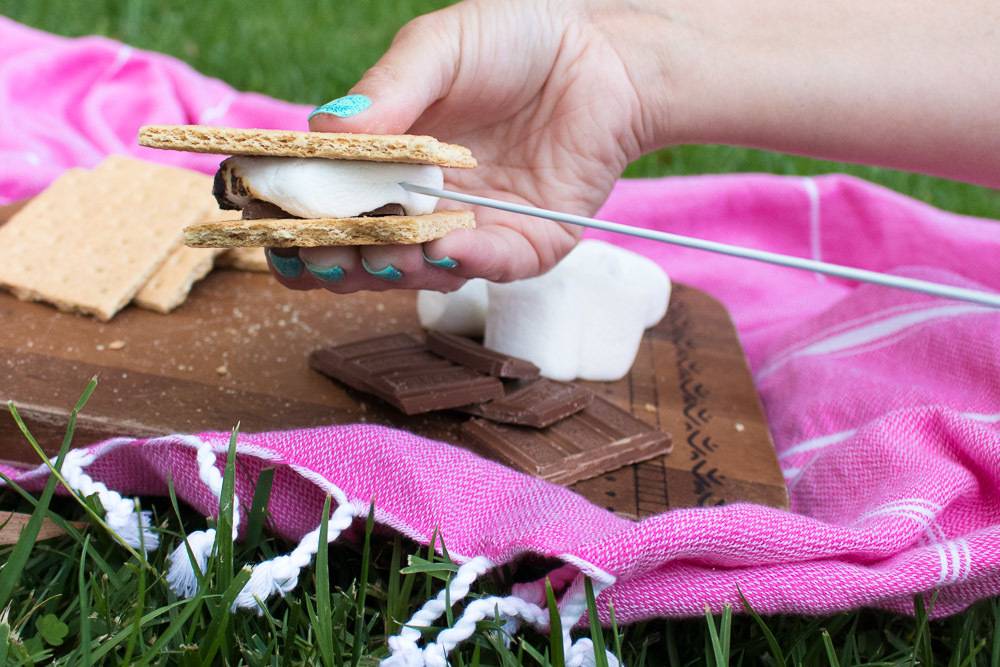
Sandwich the toasted marshmallows between chocolate and graham crackers and you can enjoy the best parts of camping right from your home!
Google. The Better Business Bureau. Facebook. Trustpilot. Angi. Yelp. Everywhere you look online, customers have shared their experiences with EcoShield technicians, service quality, communication, and the results they have seen on their properties.
Taken together, those reviews paint a picture of a company that is built around the local technician relationship and a focus on delivering consistent service across its network of branches throughout the United States.
Recurring themes in positive feedback
A common thread in positive EcoShield reviews is praise for the technician who visited the property. Customers frequently mention technicians by name, describing them as thorough, knowledgeable, and willing to take the time to walk the homeowner through what was observed and treated.
Customers also speak positively about scheduling and responsiveness. Reviews regularly mention being able to get an appointment quickly, receiving advance notice before a visit, and being able to reach real customer support representatives at the local branch when questions come up.
For customers who have had frustrating experiences with other service providers, that responsiveness is often the difference that turns a one-time service call into a long-term relationship.
Results customers report
Beyond the service experience itself, customers describe the results they have seen on their property after EcoShield’s visits.
Reductions in ant activity.
The disappearance of rodent signs in basements and garages.
Fewer mosquitoes in outdoor areas during the warmer months,
And much more!
Because pest pressures vary by region and season, the company encourages customers to think about pest control as an ongoing relationship rather than a one-time fix. (add in somewhere “Individual results may vary” depending on said factors)
Many of the reviews that describe the strongest outcomes come from customers on recurring service plans who have worked with the same branch over time and built a working relationship with their assigned technician.
Consistency across the footprint
Termites munching through wood. https://depositphotos.com/
One of the more notable patterns in EcoShield reviews is how similar the positive feedback sounds across markets.
A homeowner in the Seattle area describing a great experience with their technician uses much the same language as a homeowner in Minnesota or on Long Island.
That consistency across a nationwide footprint is the direct result of the operating model the company has built, with the same training, the same service standards, and the same expectations of branch leadership in every market EcoShield serves.
For prospective customers researching what other customers think of EcoShield Pest Solutions, that consistency is worth noting.
It means the experience customers describe is not the result of one exceptional branch but the result of a company that has invested in delivering the same standard everywhere it operates.
The company’s approach to feedback
EcoShield’s internal team treats reviews as an input rather than an output. All feedback from customers is reviewed at the branch level and used to refine training and service delivery.
That approach has shaped a number of operational improvements over the years and is part of what customers describe when they say their issues are taken seriously by their local EcoShield team.
For prospective customers researching EcoShield Pest Solutions, the broad takeaway across review platforms is that the company is built around local service quality, with technicians and branch staff who are accountable for the customer’s experience from scheduling through service completion.
While not many of us can dream of having a large pond or full-sized water feature in our gardens, mini ponds are accessible to all – even if you don’t have a garden at all.
All living things need water, and having a mini pond is excellent for improving biodiversity. It can help support wildlife such as birds and insects, and can be an attractive focal point. They’re cheap or even free to create, too – all you need is a large container and a little imagination. The larger the container you can find, the better, as it will give you more scope for planting and ‘pondscaping’.
The most important thing is that wildlife will need good access to the water – and a safe exit point. If you’re using a smooth-sided container such as an old Belfast sink, smaller animals may fall in and get stuck. Create exit and access ramps by piling stones against the inside and outside of the container, or position planks of wood. You can also position some additional rocks and plants around the outside to provide cover for shyer animals.
Water is essential to the lifecycle of the dragonfly, as it lays its eggs underwater. They then spend much of their early life underwater before hatching and emerging as the beautiful, delicate insects we know. Image by DerWeg via Pixabay
You can sink your container in the ground, if you want to, but it’s certainly not obligatory. Above-ground containers work just fine, and are easier to maintain as they involve less stooping down. Whatever you choose, you may want to fence it off from curious pets and small children.
Old metal containers can work well as mini ponds. Watch out for signs of it rusting through, though! You can always add an inner liner to be on the safe side. If you’re using a metal container, put it in a shady area so that it doesn’t heat up to much and evaporate the water. Photo by MrsBella via Pixabay
Your pond may be pint-size, but it will still need some maintenance. You’ll need to clear it of leaves and other debris regularly, top it up in hot weather and remove ice in the winter. Standing water can also attract mosquitoes, so you can mitigate this by installing a pump to keep the water moving. Planting oxygenating plants will help, too.
Hedgehogs can become dehydrated, particularly in hot or dry weather. Make sure you create sloping access to your pond to allow them to drink safely. Photo by alsen via Pixabay
How to create a mini pond
First, choose your container. Large tubs, old sinks, half barrels and even large washing up bowls all work well. If your container isn’t 100% waterproof, you’ll also need to line it with something.
Ideally, choose a site in semi-shade that’s not too near trees or other mature shrubs, or you’ll be forever clearing up leaves.
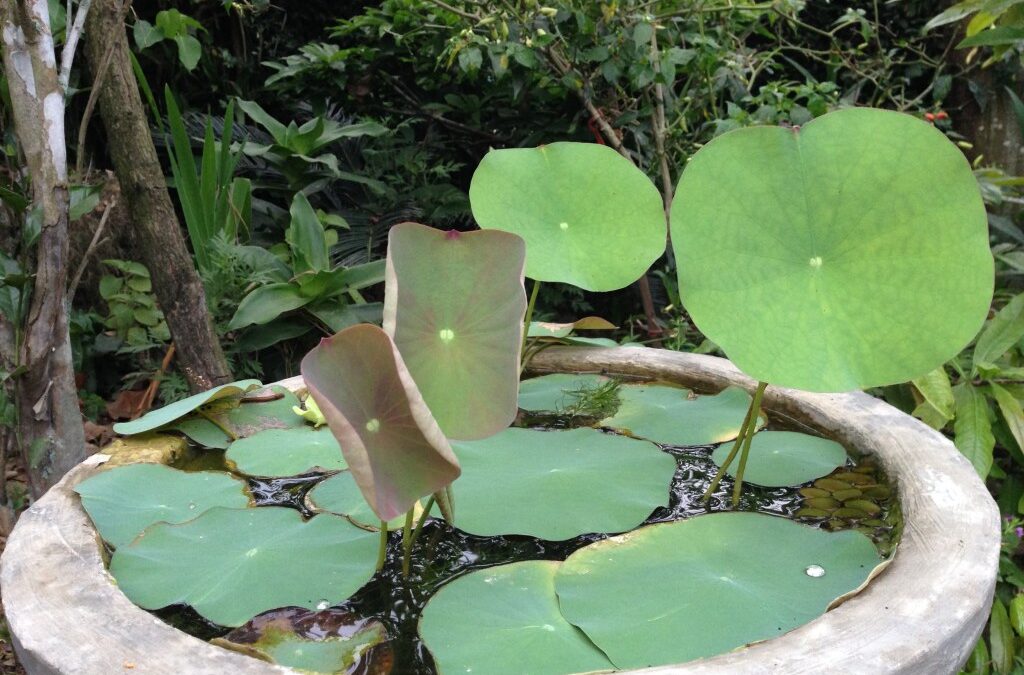
Position the container in its final place, and put some large rocks and gravel in the bottom. Add some small water plants, such as miniature water lilies – three or four different species works well for biodiversity.
Even bees need water! Honey bees in particular need a source to water to help with honey product. Photo by diegods72 via Pixabay
Fill the pond, ideally using rainwater, which is better for promoting biodiversity. Any subsequent top ups should be done with rainwater, too.
Sit back and wait. It will take a little while for local wildlife to discover the new facility in town, but you’ll soon be visited by a variety of feathered and furry critters.
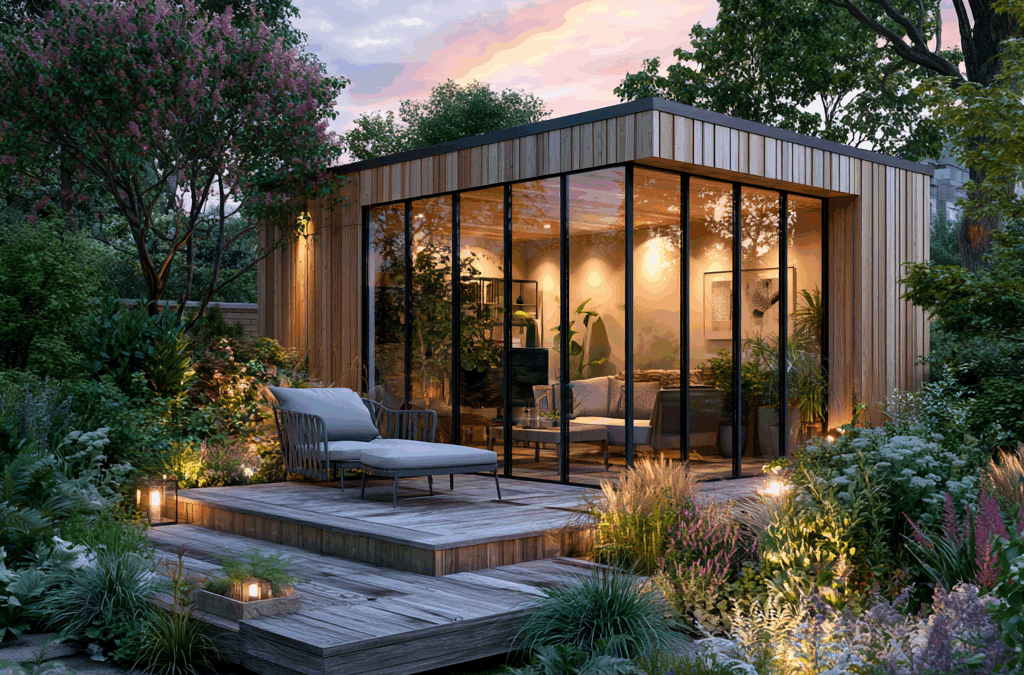
If you are thinking about adding a garden room, upgrading an existing one, or simply giving your outdoor space a more considered finish this year, the material choices you make at the specification stage will determine how your project looks in ten years’ time — not just how it looks on the day it is completed.
The UK garden room market has matured considerably over the past five years. The structures available today are significantly better insulated, better built, and better detailed than those of a decade ago. But the exterior materials used to clad and deck these buildings have not always kept pace. Too many garden rooms — even well-built, well-insulated ones — are still being finished with pressure-treated softwood cladding and decking that will need significant maintenance attention within three to five years.
The good news is that the alternatives are more accessible than ever. Here is what to know before you specify.
Why Timber Species Choice Matters More Than You Think
Not all timber decking performs the same. The species, the modification process, and the profile selection all affect how the material performs in a UK garden environment — and the differences between the best and worst options are not marginal.
Pressure-treated softwood — the standard option supplied by most garden room builders — achieves its durability through chemical impregnation with preservative compounds. It works, but it requires annual or biannual retreatment to maintain that protection as the surface coating degrades. Miss one season and the greening starts. Miss two and the boards begin to show genuine structural fatigue at the fixing points.
Siberian larch is naturally durable without chemical treatment — its density and high resin content give it genuine resistance to biological decay that pressure-treated pine achieves only through chemistry. This means lower maintenance, more consistent appearance over time, and no restrictions on how the timber is disposed of at end of life. For a garden room that is going to be used daily as an office or creative studio, the reduced maintenance commitment is a meaningful quality-of-life benefit.
Siberian larch decking is available in smooth and ribbed profiles to suit different design intentions and practical requirements. The full range of Siberian larch decking UK covers both standard AB grade and premium A grade boards, with options from 28x90mm for narrower deck areas to 28x140mm for wider-board contemporary installations.
What Does a Well-Specified Garden Room Actually Cost?
One of the most consistent frustrations in the garden room market is the gap between initial quoted prices and the final cost of a well-finished project. Base structures are often quoted attractively — and then the upgrades start: better insulation, better windows, better cladding, better decking.
Understanding what those upgrades cost at the outset — and why they represent genuine value rather than upselling — makes the specification conversation much more productive. For cladding, the premium between pressure-treated softwood and a naturally durable timber like Siberian larch or ThermoWood is typically in the range of £15 to £30 per square metre supply cost. On a 30m² garden room with 60m² of total cladded area, that represents a difference of £900 to £1,800 at supply — a fraction of the total project cost, but one that determines the maintenance commitment for the next two decades.
Decking costs follow a similar pattern. Siberian larch decking typically costs £55 to £65 per square metre supplied, compared with £25 to £35 for pressure-treated pine. On a 20m² deck, that is a supply cost difference of £400 to £600 — and an elimination of the annual retreatment cost that pressure-treated decking requires throughout its service life.
For a detailed breakdown of all the costs involved in a garden room project — from structure and glazing through cladding, decking, and landscaping — the garden room cladding cost UK 2026 guide provides current supply prices across all the main cladding species and profiles, with practical guidance on calculating quantities and budgeting for the complete external finish.
The Design Decisions That Make the Biggest Difference
Beyond species and profile, the installation details that most affect the long-term appearance and performance of garden room cladding and decking are often the ones that receive the least attention at the design stage.
For cladding, the specification of a ventilated rainscreen system — with a minimum 25mm drained and ventilated cavity between the boards and the wall structure — is non-negotiable for long-term performance. Without adequate ventilation, even naturally durable timber will show accelerated deterioration at fixing points and board ends where moisture accumulates. The cavity adds a small amount to installation cost but extends the effective service life of any cladding species by decades.
For decking, board orientation and drainage are critical. Boards should run away from the building to shed water, with adequate fall across the deck surface and gaps between boards that allow drainage without accumulating debris. End grain sealing at all cut ends is best practice that adds minimal cost but significantly reduces the moisture uptake that causes end-checking and premature decay at the most vulnerable points of any board.
More homeowners are placing greater emphasis on outdoor spaces that are both attractive and easy to manage. As lifestyles become busier, many people are looking for ways to enjoy their gardens, patios, and yards without spending countless hours on upkeep. Homeowners researching custom outdoor living solutions by Turft often do so because they want landscaping options that reduce maintenance while creating a polished and functional outdoor environment.
The Shift Toward Practical Outdoor Living
Many people no longer view their outdoor spaces as areas that require constant attention. Instead, they want environments that can be enjoyed without frequent mowing, watering, trimming, or repairs. This desire for simplicity has encouraged designers to prioritize practical solutions that maintain their appearance with minimal effort.
As a result, modern outdoor designs often feature materials and layouts that reduce maintenance requirements. Durable surfaces, efficient irrigation systems, and carefully selected landscaping elements help homeowners spend less time working in their yards and more time enjoying them. This practical approach has become a defining characteristic of contemporary residential design.
Why Convenience Is Influencing Design Choices
Convenience plays a significant role in many home improvement decisions today. People increasingly value features that save time and reduce ongoing responsibilities, especially when balancing work, family, and personal commitments. Outdoor spaces are no exception to this trend.
Low-maintenance design allows homeowners to maintain a clean and appealing property without dedicating weekends to landscaping tasks. This benefit is particularly appealing in households where outdoor areas serve as gathering spaces for entertaining, relaxing, or spending time with family. The easier these spaces are to maintain, the more frequently they are used.
Materials That Support Long-Term Performance
Modern outdoor design often incorporates materials that are built to withstand changing weather conditions while retaining their appearance. Homeowners are choosing products that offer durability alongside visual appeal, reducing the need for frequent replacements or repairs. This focus on longevity helps create outdoor environments that remain attractive for years.
Artificial turf, composite decking, and weather-resistant furnishings have become popular choices for this reason. These materials offer practical benefits while contributing to a clean and cohesive design aesthetic. By reducing maintenance demands, they help homeowners achieve a balance between beauty and functionality.
Outdoor Spaces as Extensions of the Home
The concept of outdoor living has evolved significantly in recent years. Patios, gardens, and backyard spaces are increasingly designed to function as natural extensions of indoor living areas. This approach encourages seamless movement between the interior and exterior portions of a property.
To support this lifestyle, people are selecting outdoor features that remain presentable with minimal effort. Comfortable seating, durable surfaces, and thoughtfully designed layouts help create spaces that can be used regularly without requiring constant maintenance. The result is an outdoor area that feels like an integrated part of the home rather than a separate space.
Sustainability and Reduced Resource Consumption
Low-maintenance outdoor design often aligns with sustainability goals. Many homeowners are interested in reducing water consumption and minimizing the environmental impact of traditional landscaping practices. This has encouraged the adoption of solutions that require fewer resources while still delivering attractive results.
Reducing the need for irrigation, fertilizers, and fuel-powered lawn equipment can contribute to a more environmentally conscious property. At the same time, homeowners benefit from lower ongoing maintenance costs and fewer routine landscaping responsibilities. This combination of environmental and practical advantages continues to drive interest in low-maintenance outdoor design.
The Future of Residential Outdoor Design
As homeowner preferences continue to evolve, low-maintenance outdoor spaces are likely to remain a major influence on residential design trends. Future developments will likely focus on creating even more efficient and versatile outdoor environments that require minimal upkeep while supporting a variety of activities. Designers will continue exploring innovative materials and landscaping strategies that enhance both convenience and appearance.
This shift reflects a broader change in how people define comfort and functionality within the home. Rather than prioritizing features that require significant effort to maintain, homeowners are embracing solutions that allow them to maximize enjoyment while minimizing work. The result is a new approach to outdoor living that supports modern lifestyles and long-term satisfaction.
Low-maintenance outdoor spaces have become an important part of contemporary home design because they address the practical needs of today’s homeowners. By combining convenience, durability, sustainability, and visual appeal, these spaces offer lasting value while enhancing everyday living. As the demand for efficient and attractive outdoor environments continues to grow, low-maintenance design will remain a key factor in shaping the homes of the future.
Summer evenings are when gardens really come into their own. A space that looks good in daylight also needs to feel comfortable after dark, whether you are eating outside, relaxing on the patio or simply walking from the house to the end of the garden.
Good exterior lighting is not about making every corner bright. The best schemes usually combine a few careful layers: light for movement, light for atmosphere and light that draws attention to one or two features.
The easiest way to plan exterior summer lighting is to think about how each part of the garden will be used after dark.
Lighting type
Best for
What to consider
Garden spike light
Planting, borders, trees and textured walls
Aim carefully to avoid glare
Bollard lighting
Paths, driveways, entrances and garden edges
Keep spacing even but not excessive
Deck lighting
Steps, deck edges, raised areas and seating zones
Use soft, low-level output
Exterior wall lighting
Patios, doors and outdoor seating areas
Check height, glare and wall finish
A good garden rarely needs every type of light everywhere. The aim is to choose the fitting that suits the job.
Garden spike lights for planting and summer focal points
A garden spike light is useful when you want to draw attention to something specific, such as a small tree, feature shrub, border edge or textured wall.
Spike lights usually work best when they are tucked into planting and angled across a surface or up through foliage. The point is not to see the fitting itself, but to reveal shape, texture and shadow.
Where the installation allows, spike lights can often be re-aimed as plants grow, pots move, or borders fill out during the summer.
Bollard lighting for paths, driveways and garden structures
Bollard lighting is usually better for route guidance than feature lighting. It works well along paths, driveways, entrances and garden edges where people need to move comfortably after dark, while nearby exterior wall lights can help connect those routes back to doors, patios and exterior walls.
Spacing matters. Too many bollards can feel overly formal, while too few can leave dark gaps. In most gardens, the aim is a gentle rhythm of light rather than a bright line of posts.
Because bollards are visible during the day, style matters too. A slim, simple design may suit a modern garden, while a softer or more traditional fitting can work better near older properties or layered planting.
Deck lighting for steps, edges and seating areas
Deck lighting is usually about subtle guidance. It works well around steps, deck edges, raised platforms and seating areas where people need enough light to move comfortably.
Outdoor-rated deck lights should stay soft and low-level. If they are too bright or repeated too heavily, they can quickly become distracting, especially around seating or dining areas.
Used well, deck lighting can define a zone without needing a large overhead light.
Exterior wall lighting for patios and entrances
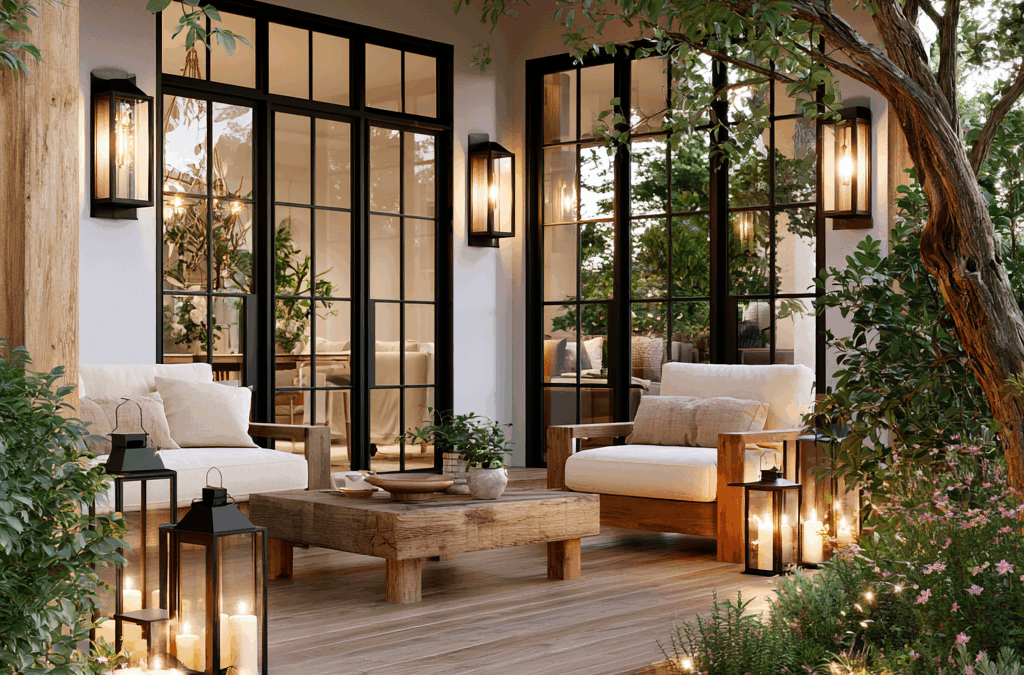
Wall lighting often connects the garden back to the house. It can make a patio feel more usable, frame a doorway or add a more finished look to an exterior wall.
The main things to check are height, glare and spread. A fitting placed too high may feel harsh, while one positioned too low may not give enough useful light.
Lighting zones for summer evenings
A simple exterior lighting plan works best when each fitting has a clear role. Start with the practical route, then add atmosphere, then highlight one or two features.
For example, bollard lighting might guide people along a path, deck lighting might define a seating area, and a garden spike light might pick out a tree or planting bed.
Warmth, glare and IP ratings still matter
The type of fitting is only part of the decision. Colour temperature, brightness, aiming and weather resistance all affect the final result.
Warm white is usually a safe starting point because it feels softer around planting, timber, brick and stone. Cooler light can work for practical routes, but it may feel harsh around seating areas.
If the light source is clearly visible from a patio, window or path, the fitting may need to be moved, angled or softened. For any outdoor fitting, check the IP rating and installation requirements against the level of exposure.
Exterior summer lighting FAQs
These questions add practical detail around placement, mood and comfort for summer evenings.
What should I light first in a summer garden?
Start with the areas people use most after dark, such as the patio, dining space, route back to the house and any steps or level changes. Then add one or two feature lights for planting, trees or textured walls.
How do I create mood lighting outdoors?
Mood lighting usually comes from softer, warmer and lower-level light rather than brightness. Use spike lights to add depth, deck lighting to define seating areas and wall lights or bollards only where they support comfort and movement.
How can I avoid making the garden look overlit?
Leave some darker areas in place. A garden often feels more atmospheric when light is used selectively, with attention on routes, seating zones and a few focal points rather than every border or wall.
Where should lights be placed for outdoor dining?
For outdoor dining, avoid bright fittings at eye level. Softer wall lighting, low-level deck lighting or indirect light from nearby planting usually feels more comfortable.
Bringing the exterior lighting scheme together
The best exterior summer lighting feels planned but not obvious. Start with how the space is used, then choose fittings that support those moments.
A few well-placed lights will usually do more for a summer garden than trying to illuminate everything.