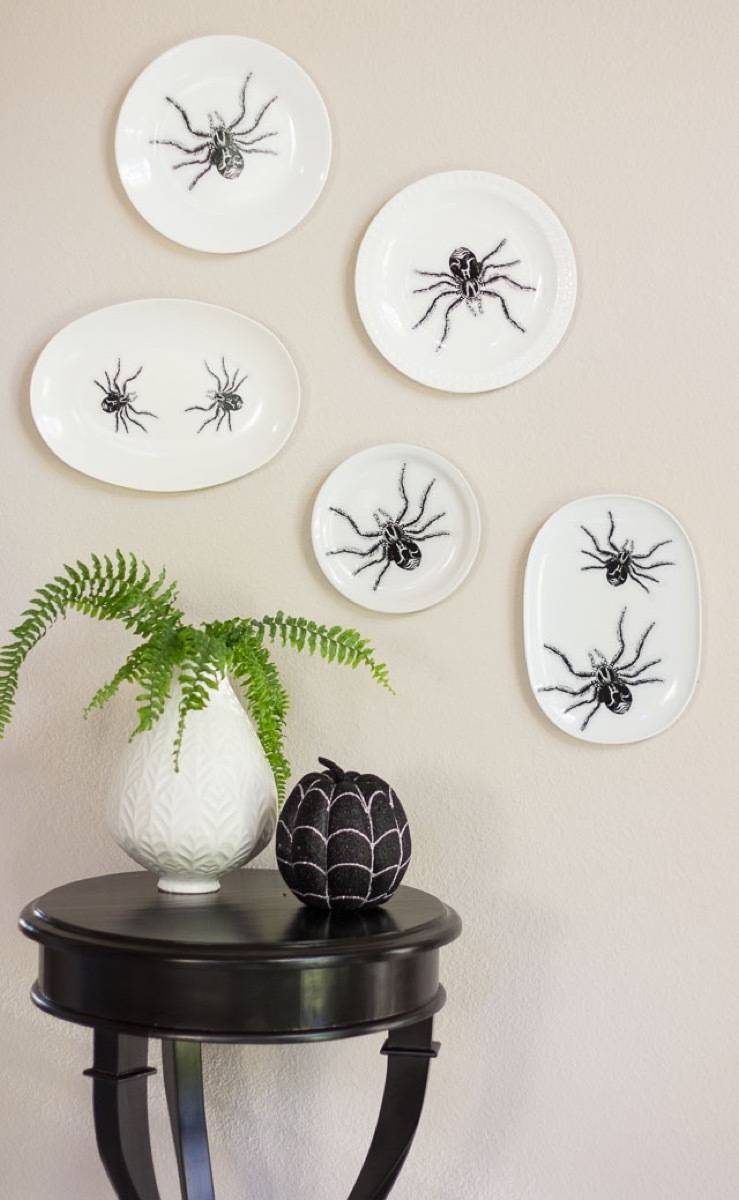
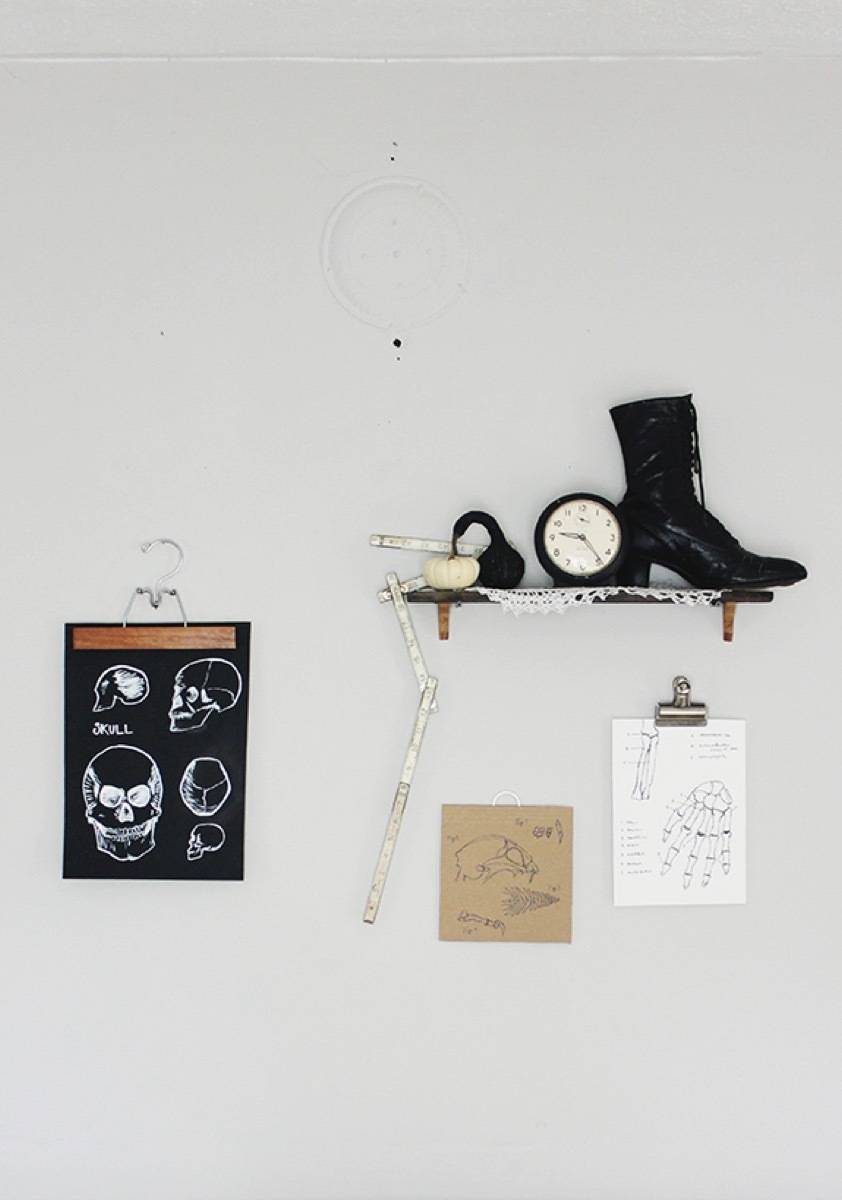
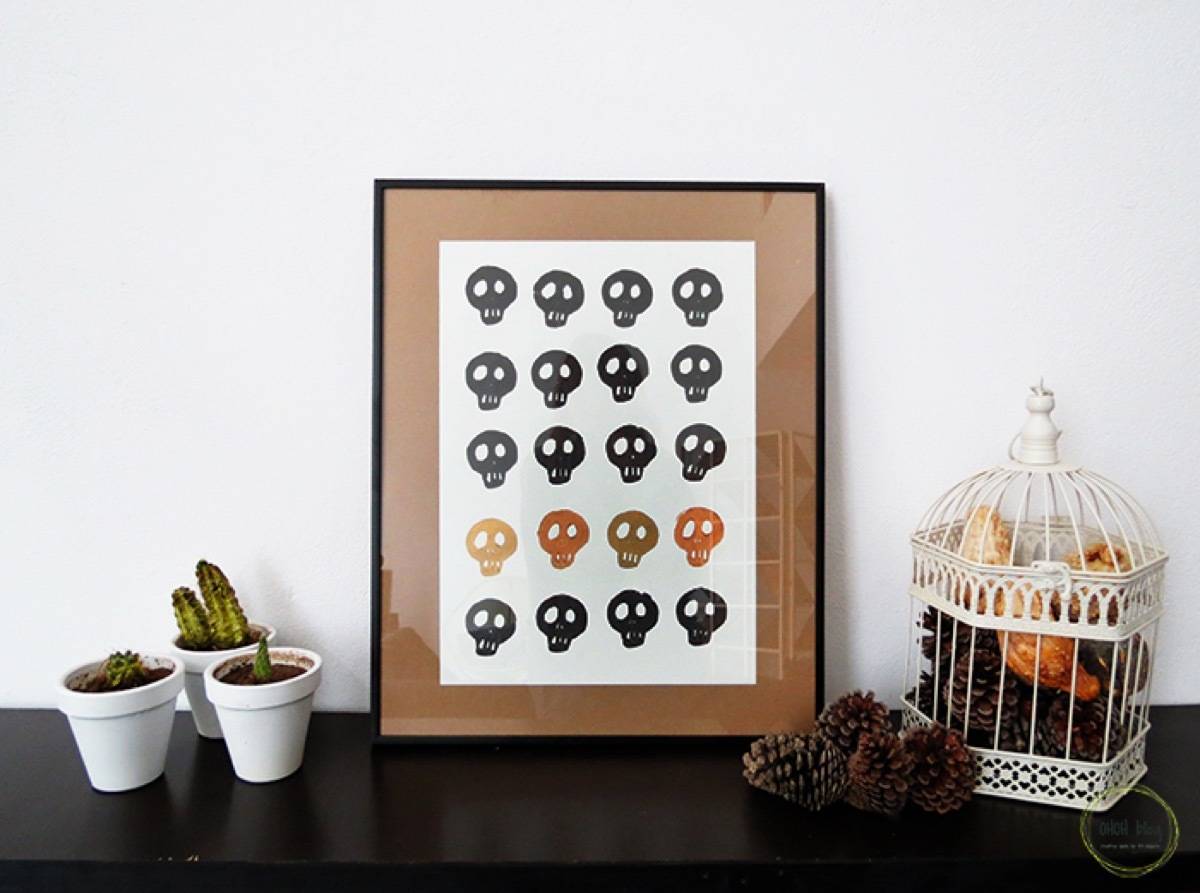
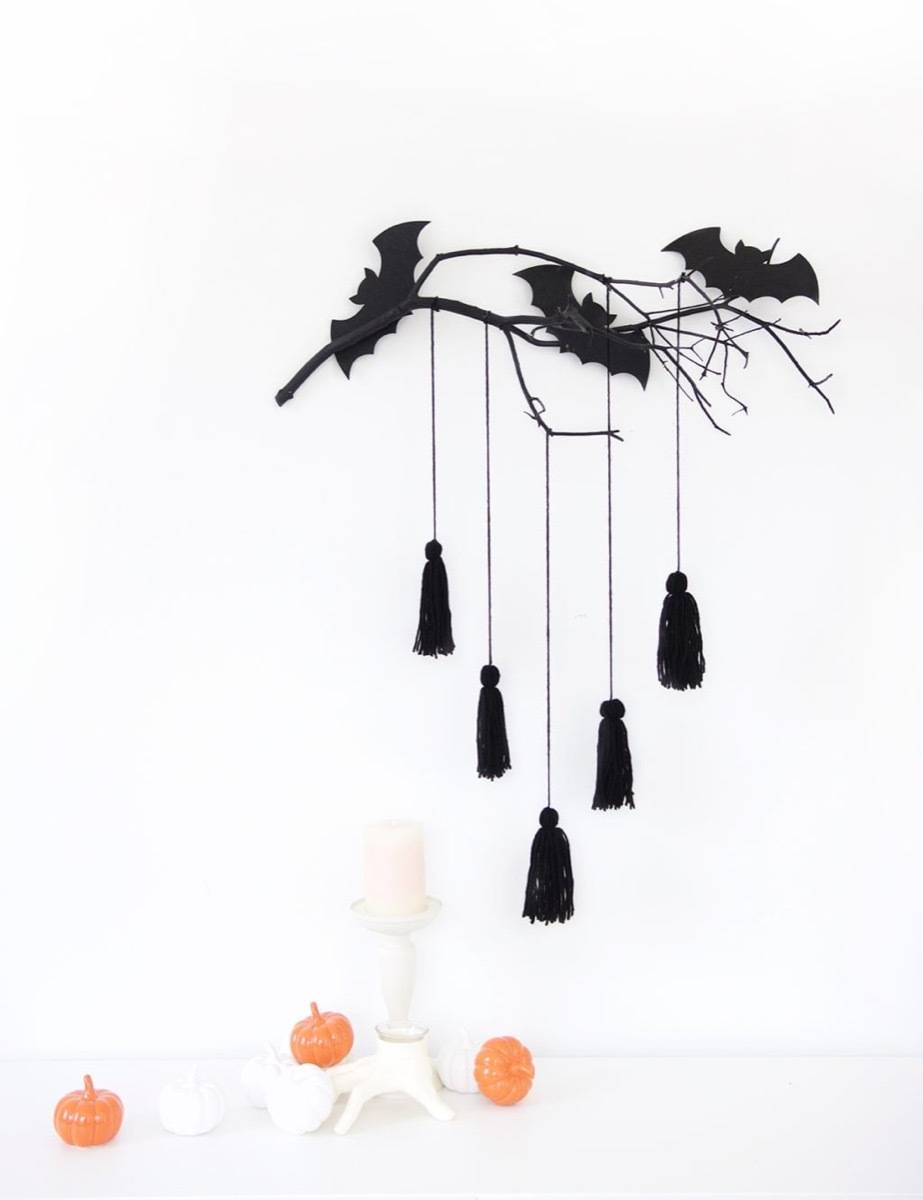
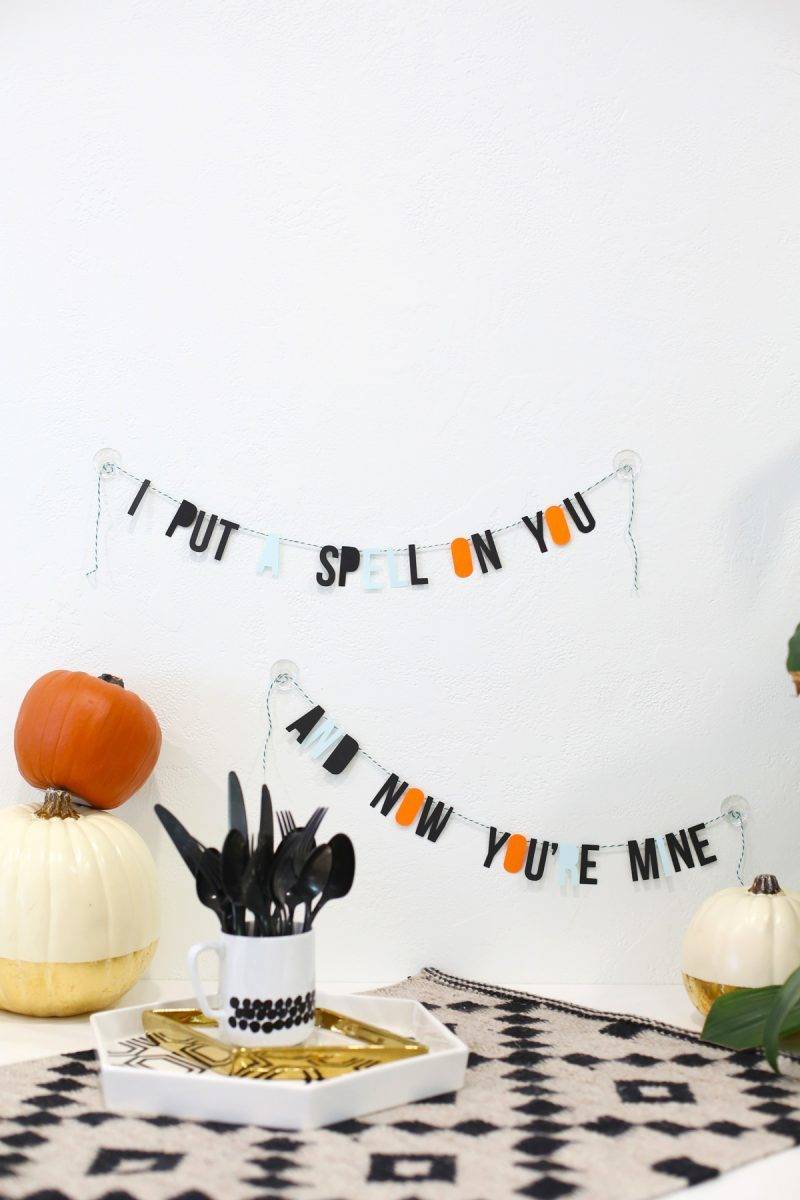
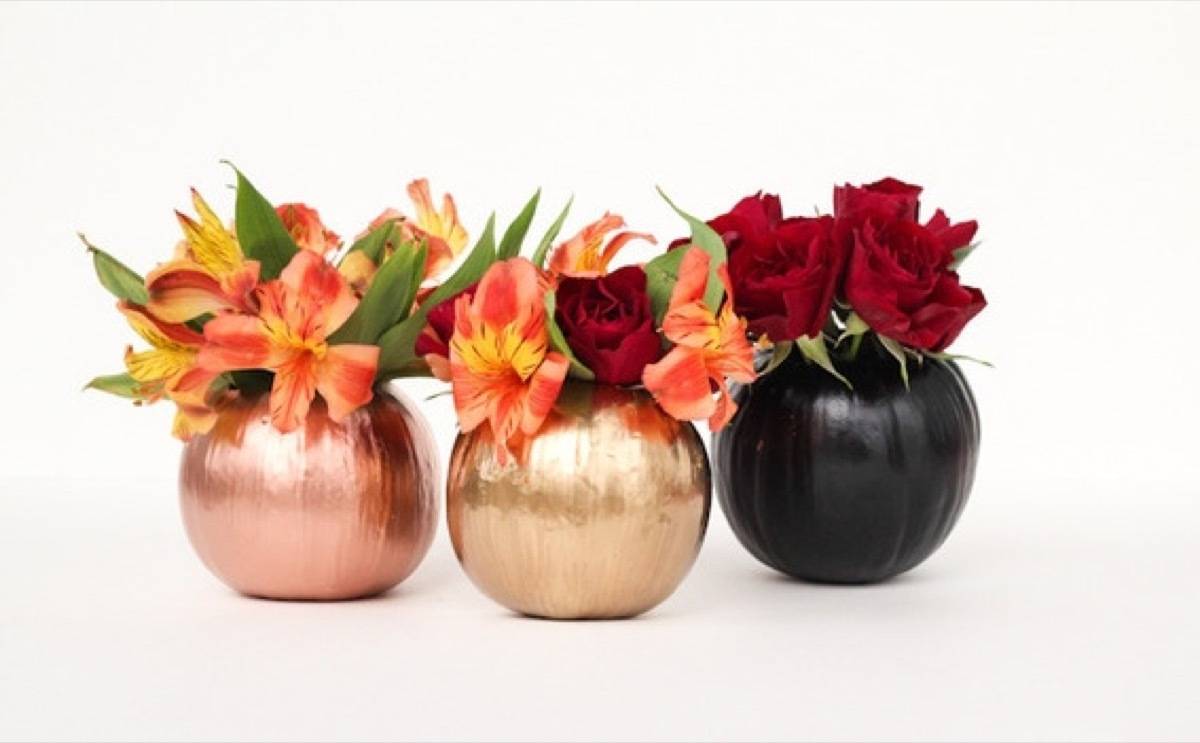
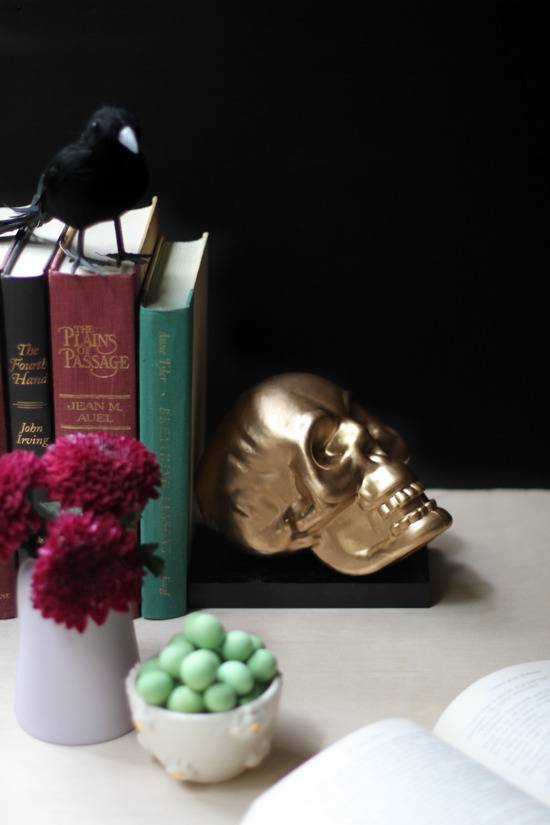
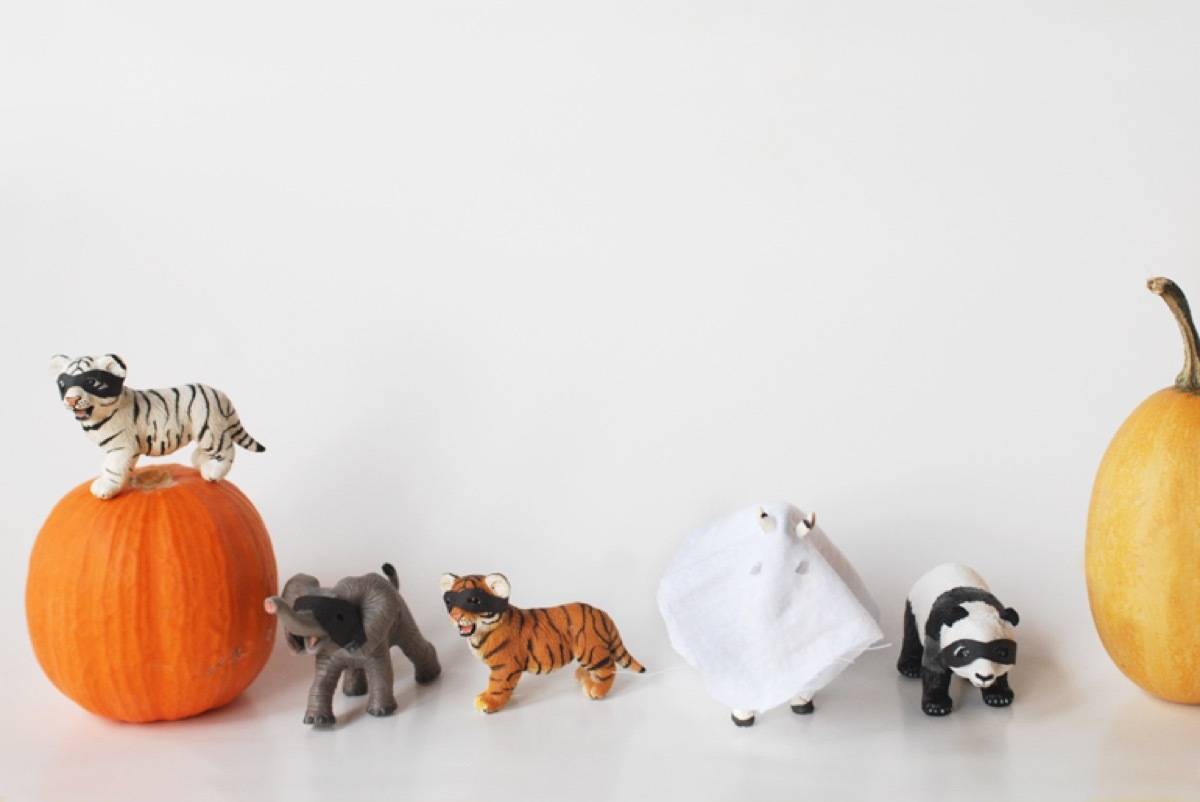
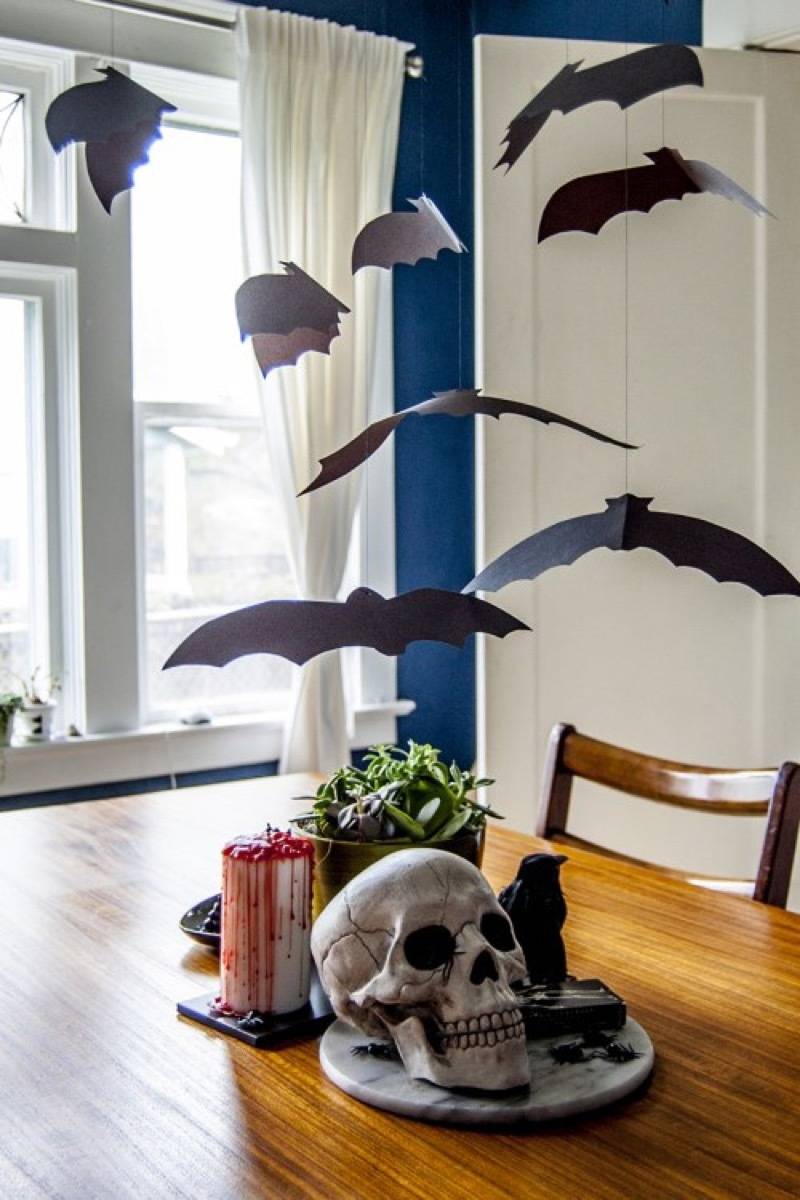
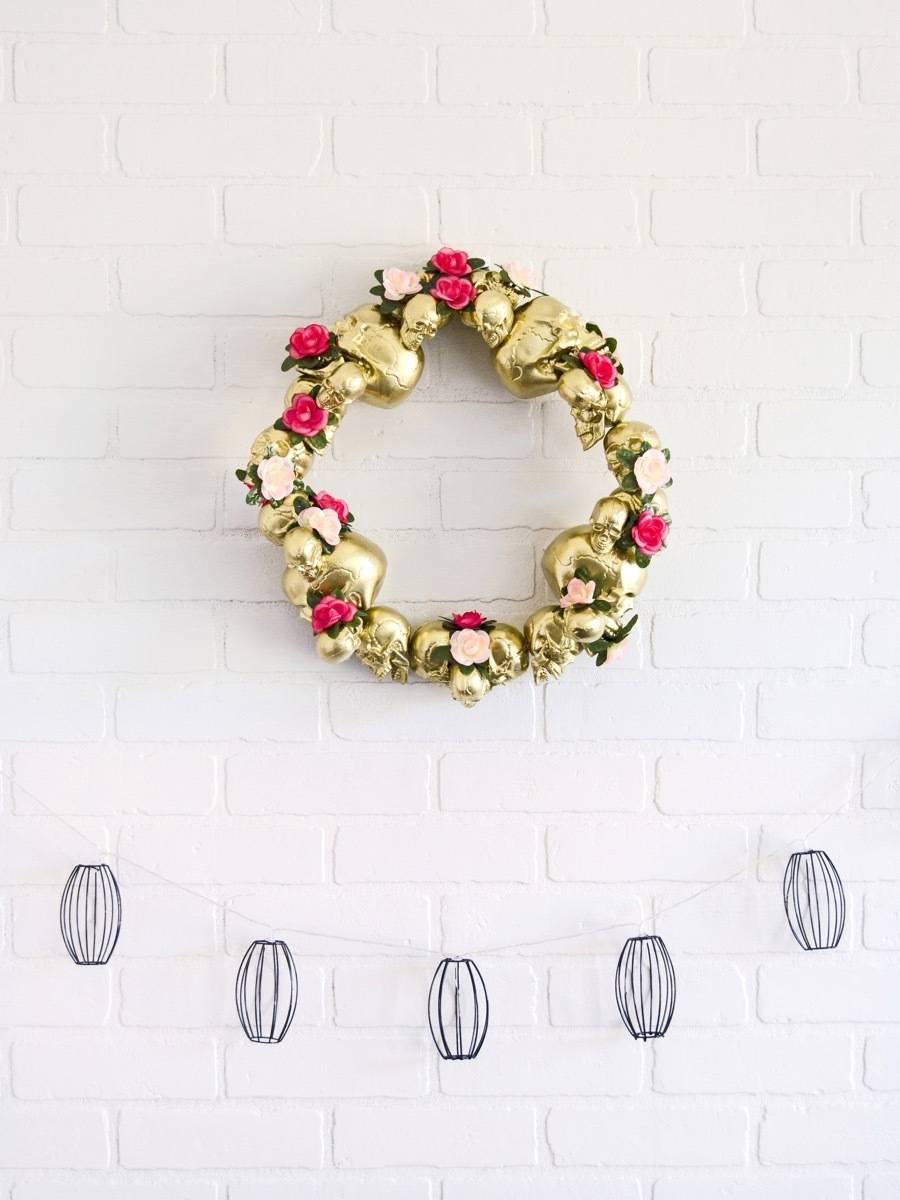
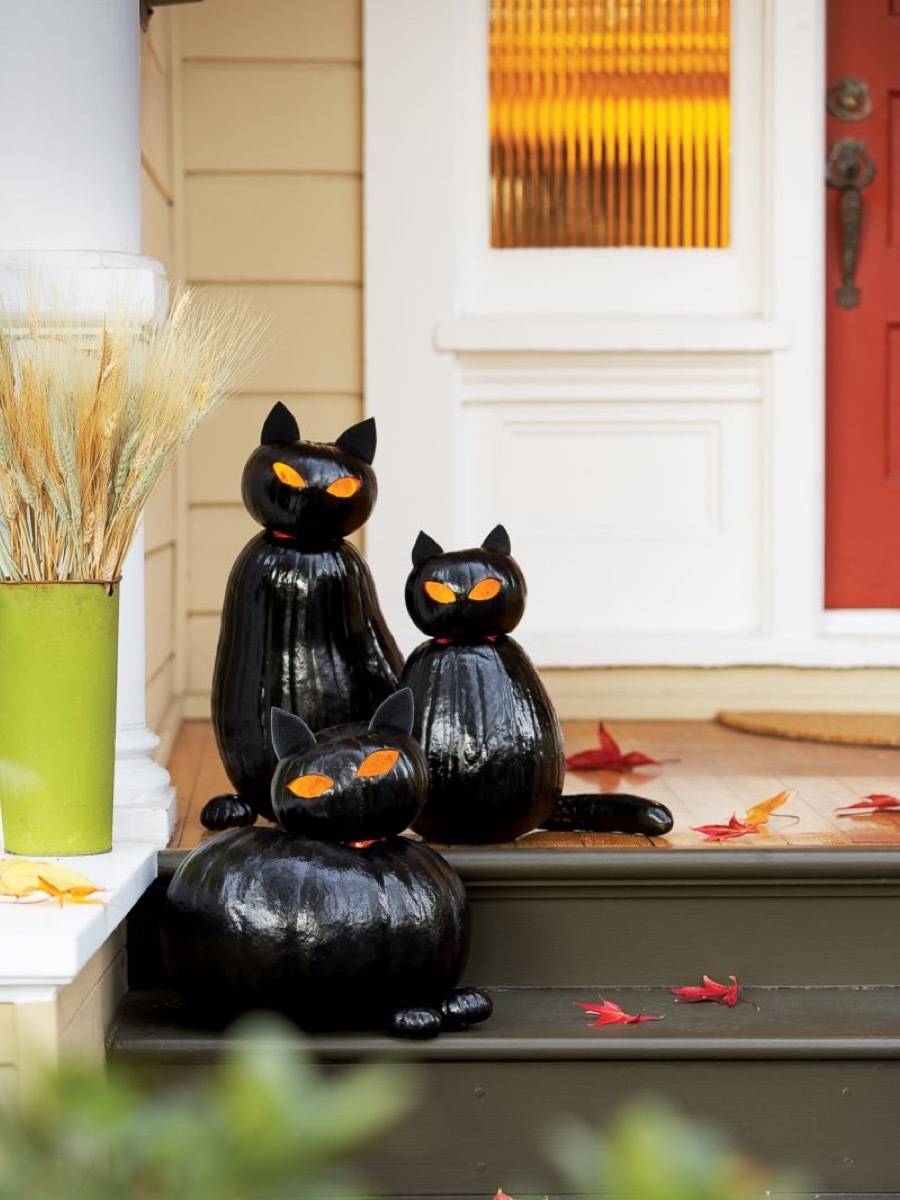
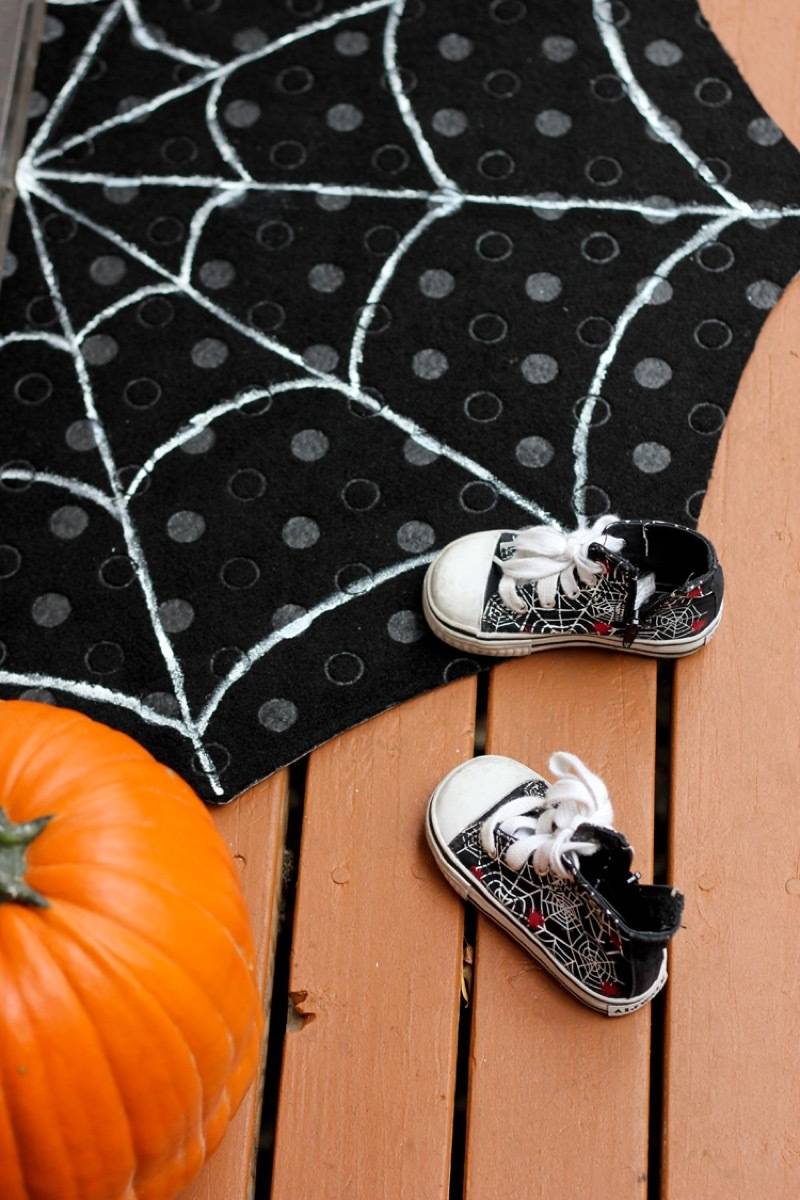
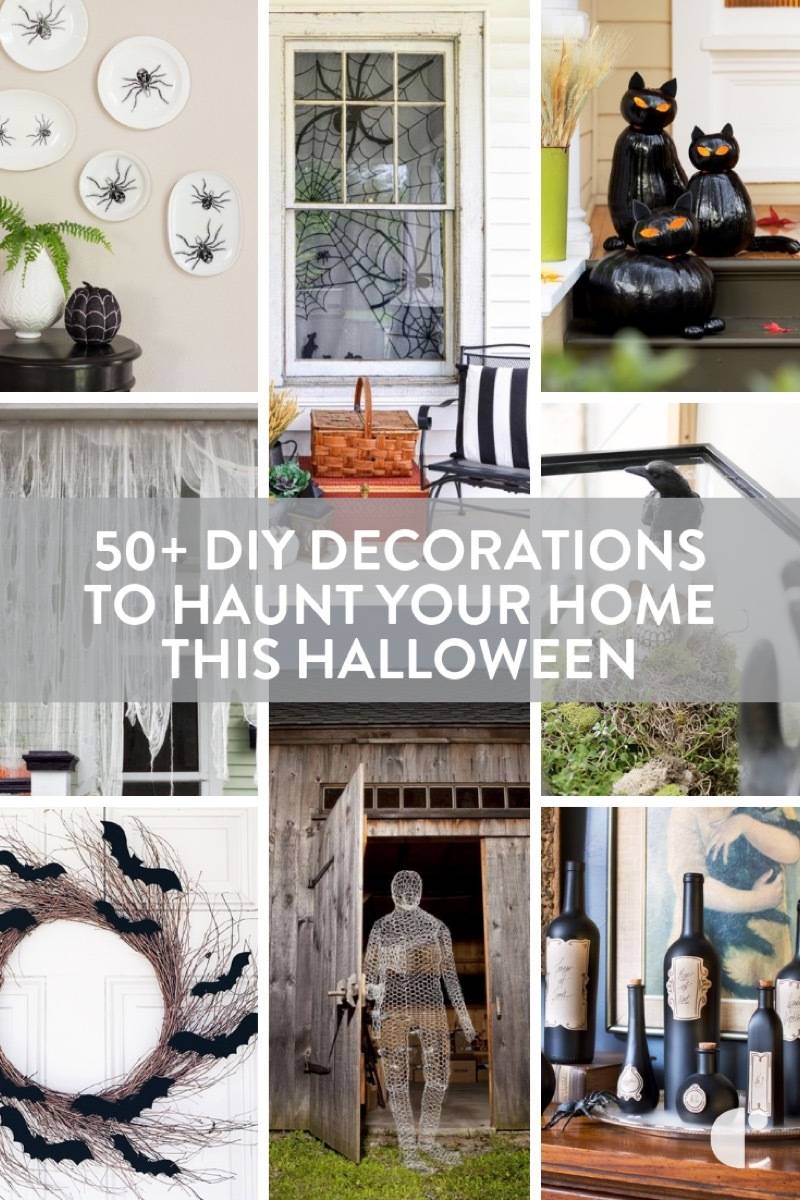
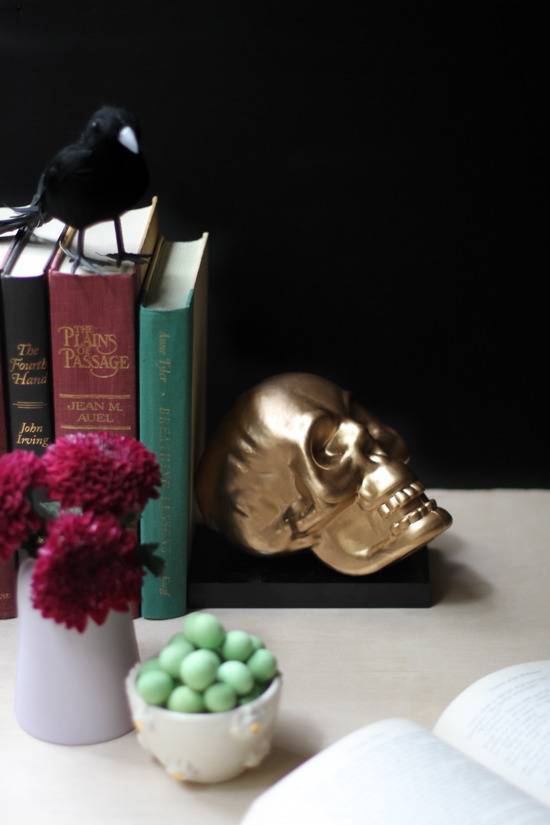
BOO! Did I scare you? If not, this might give you a fright: it’s almost October, which means it’s almost time for Halloween! Now that’s truly terrifying. Halloween is one of the most fun holidays to decorate for, and there are so many ways you can celebrate. Whether you prefer creepy crawlies, or more glitz and glam, there’s no end to the DIY Halloween decorations you can make to adorn you home – inside and out! Here are a few of our favorites. Prepare to be spooked!
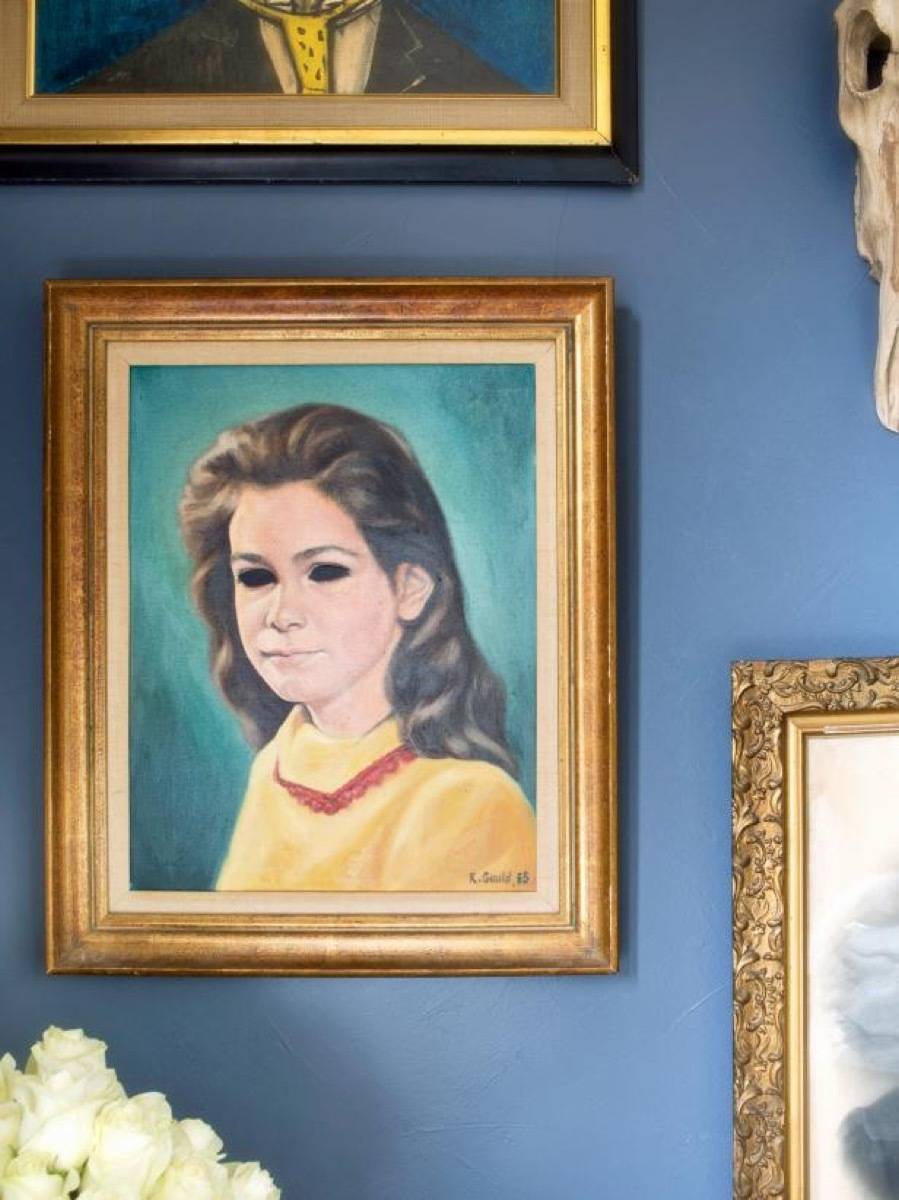
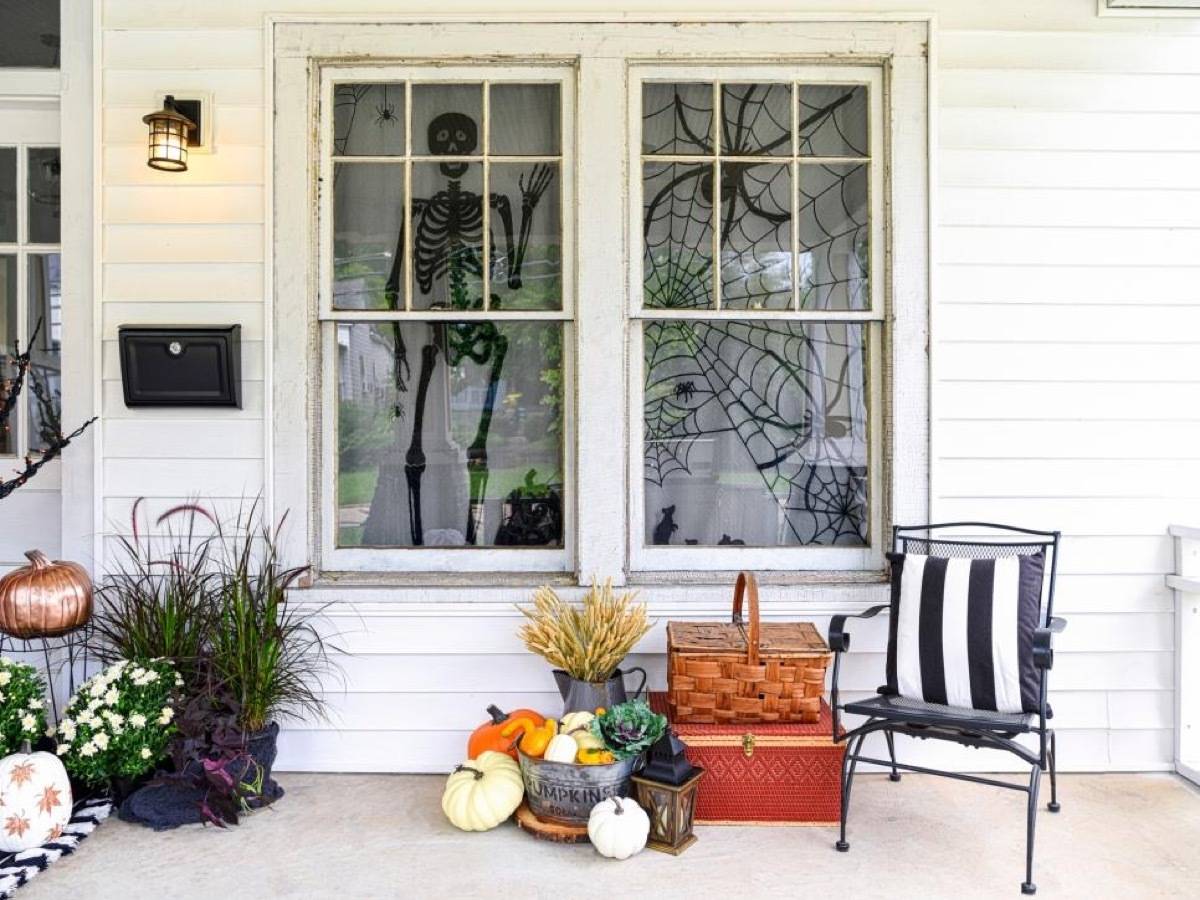
7. All you need to create this unnerving look is a little bit of construction paper and some double-sided tape, and you can give your existing images a fresh, soul-less look.
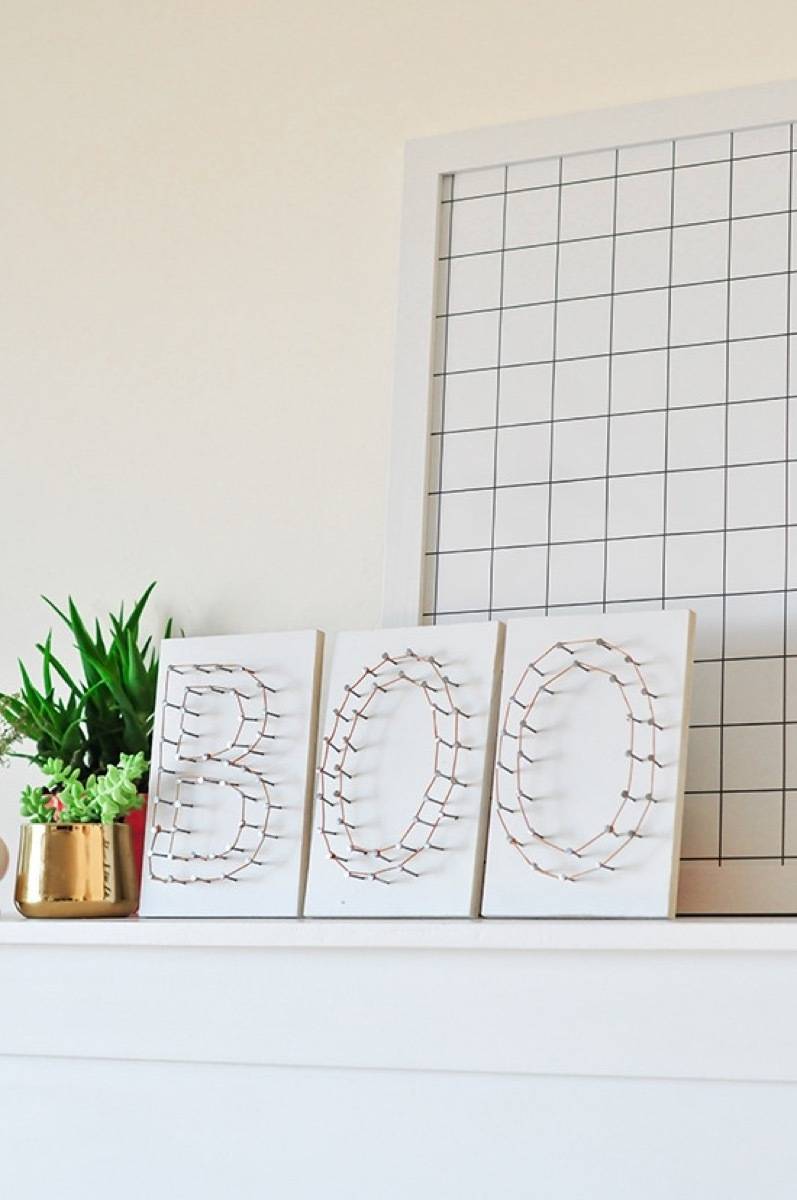
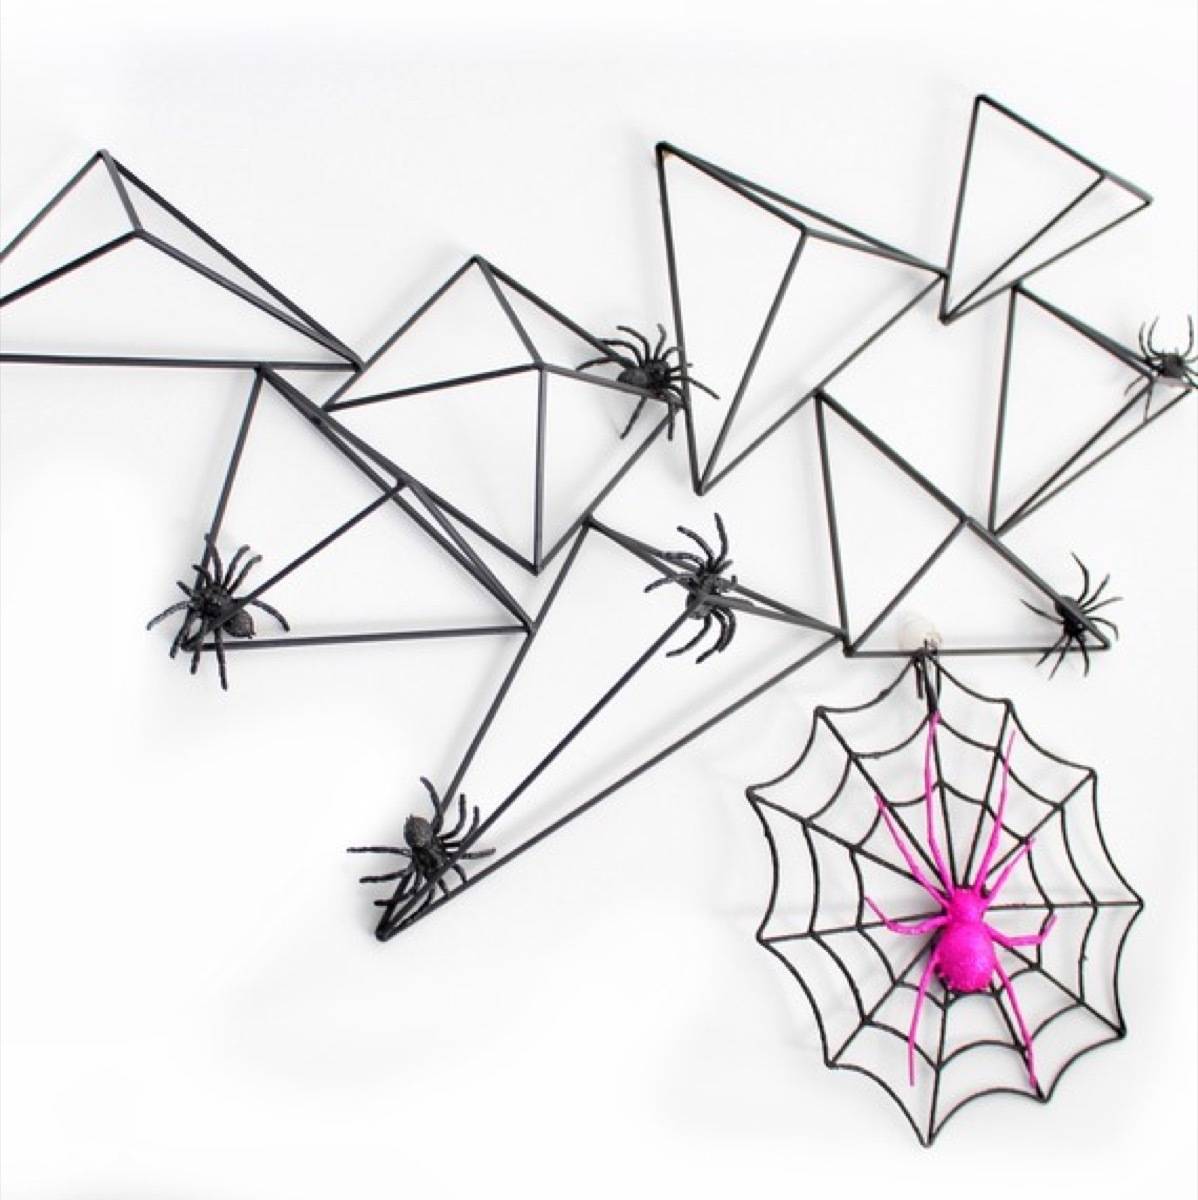
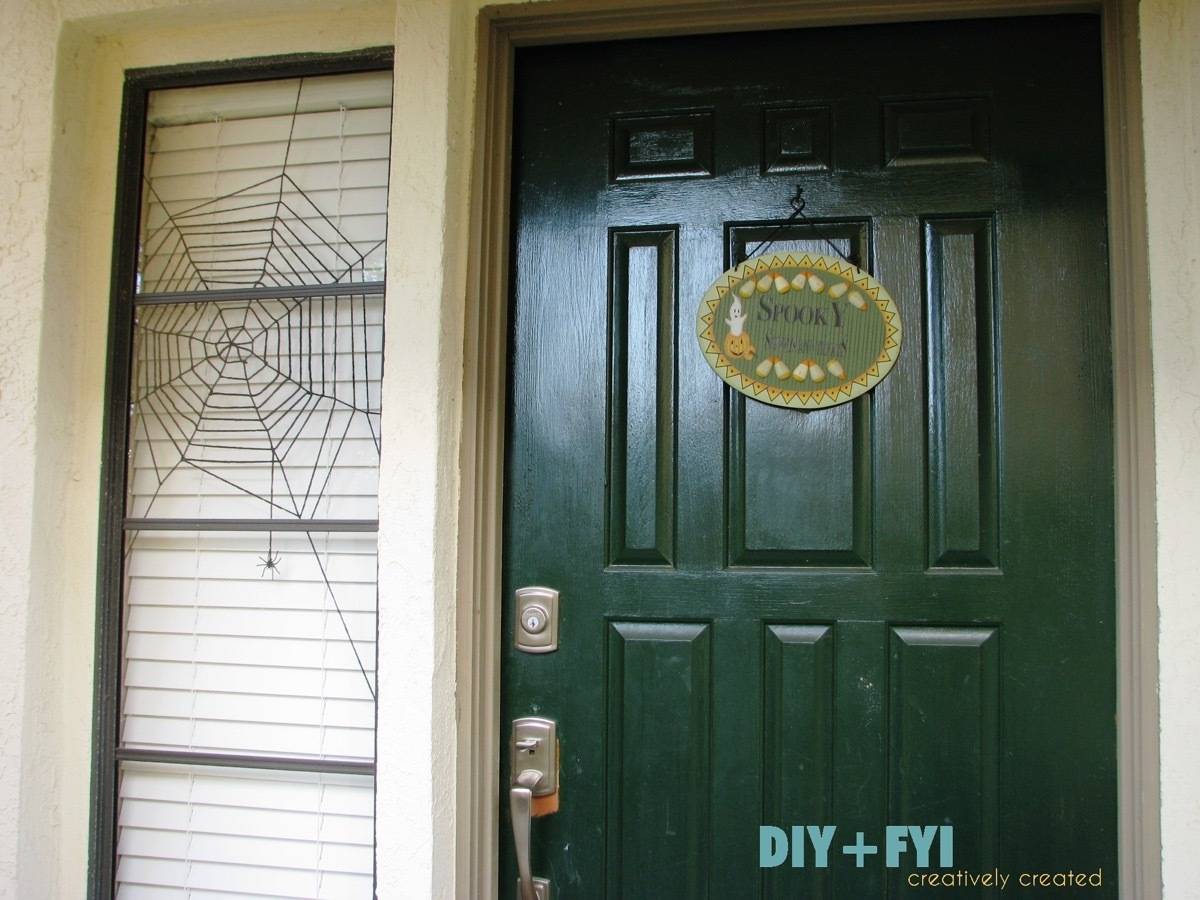
13. Modern wall art transforms into a geometric spider web, thanks to spray paint. Turns out you can create DIY Halloween decorations out of any old thing!
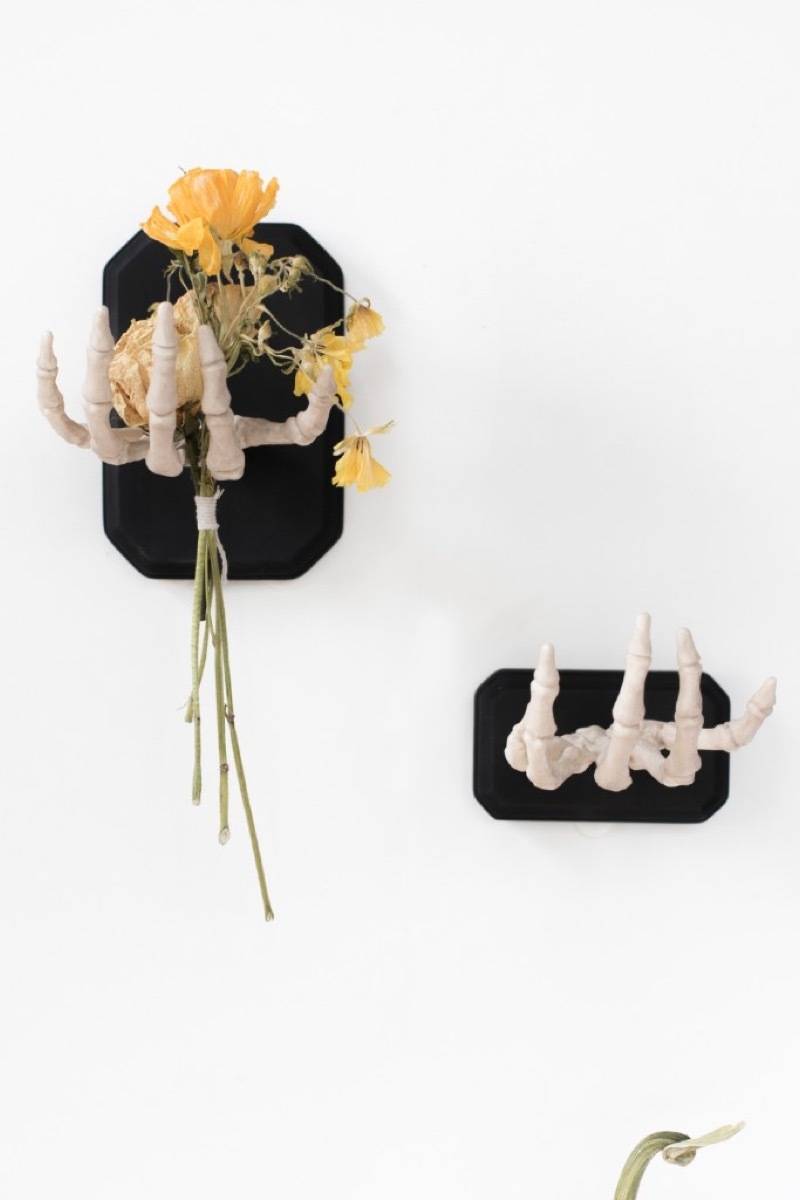
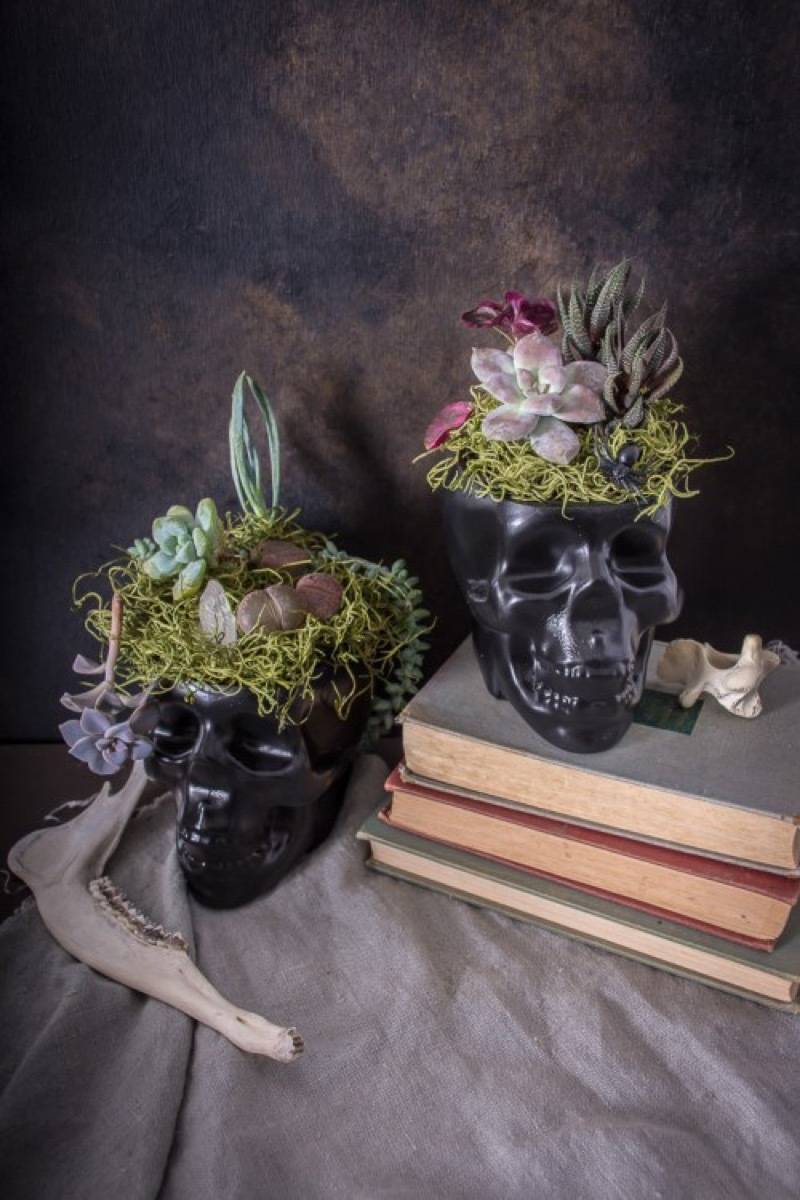
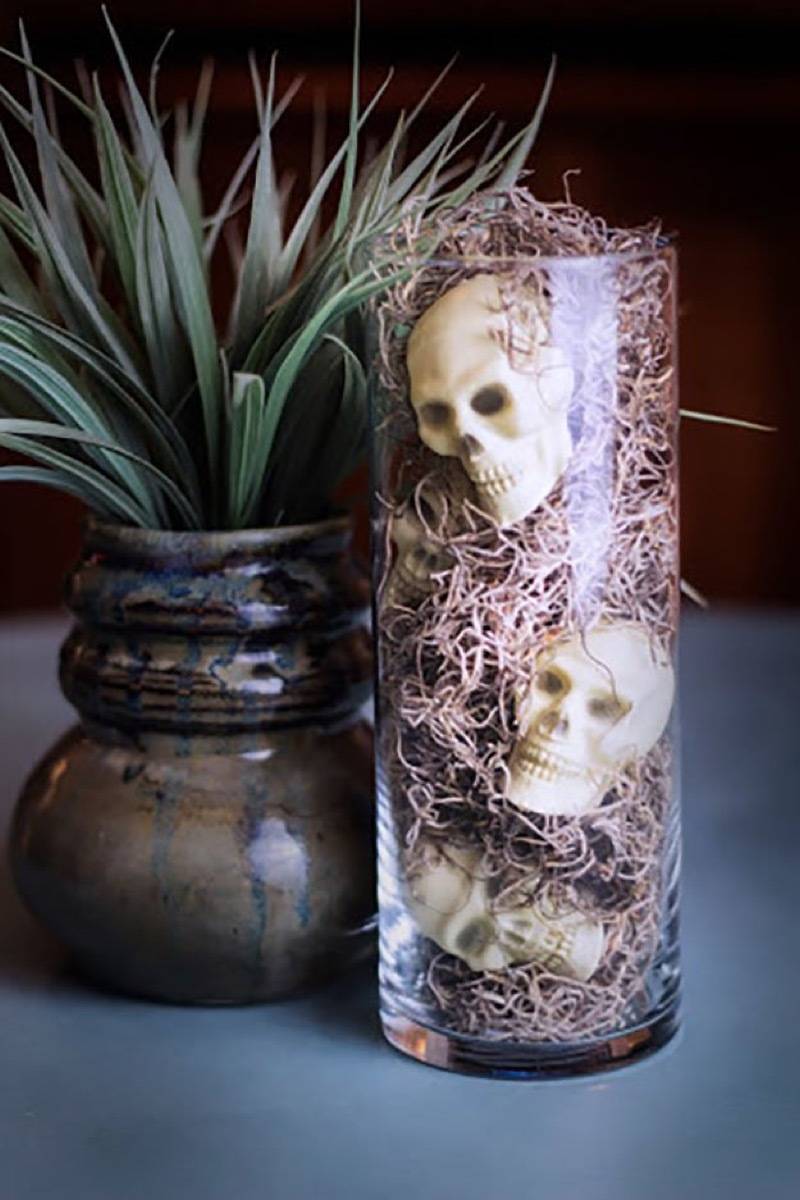
22. Make DIY Halloween decorations using things purchased at the Dollar Store, like this vase of skulls! There are lots of other affordable ideas on this page, too.
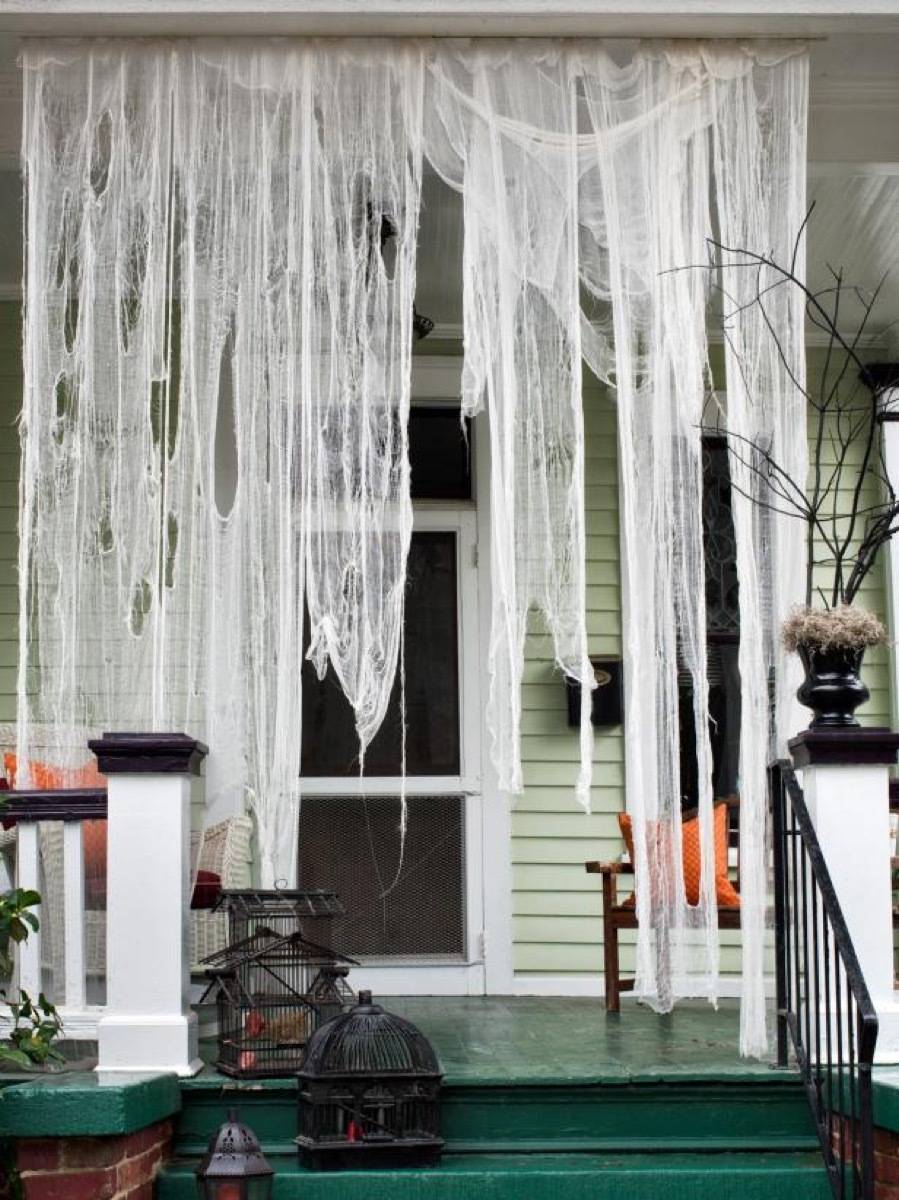
43. Cheesecloth sold by-the-yard at the fabric store is a great, low-budget method for creating ghostly draperies. Hang inside your windows, or from your stoop.
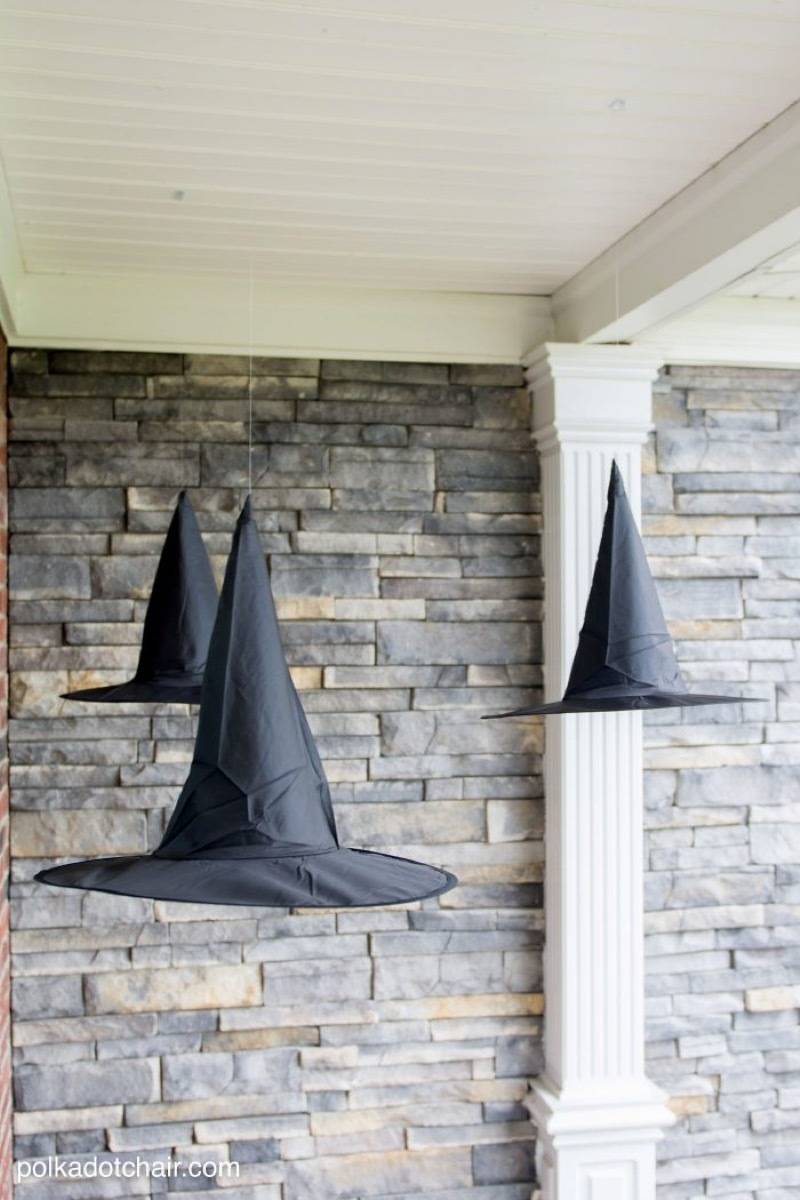
47. We love easy DIY Halloween decorations, and these hanging witch hats fit the bill. When night falls, they light up thanks to LED light sticks hidden inside each hat.
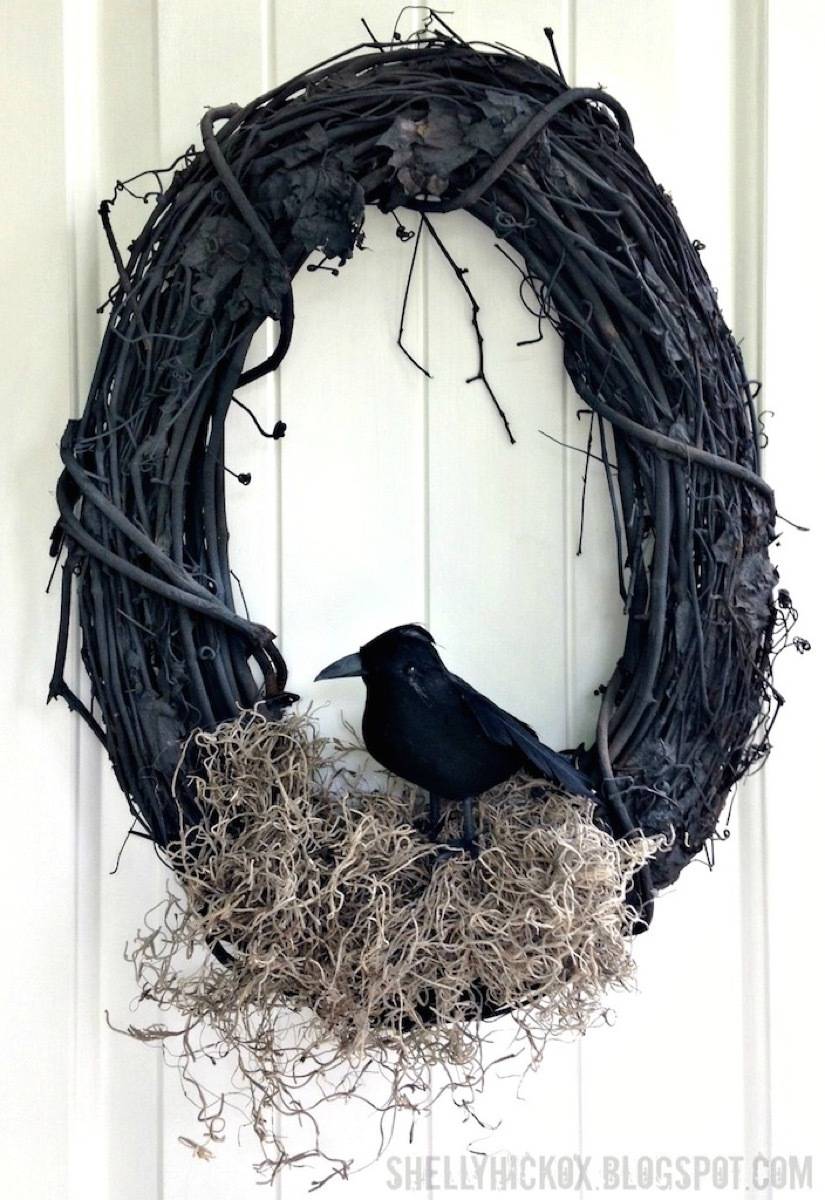
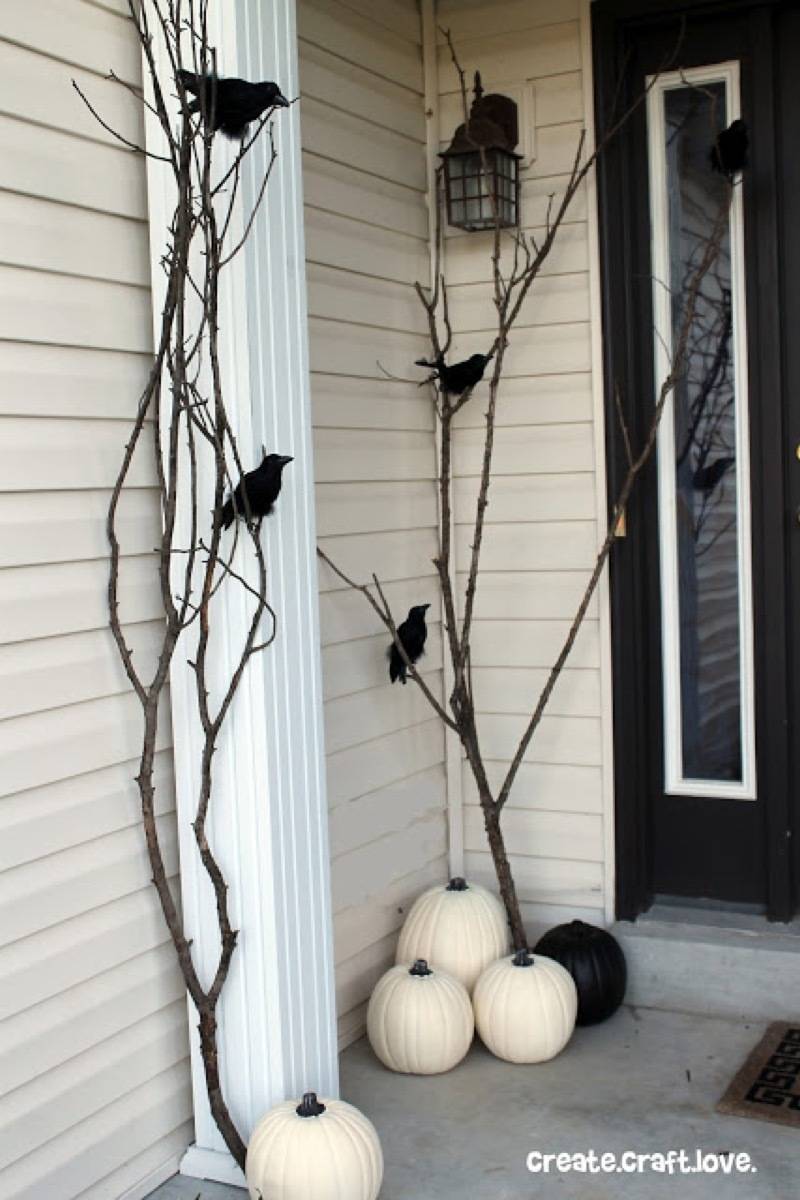
48. Birds are beautiful by nature, but a bunch of them together is just creepy. This blogger gathered sticks from her yard, and paired with some faux birds, a tasteful raven-themed porch was born.
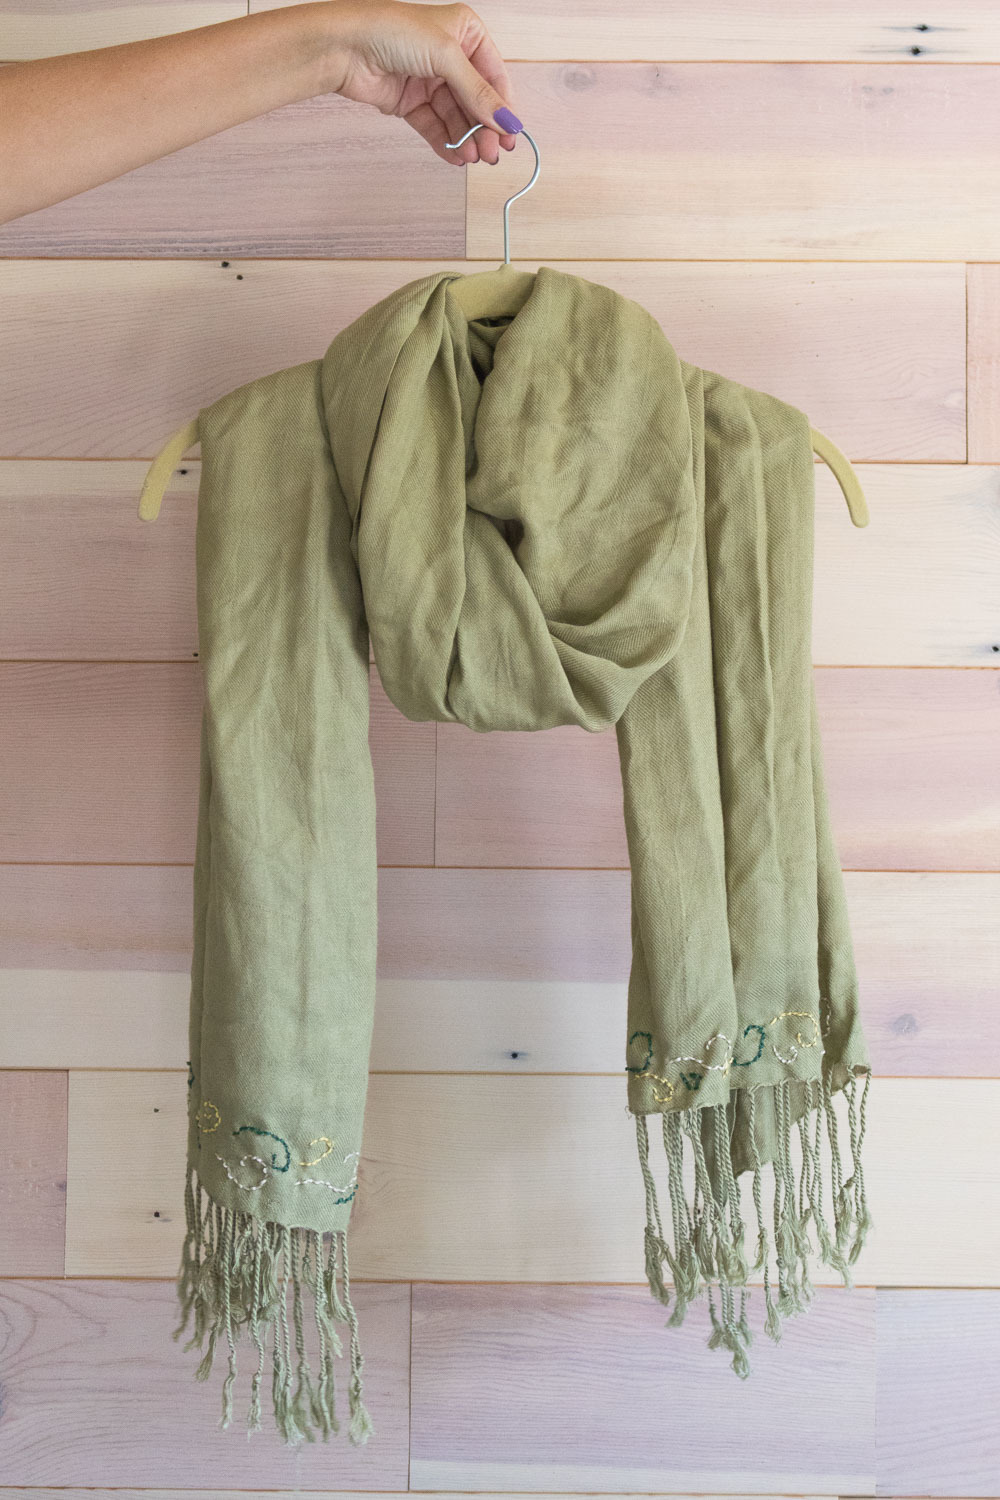
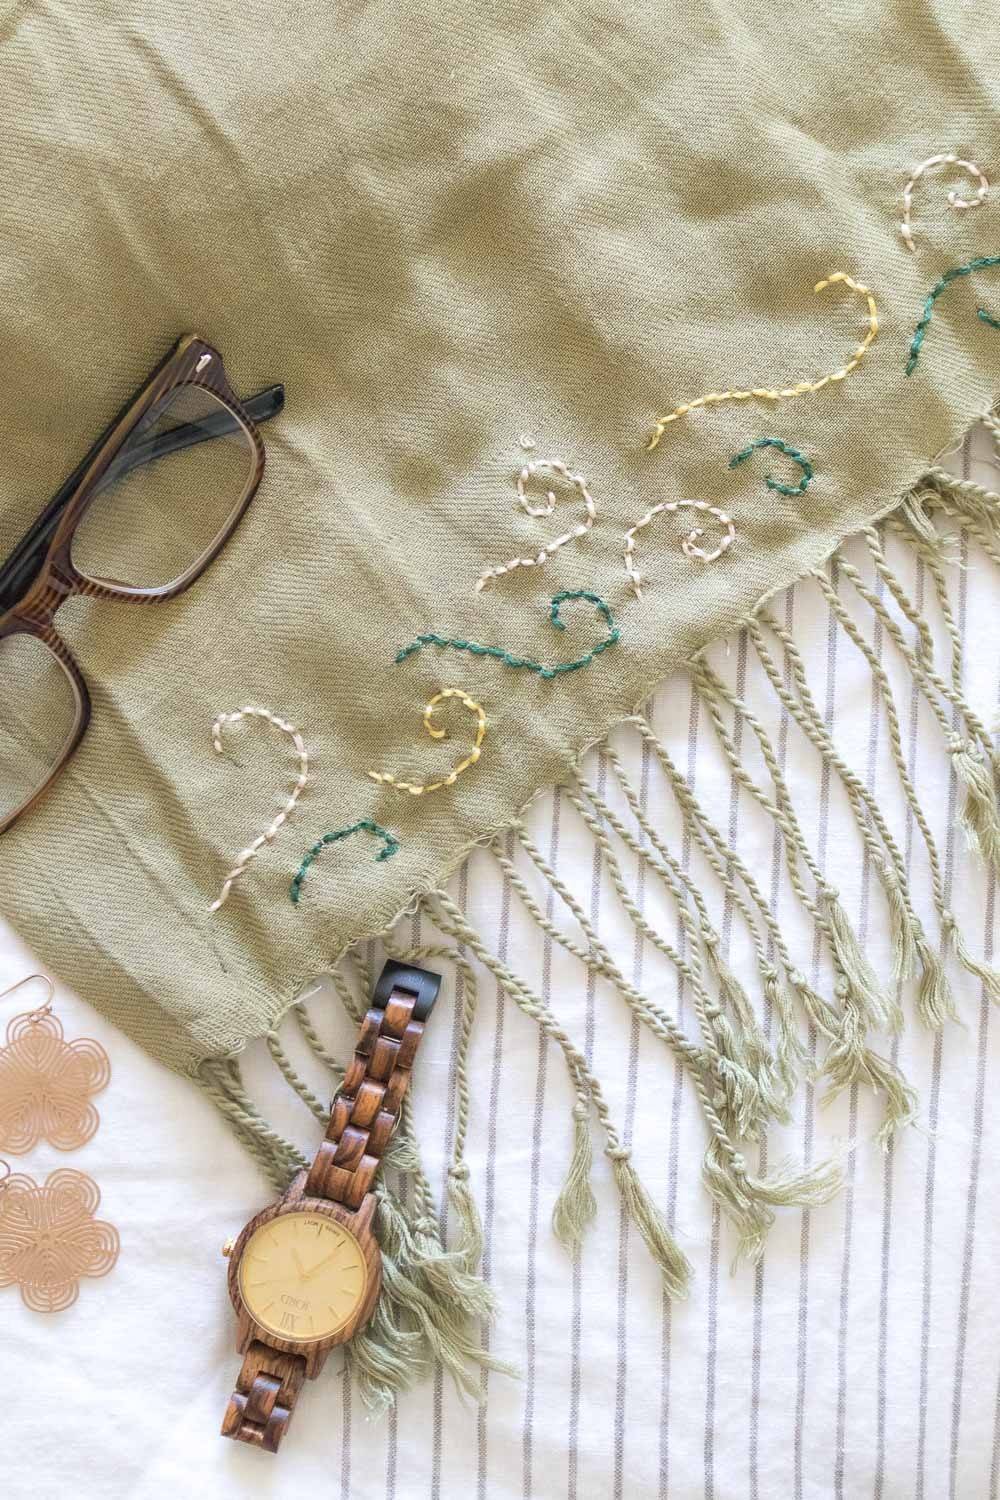
I can feel the fall weather approaching, which means it’s almost time for scarves, blankets and all things pumpkin spiced! Rather than buying new clothing I don’t need this season, I’ve been looking for ways to revamp the clothes I already have to make them feel like new. I’ve had a light green scarf for years, and it turned out to be the perfect piece for making this DIY embroidered scarf with a hand-drawn wind pattern along the edges.
This project is one that you can work on mindlessly in front of the TV, which makes it perfect for cool evenings at home. Using three different colors, I managed to turn my plain scarf into a brand new piece I’m excited to re-incorporate back into my wardobe this season. Bring on the fall weather!
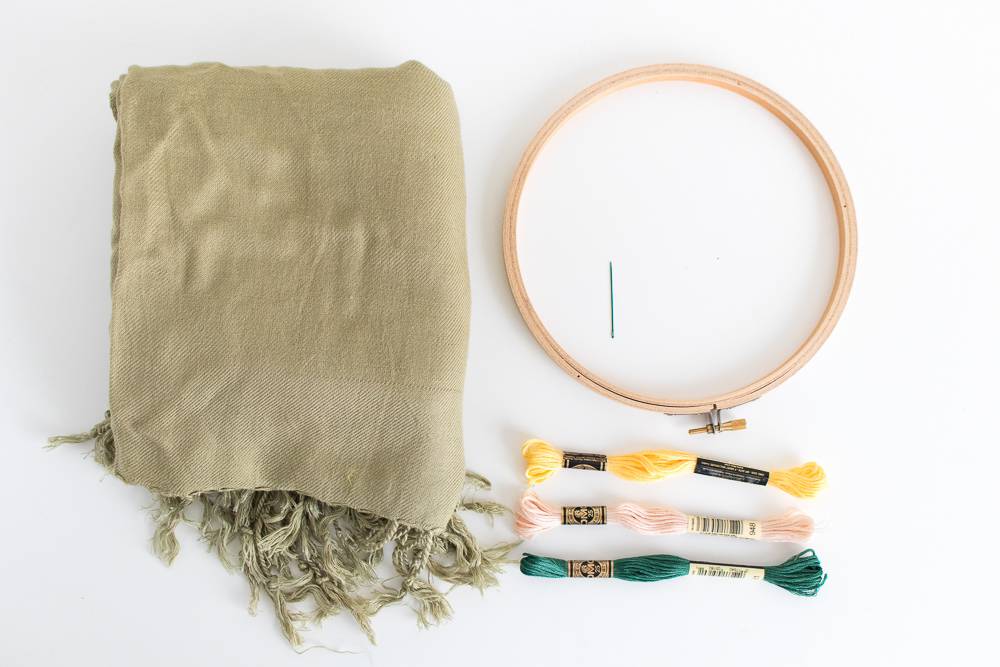
Materials:
Solid colored scarf
Embroidery hoop
Hand sewing needle
Embroidery floss, various colors
Pen/pencil
Scissors
Step
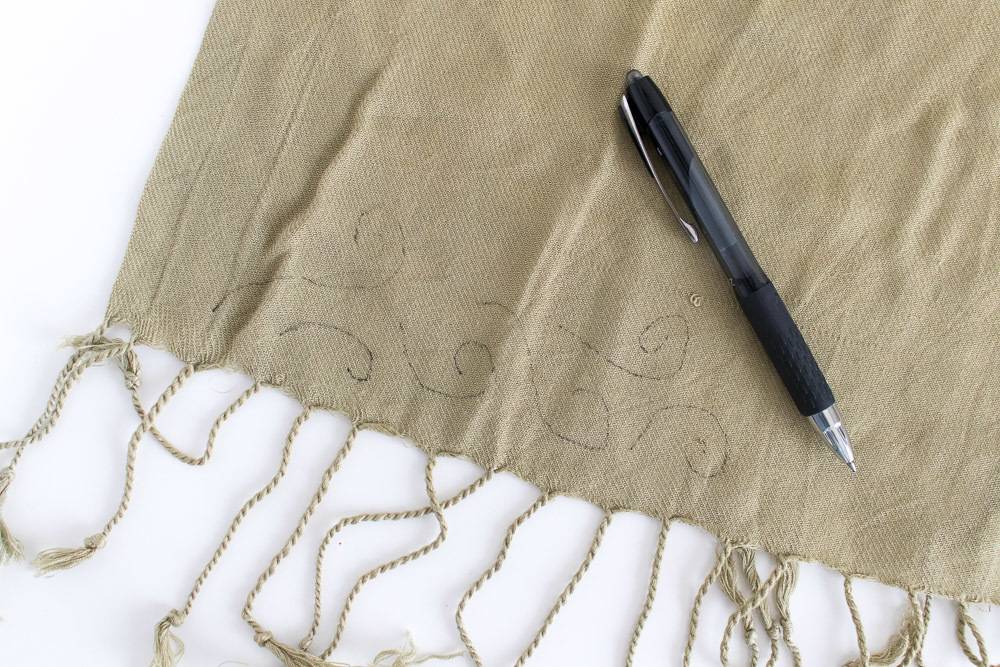
Lay out the scarf on a flat surface and gently draw a pattern along the bottom edges with a pen or pencil. This will be the outline you’ll follow.
Step
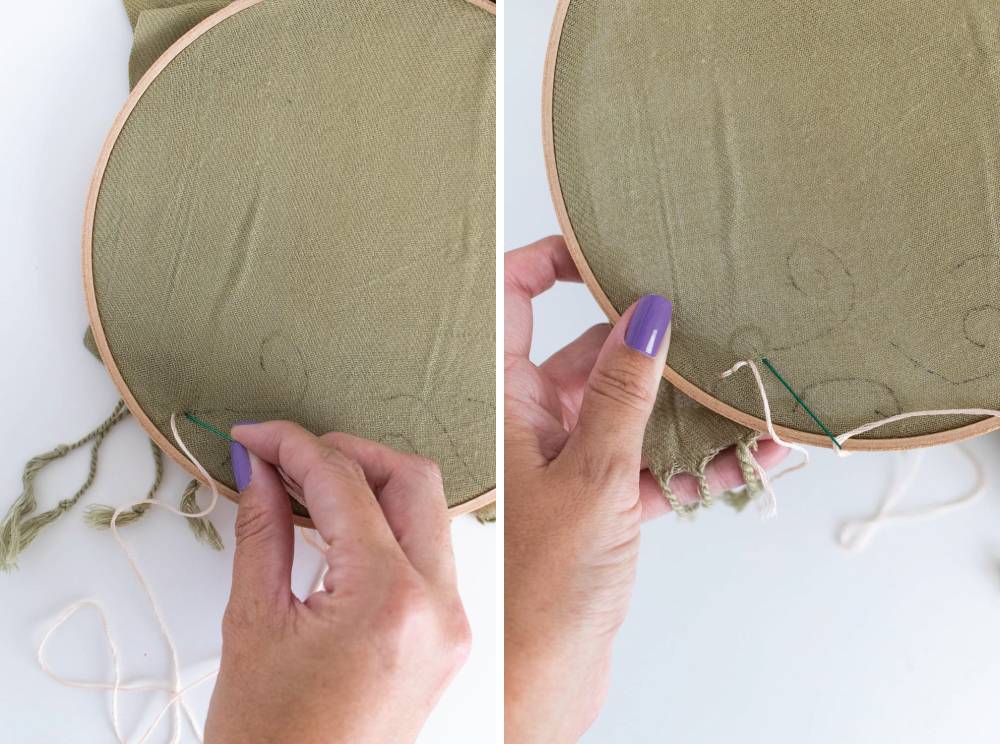
Secure one section of the outlined area inside of the embroidery hoop and thread a long piece of embroidery floss (several inches) through the needle.
Step
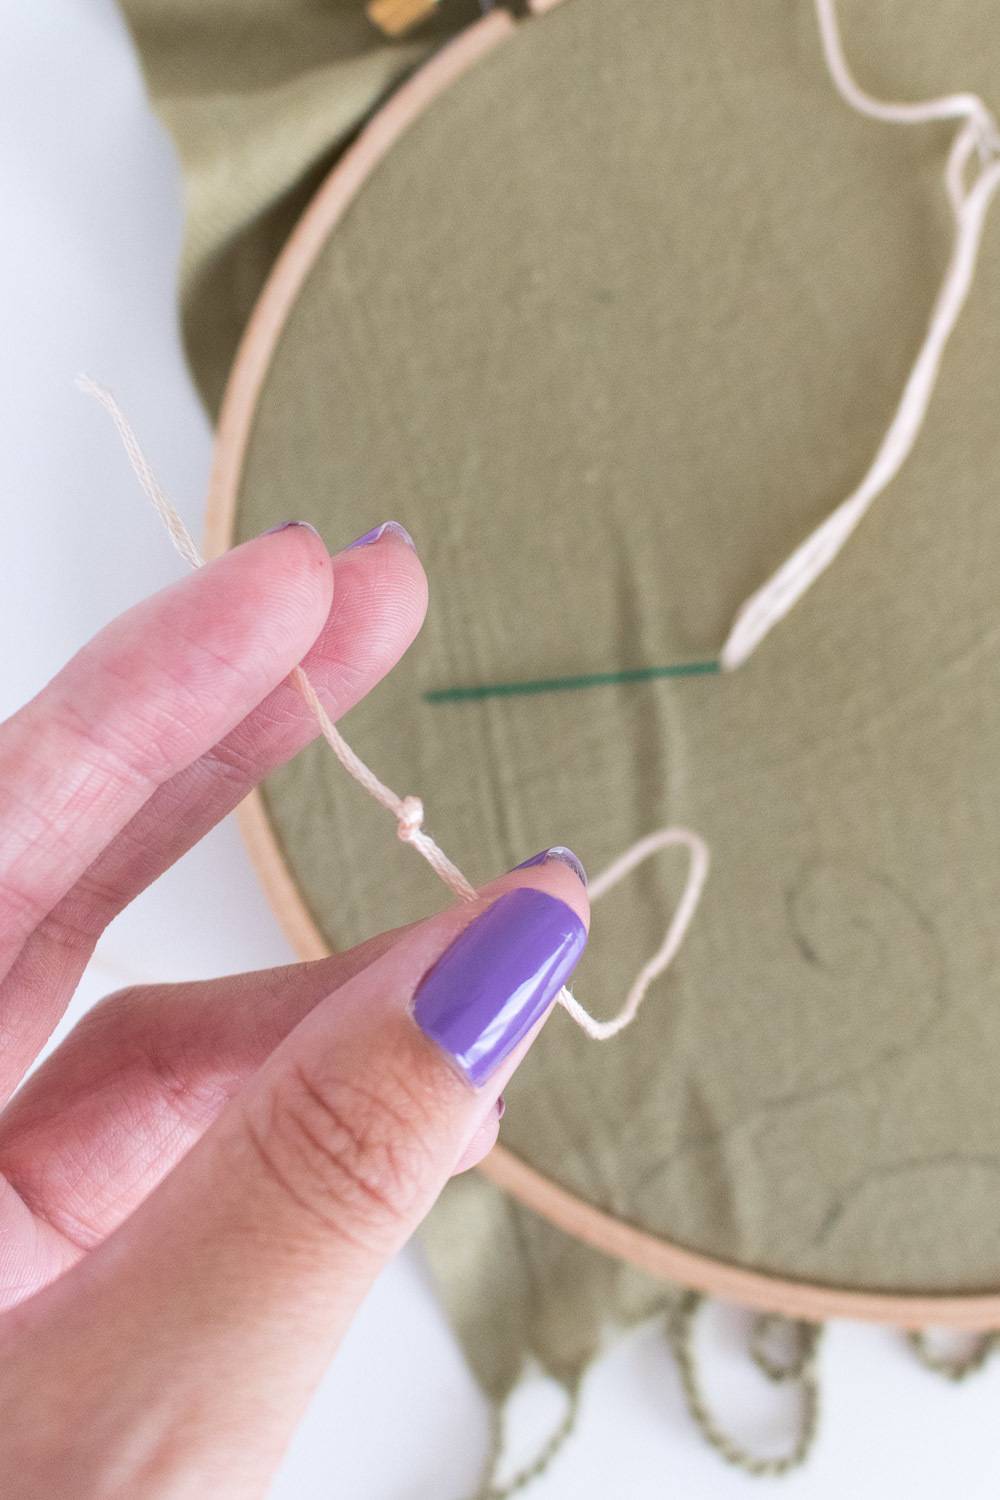
At the opposite end of the thread, tie a double or triple knot.
Step
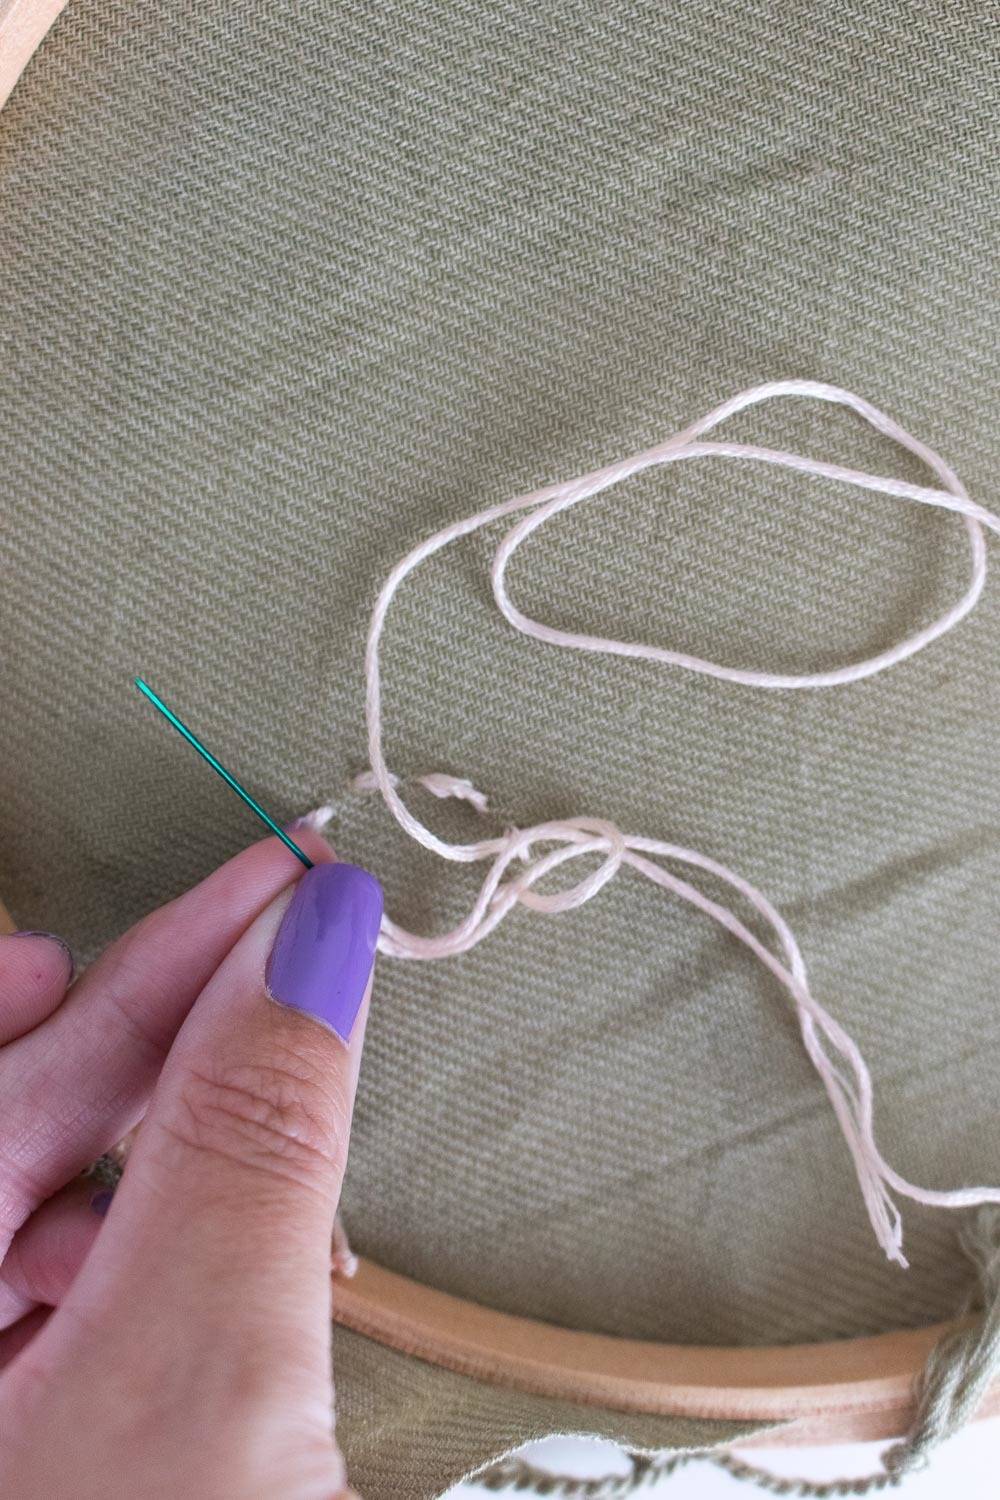
Starting from the underside of the hoop, poke through the fabric at the base of your outline and pull the thread until the knot catches.
Step
This pattern follows a backstitch embroidering pattern. Following the outline, poke through the fabric again and pull from the underside to create one stitch. Poke up through the bottom again to create another. In order to fill in the empty space left by the stitch, back stitch down and pull back up through the original point. This will ensure you have a fully embroidered section.
Step
To finish the section, poke through to the underside and thread the needle under a previous stitch, then through the loop of thread. Pull to knot.
Continue all the way across the scarf, switching colors as desired and moving the embroidery hoop to pull each section taught. When finished, trim loose thread from the underside of the scarf.
Now your new fall scarf is ready to wear or even gift! The homemade stitches makes a huge impact on a plain scarf and make it feel like new!
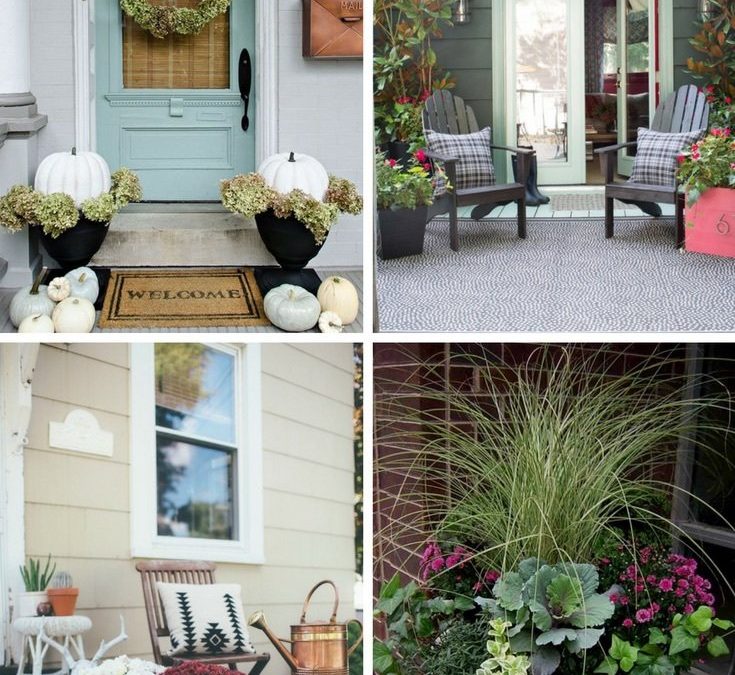
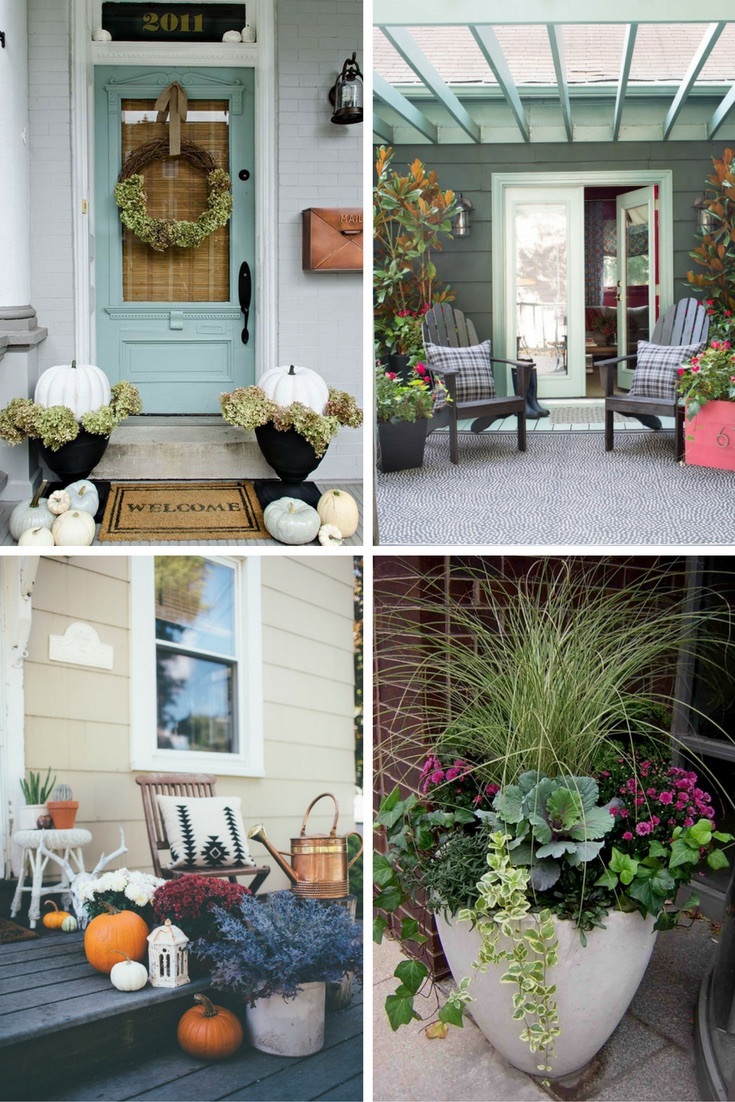
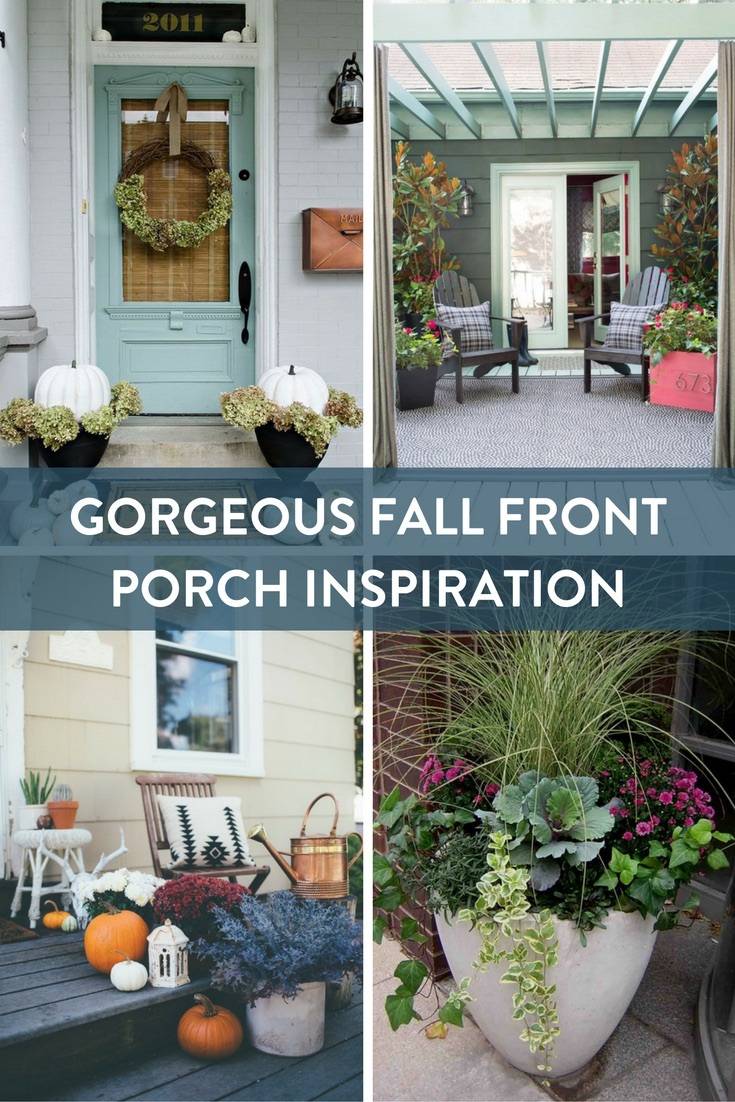
The leaves are falling, the temperature’s dropping, and the weather is perfect for spending some time outdoors. If you’re like me, you want your porch to be as inviting as the weather around you. Here are some of my favorite fall porch decorations to help get you in the season.
1. This Boho Fall Porch is simple and not over the top orange.
2. I love the mixture of colors on these steps, including the fall lettuce plants. I have to admit I am kind of obsessed with fall lettuce plants.
3. If you don’t love fall colors then this “cool color” fall porch might be the inspiration you’re looking for.
4. This mixture of greenery and draping vines is a modern inspiration for your fall porch planters.
5. This porch is simple and rustic. It’s a good reminder that you don’t have to go over the top to be inviting.
6. If you have a wrap around porch with seating, the ladder with blankets is stylish and functional. Can’t you just see yourself “cozying” up in a blanket, drinking some cider, on a brisk fall night? Also: those window wreaths! Fantastic!
7. This is a bright modern take on a fall porch. I love the plant stand instead of a planter!
8. This porch proves that fall doesn’t have to be rustic. I love the potted magnolia trees.
9. If your porch doesn’t lead to the front door…no problem. Hang a large wreath on the exterior wall or window at the top of your steps.
10. This is seriously a fall porch dream. I would never go inside if I lived here.
Pin It: Fall Front Porch Inspiration
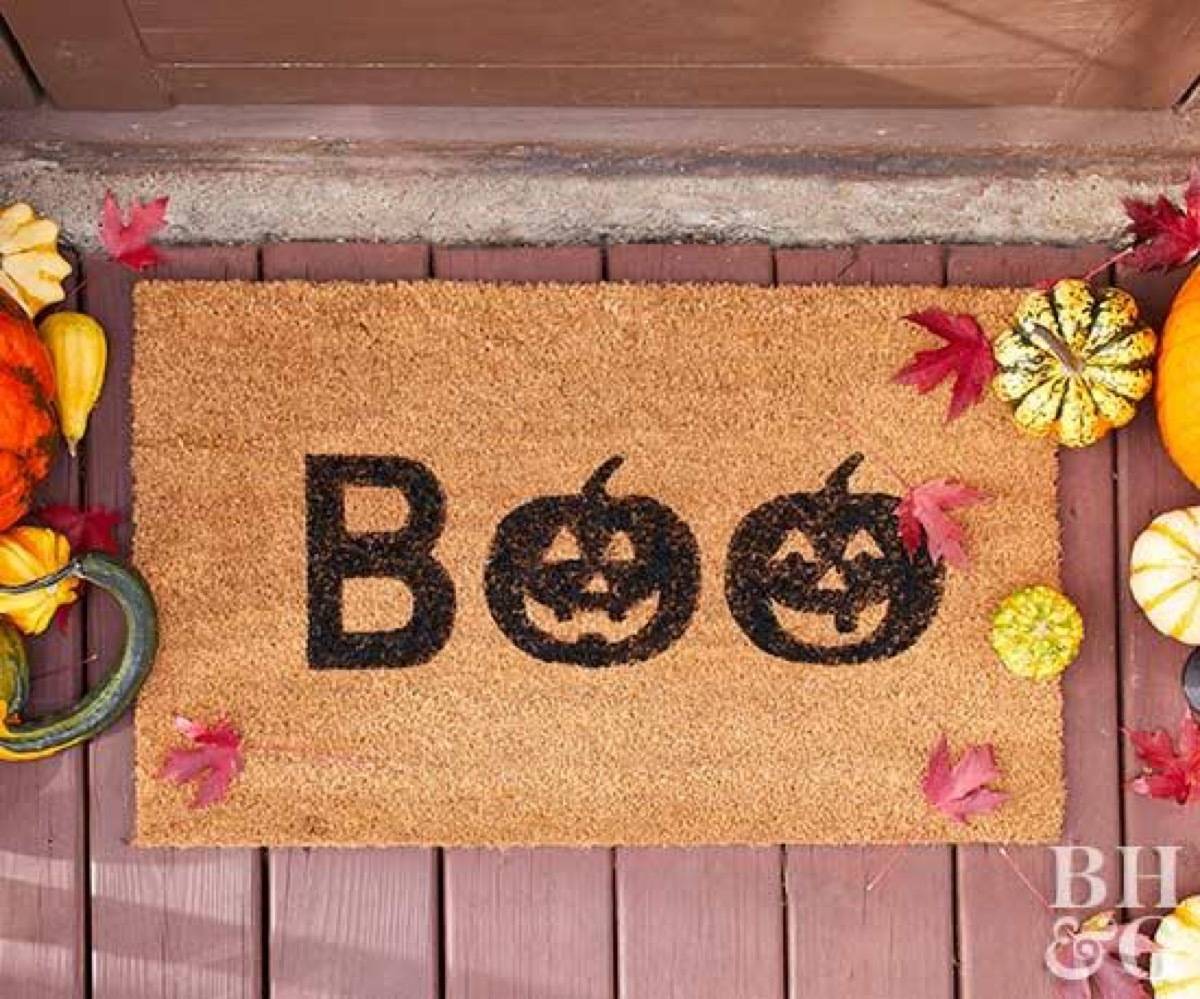
Ready to make your fall porch decor happen? Here’s a simple DIY Halloween doormat for your front porch decor.
September is a transitional time of year… the kids are going back to school, the weather is getting cooler and the landscape is changing. Which means that it’s a great opportunity to give your living room a refresh too. One of the best ways to do this is by adding texture – so take a cue from Scandinavian decor and add some beautiful layered texture to your space this fall.
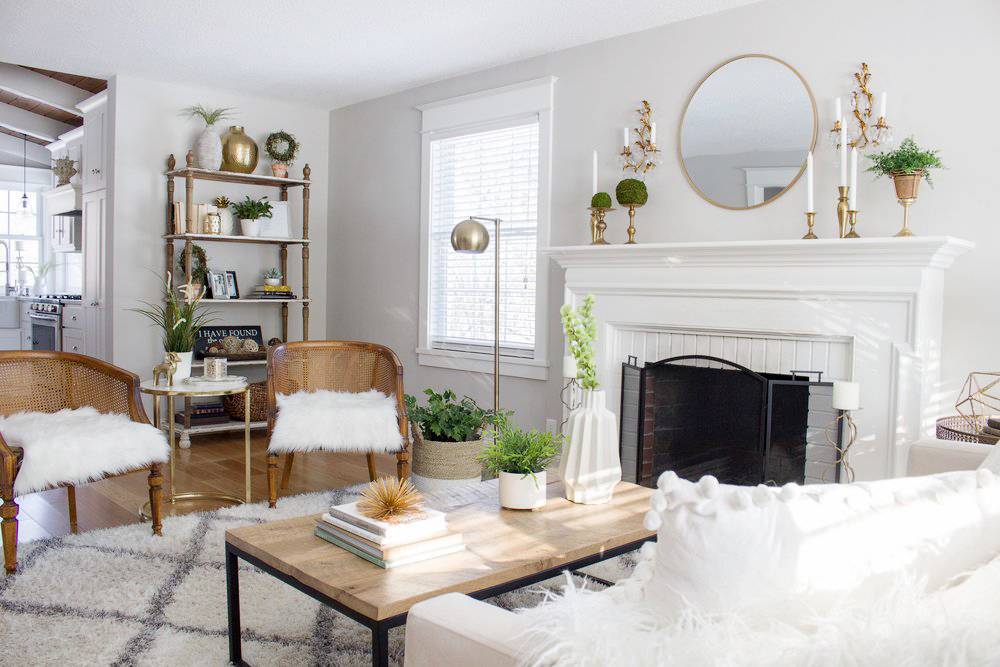
Toss a faux fur throw on chairs and/or sofas to add some depth to your furniture as Lacey has done. Not only will your space look more inviting, but it will feel extra cozy too. I love the Tejn from IKEA… it’s affordable and super versatile.
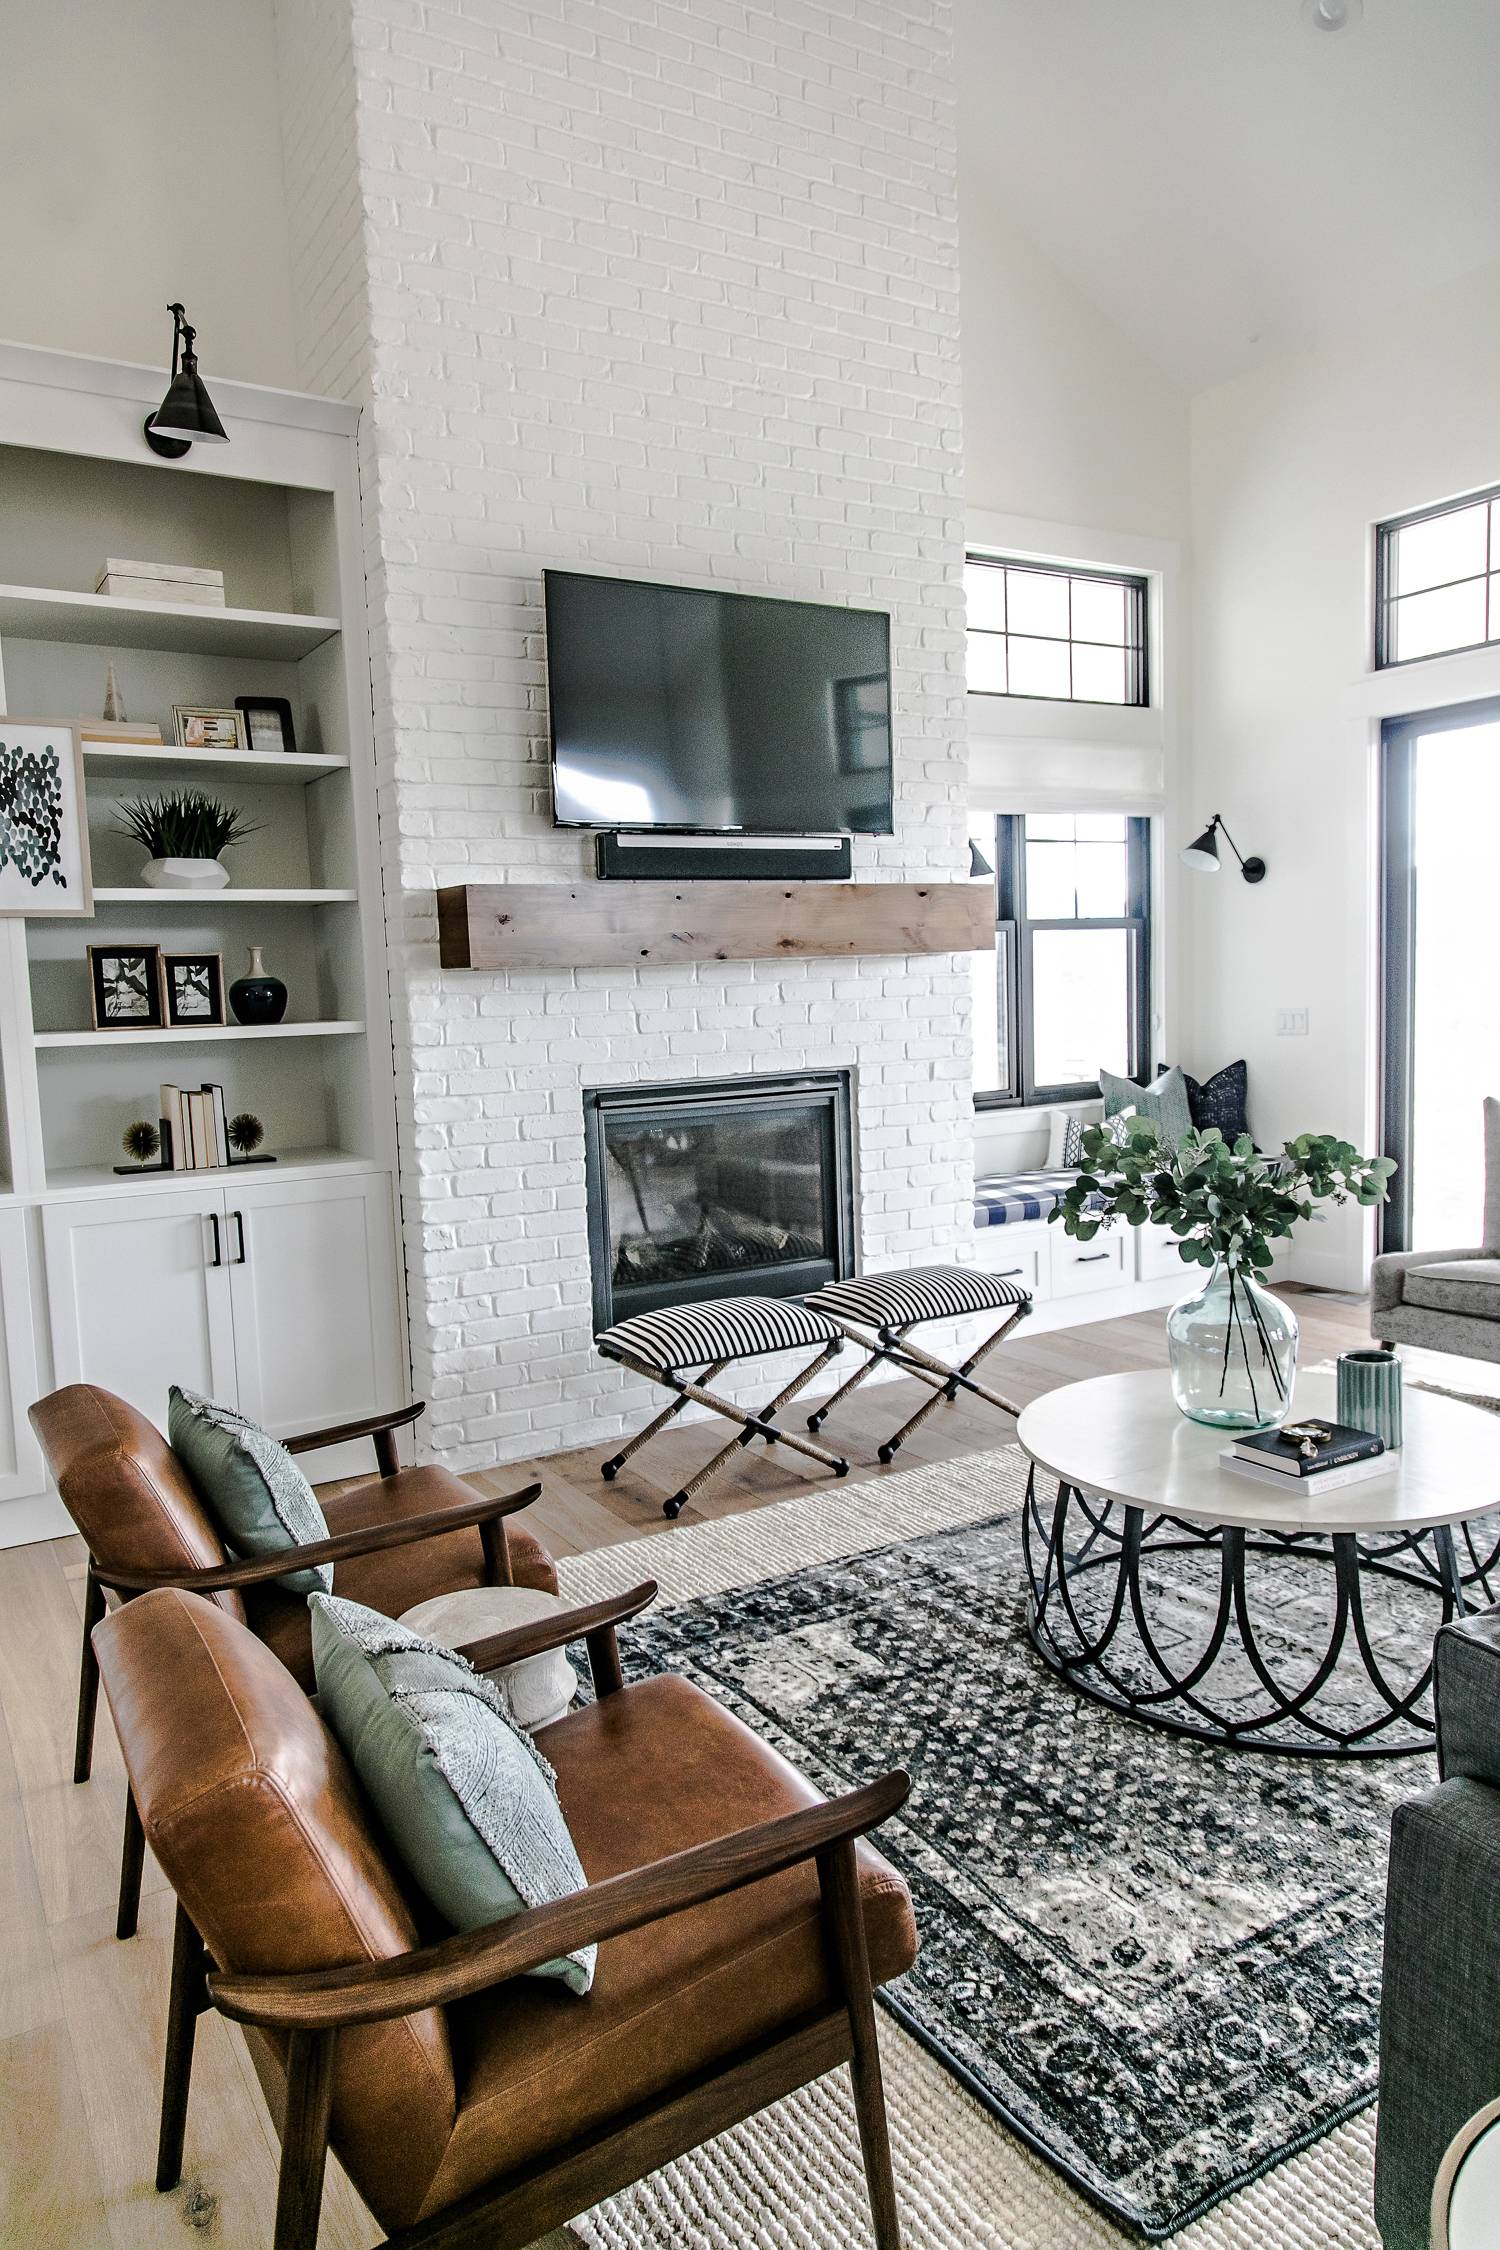
Do you have a jute rug in your living room? Add a smaller patterned rug on top as they’ve done in this modern farmhouse style living room, leaving a couple of feet of jute showing on all sides. You might also consider an irregularly shaped rug for the top layer, like a faux animal skin rug.
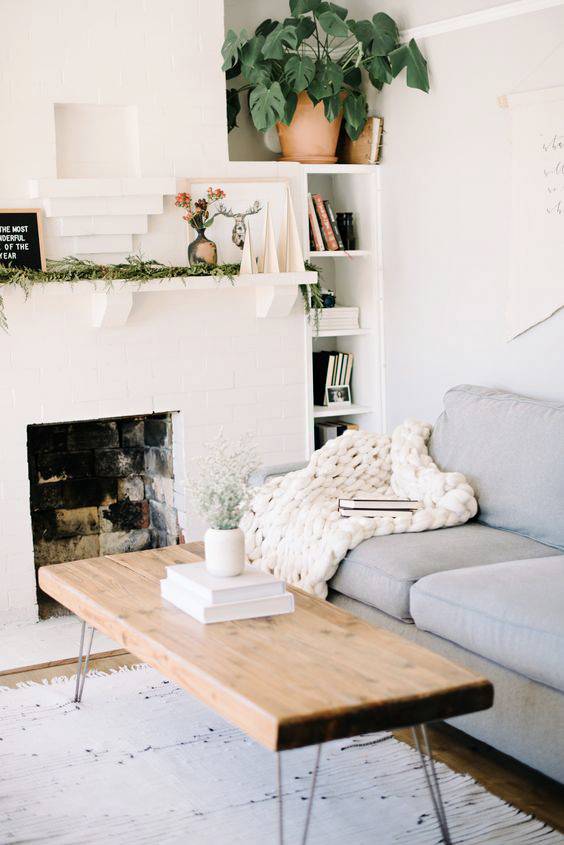
Put your thin summer throws in the closet and add a couple of thick, chunky blankets to your space. Drape them over the arm of the sofa, hang them on a blanket ladder or put them in a basket. Don’t you just want to climb underneath the one in the image above?
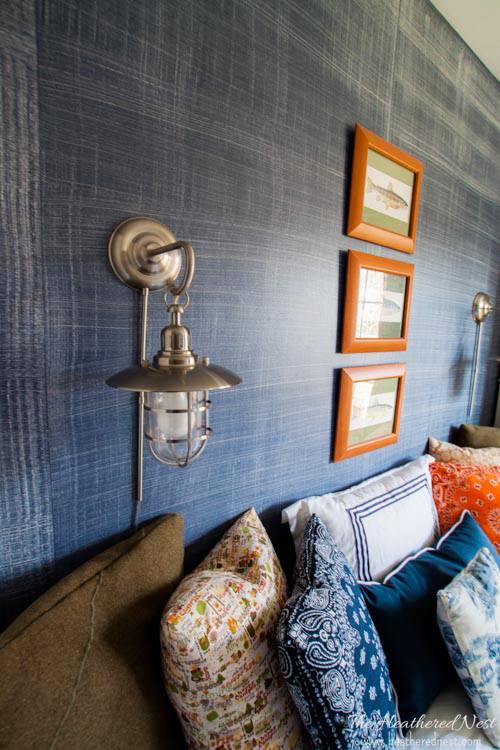
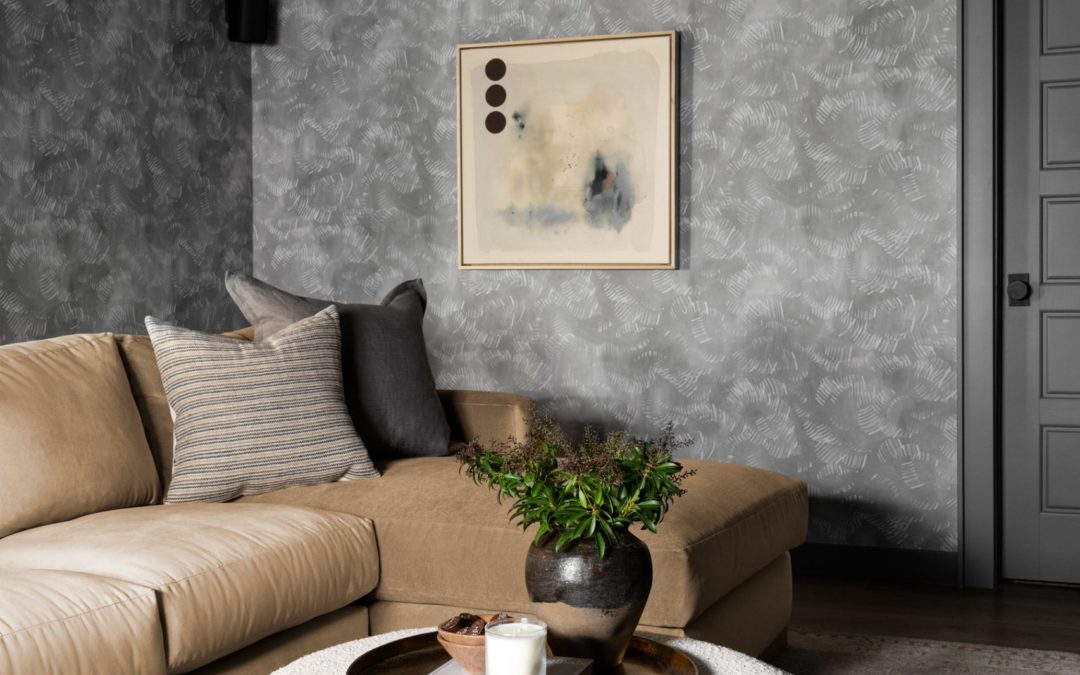
Set aside an afternoon to paint a textured accent wall on one side of your living room. We love this denim technique, but there are all kinds of different textures you can achieve using only paint. Just hop on Pinterest and search “textured wall painting techniques.”
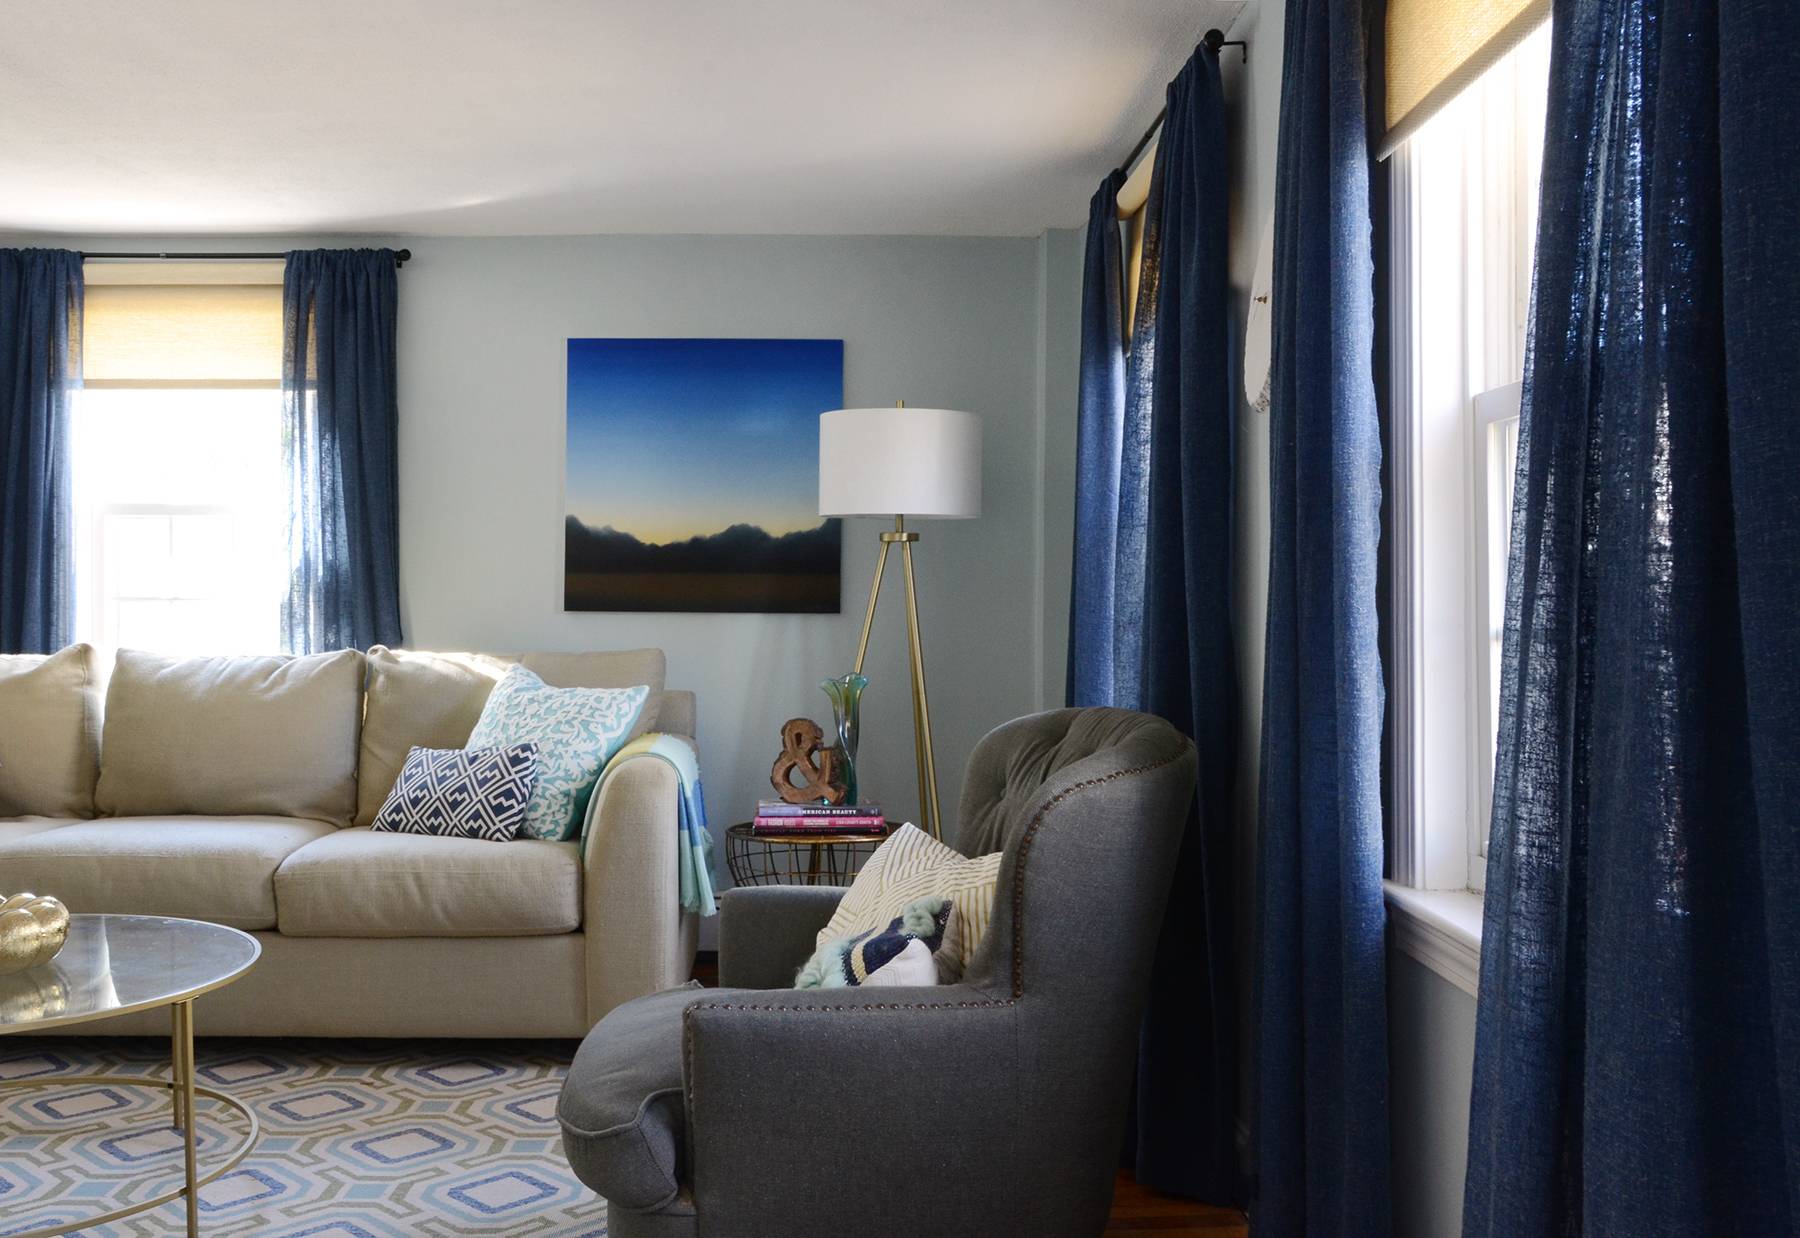
If you don’t have window treatments at all, adding curtains is a surefire way to add some serious texture to your living room. But even if you do, you could always add blinds or decorative shades. Check out what a difference it makes.
Throw pillows are a great way to experiment with texture and pattern… there are plenty of affordable options available, so you can mix and match different styles without blowing your entire paycheck. Try combining textured pillows (cable knit, faux fur, etc.) with patterns as they’ve done here, making sure to vary the scale.
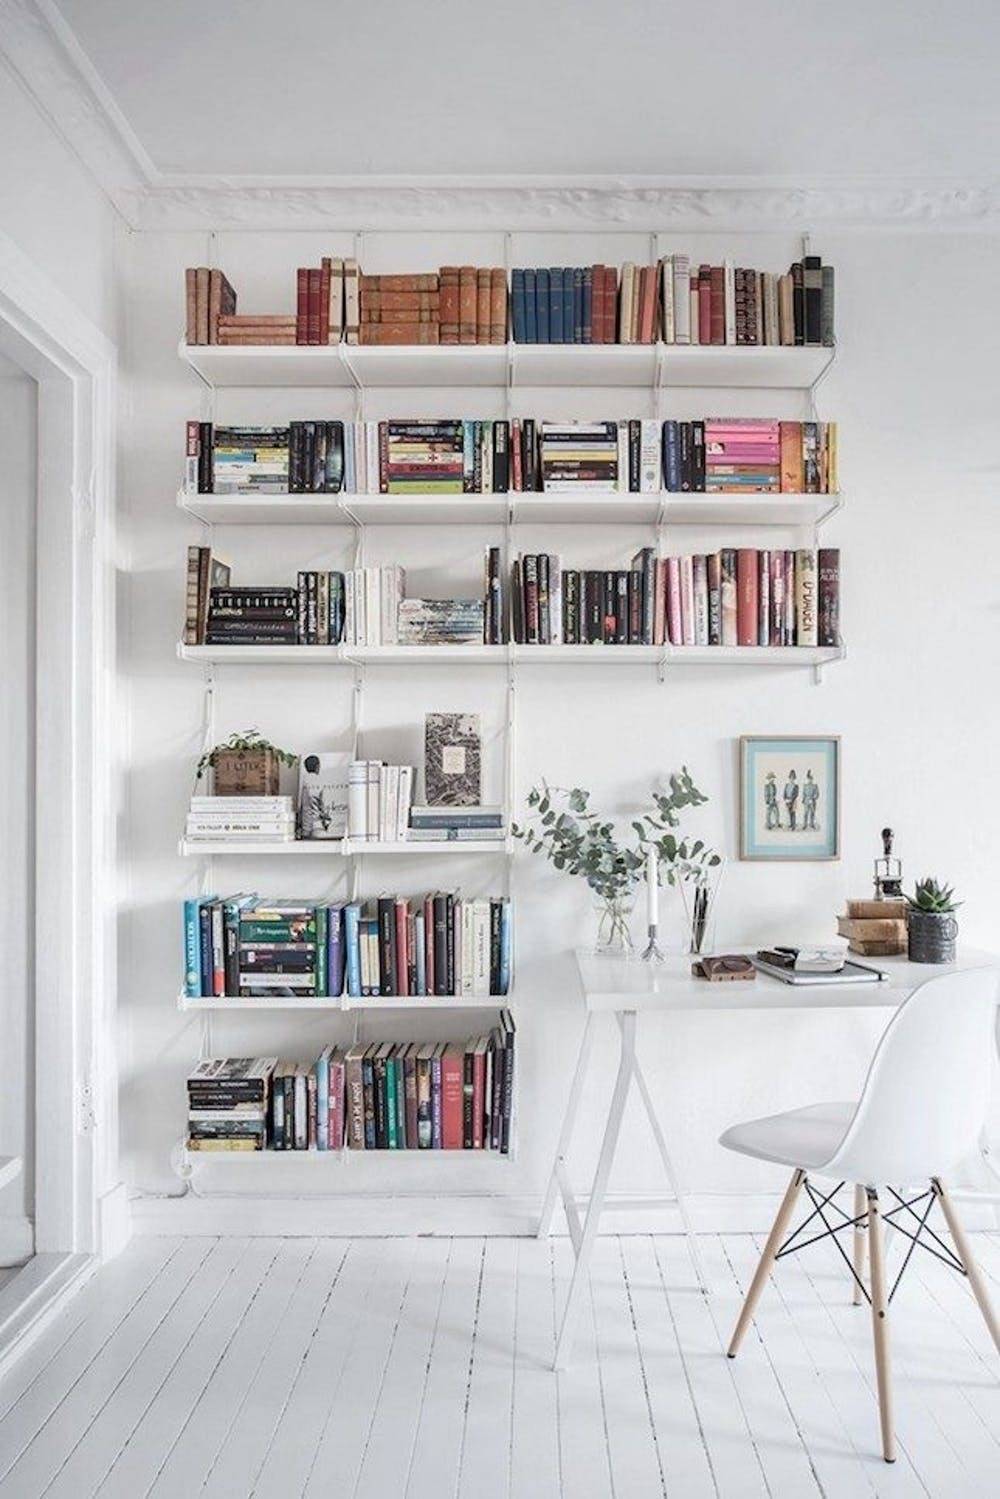
Do you have lots of books laying around? Perhaps you’re like me, and you have boxes of them wasting space in your basement? Use them as texture! Add them to existing shelves, orienting them both horizontally and vertically or even as risers underneath interesting objects. Check out more ideas here.
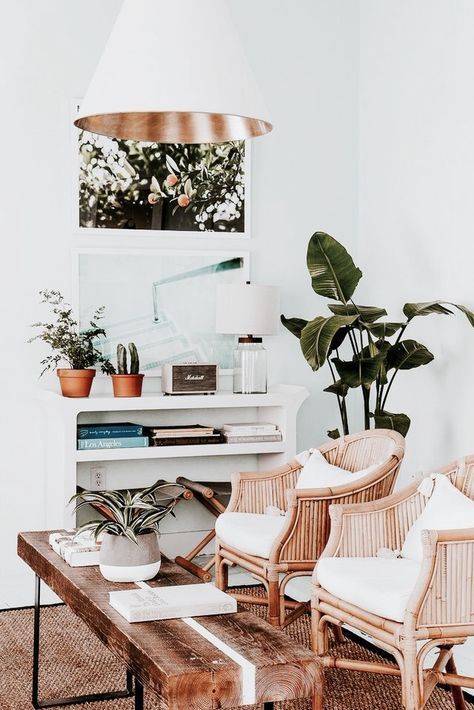
Rattan is popular lately, and velvet is a very tactile material that can elevate a space. Distressed wood and jute are other good options. If you’re in the market for new furniture, consider these sorts of items… or you can start with accents for a smaller financial commitment.
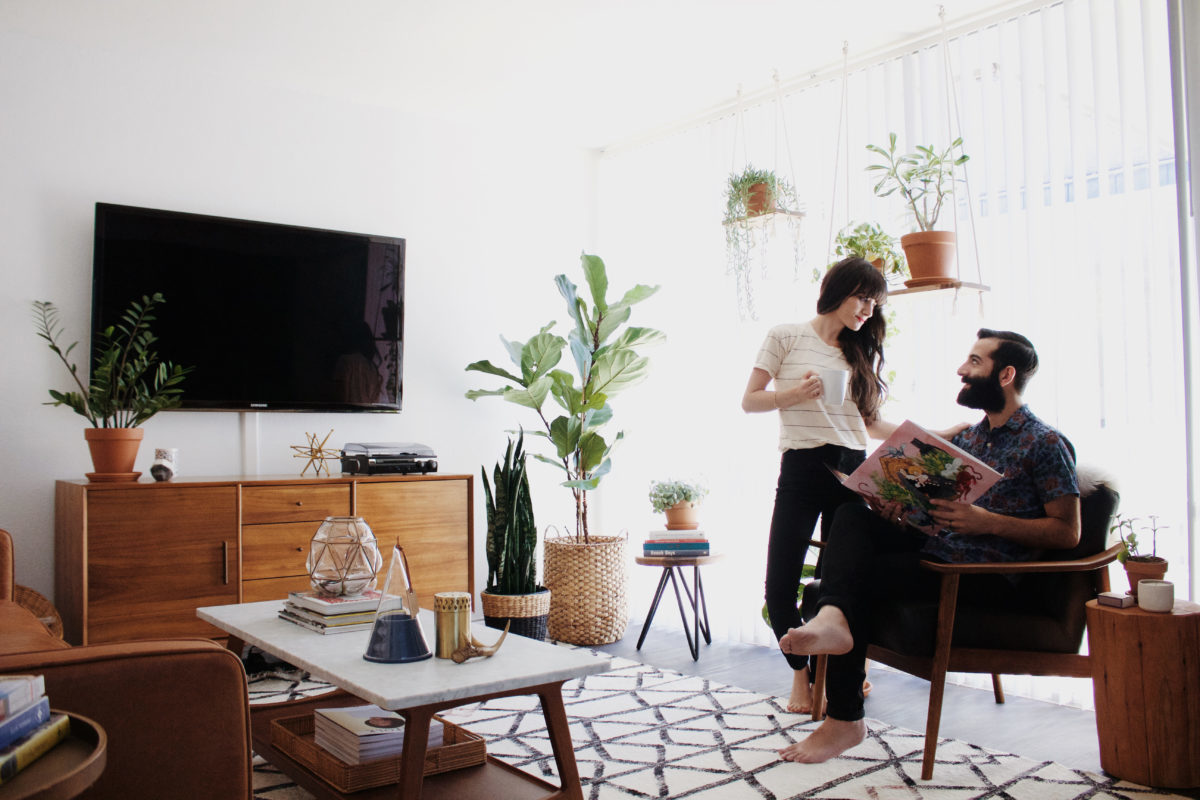
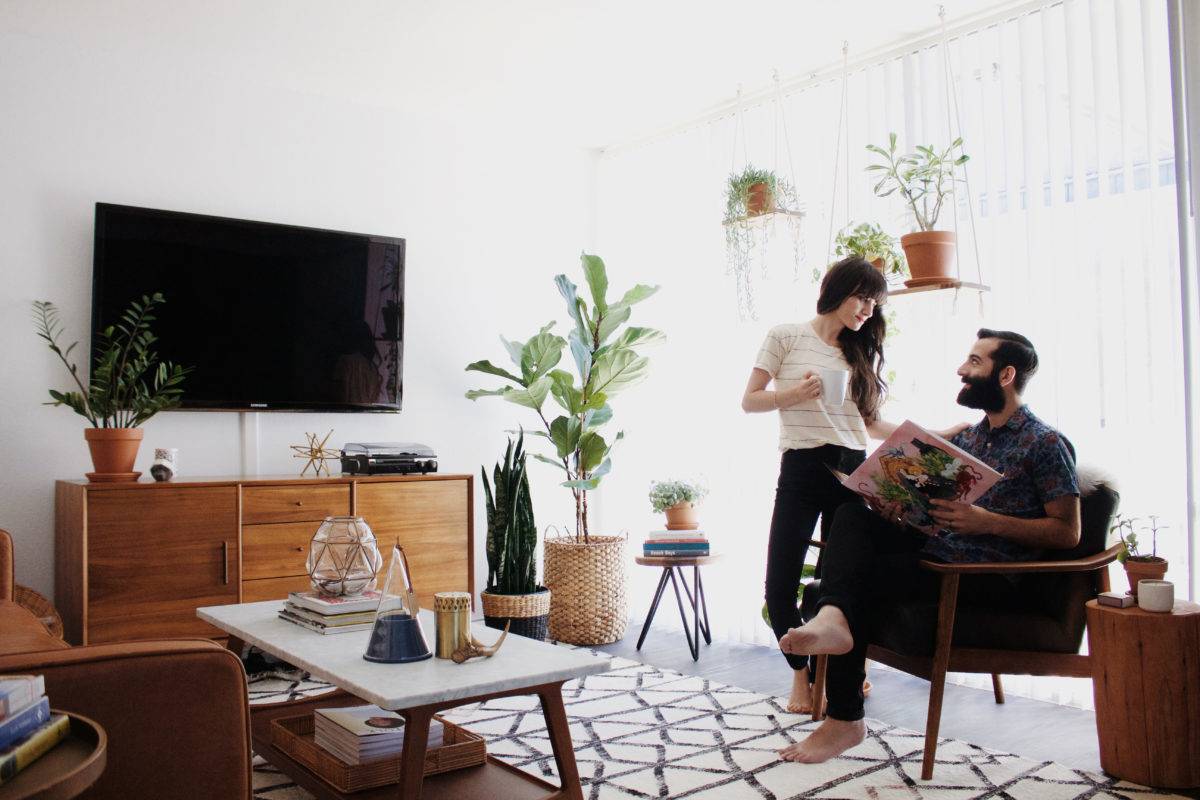
Plants are a great place to start… add a large potted plant in one corner, and put a couple of smaller ones on a bookshelf or end table. Live edge wood, crystals and floral patterns would work well too. This living room from New Darlings has many of these elements.
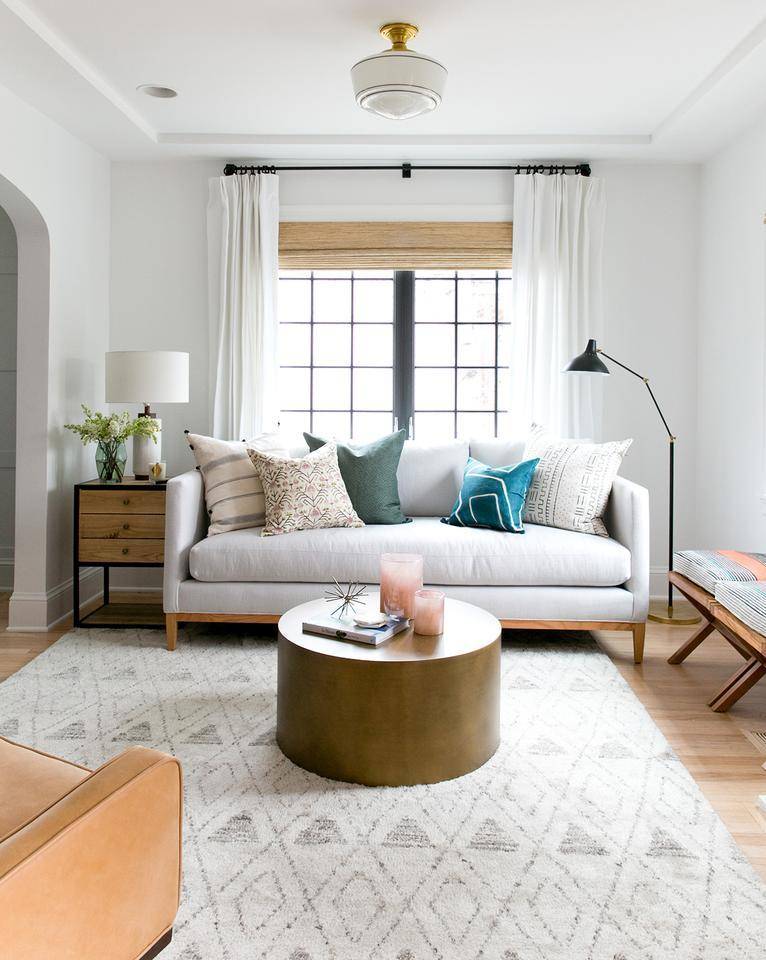
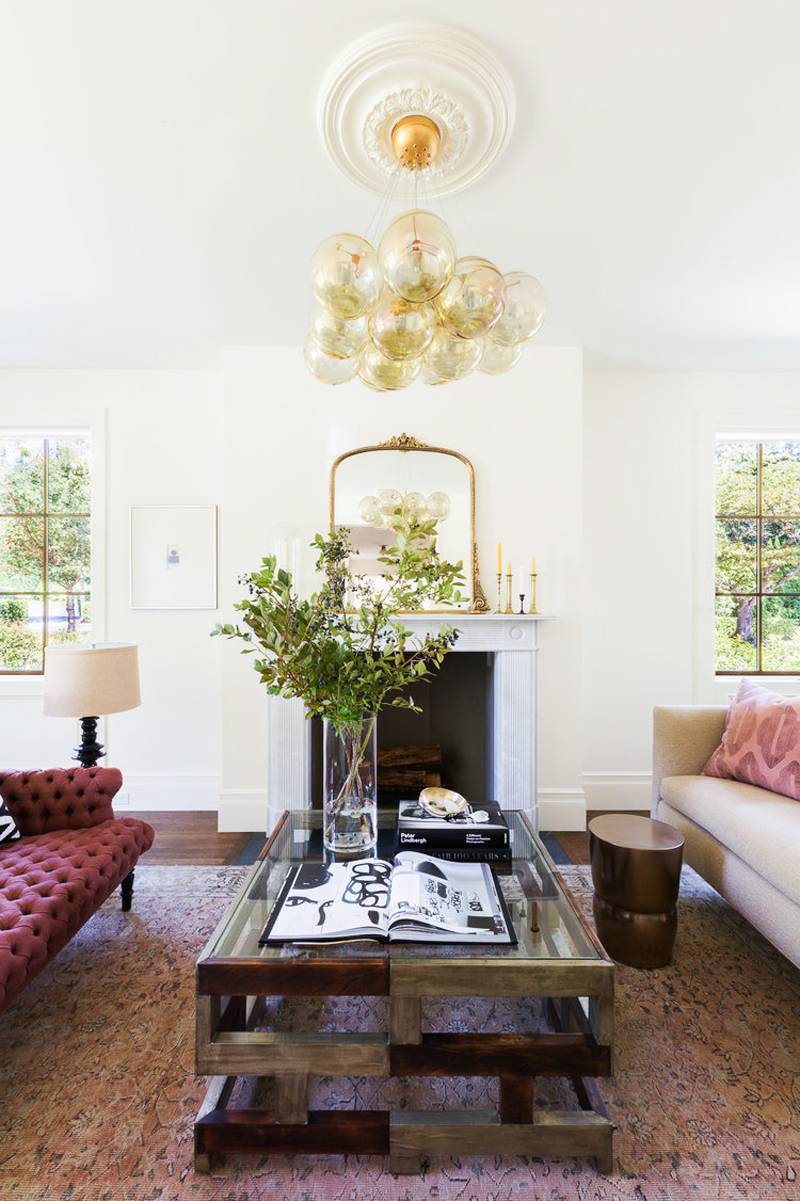
Lighting might not be the first thing you think of when you’re trying to add texture to your living room, but it can really add a new dimension to your space. The key is to vary your light sources… make sure you have at least three different kinds, i.e. floor lamps, table lamps, ceiling lights, candles, etc.
How do you add texture to your living room? Feel free to share your ideas in the comments section!
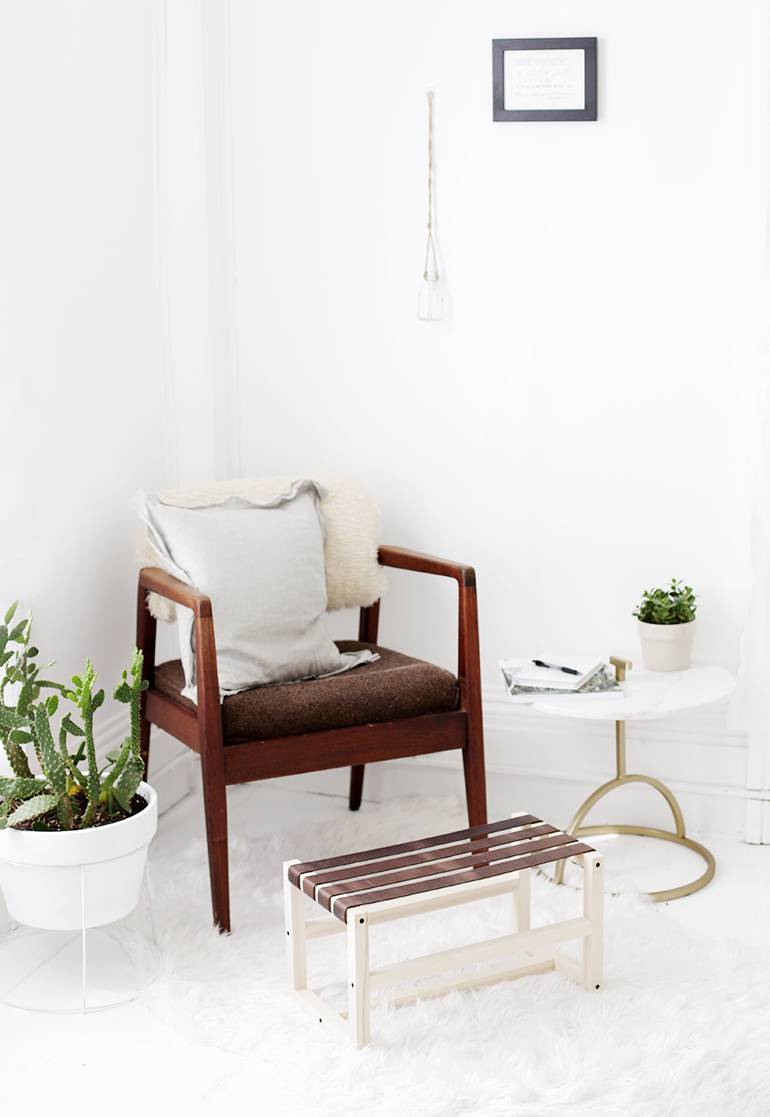
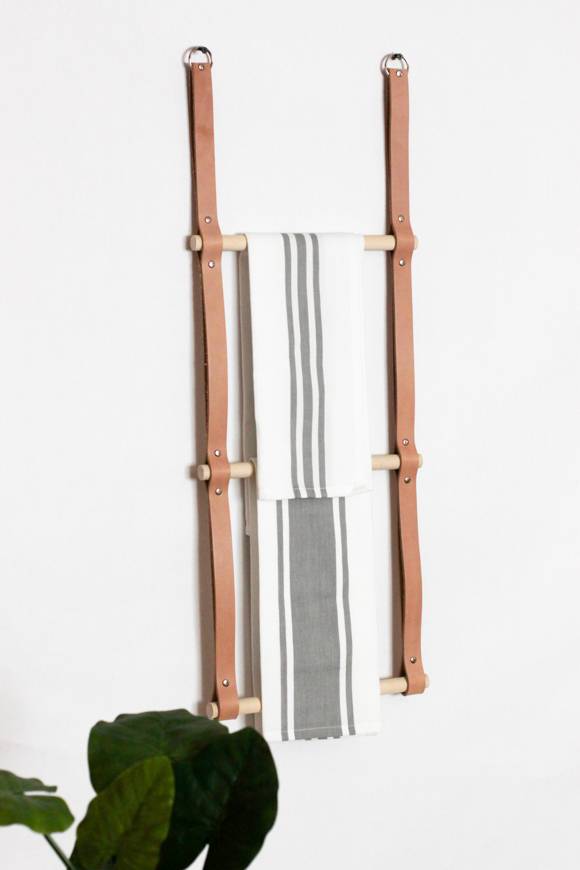
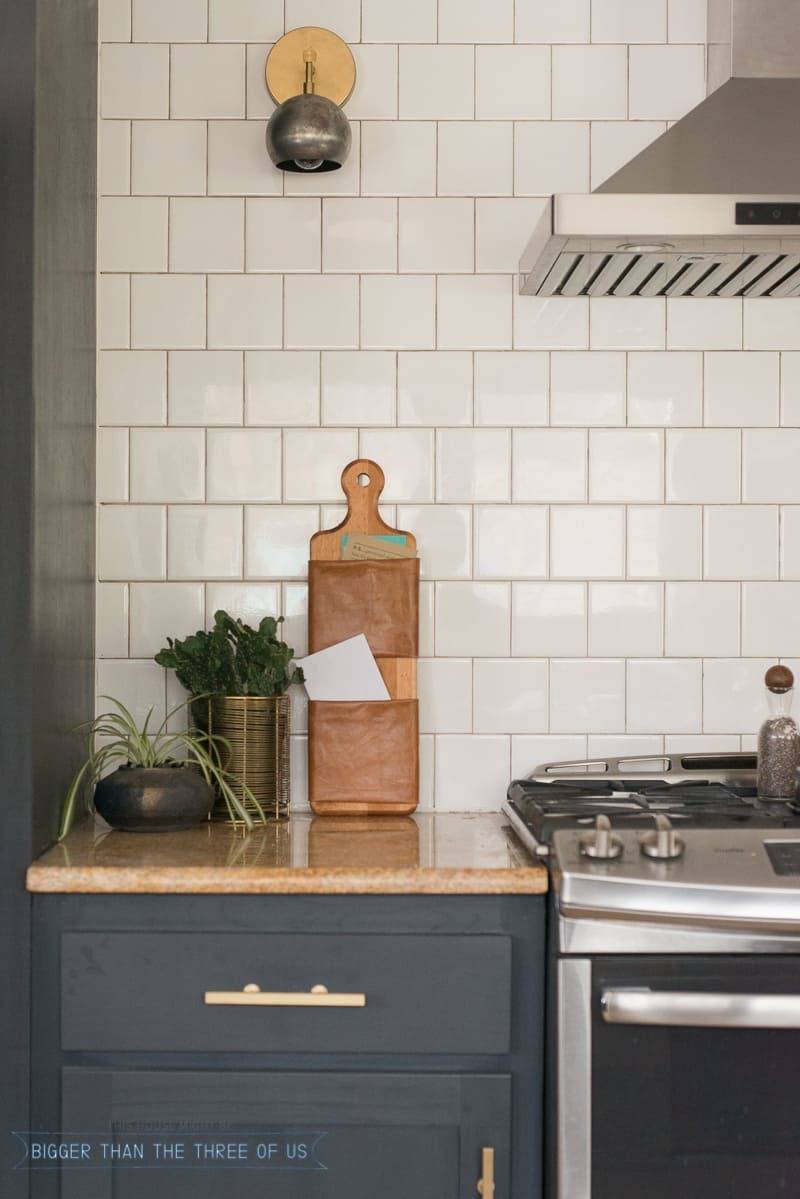
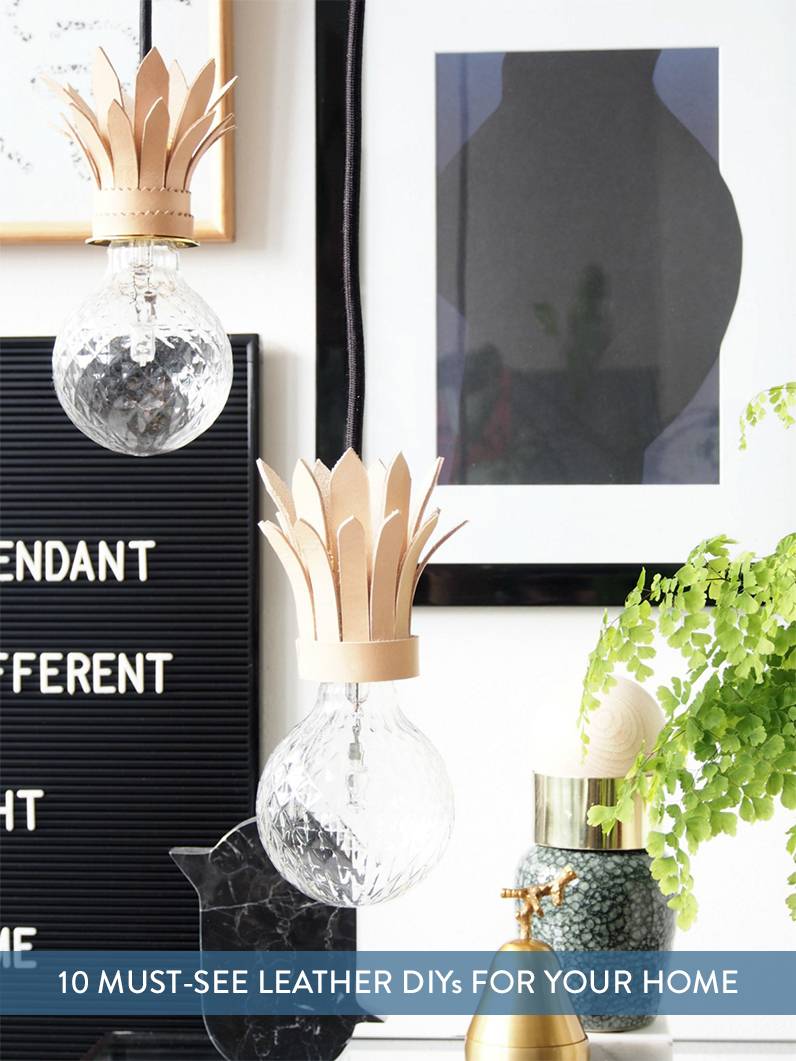
Leather is one of those materials that seems intimidating… but once you start working with it, you’ll realize that it’s not. I promise. So in honor of this sophisticated material, today I’m sharing ten of my favorite leather DIYs for your home. (And if you’re not into using the real stuff, you can substitute vegan leather for any of these pieces!).
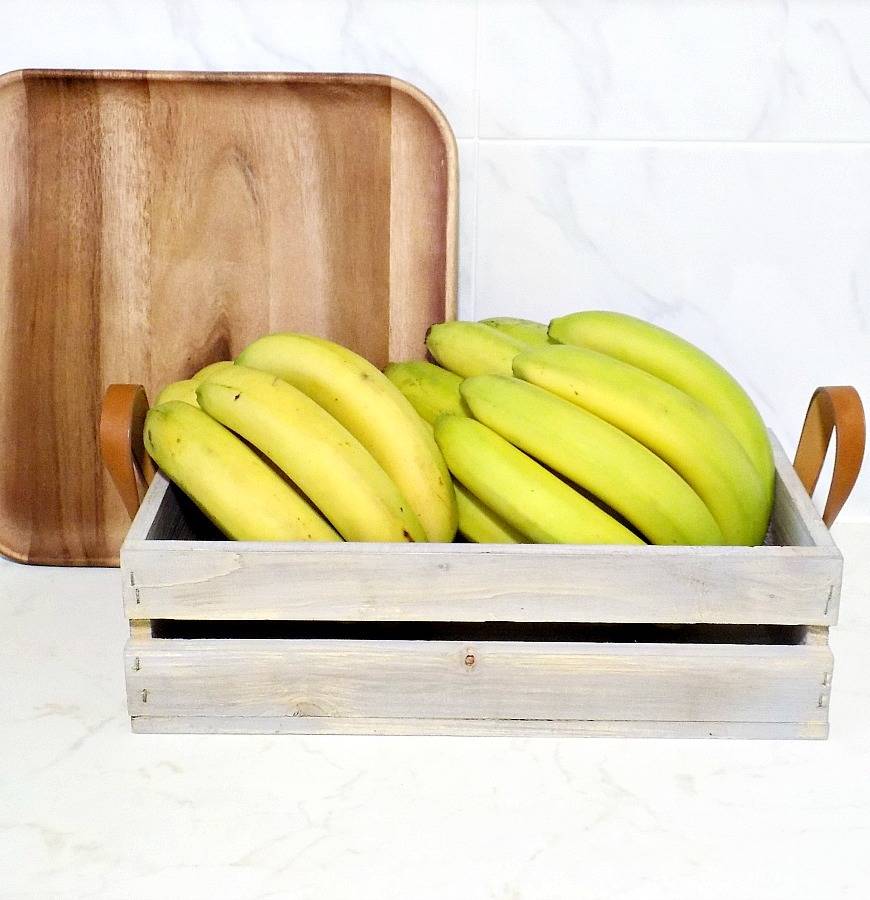
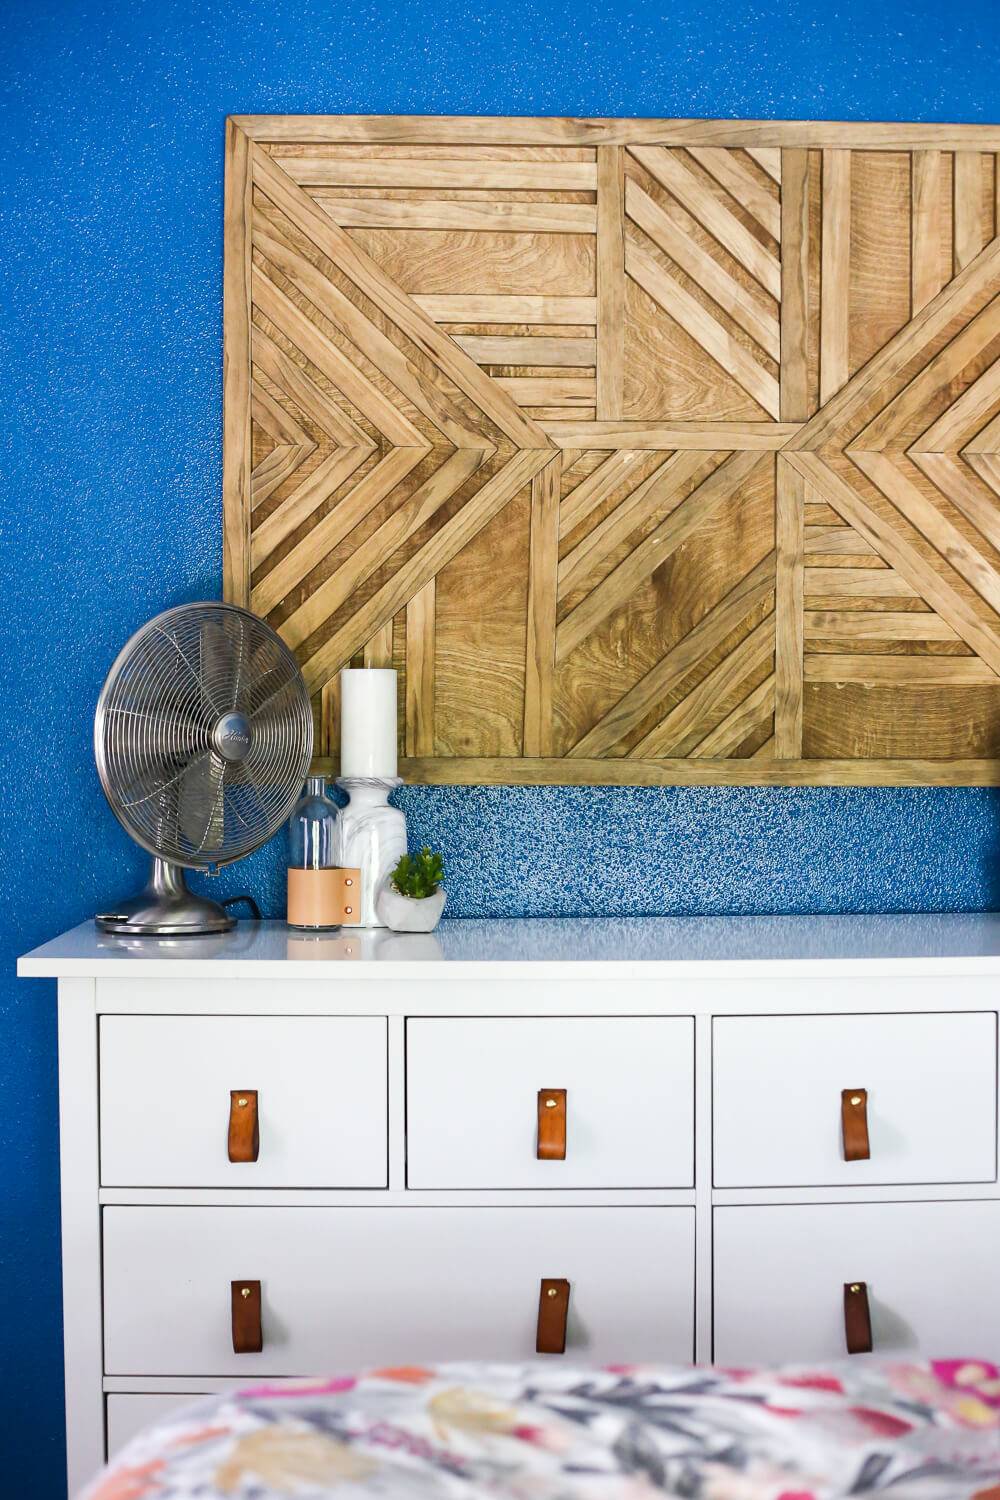
3. Add leather handles (made from old belts!) to a wooden crate for this simple yet gorgeous project. Learn more here. [Photo: Art, Decoration & Crafting]
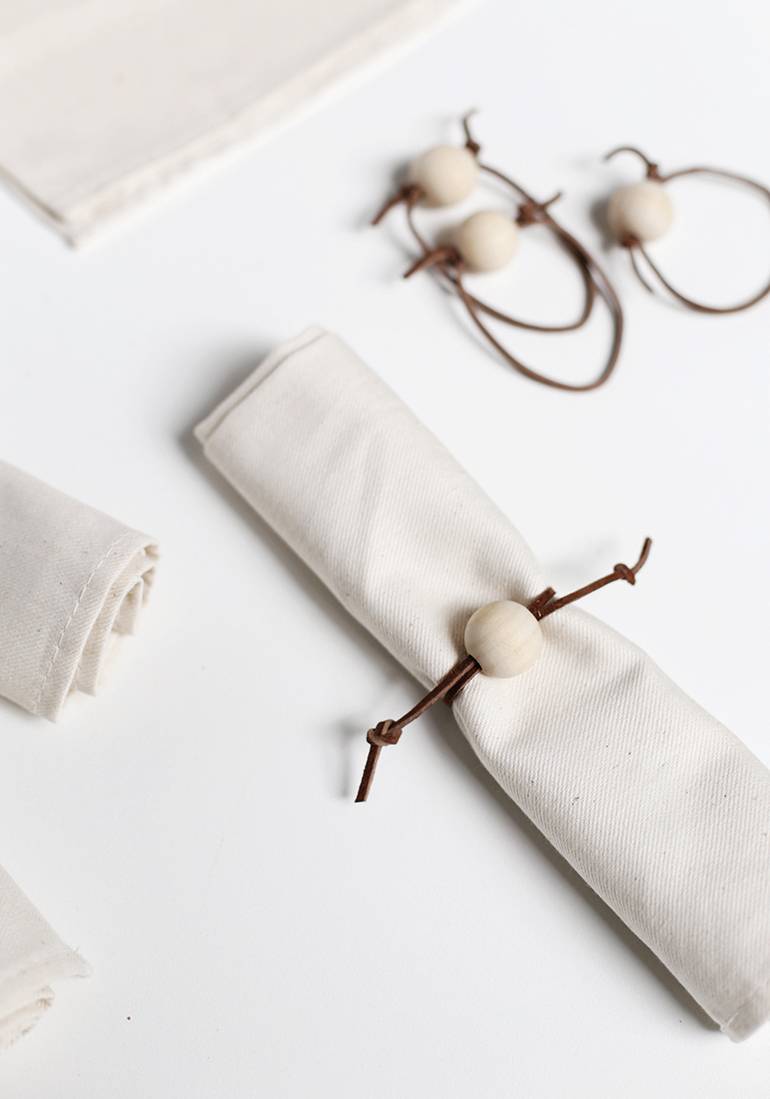
7. Who would have thought that you could make something so awesome out of wooden beads and leather cord? Check out the tutorial for these napkin rings here. [Photo: The Merry Thought]
How do you make a basement…not look like a basement?
It’s all in adding a designer touch. Episode 3 of Dream Home Makeover Season 3 introduced us to Andrea, Bobby, and their family — each with a unique spin on the vision for their basement remodel. In this webisode, Shea talks us through a few creative solutions for the challenges presented with this space, from low ceilings to incorporating the family’s multiple requests. In the end, it truly felt like home for everyone.
“We were able to give them this modern, rustic look—with a few surprises.”
– Shea McGee
McGee & Co.
Rigale Coolie Wall Light
McGee & Co.
Clouds Along the Mountain Range
McGee & Co.
Vintage Round Wooden Chair
McGee & Co.
Vintage Dovetailed Bench
McGee & Co.
Vintage Brass Taper Holders (Set of 2)
McGee & Co.
Vintage Striped Beach Towel
The area behind the fireplace was a perfect opportunity for built-in cabinetry and a kitchenette, providing them with a place to set drinks, food, and entertaining essentials.
The lounge area features two inky blue chaise lounges for them to lay back and kick their feet up. The chairs face a cast-concrete fireplace as a hearth, accompanied by a seated nook on the right to round off the asymmetrical layout.
McGee & Co.
Bowl of Lemons
McGee & Co.
Seagrass Wrapped Glasses (Set of 4)
McGee & Co.
Marlow Side Table
McGee & Co.
Jace Inset Circle Mirror
McGee & Co.
Round Walnut Wood Bread Board
McGee & Co.
Wolcott Sconce
We added some rustic character with low-profile wooden beams along the ceiling, giving the bones of the home more architectural interest. By swapping out the dated slider door with one that has a black frame and grid profile, the basement instantly took on a more modern appeal.
And what’s a family basement without plenty of space for entertainment! We opted for a ping-pong table that converts into a dining table, and opened up the entry to the separate guest room to create a moody theater.
Look out for more deep dives on each Dream Home Makeover episode, coming your way weekly.