Prepare Your Home: Wildfire Protection Season Starts Now
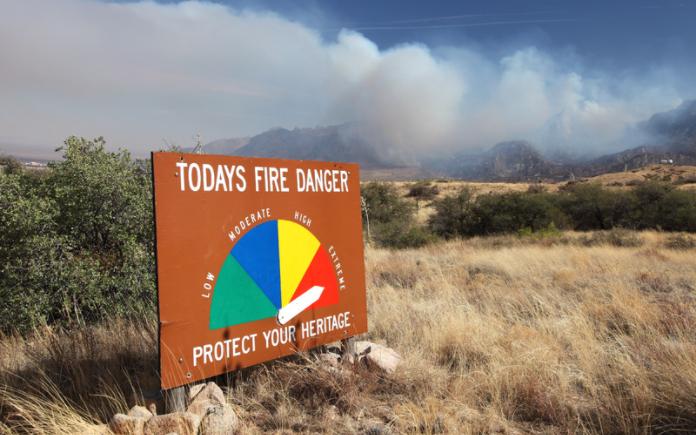
A wildfire burns in the background of a fire danger sign in the Organ Mountains of New Mexico. (DenisTangneyJr./ Getty Images Signature) PORTLAND, Ore. (April 18, 2022) — Wildfire home protection should be your top priority if you live in an area with frequent wildfires. The peak season is coming, and experts say it’s likely … Read more