Lawn and landscape expert Sid Sexton is back to talk more about pruning, landscaping and shrubs.
In this week’s episode of “Ask Danny,” Sid Sexton is back to tell us how to plant shrubs and give some advice on pruning crape myrtles.
Sid is the founder of Sexton Lawn & Landscape in Daphne, Ala., and is licensed in turf and ornament spraying, landscape design, and setting of landscape plants.
Sid Sexton is the founder and president of Sexton Lawn & Landscape. (Photo courtesy Sexton Lawn & Landscape)
About Sid Sexton
As the founder of Sexton Lawn & Landscape, Sid is a down-to-earth, honest businessman with a love for lawn care, landscape design, and delivering the best products to his clients.
Starting at age 16, Sid spent his summers working for a local landscape company and the local country club and golf course in his hometown of Muskogee, Okla.
After earning his bachelor’s degree in business administration with a minor in horticulture, Sid joined the U.S. Coast Guard and was stationed in Hawaii, where he met his future wife, Jourdan.
Sid was our guest for the first episode of “The Ask Danny Podcast,” and he’s back! Listen to “Ask Danny Episode 1: Improving Your Lawn’s Health” to catch up, or read on for more information about this second interview with Sid.
When planting shrubs, the width of the hole is more important than the depth. (Minna Kantonen, Getty Images)
Planting Shrubs: Tips for Success
What are some of the steps our listeners should take when planting shrubs?
Sid: Before you plant shrubs, follow these three steps:
Have a plan. You need the right type of plant for your environment in the right location. Think about space, sunlight and water, then ask yourself these questions: Where will the plants go? Will the area have too much or too little water? Are they the right plants for the right place for the sunlight they need?
Lay out the bed. Use spray paint to outline the bed line, then rent a sod cutter to remove the turf and vegetation.
Add soil: Make sure to build the soil up. You can use top soil, bagged soil or an organic specialty blend. The main goal is to add some kind of amendment to the existing soil so your plants will have the nutrition they need.
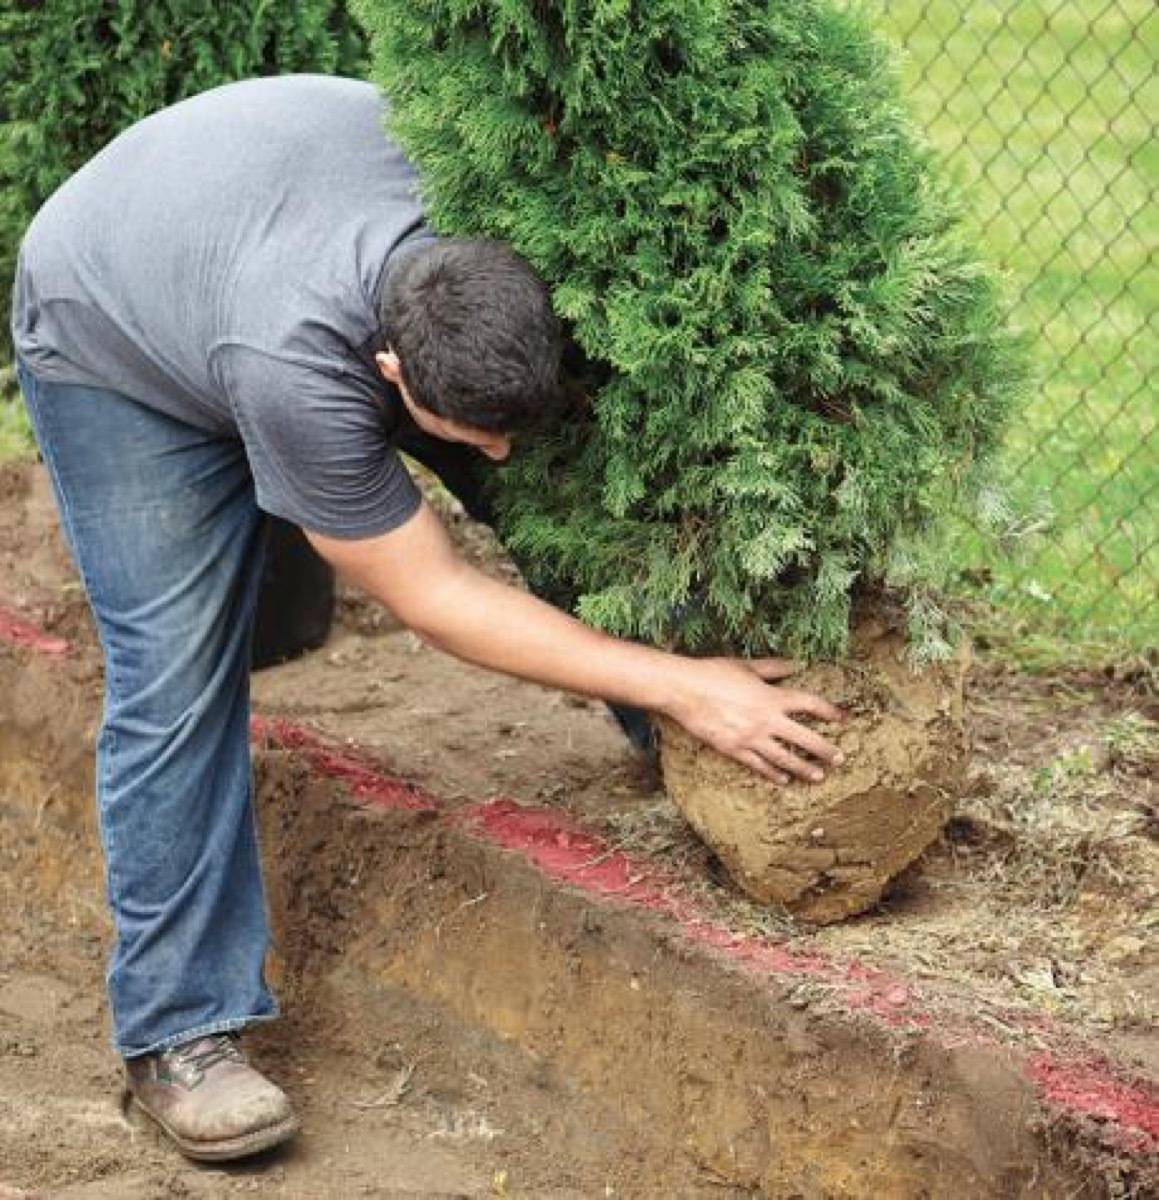
When digging holes for your plants, go wide. The hole should be three times the width of the container. Giving it that space to grow out is much more important than how deep the hole is.
However, you don’t want to dig the hole too deep to where water settles around it. Plant it level to the ground or about a half inch above the soil level. You want water to drain away from the base of the plant.
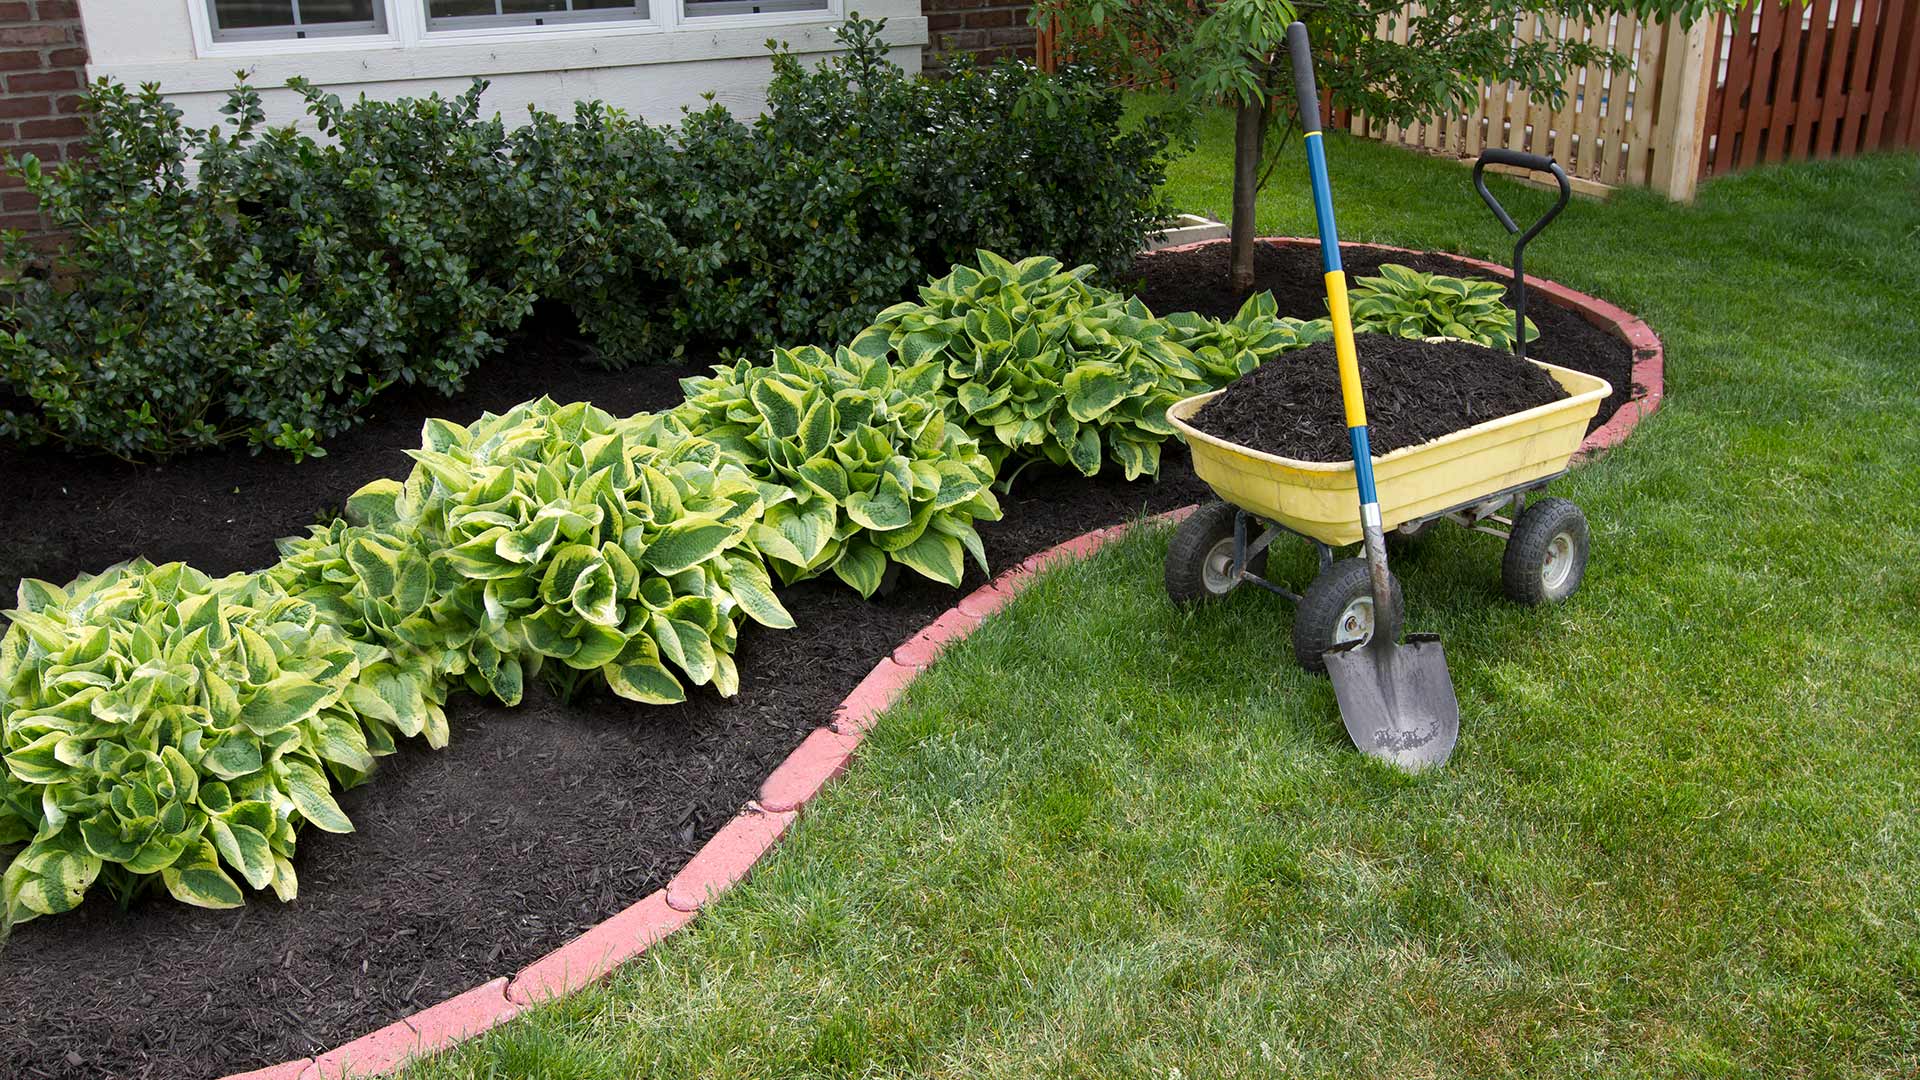
Then add natural mulch, like pine straw, bark and hay. It will create a mat that will prevent weeds from growing. Weeds sprout from seeds that can be spread through the wind. If you create a thick layer of mulch, it will prevent the seeds from reaching the soil.
Landscape fabric also does this, but personally, I don’t use it because of the climate I live in. It stays hot almost year-round in south Alabama, so landscape fabric tends to trap heat underground and damage roots. Also, it can push water to low areas and lead to root rot.
Mulch also insulates the roots, preventing them from getting too hot and cold. And it keeps moisture in the soil from evaporating too quickly. As natural mulch breaks down, it adds organic matter to the soil.
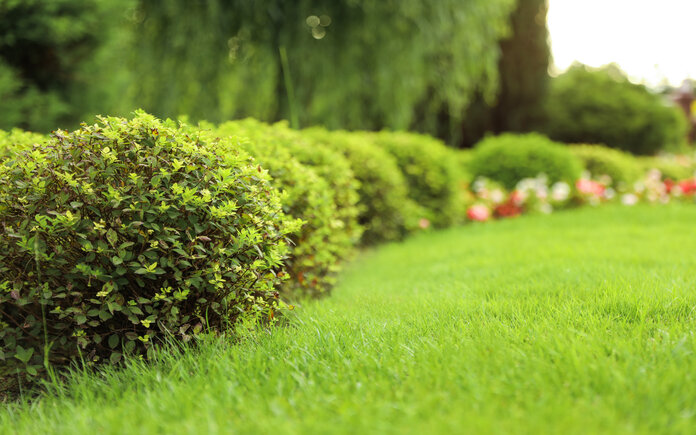
Well-pruned shrubs and trees are a hallmark of a carefully tended yard or garden. (Maudib, Getty Images)
Best Time to Prune
What are some general tips about pruning? When is the best time and are there different steps for different plants?
Sid: All plants require some pruning to keep them in shape and promote healthy growth.
There’s lots of nuance in pruning but a general rule for flowering plants is you want to prune the plant after it blooms.
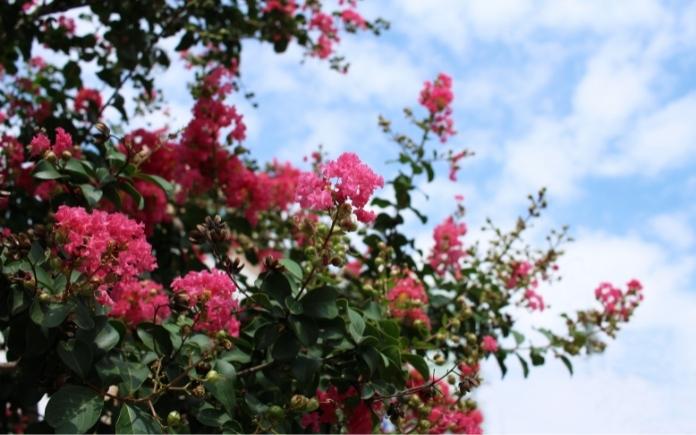
You don’t have to cut a ton of branches to encourage crape myrtle blooms. (c11yg, Getty Images)
Pruning Crape Myrtles
Many people have strong opinions on trimming and pruning crape myrtles. What’s your opinion?
Sid: A crape myrtle blooms off new growth. So, some people hack away at the branches to stimulate this new growth. But this isn’t necessary — you can still produce new growth and keep the shape of the plant with selective pruning.
Select pruning eliminates an ugly knuckle from forming and maintains full foliage. Here’s how to do it.
First, prune cross branches — branches that are rubbing together and growing across from each other. You want the tree to grow up and out, so trim the branches that are growing toward the middle.
Then, prune broken branches and any branch that’s smaller than your pinky.
Make sure you have a plan. If you fail to plan, you plan to fail.
If you’re not sure what to do, consult with a local expert, like a nursery or landscape architect.
Do it in stages so it’s not overwhelming in time and budget.
Further Reading
Ask a Question! (Podcast)
Ask a question and we could answer it on the “Today’s Homeowner Podcast!” We also may use it on our nationally syndicated radio broadcast or on todayshomeowner.com.
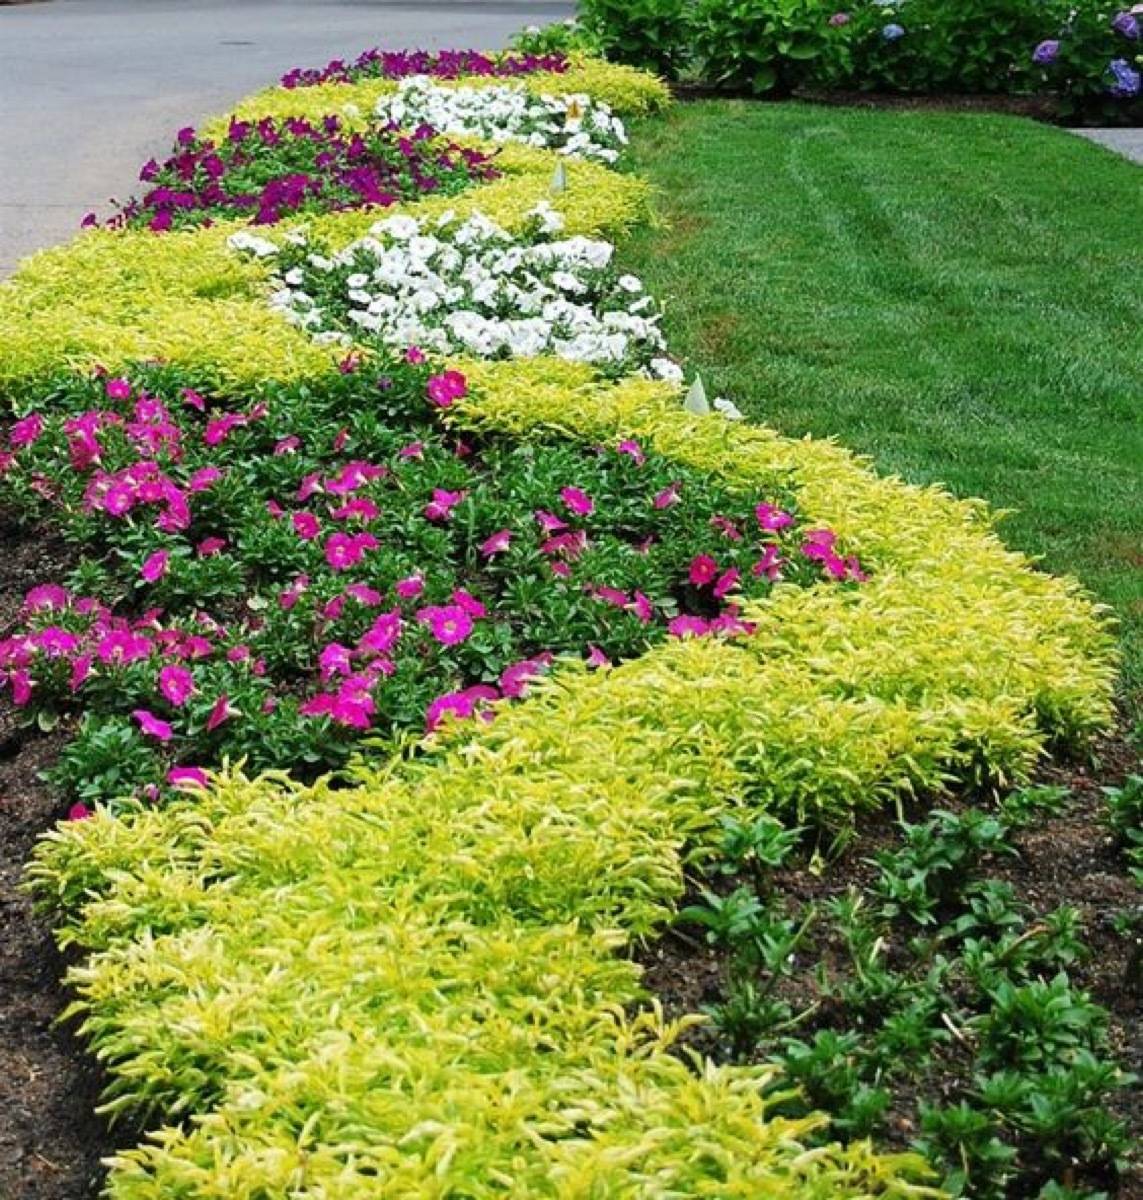
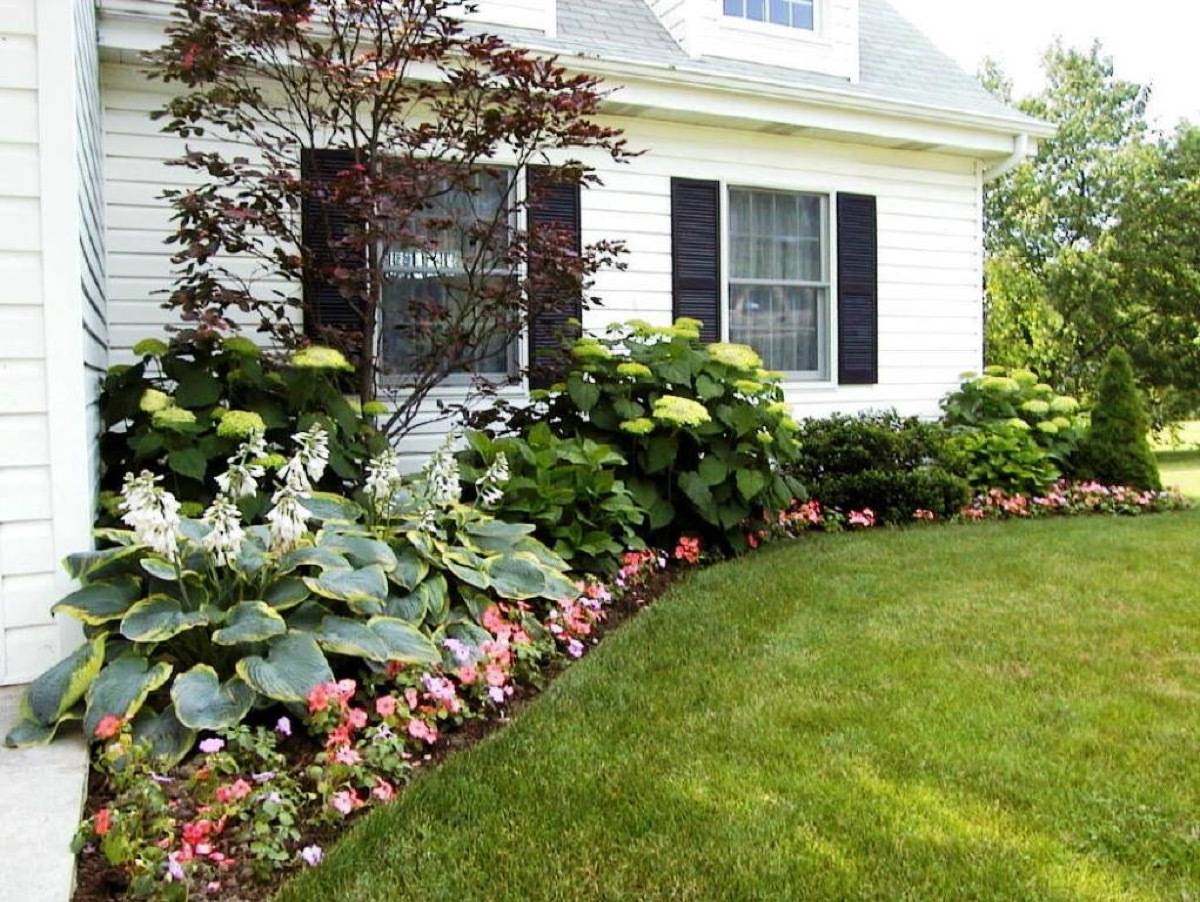
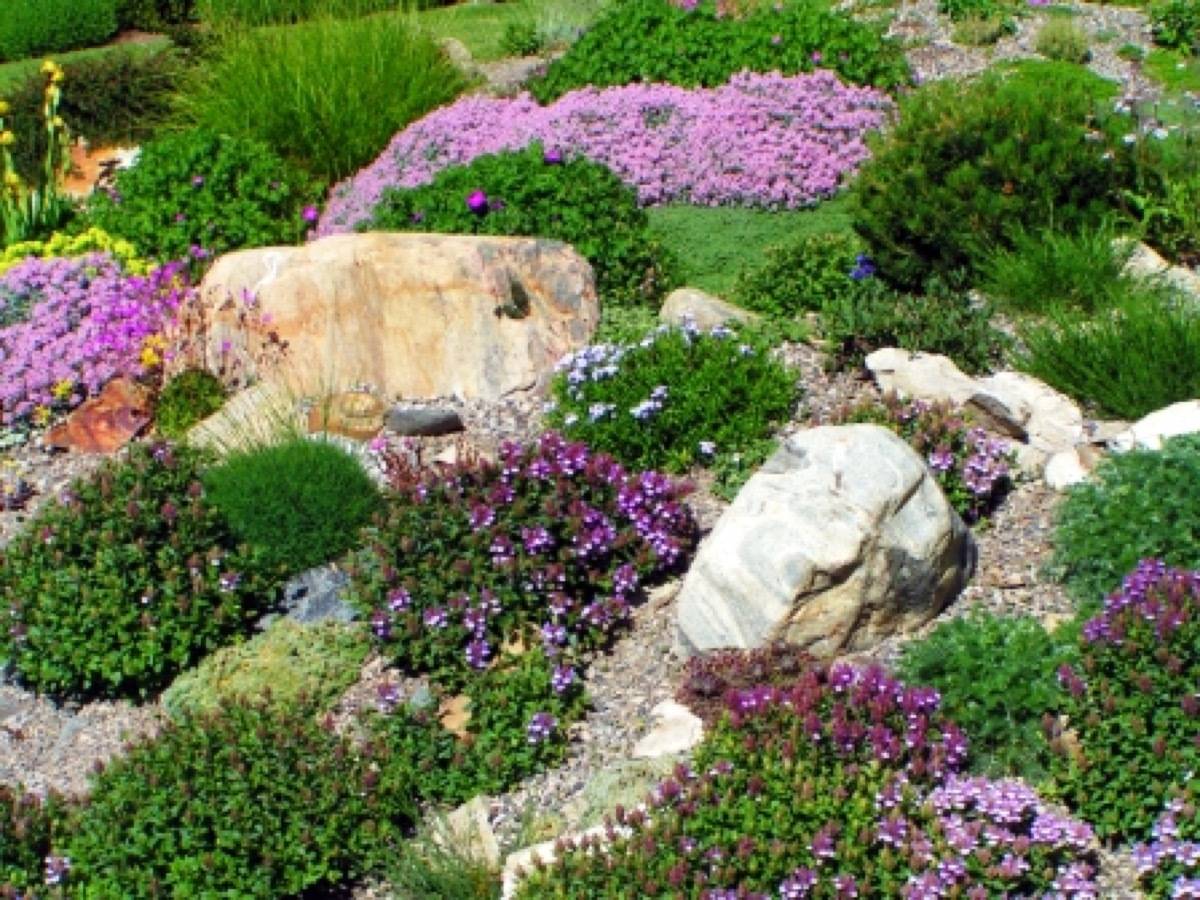
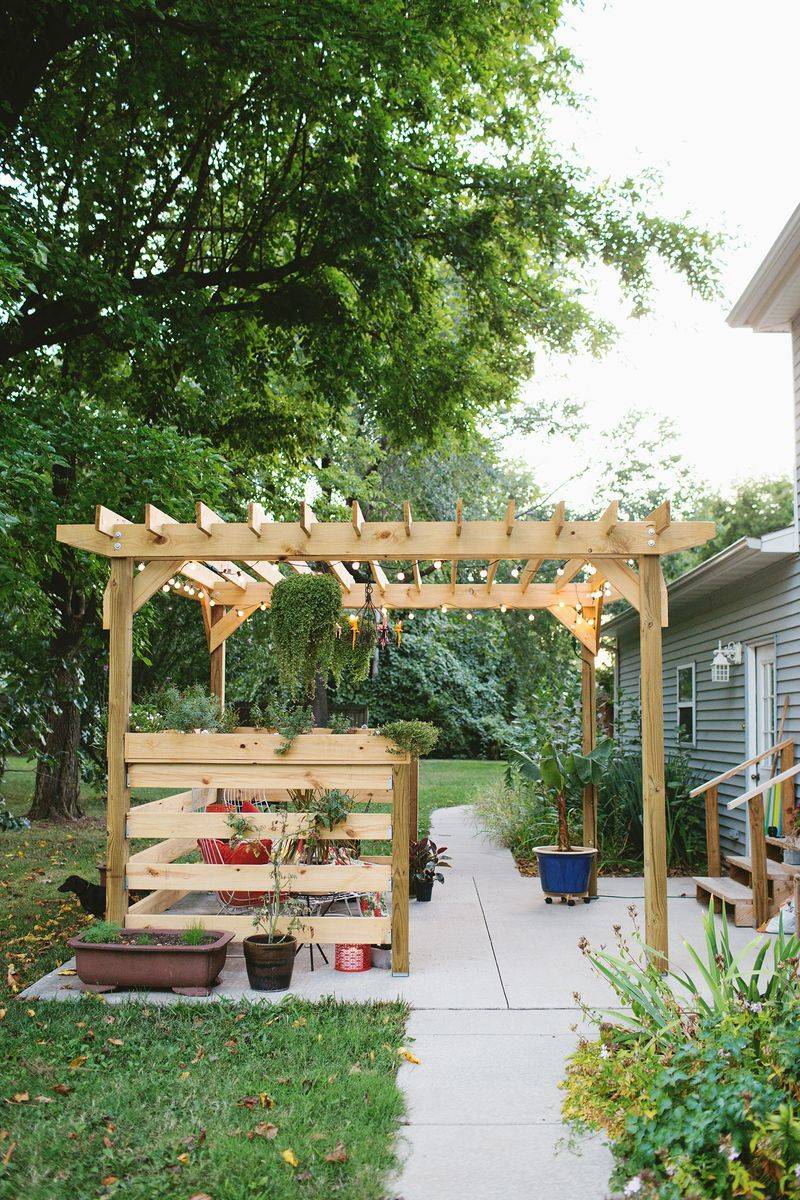
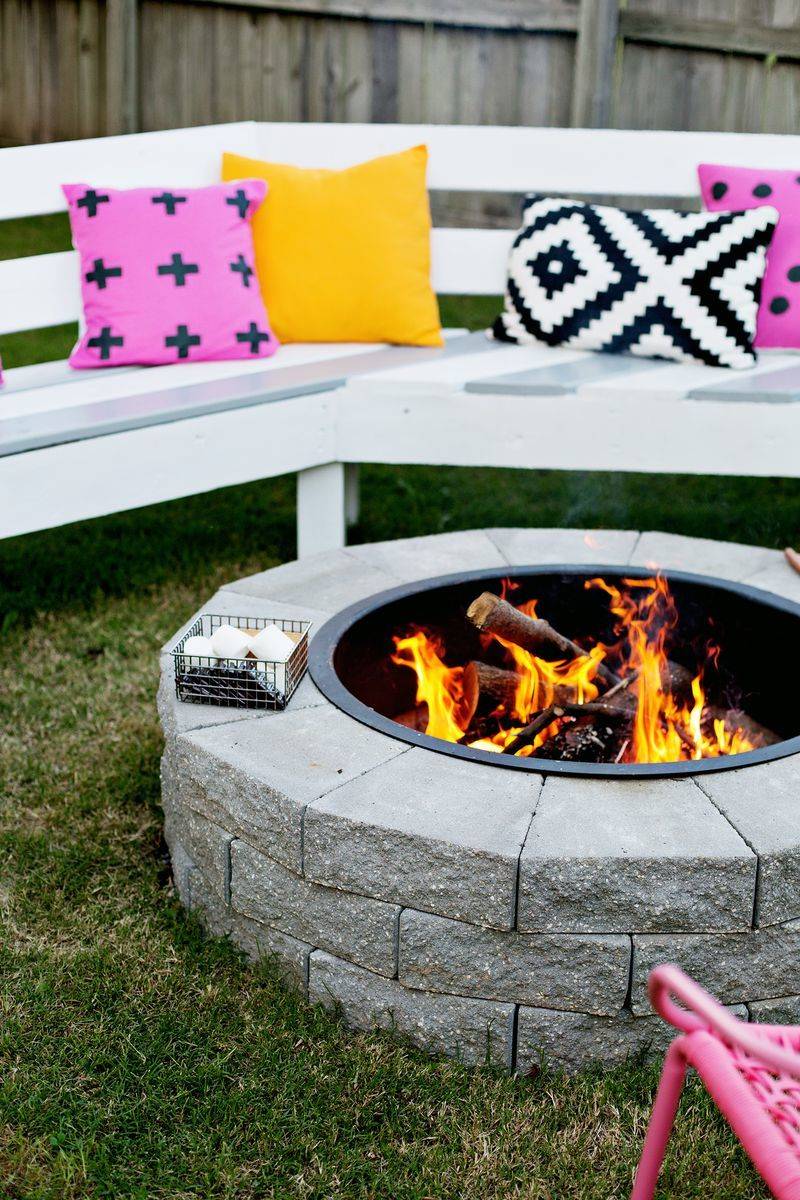
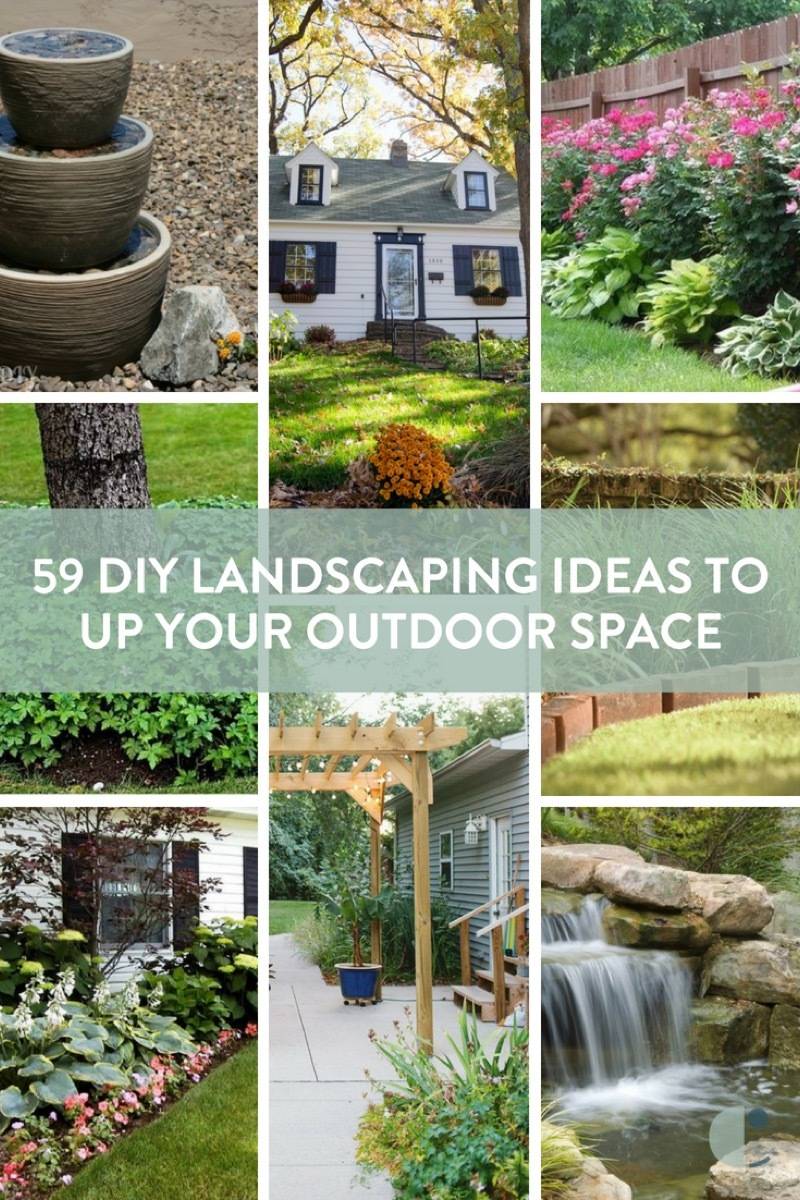
Being a homeowner is a big responsibility, and while there’s plenty to take care of inside you home, don’t forget about the outside, either. If you’ve ever looked into the cost of hiring a professional landscaper, you know they’re not cheap. Fortunately, there are a slew of inexpensive and affordable DIY landscaping ideas at your disposal, so long as you’re willing to get your hands a little dirty. From the front yard to the back, barbeque pits to bistro lights, here are 59 ways you can affordably improve your outdoor space.
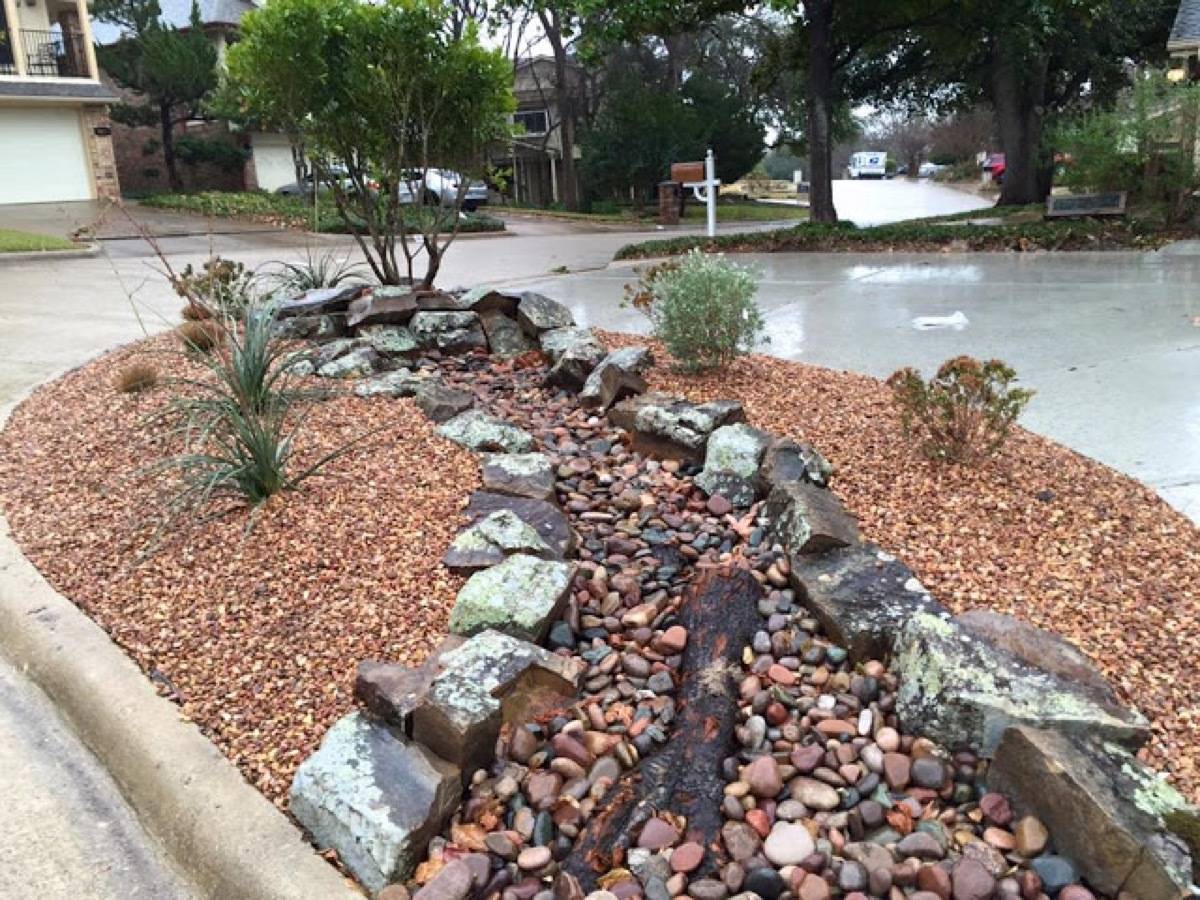
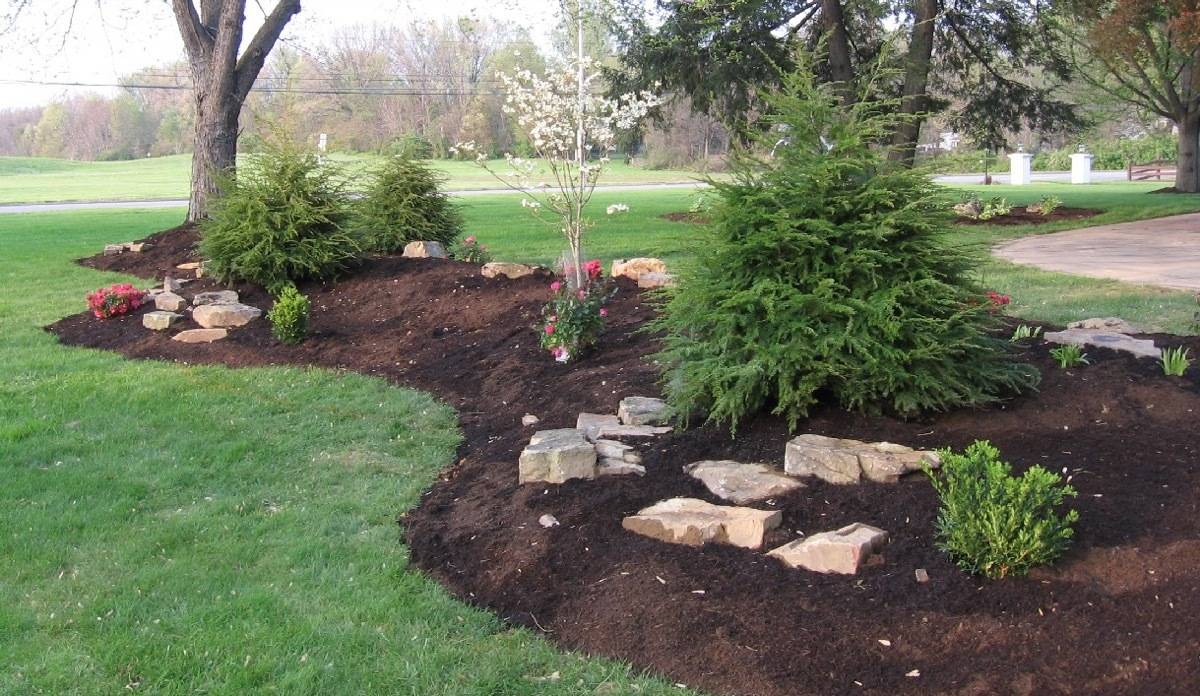
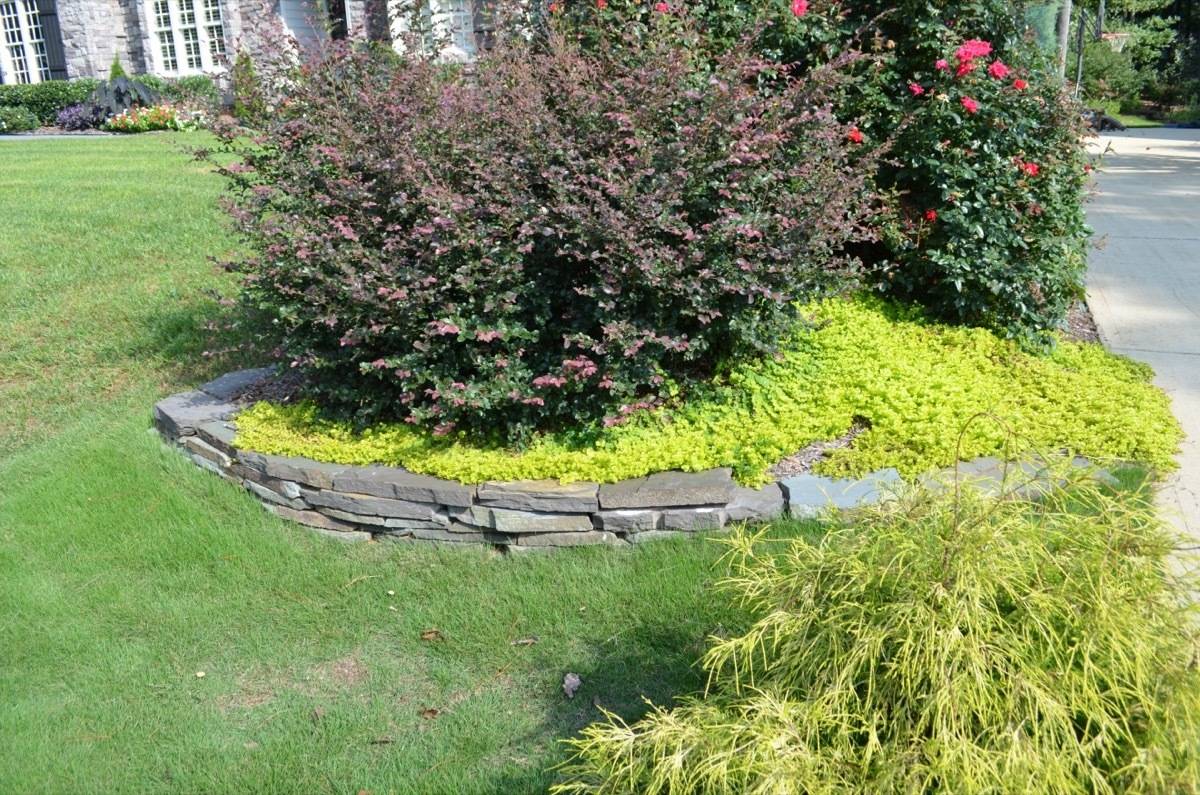
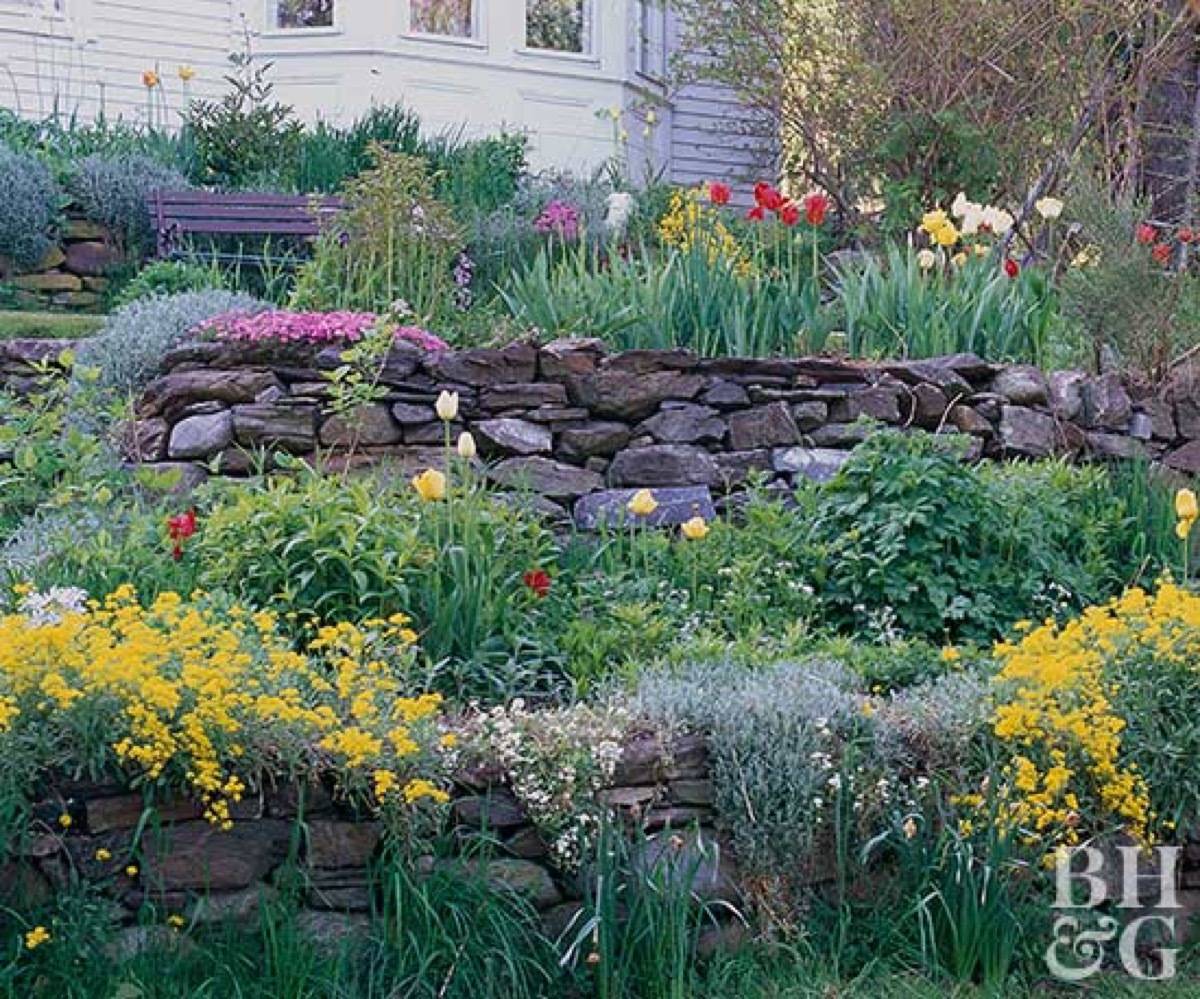
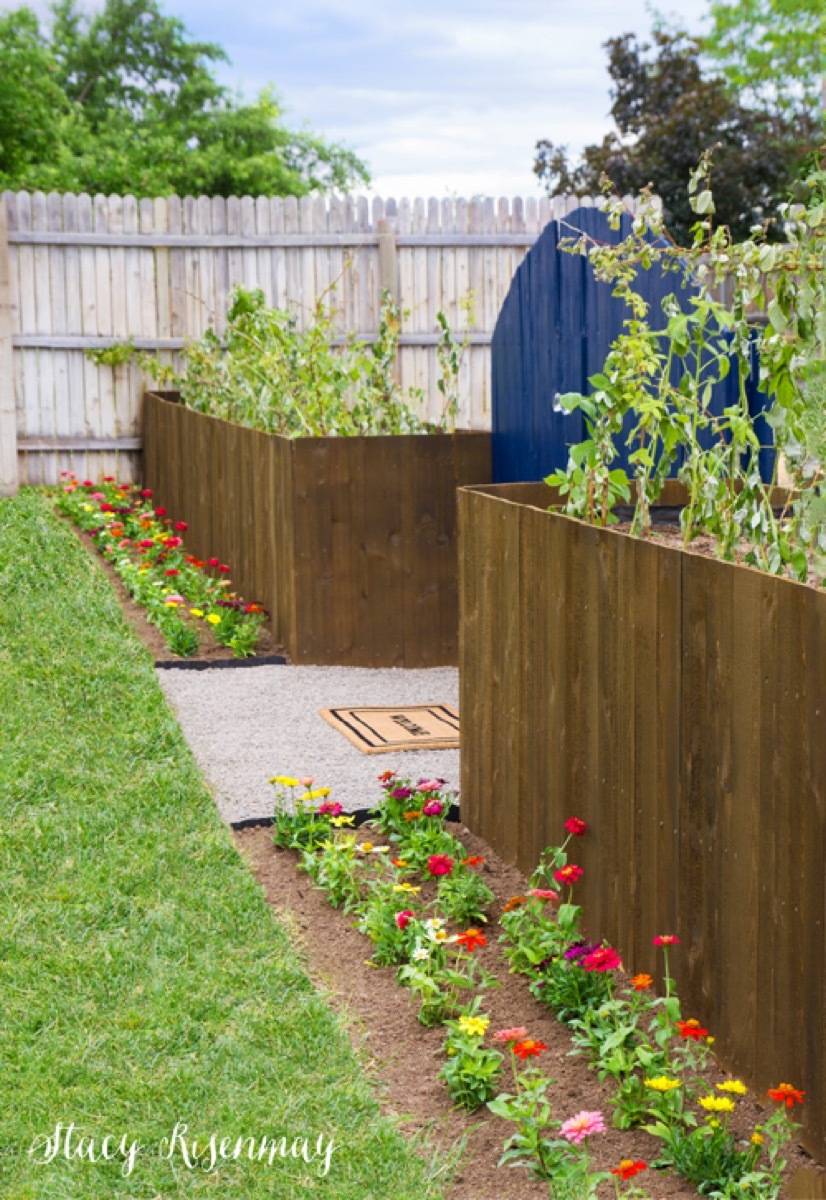
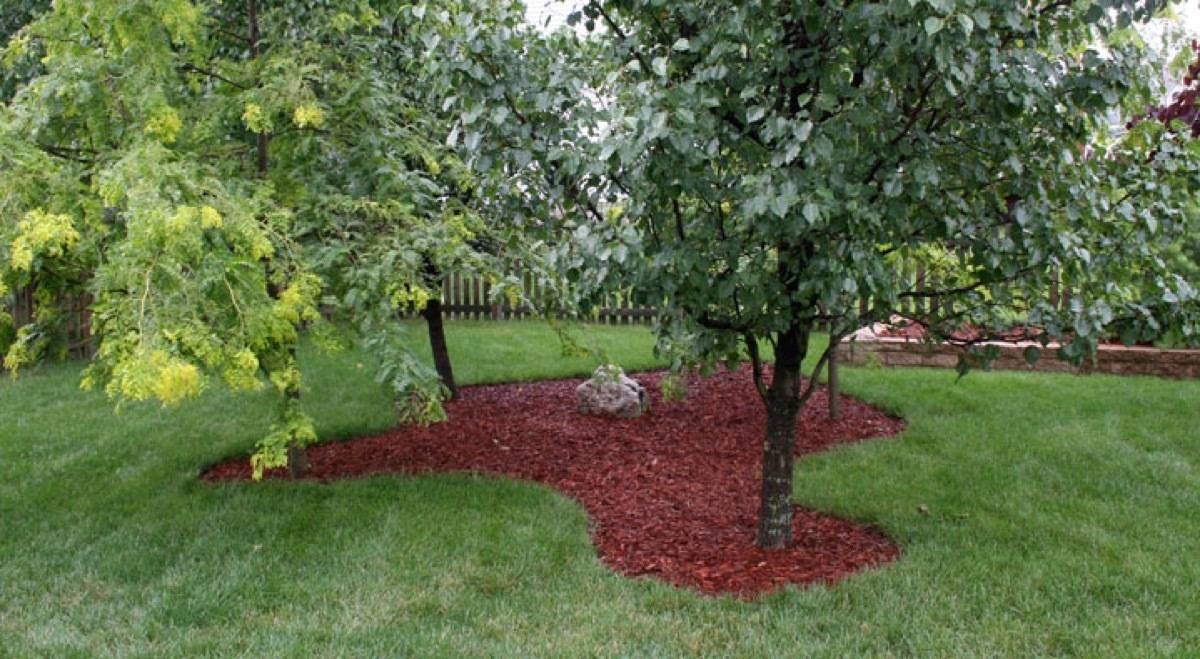
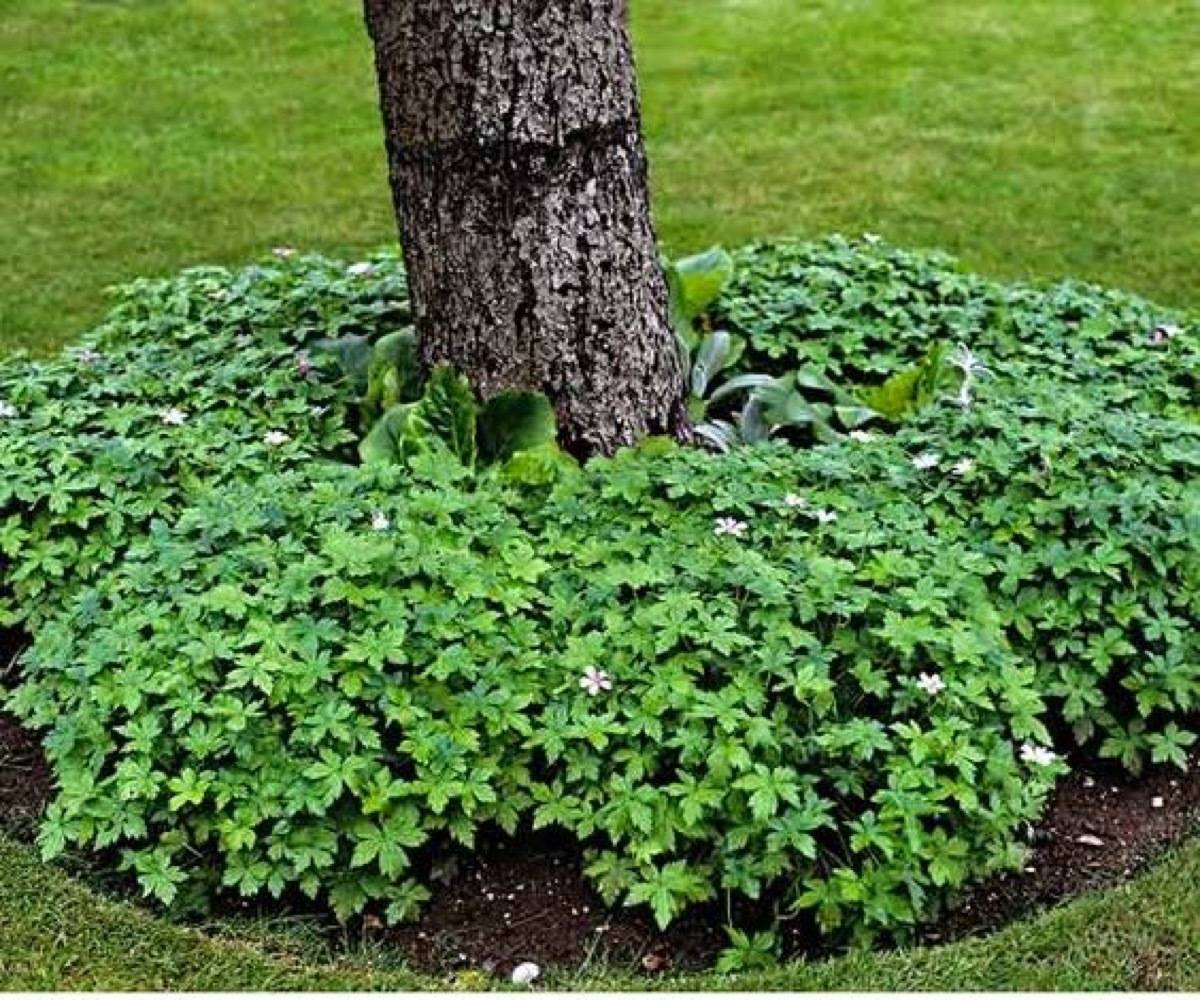
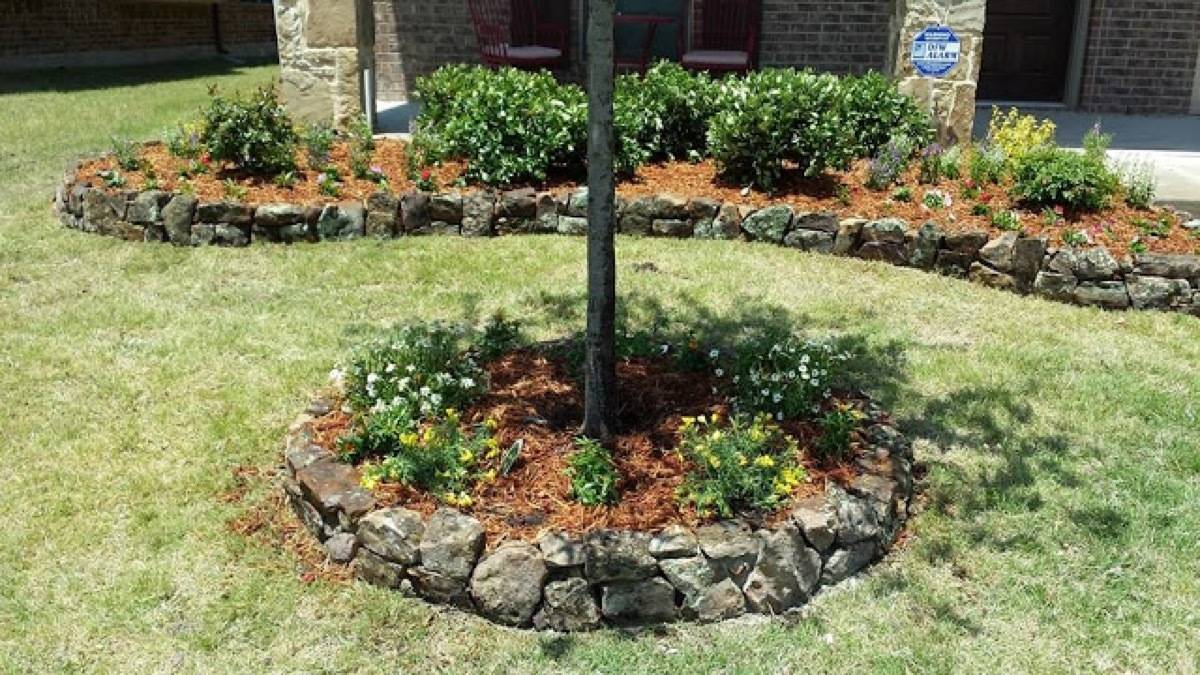
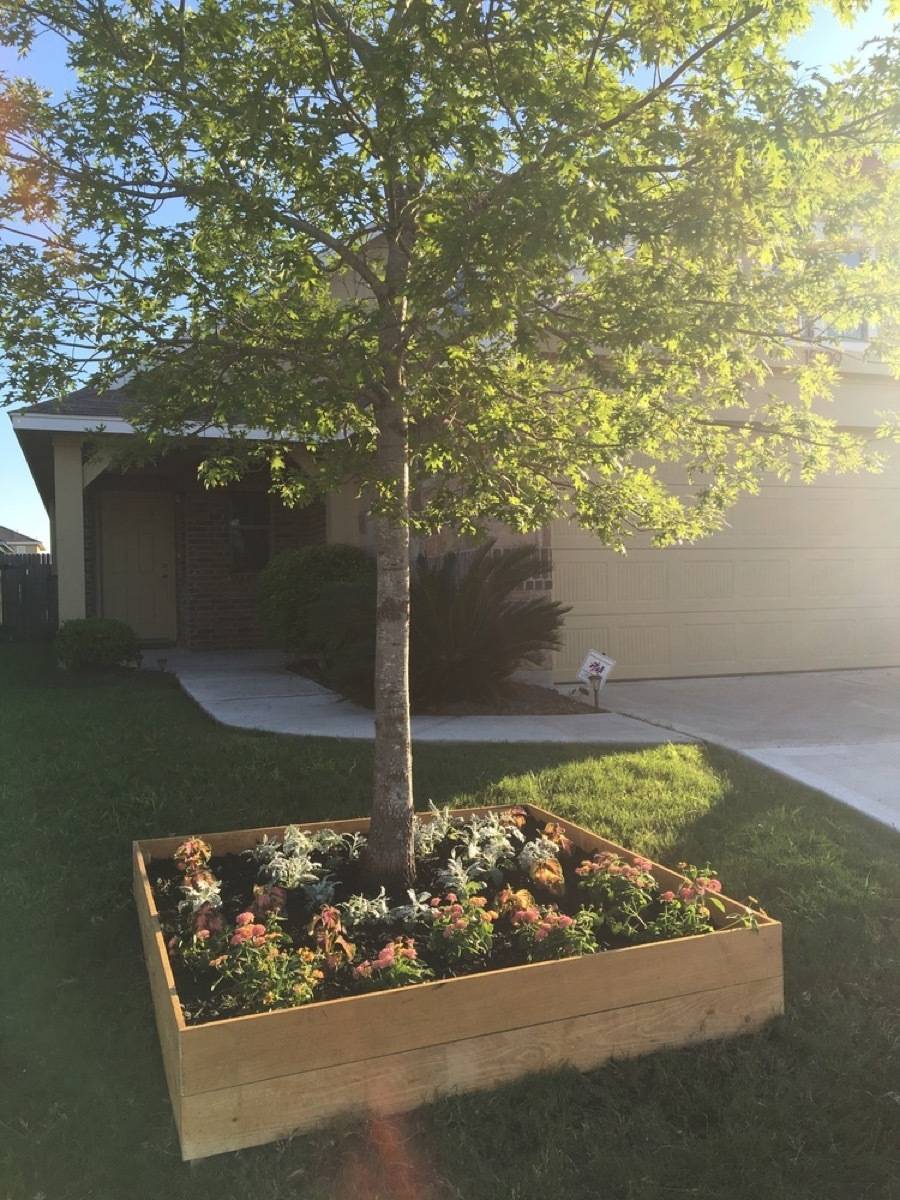
7. How about creating a berm? What’s a berm, you ask? It’s when you transform your totally flat yard by creating mounds of interest. Easy, and totally affordable. Be sure to do your research first before create a berm around the base of any tree, as too much dirt can suffocate the tree.
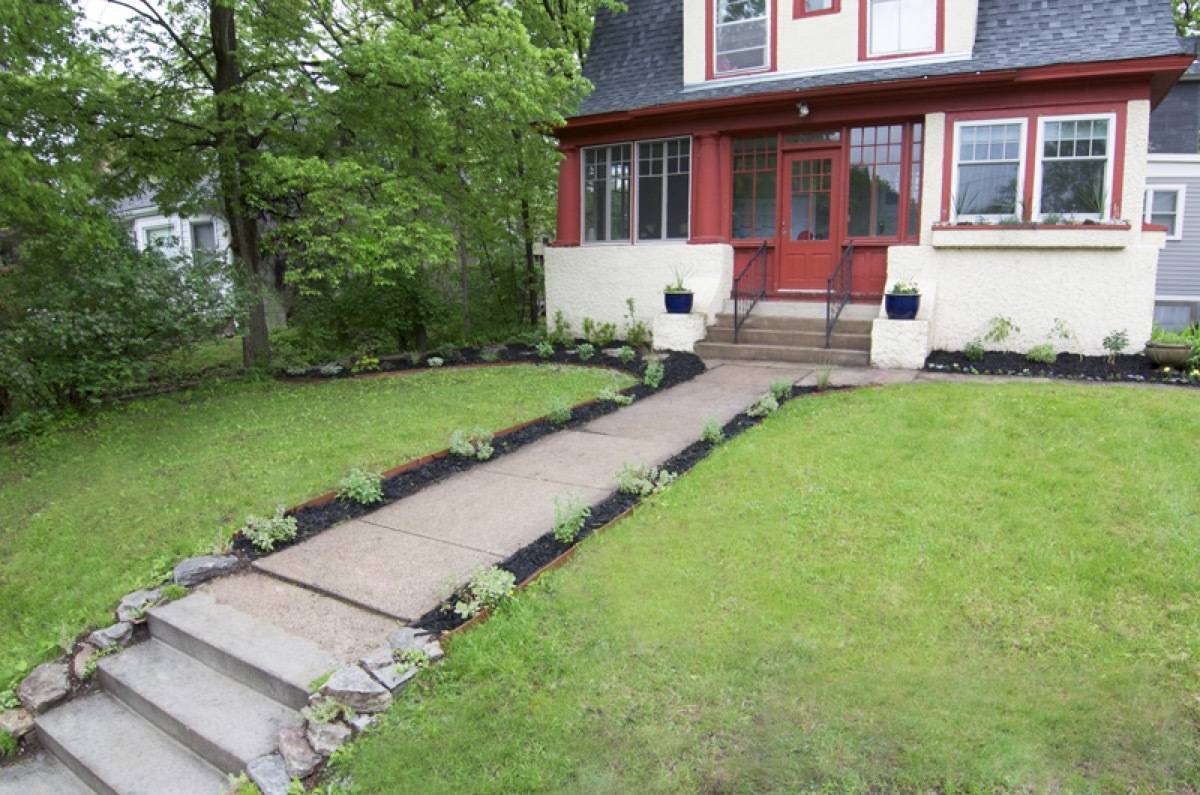
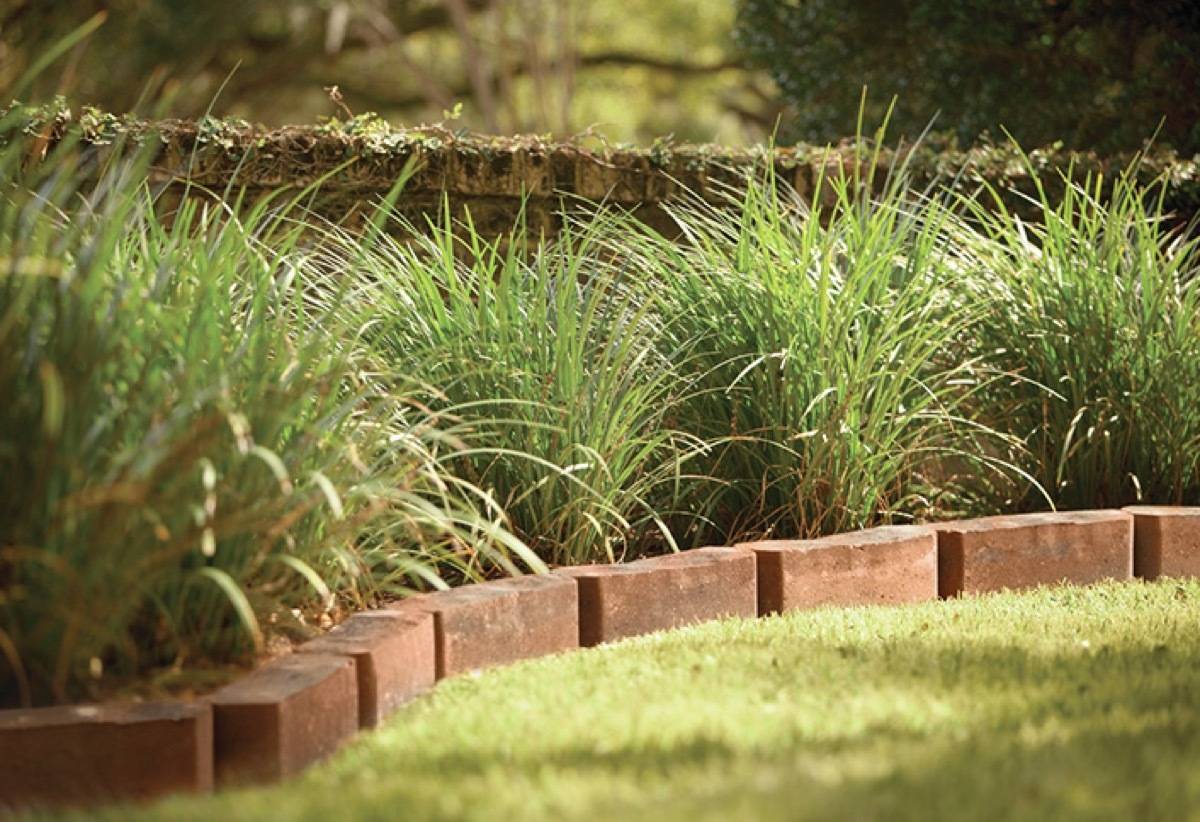
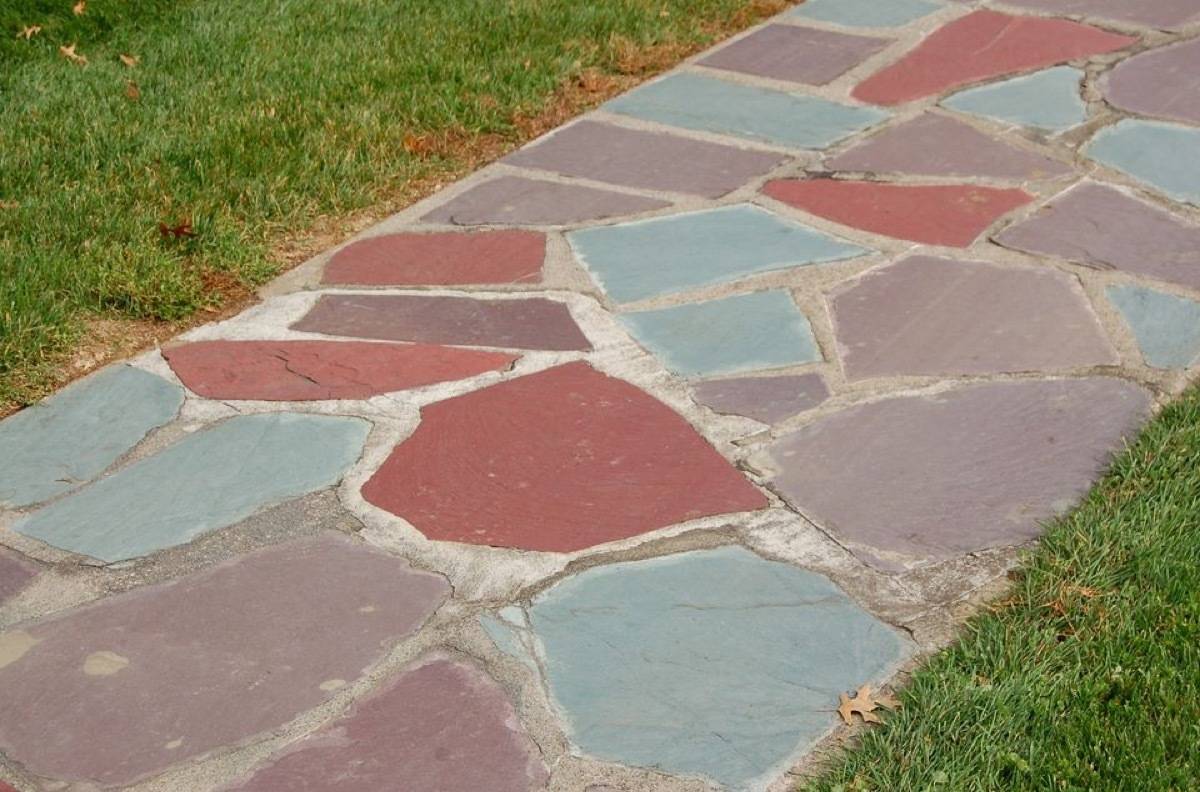
10. DIY landscaping ideas don’t get much more affordable than this: install brick edging to outline areas of your yard using salvaged or recycled brick.
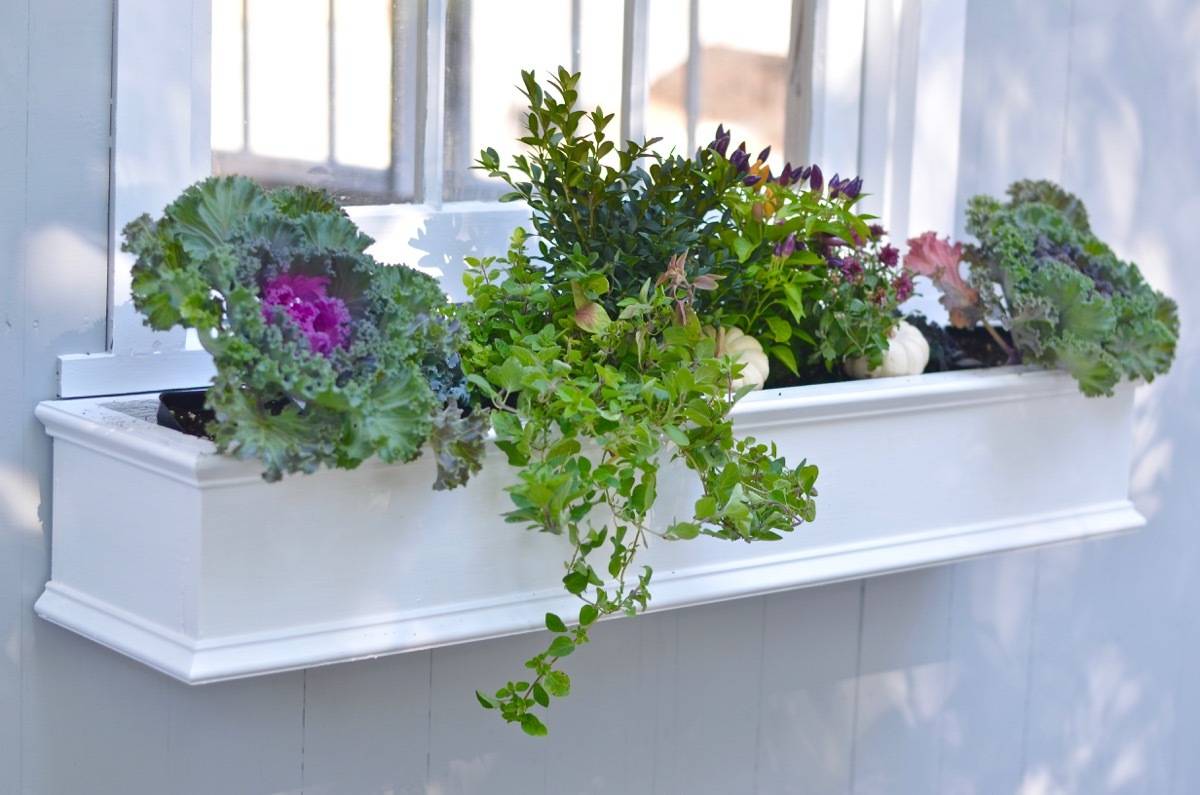
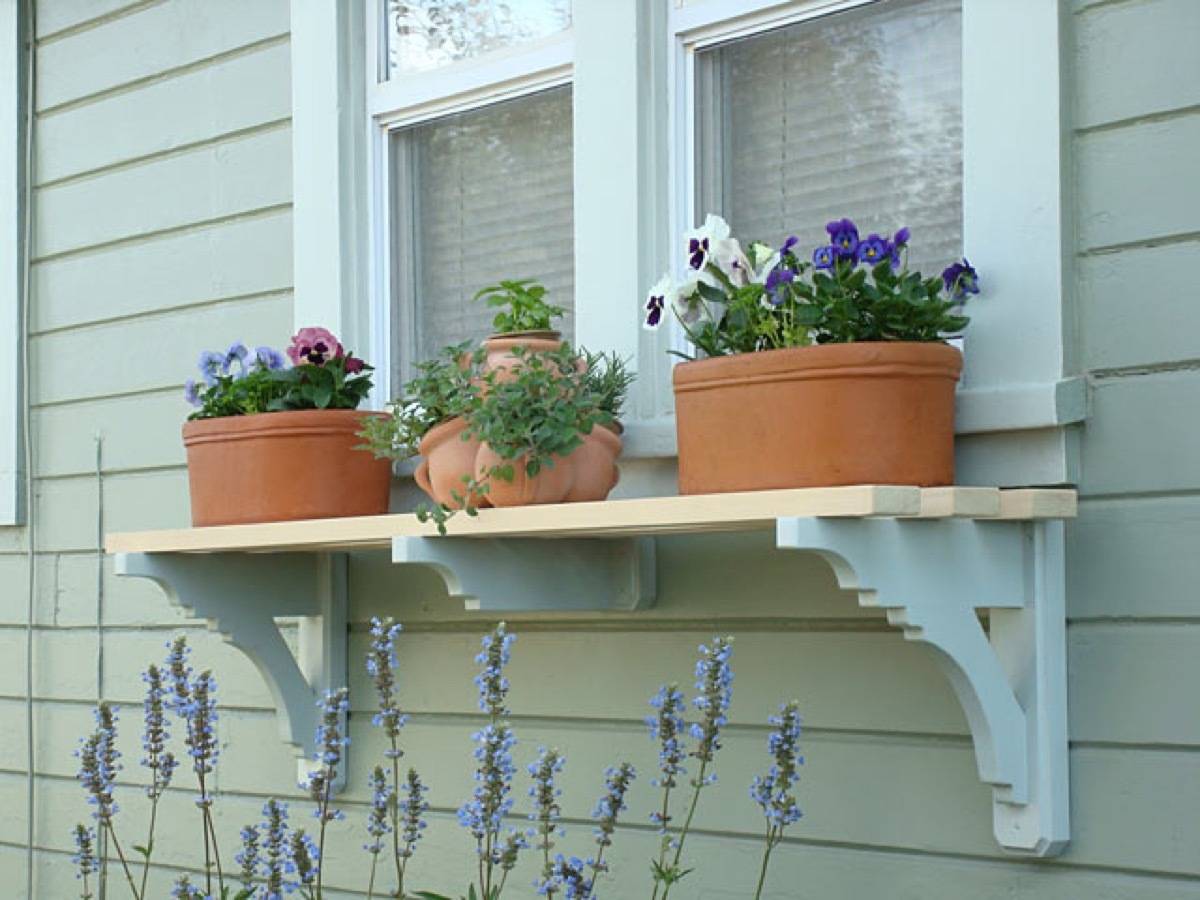
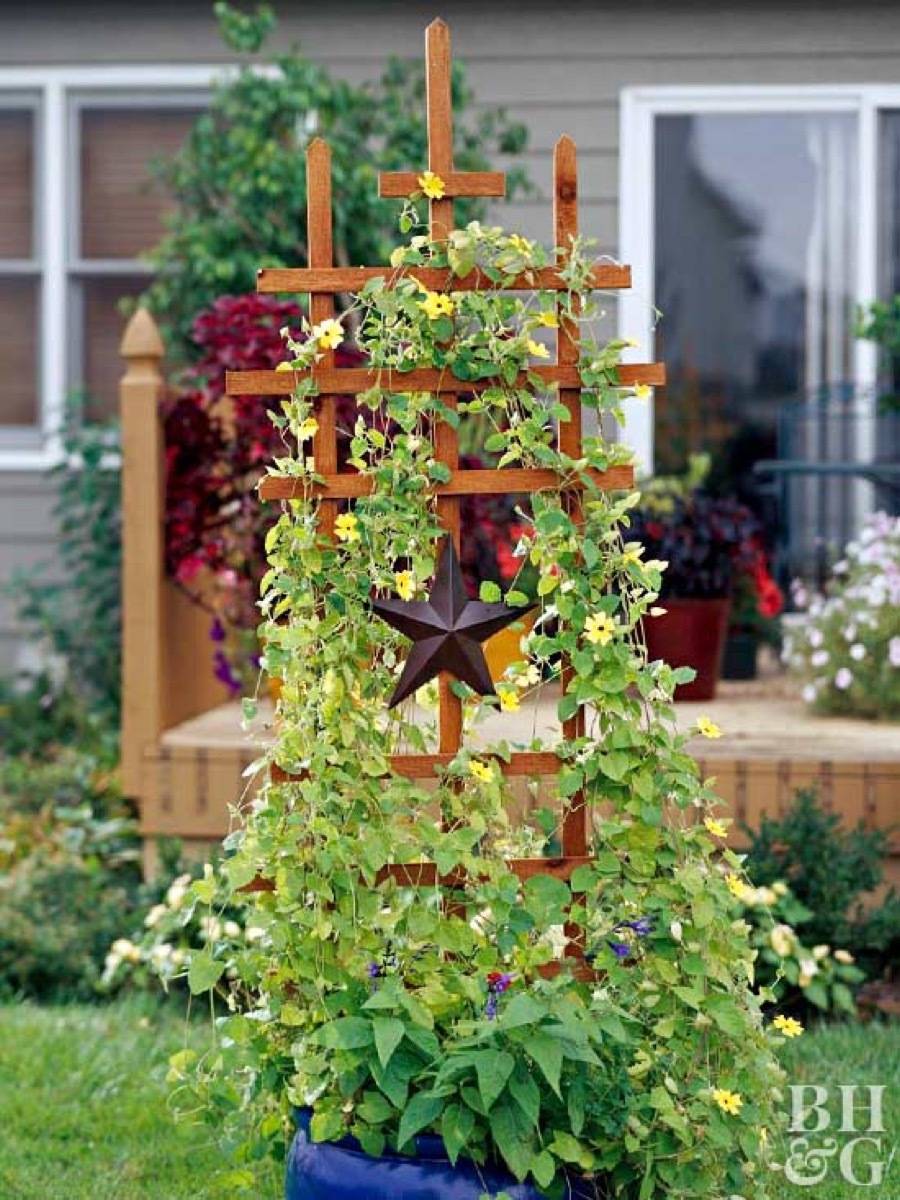
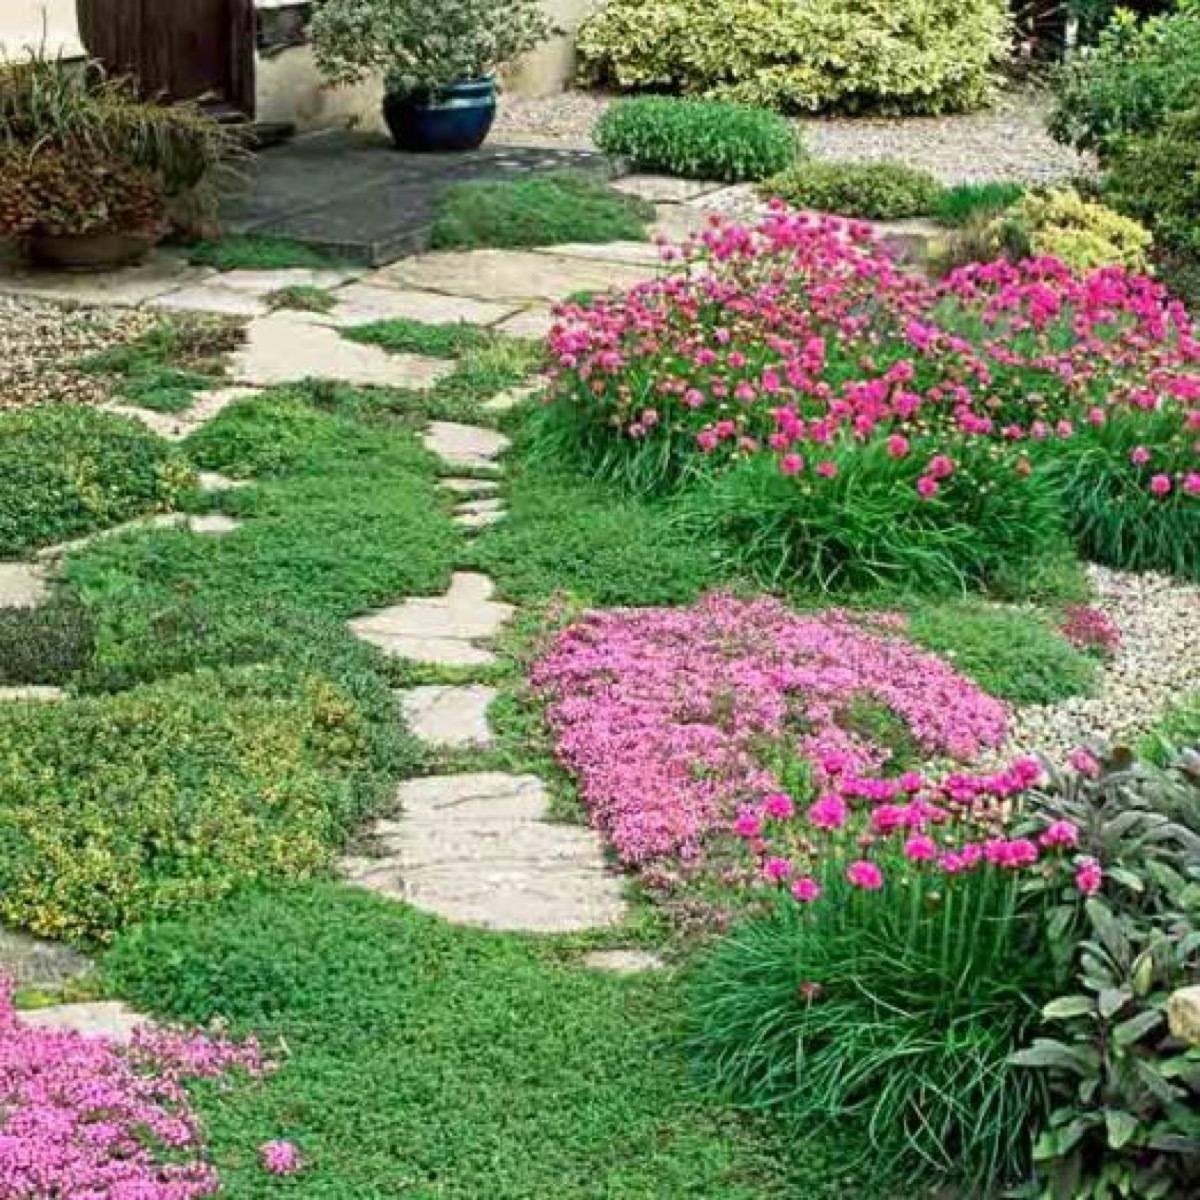
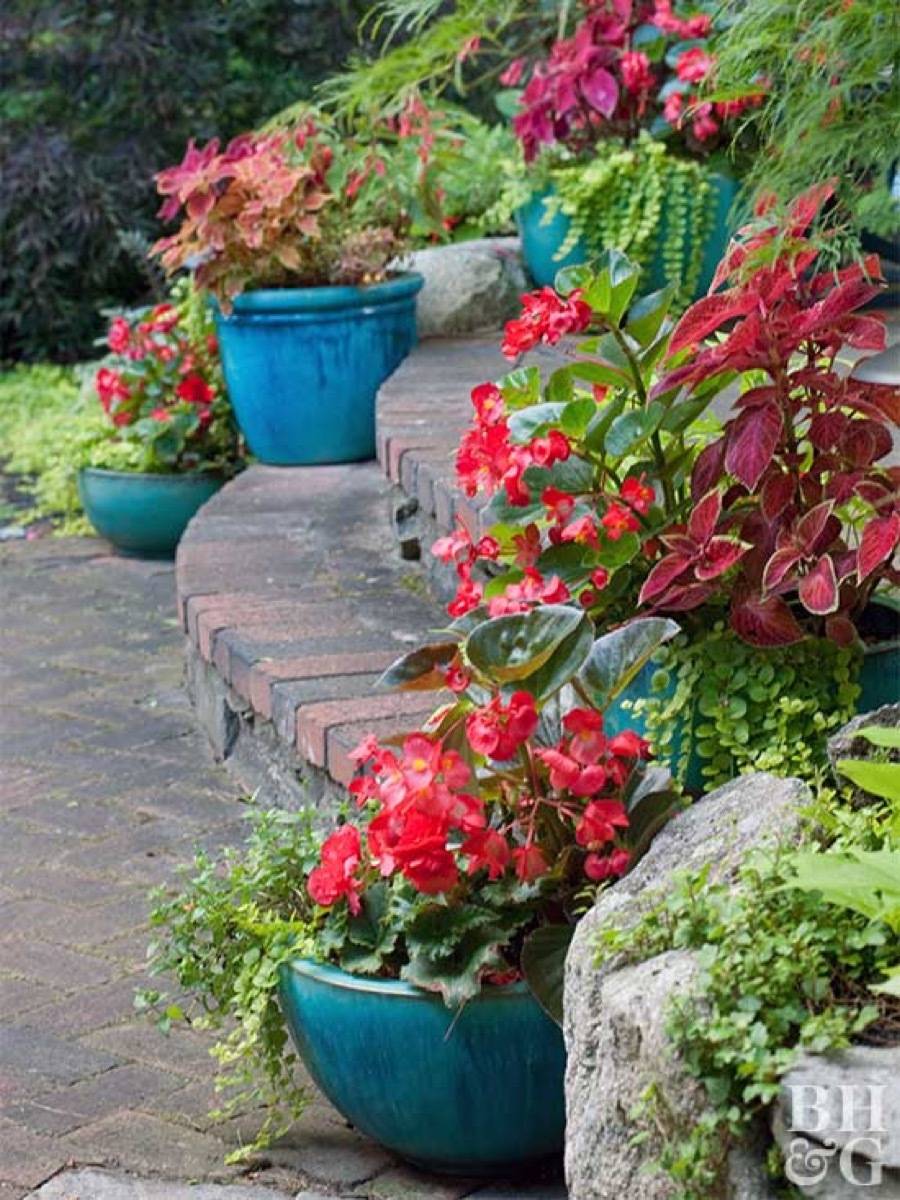
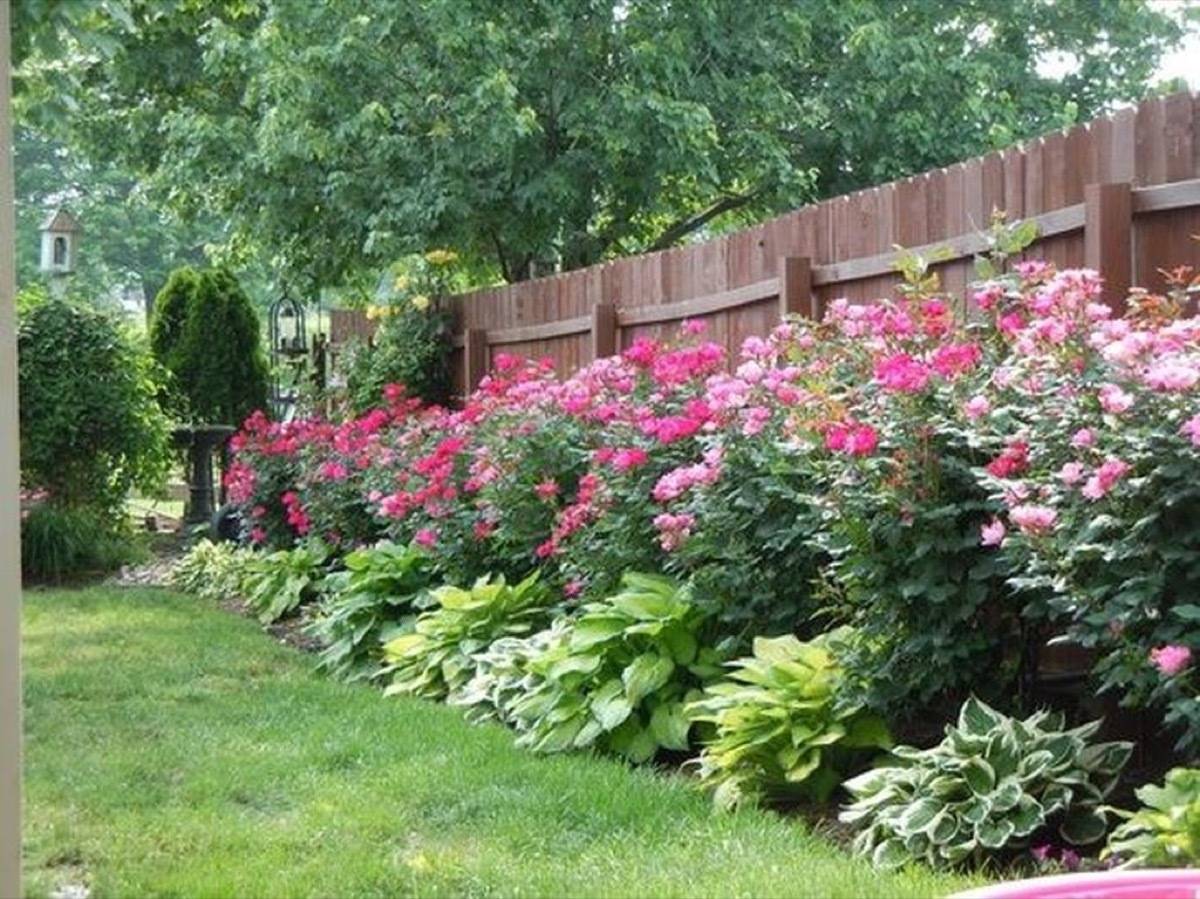
14. Display flowers in containers along steps, walkways, or on ledges. This is a great way to add visual interest if you have a lot of brick or asphalt in your front yard.
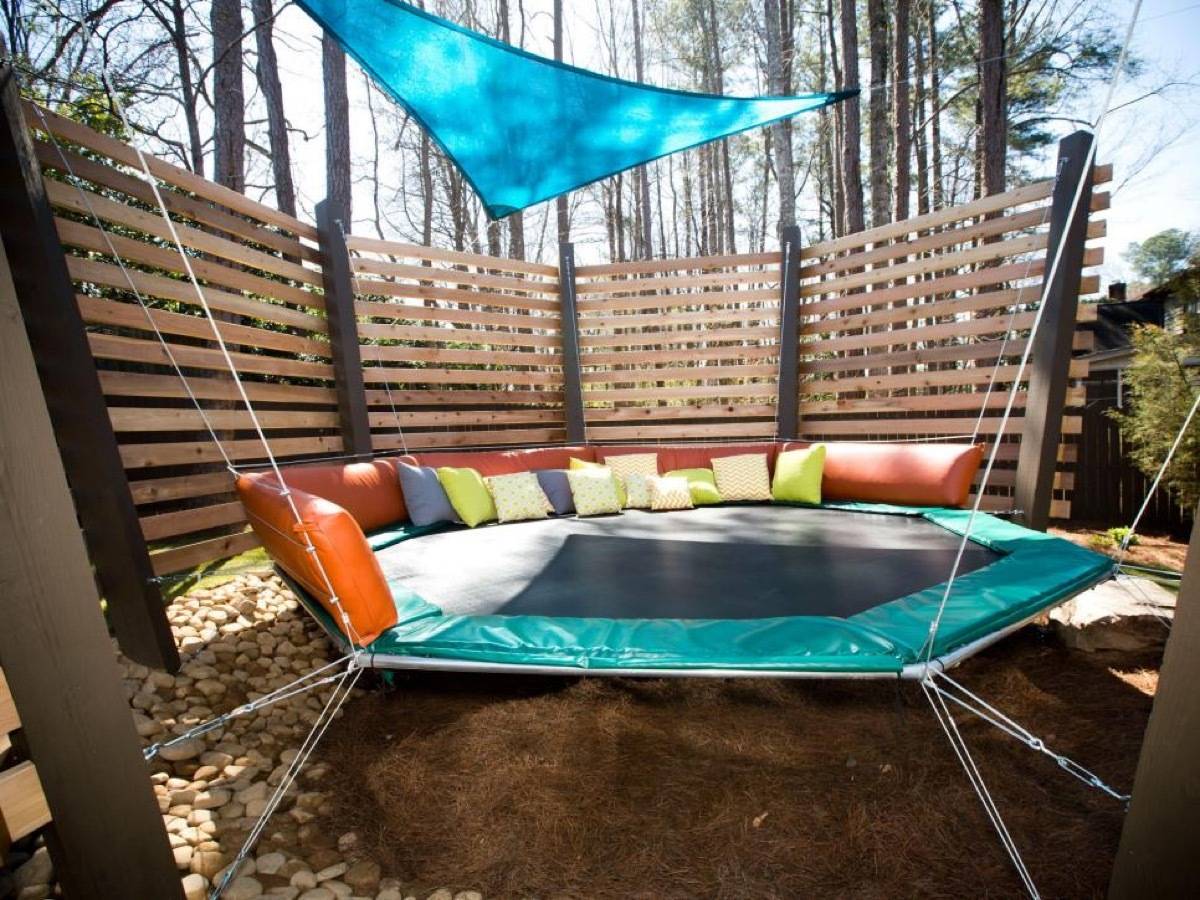
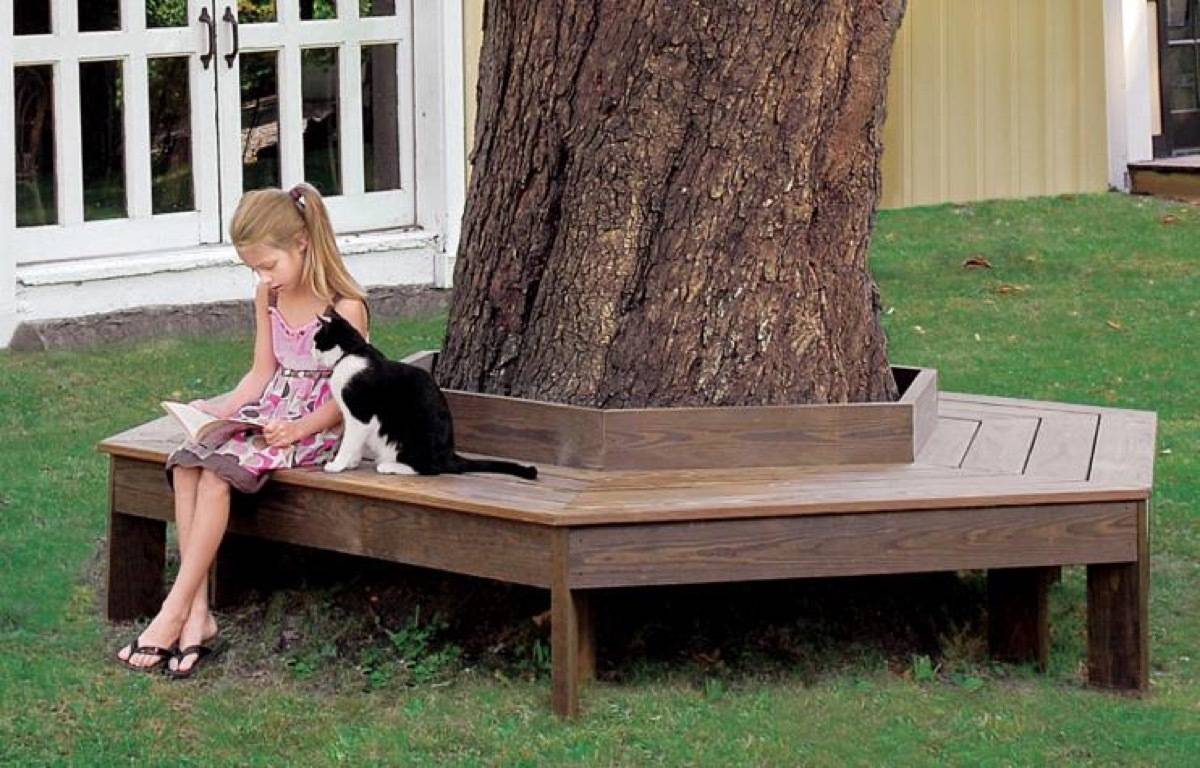
24. Get ready for DIY landscaping ideas straight out of childhood. Why not create a secret garden in your back yard? The 9-year-old in me is absolutely giddy over this idea.
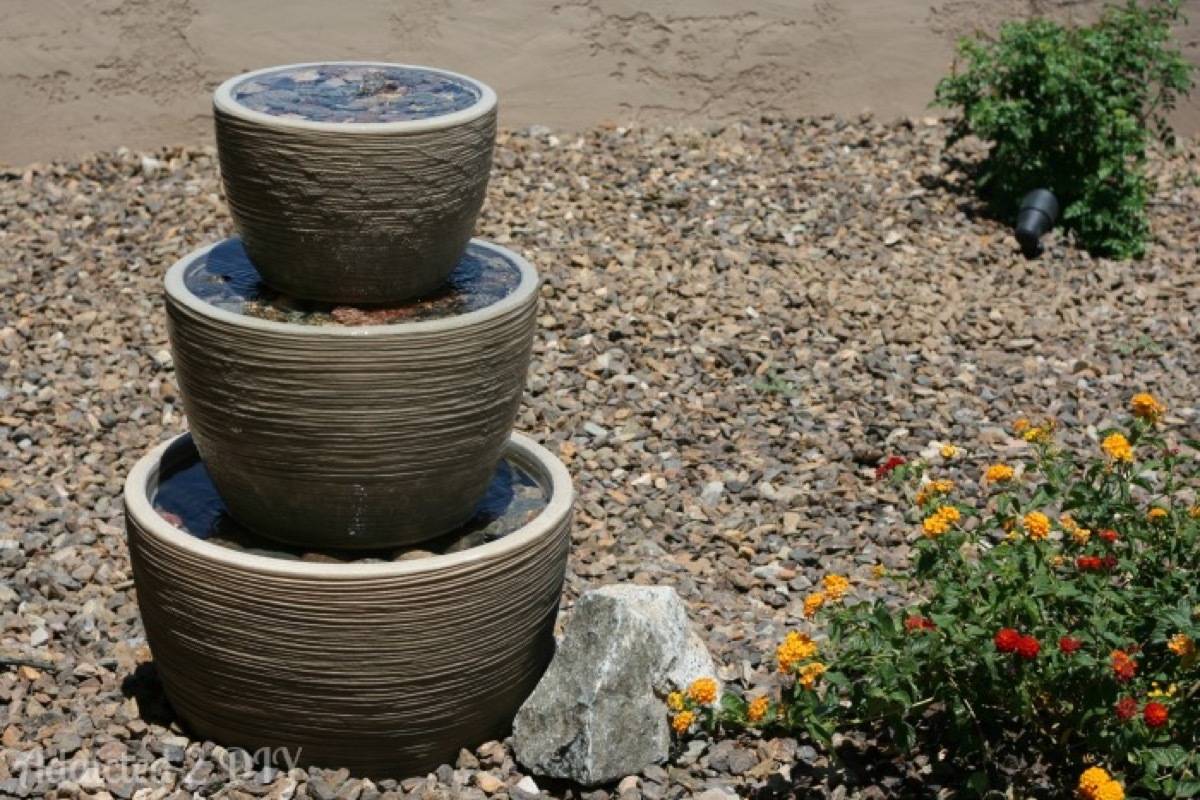
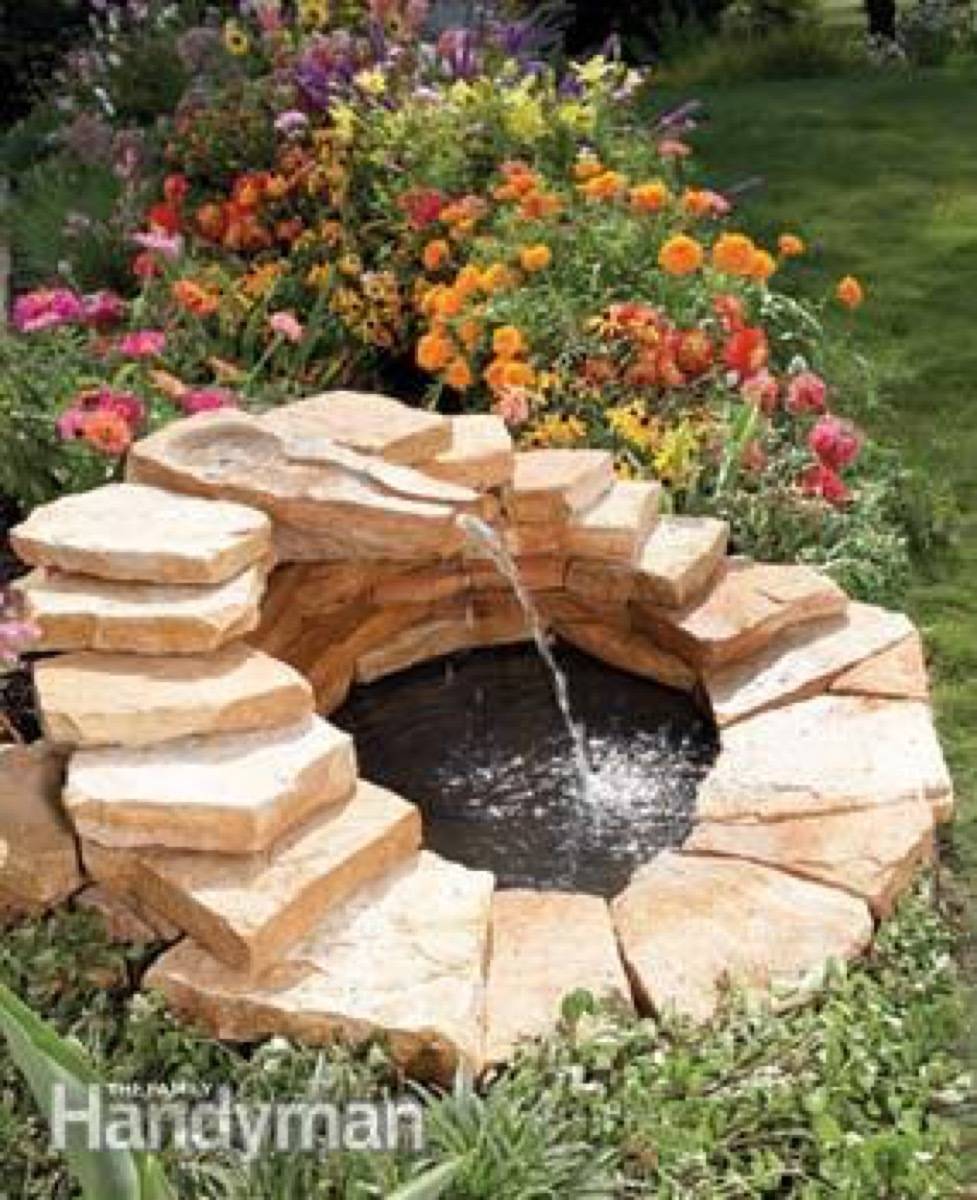
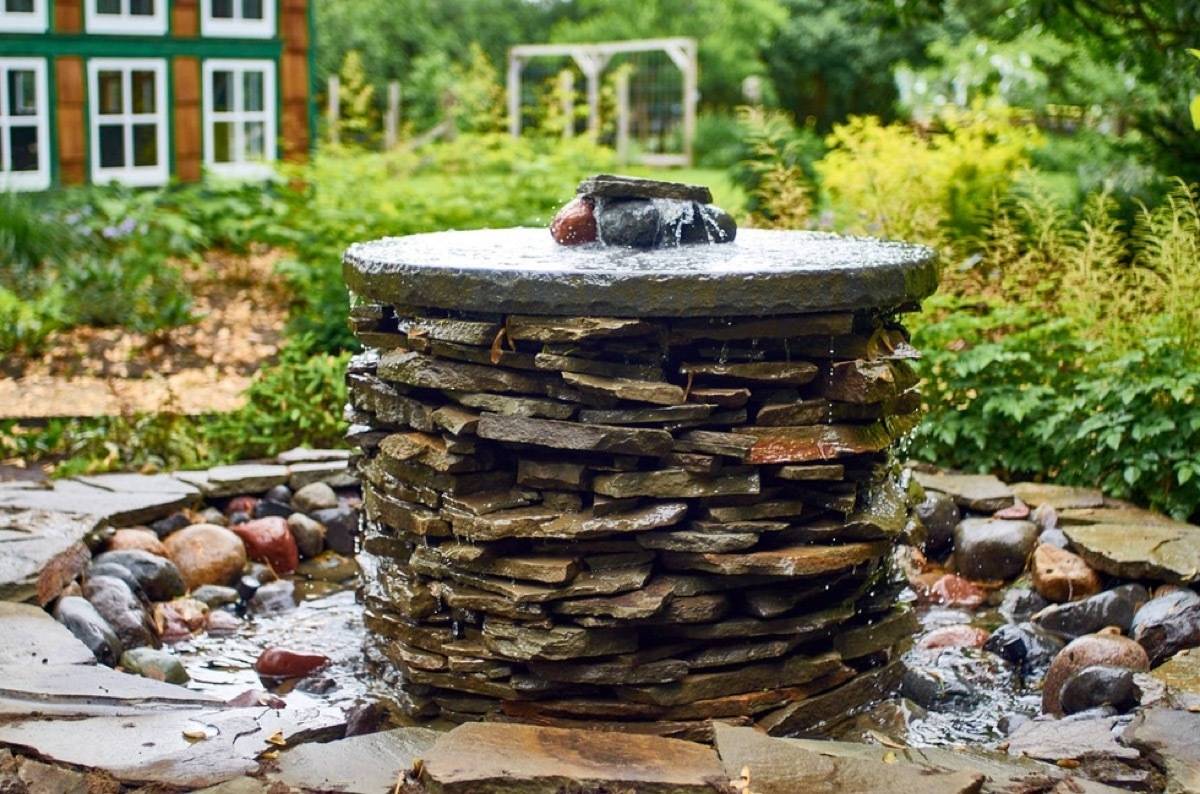
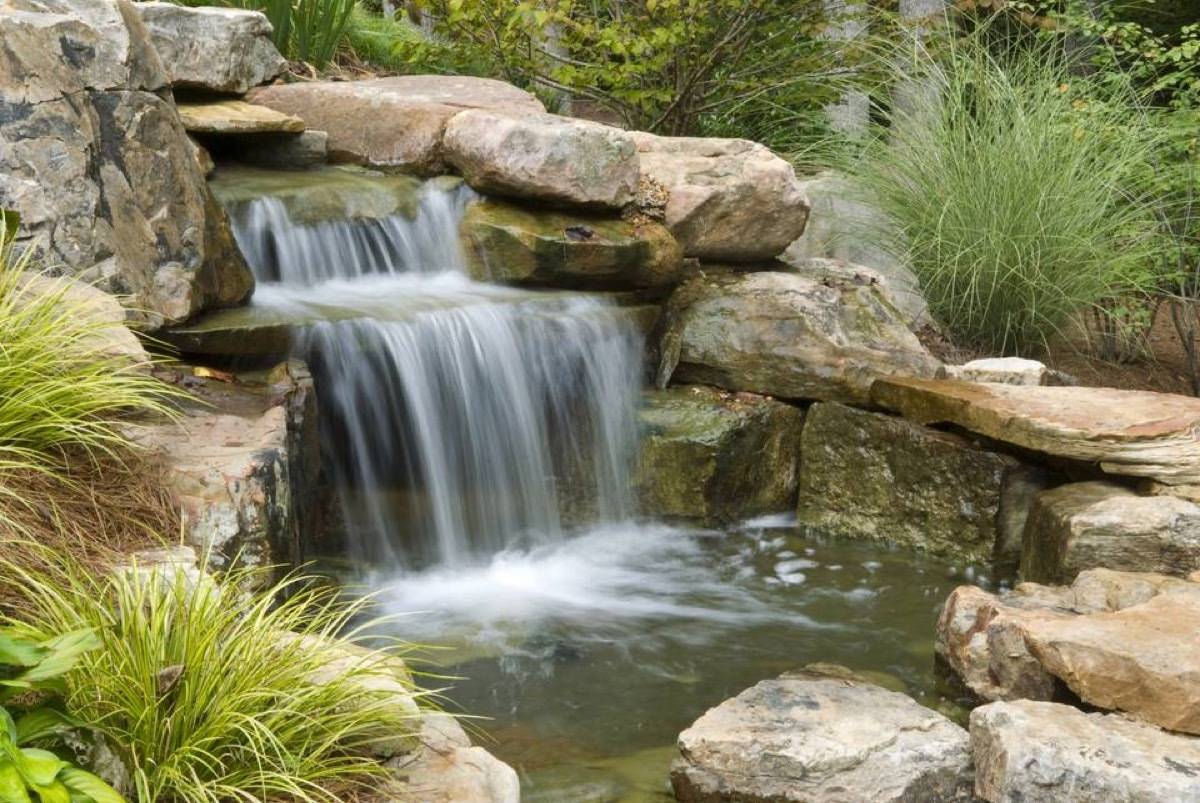
35. Stack ’em up! With a little extra effort, you can transform the previous project on this DIY landscaping ideas list into a multi-level water feature.
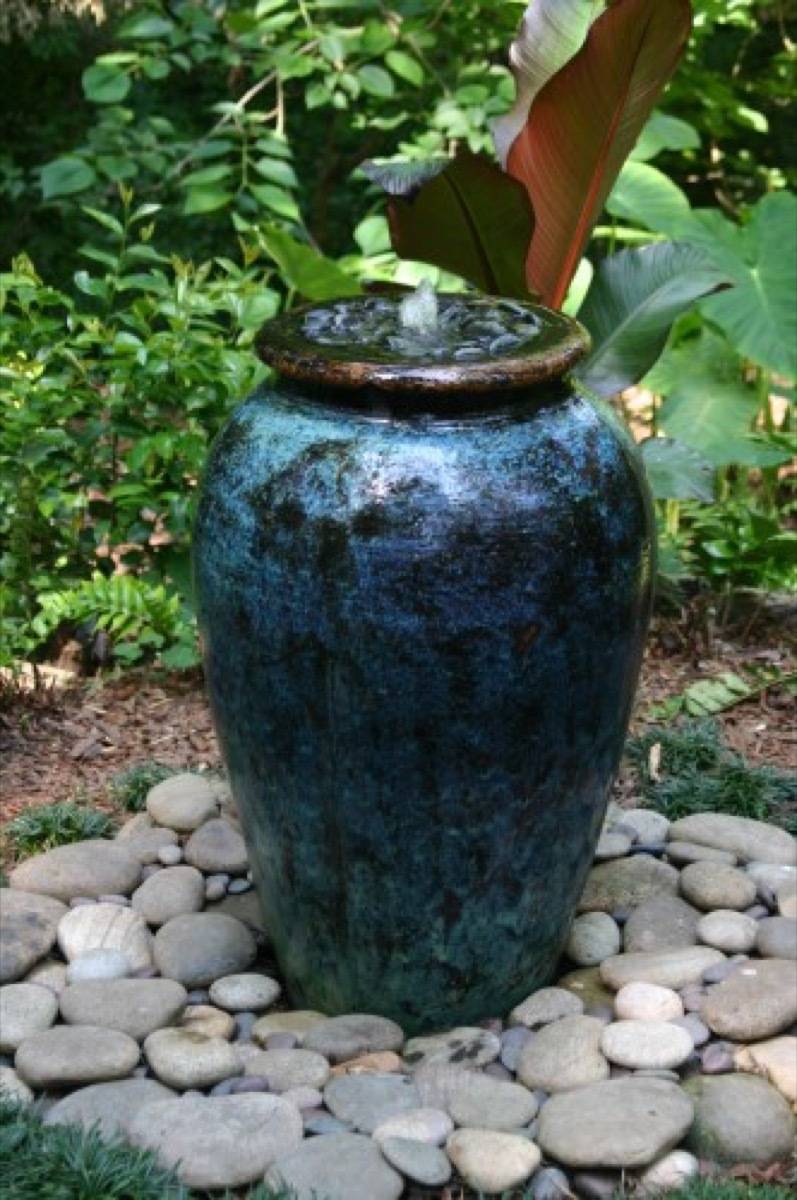
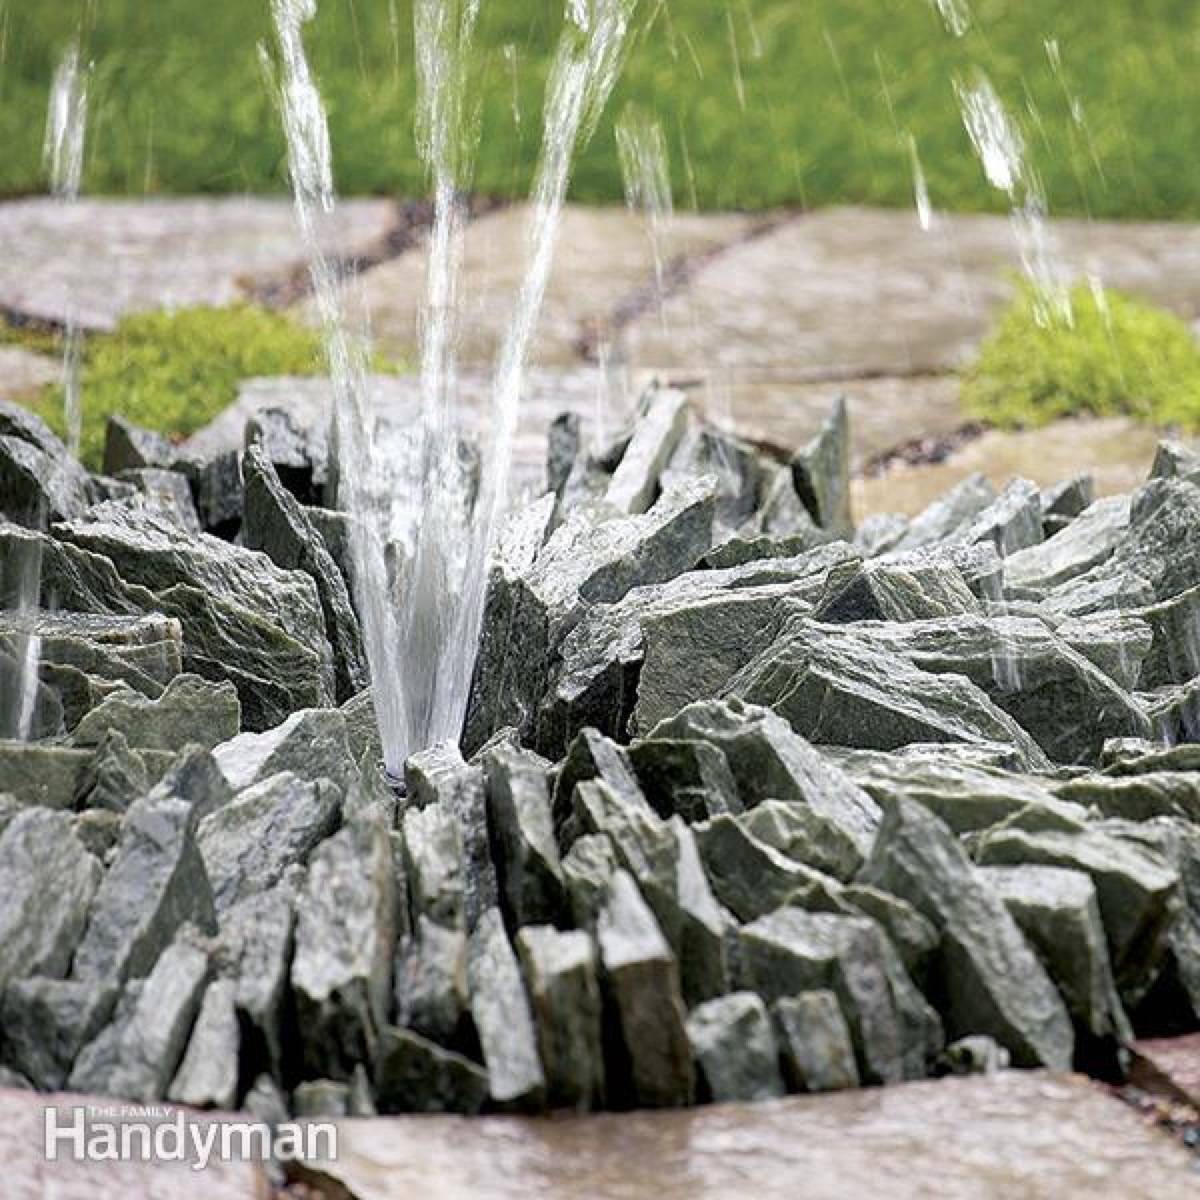
37. This is one of those DIY landscaping ideas that is going to require the help of a friend, but if you’re into drama, consider building a stone pond fountain.
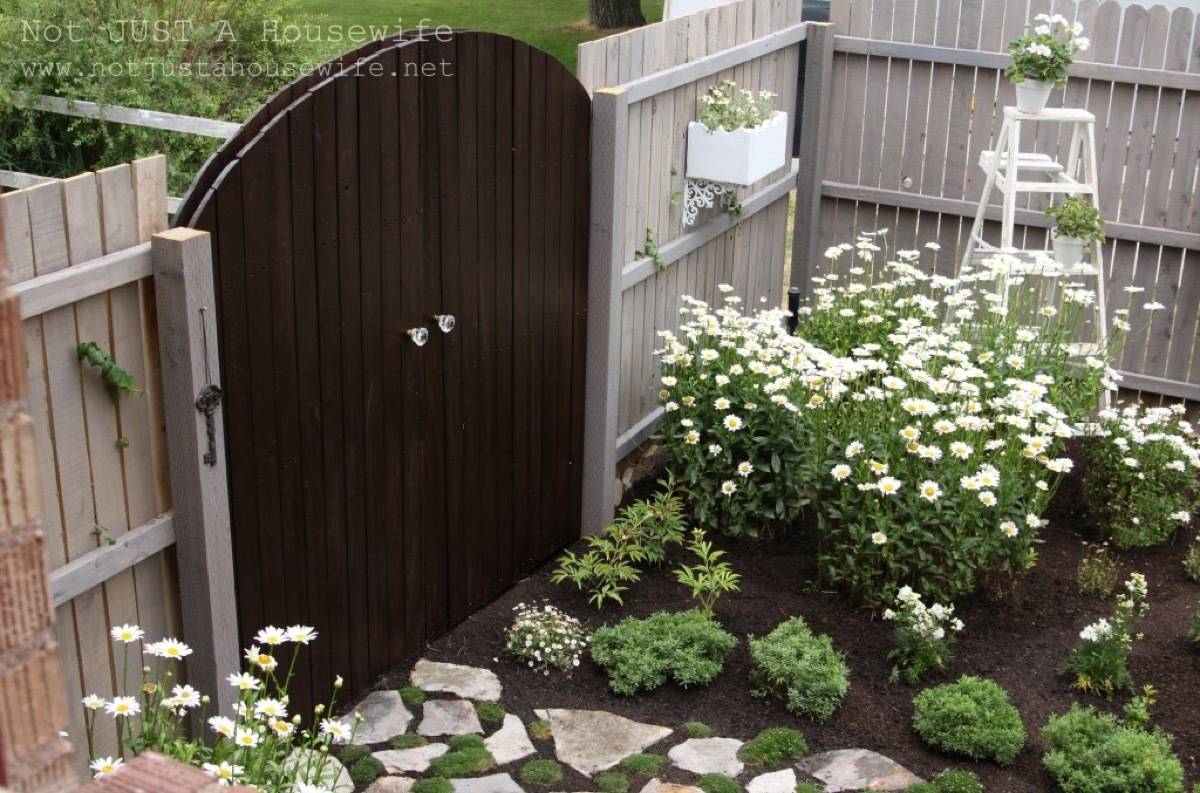
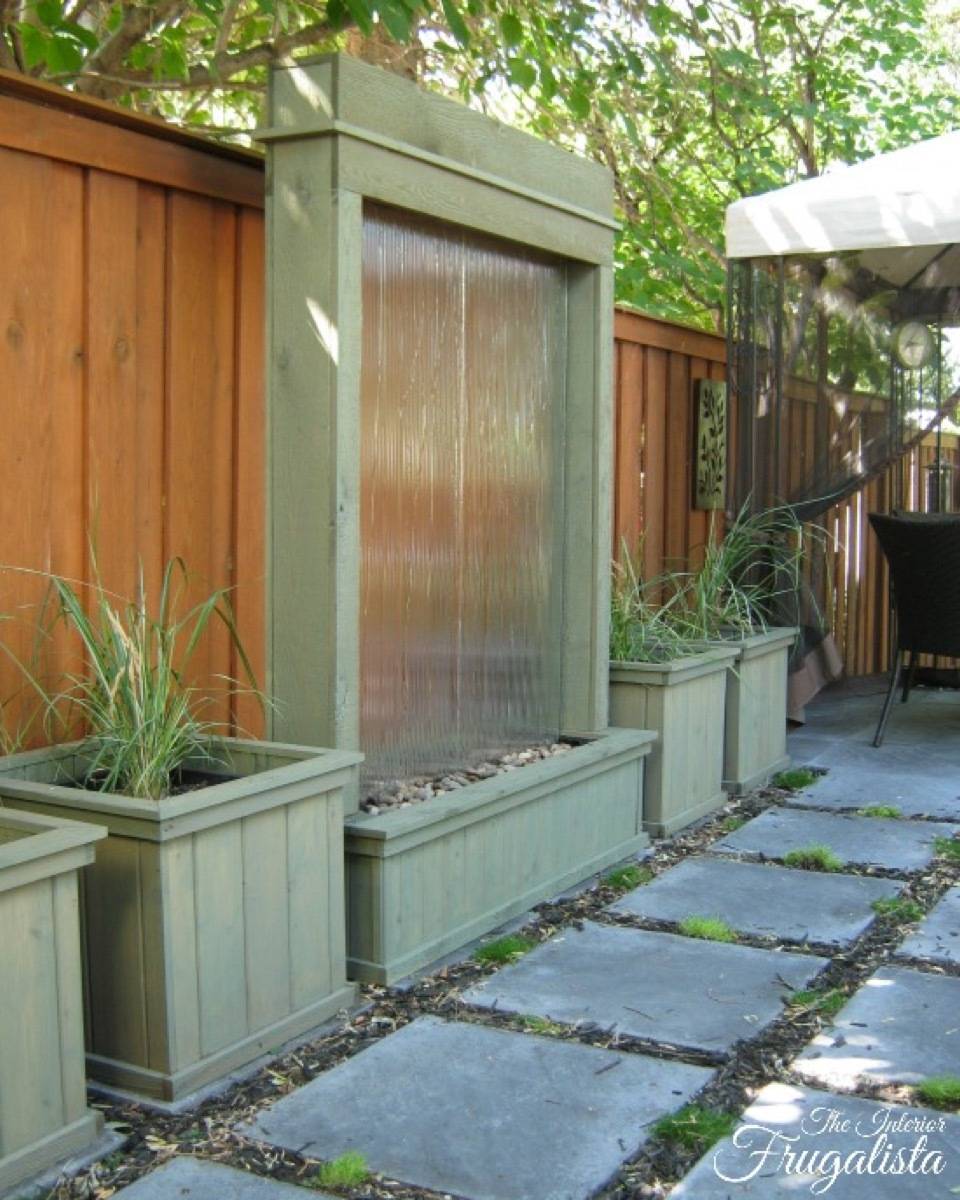
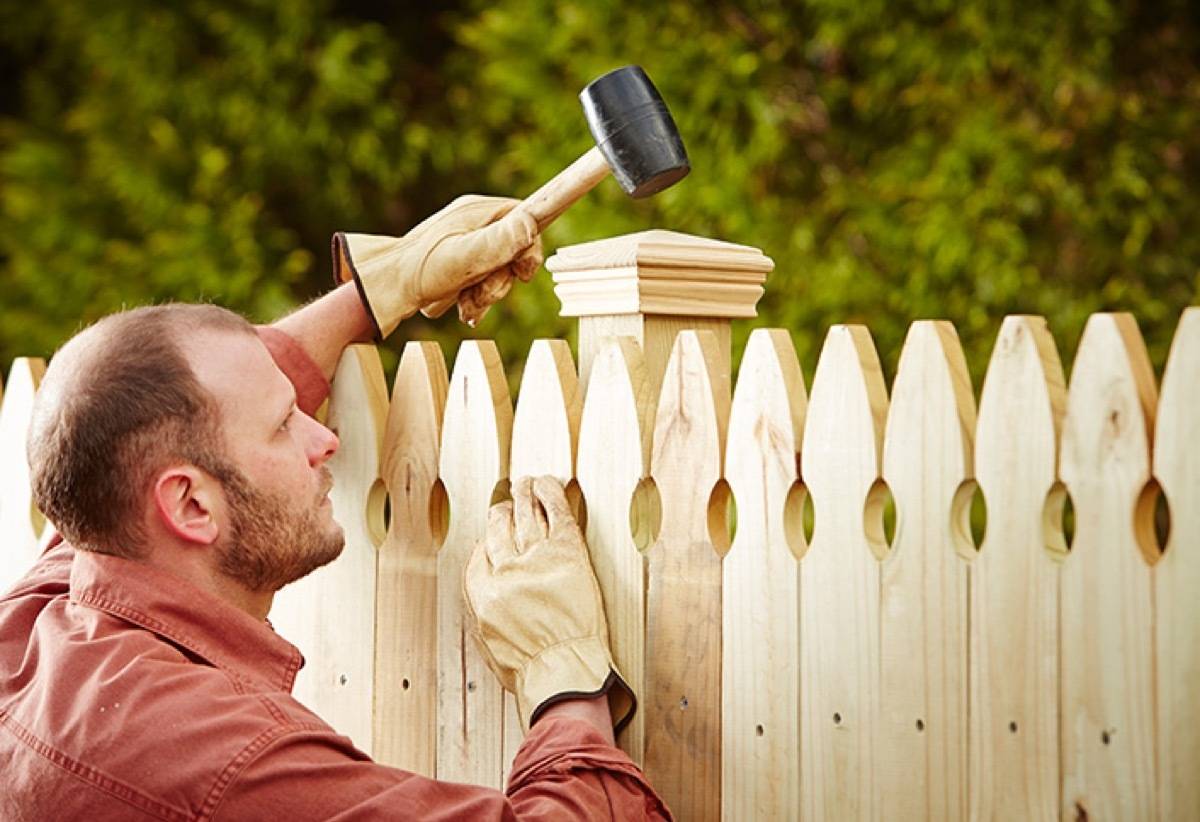
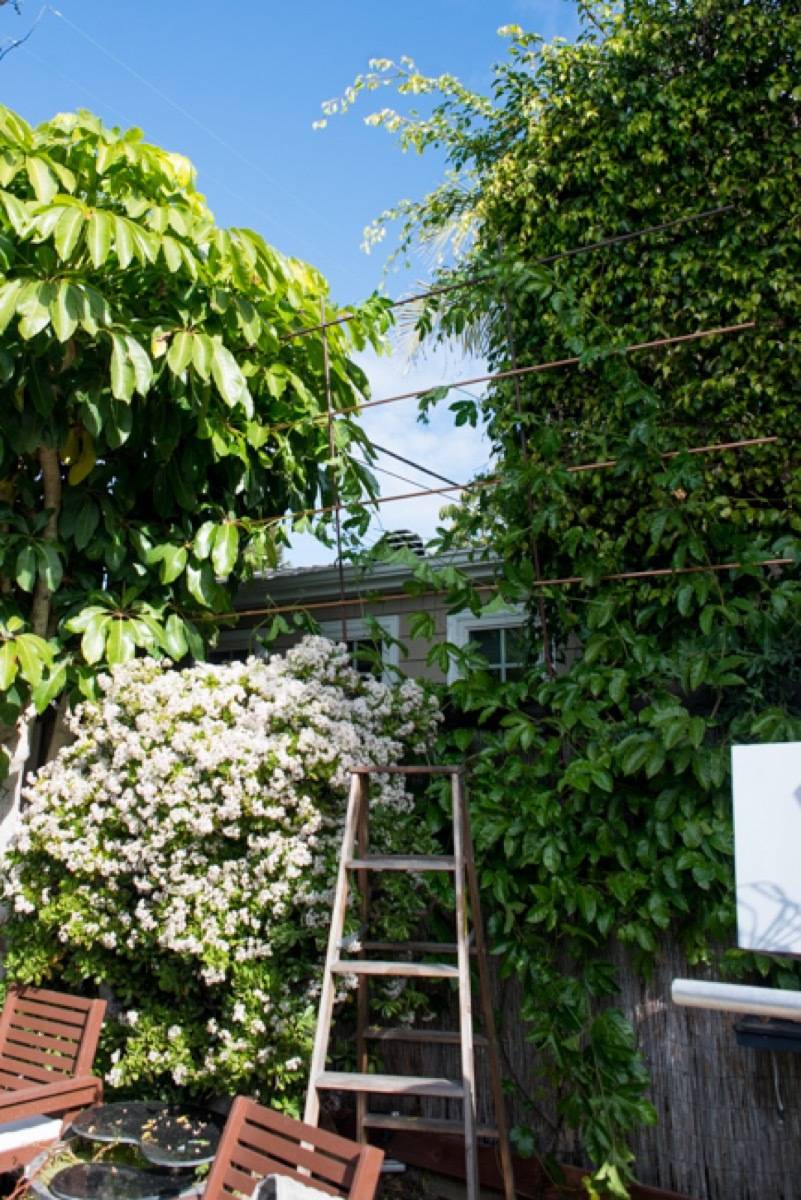
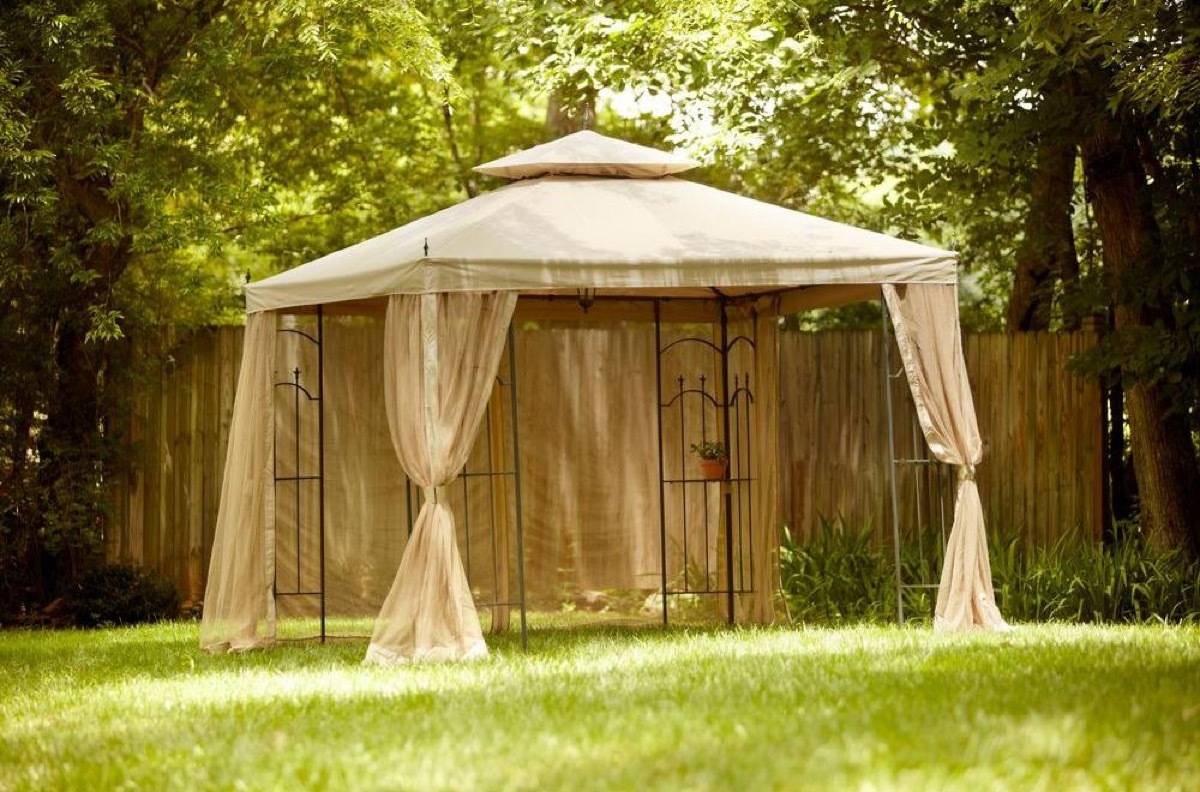
42. Nothing beats the backyard privacy of your own fence. Before you begin the building process, you’ll need to be sure of a few things: Verify your property line, check with your city or township about the limitations and height-restrictions of your fence, have someone from the city come and check for gas lines, and have a neighborly chat with anyone you’ll be sharing the fence line with.
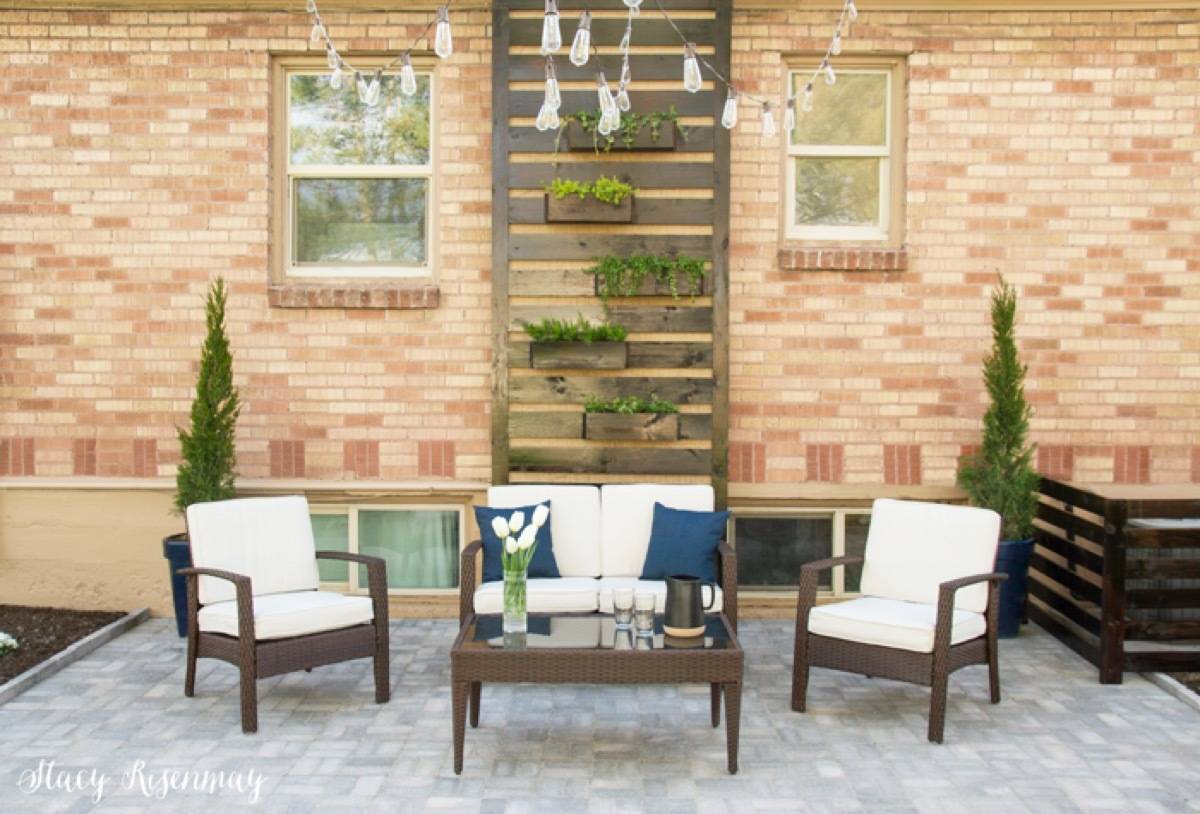
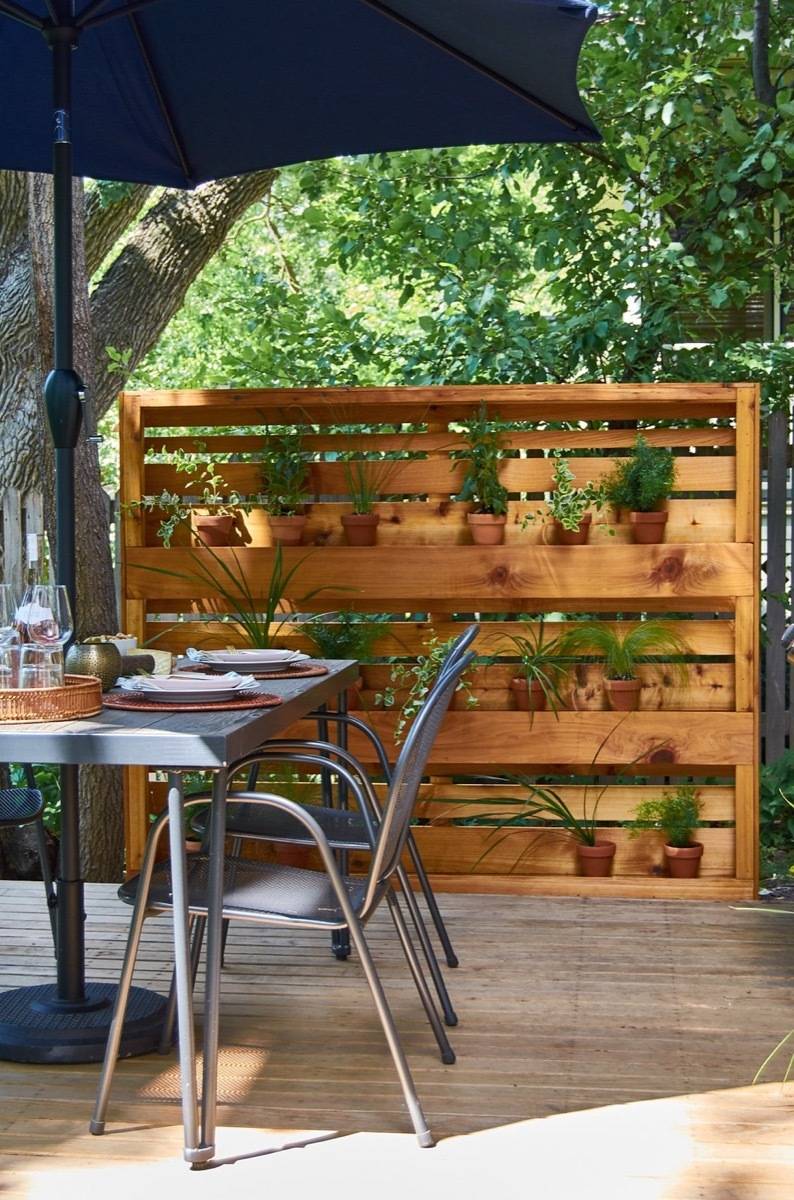
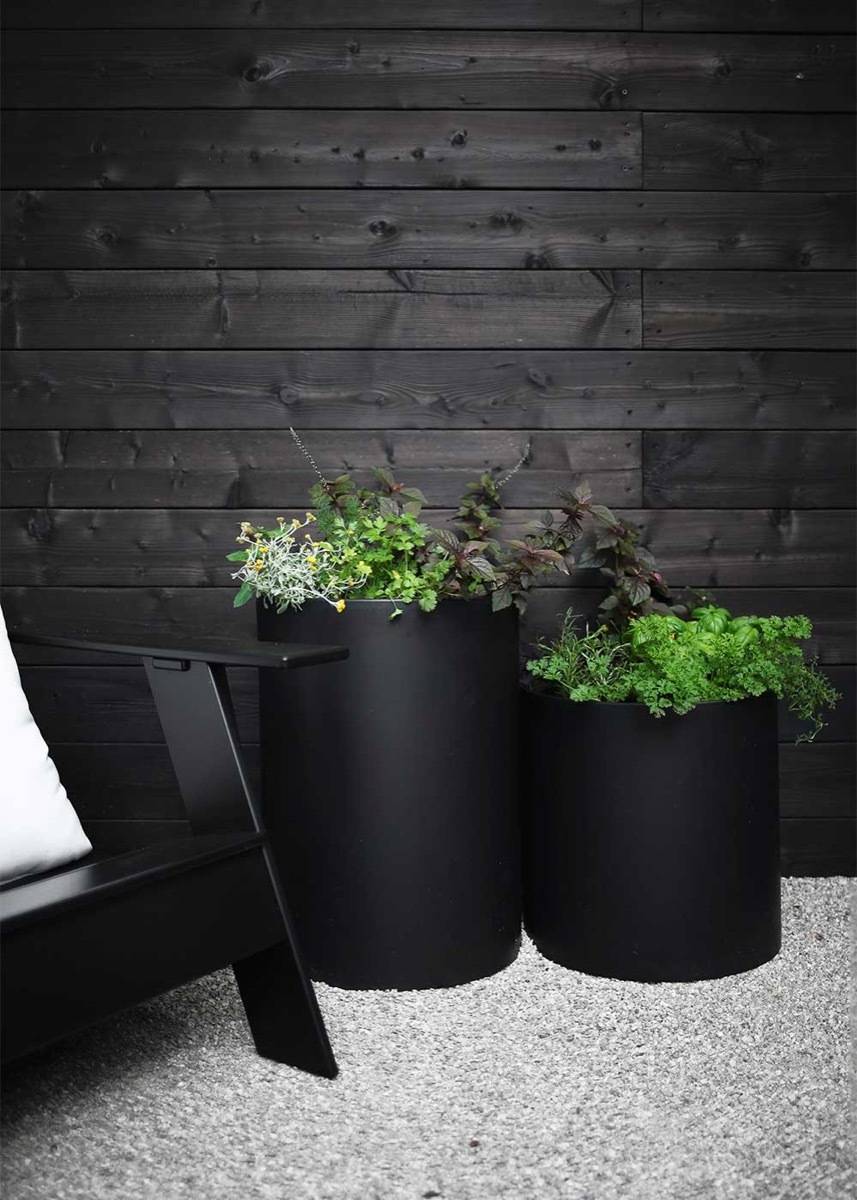
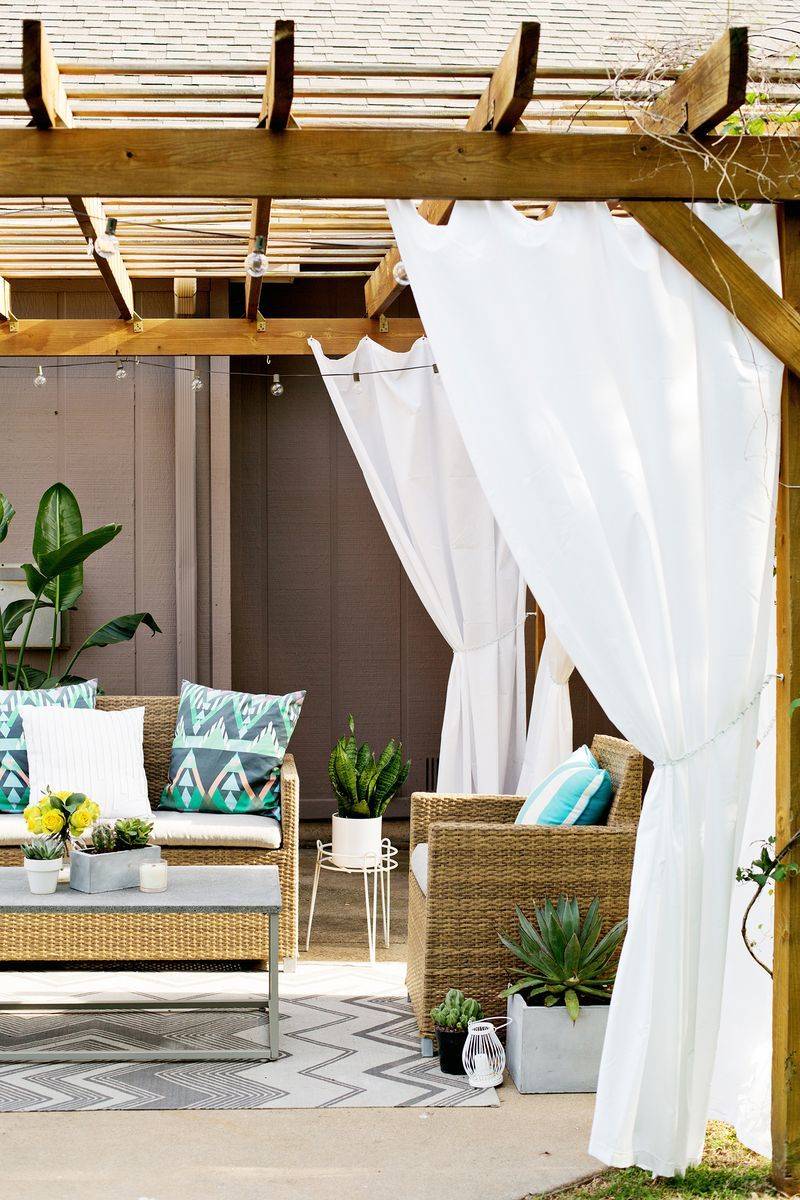
46. Transform your privacy wall using shou sugi – the process of burning wood, making it water-resistant. Side effect, the shou sugi treatment transforms wood to a beautiful, rich black color.
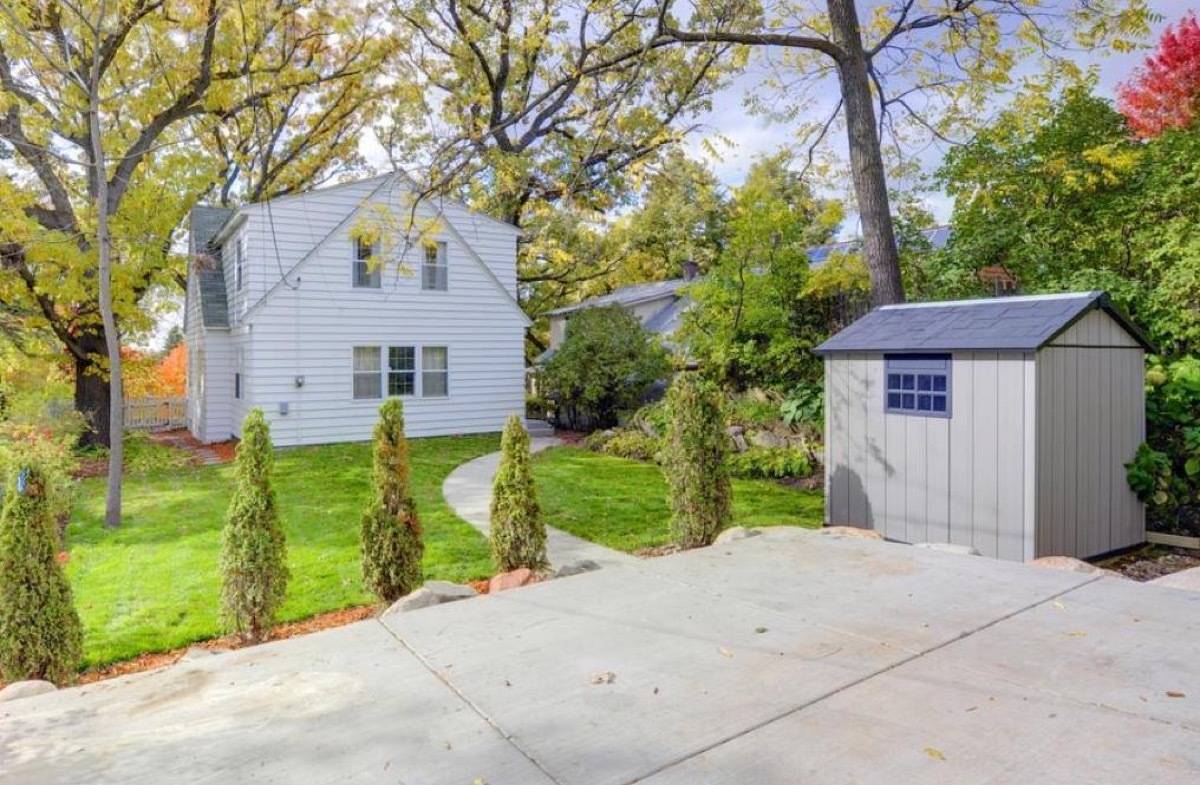
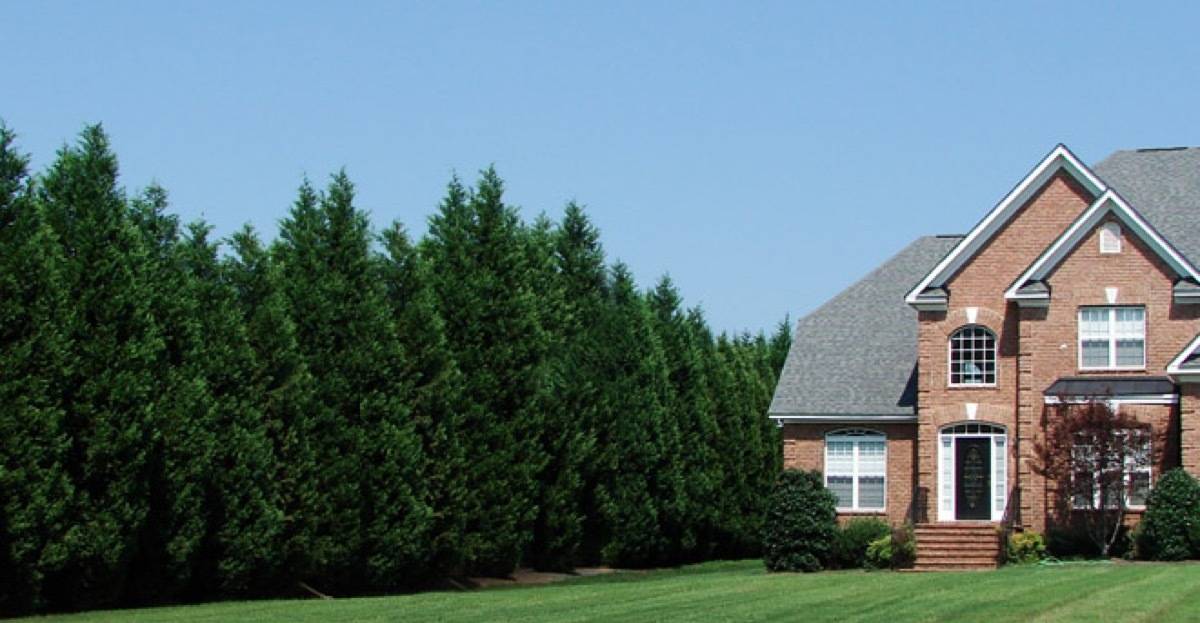
48. Need lots and lots of privacy? There are cheap trees you can buy that over time will block out the neighbors, like the inexpensive Leyland Cypress.
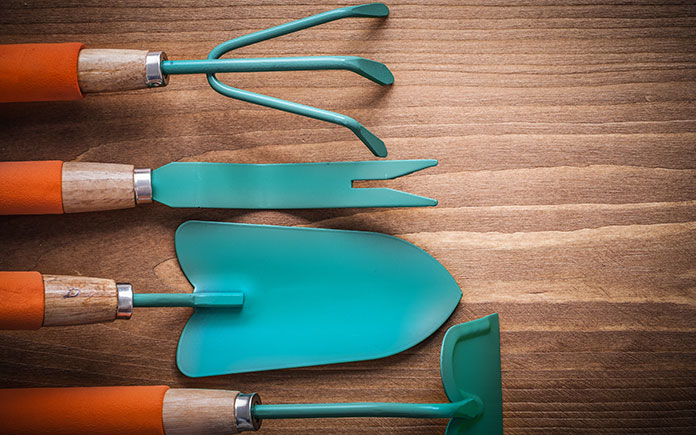
Gardening tools are essential not only for your safety and comfort but also for productivity. With the right tools in hand, you’ll be able to work more efficiently and effectively, yielding bigger and healthier harvests.
Sharp garden tools work more efficiently, effectively, and save you energy. (DepositPhotos)
As you move through this checklist of essential gardening tools, keep in mind that different products offer a wide selection of features, as well as varying degrees of quality.
How tall are you? Can you kneel to work? How large is your garden?
These are just a few questions to ask yourself as you move through all your options.
A good pair of gardening gloves will protect your hands from a number of hazards, including thorns, chemicals, and adverse weather conditions. They’ll also keep your hands and nails clean.
Choose gloves based on the task you’ll be performing — for instance, pruning roses and planting seeds make for two very different gardening experiences.
So, if you’re an avid gardener, you’ll want to have different pairs of gloves to tackle various jobs.
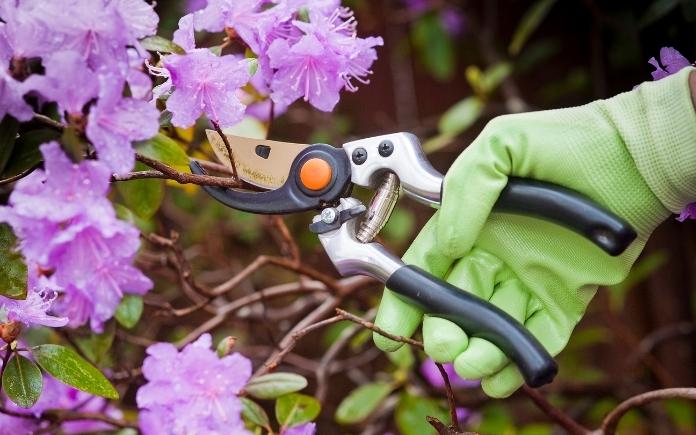
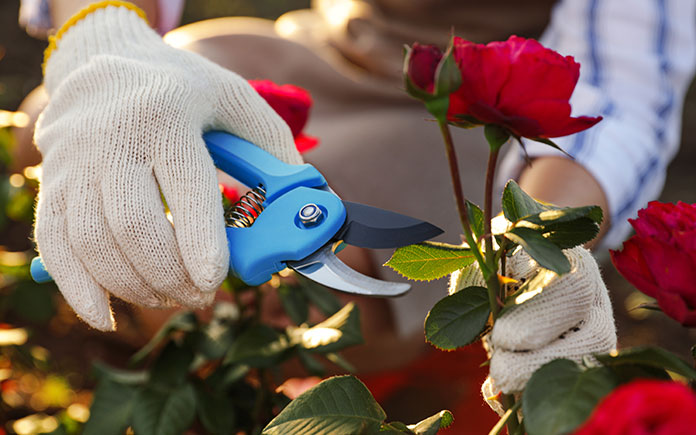
This handy gardening tool will prove invaluable for cutting smaller vines and branches. Even vegetable gardeners like to use pruning shears to harvest tomatoes, peppers, melons and other yields that don’t easily pop off the vine.
When choosing your pruning shears, make sure the grips are comfortable and the blades are sharp.
It takes just a few minutes to sharpen shears with grinders, files or sharpening stones. You just need to disassemble the tool, clean it, sharpen it, reassemble it, and clean the assembled tool for optimal performance.
And once you start using pruning shears, you might be surprised at how many miles you put on these handy little devices!
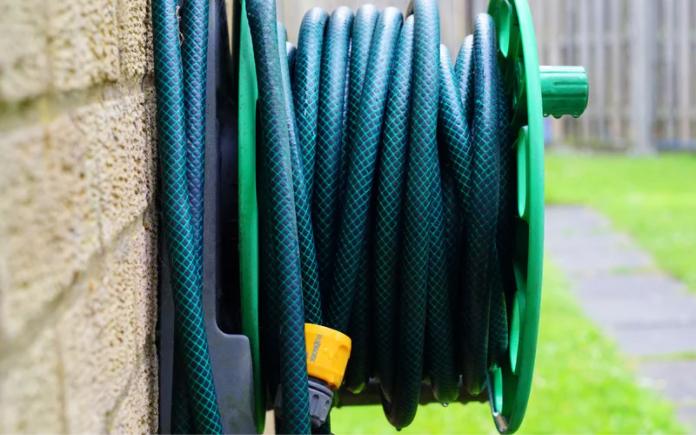
Everyone knows you need a garden hose, but did you also know some plants require a soaker hose?
3. Garden Hose
Your plants will need water — and unless you plan on hauling it in buckets, you’ll need a hose that reaches the farthest end of your garden.
Some plants, particularly perennials, don’t thrive with wet foliage, so you’ll also want a soaker hose, which slowly releases water so it soaks deeply into the soil.
Best of all? You can hide a soaker hose beneath your mulch and set it with a timer to turn on and off as needed.
A wheelbarrow is essential for moving around soil, plants and tools while gardening.
4. Wheelbarrow
Chances are you’ll need to move dirt, clippings, compost, rocks — and the tools listed in this article. A wheelbarrow (or a garden cart or sled) will come in handy. Choose one that feels sturdy and balanced.
Pro Tips:
• Replace the wheelbarrow’s tire with a solid, universal tire that’s not inflated with air and can never go flat.
• Before you load up a wheelbarrow, point it toward the direction of travel. This will prevent you from pivoting with a heavy load
If you’re removing vines and branches, you’ll need garden shears.
5. Garden Shears
Lawn/shrub/garden shears, which are larger than pruning shears, are designed to trim shrubs and cut larger vines and branches. Choose a model that’s sturdy, yet light enough to be ergonomic.
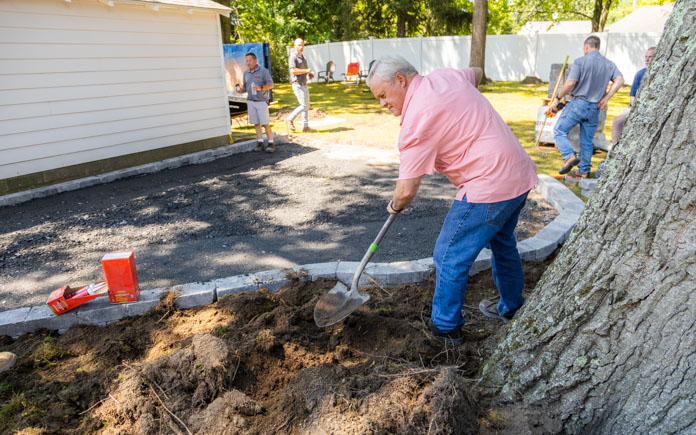
Whether you’re digging trenches or transplanting seedlings, one thing is certain: You’re going to need a shovel.
6. Shovel
Whether you’re digging out old shrubs, root balls or rocks, transplanting seedlings or filling a bed with soil or mulch, you’ll need a shovel or spade.
Choose one with a sharp edge, comfortable handle and a shaft that’s the right height for you.
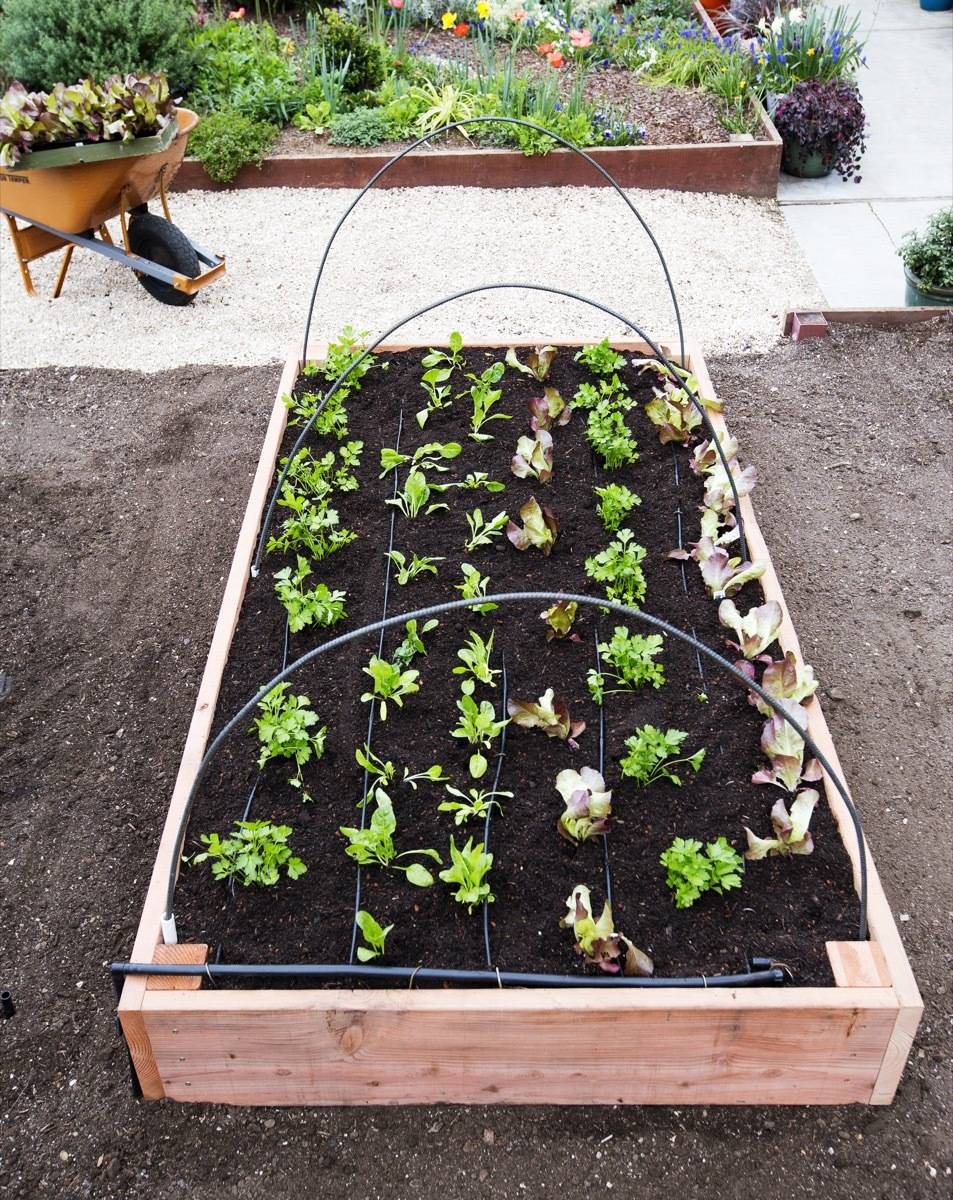
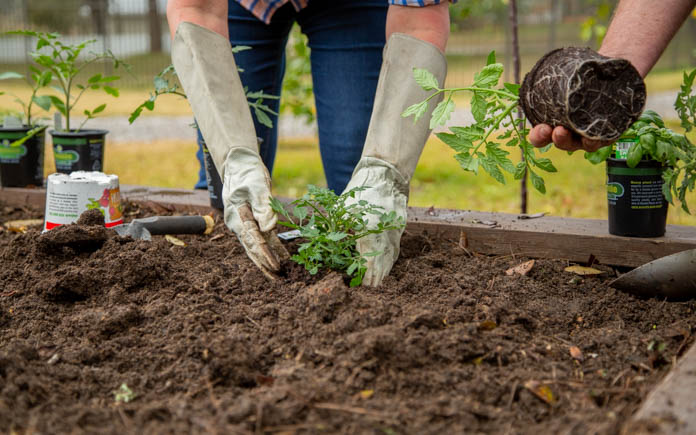
Carving out holes for plants in a raised garden bed? You don’t need a big tool — do it with a hand trowel!
7. Hand Trowel
This is much like a shovel, but it’s small enough to fit in one hand. Select a hand trowel that feels good in your grip, with a steady blade that won’t bend. Then use it to carve out holes for small plants, dig up weeds and extract plants for overwintering.
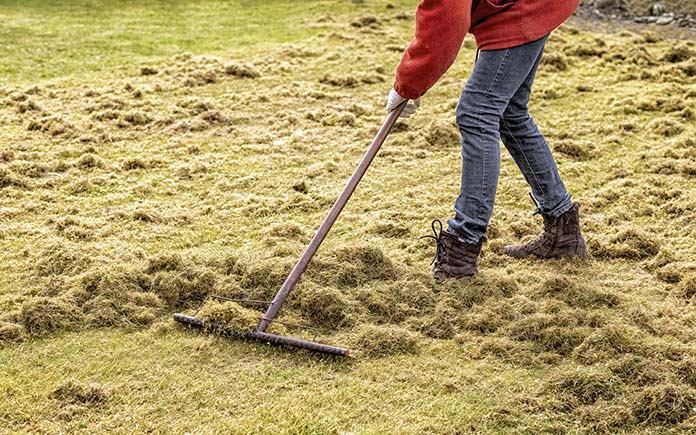
Whether you need to smooth out soil after it’s been tilled, comb rocks from the dirt or level out mulch, a garden rake with metal tines is a necessity.
You may need multiple rakes, depending on your lawn and garden’s needs. The three most common options are bow, leaf and shrub rakes.
Bow rakes help with smoothing out soil in a garden; leaf rakes are perfect for gathering leaves or pine straw; and small shrub rakes come in handy for placing mulch in tight spaces.
Pro Tip: Rake leaves fast with a tarp and two wooden dowels that make it easy to transport piles of leaves to a garbage can.
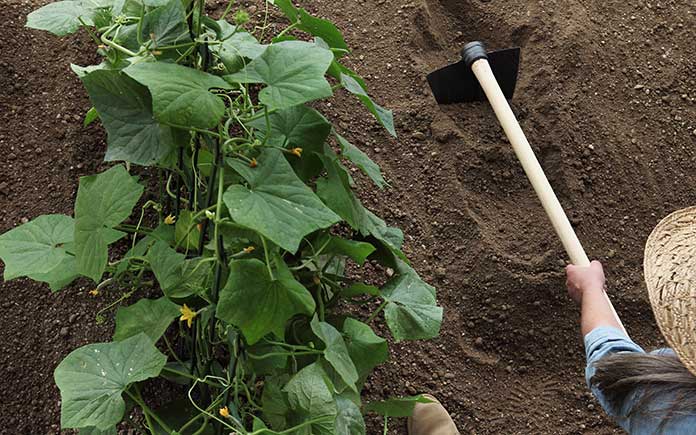
When it’s time to create furrows, plant seeds, mound up soil and dig weeds or root vegetables, a garden hoe is the tool you’ll need.
Choosing the right garden hoe will require a bit of research. If eliminating weeds is at the top of your list, a scuffle hoe, swoe or serpentine hoe might be the best choice.
For planting seeds, go with a warren hoe; and for tougher jobs that require more earth-moving, the draw hoe will be your multi-purpose friend.
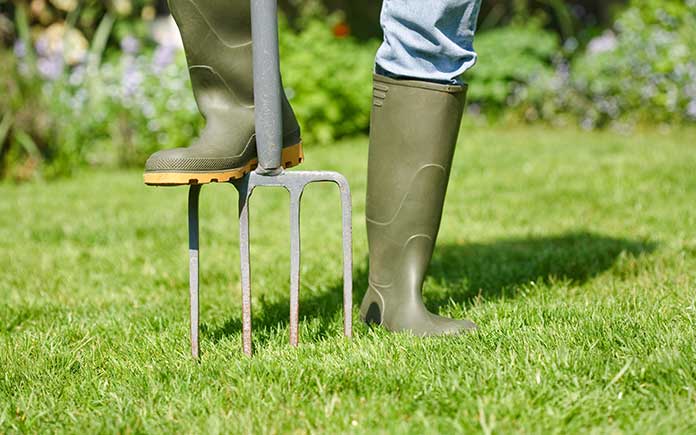
Need to aerate your lawn? If you don’t have a machine to do it, a simple garden fork works, too!(DepositPhotos)
10. Garden Fork
This tool is great for breaking up compacted soil. Choose a garden fork with sturdy tines that won’t bend if you hit a rock. If you plan to move mulch or compost, pick one with curved tines so you can use it as a shovel.
Having the right gardening tools helps you to take better care of your lawn and garden.
When you have just the right gardening tool for every job, you will move quickly through tasks, your garden will look beautiful, and you’ll be better equipped to care for plants.
Choose tools that will work best for you and your garden, but also those you can expect to last for years to come.
And remember: Inexpensive tools might seem attractive at first, but nothing beats reliability and longevity.
Barb Abrahms is the CEO and co-founder of PalmFlex. Abrahms has over 20 years of experience consulting her team and customers on their ideal personal protective equipment needs for a variety of industries and applications.
To keep your garden or yard green and full of life, test your soil’s pH valueto ensure it will meet your plants’ needs.
The pH value affects how easily plants can absorb nutrients and chemicals in the soil’s water. Some nutrients are more available under acidic conditions; others require more alkaline.
You should test a soil sample at least once every three years or when you want to change your landscaping.
You can buy a soil test kit at the home center, or check your soil’s condition with this basic DIY test.
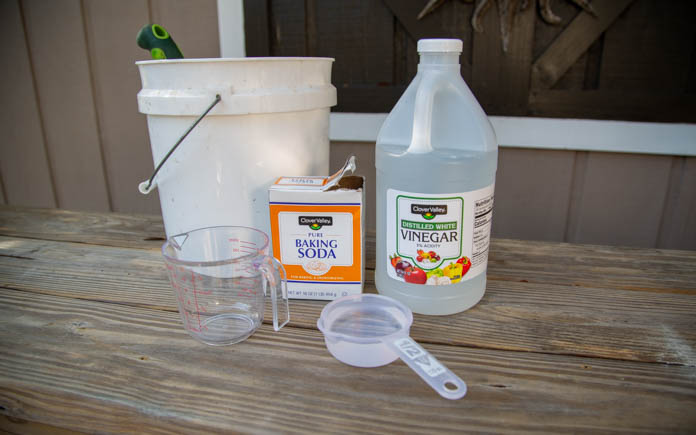
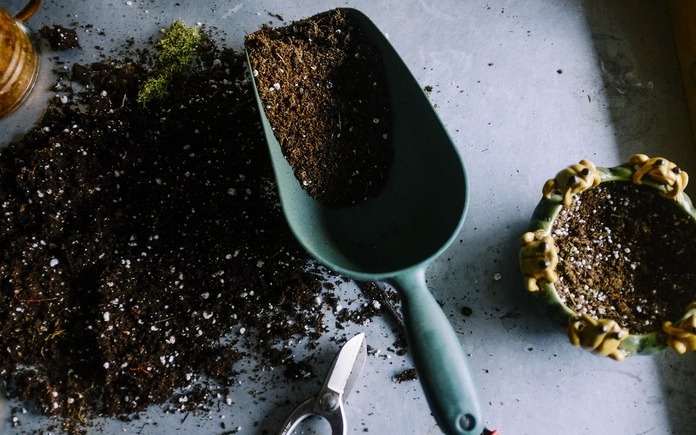
Gather these household items for a simple soil pH test.
Simple Soil pH Test
For this simple soil pH test, all you need is baking soda, vinegar, water, a container, a measuring cup and, of course, a sample of your soil!
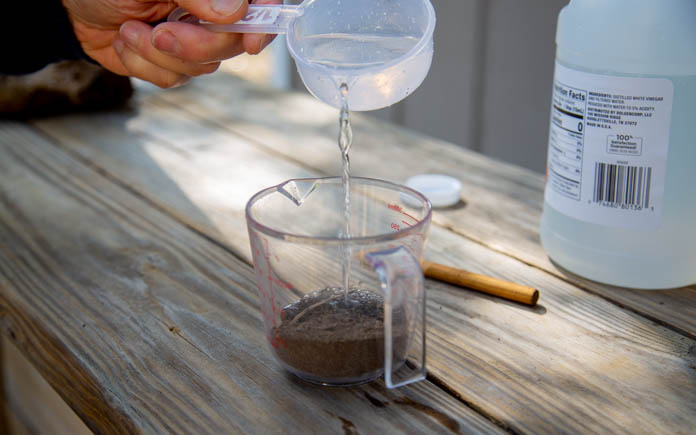
Vinegar causes a reaction in alkaline soil.
Testing for Alkalinity
Place a handful of soil into a clean container.
Add ½ cup of white vinegar.
If the soil starts to fizz, it’s likely high in alkaline.
If the test proves the soil’s alkalinity, amend the soil with sulfur or pine needles.
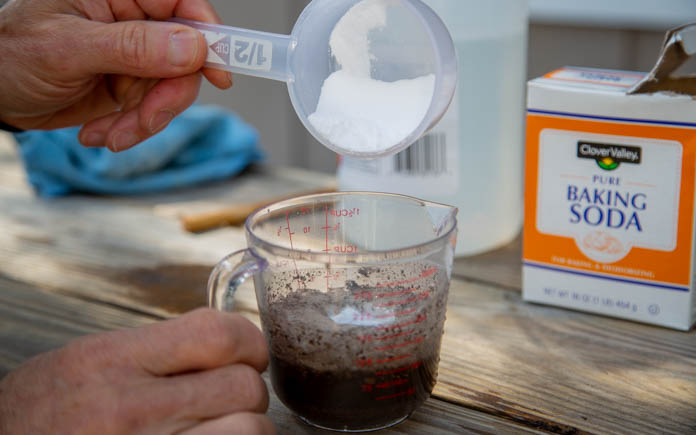
Baking soda causes a reaction in acidic soil.
Testing for Acidity
If there is no reaction in the vinegar test, take a second container and add fresh soil.
Pour ½ cup of water into the container, mix well, and add ½ cup of baking soda.
If the soil begins fizzing, the soil is likely acidic.
If there’s no reaction to either test, the soil has a neutral pH and it’s fine.
If the soil is acidic, amend it with pulverized lime or wood ash.
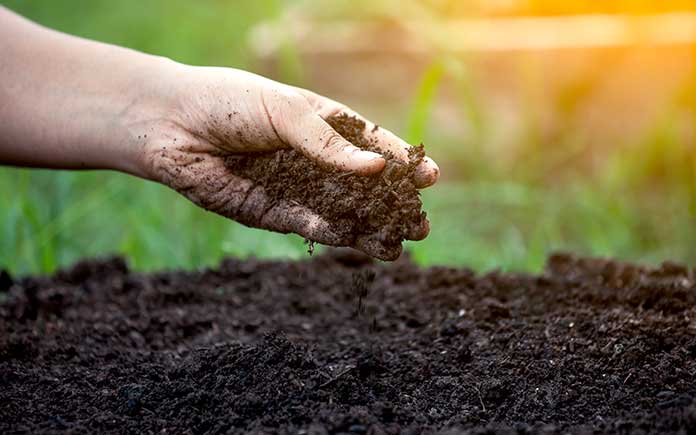
Test soil and make sure it has good drainage before you plant anything.
How to Make Acidic Soil More Alkaline
Acidic soil has a lower pH value. If you need to increase the soil pH, add lime in the form of calcium carbonate or dolomite (calcium and magnesium carbonate), according to the Mississippi State University Extension.
Some homeowners prefer the pellet form of lime over agricultural limestone because it is easier to apply with broadcast spreaders. It’s also not dusty and can be evenly distributed without wind affecting it.
Apply lime before planting so you can thoroughly incorporate it and have time — several months — to increase the soil pH.
MSU does not recommend using hydrated lime because it can easily burn plants. Applying too much lime can reduce nutrient availability, especially micronutrients like iron, manganese and zinc.
How to Make Alkaline Soil More Acidic
Alkaline soil has a higher pH value. If you need to decrease the soil pH, add elemental sulfur several months before planting, according to MUS’s Extension. It’s slow-acting but effective.
If you add elemental sulfur to established plants, water the soil immediately to avoid burning shallow roots. Once the correct pH is established, the sulfur remains effective for years.
Here’s what else you should know, according to MSU’s Extension:
Iron sulfate decreases soil pH and is faster-acting than elemental sulfur. But you need more iron sulfate than elemental sulfur to achieve the same pH change. Follow the label instructions carefully because too much iron sulfate can burn shallow plant roots.
You can also use ammonium sulfate to decrease soil pH, and it is less likely to burn shallow plant roots.
If you want to produce blue blossoms on your mophead hydrangeas, use aluminum sulfate to lower the pH while adding aluminum. Aluminum, together with a low pH, produces a blue color.
Except for blue hydrangea, don’t use aluminum sulfate as a soil acidifying amendment because of the potential for aluminum toxicity to plant roots.
In her spare time, Nicoletta loves marathoning the latest Netflix show, doing at-home workouts, and nurturing her plant babies. Her work has appeared in Women’s Health, AFAR, Tasting Table, and Travel + Leisure, among others. A graduate from Fairfield University, Nicoletta majored in English and minored in Art History and Anthropology, and she not-so-secretly dreams of exploring her family lineage in Greece one day.