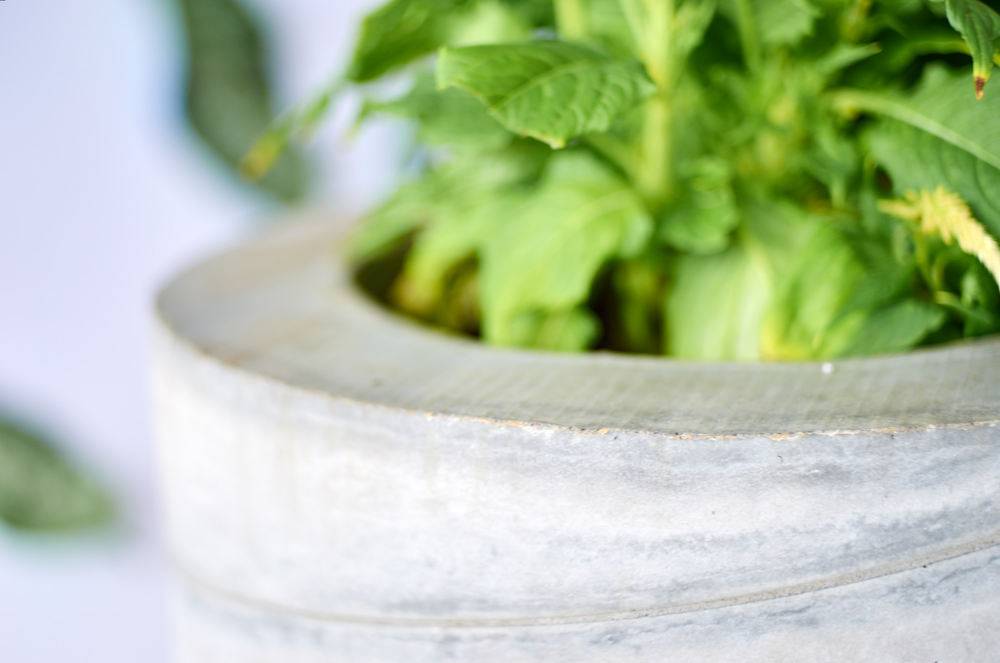
This tutorial will guide you through all the steps to making your own, large-scale DIY concrete planters at home.
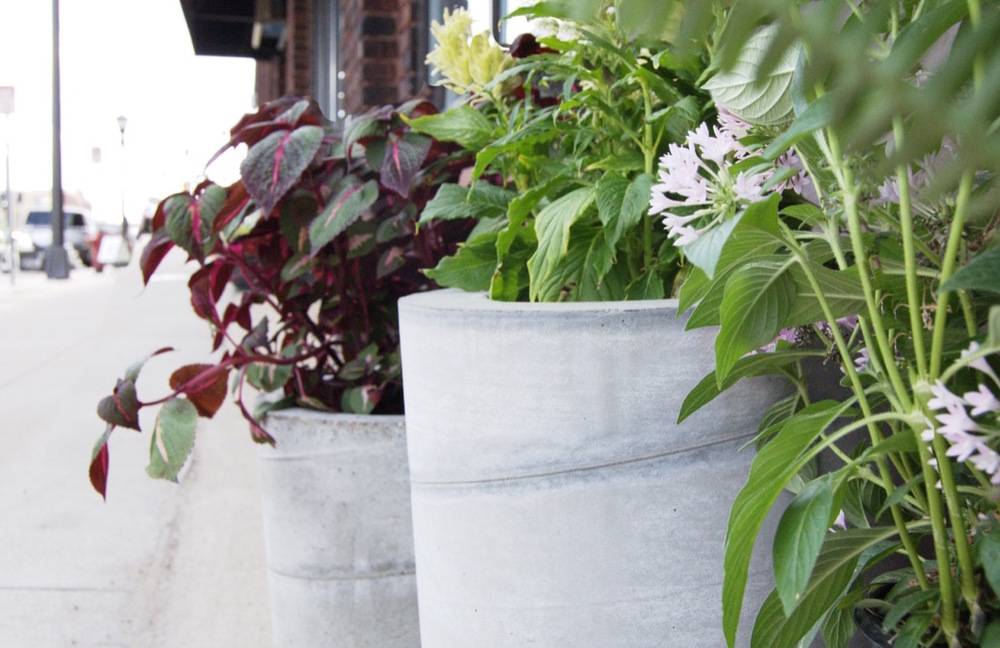
This summer, we moved into a new studio space on a bustling avenue that cuts right through the heart of St. Paul and Minneapolis. We love it; our huge floor-to-ceiling-windows look out into the sun-filled street and sidewalks where we can watch the light-rail trains go rolling by. But the people looking back at us don’t have as much to look at; our storefront is still looking a little shabby and unloved. So we decided to start out office transformation from the outside in: with a few large-scale DIY concrete planters.
Ahh… concrete. It’s kind of a miracle substance. Look around, and you’ll start to notice that practically everything is made of concrete. It’s strong, durable, infinitely moldable, easy to work with, and looks oh so sharp!
We partnered with Quikrete for this project, so we wanted to try out their countertop concrete mix, which has an additive that lets the mixed concrete flow and consolidate better at a lower water-to-cement ratio. It’s great for, duh, countertops, but also any other concrete project where you want a really nice finish.
For this project, we wanted to build some planters that were large and impressive. They’re going to go out on the street in front of our office, where lots of people will see them. And we didn’t want to just go to the big box hardware store and buy a few faux Tuscan jobs; where’s the fun in that?! This is a DIY site, and it wouldn’t do to have some generic store-bought planters sitting in front of our HQ.
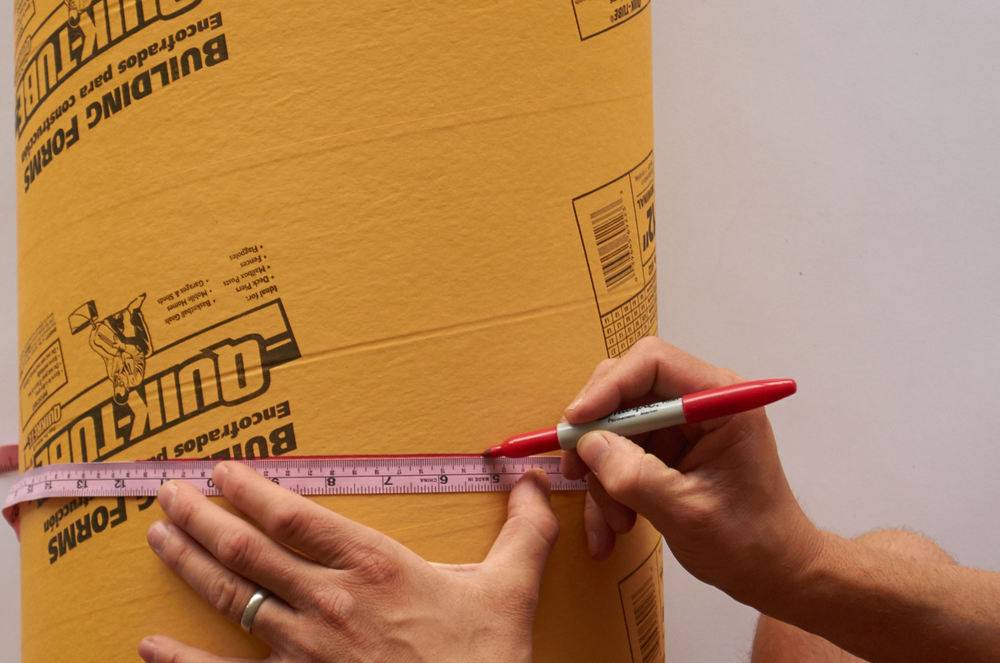
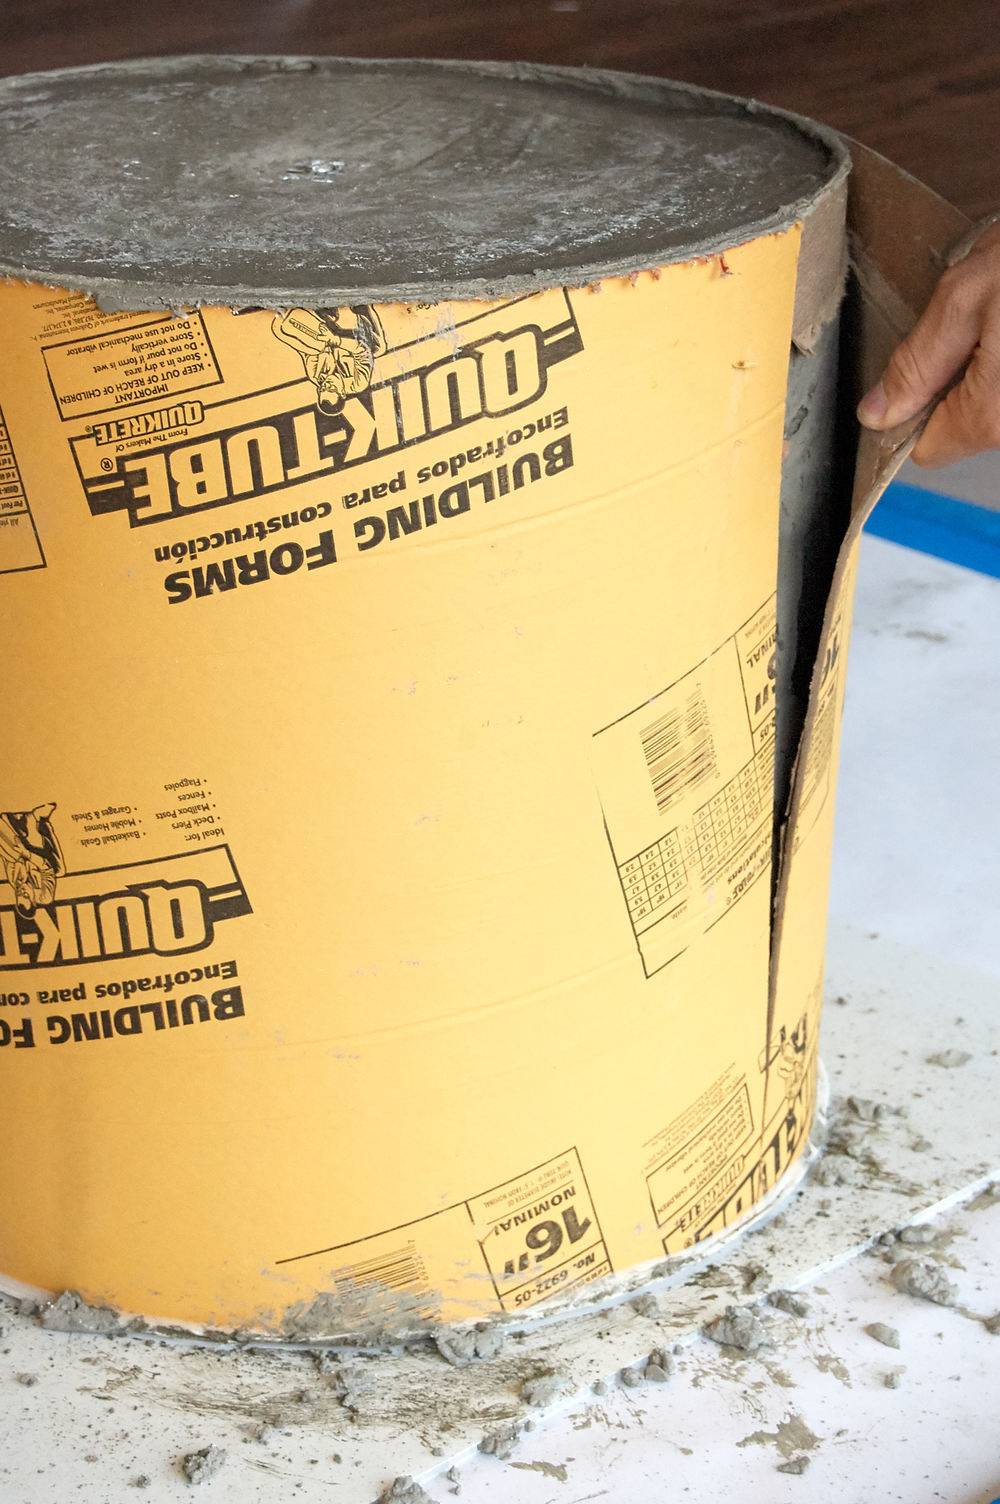
So we came up with the idea of using concrete footing tubes … you know, those cardboard concrete tube forms you can use to make fence post footings? They’re perfect because they come in lots of sizes, and are easy to cut down to length. They make perfect concrete planter molds. We went with a basic cylinder-shaped planter; simple but stylish. Here’s how we did it:
3 Quikrete Quik-tube® building forms (16″, 12″ and 8″ diameters)
2 PVC drain caps (2″ diameter)
3 sheets of corrugated plastic, smooth-top
Non-stick cooking spray
Duct tape
Silicone caulk
1 length 2″ PVC (we actually didn’t end up needing this)
1 roll of wire mesh
Plastic garbage bag or sheeting
A large concrete mixing tray
A shovel (for mixing)
Caulking gun
A utility knife (or circular saw, optional)
A tape measure
How to Make Your Own DIY Concrete Planters
Step 1
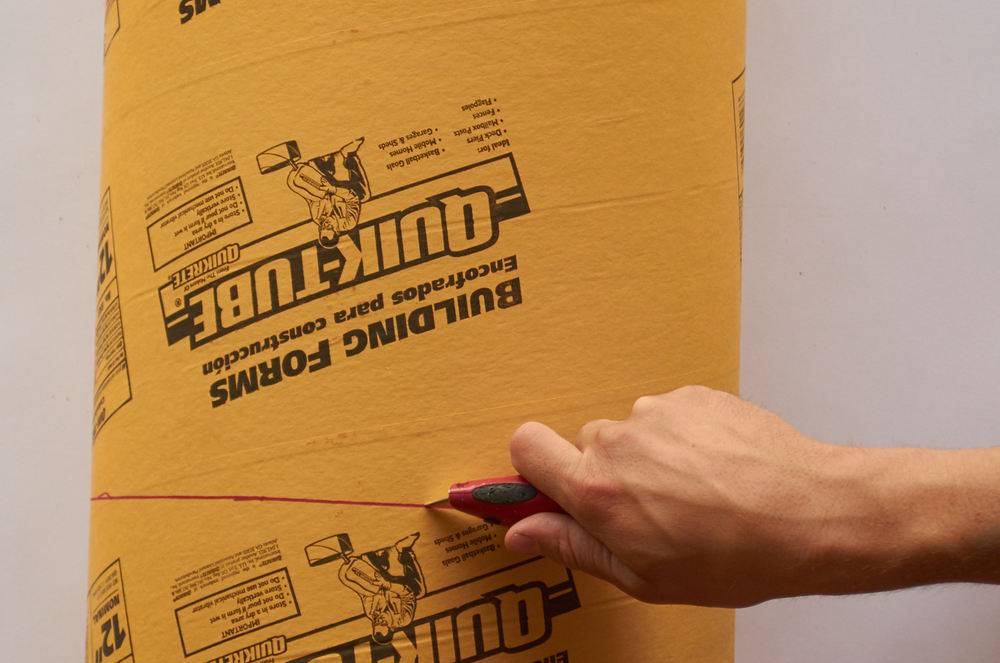
Decide how tall you want your planter to be. We made our first one 24″ tall. Then mark that on the tube (in our case, I started with the 12″ diameter tube), and cut the tube at that length. You can use a sharp utility knife, or, to go faster, use a circular saw to carefully make the cut.
Step 2
To make the inside part of the form, mark your smaller tube at a length 1.75″ shorter than the first (this will account for the height of the PVC drain cap and also makes up the base of the planter. For example:
Our first planter was 12″ in diameter and 24″ in height. So our inner tube (8″ diameter) was cut to 22.25″ in height.
Step 3
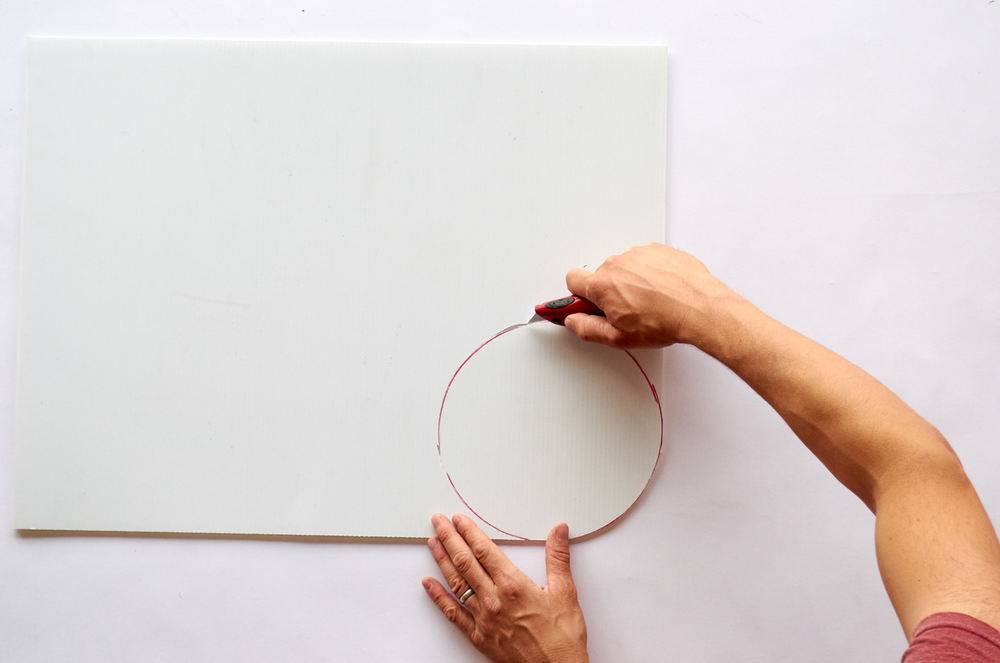
Now place the smaller tube (the one that will end up inside the larger one) on your plastic sheet and trace it. Then cut out that circle with a utility knife. This will be the base of the smaller tube.
Step 4
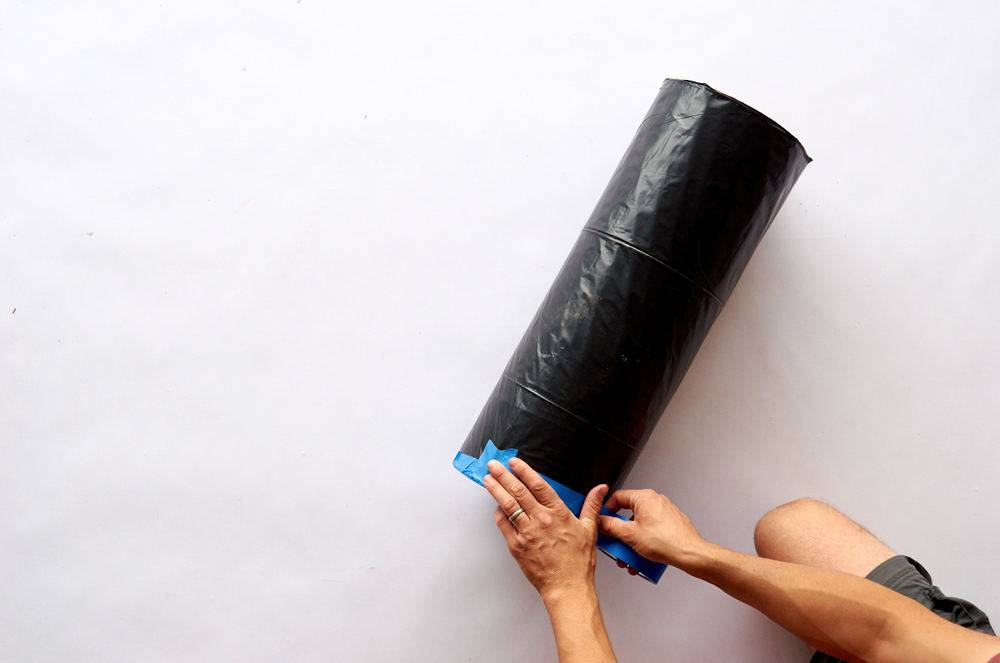
Tape the plastic circle you just cut out to the bottom of the smaller tube, taping it neatly all the way around so that it won’t let concrete through. Then wrap the whole cylinder in plastic, taping it on. This isn’t strictly necessary, but it’ll make the form easier to pull away from the concrete later.
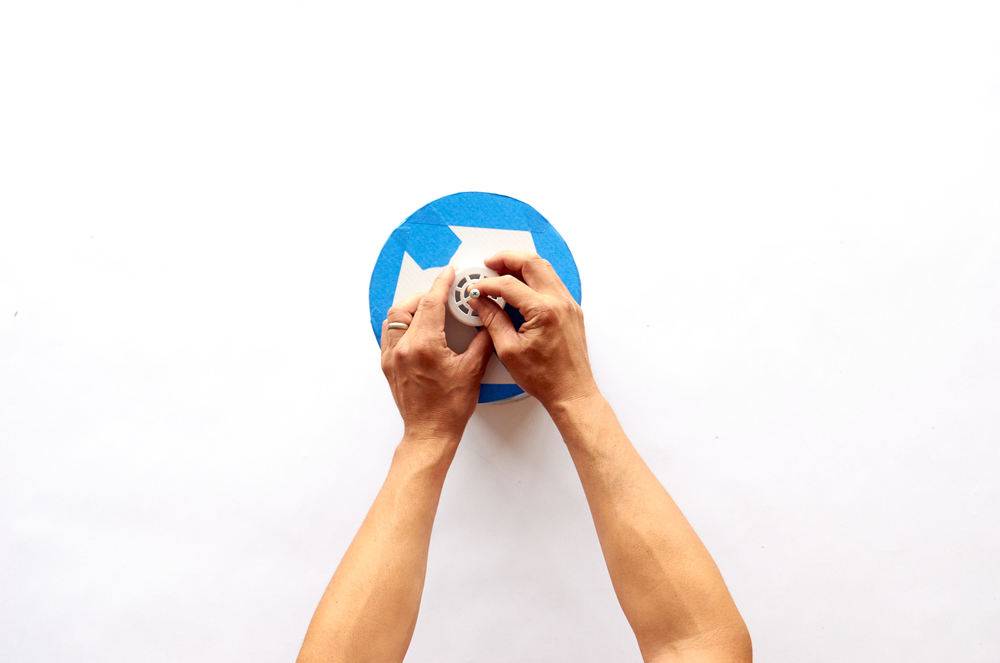
Step 5
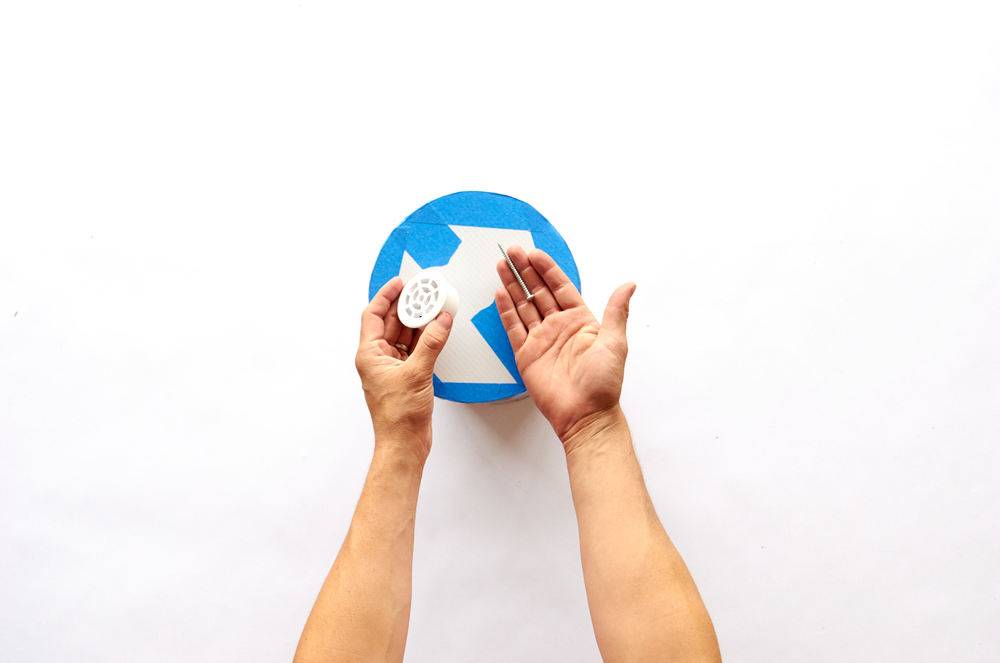
Now place the PVC drain cap in the center of the cylinder’s plastic ‘lid’, and screw it in place. Now your interior form is ready to go.
Step 6
Place the smaller tube on top of a clean sheet of the corrugated plastic, with the ‘cap’ side up. You’ll adhere it to the plastic using the silicone caulk.
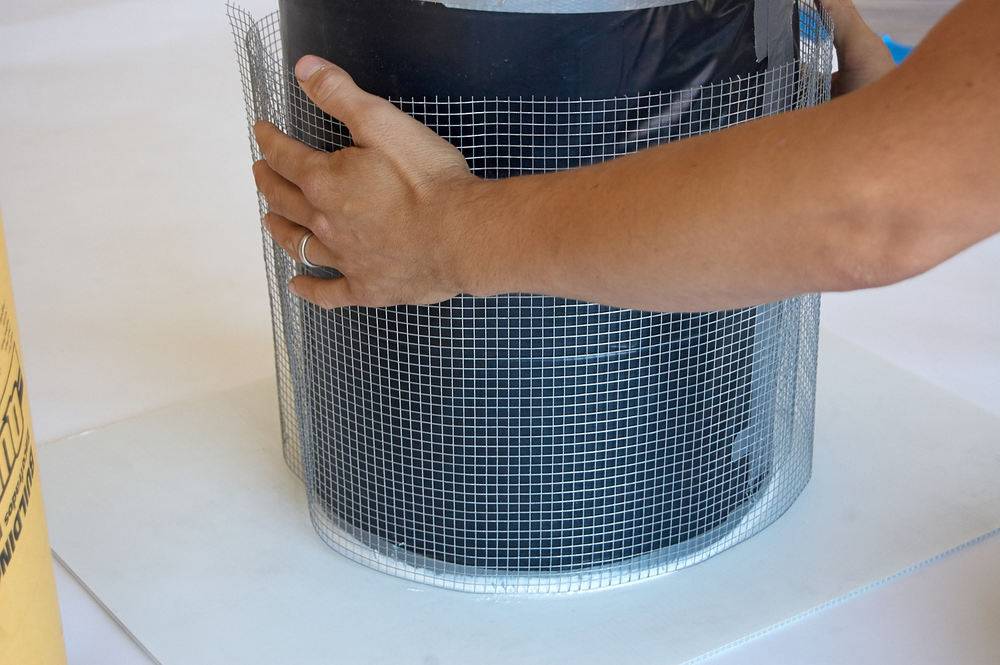
Don’t do this! Believe it or not, we often make mistakes when doing DIY projects! Here’s something we tried that you shouldn’t: putting a wire mesh into the mold.
I thought this would add strength to the planter. It probably would’ve, but it also made it really hard to get the concrete distributed evenly within the mold, and, honestly, it’s a planter … it’s not like anyone’s going to be standing on it. So, if I were you, I’d leave the wire mesh out … the planters will be plenty strong without it.
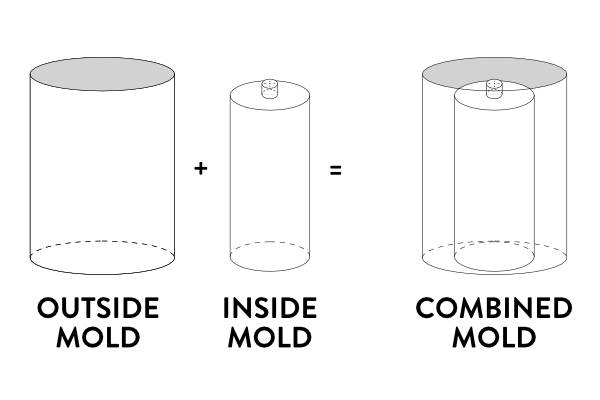
Here’s how the whole mold comes together:
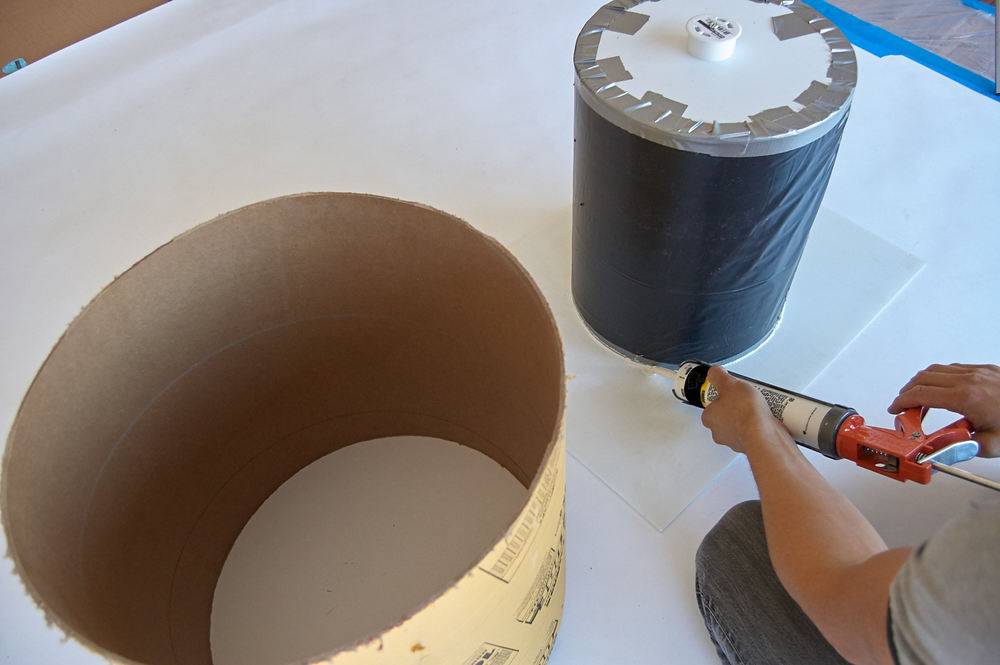
Step 7
After spraying the interior tube with cooking spray, set the outside tube down around it and adhere it to the base with silicone caulk. Once the caulk has dried, your form is ready for concrete.
Step 8
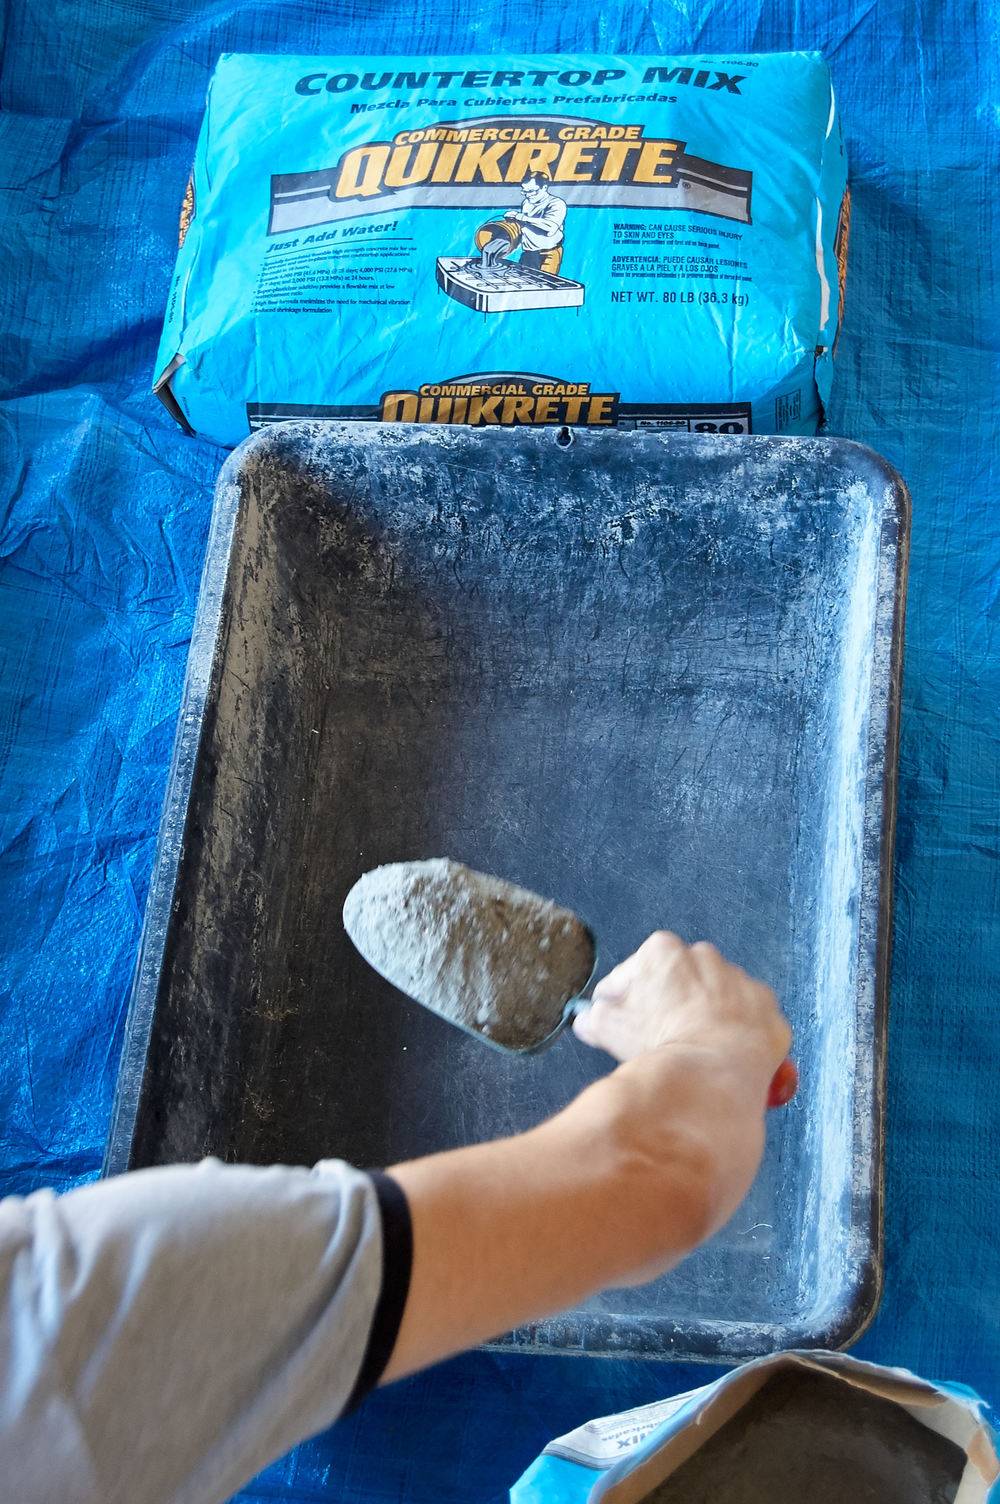
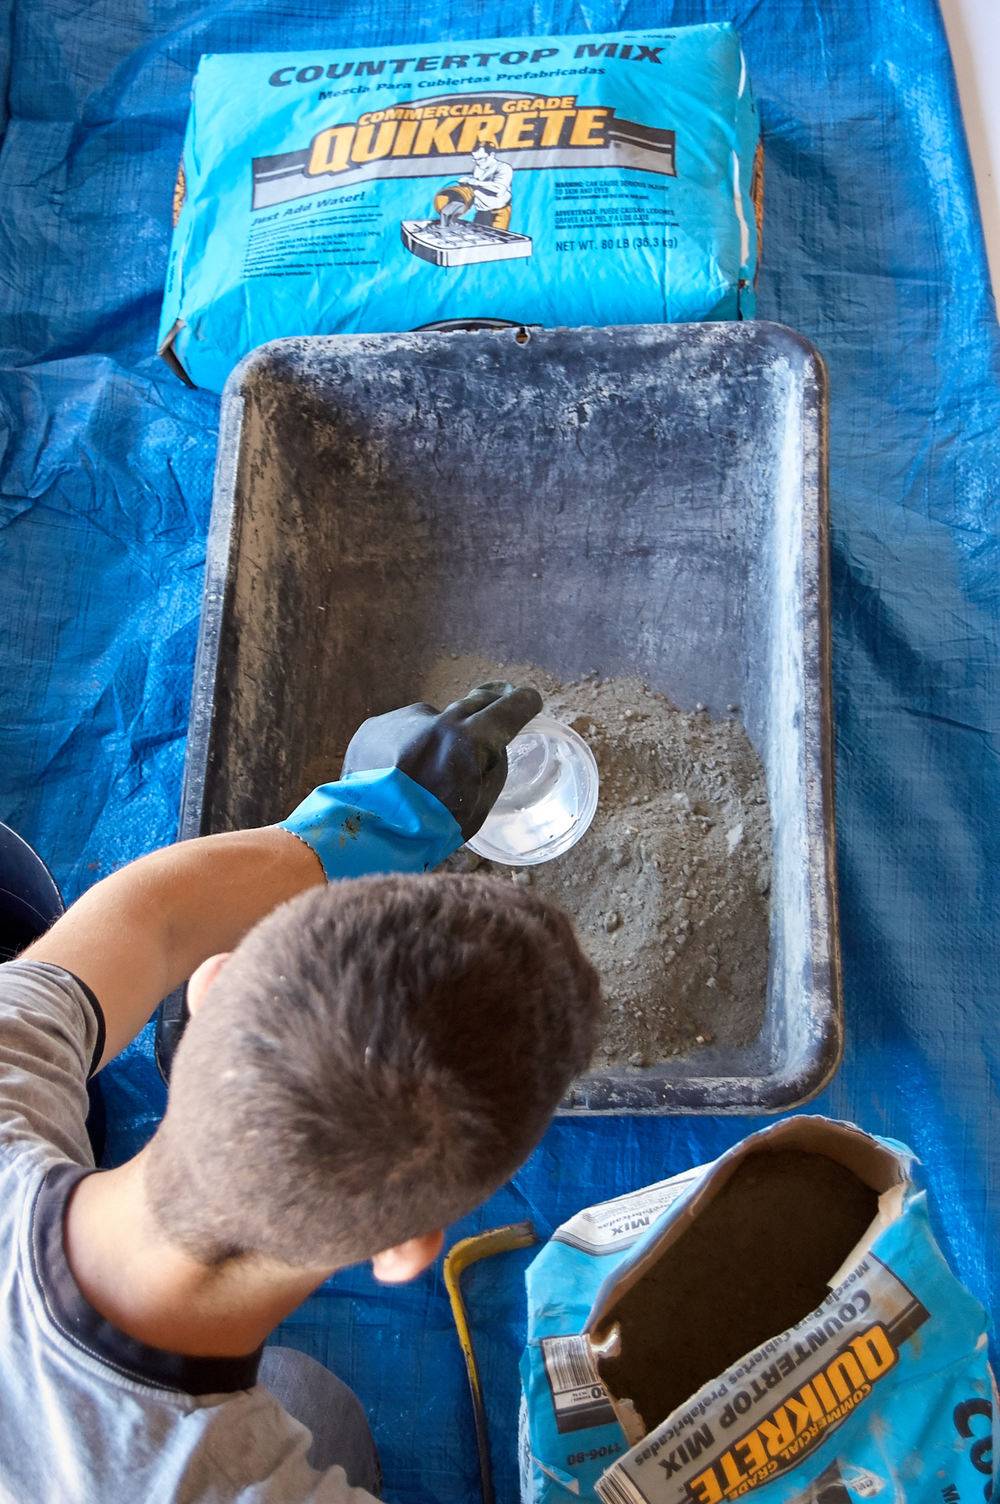
Open a bag of Quikrete and mix it according to the directions on the back! I can’t stress this enough; unless you’re an expert concrete-mixer-guy/gal, just swallow your pride and follow the directions. Things will turn out much better. For a project like this, where a nice, even, smooth finish is most important, you want the concrete to be pretty wet (wetter even than it looks in my photos below). A wetter mix will flow into the form better and give a smoother, more even surface finish.
Step 9
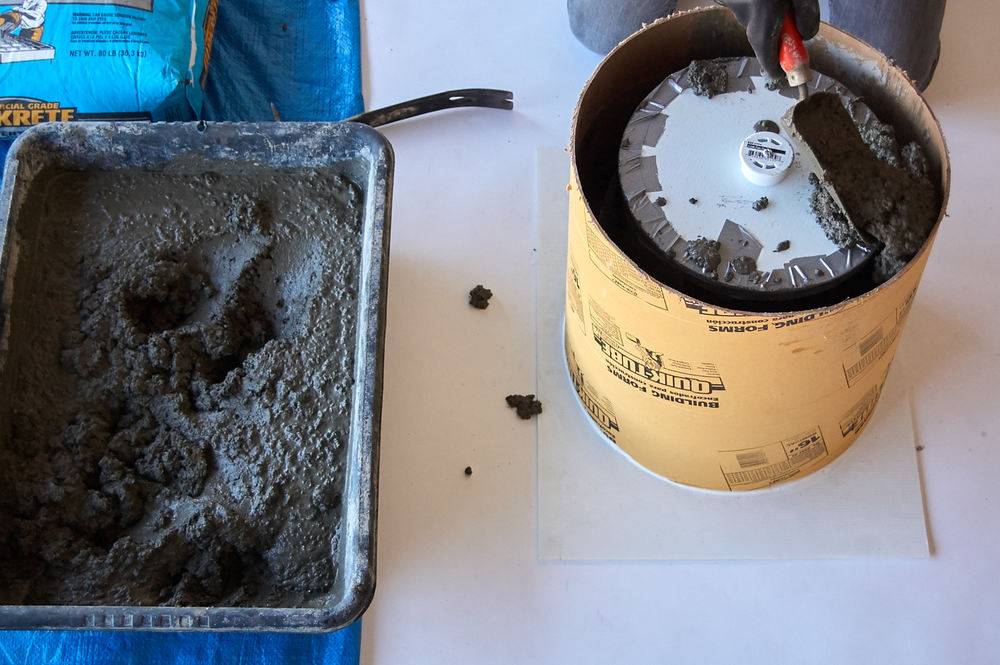
Fill the form all the way to the top, making sure to pack the material in well (you can use a dowel to make sure it all gets in there).
At this point, you’ll want to vibrate the form with a rubber mallet, an orbital sander, or even a reciprocating saw (with the blade taken out). Vibration helps the concrete compact, eliminating air bubbles in within the mix.
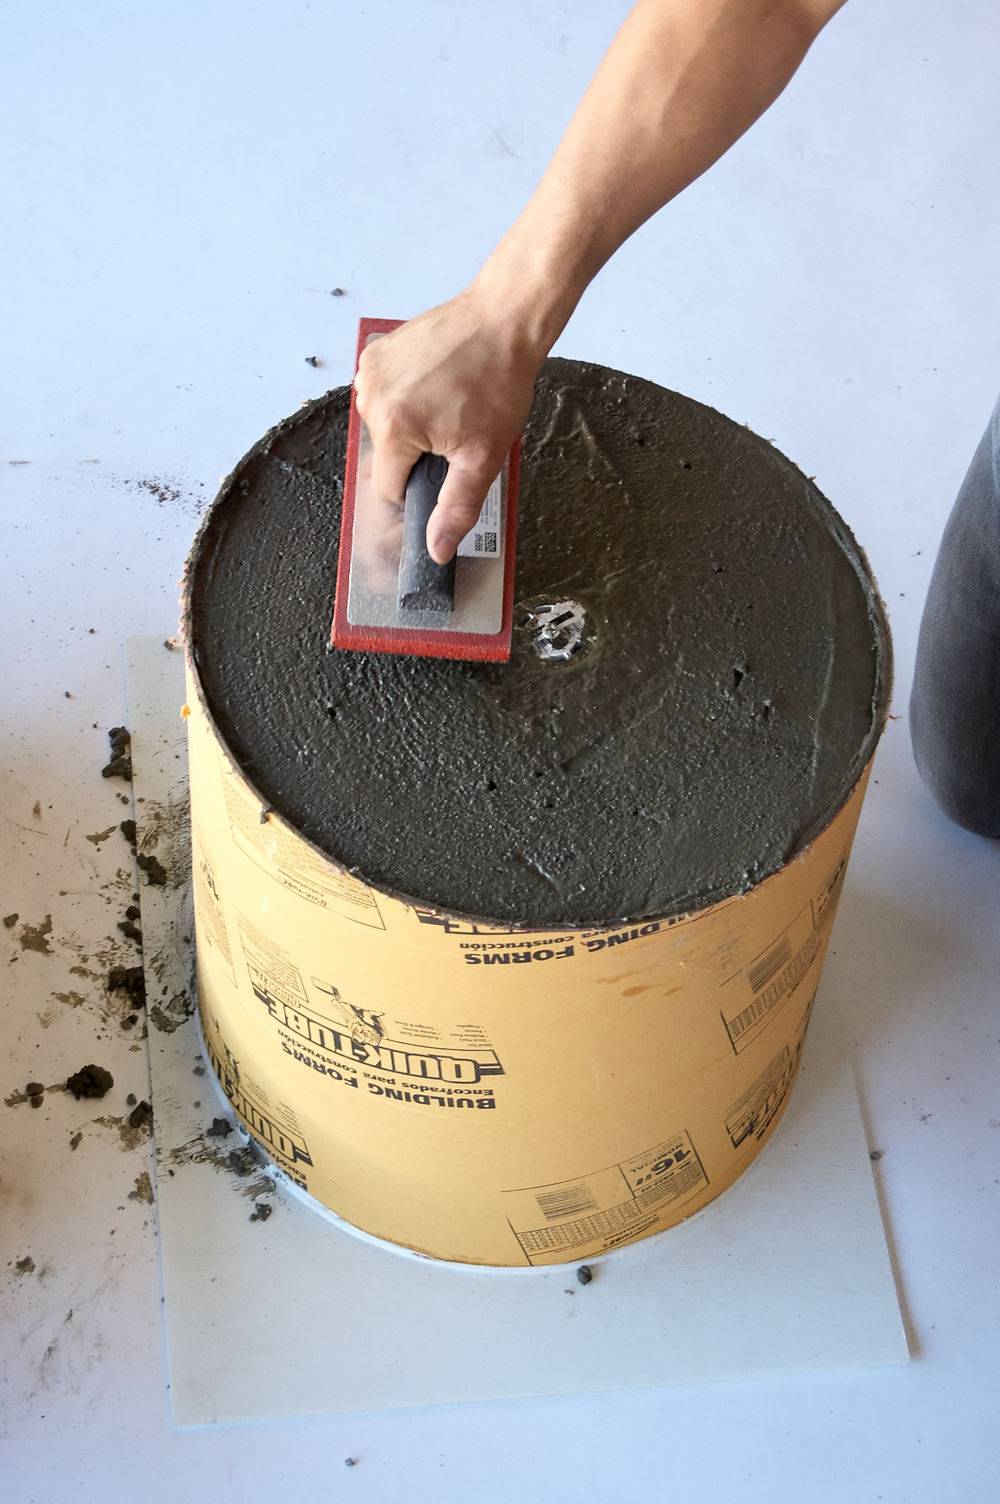
The ‘top’ here will actually be the base of the planter. Smooth it out with a trowel or rubber concrete float, making sure not to cover the drain (this face won’t be visible, so don’t worry about making it too perfect).
Step 10
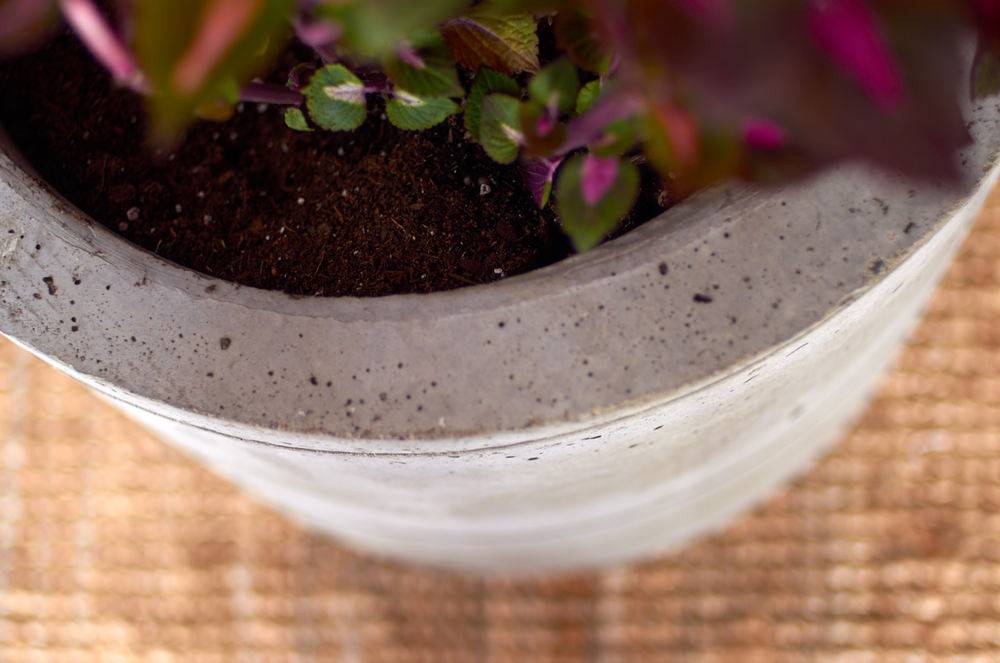
After letting your planters dry for 48 hours, take them out of the molds! You can cut the cardboard away with a utility knife, and then the mold should just peel off pretty easily by hand.
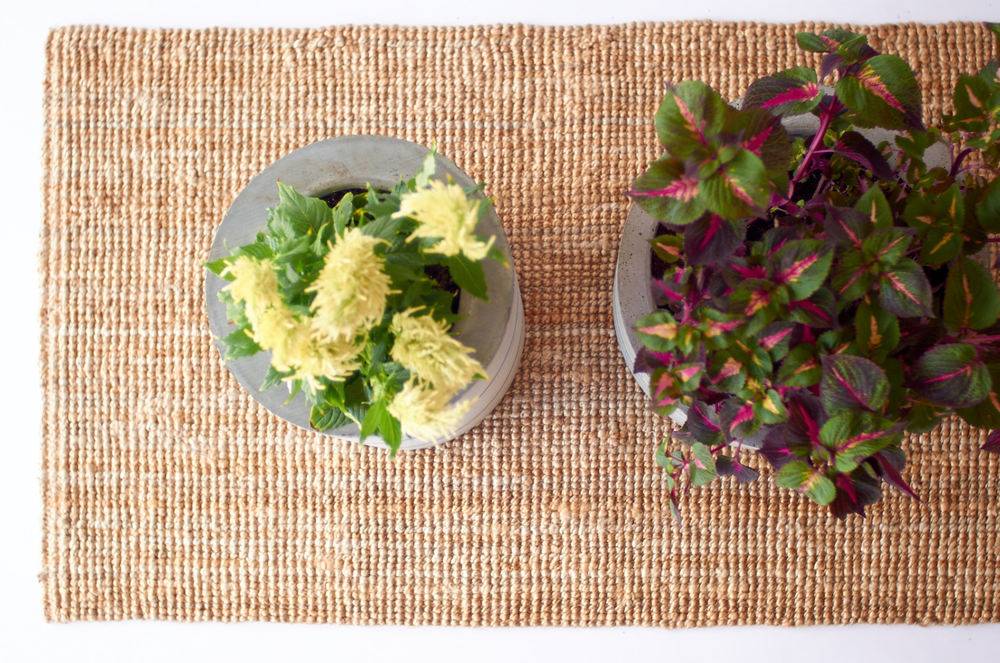
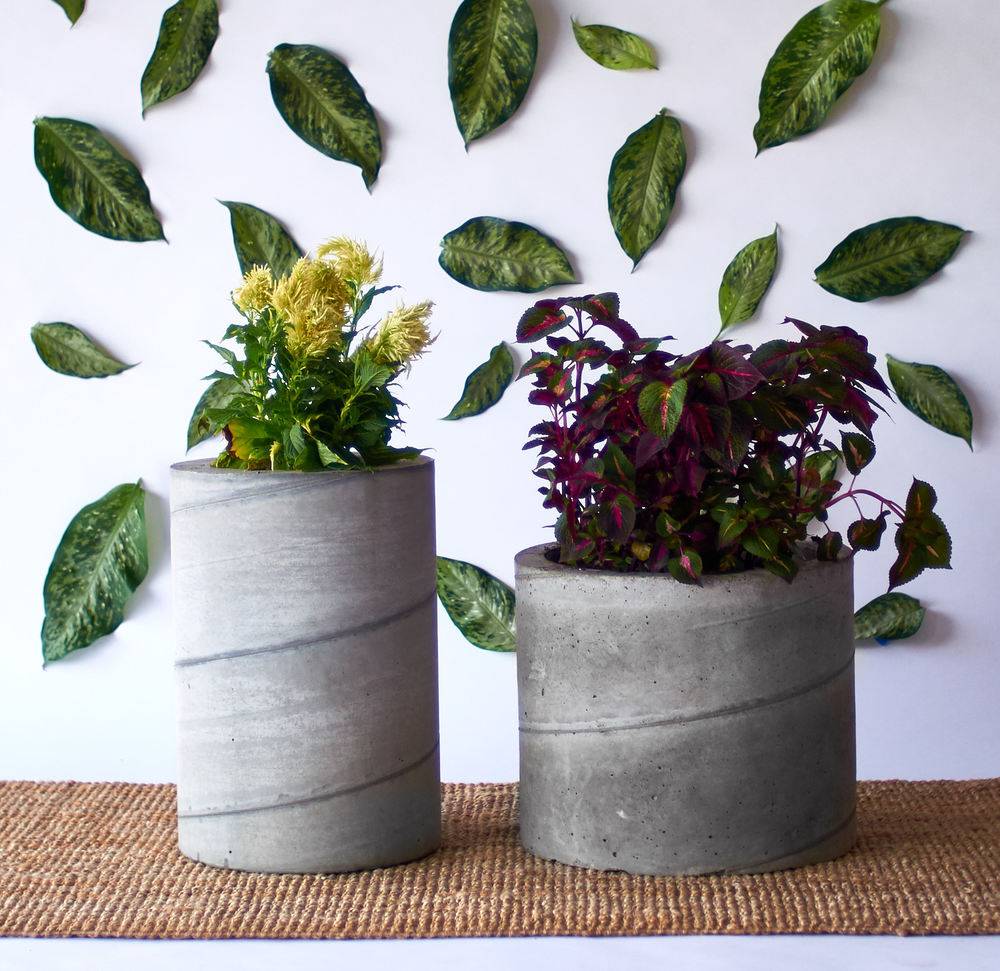
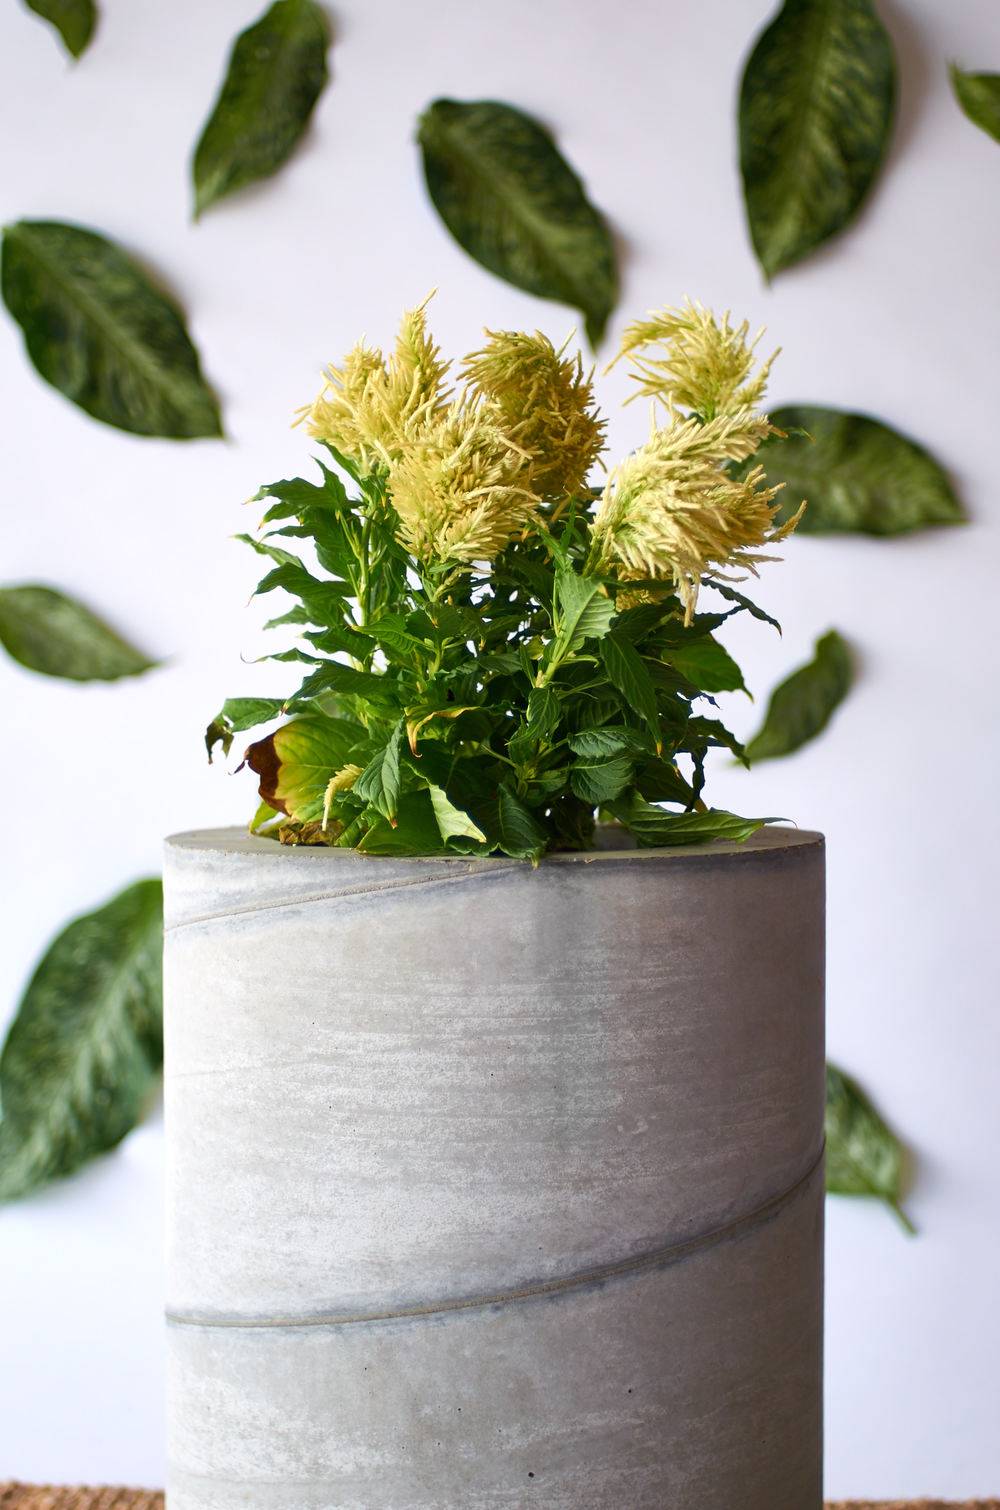
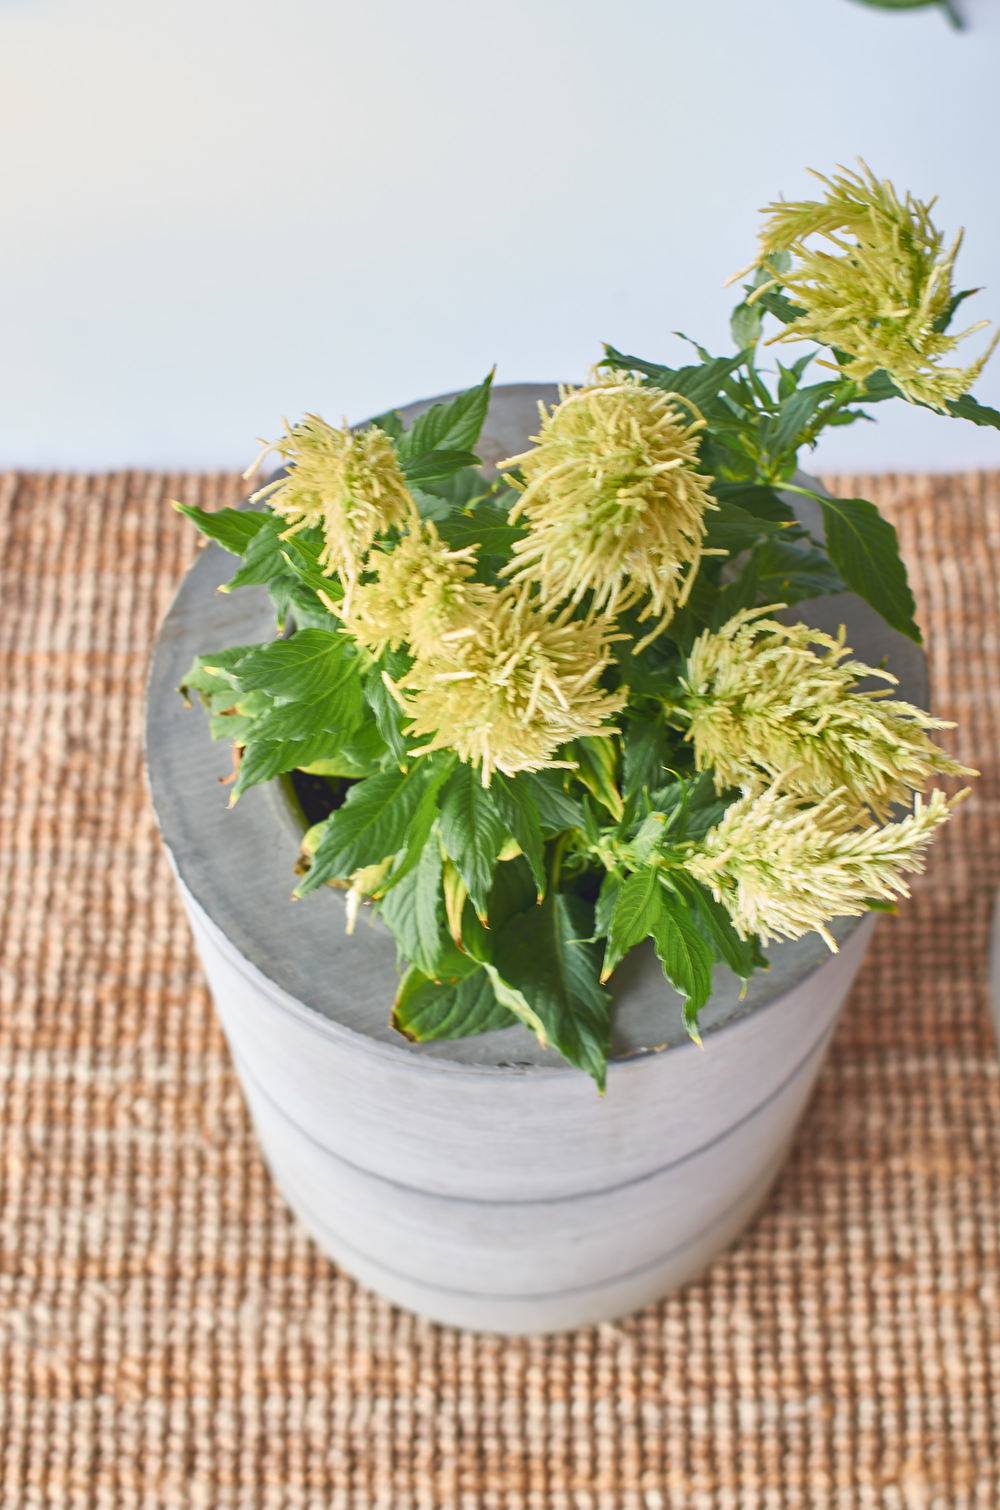
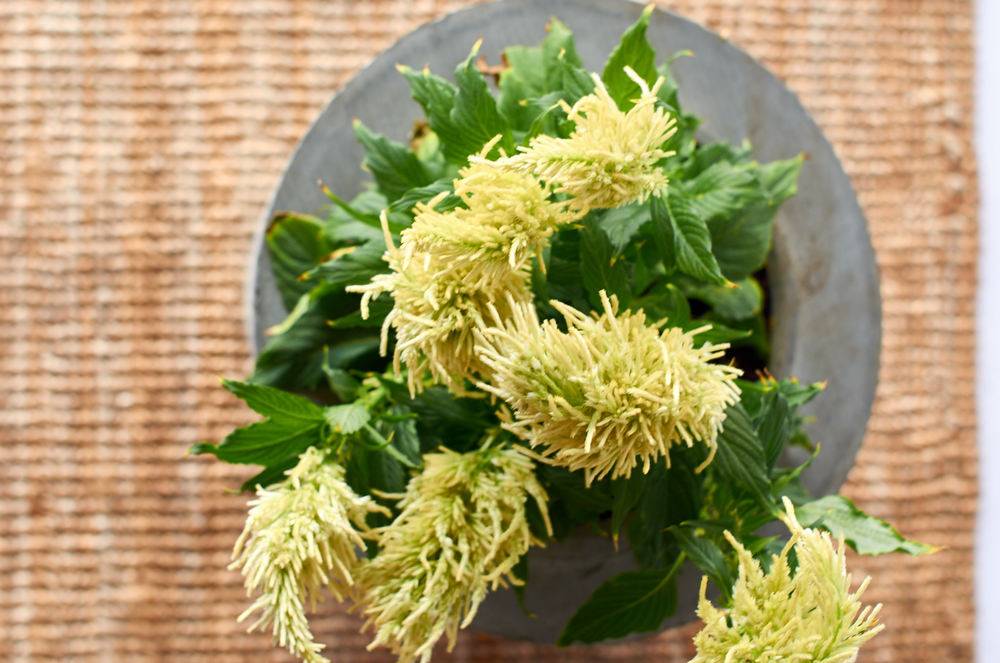
That’s it! Your planter is done. If there are any rough or sharp edges, you can knock them down with a bit of hand sanding.
We love how our planters turned out. They’re crazy heavy, which makes them hard to move around, but perfect for an outdoor, public location. Once we get them into place, we’ll be ready to move on to our next office transformation DIY project: custom-printed window signage!
This post was sponsored by Quikrete, but all opinions are mine alone. Thanks for supporting the brands help that make Curbly possible.
You’ve decked the halls, hung the stockings with care, wrapped and unwrapped the presents, and it’s no wonder if you’re all tired out. Hopefully now that Christmas is over you finally have a bit of time to relax. Maybe you already know exactly how you want to spend the week between Christmas and New Year’s, but here are 10 ideas for how to unwind in case you’ve forgotten how.
1. Take a long, hot bath. This is the perfect time to try out these Christmas tree bath salts, made from evergreen clippings that you can salvage from your tree, wreath, or garland.
2. Have a home spa day. Pamper yourself with those deep conditioners and face masks that have been sitting in the back of your bathroom cabinet. It’s a good way to clear them out so you can start fresh for the new year, with new products and a decluttered bathroom. If your cabinets are already clear, you could always try out some of the homemade beauty product ideas from this post.
3. Catch up on your (for fun) reading. If you’re already caught up, scour the best-of-the-year lists, and make up your reading list for next year.
4. Find a beautiful new calendar for 2019. There are lots of free printable ones, many of which you can find links to here.
5. Declutter and organize a space. I know that this might not sound fun or relaxing to many of us, but you’ll be glad to start the new year with one cabinet, closet, or whole room all tidied up. Find lots of closet organization ideas here, and plenty more general organization ideas here.
6. Make something with your hands. Whether it’s sewing, knitting, painting, woodworking, or sculpting with clay, tackle that DIY project you’ve been meaning to try.
7. Get some exercise. Move your body in whatever way that works for you. Walking, skiing, swimming, yoga, or even sledding with the kids all count.
8. Connect with someone you’ve missed. If your best friend has been too busy to hang out during the holidays, catch up over a cup of tea. Or if you didn’t get to see your out-of-town relatives or friends this year, pick up the phone and give them a call.
9. Write thank-you notes for holiday gifts. This may not sound fun and relaxing, but the sooner you get this done, the less you’ll have to carry around the guilt about not having done it. Plus, if you really take the time to reflect about why you’re writing each note, you can turn it into a mindful exercise in gratitude.
10. Shop the post-Christmas sales. If you think that I must be crazy to suggest you go to the mall right now to relax (I agree), online shopping exists for a reason. But if you want to stock up on cheap holiday decor, or snap up deals on that beautiful sweater someone is returning because Aunt Zelda doesn’t know their size, or they got three Instapots, now is the time to do it.
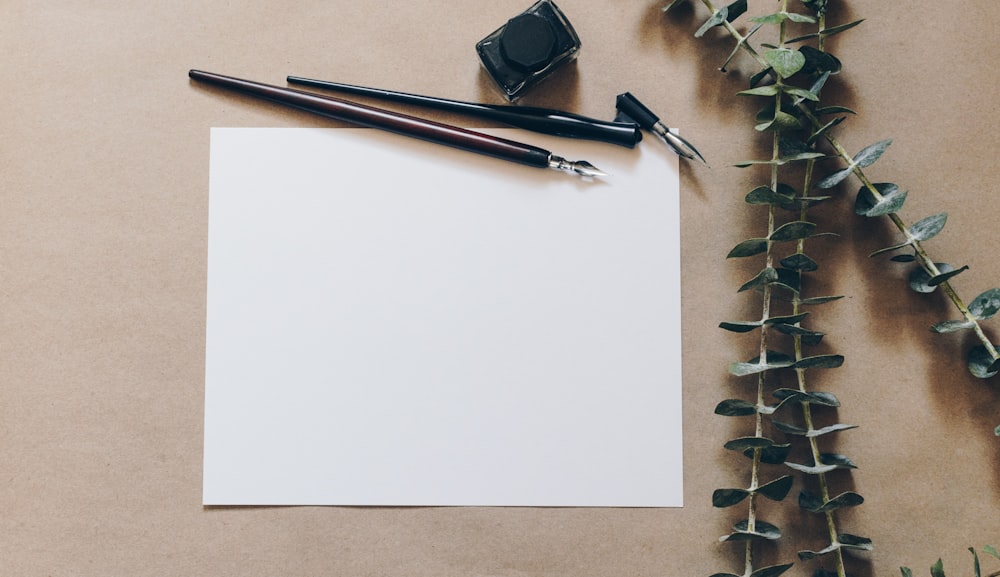
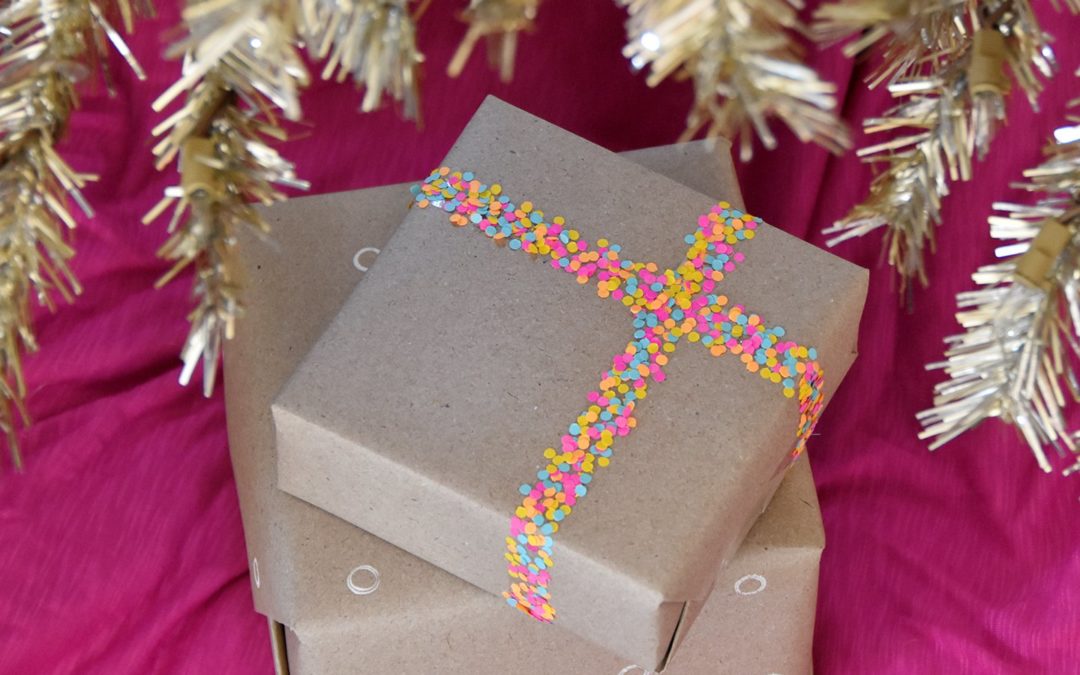
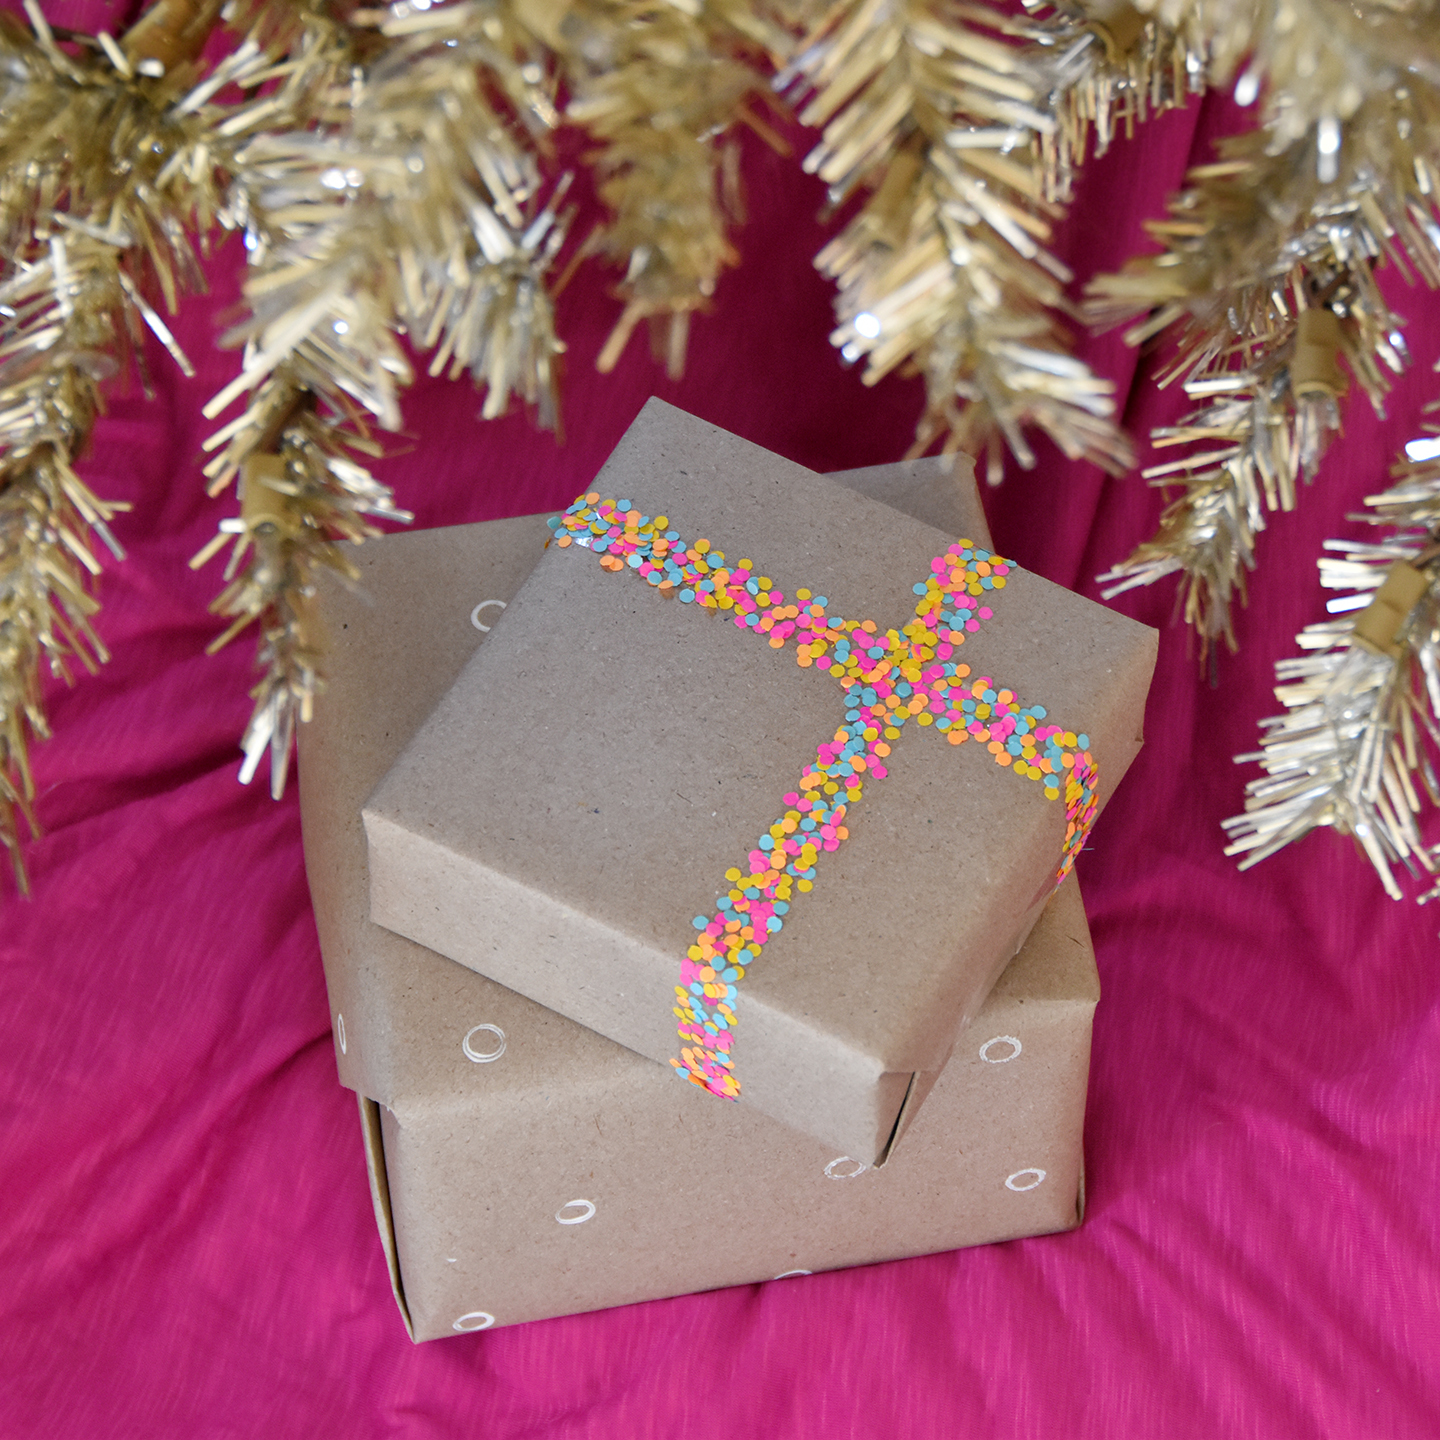
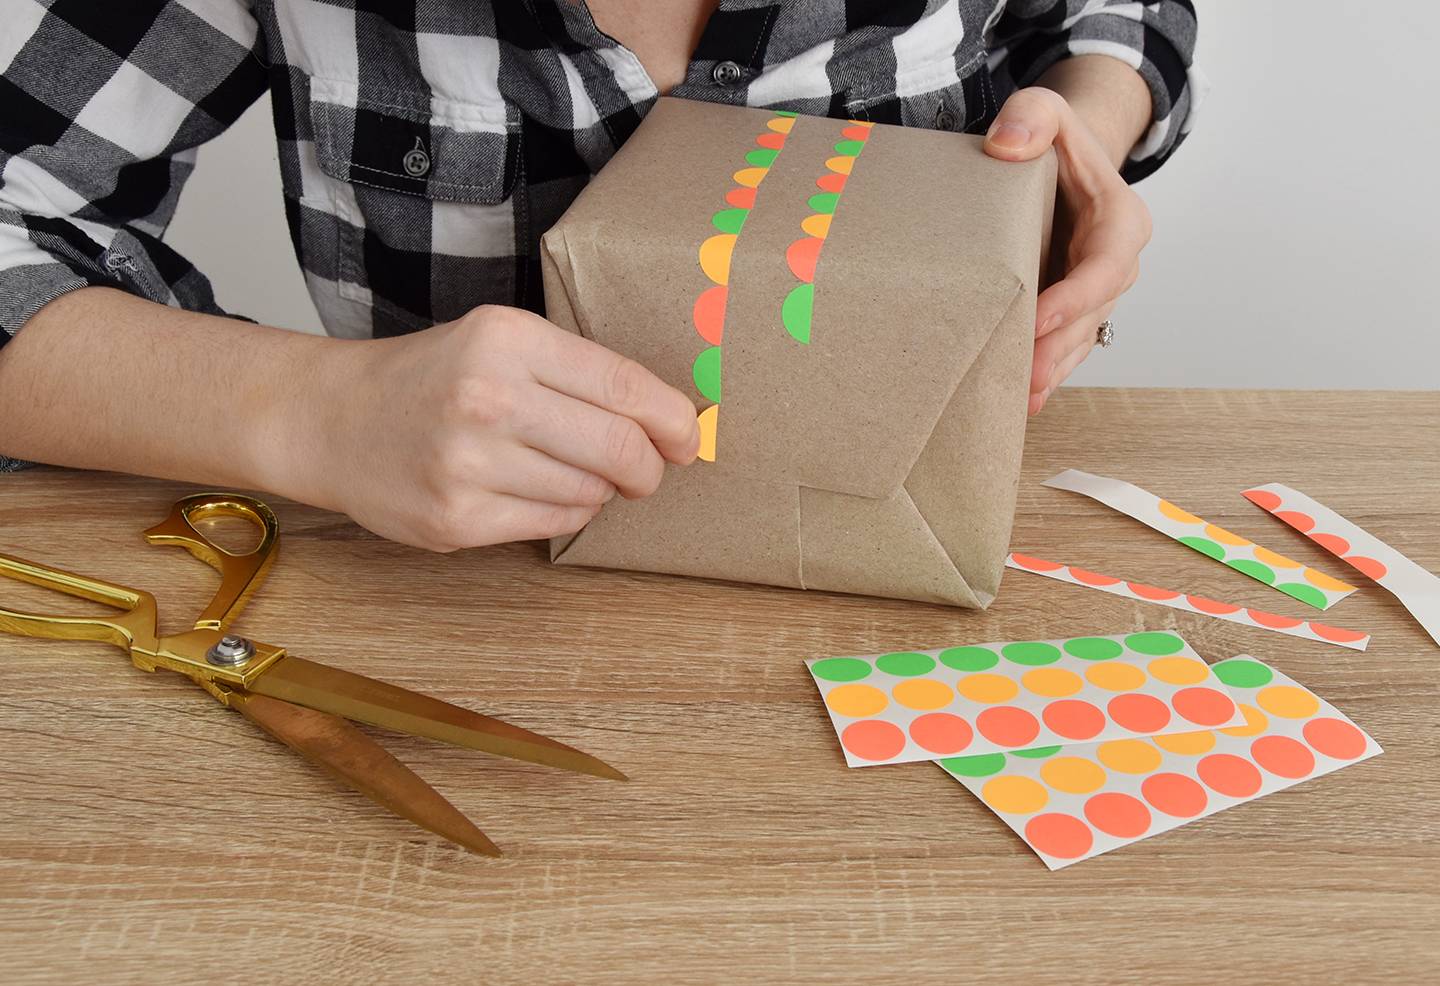
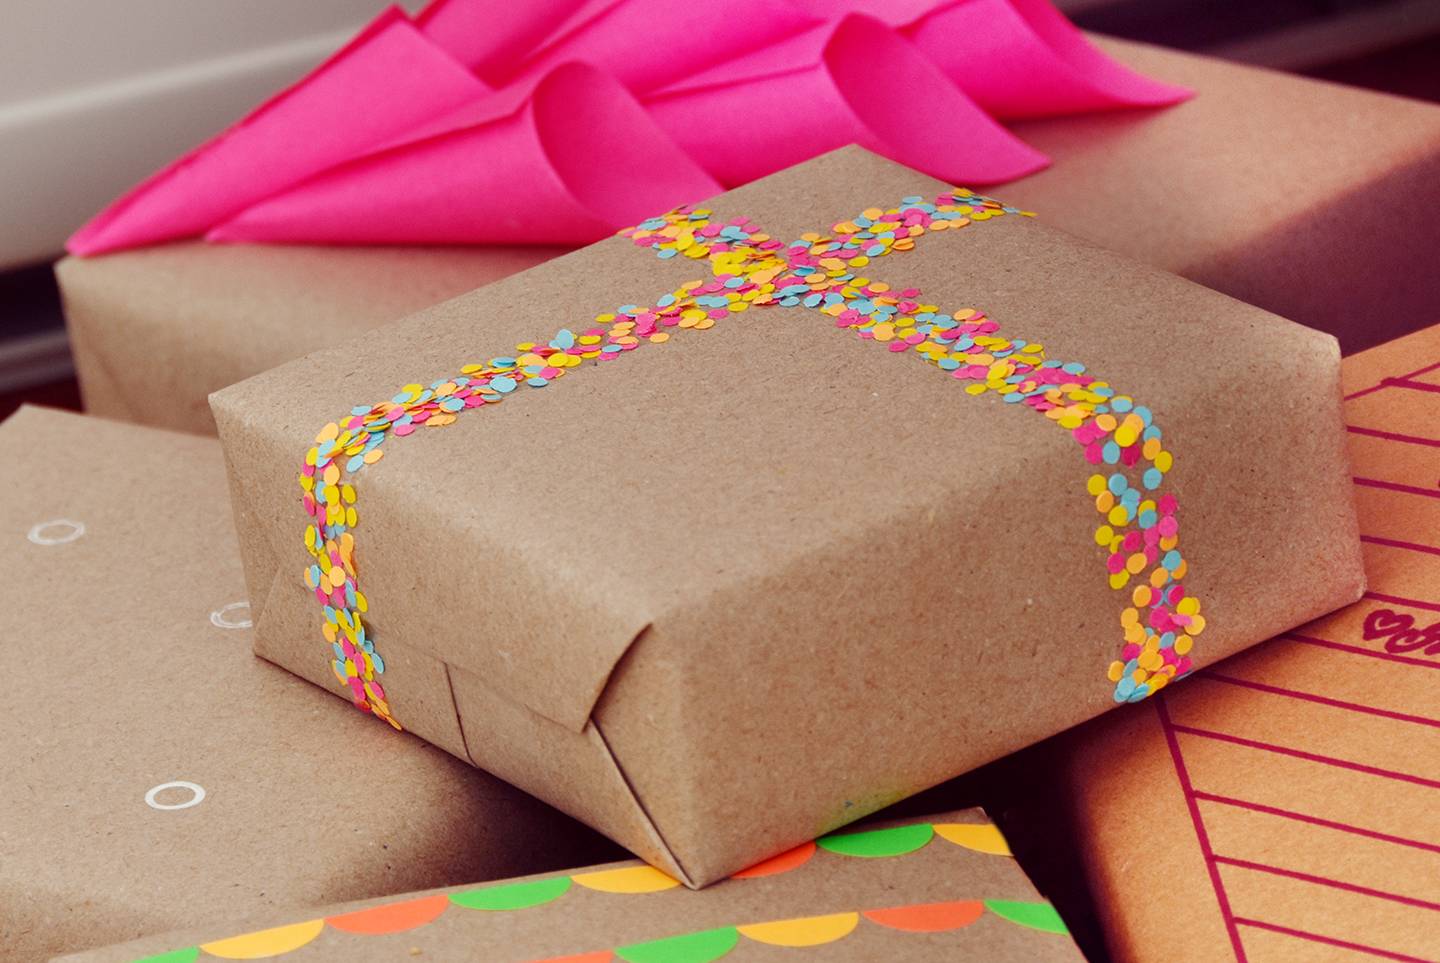
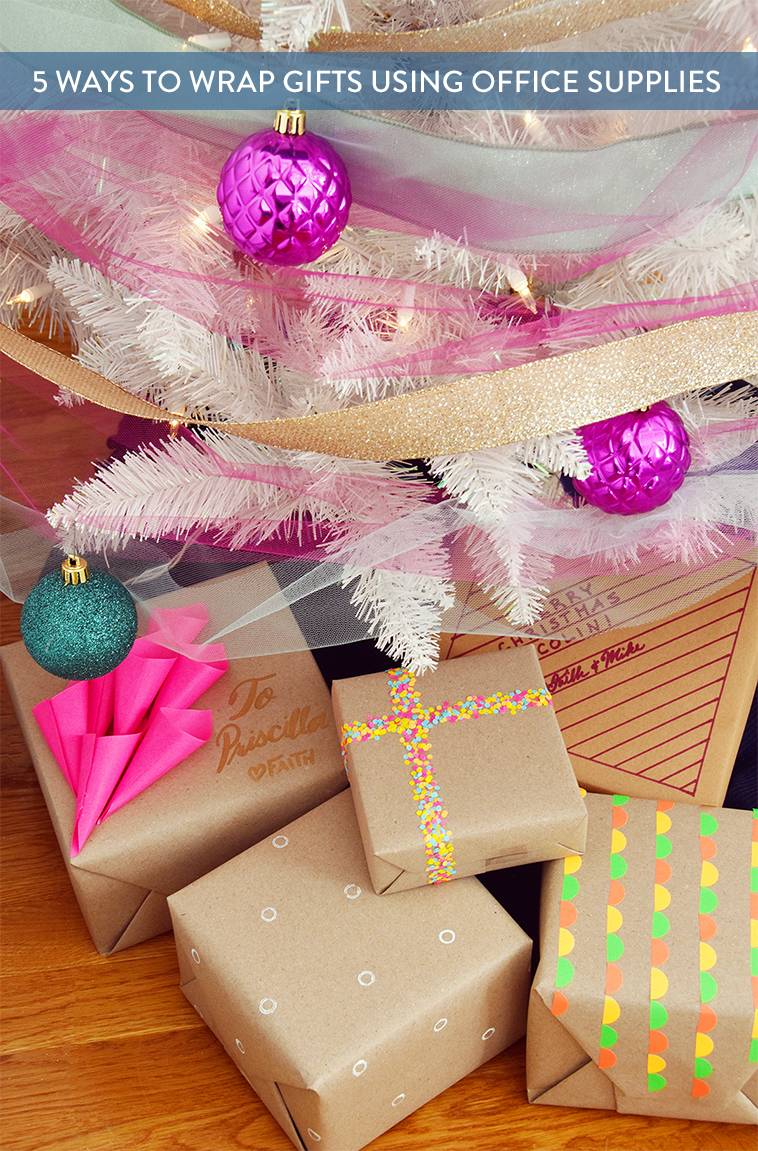
Sometimes I get sick of using the same old gift wrapping supplies every year – they just never seem to run out! So this year I decided to get a little creative with my Christmas gift wrap by using office supplies to decorate plain brown kraft paper packages. And it was surprisingly easy! Click through to see five different ways to wrap gifts using office supplies.
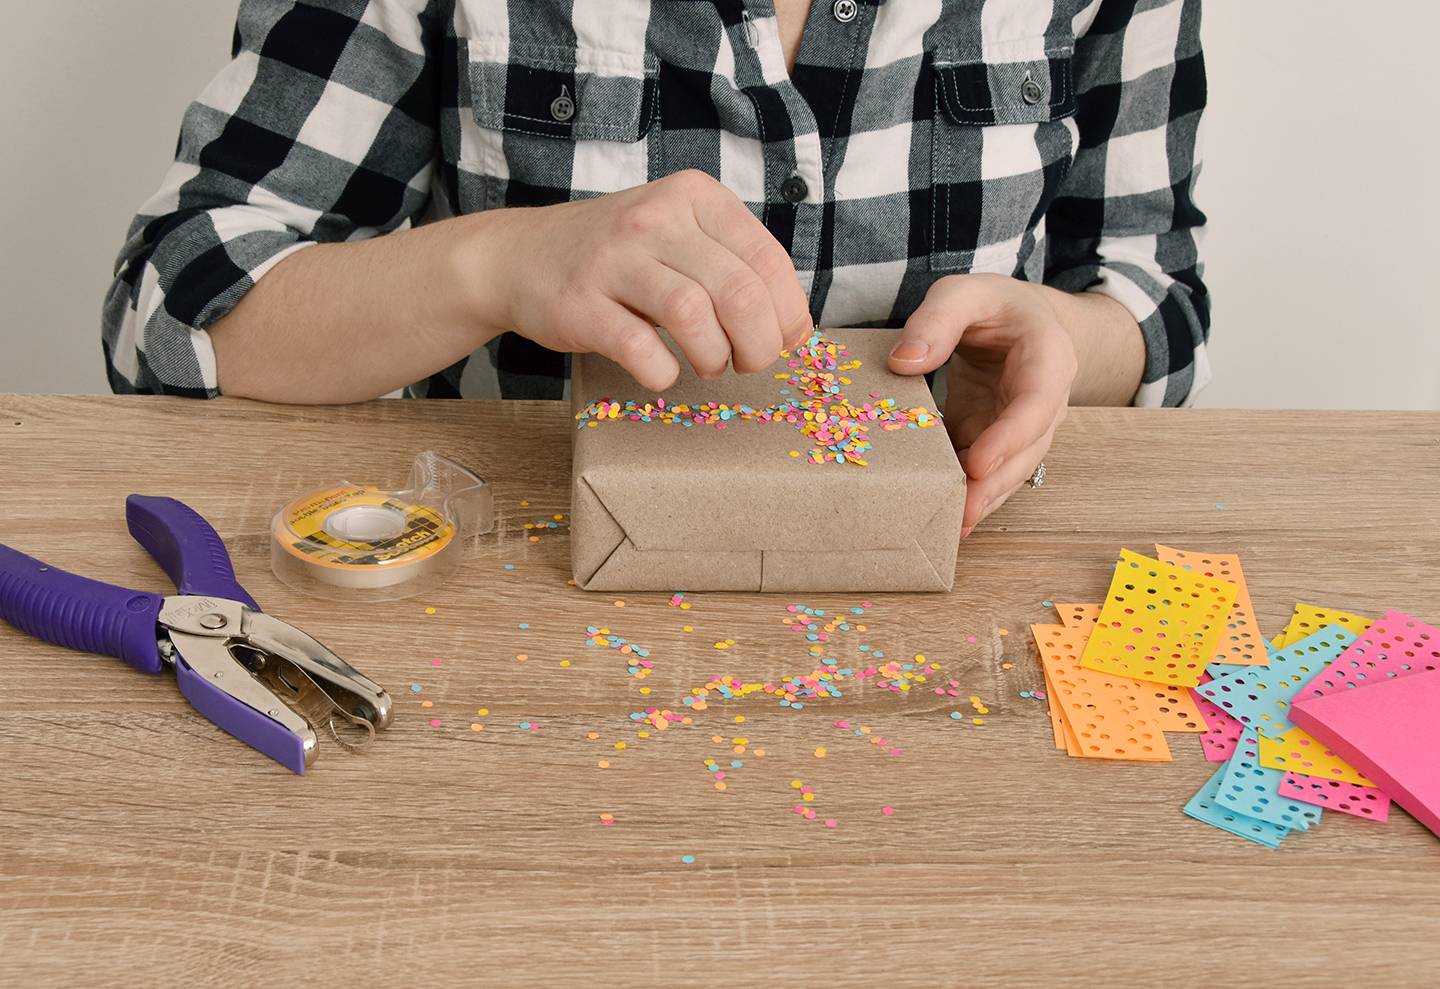
For this one I used a small hole punch to create confetti out of different colored post it notes. Then once I had a large pile, I put double-sided tape on the package in a criss-cross pattern and then attached the confetti to the tape. Shake it gently to remove any excess confetti, and you’re finished!
The semi circles are simply garage sale tags cut in half… then I attached them one-by-one to the kraft paper. I just did the top section, but you could apply the tags when the paper is flat and then wrap the gift afterward.
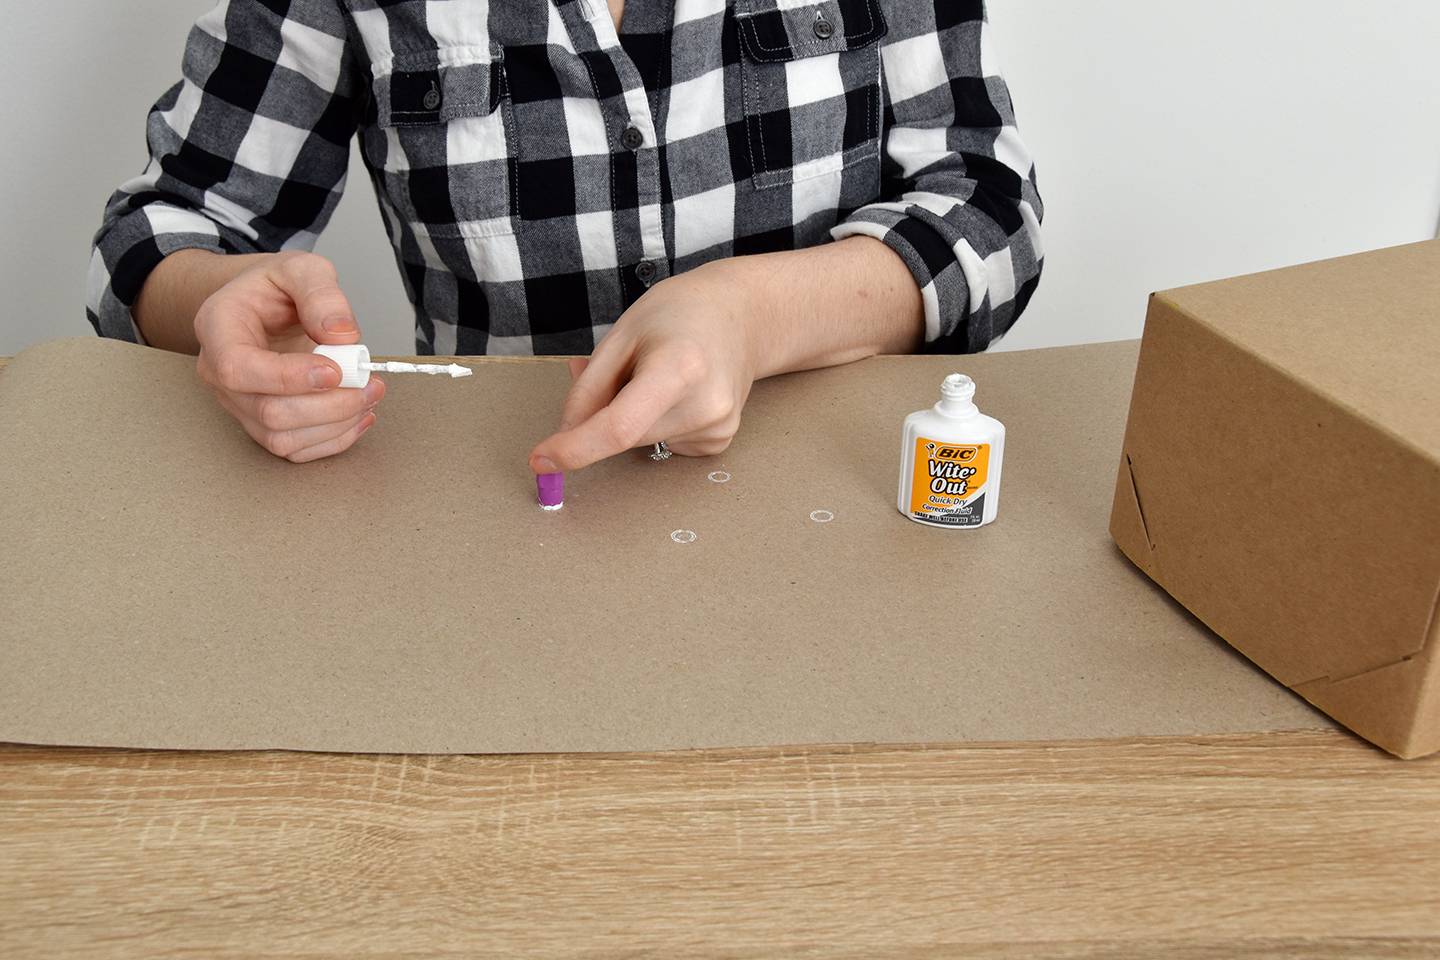
Believe it or not, I made this riff on polka dots using a cap eraser and Wite-Out! Just paint the round end of the eraser with a bit of Wite-Out and then press it down onto the surface of the paper. Do this repeatedly until you cover the whole piece of paper.
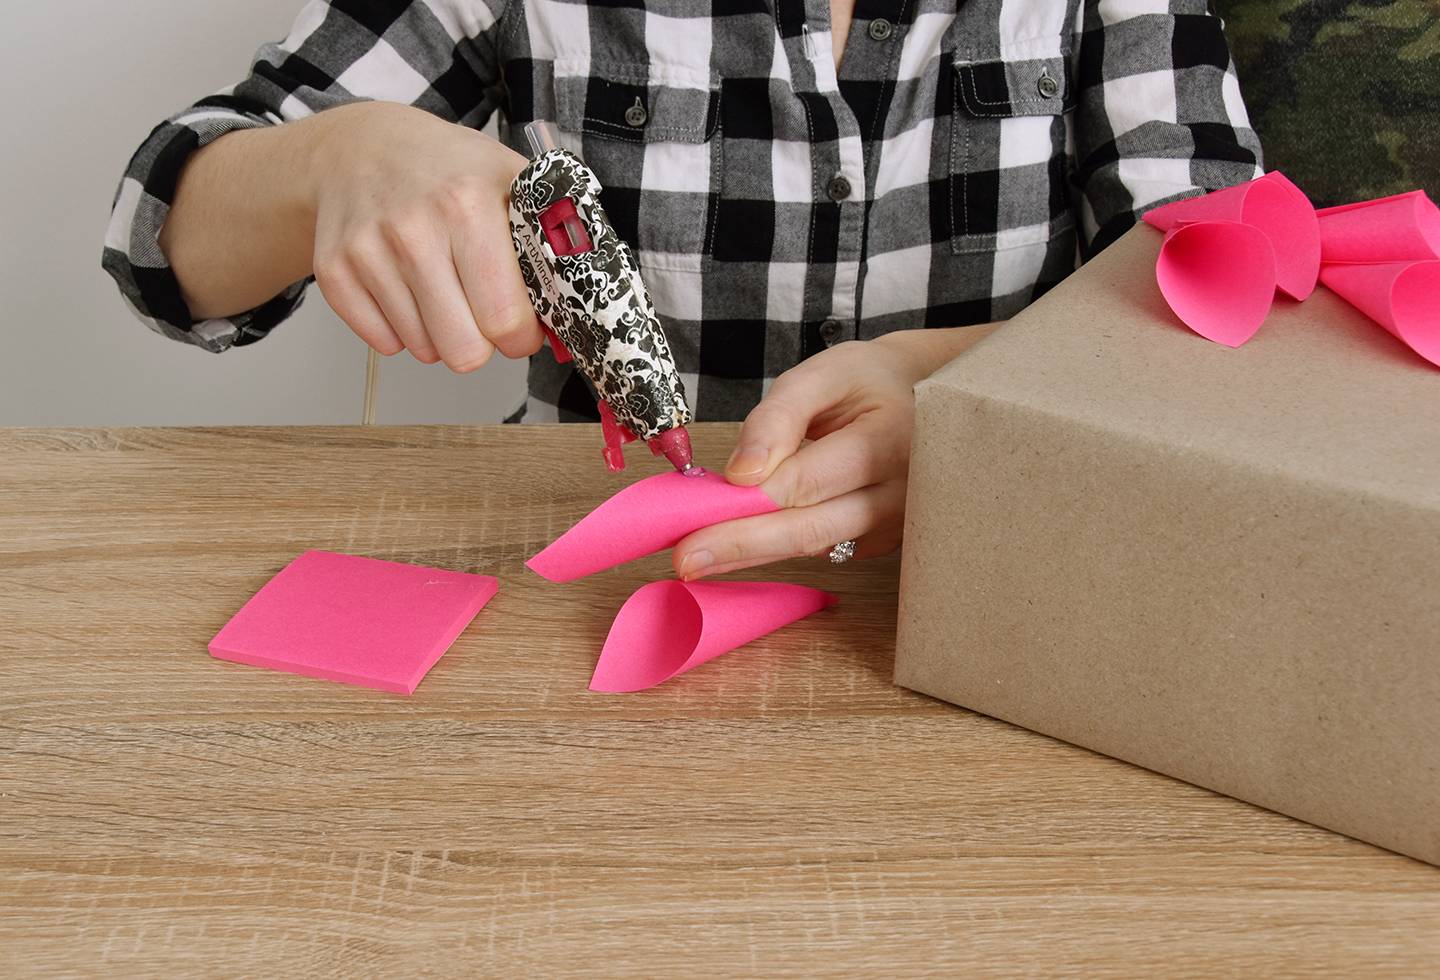
For this one, begin by folding post-it notes on the diagonal and using a hot glue gun to attach the corners to form a cone. Make six or eight of them and then glue them to the top of the package.
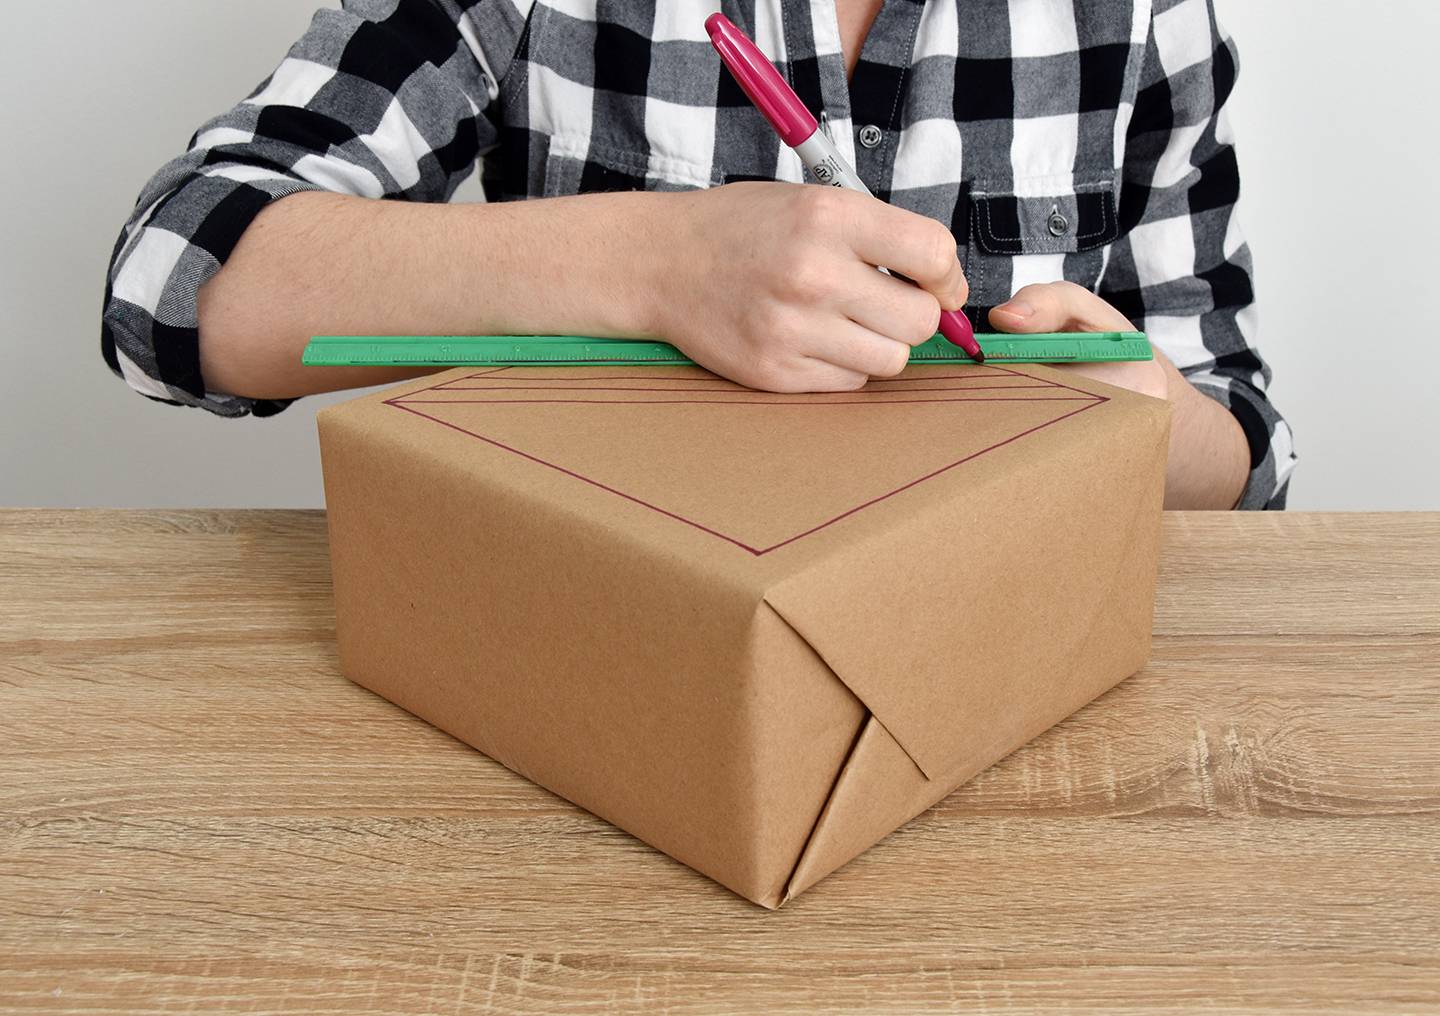
This is a simple one, and you can really get creative with it. Use a ruler and a colored Sharpie marker to form a box on the top of the gift and then draw a geometric shape of your choice inside of the box.
As you can see, the final results are super creative and certainly unique. They can be labeled using metallic markers, or you might consider writing the recipient’s name underneath the side flap so as not to obstruct the design.
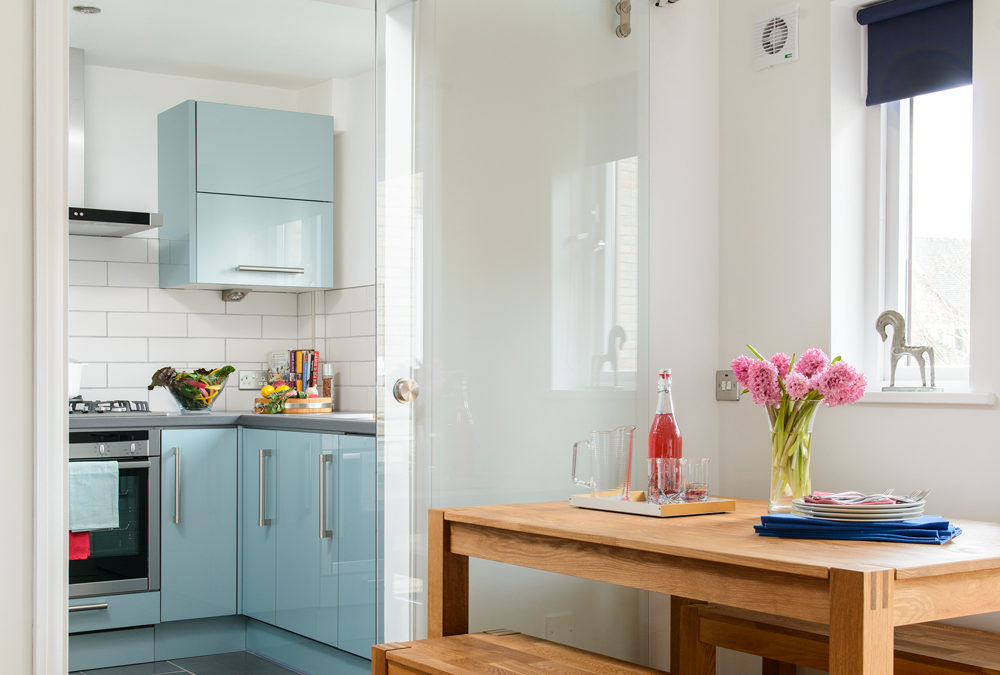
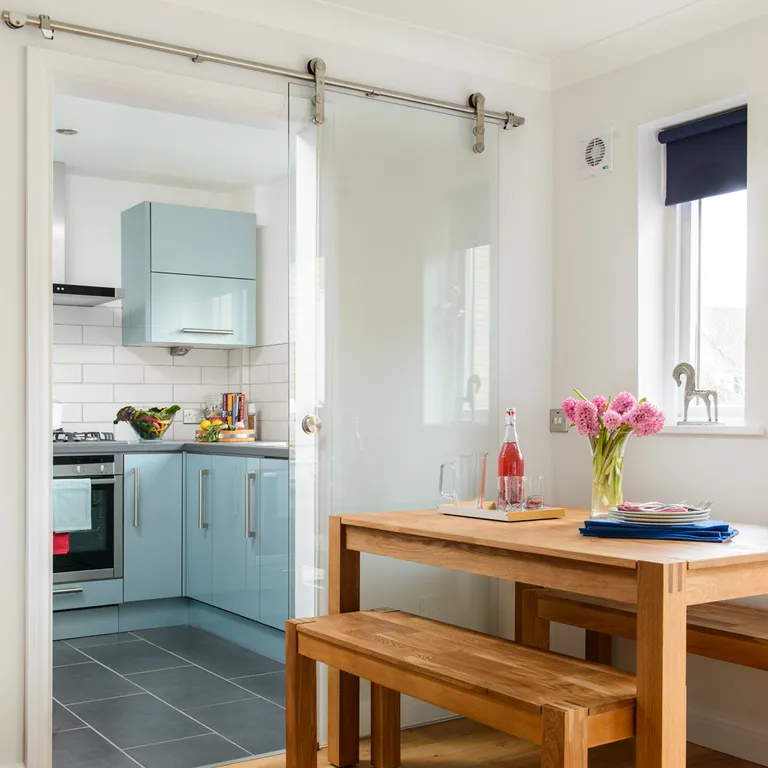
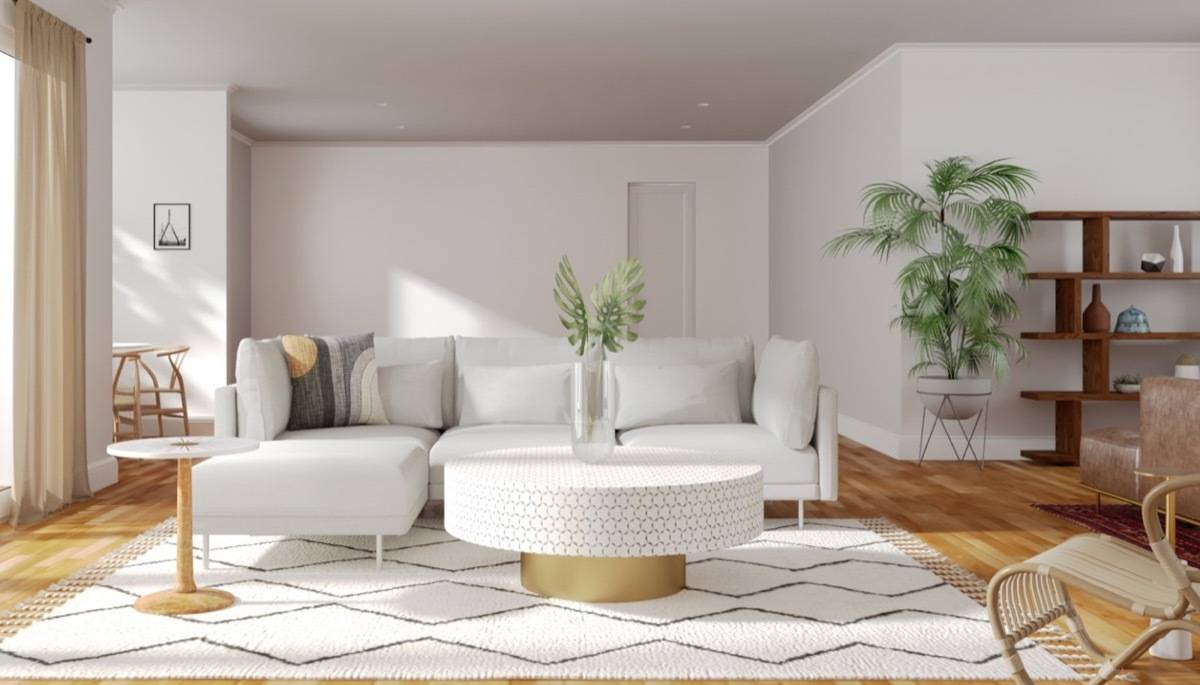
Everyone has their own unique taste when it comes to decorating, furnishing, and accessorizing their own home. But how do you bring those preferences together into a cohesive décor style?
Whether you love bright colors or shades of white, natural materials, or tons of pattern, understanding your interior design style means making better interior choices. (And fewer, potentially costly interior mistakes!)
Ready to start your search? These interior design style quizzes are a great way to figure out what style suits you and your home.
8 of the best interior design style quizzes
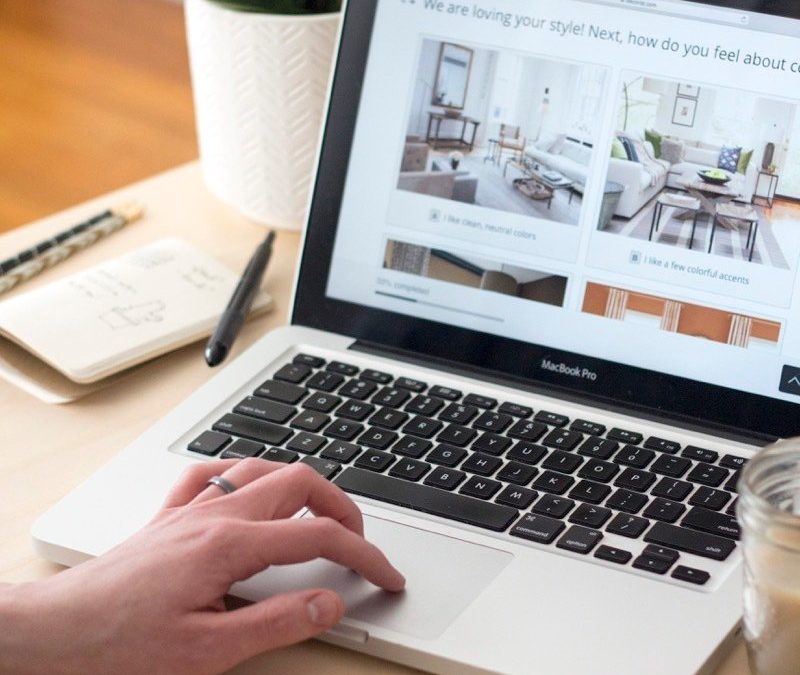
1. Apartment Therapy: Find your Style Quiz
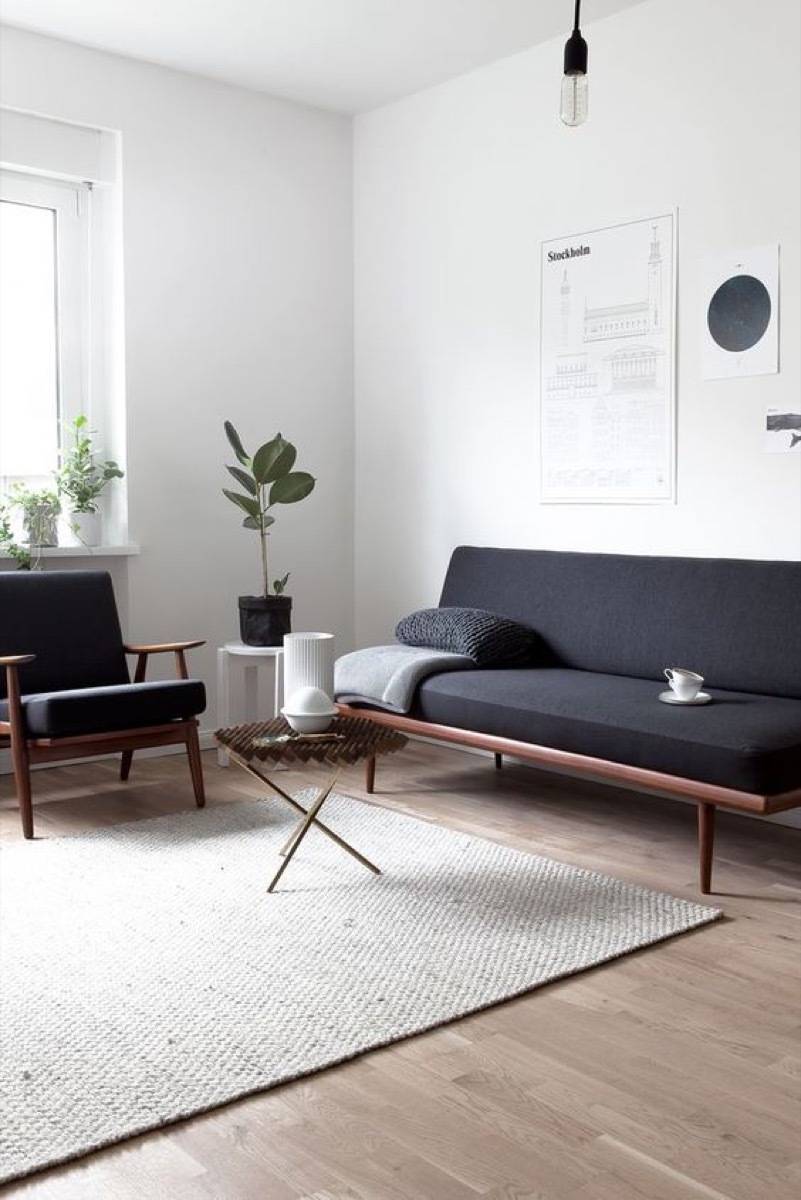
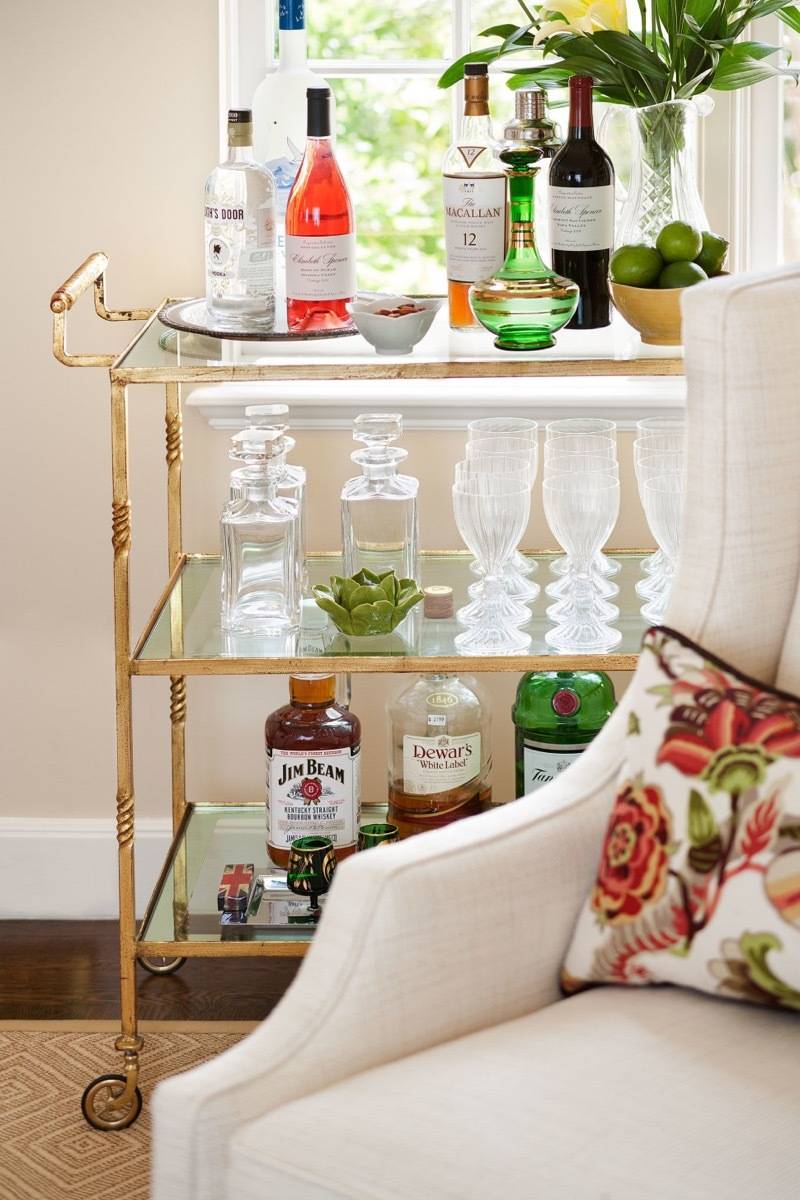
This quiz couldn’t be quicker or simpler. Just grab a pen and paper and take a look at each set of interior images. Pick the design style you like best (as quickly as you can — no overthinking it!) and record your preferences.
Depending on your choices, you’ll find out that your style is Warm Industrial, Classic Glam, Happy Modern, or Eclectic Collector.
This Apartment Therapy quiz also gives you some great tips on where and how to shop in order to master your preferred style.
2. The Decorist
Want the eye of a professional interior designer for your house? Use this simple quiz to get matched with one!
You’ll answer five questions put together by Decorist’s online interior designers and then find out what kind of style suits you best. Just share your email at the end to access your results.
3. SheKnows
Answer these easy questions to discover your interior design style.
This style quiz uses everything from your fashion sense to your favorite vacation destination to figure out your interior design preferences. It’s simple, quick, and super fun.
4. Buzzfeed
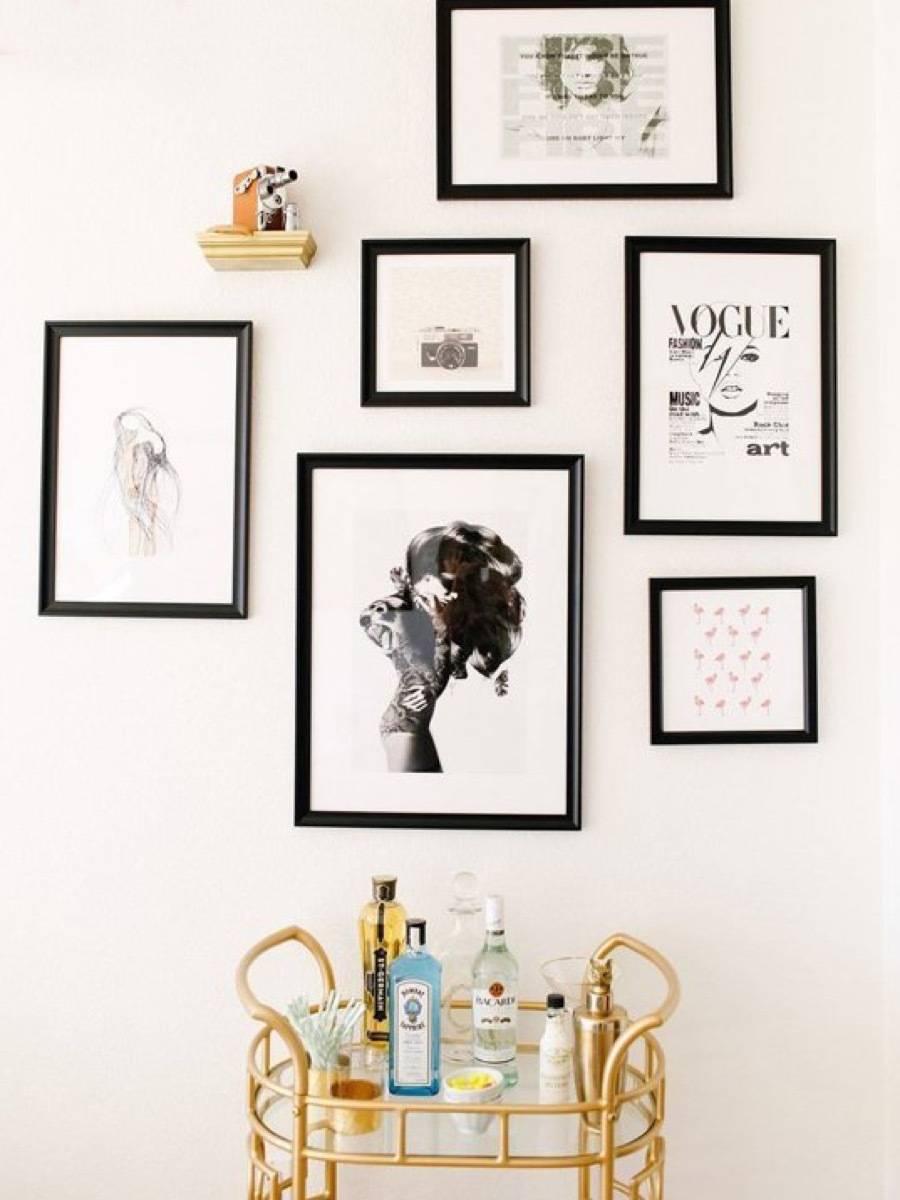
Another beautiful, visual interior design quiz to try. Select your must-have items from an interior wish-list and you’ll discover your home style aesthetic.
Will yours be industrial, farmhouse, eclectic or shabby chic? Take the quiz to find your style and then make use of Buzzfeed’s handy sharing functions to send your results to a friend.
5. Lonny
What are your interior faves? A jungle of houseplants or a neutral color palette? Vintage finds or sleek lines?
We particularly loved the all-important and hugely divisive question, what are your thoughts on wicker?
6. Houzz
Don’t think your favorite restaurant, your choice of pet, or your go-to tipple have anything to do with your interior design style? Think again!
This Houzz quiz is lots of fun and full of questions totally unrelated to interior design. This means you can’t predict your results. And you get a totally fresh look at how your interior design style could work.
Get ready to discover your interior design style with just a single question. The first step is the only step for this interior design quiz.
Take a look at eight sets of sofas, rugs, and room accessories. And then choose your favorite items to find out your specific design style. It really is that simple!
8. Designer Society of America
This interior design quiz has been put together by the Designer Society of America, so you can trust that these people are at the cutting edge of interiors.
To complete the quiz, take a look at imagery of furniture and differently decorated rooms before selecting your preferences. You’ll pick your favorite area rug, tables, wood flooring, kitchen, and sofa before finding out which style suits you best.
Along with your quiz result, DSA also suggests some great interior magazines suited to your interior design style.
If you’re struggling to realize your décor style, why not try one (or all!) of these interior design style quizzes today?
Pick the Designer Society of America or Apartment Therapy quizzes and you also get some great tips on how to put your newly discovered interior style into action.
Once you’ve got a handle on what your style is all about, redesigning a room or finding those perfect finishing touches is sooooo much easier. A cohesive style gives you the focus to confidently pick out the right colors and pieces for every room.