Don’t get me wrong; I love my dog. But one thing I could definitely do without? The pet hair that seems to get everywhere. In fact, I’m convinced that my carpets, rugs and upholstery are now 70% pet hair, which is why I was incredibly eager to see if Joseph Joseph’s new CleanTech 3pc Pet Hair Cleaning Tool Set (£28 at Amazon) would help me out.
I already own one of the best vacuum cleaners for pet hair and celebrate all of its pet-hair-busting qualities, but anyone with pets will know getting rid of pet hair isn’t as simple as it seems. Fluff bunnies seem to congregate in every corner, soft furnishings attract hair like magnets, and it’s impossible to vacuum every single strand, as these hairs are often invisible to the naked eye.
So, when I learned that Joseph Joseph had expanded its ridiculously successful CleanTech range to include pet hair cleaning tools, I knew I had nothing to lose. I immediately snapped up a set and put it to work in Barney’s playground (AKA my home), and, spoiler alert, it’s a game-changer.
Latest Videos From
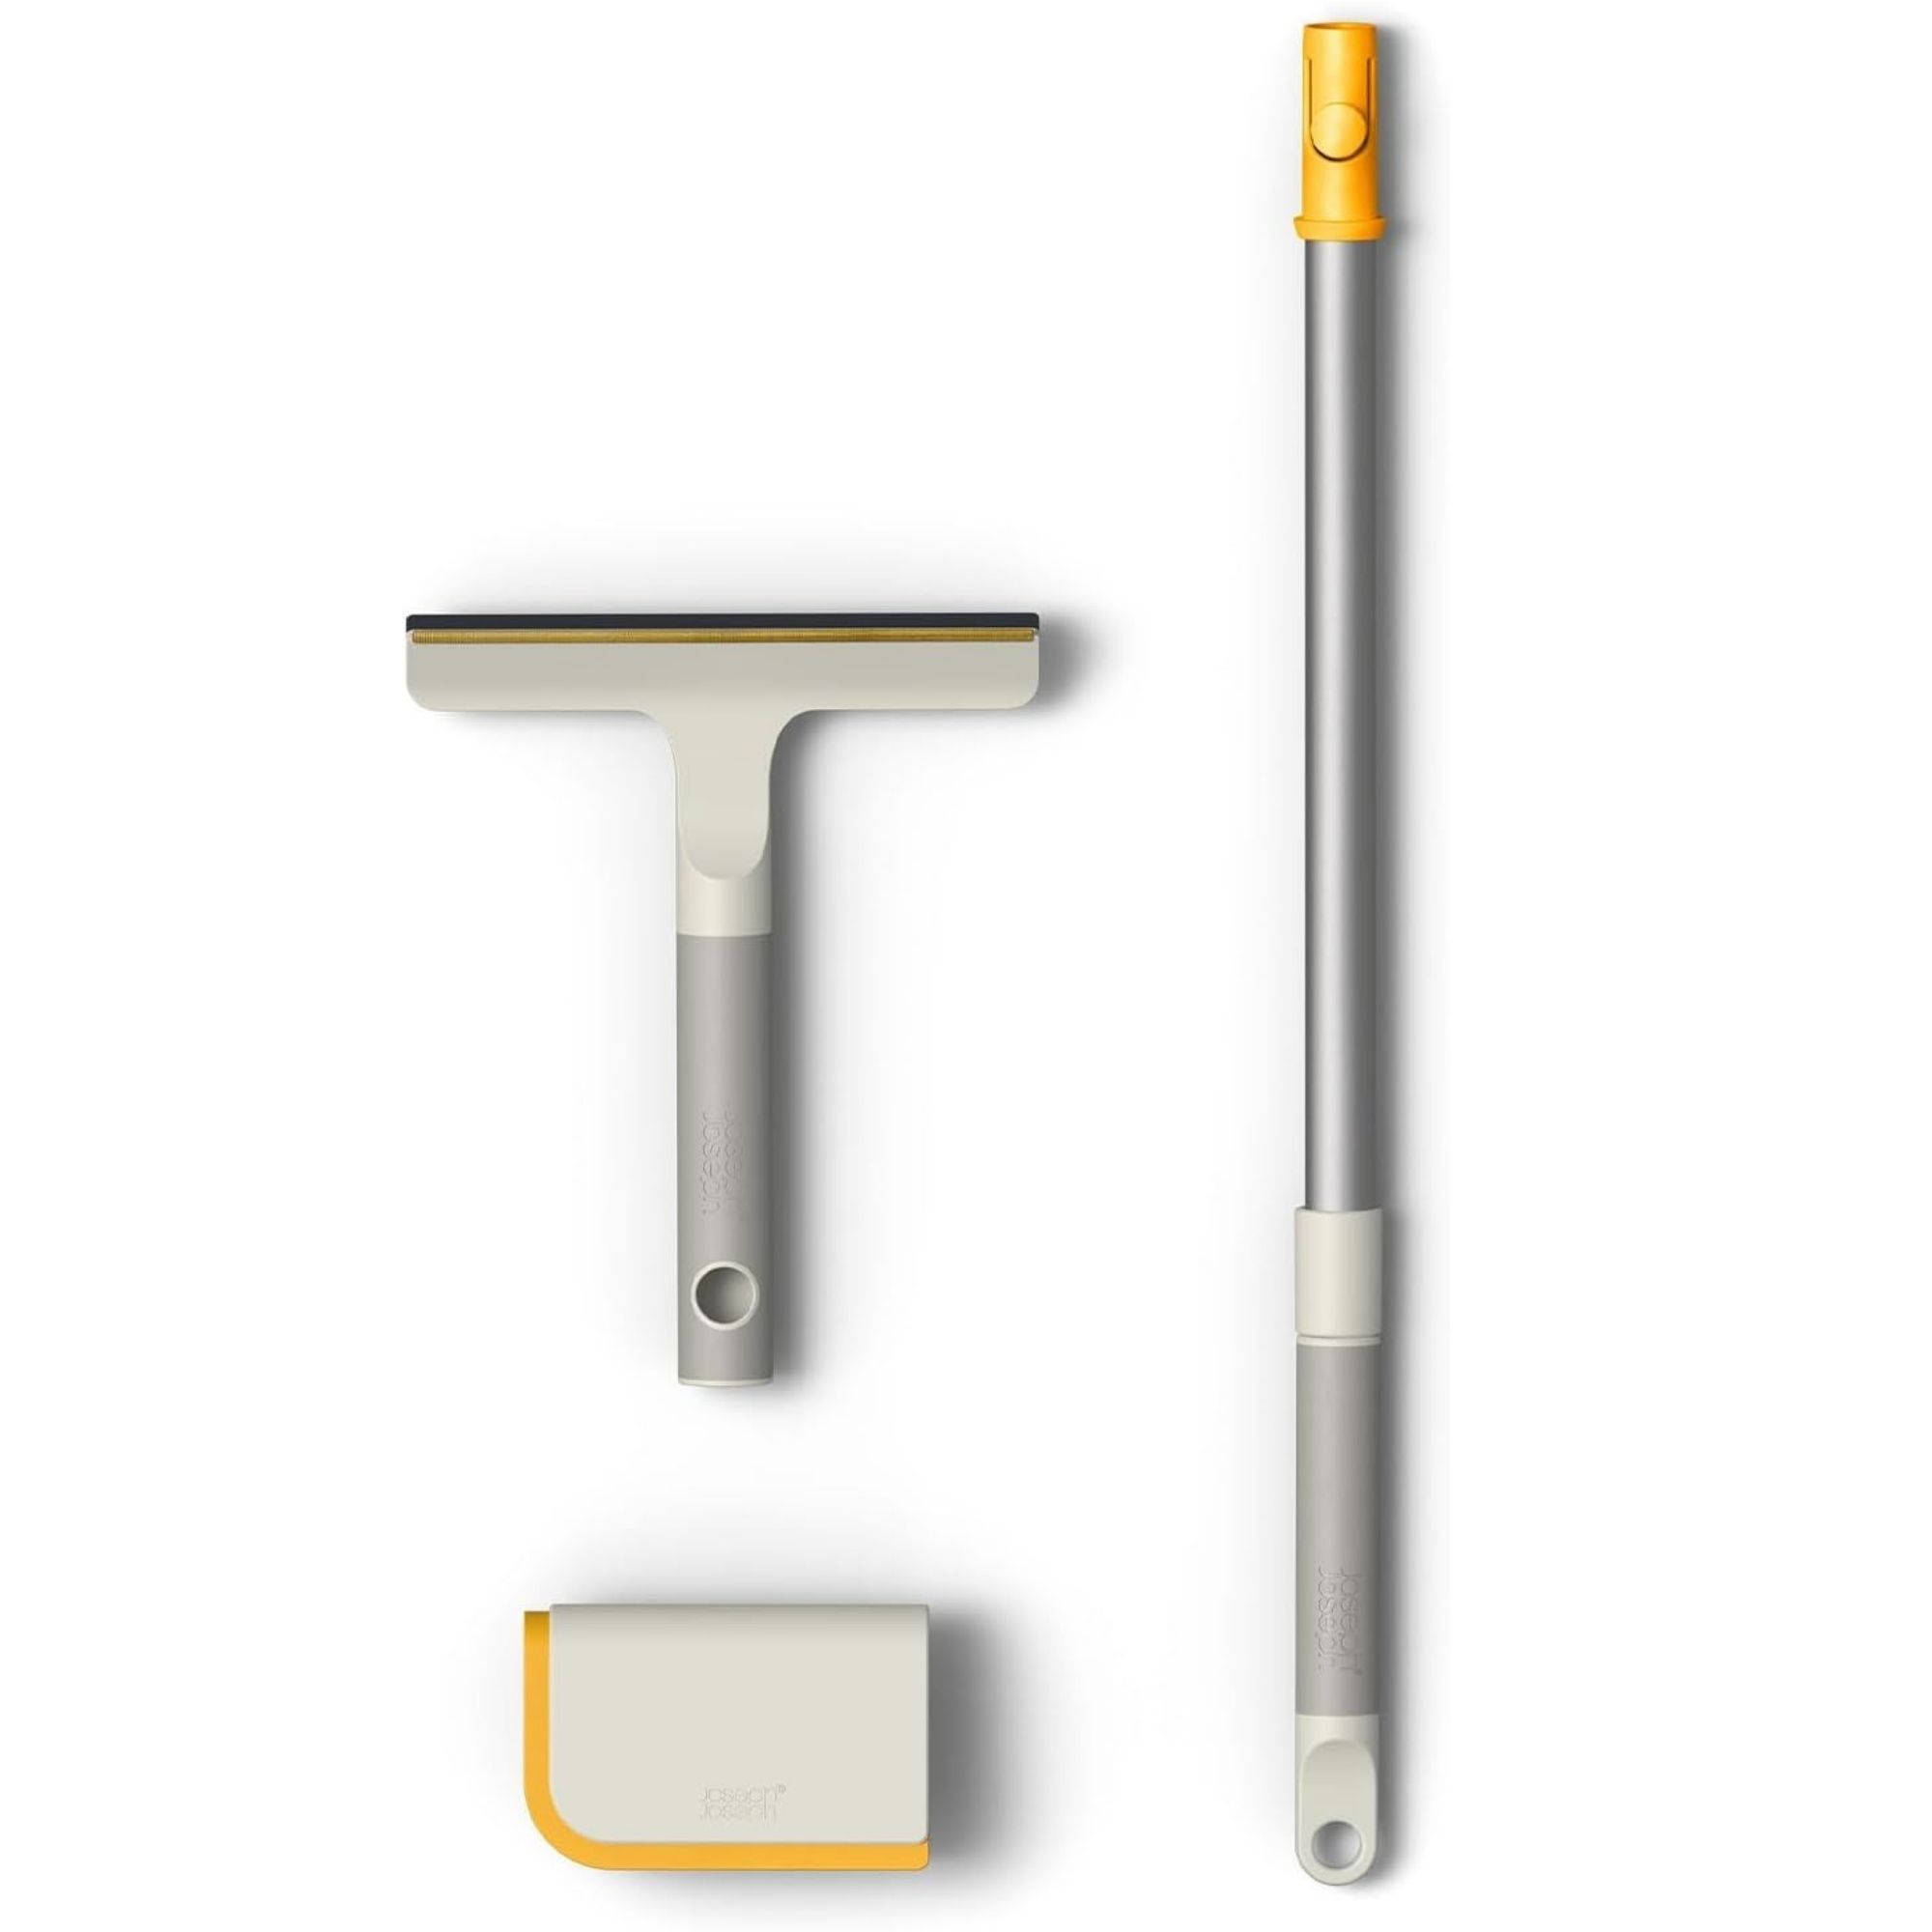
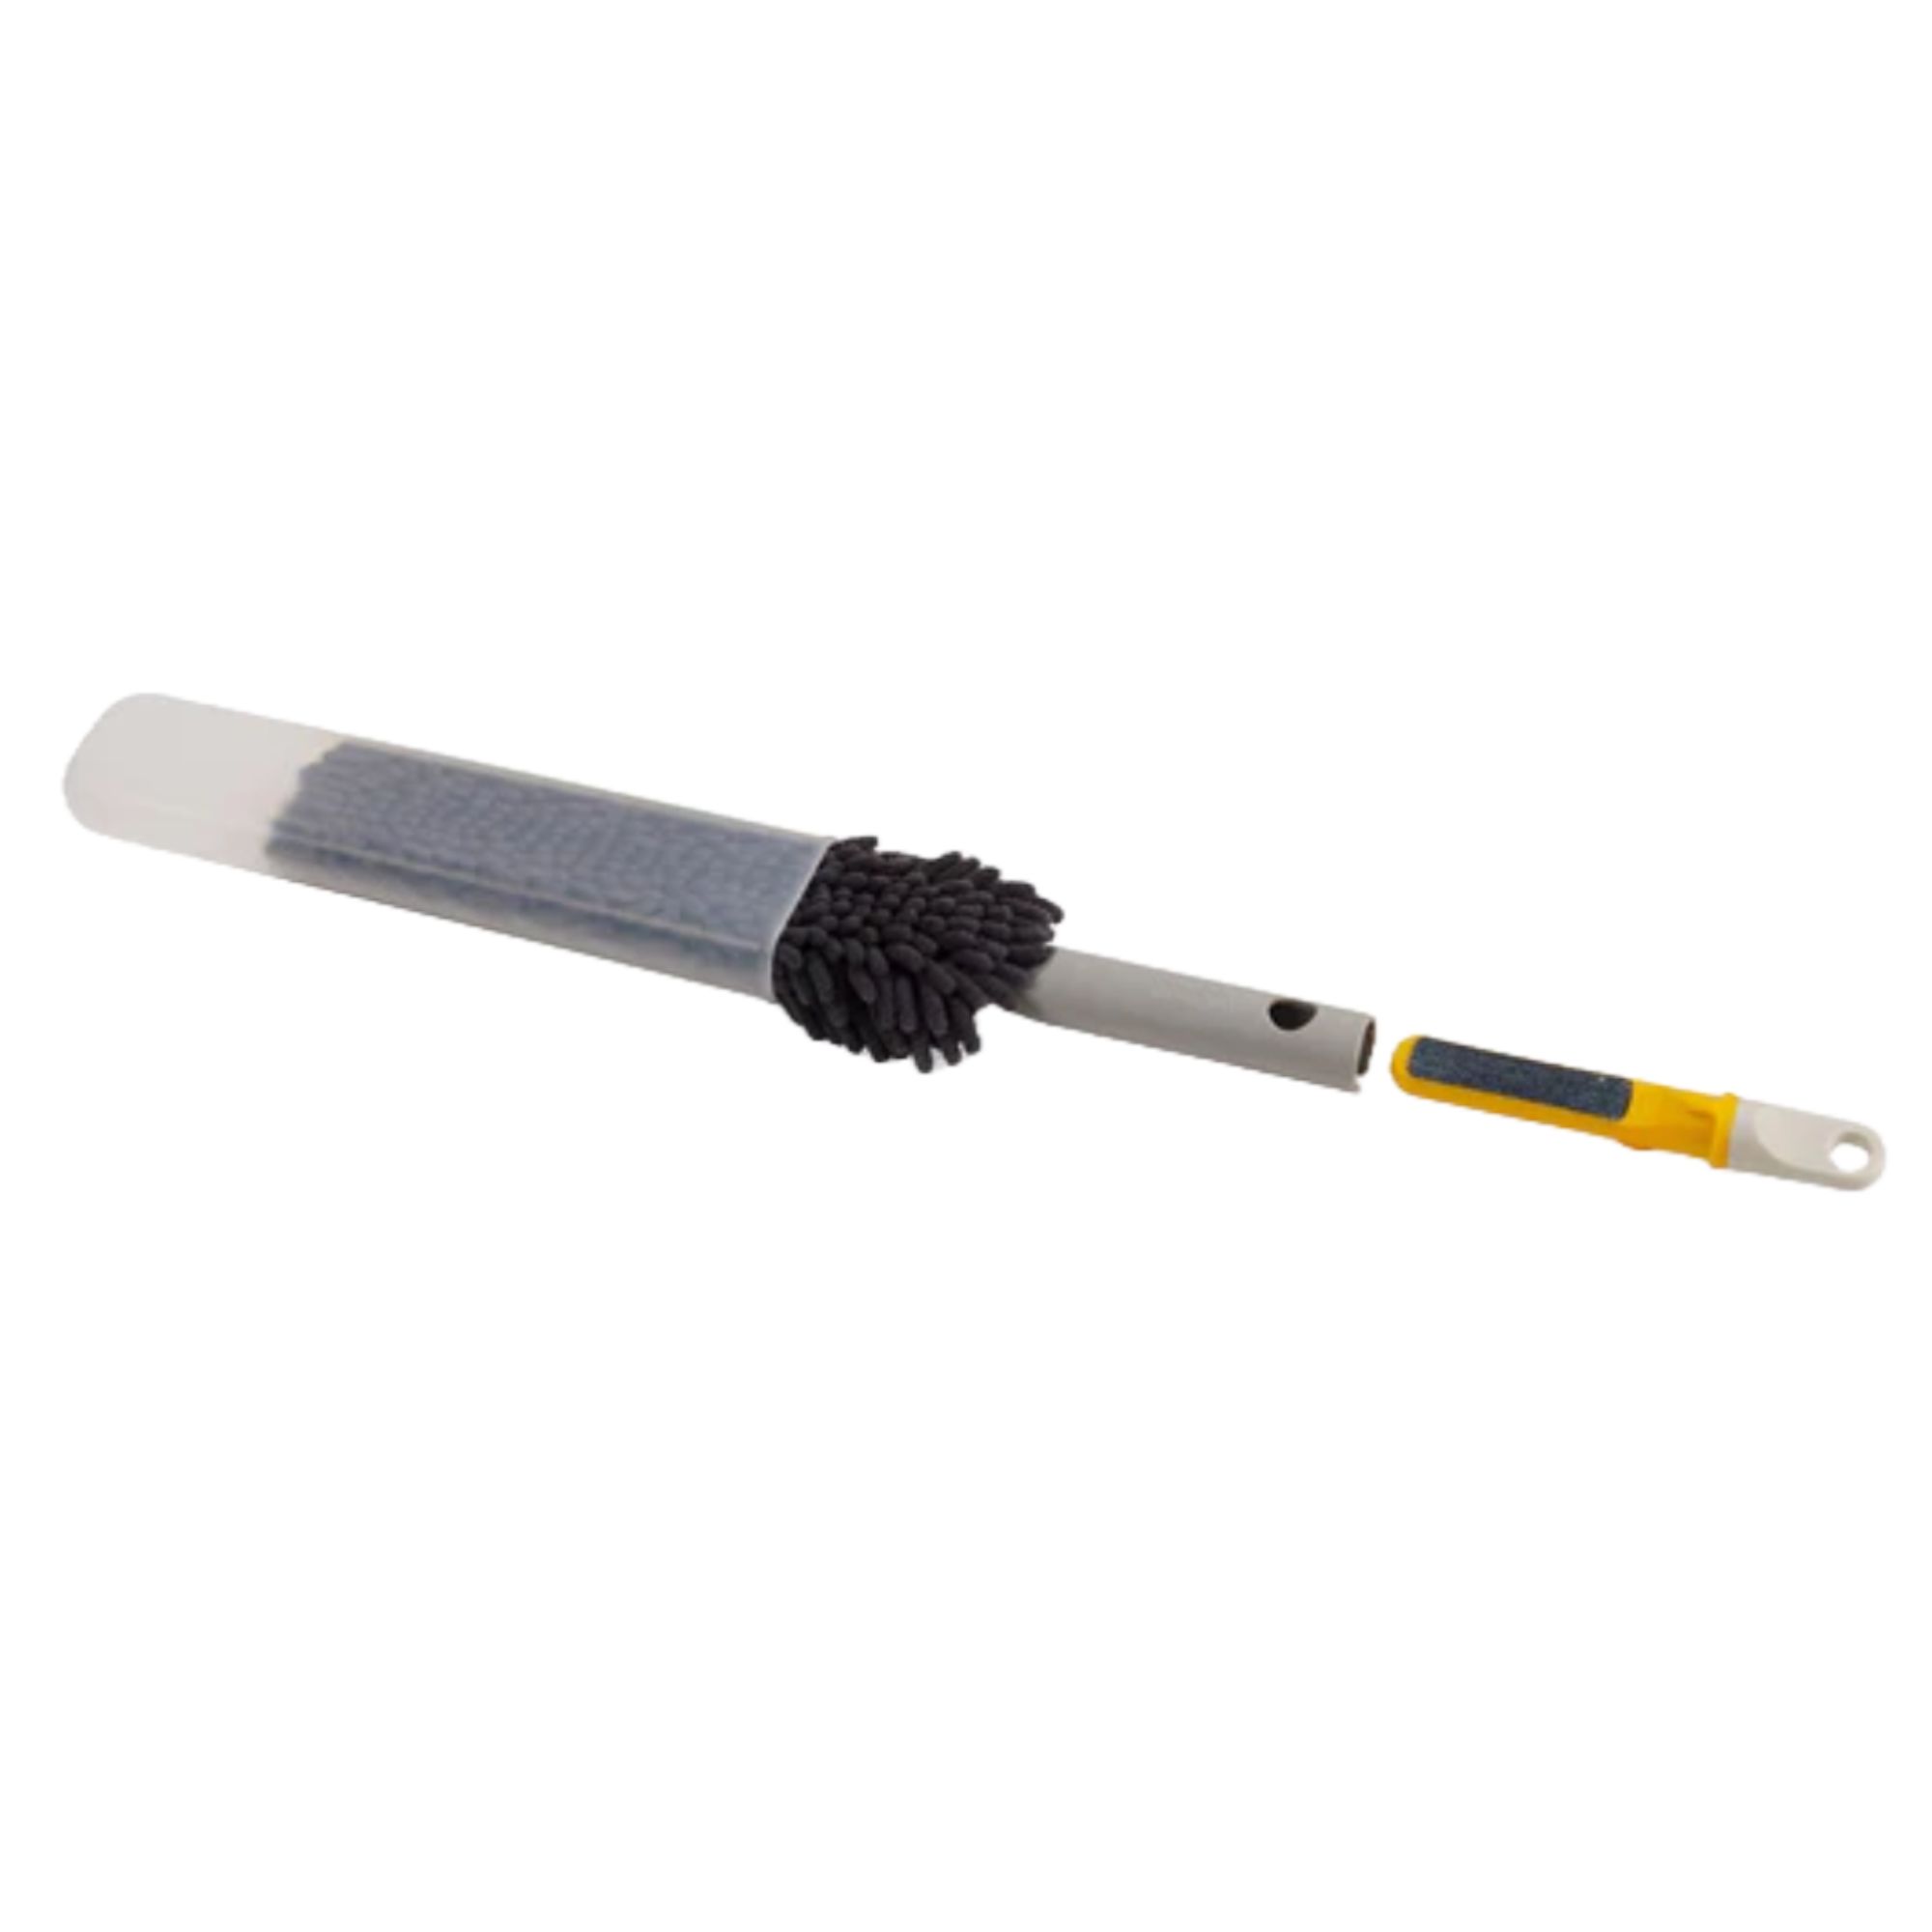
Joseph Joseph CleanTech 3pc Pet Hair Cleaning Tool Set
The 3-piece Joseph Joseph set is ideal for pet owners – or even long-haired humans!
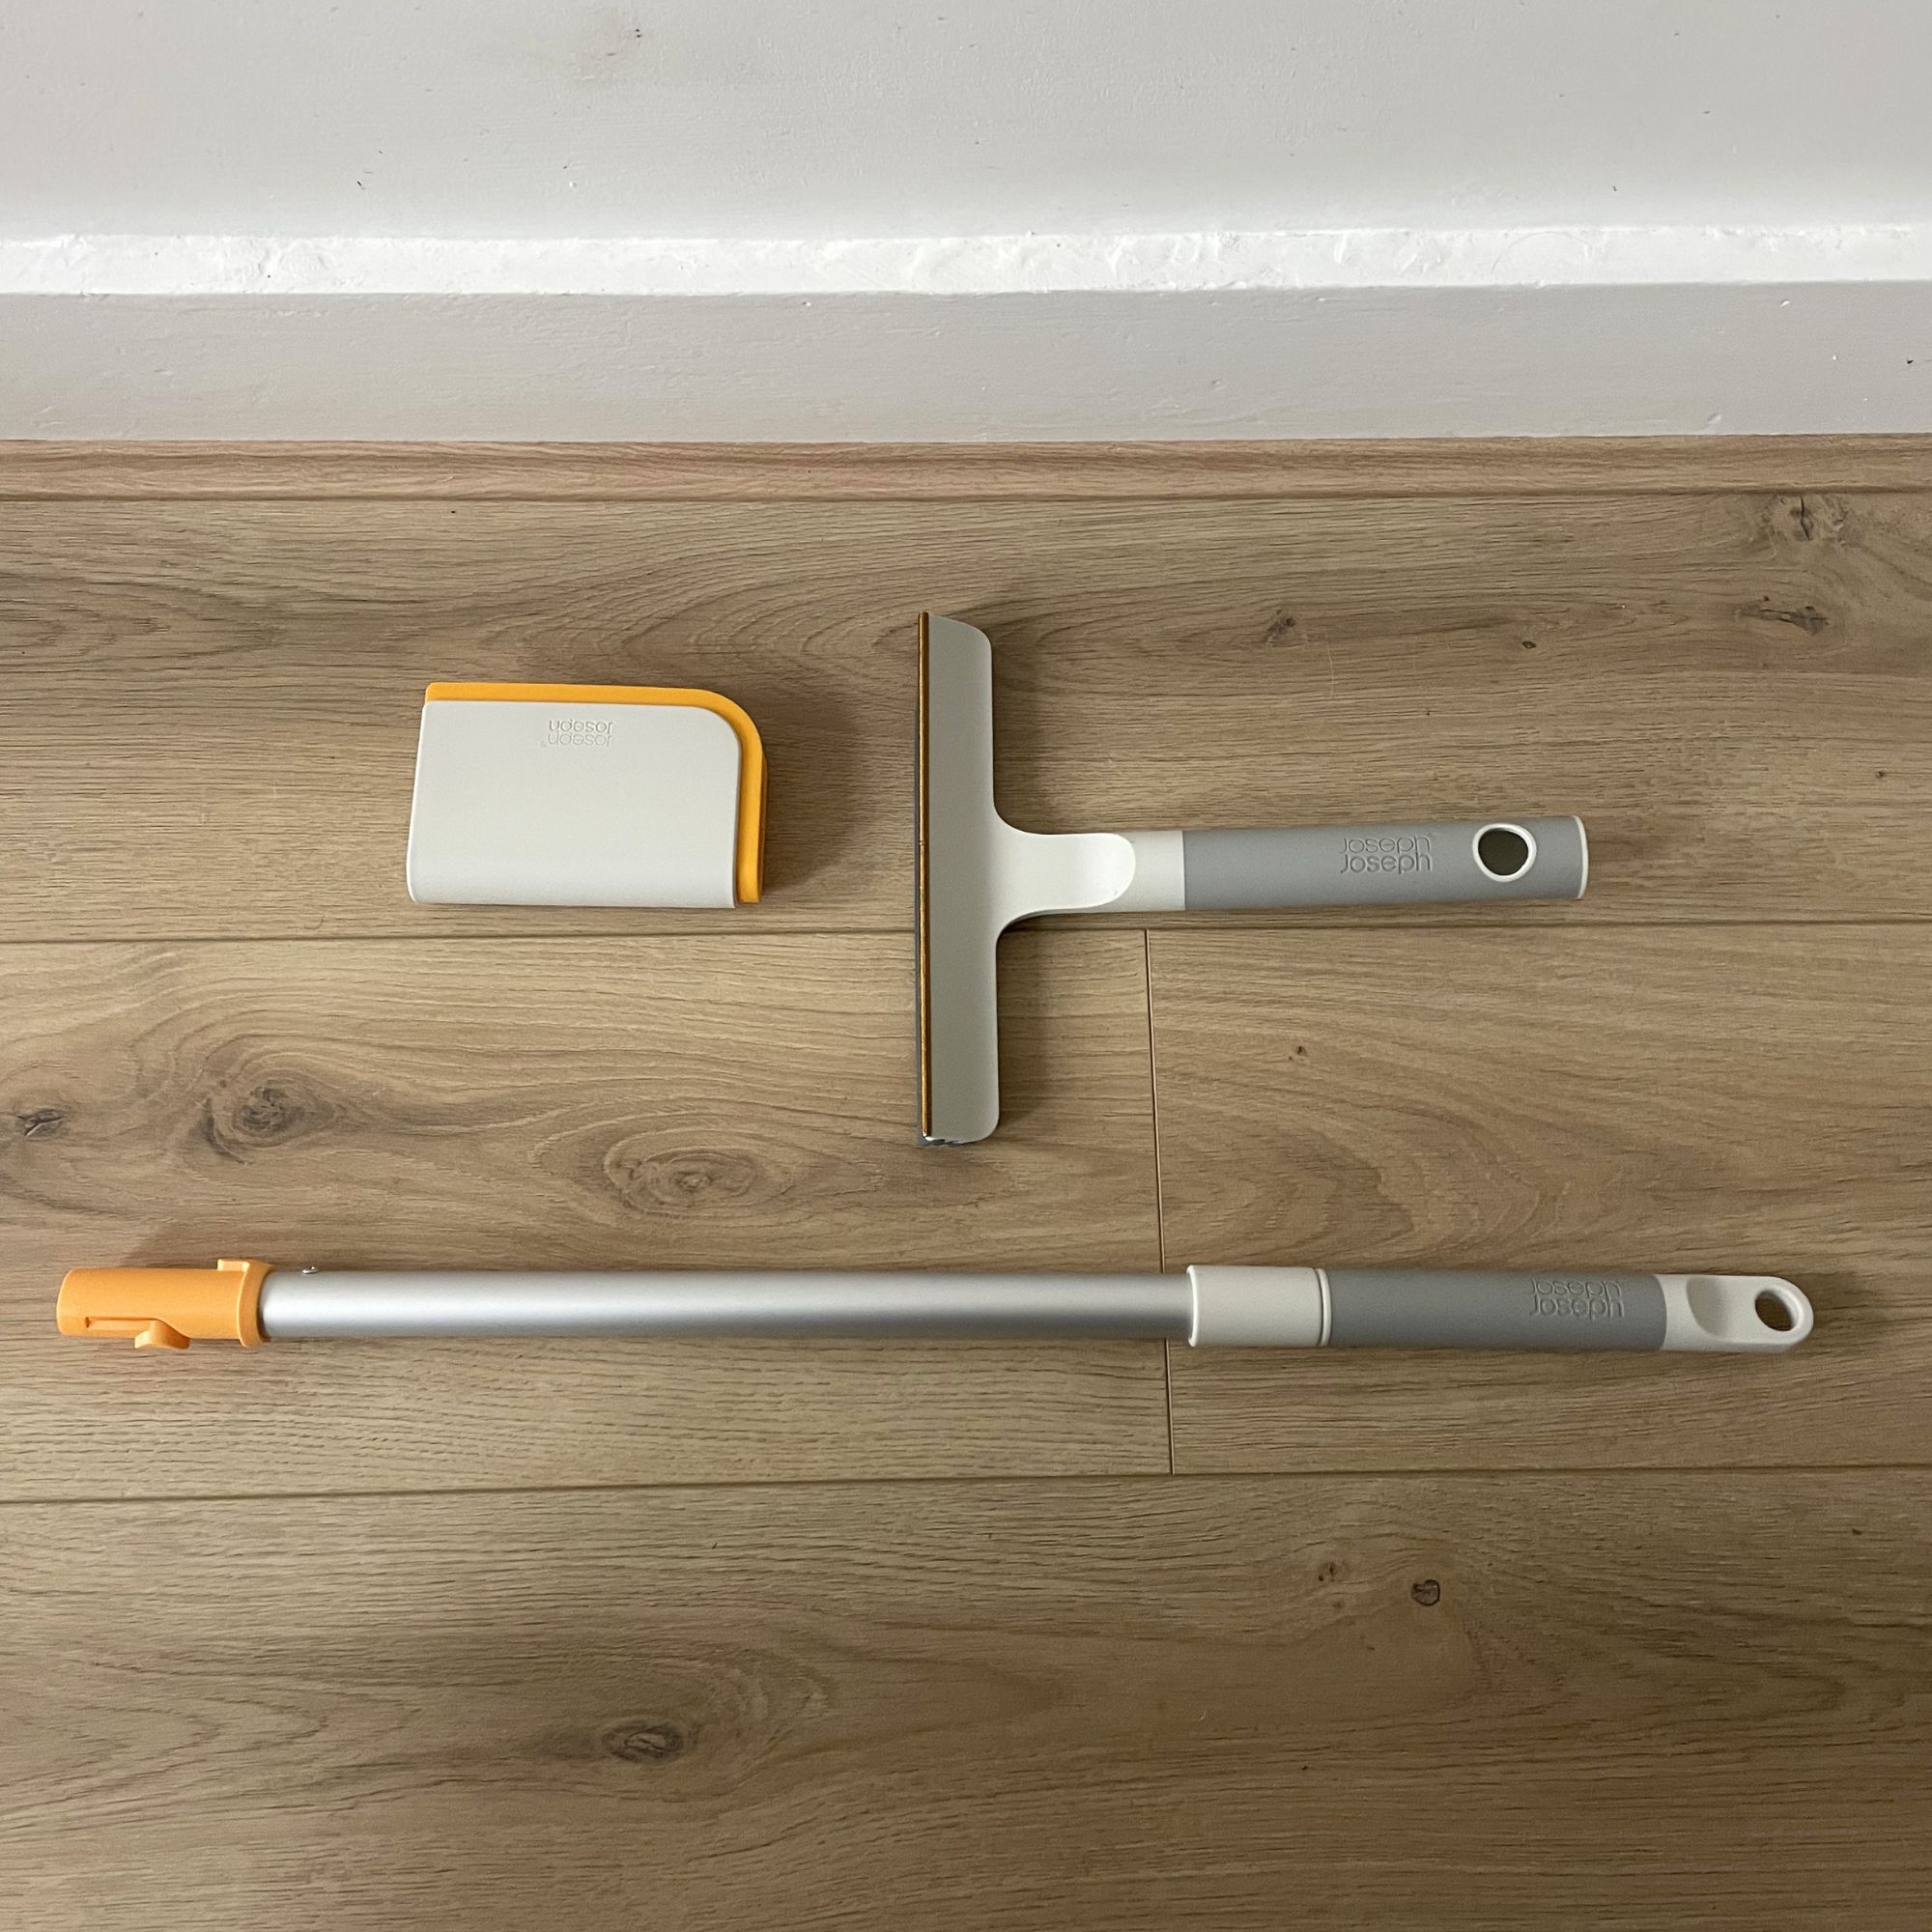
The Joseph Joseph CleanTech 3pc Pet Hair Cleaning Tool Set consists of three components: the carpet-cleaning tool, designed to remove pet hair from carpets; the upholstery tool for softer furnishings; and the extension pole.
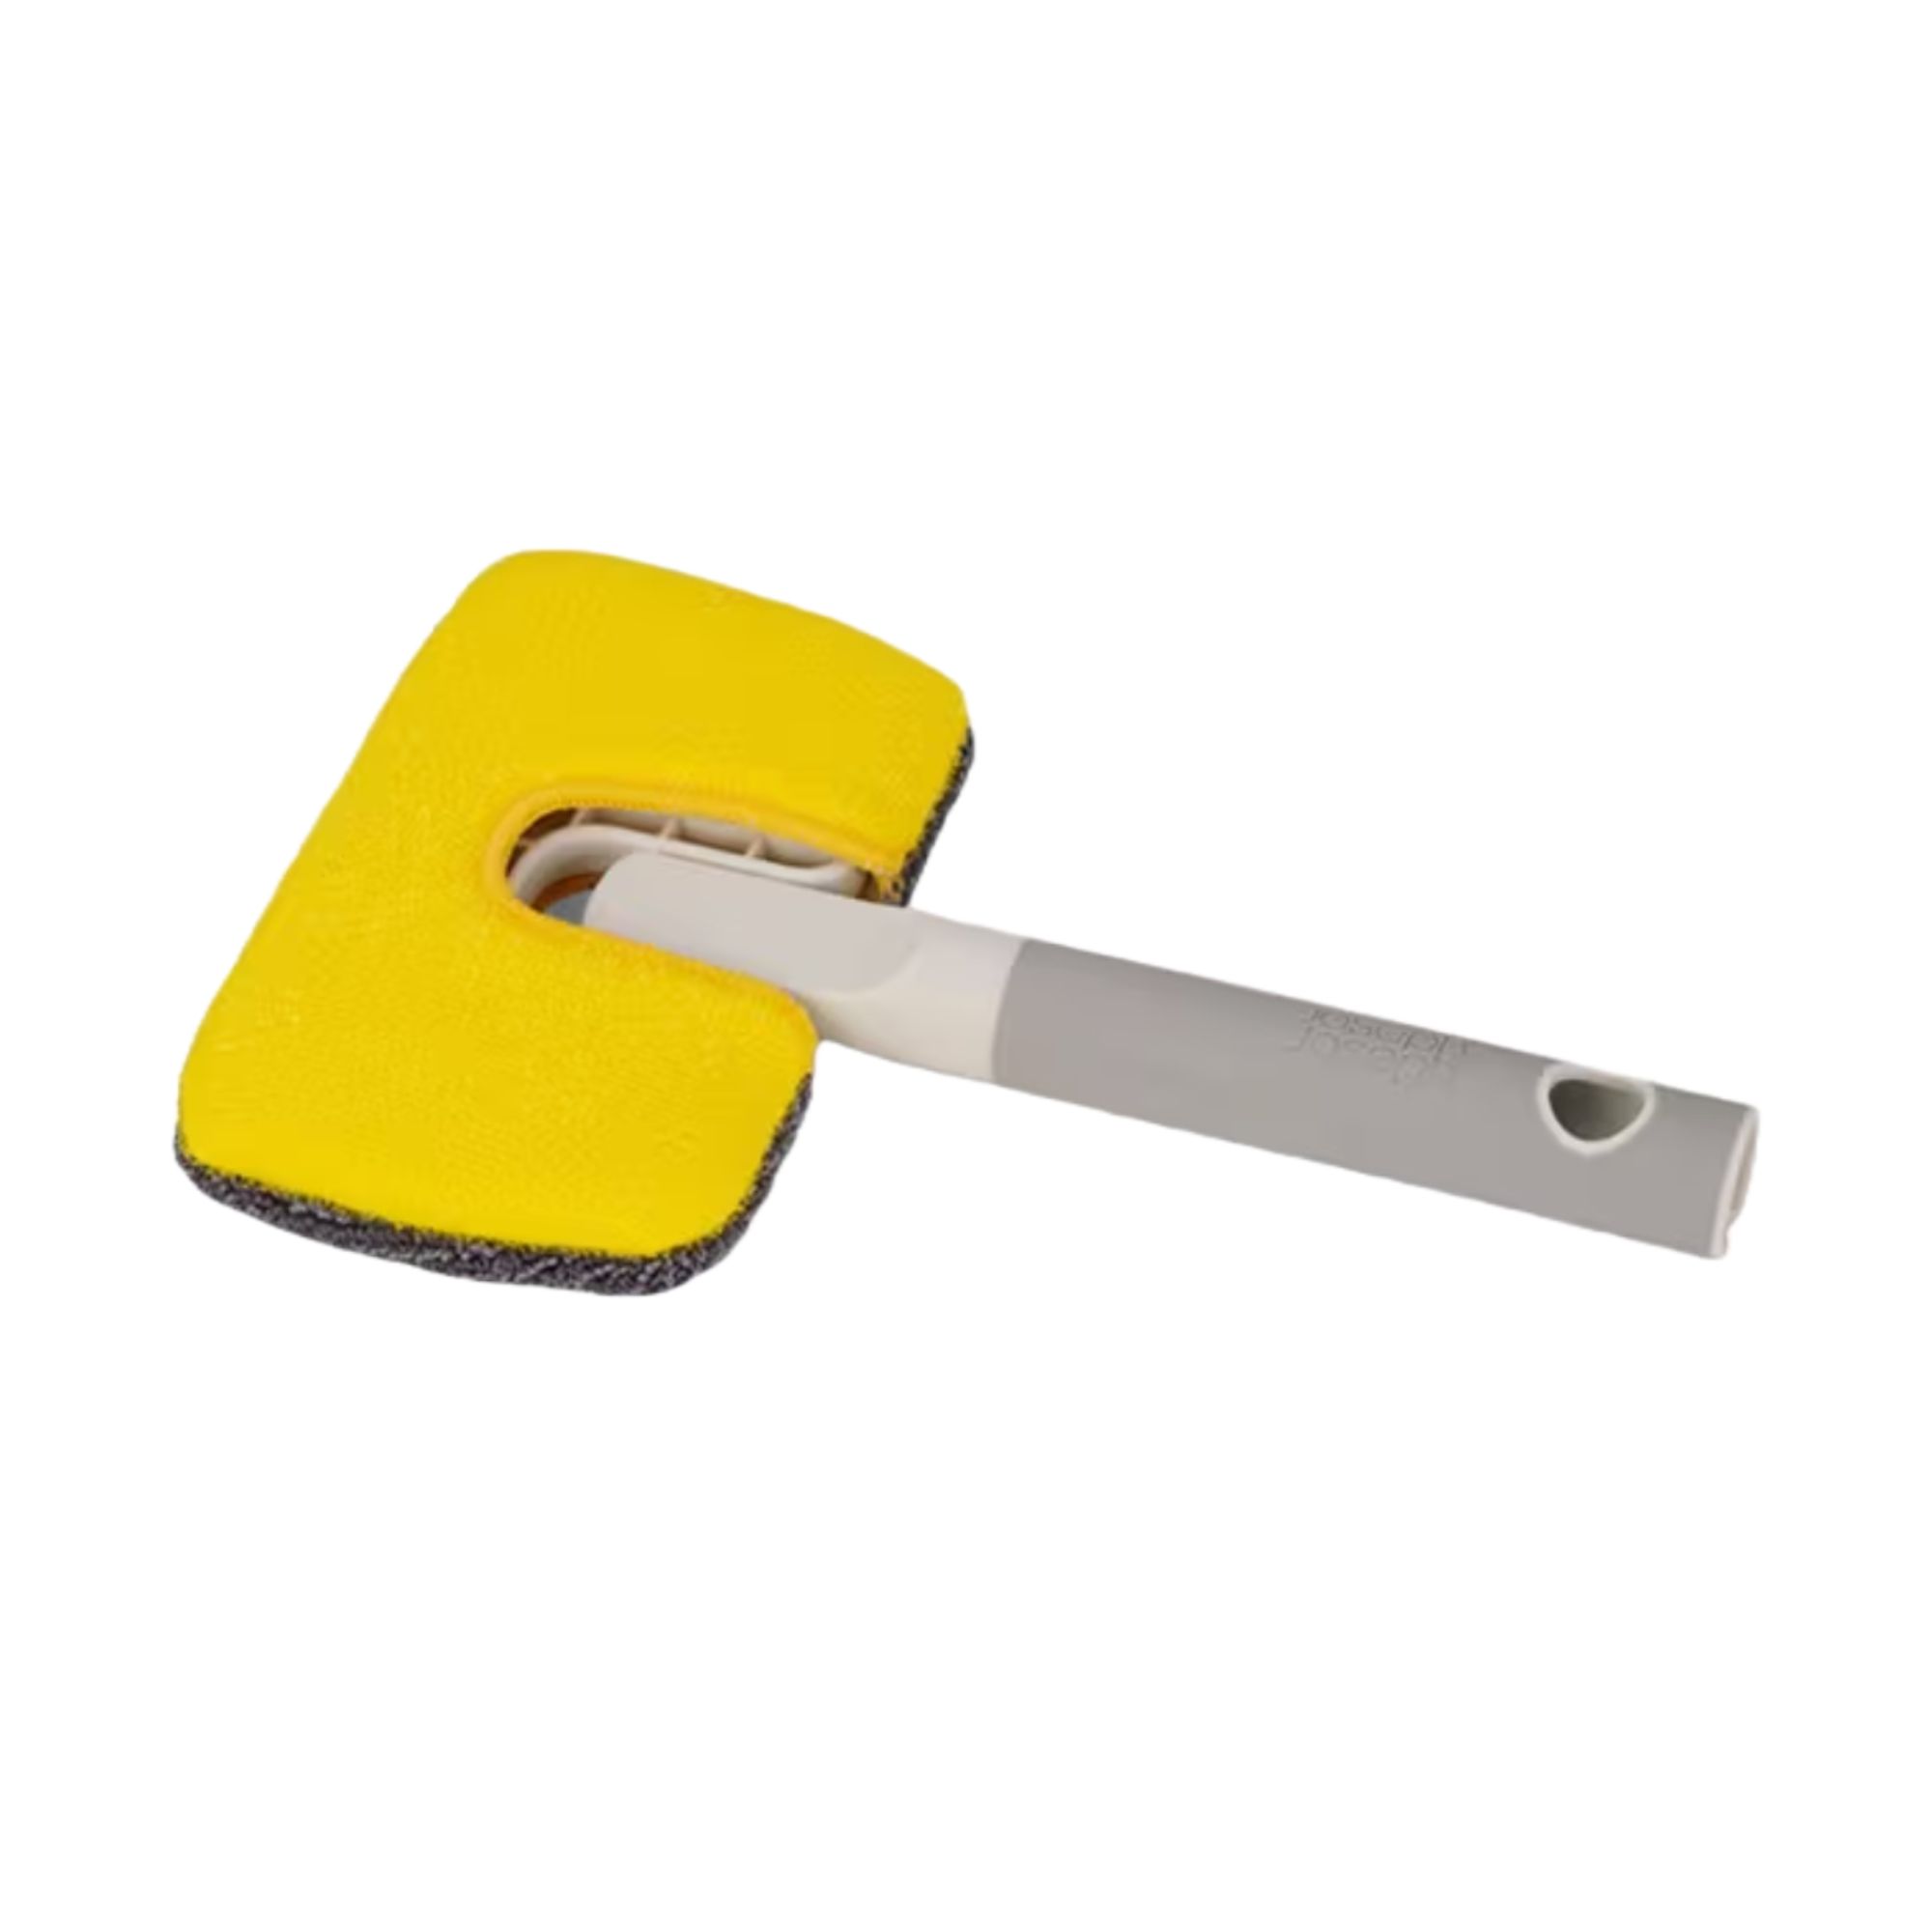
I decided to use the upholstery tool first, as Barney likes to sleep everywhere but his actual dog bed – like my fabric sofa footstool and the sofa bed in my home office. And while the grey footstool didn’t look like it was covered with hair, a few swipes of the plastic upholstery tool proved that it was hiding a very hairy secret.
This was all thanks to the rubber edge, which gently picks up hair without damaging fabrics. And due to the claw-like design of the upholstery tool, you don’t even have to touch the hair as you pick it up and deposit it in the bin. Yes, it really is that clever.
And the results were equally as horrifying on my velvet sofa bed, which was covered in tiny, thin dog hairs that quickly bundled together into one giant hairball. It even allowed me to scrape and remove a lot of pet dander and dust from the sofa, which I then vacuumed up using the handheld part of my vacuum cleaner (the Shark PowerDetect Speed, in case you were wondering).
Sign up to our newsletter for style inspiration, real homes, project and garden advice and shopping know-how
(Image credit: Future PLC/Lauren Bradbury)
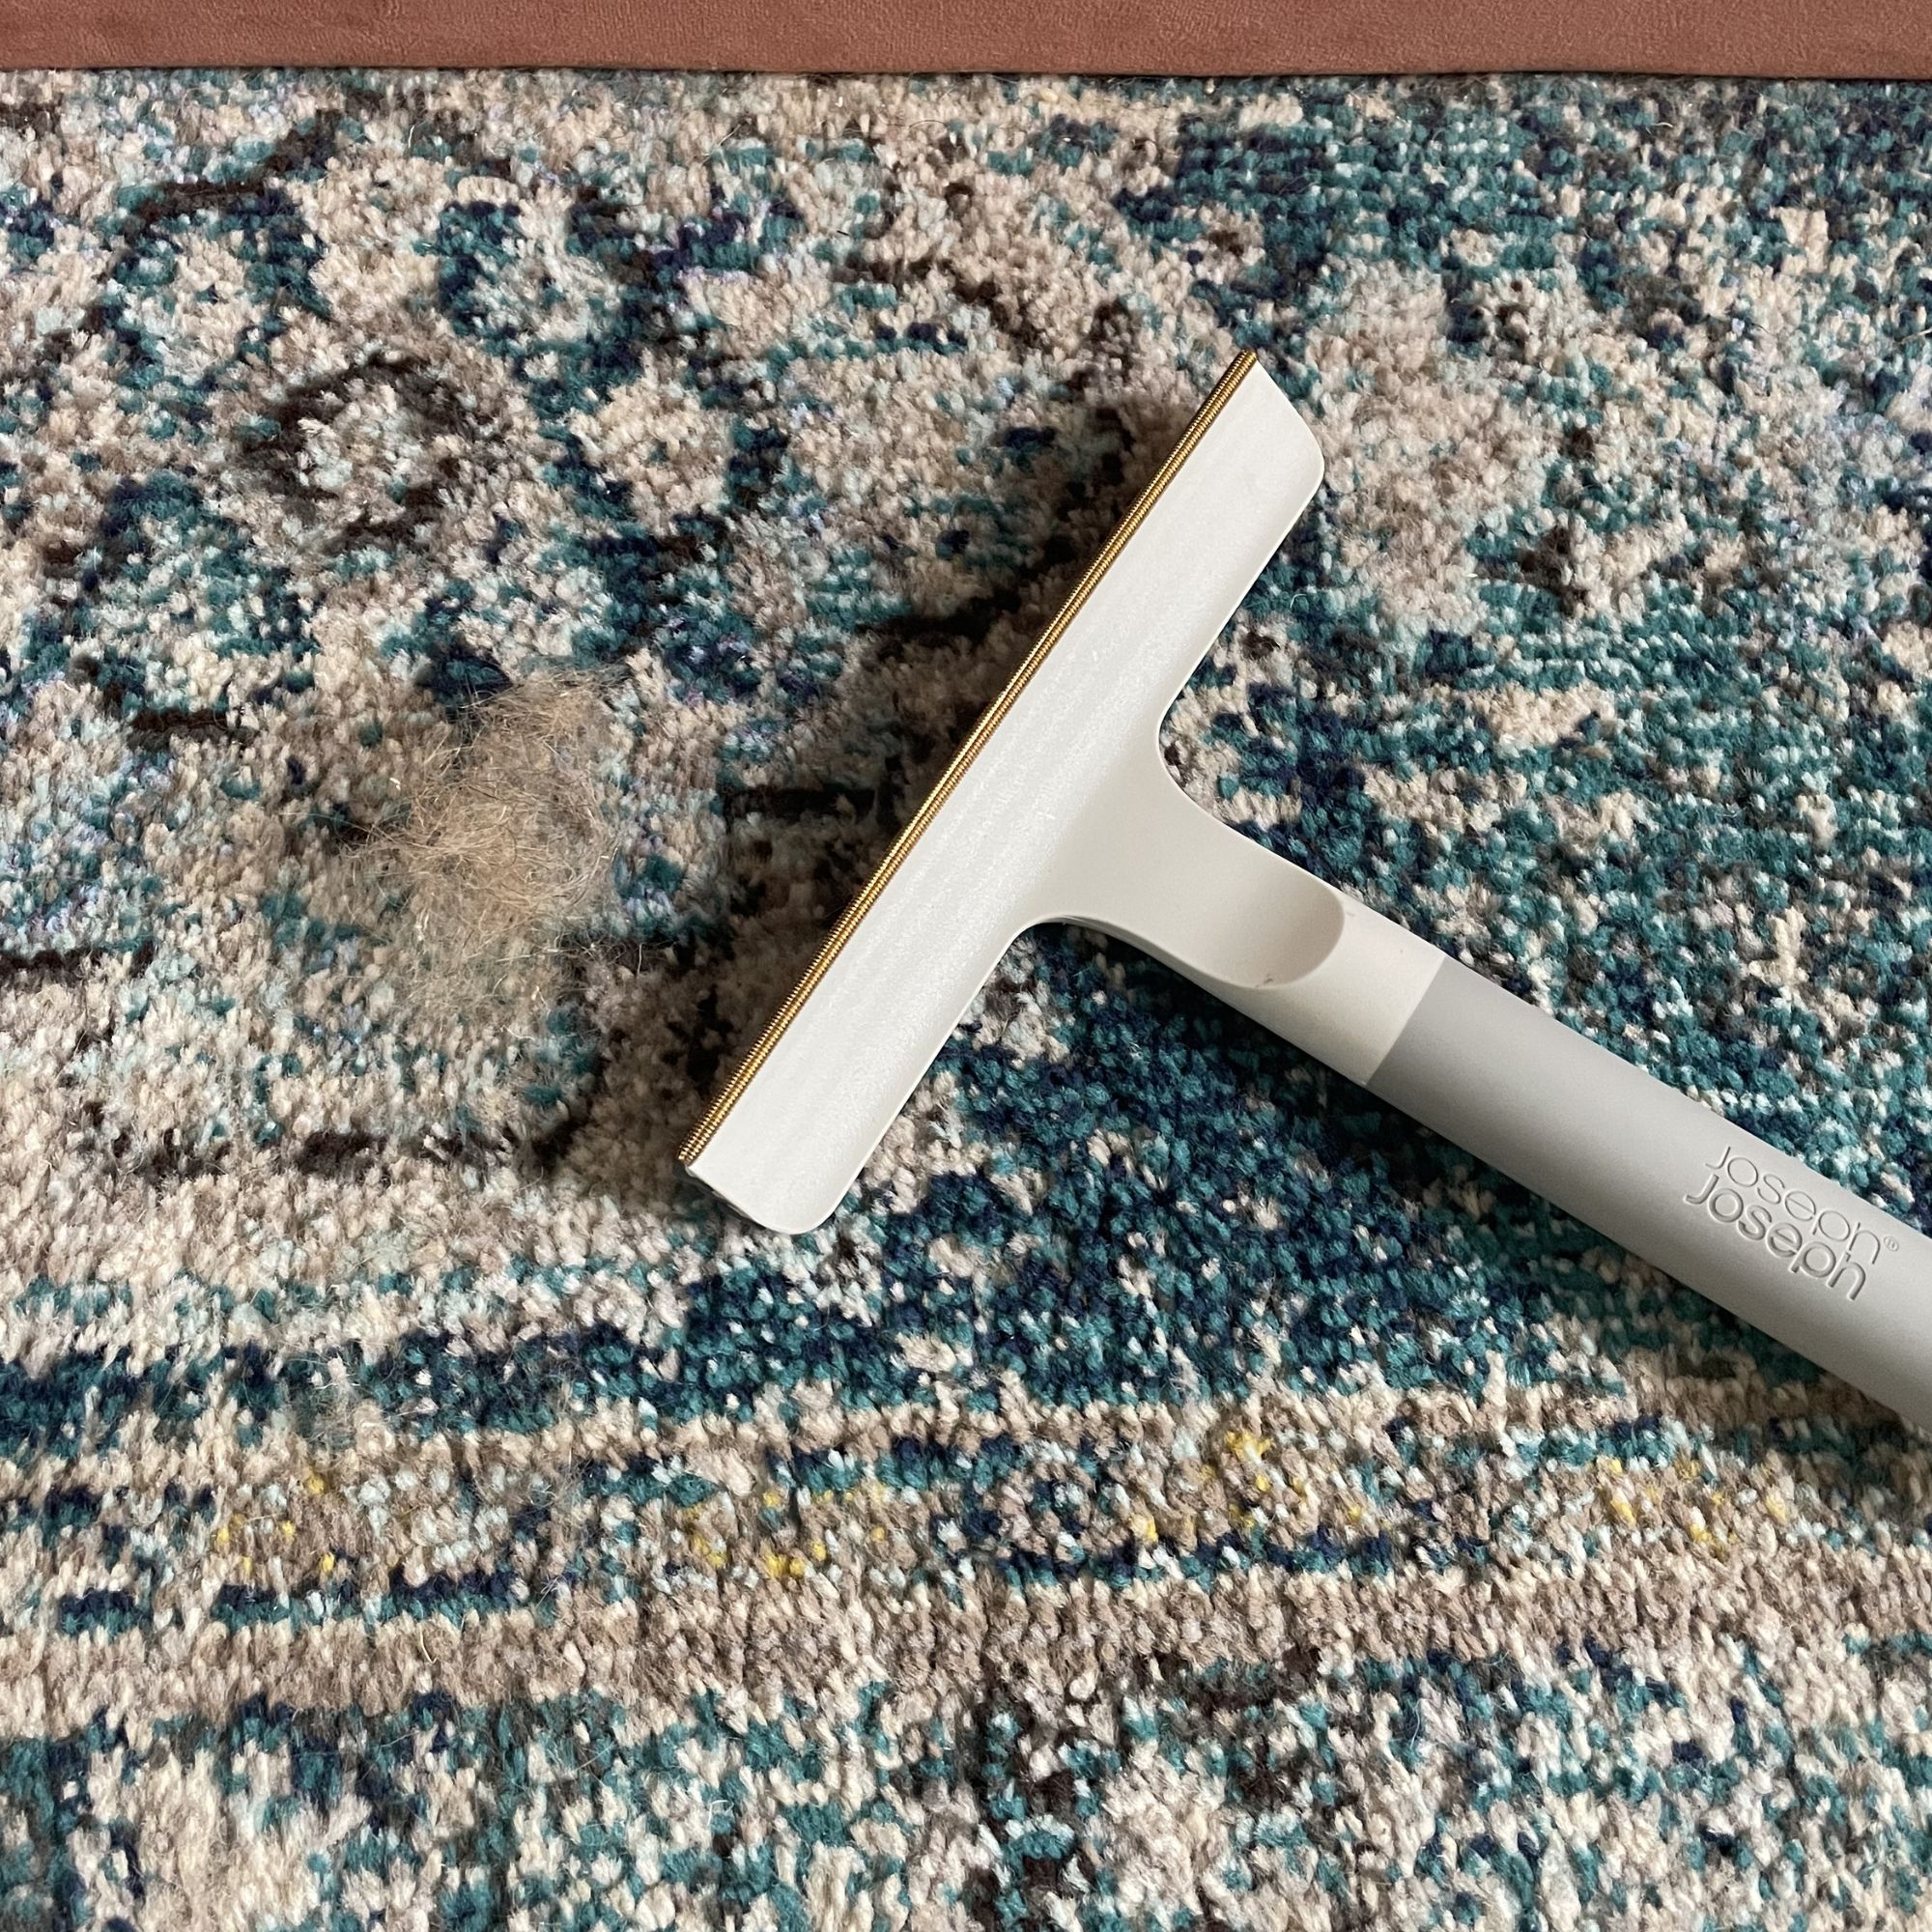
As I wanted to test the entire set, I grabbed the carpet-cleaning tool and used it on the rug my dog often sleeps on at night. This is something I’ve begun carpet scraping recently anyway, as the intricate pattern makes it impossible to see hidden pet hairs. But even though I’d recently used a carpet scraper, the Joseph Joseph pet tool still managed to highlight a small dog’s worth of hair embedded within the fibres.
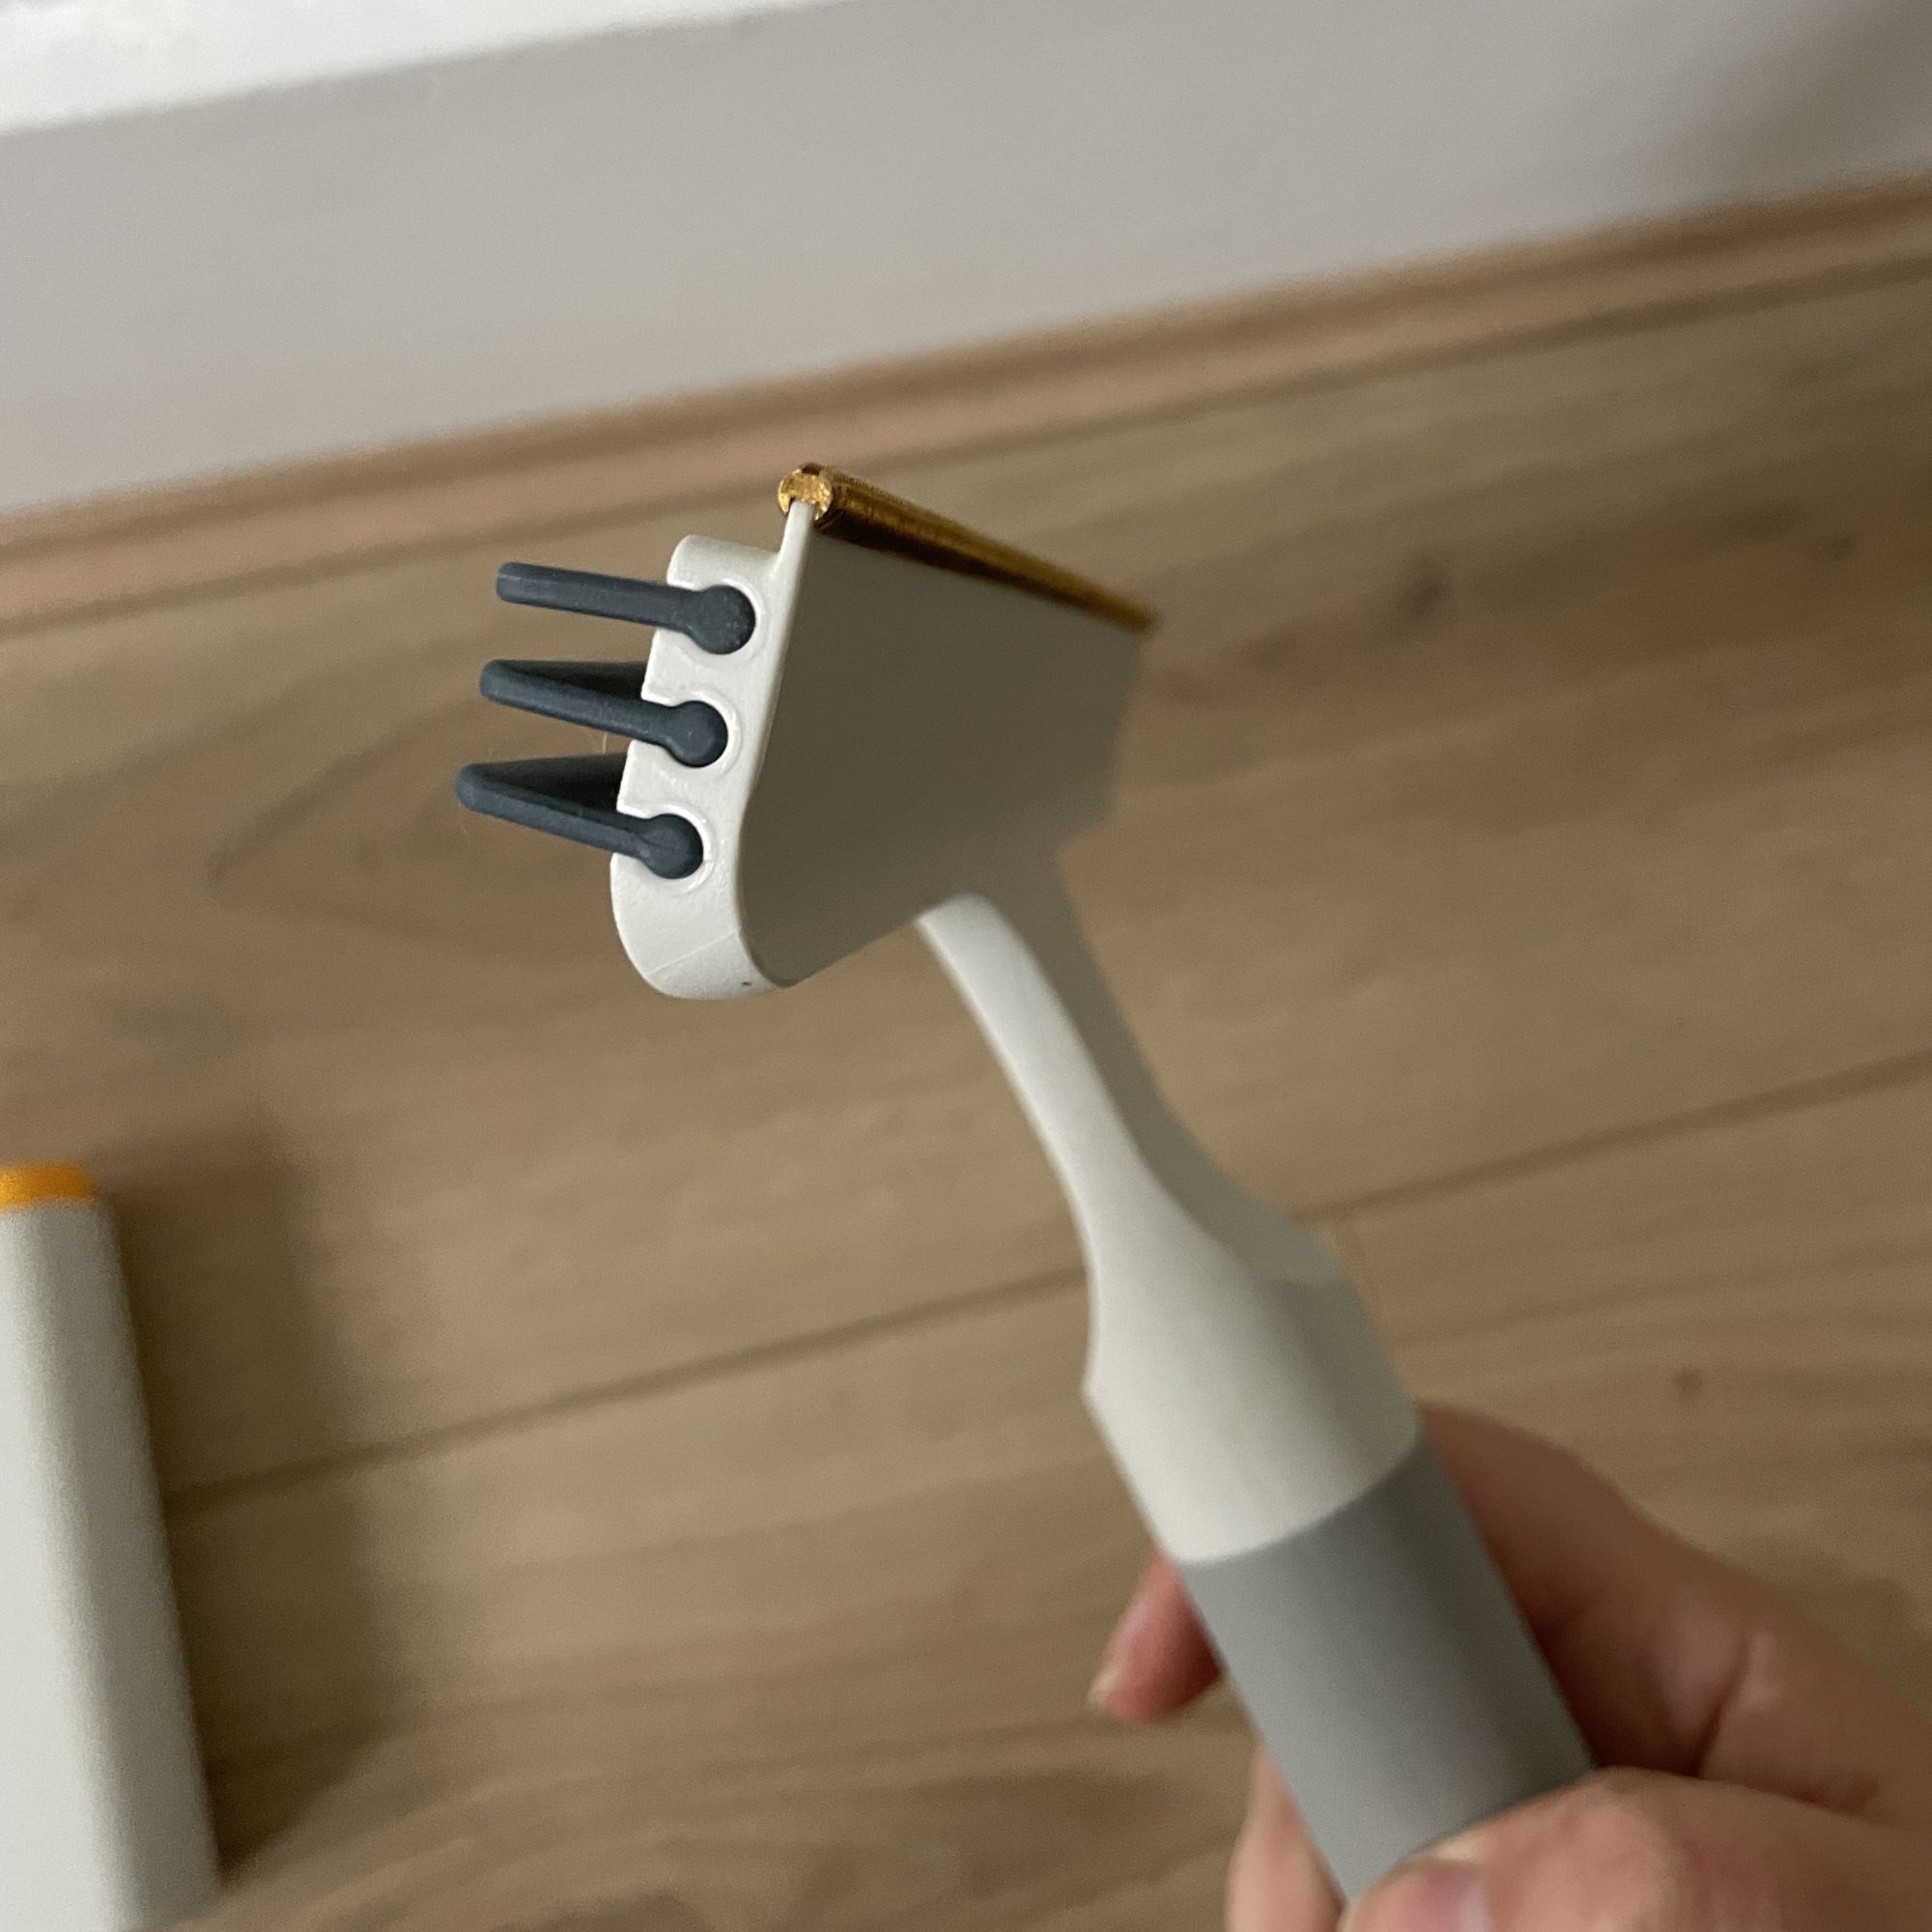
In my eyes, it’s the dual-sided nature of the carpet scraper that makes it a winner. On one side, you have rubber blades for woven rugs and longer-pile carpets, but on the other side, there’s a brass comb that helps you scrape shorter-pile carpets. This way, you can tailor your cleaning to the surface you’re working on while also protecting it from damage.
(Image credit: Future PLC/Lauren Bradbury)
Personally, I found that using both worked wonders for my carpeted stairs in particular. I used the comb to agitate the carpet fibres and get right into the tread, then used the rubber blades to gather all the agitated hair into one ball that can be picked up and popped in the bin.
The bonus of the carpet scraper tool is that you can also attach the extension pole, which is helpful if you can’t (or simply don’t want to) bend down – or you want to clean a larger area in one fell swoop.
My only slight niggle is that I’ve run out of space in my storage organiser for all the CleanTech products I have now, so it would have been nice to see Joseph Joseph try to merge the carpet and upholstery tools into a single product. But perhaps I’m asking too much there.
Especially for the bargain price of just £28!
Alternative Joseph Joseph CleanTech tools I rate
Joseph Joseph CleanTech 3-in-1 Duster with Storage Cover
Featuring a microfibre side for flat surfaces and a noodle fabric side for uneven areas, this duster even has an integrated dust-removal tool for a clean house – pets or not.
Joseph Joseph CleanTech 3-in-1 Spot Cleaning Tool
If you struggle to clean the tight spaces in your home, this cleaning tool is perfect for the job. The 3-in-1 design has flat bristles, V-shaped bristles, and an integrated scraper for dirtier areas.
Joseph Joseph CleanTech 2-in-1 Surface Scrubber Tool
I refuse to have a home filled with pet hair, and now I’ve got my trusty Joseph Joseph pet hair cleaning set to help me.
I don’t know about you, but I’m seeing more and more slow-moving tiny flies buzzing around my kitchen as we head into summer. But while attracted to my fruit bowl, these are not fruit flies I’m dealing with, but vinegar flies – and they’re likely to be the same flies plaguing your kitchen, too.
There’s nothing I hate more than flies in the house, to the point where I’m willing to try any method to get rid of flies. This includes the more bonkers methods, too, such as the cucumber hack, which uses scent to deter these pests.
Frequently confused with fruit flies, vinegar flies are often the small, buzzing pests we see circulating fruit bowls and kitchens during summer. I asked the experts exactly what vinegar flies are and how to stop them from entering our homes.
Latest Videos From
What are vinegar flies?
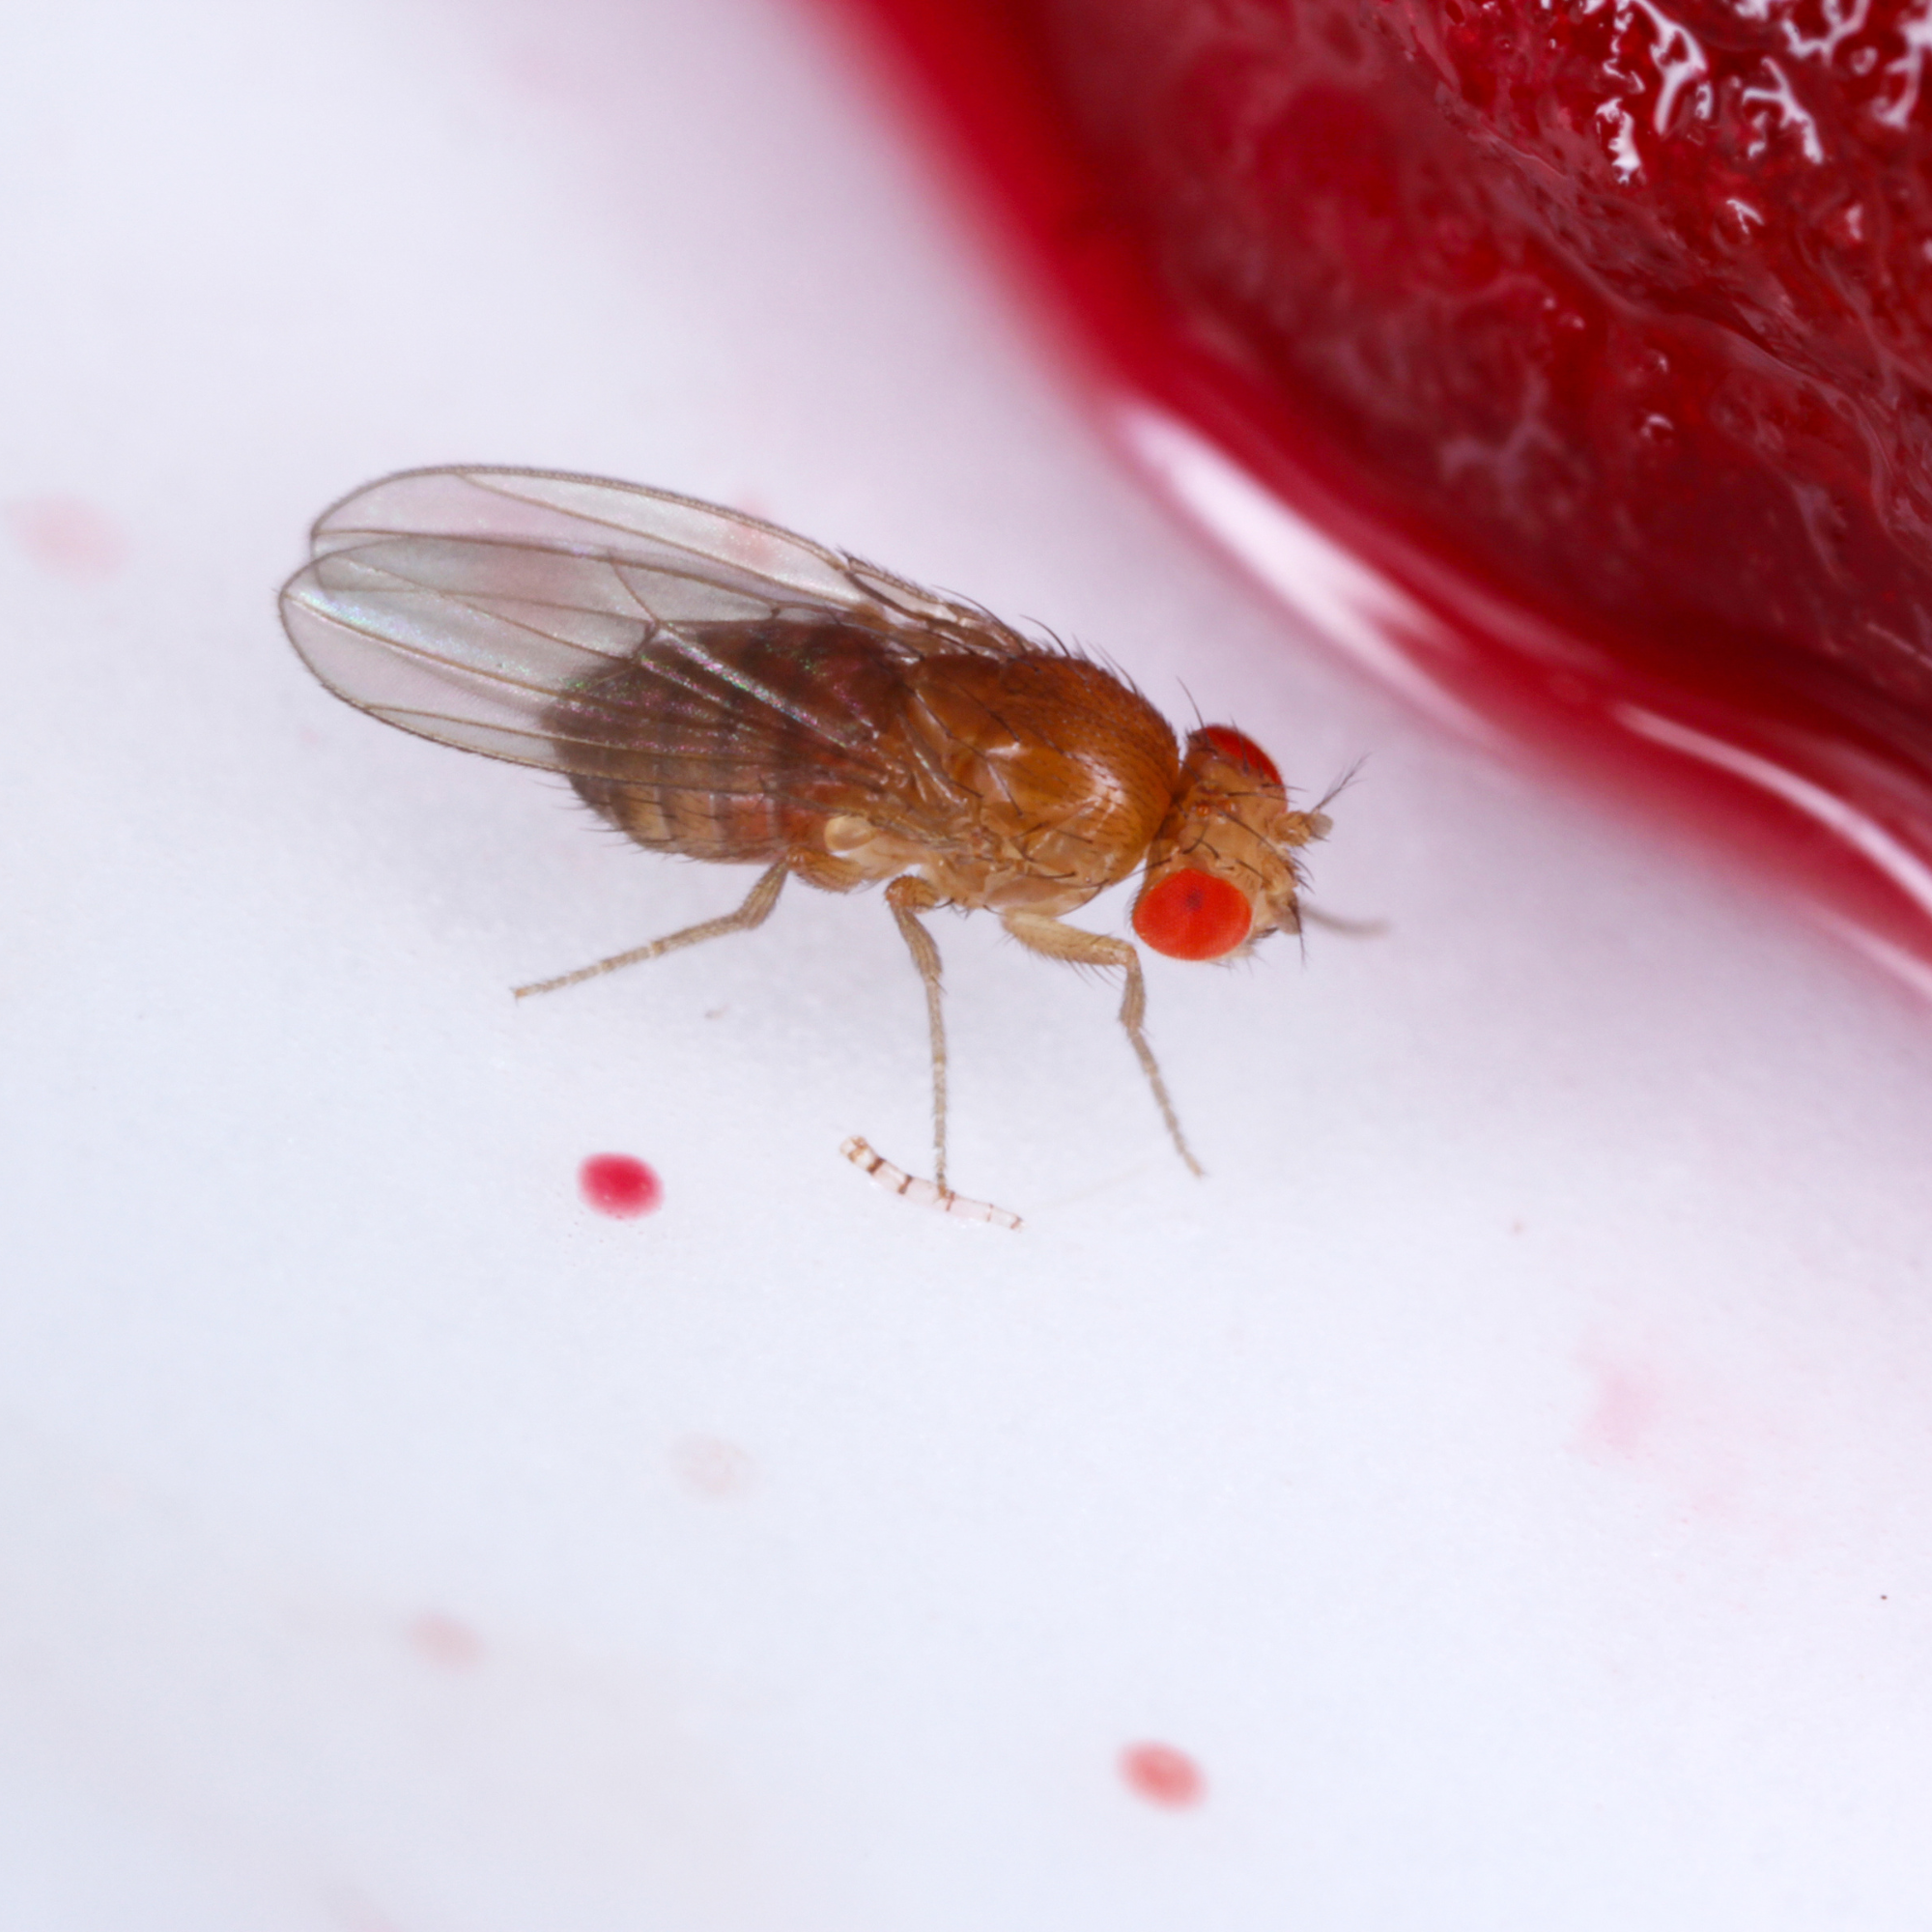
‘Vinegar flies are actually the flies that you see buzzing around in summer, not fruit flies. Vinegar flies are the tiny ones with red eyes, whereas fruit flies are actually much larger (about the size of a standard housefly) and are an agricultural hazard. This is because the true fruit flies lay their eggs through the tough skins of healthy, growing fruit, which can destroy crops,’ explains Ryan Kaila, food waste expert and waste and recycling manager at Kingfisher Direct.
‘Vinegar flies, on the other hand, can not do this, and are only attracted to rotting food, feeding on fermenting liquids, yeast, and decaying or overripe organic matter. The majority of people, especially in the UK, refer to vinegar flies as fruit flies.’
(Image credit: Getty Images/ Helin Loik-Tomson)
When fruit overripens, its natural sugars start to ferment, and the scent this releases attracts vinegar flies to your home. And vinegar flies can lay many eggs. A female vinegar fly can lay as many as 500 to 2,000 eggs in her lifetime, and these hatch 24-30 hours after being laid.
‘As fruit ripens, it essentially ferments, releasing compounds that vinegar flies can detect from miles away. And for food-related businesses, this can be a problem, because they’re not just attracted to fruit. Compost and food waste, kitchen drains, alcohol and sugary drinks, even unwashed bottles, glasses, and recycling can appeal as a breeding site, so you can find yourself inundated easily,’ says Adam Juson, pest expert and founder of commercial pest control company Merlin Environmental.
Sign up to our newsletter for style inspiration, real homes, project and garden advice and shopping know-how
How to get rid of vinegar flies
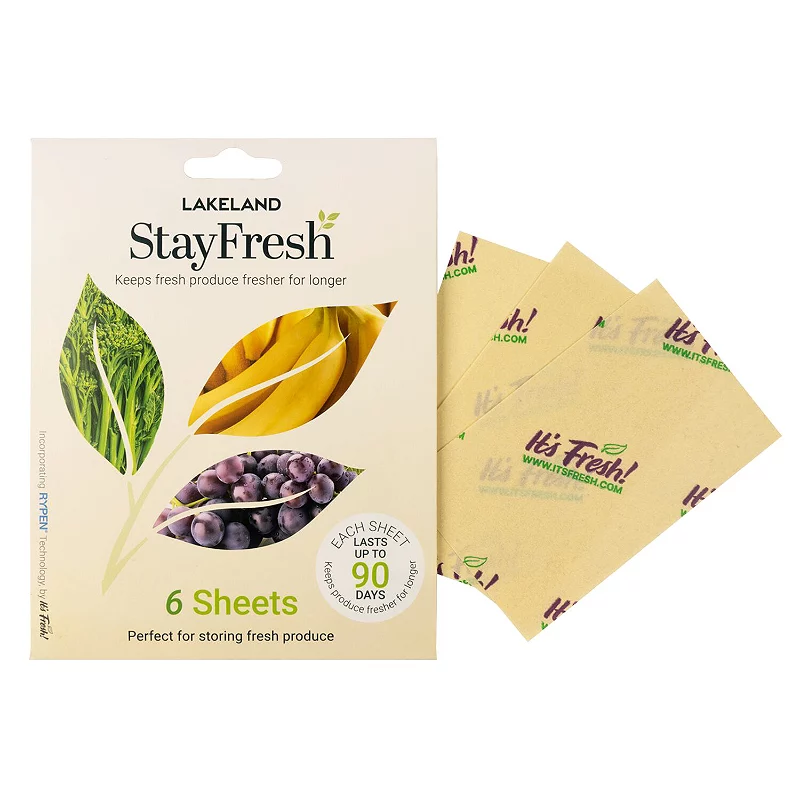
Vinegar flies are quick to breed, unhygienic and a nuisance to have in your home, and the best way to get rid of them is by removing the source of the problem. So, during summer, it can be a good idea to remove your fruit bowl and refrigerate the fruit, or use produce savers to extend their shelf life. I find Lakeland’s StayFresh Sheets (£9.99) to be really helpful at extending the life of my fruit bowl, delaying overripening.
(Image credit: Getty Images/Tomasz Klejdysz)
‘The best way is to remove the source. Removing the source of the flies will mean that they go away and stay away, so check for any decaying and fermenting foods and throw away any fruit that is overripe, split, leaking juice or starting to smell sweet and fermented,’ says Ryan.
‘If the fruit/food was in a container, you’ll then need to thoroughly wash it before putting anything else back in it. This is because it’s incredibly easy for sticky residue or juice to sit at the bottom of it, which will keep attracting the flies.’
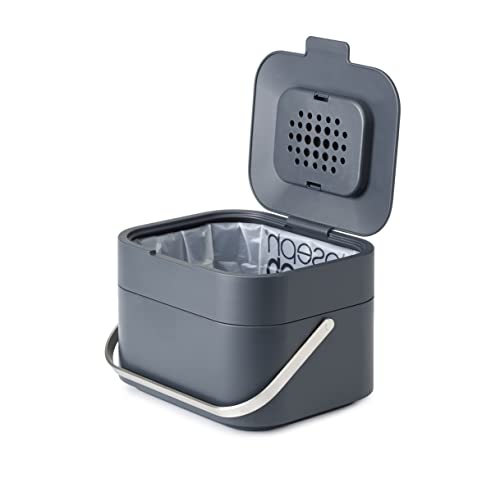
‘I also recommend emptying your food waste caddy more often in summer. Anything from fruit peels, apple cores, banana skins, etc., can all ferment very quickly in warm kitchens, especially if your caddy is placed in the sun. As well, some caddies might not close properly. If this is the case, try to make sure they’re always sealed as tightly as possible; they’ll be an instant attraction for these flies.’
‘Clean thoroughly, washing fruit bowls, worktops, and nearby surfaces to remove sticky residue,’ adds Adam.
‘Clean drains, flushing with boiling water or using an enzymatic drain cleaner to remove organic build-up. Use a trap, such as apple cider vinegar with a drop of washing-up liquid in a covered container, to reduce adult numbers.’
Adam is keen to point out that the flies are the symptom – you need to be more careful of the thousands of eggs potentially being laid in your home instead. So, good hygiene is paramount to keeping your home vinegar fly-free.
StayFresh
6 Stayfresh Sheets With Rypen Technology
These Lakeland StayFresh are really good at extending the life of your fruit bowl. They work by absorbing ageing ethylene gases to slow the ripening process.
Joseph Joseph
Joseph Joseph Intelligent Waste, Stack 4 Kitchen Food Waste Compost Caddy
The food waste caddy has a ventilated design to help reduce odours and moisture. It also has a tightly fitted lid to prevent pests from entering.
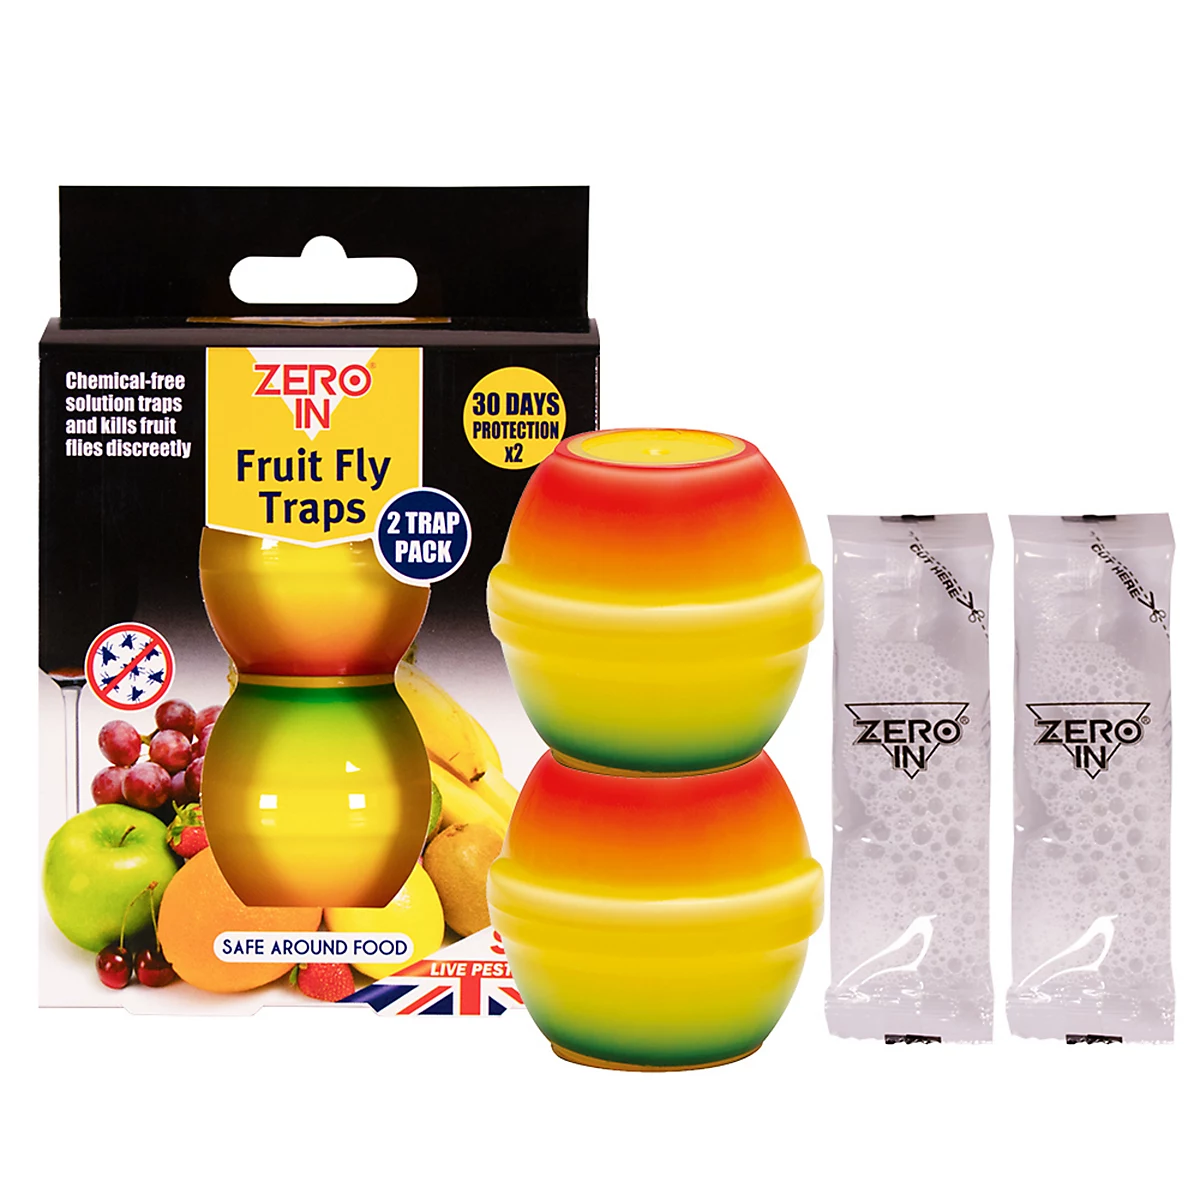
Zero In
Zero In Fruit fly trap, Pack of 2
This discreet non-spill trap attracts flies before trapping and killing them. They’re safe to use around food preparation areas, garden seating areas and open bottles of wine.
Honestly, the thought of these pesky flies makes my skin crawl. However, by removing my fruit bowl, regularly cleaning my food waste bin and kitchen, I won’t have to put up with this problem this summer.
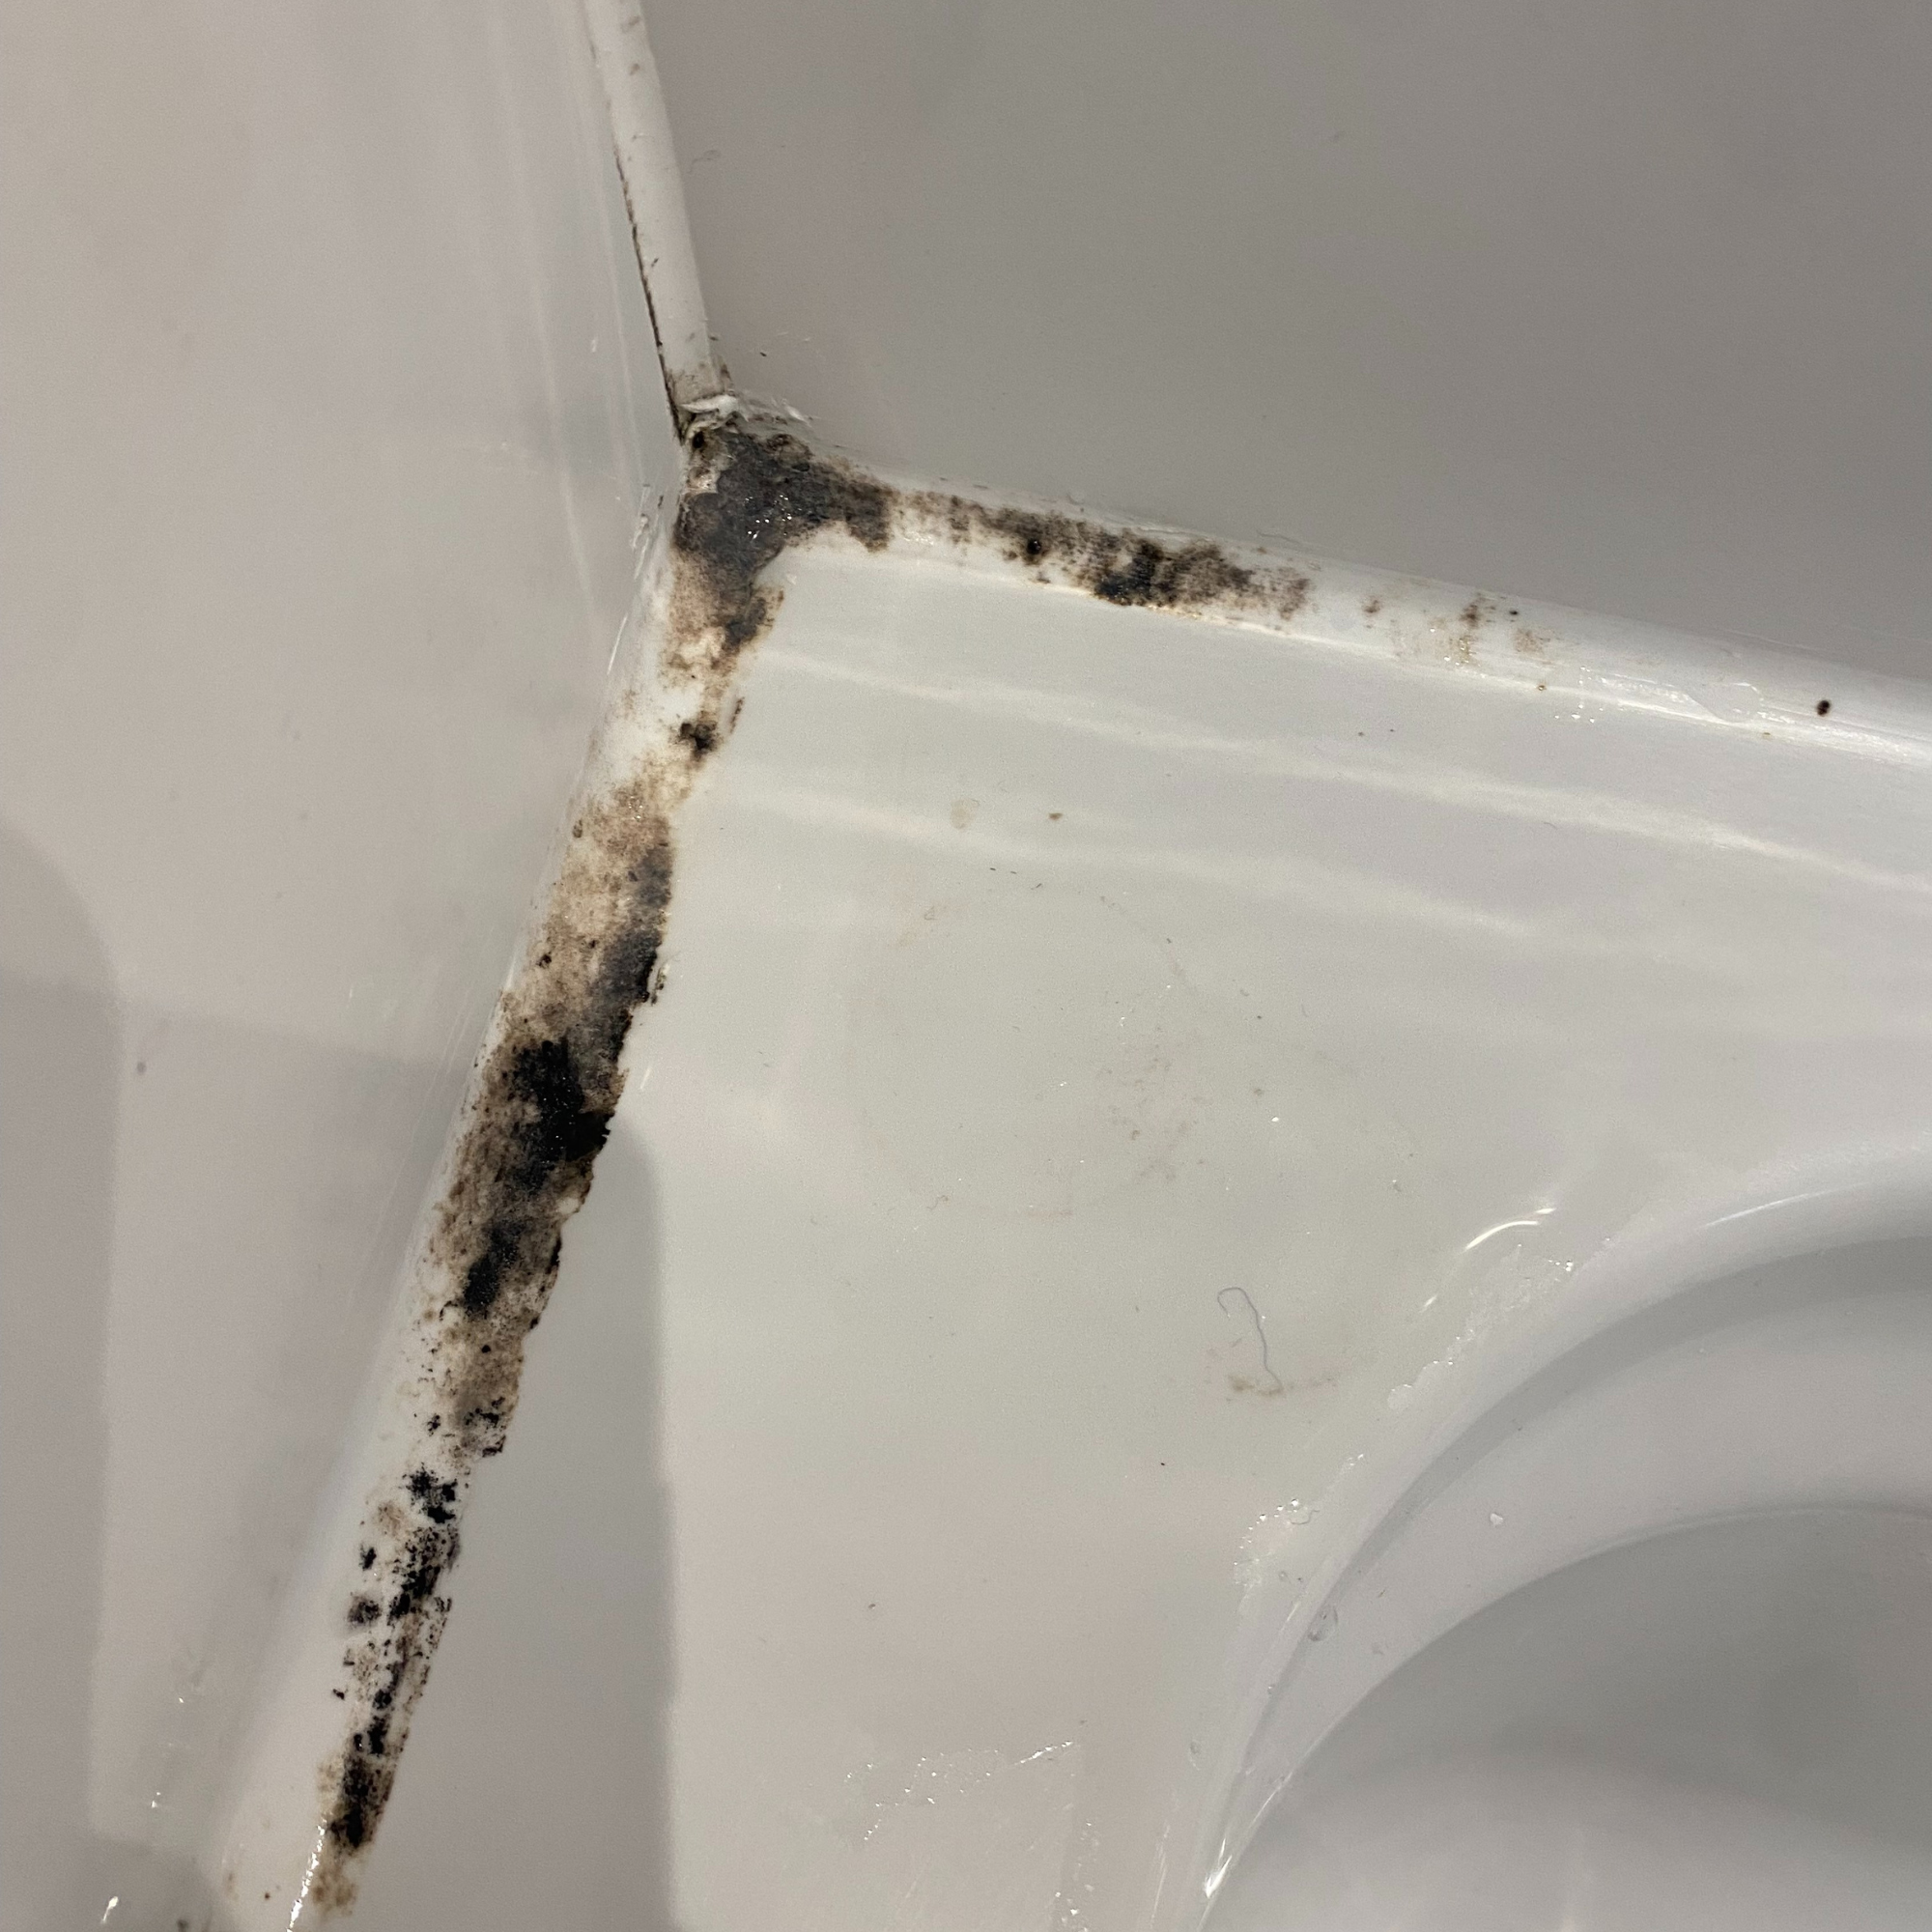
If the silicone sealant in your kitchen and bathroom is mouldy, you’re not alone. This rubbery strip is designed to prevent water from seeping into gaps between tiles, floors and shower trays, but this is a double-edged sword. After all, it’s this exposure to moisture that makes it a breeding ground for mould.
Kitchens and bathrooms are also the dampest (and sometimes smallest) rooms in the house, and sealant is typically located in tiny corners and crevices. And when airflow is limited and there’s no respite from moisture and humidity, mouldy silicone gets worse and worse as the weeks go by. This makes it harder to remove in the long run.
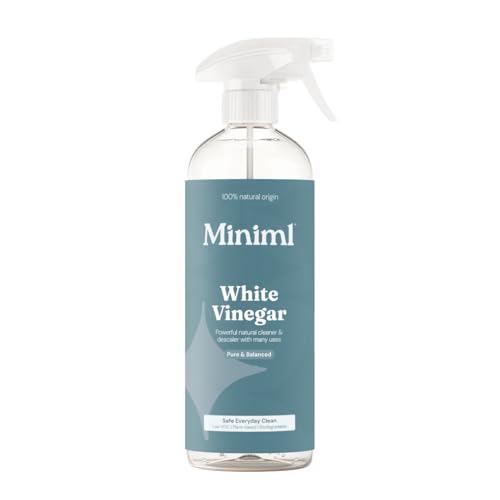
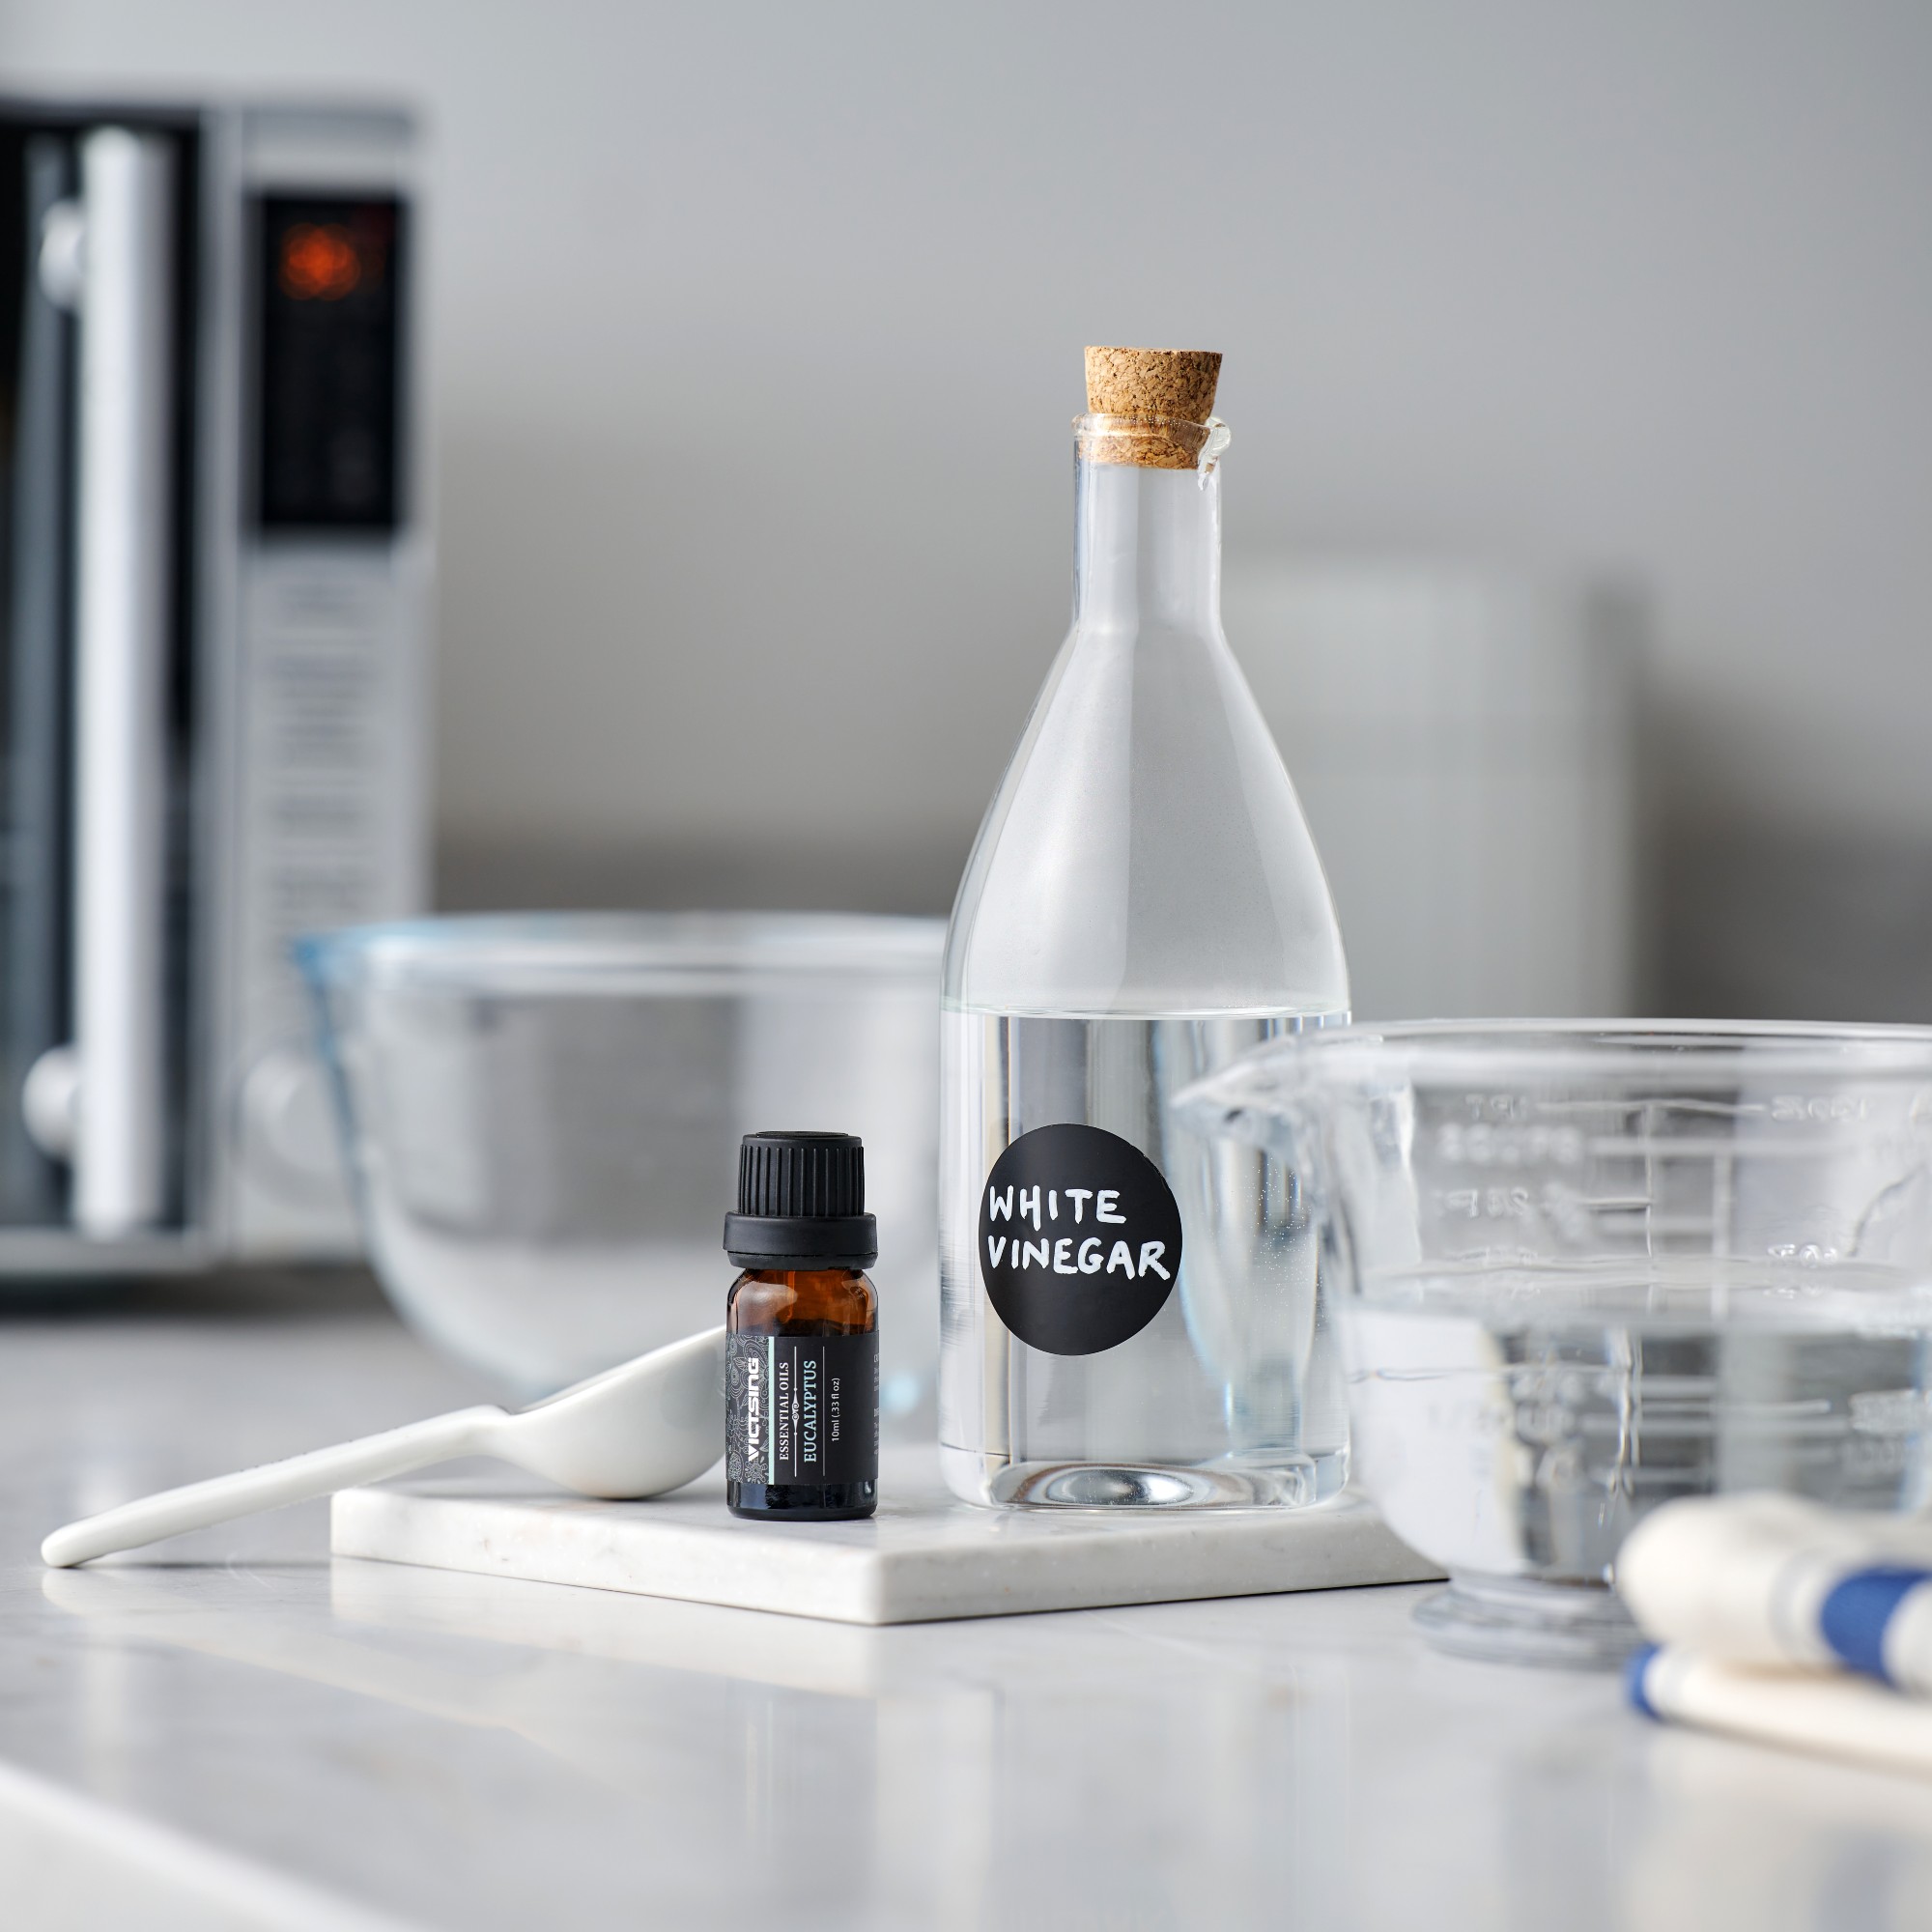
But while many people are inclined to use chemicals to get rid of mould, the good news is that mouldy silicone sealant can be removed completely naturally – using one product that you probably already have in your cleaning cupboard: white vinegar.
Latest Videos From
Miniml Eco White Vinegar 750ml
There are so many ways that you can clean with white vinegar – and it’s key to successful mould removal from silicone sealant.
To remove mould from silicone sealant with white vinegar, simply spray the sealant with white vinegar and leave it for an hour (or longer if you have time).
Emma Mannion, Cleaning Expert at Astonish, says, ‘Apply it generously along the affected sealant, making sure it’s fully saturated. Then leave it to sit, as this gives the vinegar time to actually penetrate and tackle the mould at its root, not just lift surface stains.’
Then, use an old toothbrush to scrub off the mould and wipe clean with a wet cloth. Finish by drying the area with a clean, dry cloth.
It’s also advisable to open the windows, wear gloves, and, ideally, a face mask when cleaning mould from silicone, as the process can disrupt mould spores and irritate your throat, nose and eyes.
Sign up to our newsletter for style inspiration, real homes, project and garden advice and shopping know-how
(Image credit: Future PLC/Phil Barker)
As white vinegar is naturally antifungal and antibacterial, it’s far superior to bleach when cleaning mould from silicone sealant. That’s because bleach only tackles visible surface mould and doesn’t penetrate deep into the silicone to address mould spores.
On the other hand, Emma says, ‘White vinegar is naturally acidic, so it works by breaking down mould spores and slowing their regrowth, without the need for stronger chemical cleaners.’
It will also naturally remove mould without damaging the silicone sealant or altering the colour, so you shouldn’t need to replace it regularly.
However, if that doesn’t quite get the job done and the mould is particularly stubborn, Kelly Moore, Founder of Cleaning with Meaning, suggests using another natural cleaner.
She says, ‘I advise making a paste from bicarbonate of soda with water and applying it to the affected area, before gently scrubbing with an old toothbrush.’ Then, you can repeat the process with the white vinegar before ‘rinsing thoroughly and drying the area completely.’
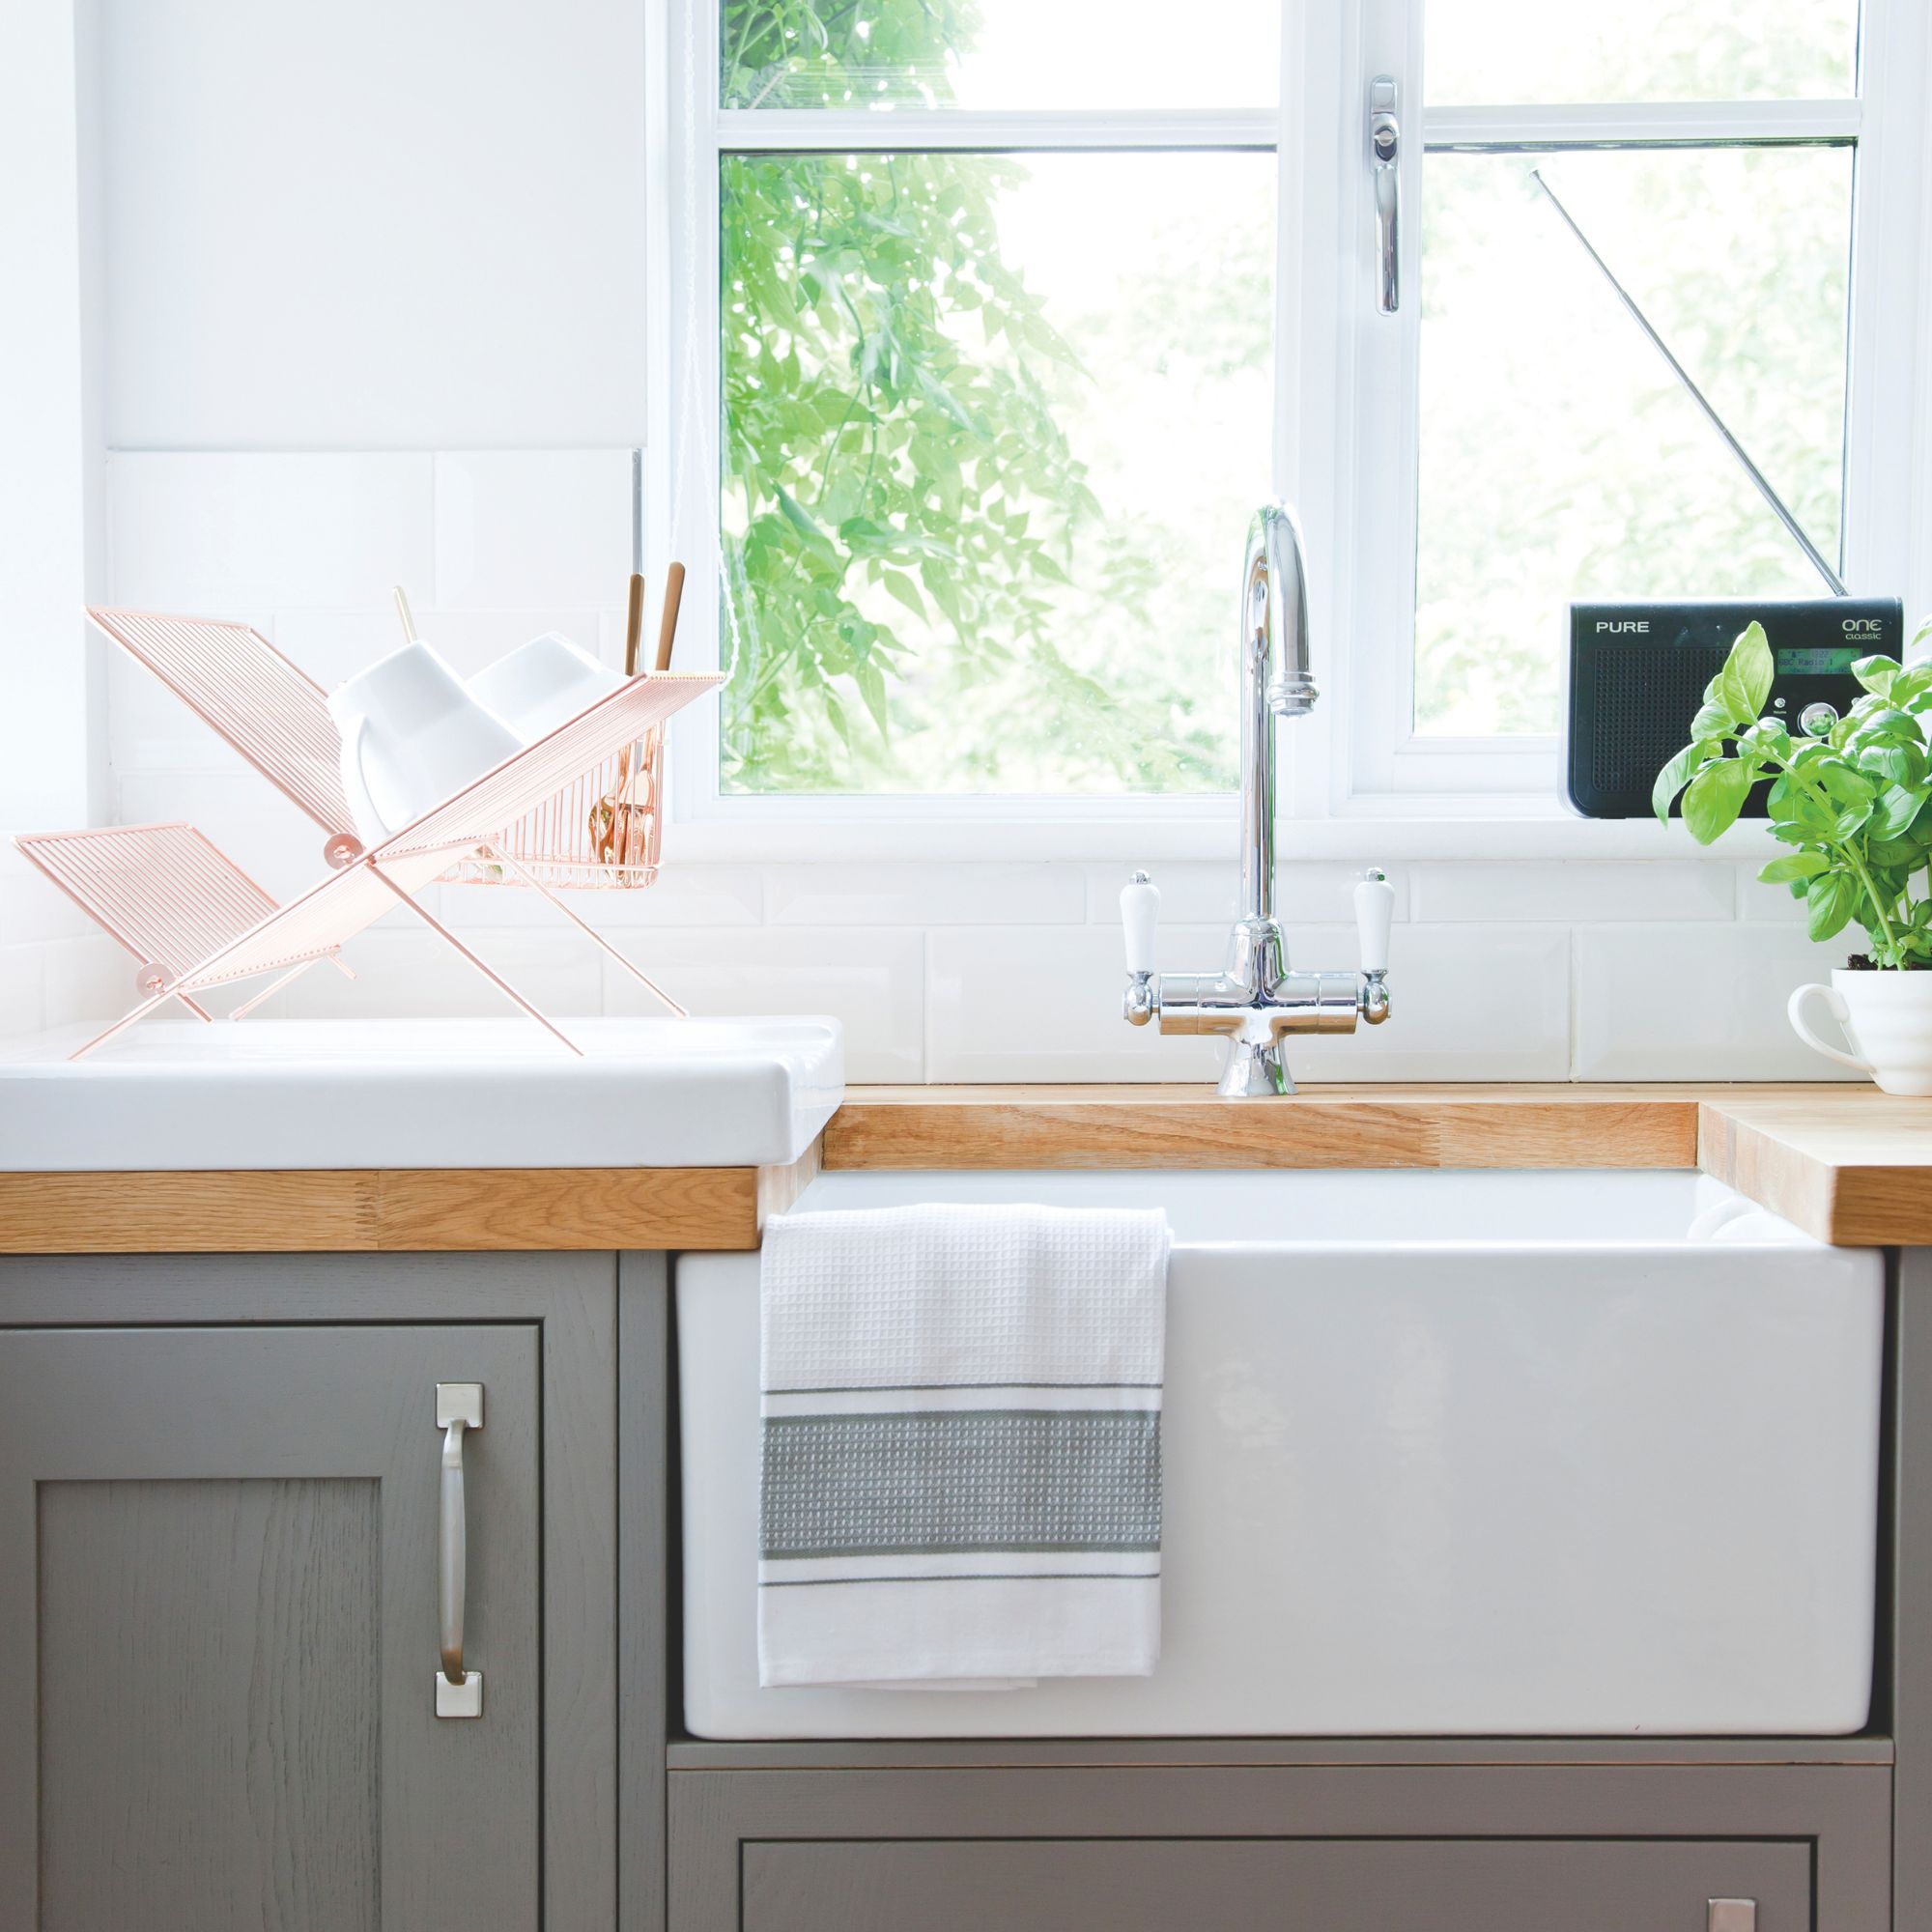
But whatever method you choose, the key to removing mould from silicone sealant and stopping it from returning is prevention. And one of the things people with clean bathrooms always do is keep a clean, dry cloth nearby in the kitchen and bathroom.
(Image credit: Future PLC/Lizzie Orme)
Emma explains, ‘The most effective prevention is reducing how much moisture lingers on the sealant in the first place. After using a shower or sink, quickly wiping down the edges with a dry cloth or even a piece of kitchen roll can make a big difference.’
You can also use a squeegee like this MR.SIGA Multi-Purpose Squeegee (£12.99 at Amazon) to help after you’ve had a shower, although Emma does still advise ‘a light weekly mist of white vinegar along sealant lines’ to ensure you’re keeping mould at bay.
It’s also important to maintain good airflow and ventilation, so regularly opening windows, using extractor fans and even opting for a non-electric dehumidifier can work in your favour.
If you struggle to clean your sealant and can visibly see it’s damaged, you can start from scratch by removing the affected silicone and replacing it with something like this Dryzone Silicone Sealant White Anti-Mould (£7.99 at Amazon). This is an easy task that you can do quickly with limited DIY knowledge.
What you need to naturally remove mould from silicone sealant and stop it from coming back
Duzzit Amazing Baking Soda Multi Purpose Household Cleaner
OXO Good Grips Deep Clean Brush Set
If you don’t have any old toothbrushes lying around, a brush set like this will be ideal to agitate and remove the mould from your silicone.
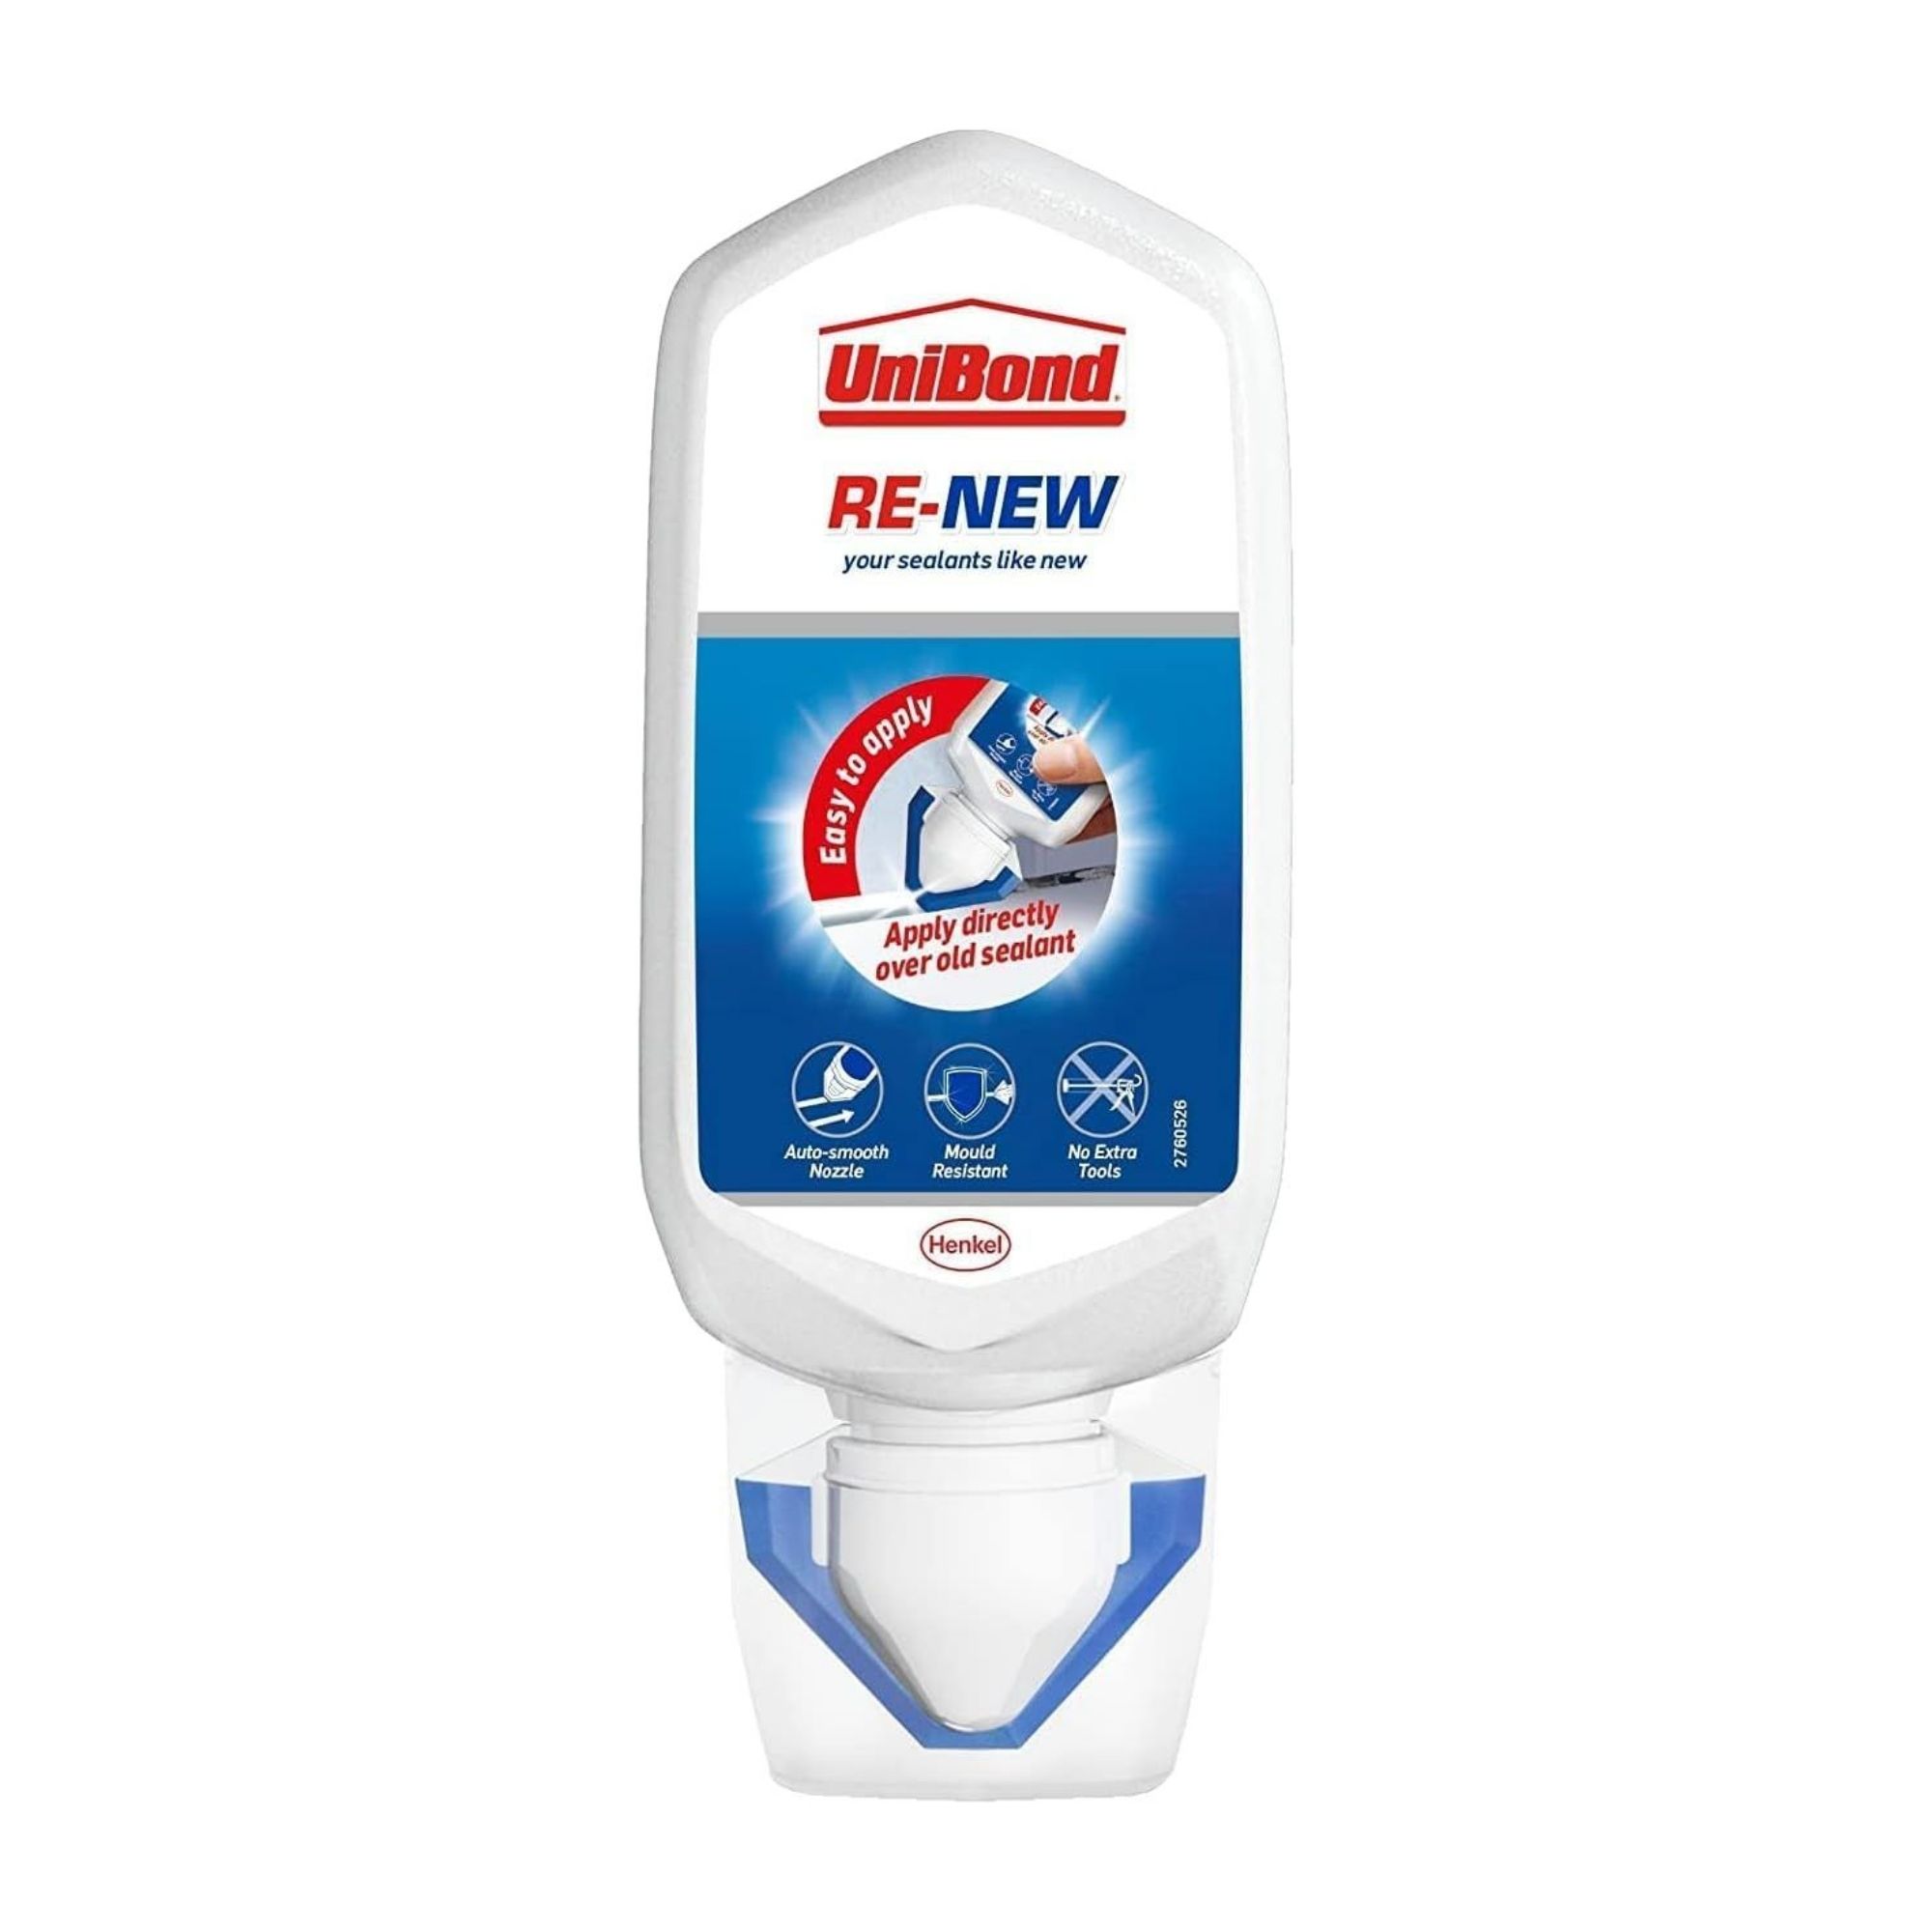
UniBond Re-New White Silicone Sealant for Kitchen & Bath
If your old sealant is looking a little worse for wear after cleaning, this sealant renewal can be applied on top of your existing sealant to make it look brand new.
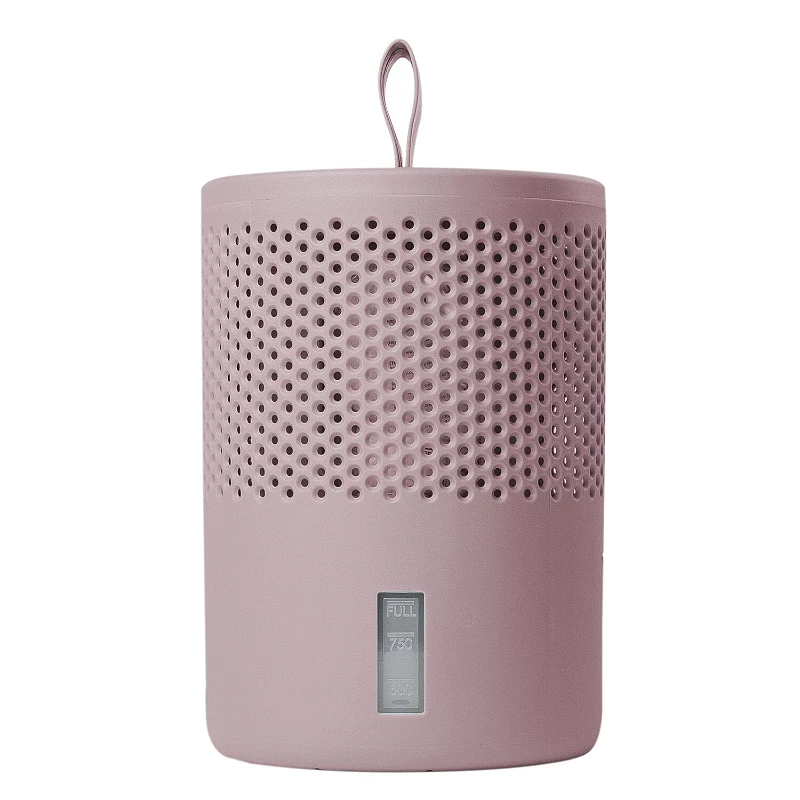
Absodry Moisture Absorber
This non-electric dehumidifier is an Ideal Home favourite, and comes in a variety of colourways to suit your kitchen or bathroom.
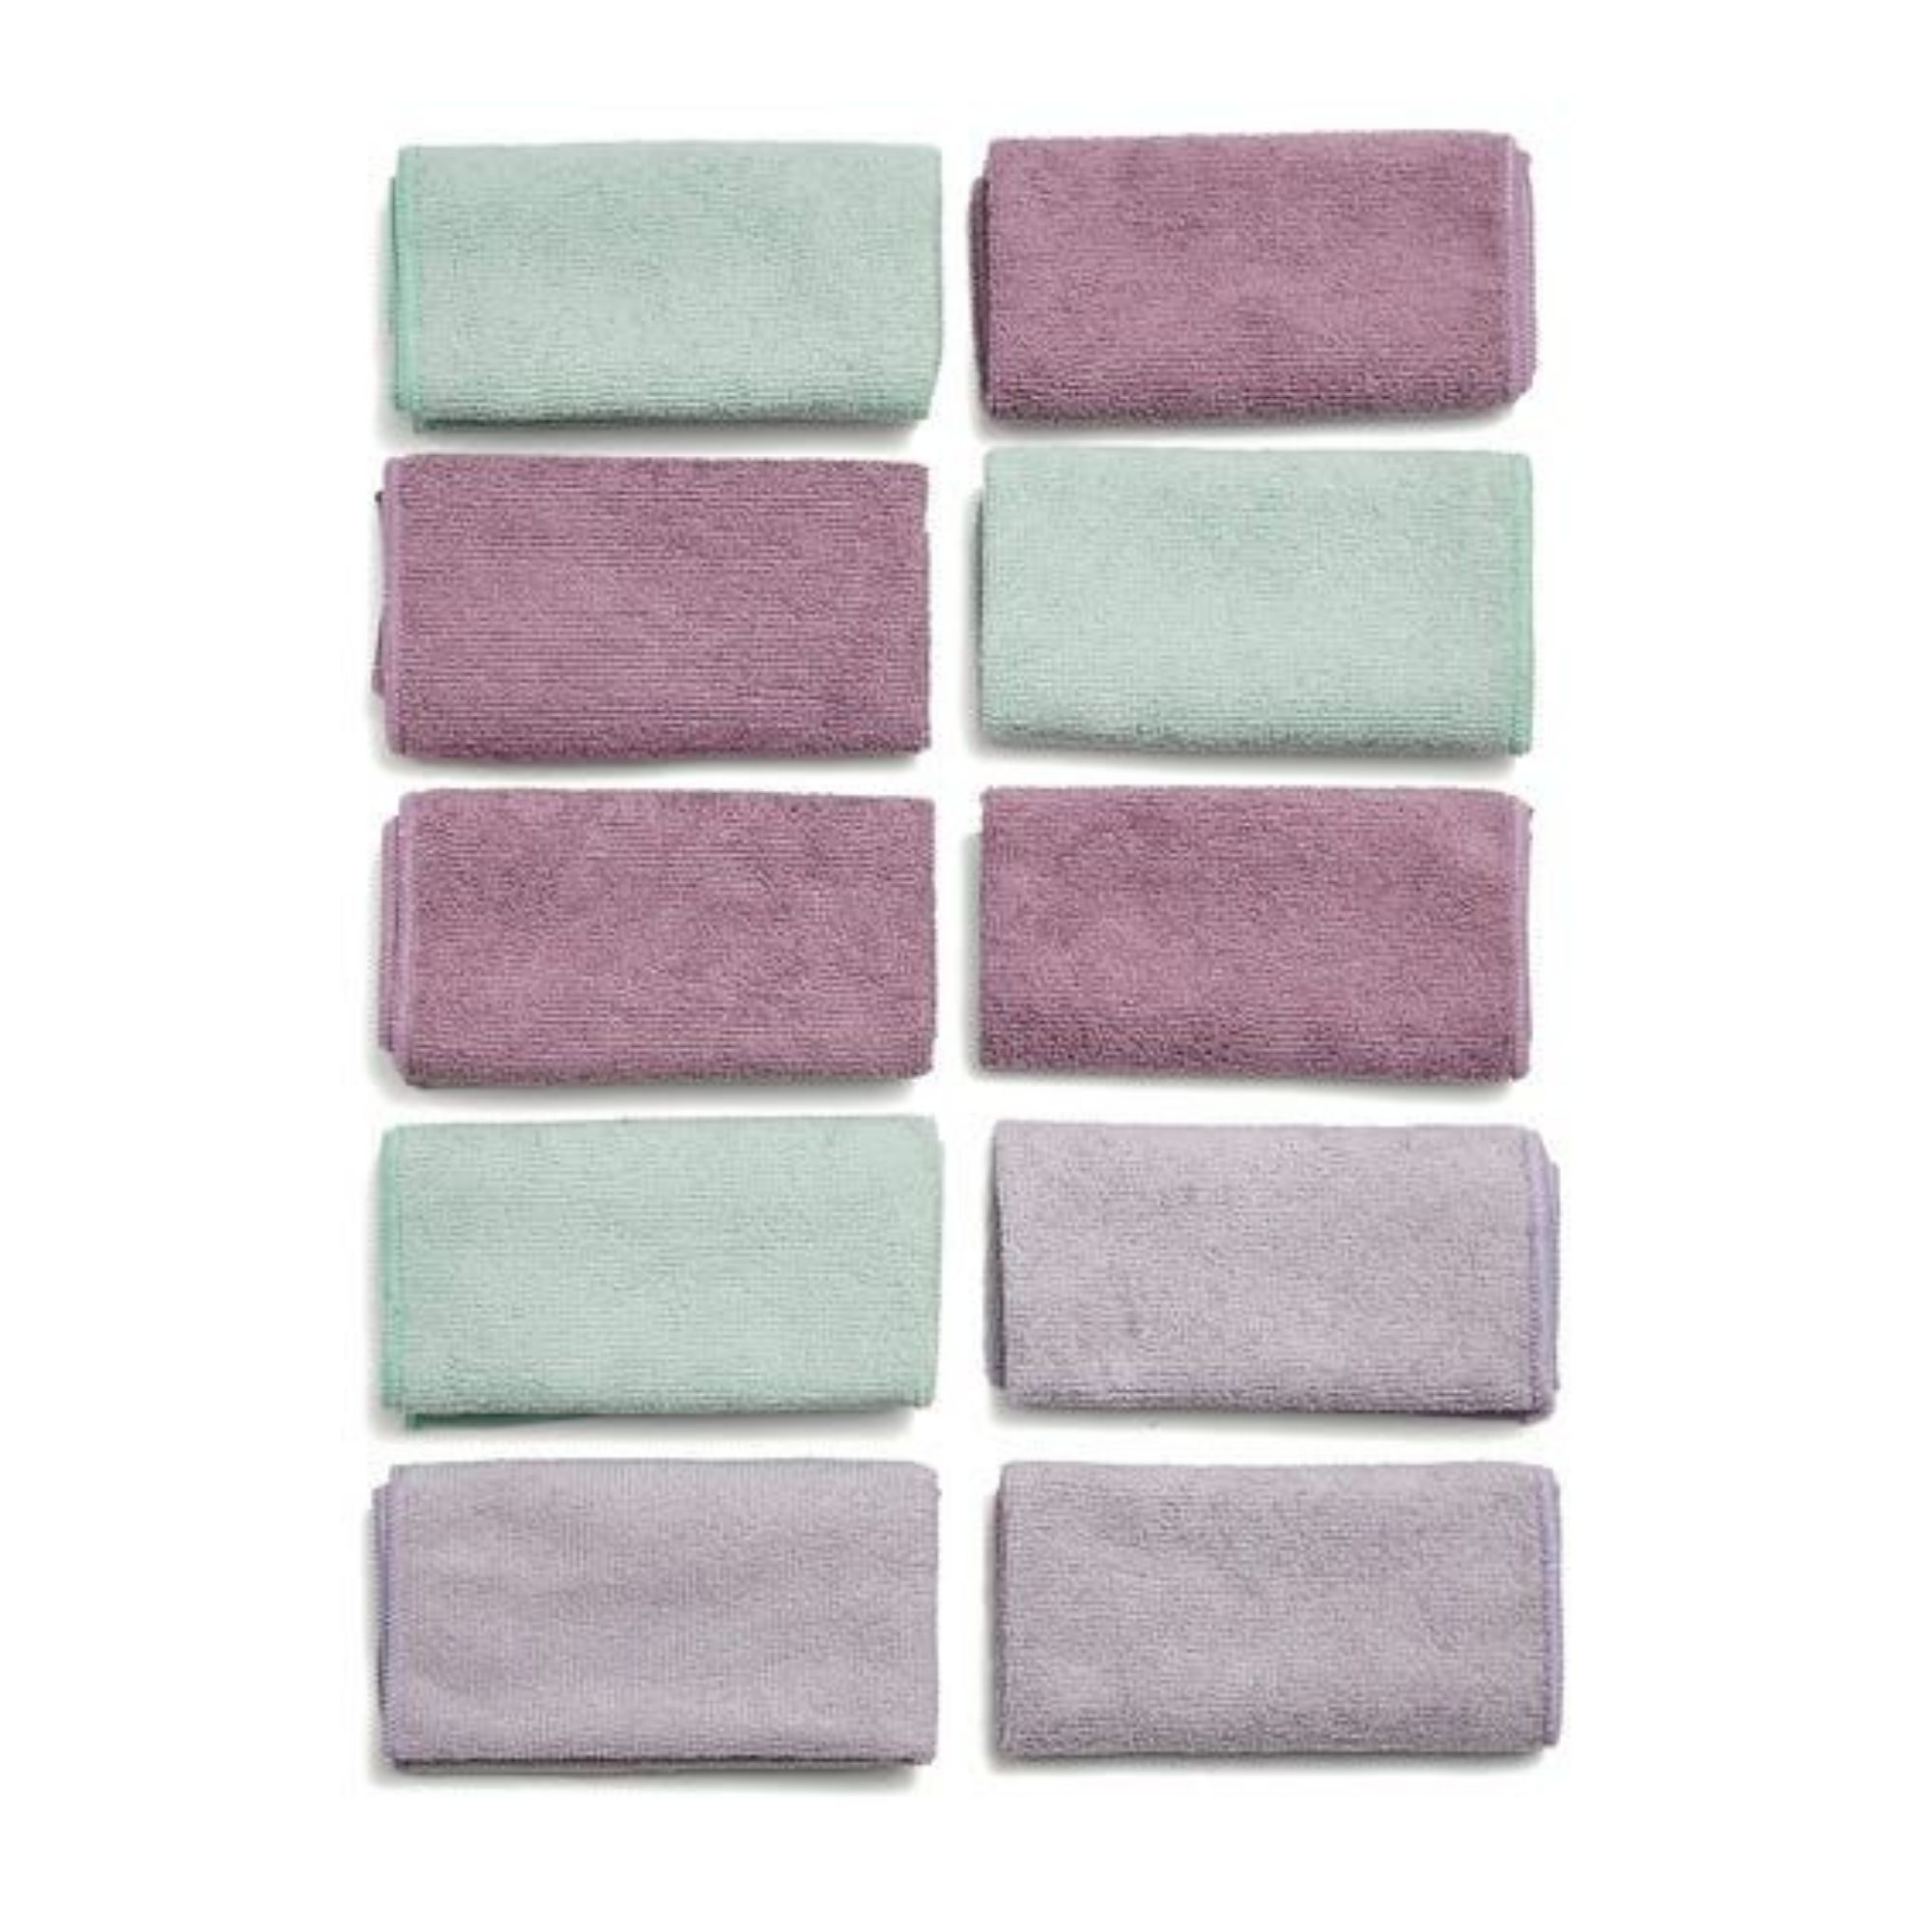
Pack of 10 Microfibre Cloths
Ideally, you shouldn’t use your regular cleaning cloths when dealing with mould. So, grab a new pack to ensure they’re fresh and ready for action.
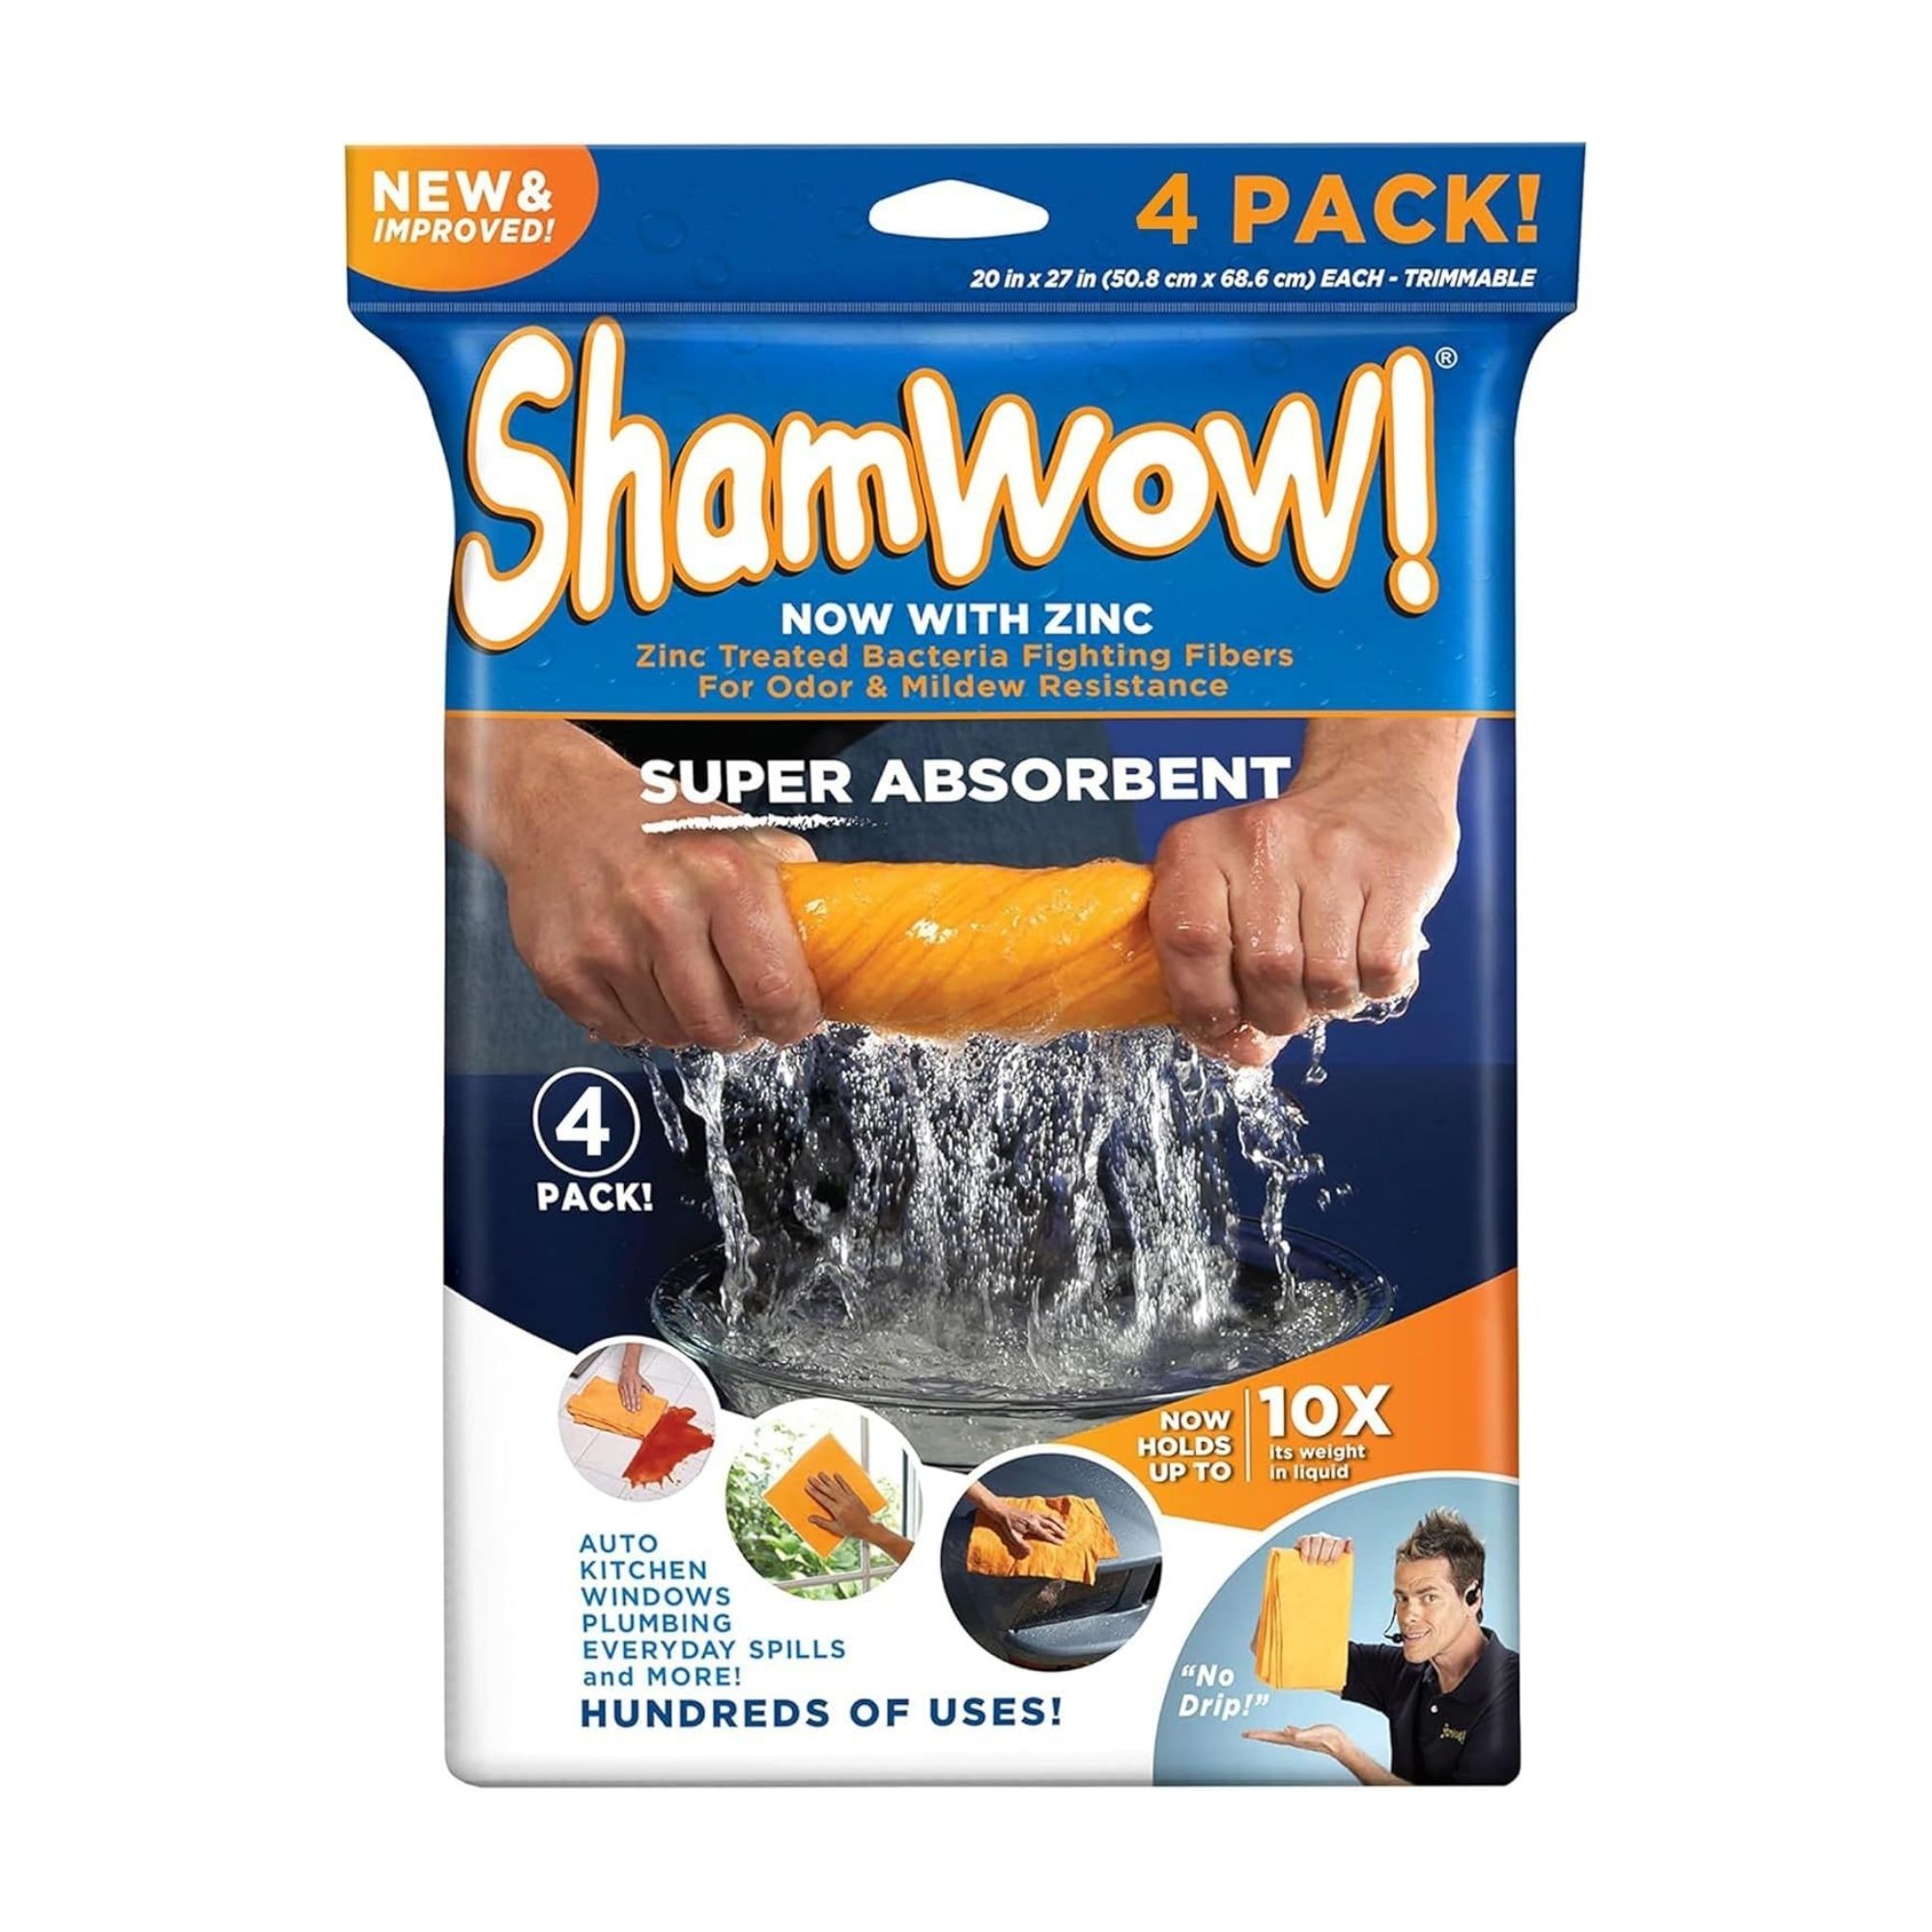
ShamWow 4pk Shammy Super Absorbent Chamois Towel
After cleaning your sealant, you need to keep it as dry as possible. This ultra-absorbent chamois can be used to wipe down showers and sinks after use.
Who says you need bleach?! Natural alternatives are so much better.
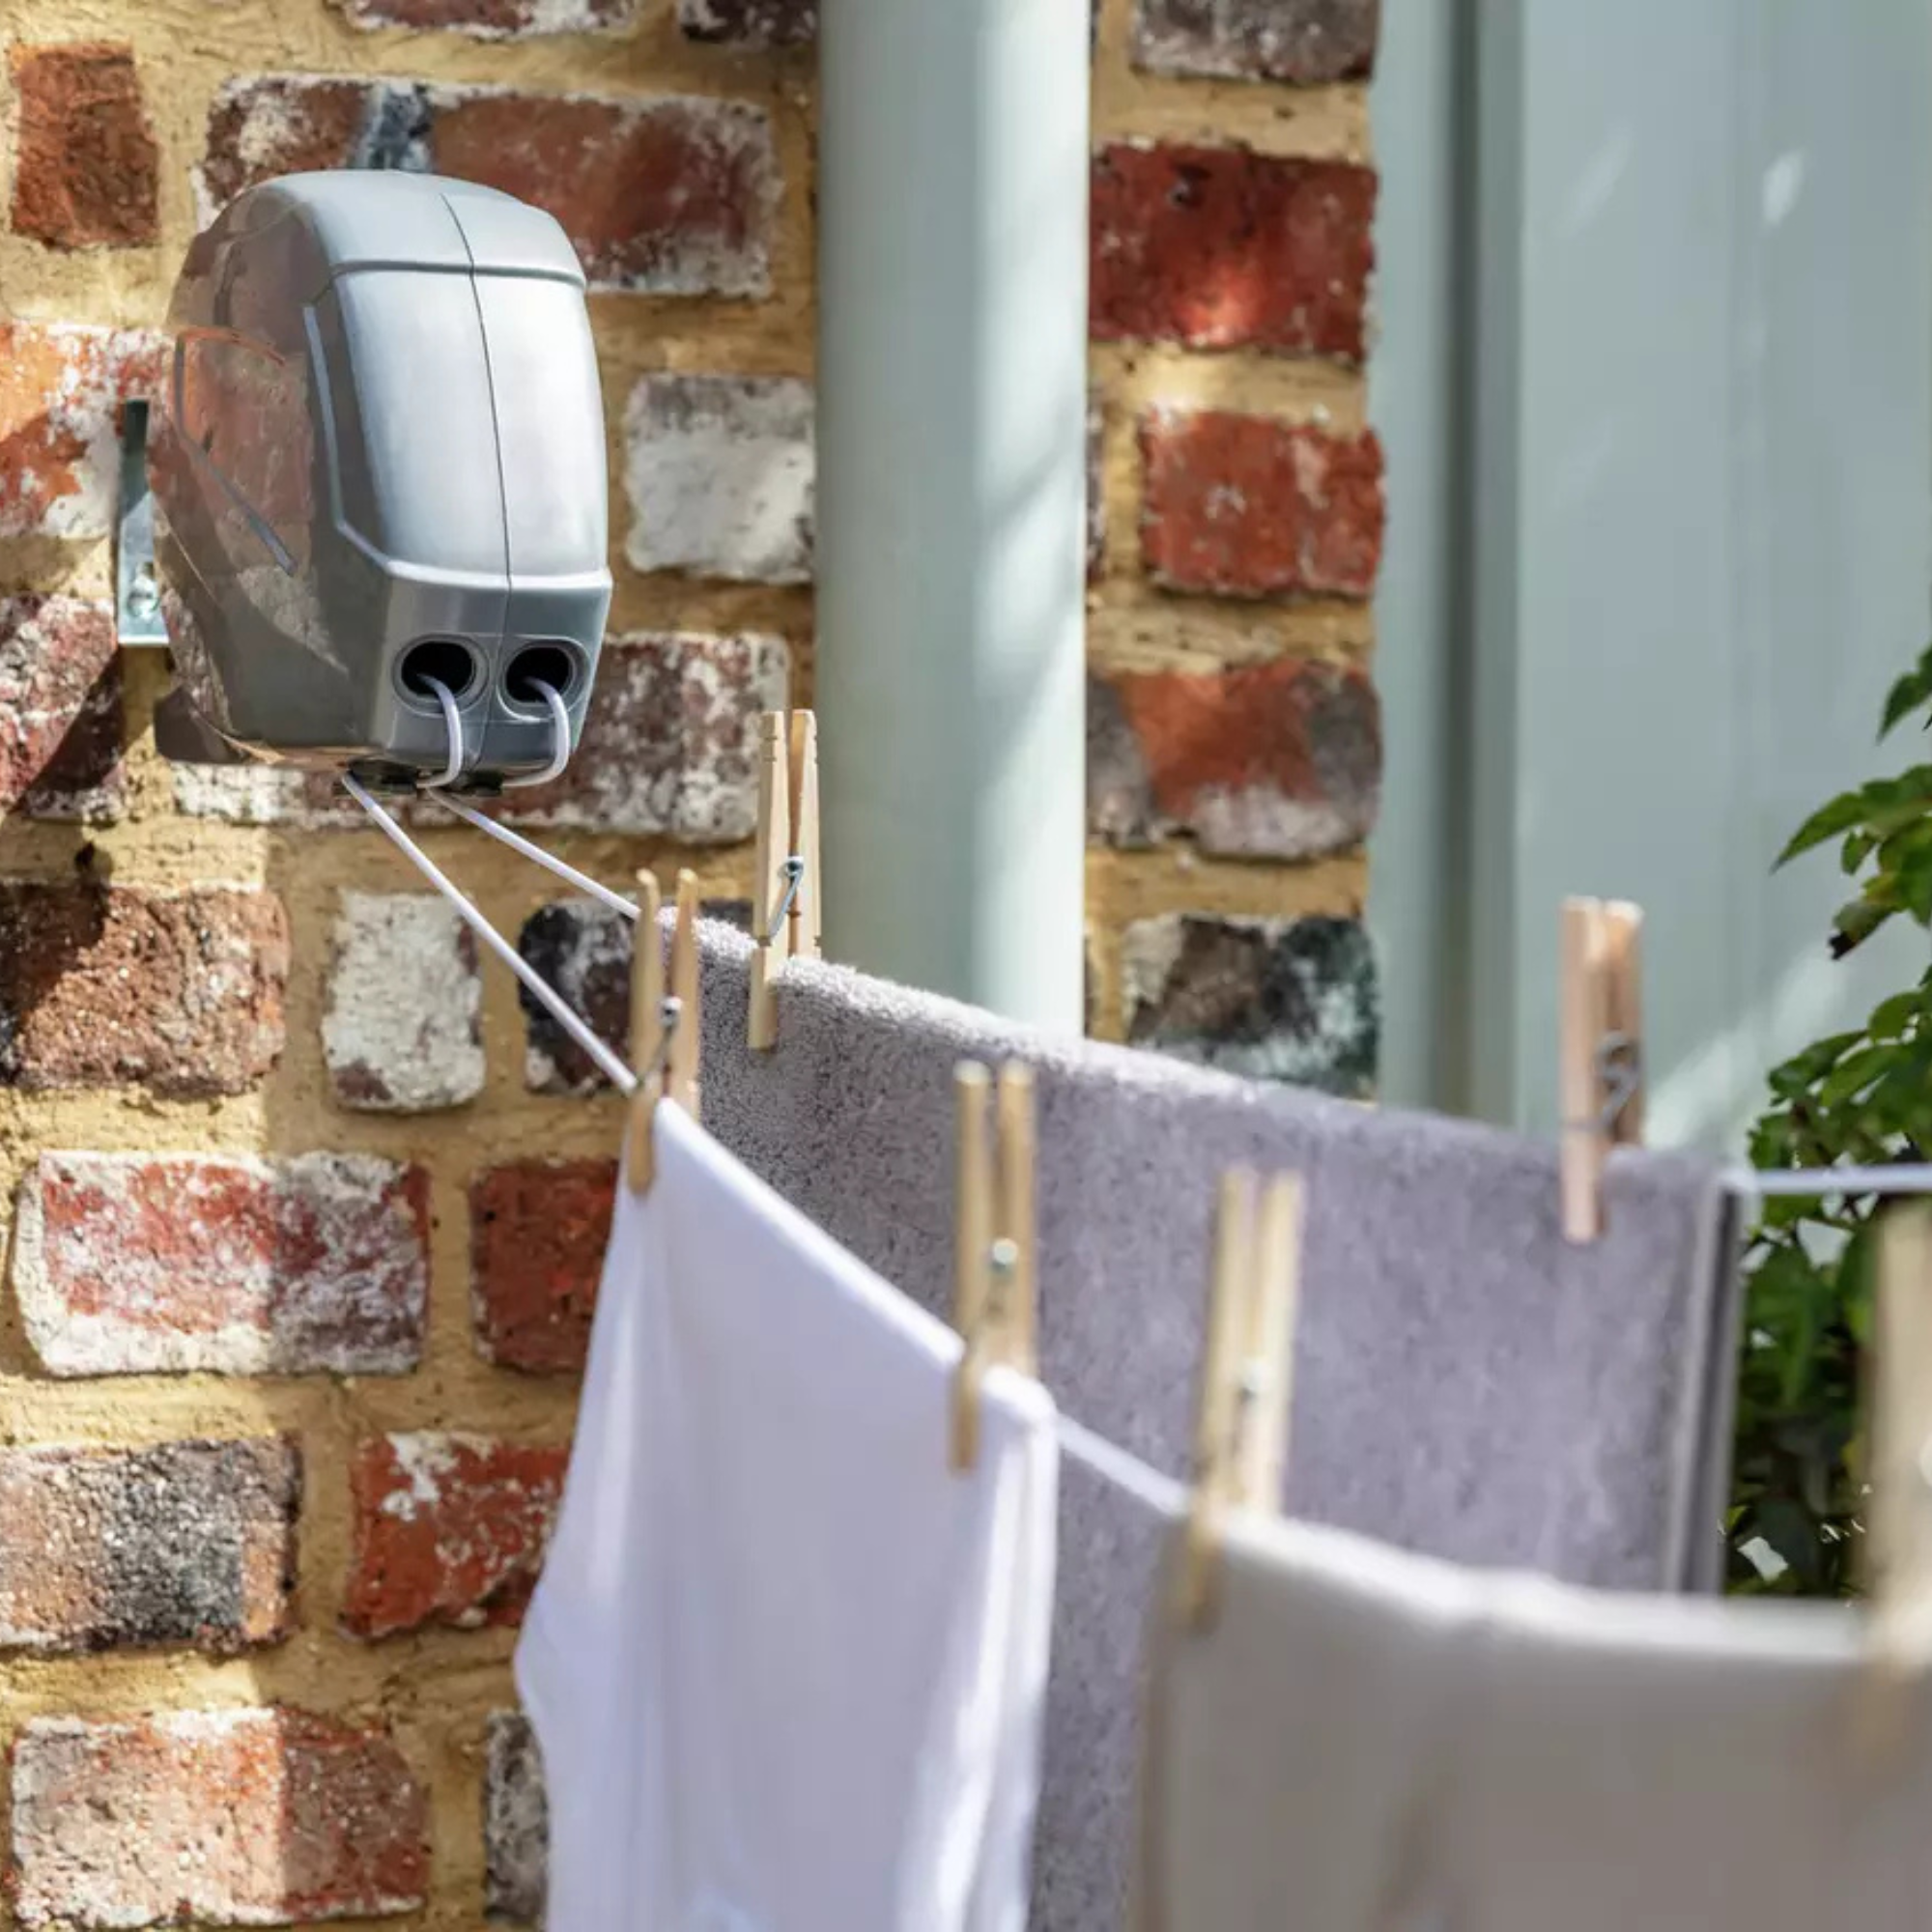
You can’t beat the fresh scent of washing that has been dried outside. And with Argos Home’s retractable clothes lines (£11), even the smallest of gardens and balconies can get in on this action – not to mention the 1790 positive reviews backing it up.
Now that we’re finally forecasting some warm weather, it’s time to put away your best heated airer and embrace drying your clothes outdoors. But for those of us with small gardens, courtyards or balconies, it can be a little harder to make use of the sunshine and dry washing outside.
While you can always squeeze your airer outside if you don’t have a rotary airer (£25, John Lewis), a more practical and space-saving solution is to invest in a retractable clothes line. At just £11, with thousands of good reviews, Argos Home’s retractable line is perfect for your drying needs. Here’s why.
Latest Videos From
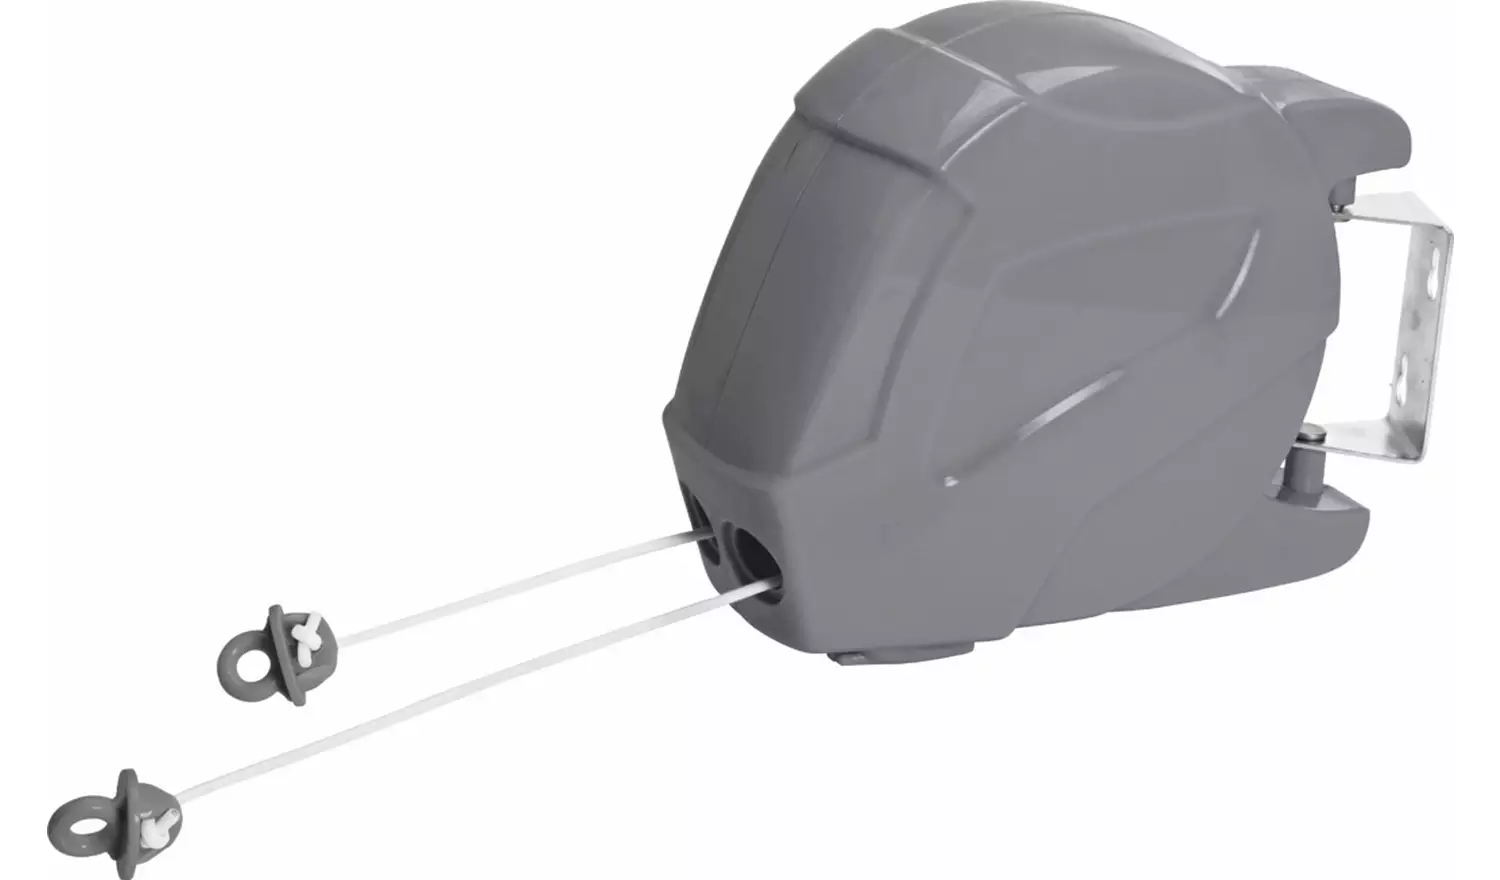
Argos Home
2 x 15m Retractable Clothes Lines
Perfect for small gardens, patios and balconies, this clothes line retracts when not in use – keeping your small space neat and tidy.
There’s something about laundry that has been dried outside that smells and feels much fresher than laundry dried inside the home (although Fairy Outdoorable, £5 at Amazon, does an excellent job of replicating the freshness).
And for small home and garden dwellers, it can feel like you don’t have the space to put a washing line. And this is where a retractable clothes line comes in incredibly handy.
The Argos Home 2 x 15m Retractable Clothes Lines is brilliant at drying laundry without taking up permanent space in your garden. This is because when you’re finished, the lines retract back into the box. This makes it a great choice for gardens and patios where a clothes line will take up too much space or get in the way.
The two lines offer 30m of drying space and hold up to 15kg, so it’s perfectly capable of handling the washing needs of a busy family. It also comes with fittings, making the installation process easy, too. It will need to be screwed to a wall, so that it is strong enough to hold a full line of washing. Meanwhile, the lines work a little like a tape measure and can be pulled out and hooked into place.
Sign up to our newsletter for style inspiration, real homes, project and garden advice and shopping know-how
(Image credit: Argos Home)
And don’t just take it from me, many of the reviews mention how brilliant this clothes line is for small gardens.
‘I’ve had a few of these, with only having a small garden, they are ideal. They last a few years, and I leave them out all winter. Always put the lines in after each use. I would certainly recommend it,’ says one.
‘Bought this a few weeks ago in time for the sunny weather….great price and good product, I didn’t want a clothes line taking up space in my small garden, so this is perfect as it’s retractable,’ said another.
Shop retractable clothes lines
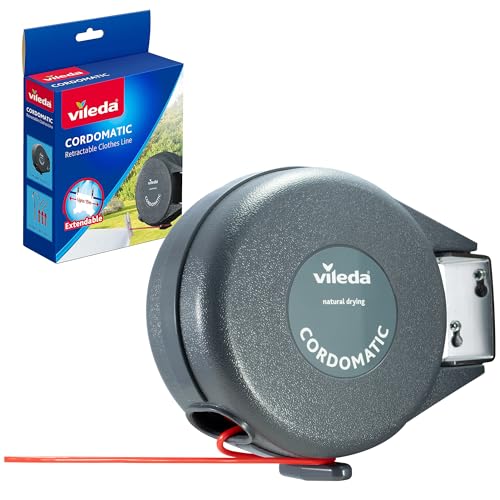
Vileda
Vileda Cordomatic Retractable Washing Line 15m
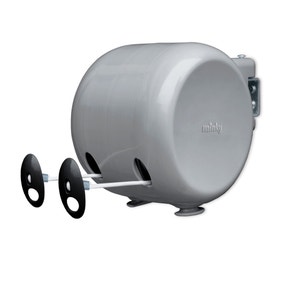
Minky
Minky 30 Metre Retractable Line
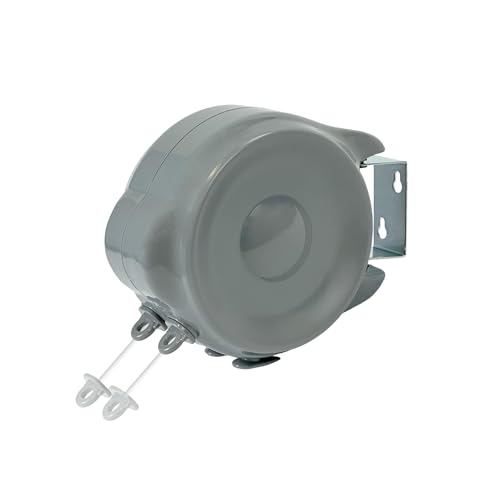
Addis
Addis Dual 2 Line Retractable Outdoor Space Saving Laundry Clothes Washing Line
Would you use a retractable line in your small garden?
Lauren Goodger has divided the internet ( and the Ideal Home team) after claiming that ‘In Essex, we don’t have bins’ on TOWIE (The Only Way Is Essex).
Here at Ideal Home, we’ve spent time curating the best kitchen bin ideas and tracking down the prettiest kitchen bins you can buy, and yet, it seems not everyone has one in the first place?!
To bin or not to bin is not a question I thought I would ever ponder. Yet here we are. So, I’ve decided to get to the bottom of this bin conundrum, as well as find the best ways to conceal the bin and reduce smells in your kitchen.
Latest Videos From
The kitchen bin debate
During a chat with her TOWIE co-stars, Elma Pazar, Saffron Lempriere, Sophie Kasaei and Courtney Green, Lauren revealed that she refused to use a kitchen bin, going as far as to say that people in Essex simply didn’t use them.
‘Has anyone got a bin?’ the reality TV personality asked, sparking the debate amongst her colleagues. ‘In Essex, we don’t have bins. No one has a bin.’
In agreement with Lauren, Saffron said: ‘I don’t like the thought of a bin sitting with rubbish in. So, I fill a bag a day, and it goes.’
This discussion has left fans completely divided on social media, with many keen to point out that using a carrier bag is essentially the same as using a bin. It’s not something that I had ever heard of, being from Bristol, so I went straight to my colleagues who hail from Essex.
Sign up to our newsletter for style inspiration, real homes, project and garden advice and shopping know-how
‘I grew up in Essex and have lived there for most of my life, and I was surprised to hear Lauren say that no one in Essex has a bin! It’s something I’d never really heard of before, and I remember all my friends and family having bins in their homes,’ says Maddie Balcombe, Ideal Home’s Editorial Assistant.
‘My family home in Essex has always had two bins – one for recycling and one for general waste. We do have a food waste disposer installed in our skin though, because, like Lauren and some of the other TOWIE girls, I also don’t like the thought of food waste sitting there! And, although we have always had bins at home, the Essex town I live in (along with many others across the county) has only recently seen the introduction of outdoor wheelie bins, which I imagine might shock some people!’
And it’s a similar situation for Gardens Editor, Sophie King.
‘I grew up in Essex, and we always had bins in the house! One in every room, actually – I think I’d have struggled without them! We emptied them regularly, of course, but I find it far more convenient to keep bins inside the house,’ she says.
‘My mum’s house still has bins in every room, and I’m pretty sure that the rest of my family and friends in Essex keep bins inside the house, too!’
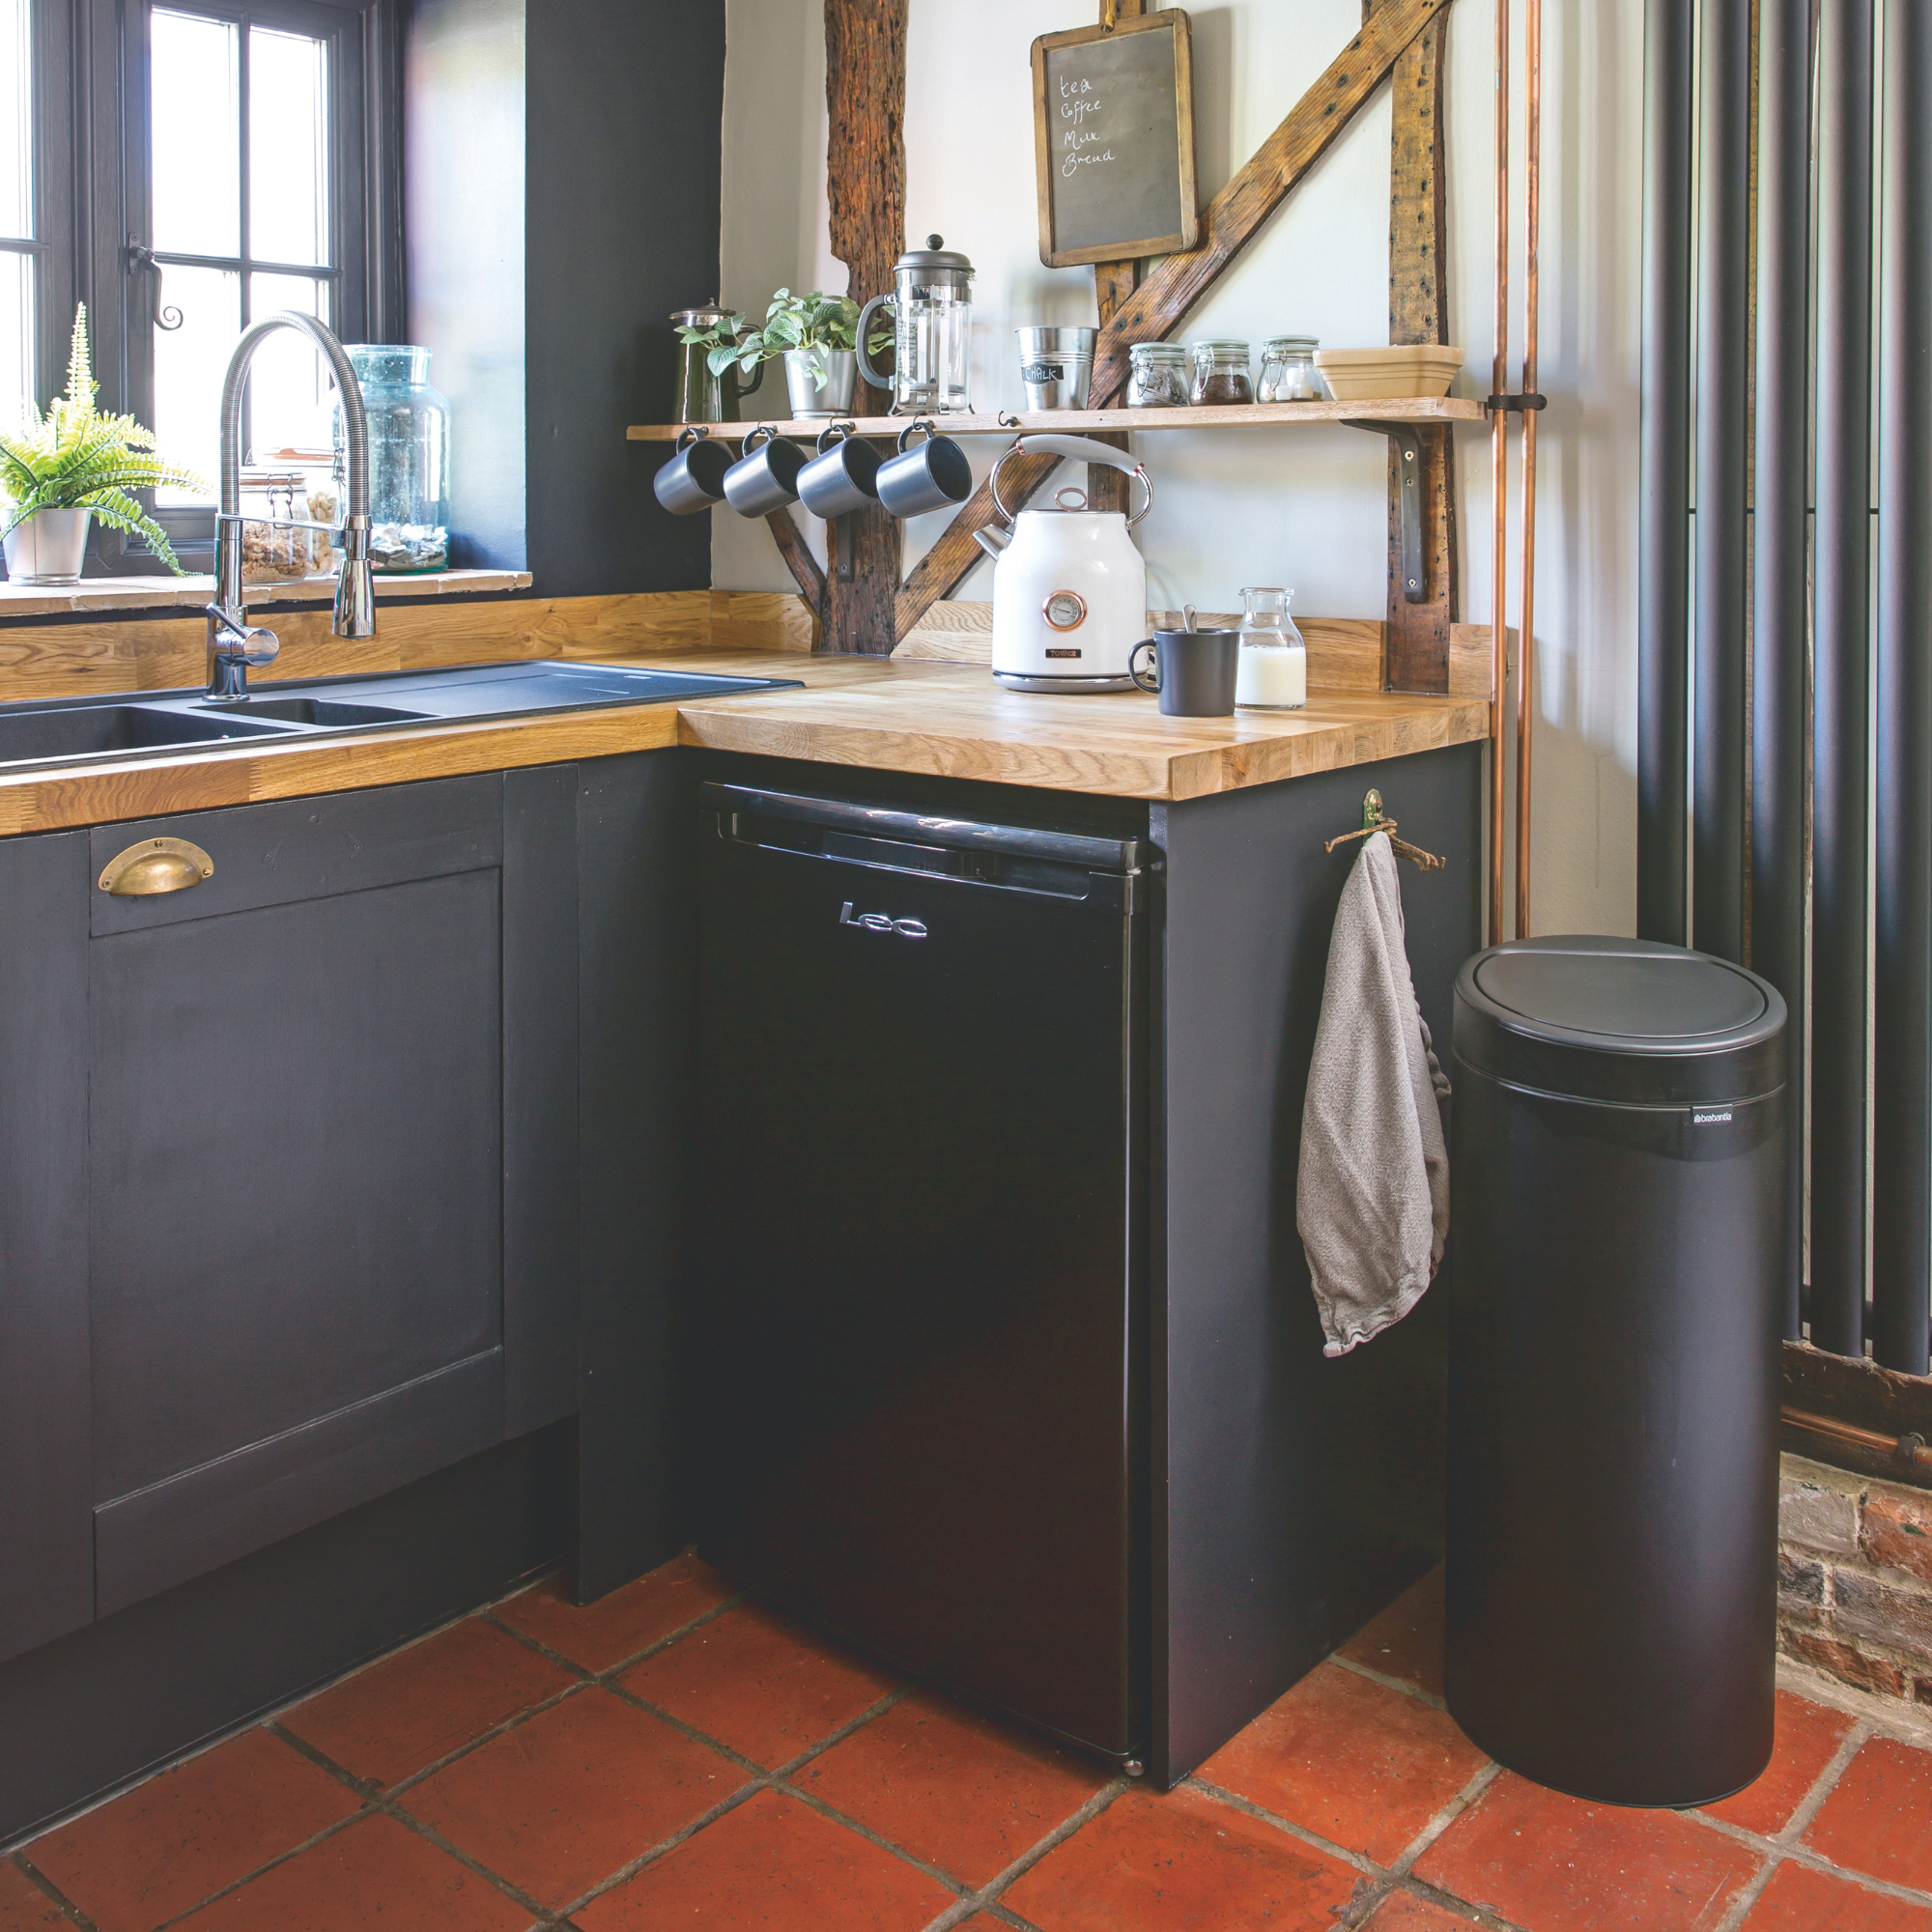
(Image credit: Future PLC)
The TOWIE girls’ decision to go binless comes down to aesthetics and the idea of cleanliness. Although if you ask me, there are plenty of ways to clean a bin and stop a bin from smelling. For example, a charcoal filter (£9.99, Amazon) on your bin lid can absorb bad smells, or even a splodge of Zoflora (£14.99, Amazon) on some kitchen roll in the base of your bin can make it more fragrant.
‘It’s certainly not the norm, but it is becoming more common for homeowners to minimise the visibility of household essentials in pursuit of a cleaner, more streamlined aesthetic. We’re seeing a growing trend towards integrated waste systems hidden within cabinetry, particularly in contemporary kitchens where people want uninterrupted surfaces and a clutter-free appearance,’ says Sian Howarth, founder of Norah Rose and stor.ree.
‘I wouldn’t say it’s specific to Essex. It’s more reflective of a wider trend we’re seeing where homeowners are prioritising spaces that feel calm, organised and visually minimal. Social media has undoubtedly influenced how people view their homes, with many aspiring to create spaces that look as polished as they do functional.’
The problem with not having a kitchen bin
While I’m appreciative that kitchen bins can be a bit of an eyesore, waste experts have emphasised the importance of having a system in place. There is also the issue of using plastic carriers to dispose of rubbish every day, which can be both wasteful and harmful to the environment. The new Simpler Recycling rules also mean we now have specific bins for specific waste types across England.
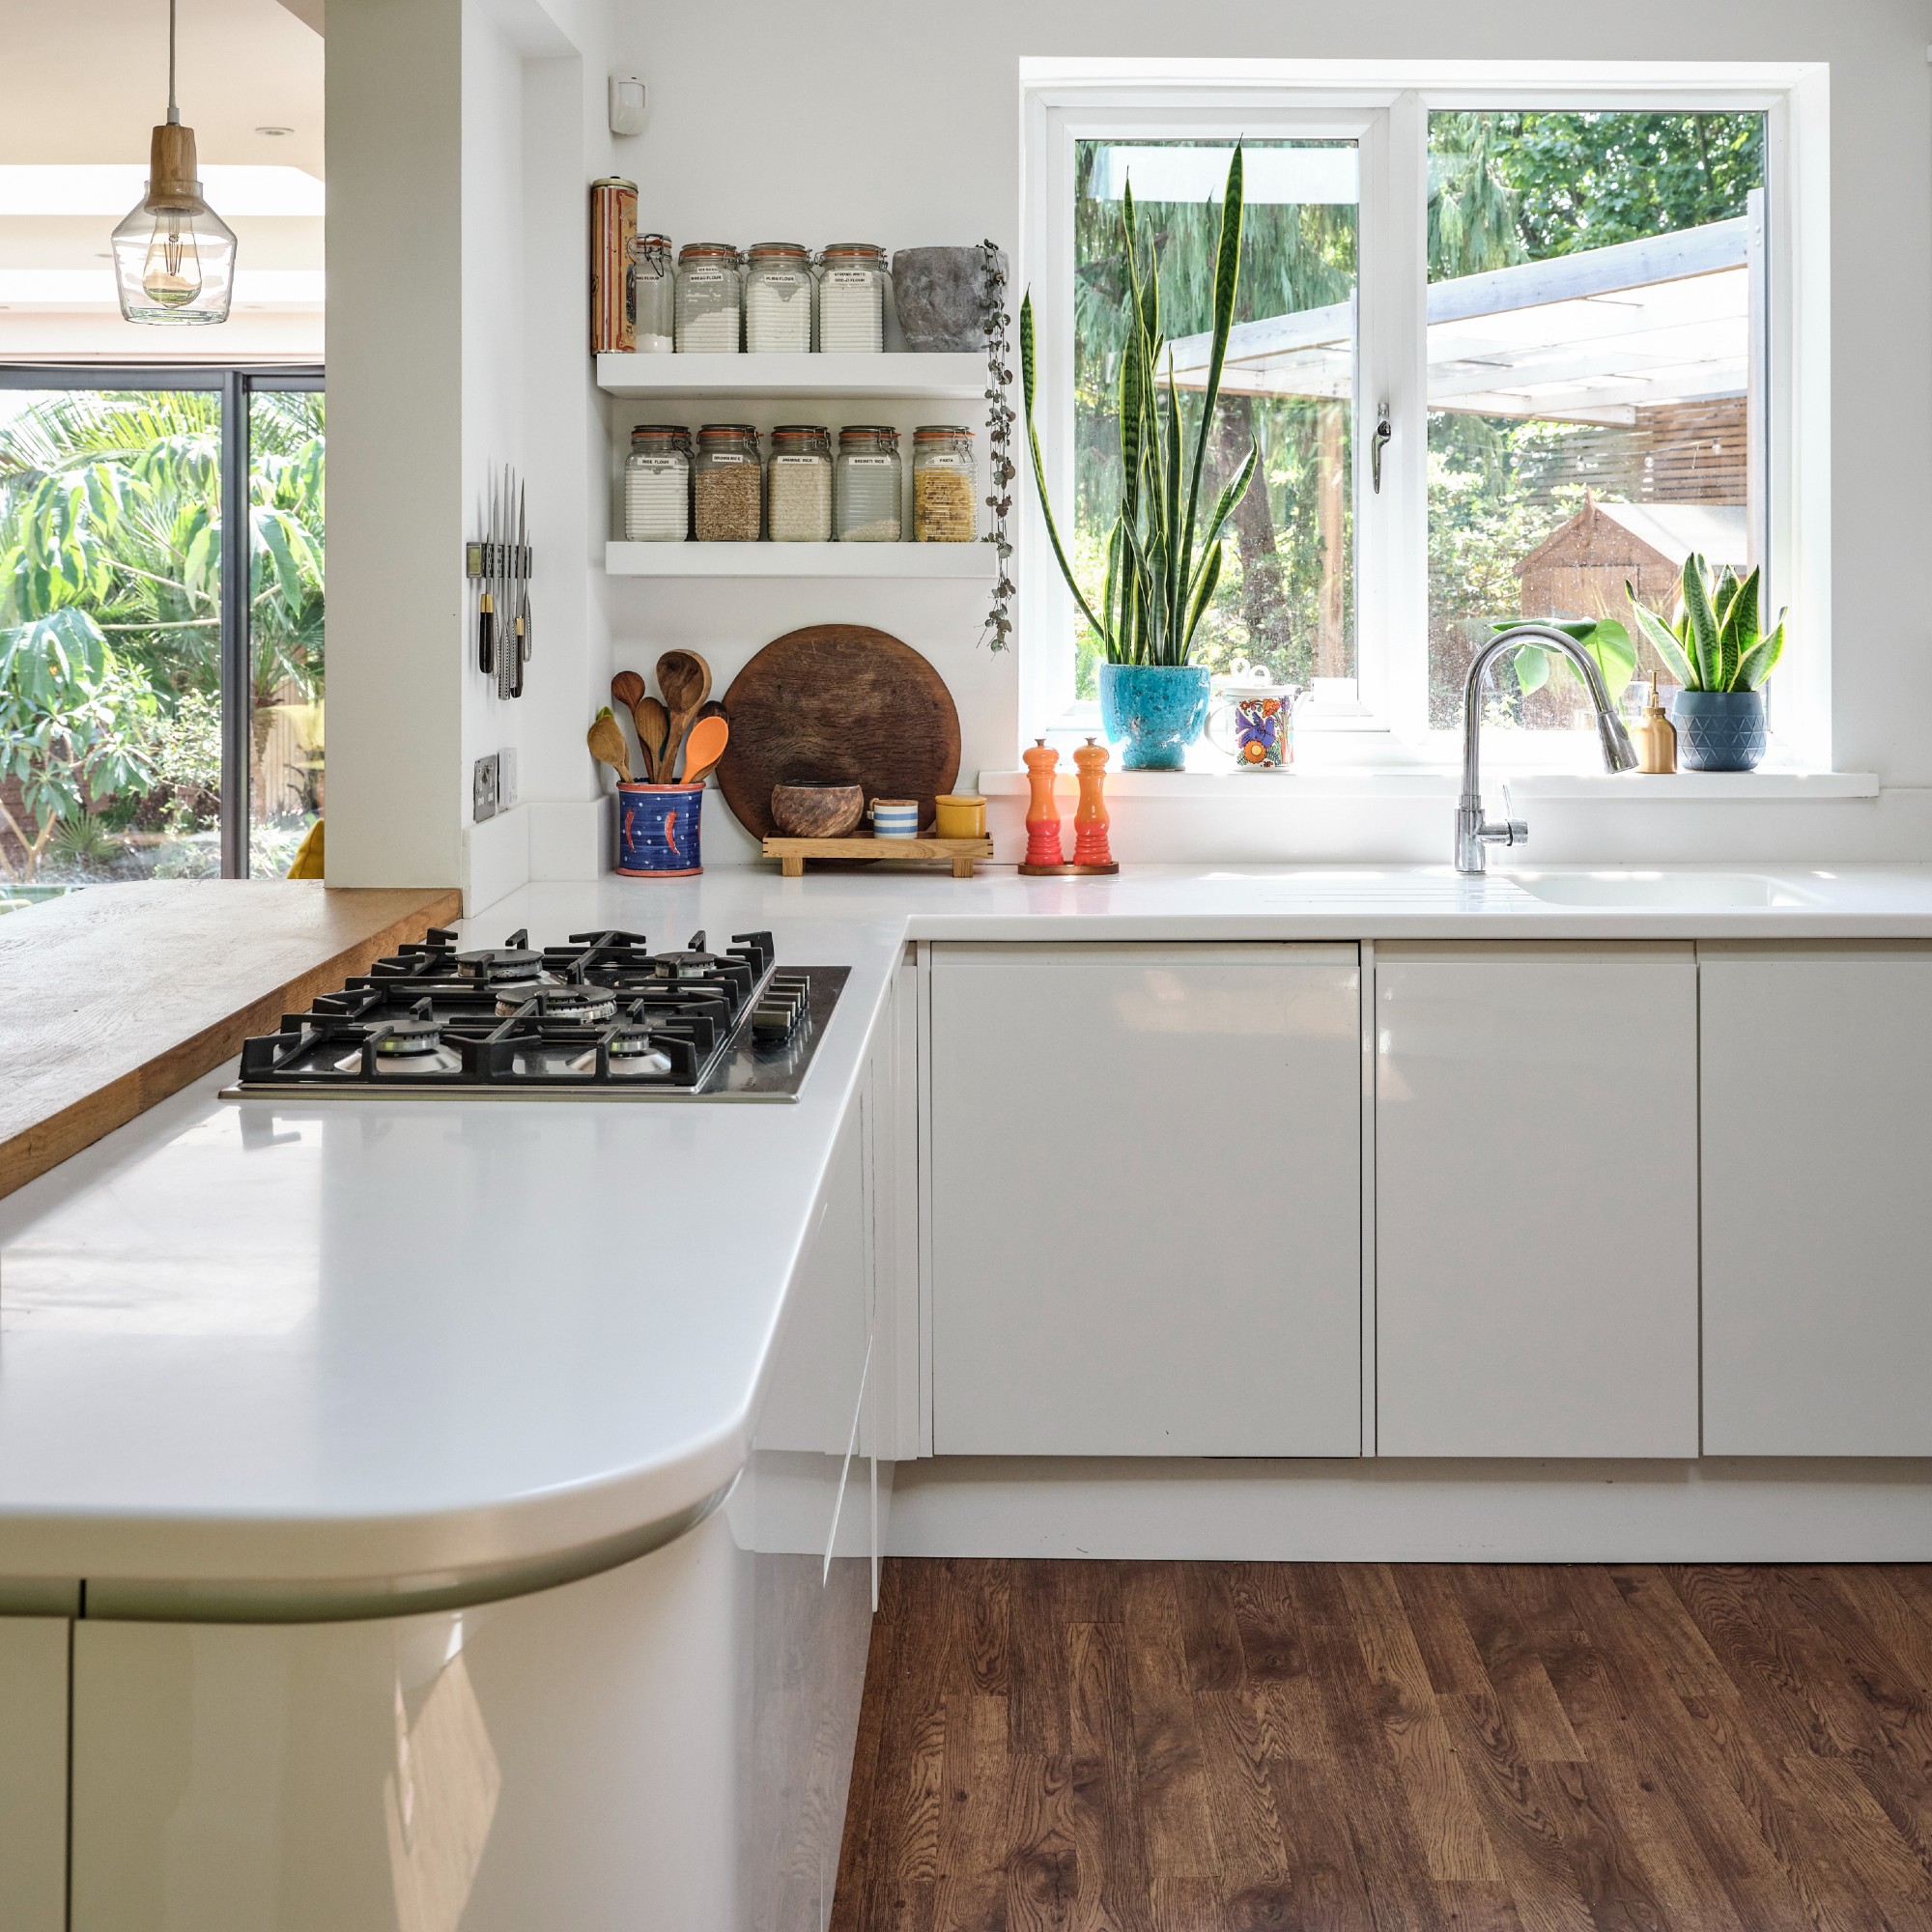
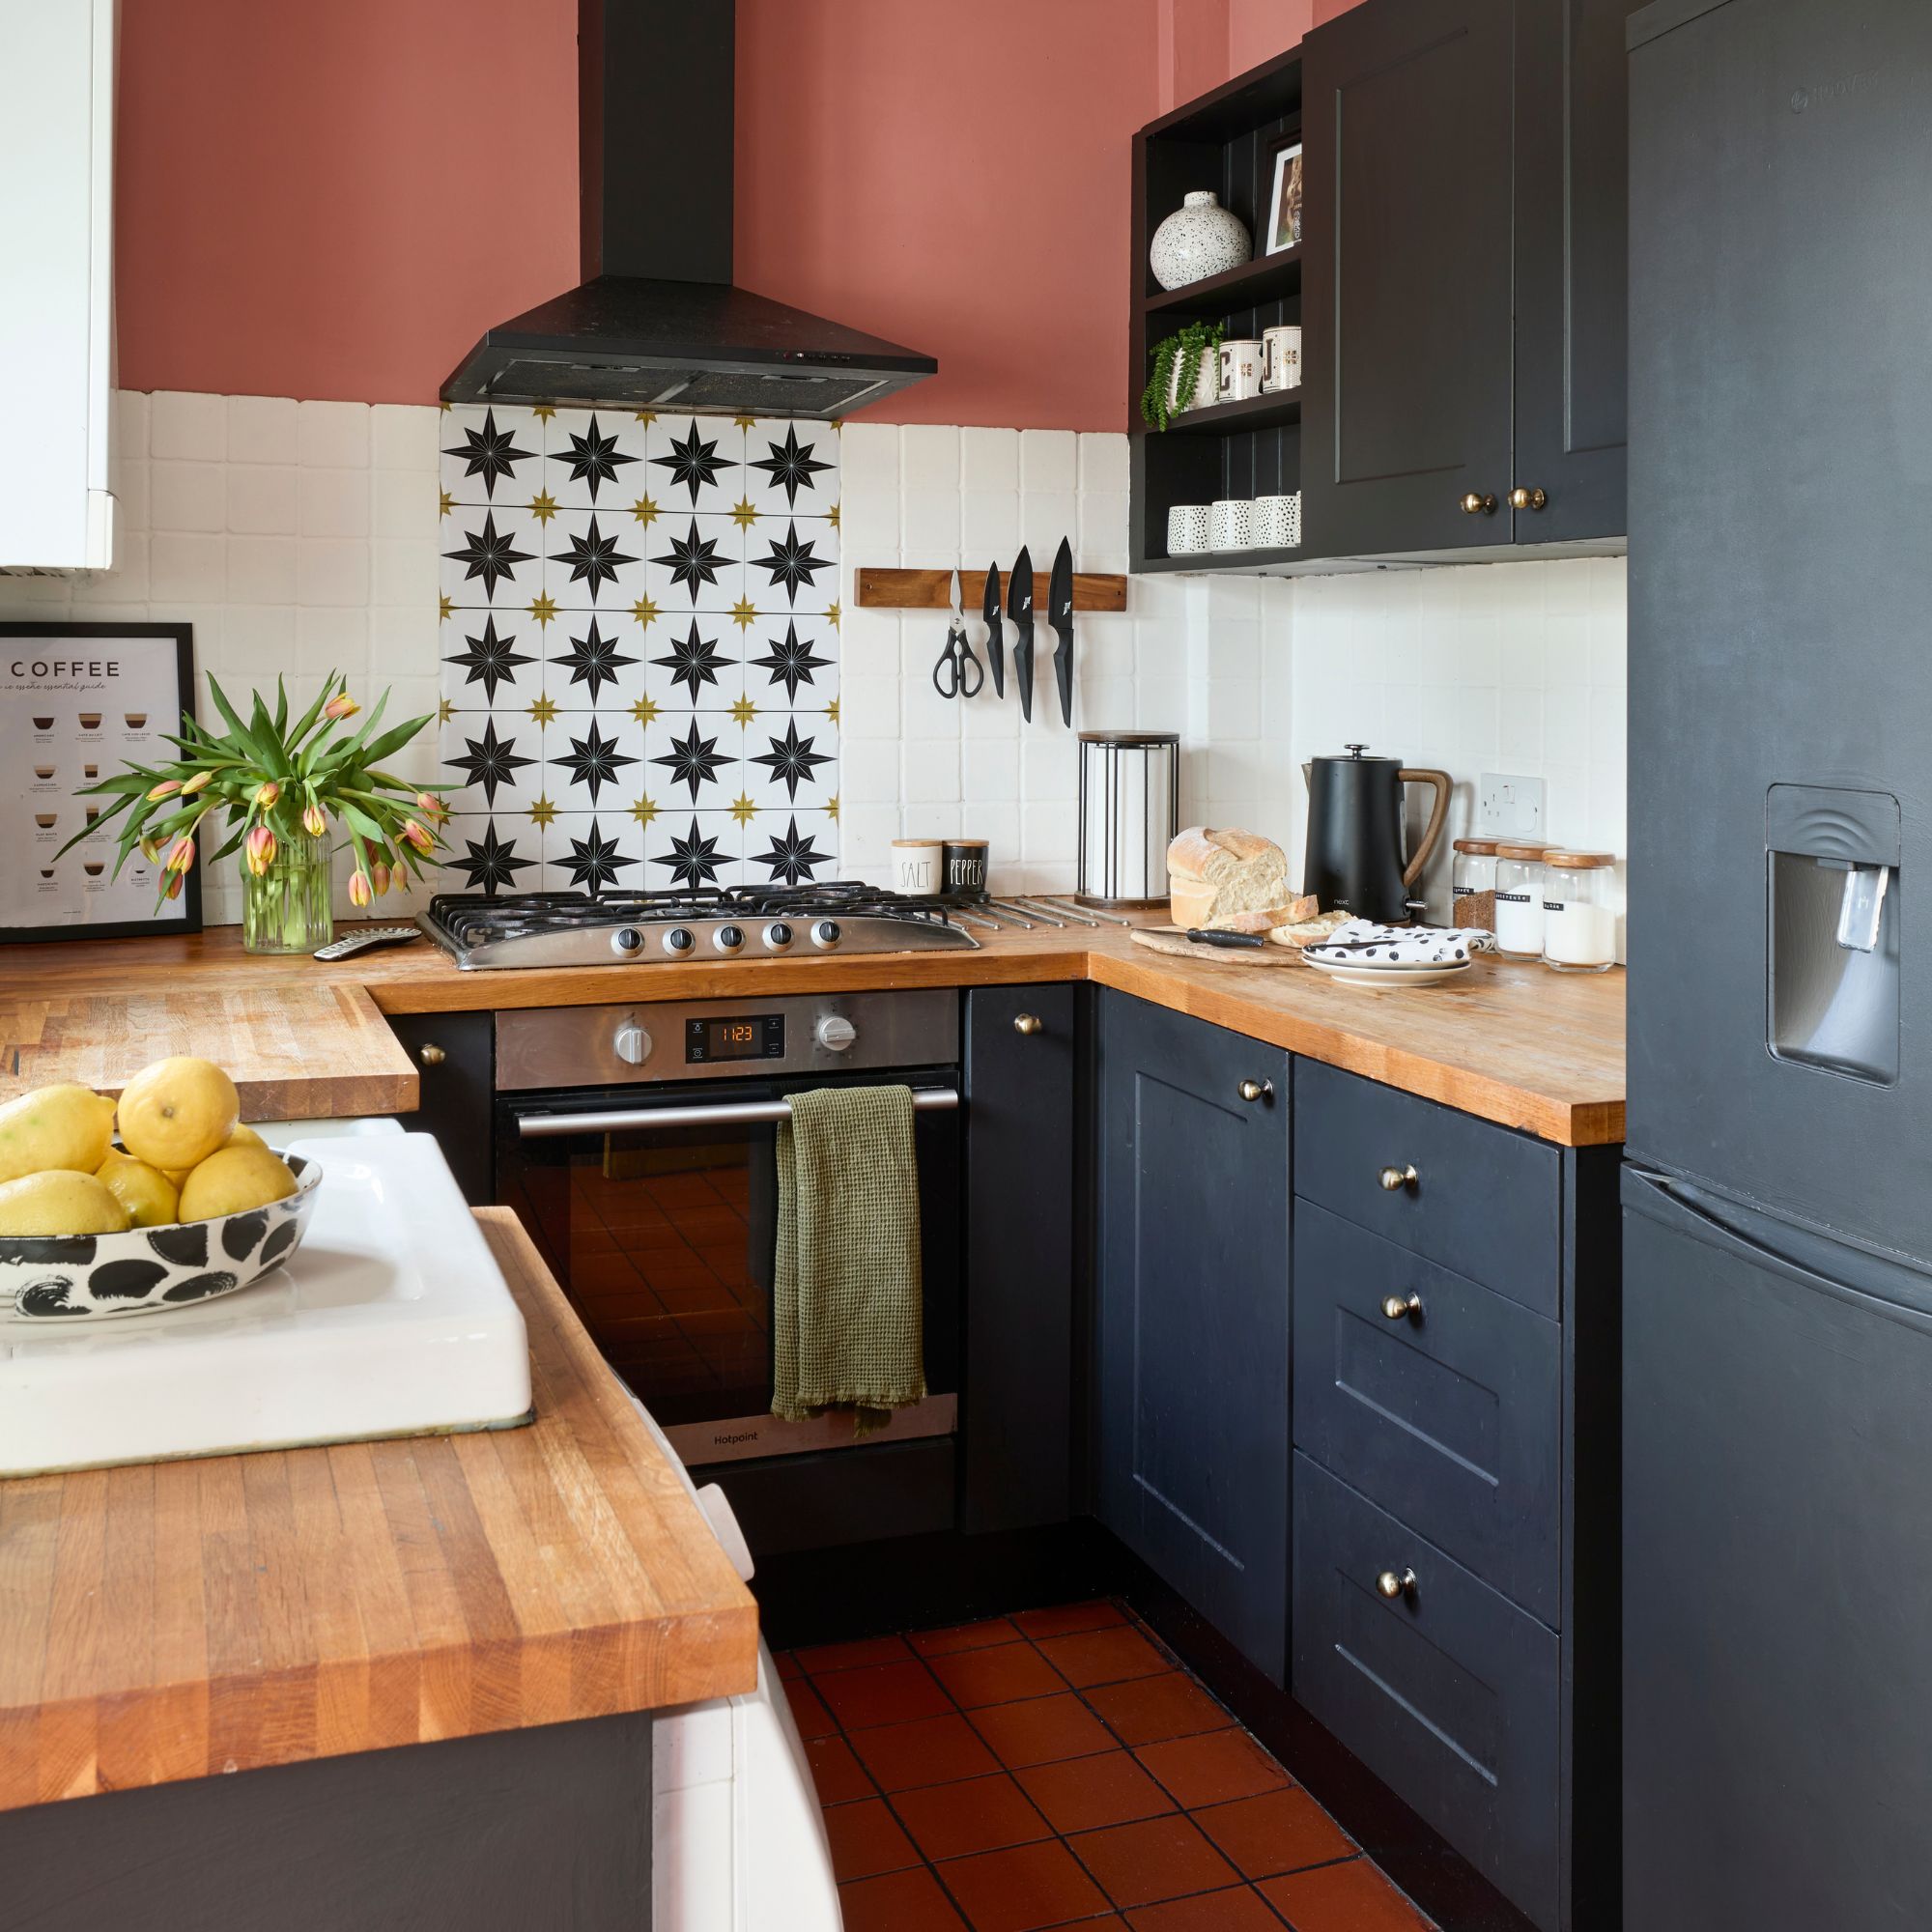
(Image credit: Getty Images)
‘The problem comes when people replace one kitchen bin with lots of smaller plastic bags, or when rubbish is left on worktops because there is no system in place. That can make waste harder to manage and increase the risk of recyclable materials being contaminated with food or general rubbish. This can put added strain on loads, causing them to be rejected at recycling centres,’ says Mark Hall, waste management expert at BusinessWaste.co.uk.
‘It’s important that households have a clear waste system, regardless of whether they choose to have a kitchen bin or not. They still need a practical way to separate food waste, recycling and general rubbish before waste teams come to collect it. Without that, it becomes much harder to understand how much waste you are producing and where it should actually go.’
What’s the solution?
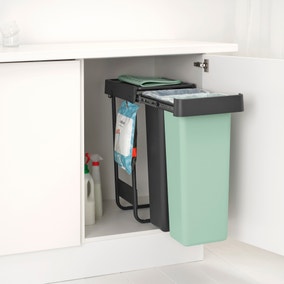
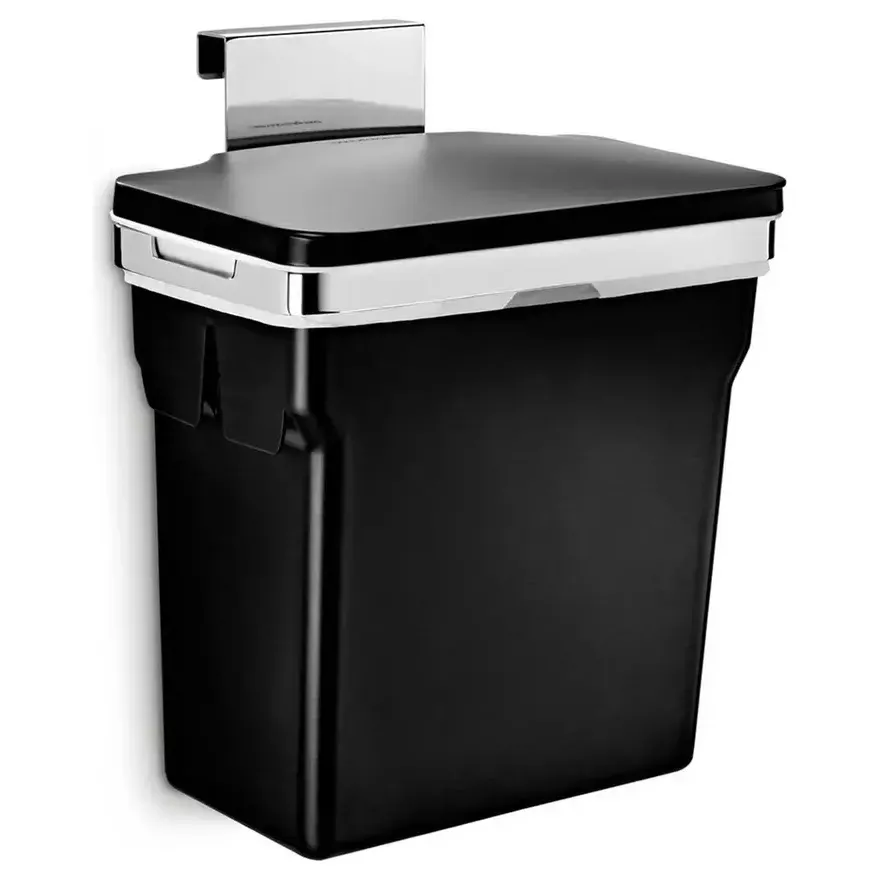
I think there’s a solution to all this bin drama. Kitchen cupboard bins (such as this sleek £7.99 hanging bin from Robert Dyas). These slots inside a cabinet, so you don’t have to have them in your eyeliner. Plus, if you feel the same as the TOWIE girls, you can still empty each day, it’s just less wasteful than relying on plastic carrier bags.
(Image credit: Future PLC/ Lizzie Orme)
‘Practicality should always come first. Waste management is one of the most frequently used functions in a home, so if removing an indoor bin creates inconvenience or impacts hygiene, it may not be the most effective solution for everyday living. There’s also a wider conversation around sustainability and household habits that comes into play when considering how we manage waste within our homes,’ says Sian.
‘For me personally, though, having no indoor bin is probably a step too far.’
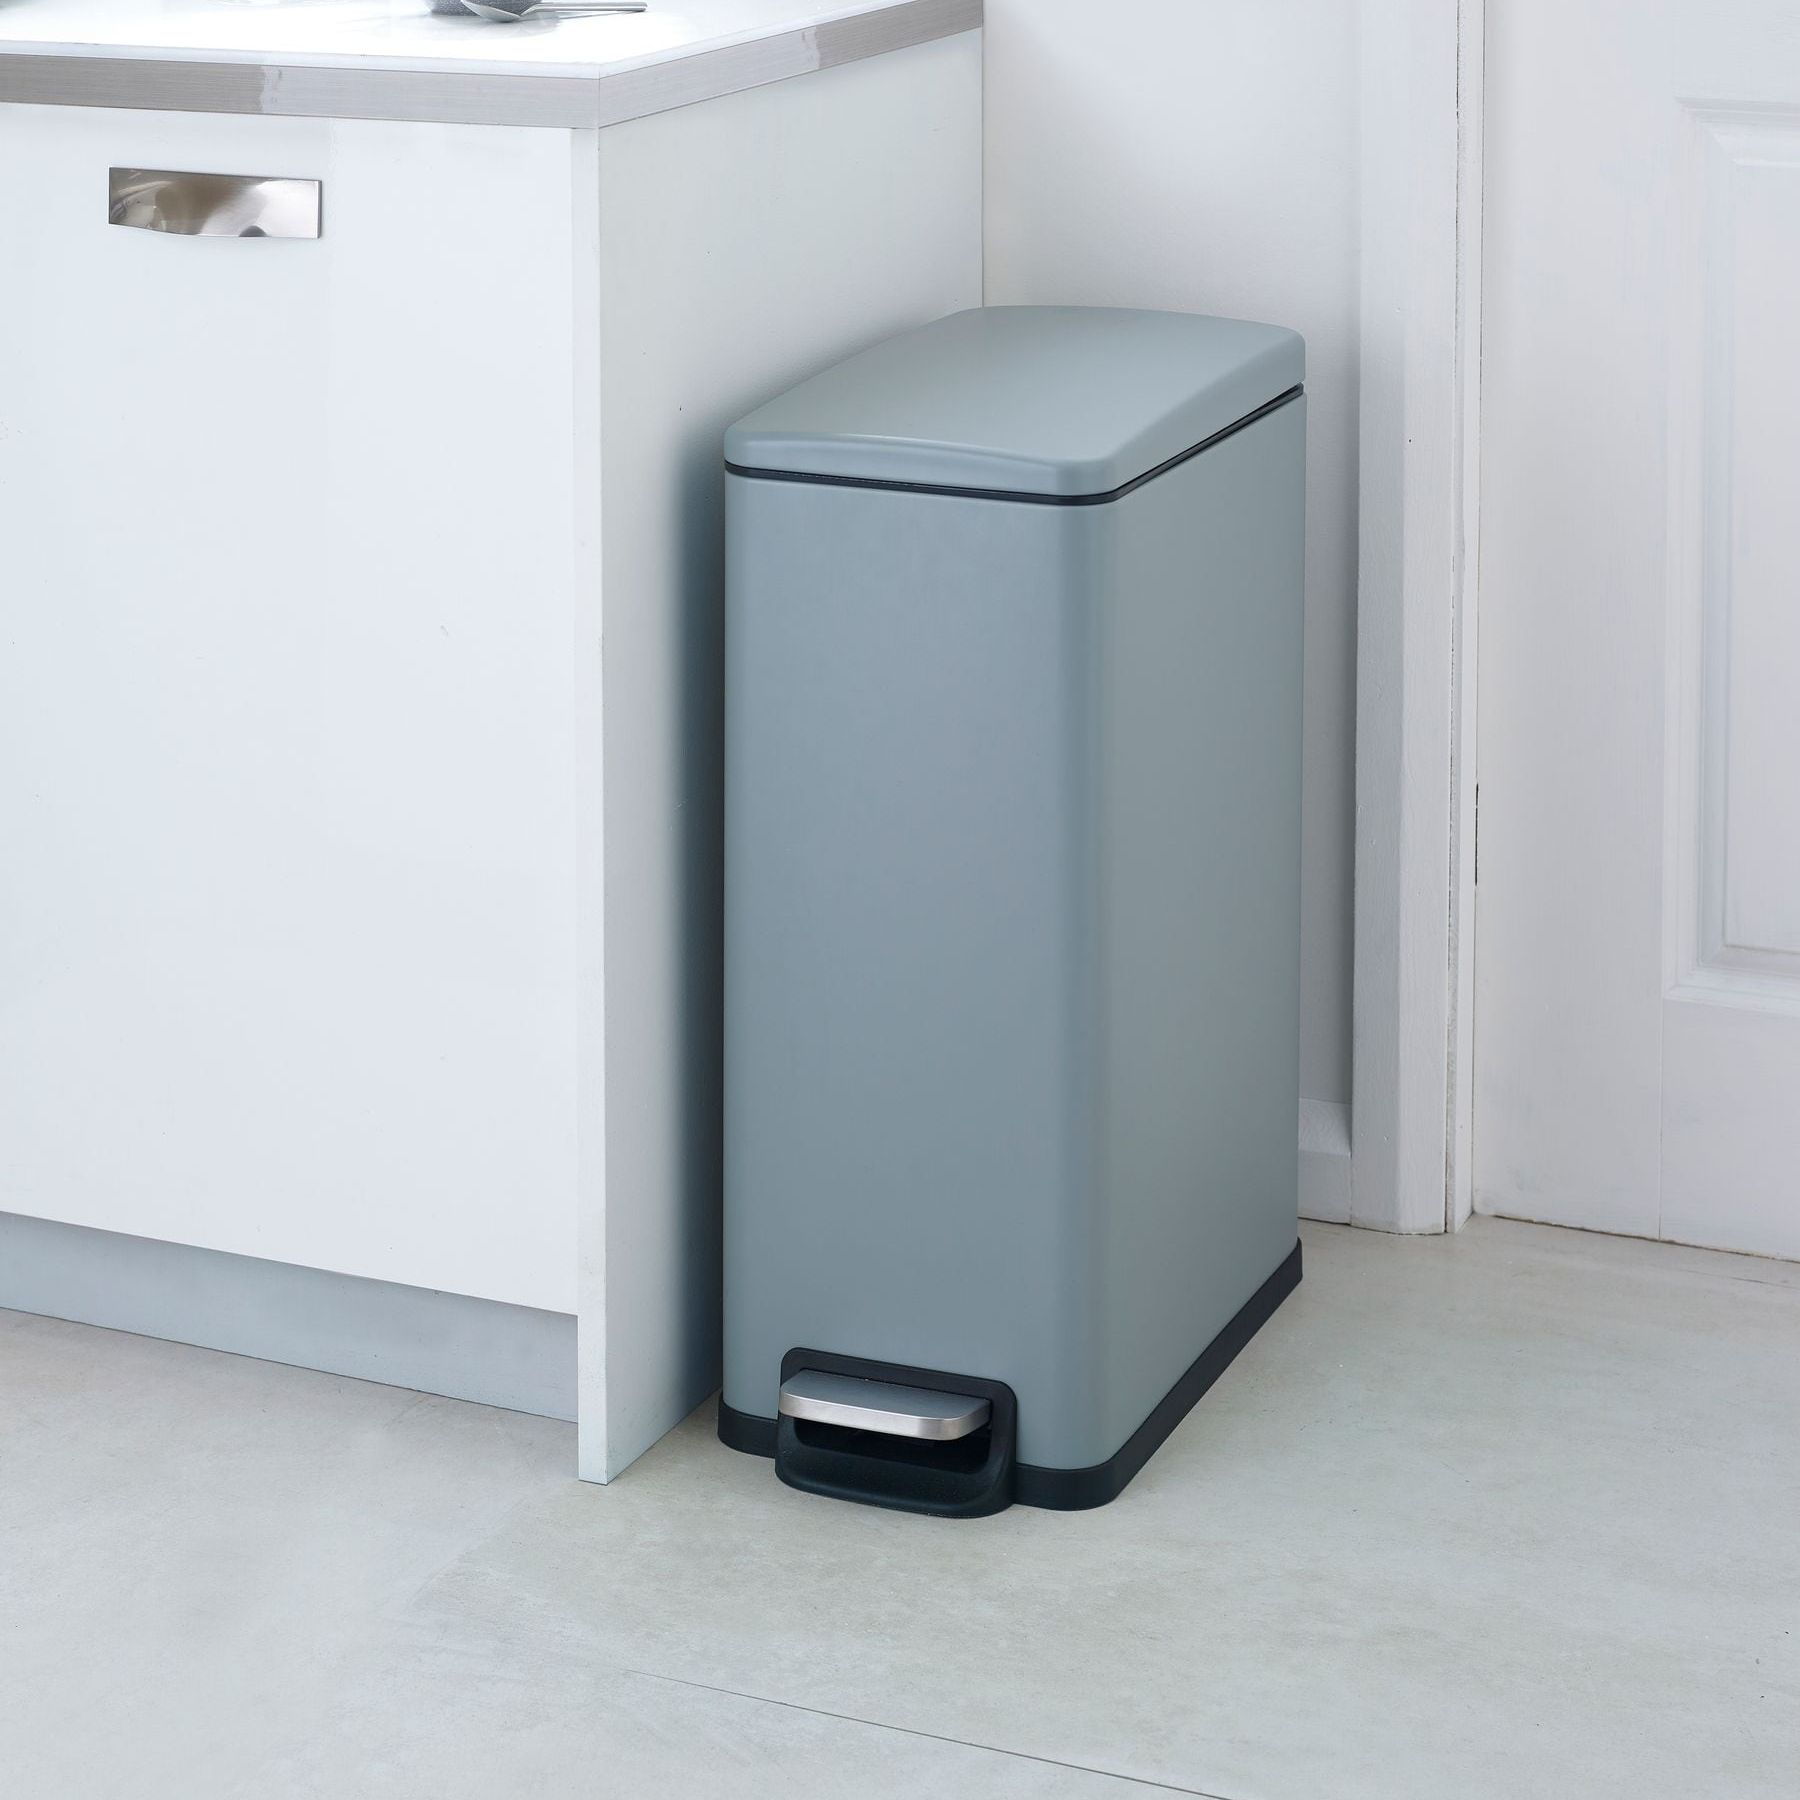
At Ideal Home, we’re firmly saying ‘yes’ to a kitchen bin. And, it’s arguable that you can make a bin look good in your kitchen.
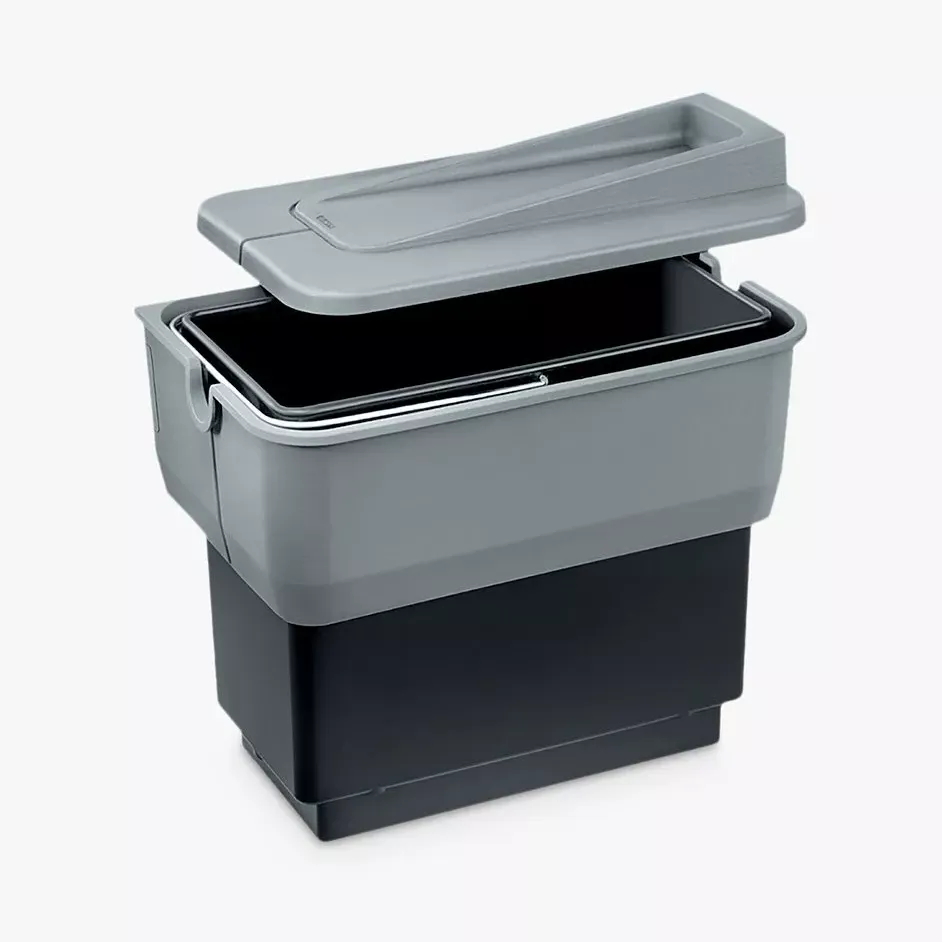
A in-cupboard bin is a great choice for a small kitchen.
(Image credit: Future PLC/Darren Chung)
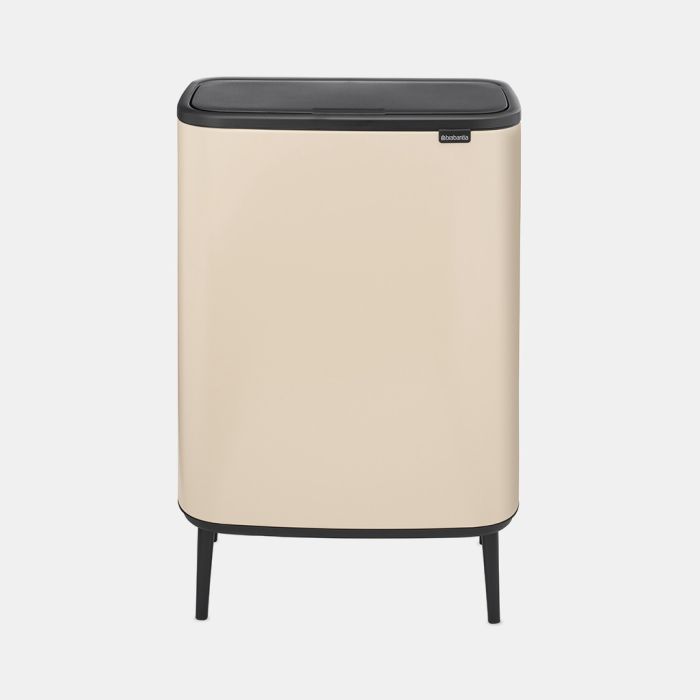
‘Instead, opt for a statement-making design that works with your overall kitchen design. At Brabantia, we believe your kitchen bin should offer both practical and aesthetic appeal. Many modern bins are no longer just functional; they’re designed to complement existing interiors, offering considered shapes, finishes, and colours to suit a range of styles and tastes. Choosing a bin in a finish that ties in with your cabinetry, handles, taps, or appliances can help you create visual continuity throughout the space by drawing the eye to these coordinating elements,’ says Valérie Denys, Brand Expert at Brabantia.
‘Placement is also key. Positioning a bin close to the sink, dishwasher, or food preparation area will make everyday use feel effortless. For open-plan kitchens or those with islands, position your bin at the end of the cabinetry or against a wall to keep your walkways clear while ensuring within easy reach.’
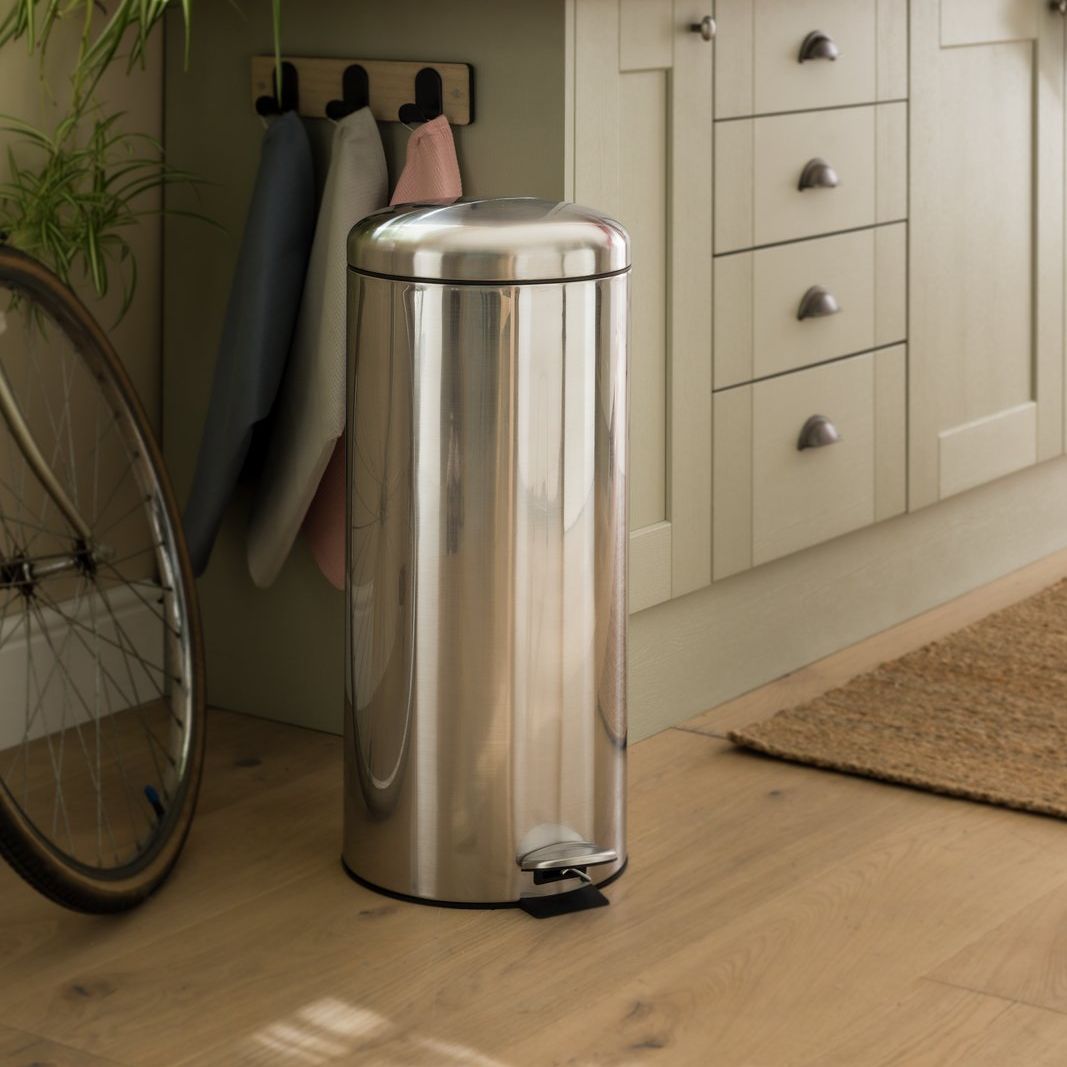
To prove it, I’ve rounded up a selection of bins that are either easy to conceal or attractive enough to have on show.