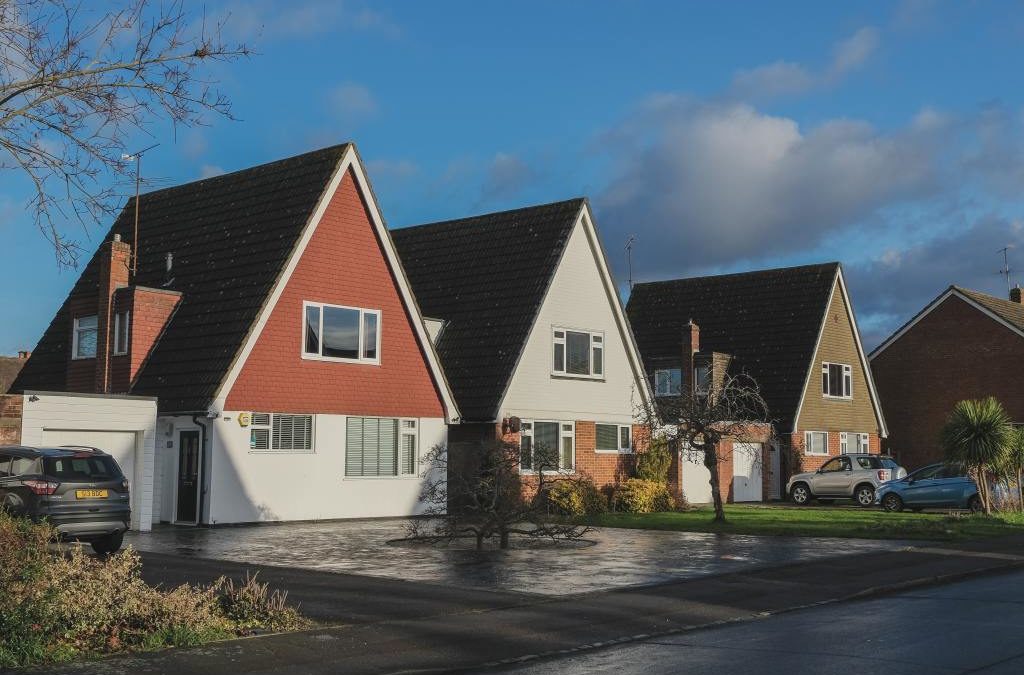
Landscaping can be pricey, but there are ways to lessen the expense if you exert a bit of extra effort and some ingenuity. Here are our favorite ways to landscape on a budget.
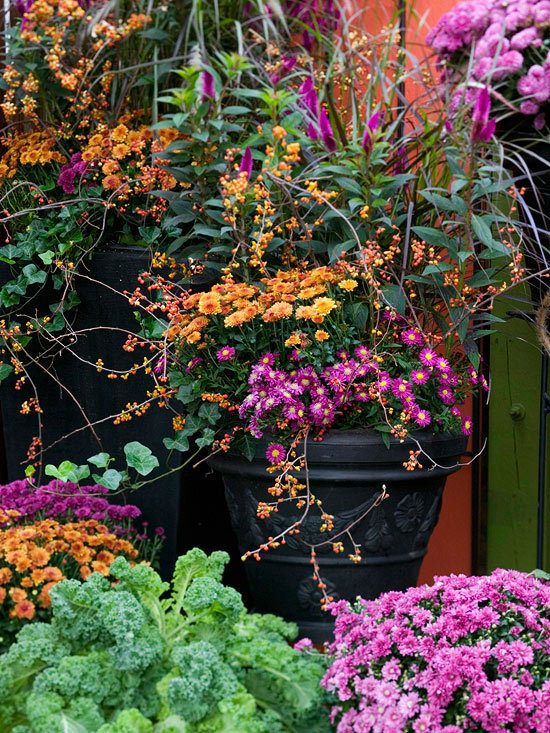
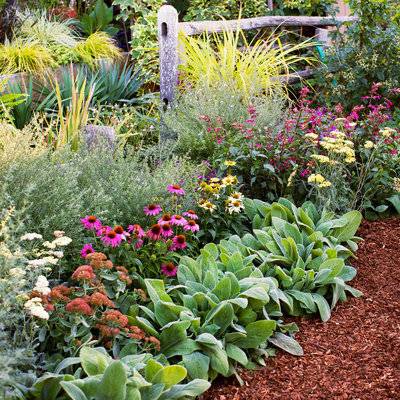
1. Choose plants with bright colored blooms for big impact.
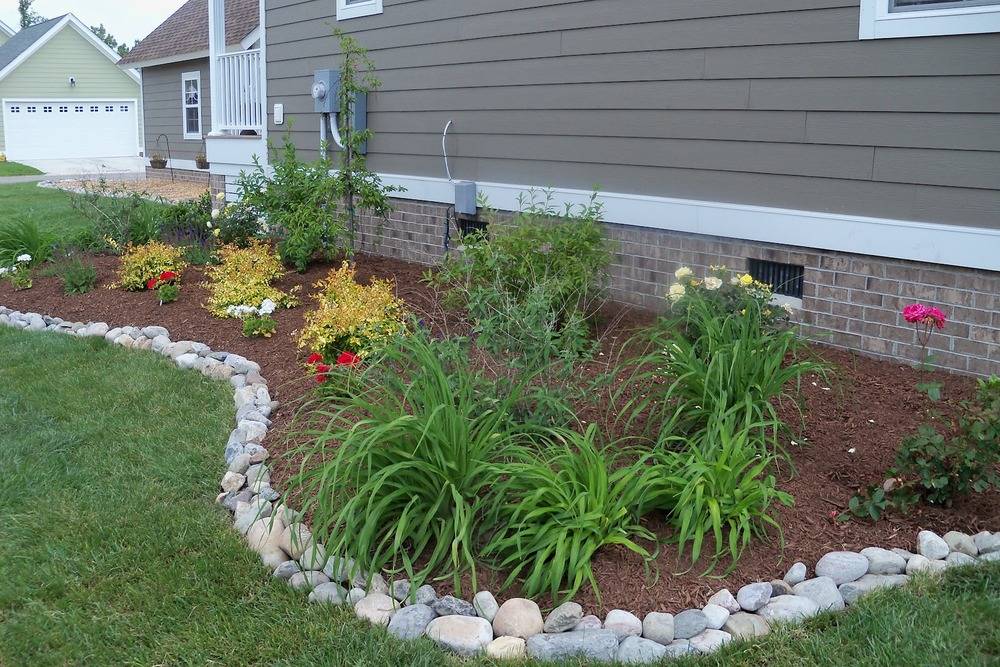
Flowering plants with big, bright blooms (as shown in the first image above) help fill space and draw the eye in. Look for colors that complement or offset the shades of your home’s siding or stucco.
Rather than buying brick or other garden border materials, find stones for free and use them to create an attractive divider between the garden and the lawn.
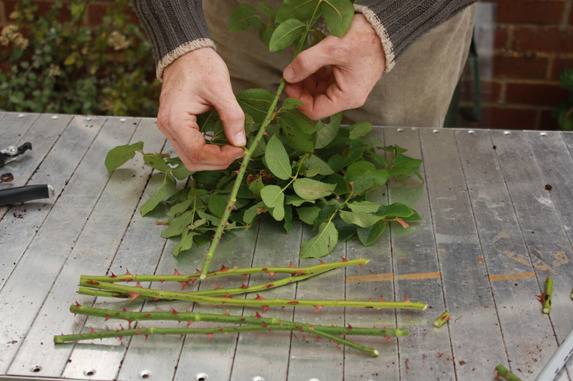
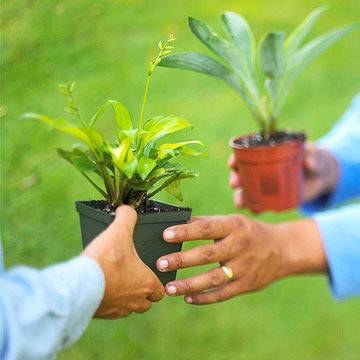
3. Instead of buying 5 plants, buy one and divide it.
Divide plants, like hostas or lillies, and spread them throughout your yard. You’ll save money by turning one plant into several. Dividing plants is pretty easy; just dig up the entire plant, making sure to keep the root-ball intact. Then carefully split up the roots and stems until you have separated the plant into several chunks. Each group can be re-planted, and should continue to grow if watered and maintained appropriately. Read more here.
Tool sharing is a gray way to save money. Rent a wood chippers or soil aerator, and split the costs with friends. You can also split seed packs, plant packs, and more.
9. Buy pots and planters used or on sale.
Yard sales, flea markets, and Craigslist are all great resources for finding really affordable pots and plant containers.
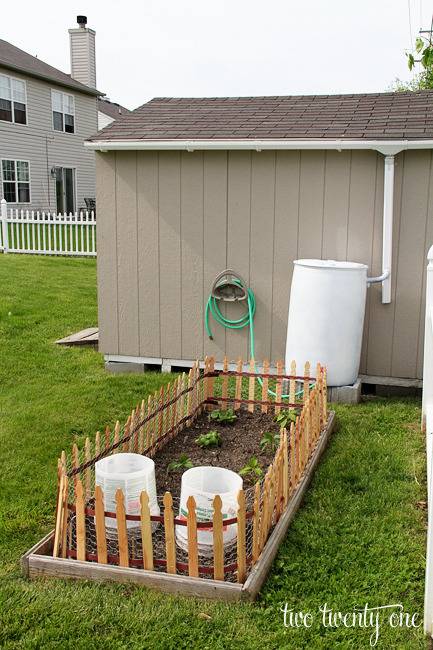
10. Construct a rain barrel to collect rain to water your garden and lawn.
This will lower your water bills (and help the environment too!). Get the rain barrel tutorial here. Use a downspout adapter to direct water flow.
Painting bricks can add a pop of color and style.
11. Add some color by painting rocks, bricks, or landscaping pavers.
You know how sometimes you just get tired of looking at boring, plain, red bricks? Well, guess what? Other people do to! Which is why those materials can often be found for cheap, or free. But with a fresh coat of paint, you can turn them into something special.
Try painting river rocks white for a clean, modern-looking ground cover option. Or add pops of bright color to an old brick wall. Here’s a good primer on how to correctly paint these type of materials so that the top coat will last.
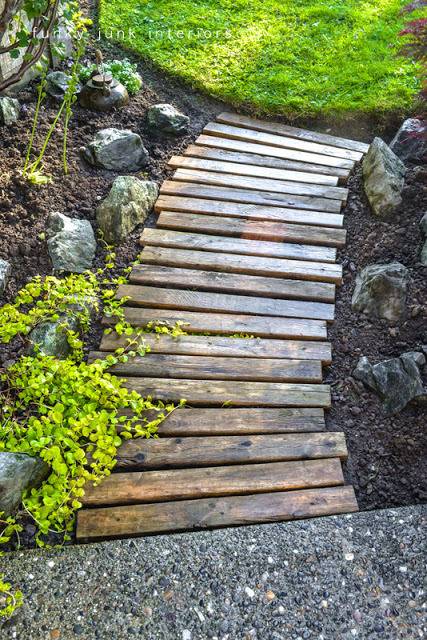
Wood shipping pallets can be found for free almost anytime (or bought for cheap). Look for them by the side of the road, or at warehouse loading docks (make sure to ask before you take them; usually people will be happy to let you have them). These wood structures are built to be used outside, and can easily be turned into simple pathways (as above) or other outdoor landscaping features.
Simple, carefully-placed lighting can make even the most ordinary yard look amazing. And the best thing? Lights have gotten really affordable over the last ten years, thanks in part to the advancement of LED technology. In many cases, you may not even need additional electrical wiring, because LEDs use such little electricity that they can be solar powers. Try a rope light along the edge of a garden, or spot lights to feature large plants or trees.
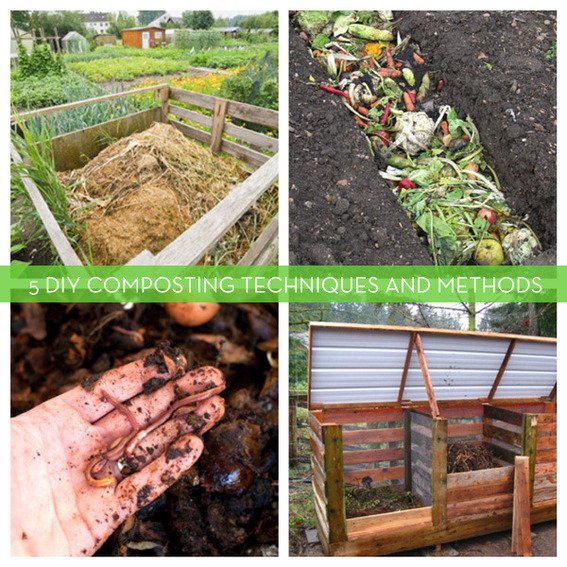
As a gardener and urban farmer you come to appreciate and treasure compost, or as I affectionately call it, “Black Gold”.
Composting itself is actually pretty easy and there are several methods and solutions. Whether you own a full-on farm, or live in a tiny apartment, there is no reason you can’t or shouldn’t be composting.
In a world obsessed with “greening,” it’s scary to think about how much food we throw away. A friend of mine started a small scale composting business last year by collecting food scraps from local restaurants and was able to save 111.3 tons of food waste from ending up in the dump and turned it into glorious, nitrogen rich compost. If that’s not motivation to start composting, I don’t know what is!
Here a few of the options available when composting.
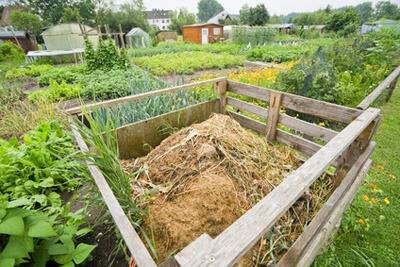
The most straightforward way of composting involves dedicating an area, usually 25 sq. ft or so to being a compost pit, any larger and it makes it pretty difficult to aerate. You start by adding layers of organic material, usually browns (old leaves, bark, etc) followed by greens (grass cuttings and vegetable scraps) topped by soil. Continue on building the layers until it’s around 4 to 5 ft high and then turn it every 2-3 days with a fork for the first month, keeping it moist, but not wet. After the first month taper off till you’re turning once or twice a month and in 3-4 months you’ll have a soil-ready compost, less if you decide to add a commercially available compost activator. See more at Nature Hacks.
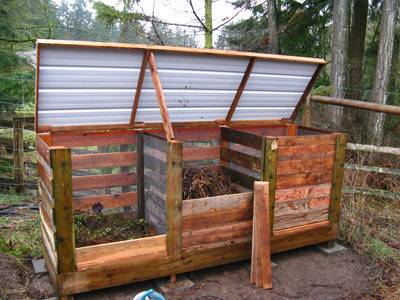
Bin Composting
Also known as the “no turn” method. It’s similar to the layered method above, but the idea is you have three bins, you keep adding to the first until it’s full, then move to the next bin. While it’s the most effortless method, it’s also the longest and it can take as long as 3 years to decompose! See more at Backyard Feast
Quick Composting
If, like me, you don’t have three years to wait around you can combine the first two methods together, turning twice a week and making sure that the heap remains warm.
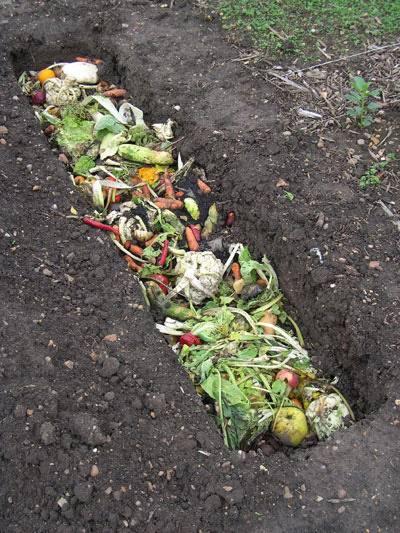
Trench Composting
Trenching, as discussed in our DIY garden beds post, trenching is a way of composting by digging a trench roughly 3-feet deep and filling it with compostable scraps, covering them with alternate layers of soil. Once completed leave them for 2-3months to break down and then plant your vegetables directly into the bed. See more at Good Life Garden
Worm Composting
Worm Composting, and vermicomposting yield nutrient-rich castings, and probably the most fertile soil of the above methods, the downside is that it’s not as scalable as the above methods, but perfect for small gardens and apartment dwellers. Red wriggler earthworms are used to break down kitchen scraps into these castings and nutrient-rich worm tea, which can be used as an organic fertilizer. The downside is that the worms don’t have a large appetite so you can’t feed them a lot of food at once, you should also avoid all types of citrus, meat, or onions when feeding them. The plus side is that it’s also one of the least odorous methods of composting and why it’s become popular with many apartment dwellers using it to clear off kitchen scraps.
When it comes to choosing materials for outdoor use, stainless steel is often a top contender. It is durable, weather-resistant and easy to clean, making it a popular choice for everything from patio furniture to grill covers. But is it really the best option? We asked The Engraving People for their views on the benefits and drawbacks of this material.
What is Stainless Steel?
Stainless steel is a type of steel that’s mixed with chromium and other metals to make it resistant to rusting and staining. It is often used for outdoor furniture, appliances, and other objects that may come into contact with water or other liquids. Stainless steel is also very durable and can withstand a lot of wear and tear.
Stainless steel is a great choice for outdoor use in many situations. It is durable, weather-resistant and easy to clean, making it a low-maintenance option that will last for years to come. However, it is important to keep in mind that it may require more care than other materials and may not be the best choice for every outdoor application.
There are a number of factors to consider when deciding whether or not stainless steel is the right material for your needs. Let’s take a look at some of the pros and cons of using this versatile metal outdoors.
Stainless steel is a great material for outdoor use because it is durable and easy to clean. To clean your stainless steel, simply wipe it down with a damp cloth and dry it off with a soft towel. If you have any tough spots or stains, you can use a mild soap and water solution to remove them. Be sure to rinse the area well afterwards to remove any soap residue. For best results, follow these cleaning tips:
Wipe up spills immediately to prevent staining.
Avoid using harsh chemicals or abrasive cleaners.
Use warm water and a mild soap solution for tough spots or stains.
Rinse the area well afterwards to remove any soap residue.
Dry the area with a soft towel to prevent water spots.
With proper care, your stainless steel will look great for many years.
Conclusion
Stainless steel is an ideal material for many outdoor applications because it is durable, easy to clean, and rust-resistant. It can be used for a variety of purposes such as deck railings, gates, fences, and furniture. While stainless steel may be more expensive than some other materials, its long life span and low maintenance requirements make it a wise investment.
Up to 1 in 5 homes in the UK are affected by bad roof condensation. It’s a problem that often goes unchecked, leaving homeowners with huge bills in installation and construction work to fix the problem. Although it’s a much more prevalent problem in Autumn and Winter, condensation can build up over the warmer months too, which is why it’s a good idea to have your roof checked out before too much damage is done.
Here is some information about the causes of roof condensation, how to spot it and how to avoid it in the future.
There are a few causes of roof condensation. The first culprit is roof insulation. Whilst it keeps your house nice and warm and reduces heat loss over the colder months, it can stop your property ‘breathing’, effectively making it humid and more prone to condensation. It is important to check your insulation is installed properly to avoid excess moisture in the air.
Uninsulated roof hatches can also cause problems by letting moist air in from the rest of your home. It can enter your loft and condense on any cold surface before seeping through the ceiling. Poor ventilation in general is a huge cause of roof condensation. Older buildings in particular don’t have the necessary ventilation and are more vulnerable.
As we’ve already discovered, good ventilation is key to avoiding roof condensation. Allow your loft to breath by double checking your insulation isn’t pushed directly against the eaves of the roof and installing some longtail eaves ventilation to reduce the amount of moisture in your loft.
You can prevent warm air rising into your loft by reducing the amount of steam produced by domestic activities. Avoid opening the bathroom door straight after a shower, place lids on your pans whilst cooking and try to dry your clothes outside when possible. If you have a vented tumble dryer, make sure that it’s been properly vented to an outside wall or an open window. Make use of any extractor fans you have in your home, for example in a bathroom or kitchen.
Investigate new loft hatches that are properly insulated and sealed off from the rest of the house and when you do use your loft hatch, remember to close it again after.
If you see patches of condensation appearing, always wipe them away. If you have slotted vents in your window frames, make use of them and keep them open when rooms are inhabited. This is the case even in the winter when you have heating on as it can help remove excess water vapour.
You may have noticed that alfresco living is here to stay – perhaps one of the silver linings of global warming, at least in the short term. The good news is that if your home has some private outdoor space, whether it’s a small patio or a large lawned garden, you have an opportunity to create an outside living area for maximum relaxation for yourself and/or entertaining with friends and family.
Creating the ideal outdoor living space can be an exciting project and it doesn’t need to be hugely expensive. We’ve put together some handy hints and tips on how you might go about it.
1. Work with what you have
Take a good look at the outdoor space available to you and see how you could work with it. How big is your garden and what is the layout? Is the space open and overlooked or sheltered and private? How do you access your outside areas? Patio or bifold doors are perfect for linking the outside and inside. Are there any awkward sheds, garages or garden buildings you need to work around or any unsightly structures you wish to hide?
Having a larger garden obviously gives you more scope and more options for adding features and decorations such as statues, arbours or water features. Then again, just adding more ‘stuff’ isn’t necessarily the answer. A minimalist, low-maintenance garden can work just as well as a traditional English cottage garden design.
Before you do anything else, you need to work out how you want to use the space, and the rest follows from there.
Creating a cosy and inviting alfresco living room is the key area to focus on. A casual outdoor sitting and/or dining area is a great space for entertaining guests, hosting a garden party or a BBQ, or just somewhere for you and the family to unwind and recharge. Look for generously proportioned lounging furniture and a dining table and chairs to accommodate all family members and more – but make sure it doesn’t dominate the space.
Just as you would do inside your house, you should apply the same design rigour to the garden area. Create a cohesive ‘outdoor room’ scheme and colours that link to your interior styles, so your home has a harmonious flow whether you’re standing in the kitchen or sitting on the patio. A seamless theme will connect the outside and the inside of your home, blurring the lines.
3. Plenty of seating for all
There are countless ways to make lounging alfresco enjoyable and indulgent, with solutions available for all budgets – ranging from simple hammocks, deckchairs and weatherproof beanbags to hanging egg chairs and luxury outdoor sofa sets. If dining alfresco is more your thing, you might consider investing in a large table and chairs or a full dining set. If your garden is on the bijou side, a small bistro set could be a charming addition.
The material you choose for your garden furniture will affect the style and atmosphere of your outdoor space. Go for traditional wood for a more natural, organic feel, or metal for a more contemporary touch. Add plenty of colourful cushions to soften the hard materials and make the area cosy and appealing, while drawing the eye.
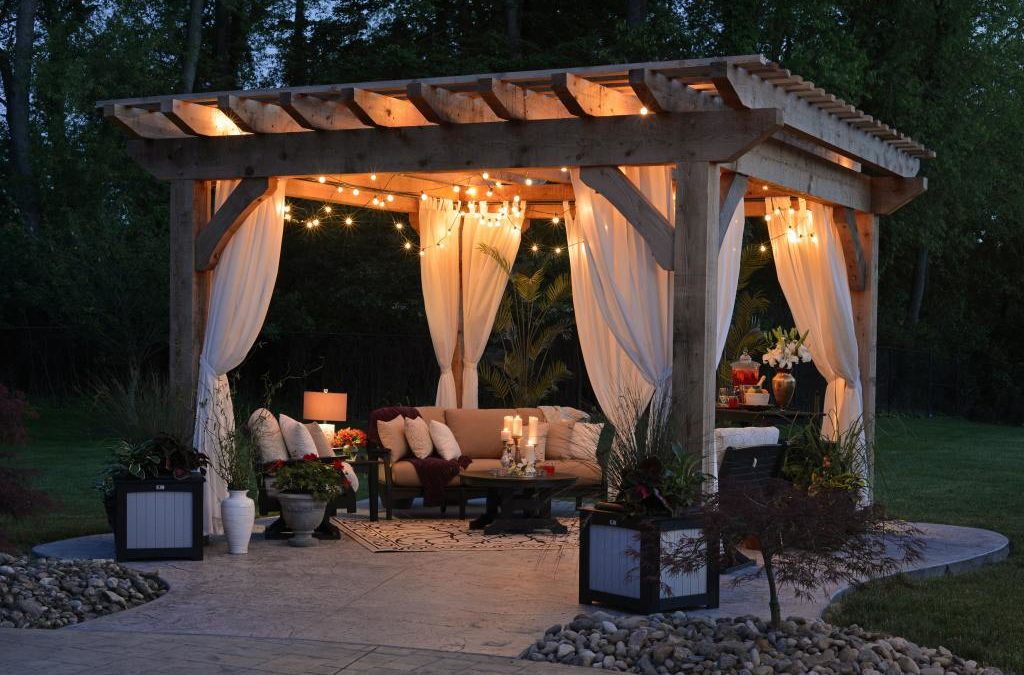
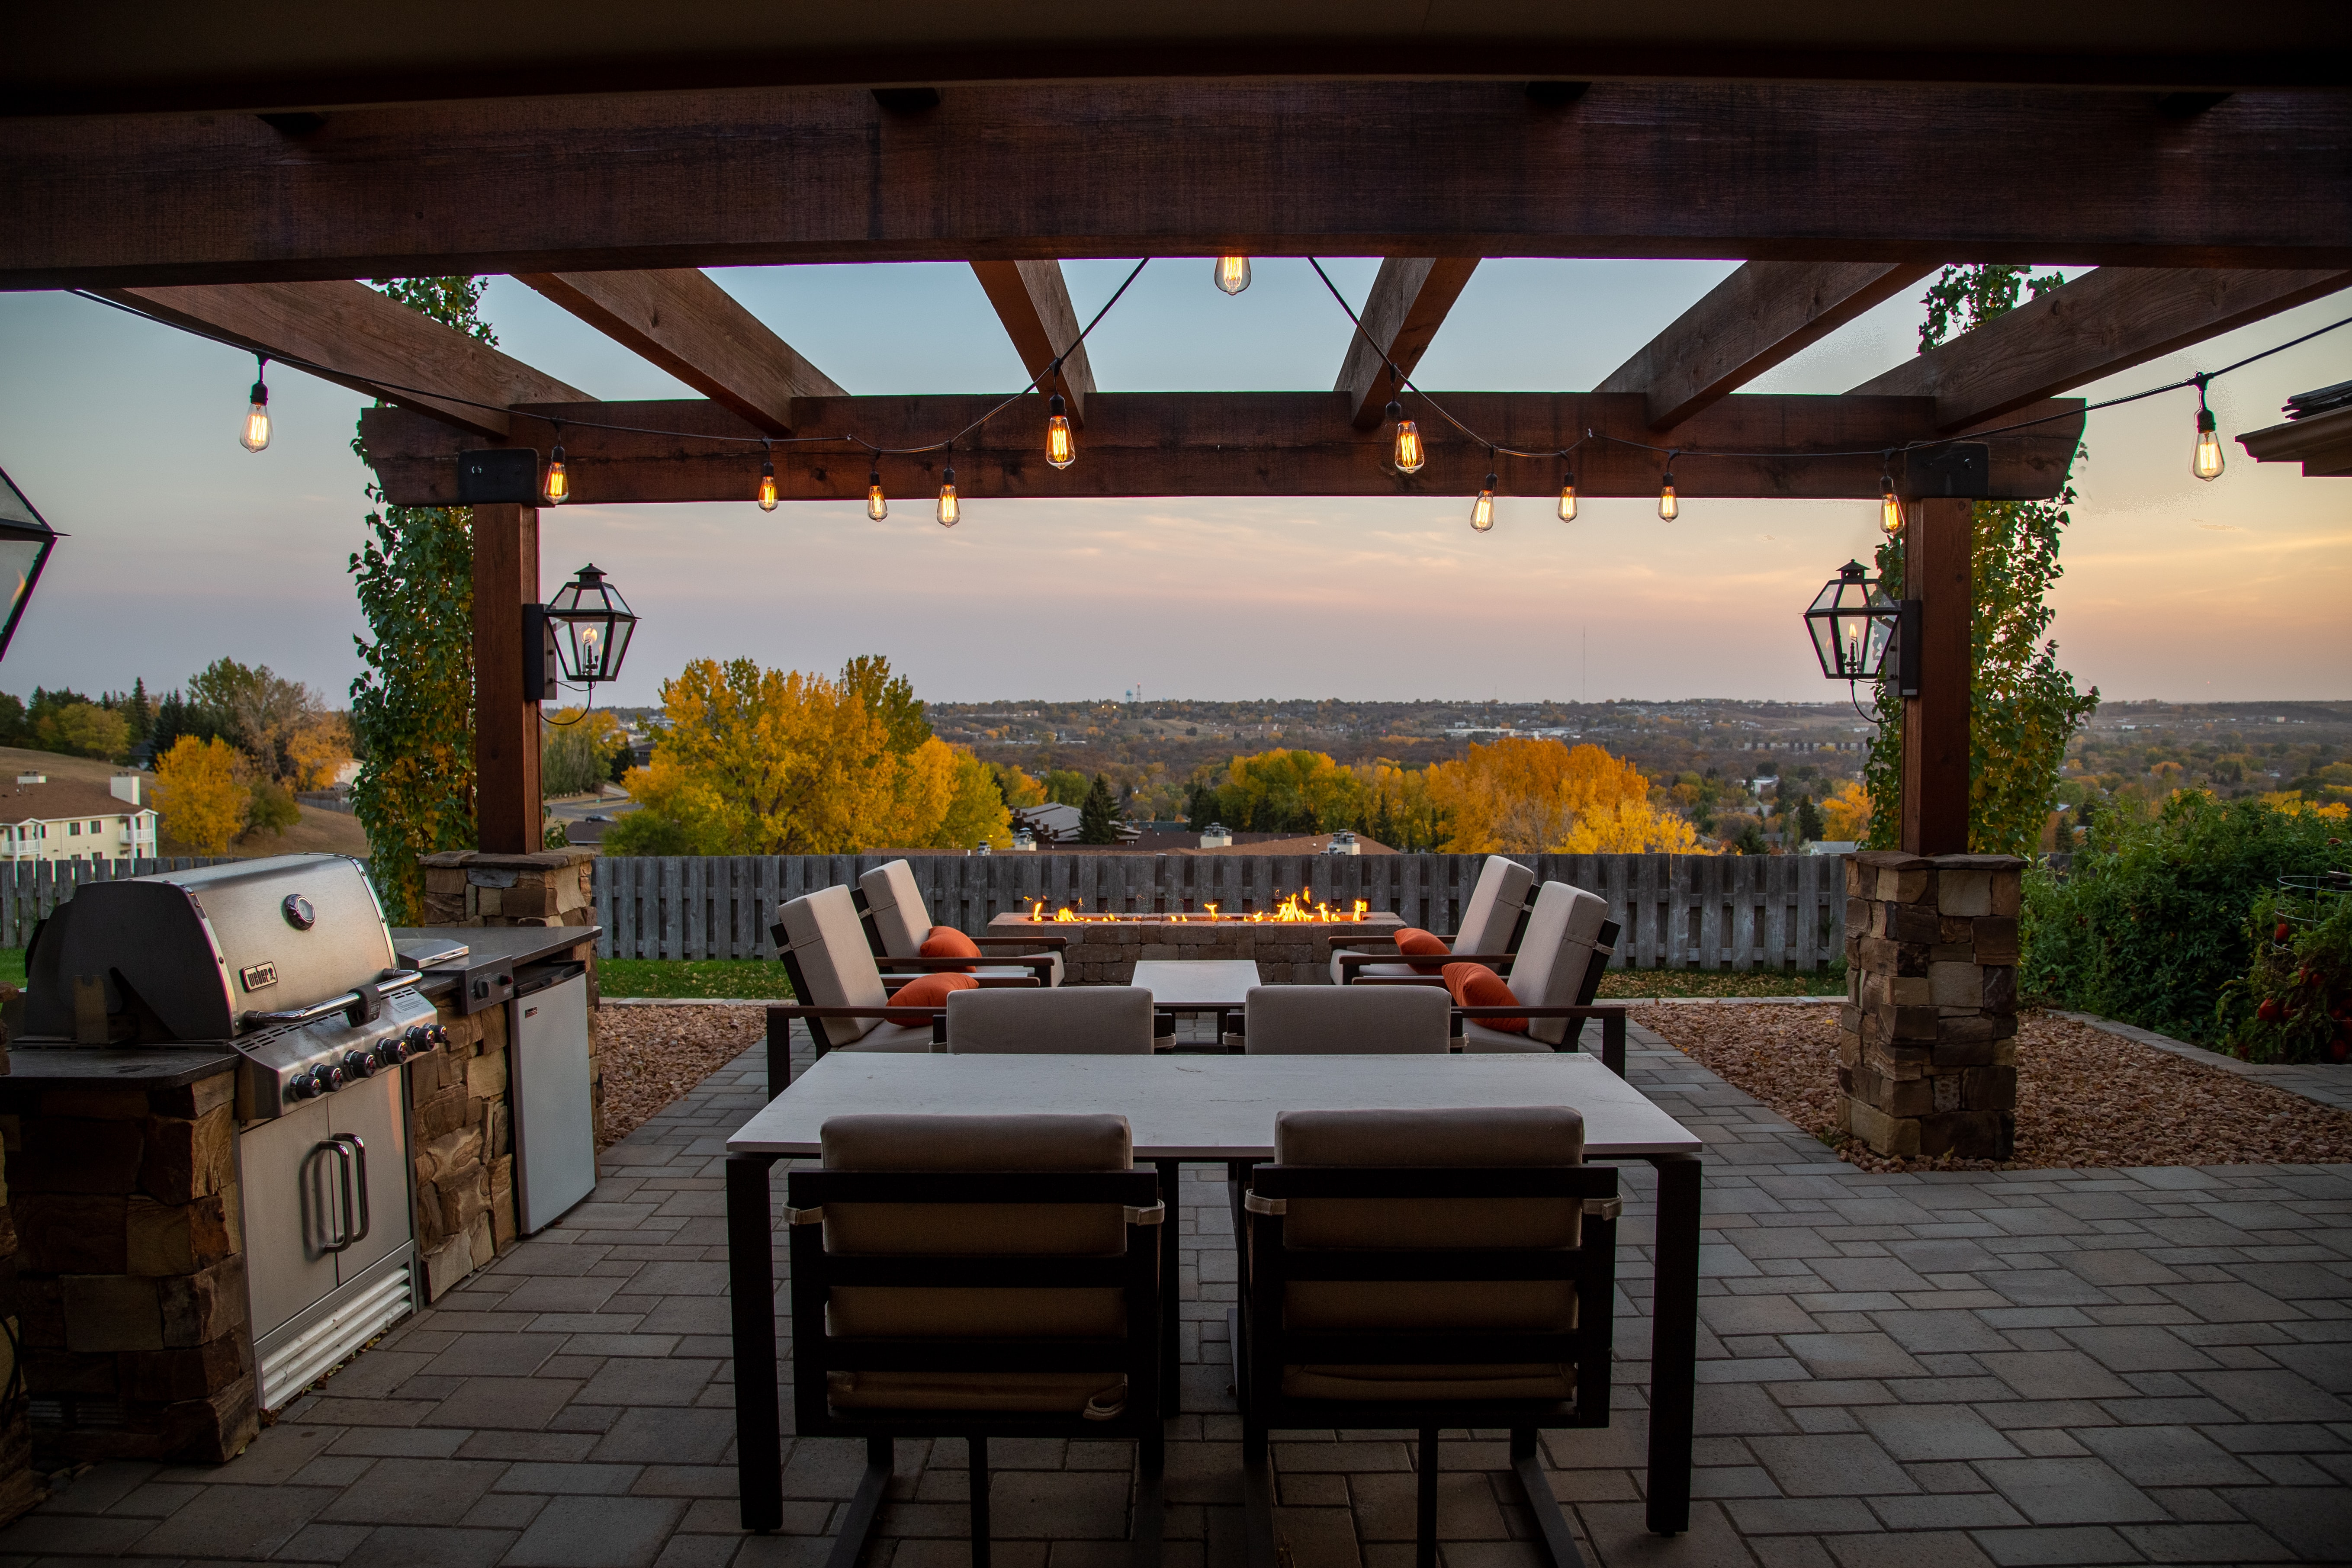
Assuming that you want to make the most out of your outdoor living room all year round, covered shelter is an absolute must. A simple parasol or shade sail may be sufficient for hot sunny days, but properly constructed gazebos or weatherproof aluminium pergolas will give you more bang for your buck whatever the weather while taking your garden design to the next level.
Choose a size and style that suit the overall proportions and general vibe of your garden and create a great functional outdoor getaway space that you can use in summer or wintertime. The most advanced pergolas have electric retractable roofs and added side screens to help you make the most of your garden at any time of the year.
5. Outdoor cooking in style
Summertime is barbecue time – somehow it always tastes better eating out in the garden with friends – and flitting in and out of the kitchen between cooking and serving is disruptive, especially when you have guests. If you entertain a lot, a proper BBQ is a minimum requirement. Go for a budget-friendly traditional coal-fired barbecue grill, or a no-mess, fuss-free gas BBQ. Even the smallest patio will fit a modest appliance.
However, if you’re not pushed for space and have a bit more room for manoeuvre in terms of budget for such a key garden upgrade, there are many more options you can go for. At the top end of the scale, there are fully fitted outdoor kitchens that can feature all sorts of luxuries including a full sink, cooker with extra grill plates, oven with warming drawers, dedicated pizza oven, beer fridge or wine cooler! Design your outdoor kitchen just as you would your main kitchen. The only limitation is your imagination.
Finally, for maximum convenience and comfort, your outdoor living area should be able to function day and night, summer and winter. This requires the addition of garden lighting to transform the space into a cosy haven after dark. Depending on the atmosphere you are hoping to create, you can use the right lighting scheme to highlight key garden features, create a twinkling oasis or just add illumination where it’s needed.
Additional heating will also help you extend the time you and your guests can spend comfortably in your private outdoor space. How about installing a chiminea or fire pit into a suitable area of your garden to bring a functional yet aesthetically stunning wow factor to the space? It’s the perfect focal point around which to congregate when the sun goes down, with optional marshmallows roasting over the open fire!
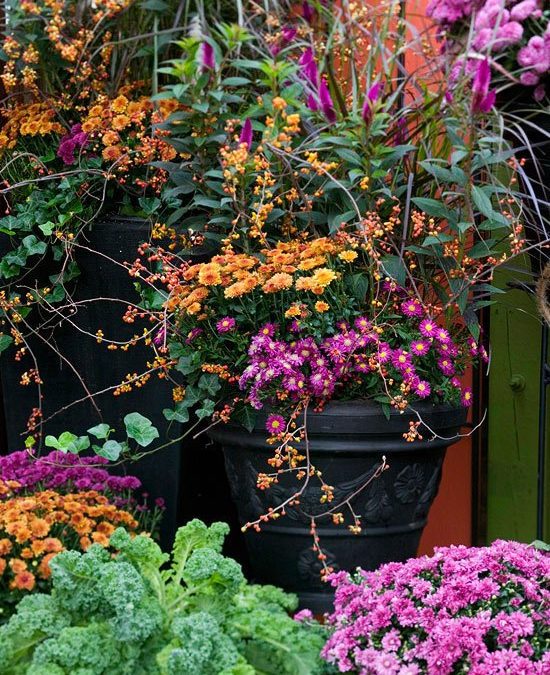
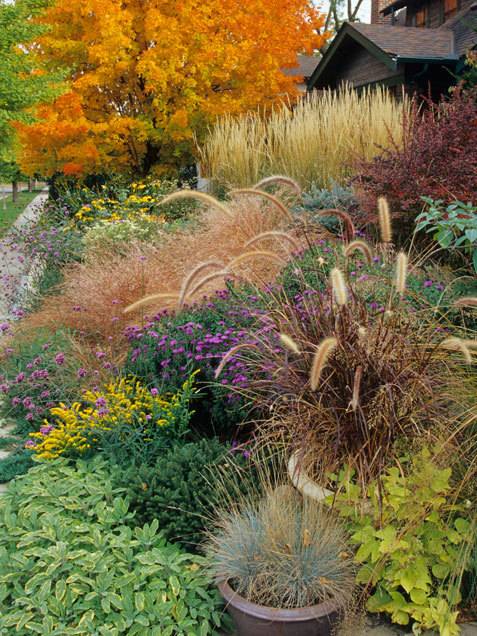
Ready or not, fall is upon us… and our gardens are changing. Odds are, most of the summer color has left your garden – but that doesn’t mean that you have to give up for the season! There are plenty of wonderful ways to give it a boost of fall color. Keep reading to check out ten incredibly inspiring autumn gardens.
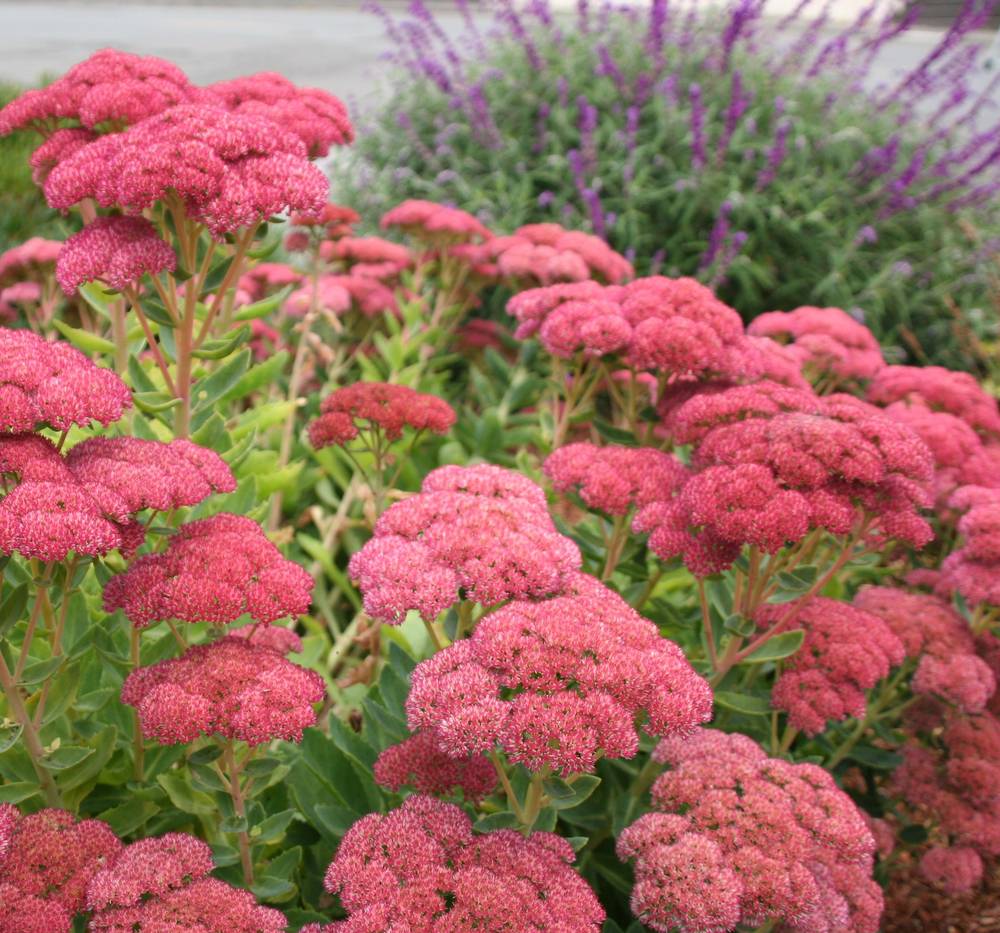
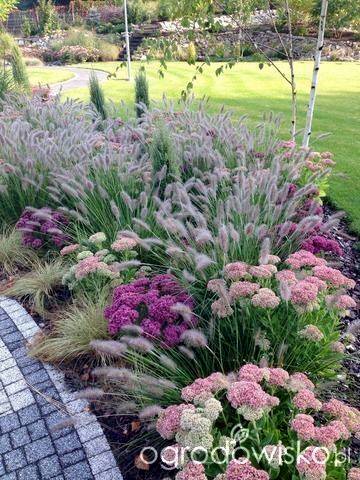
5. Autumn Joy Sedum is a stunning choice for any fall garden, especially combined with other greens and purples. It is very hardy, and enjoys dryer soil. [Photo: North Coast Gardening]