The Very 2020 Yard Feature That’ll Help Sell Your Home in a Flash
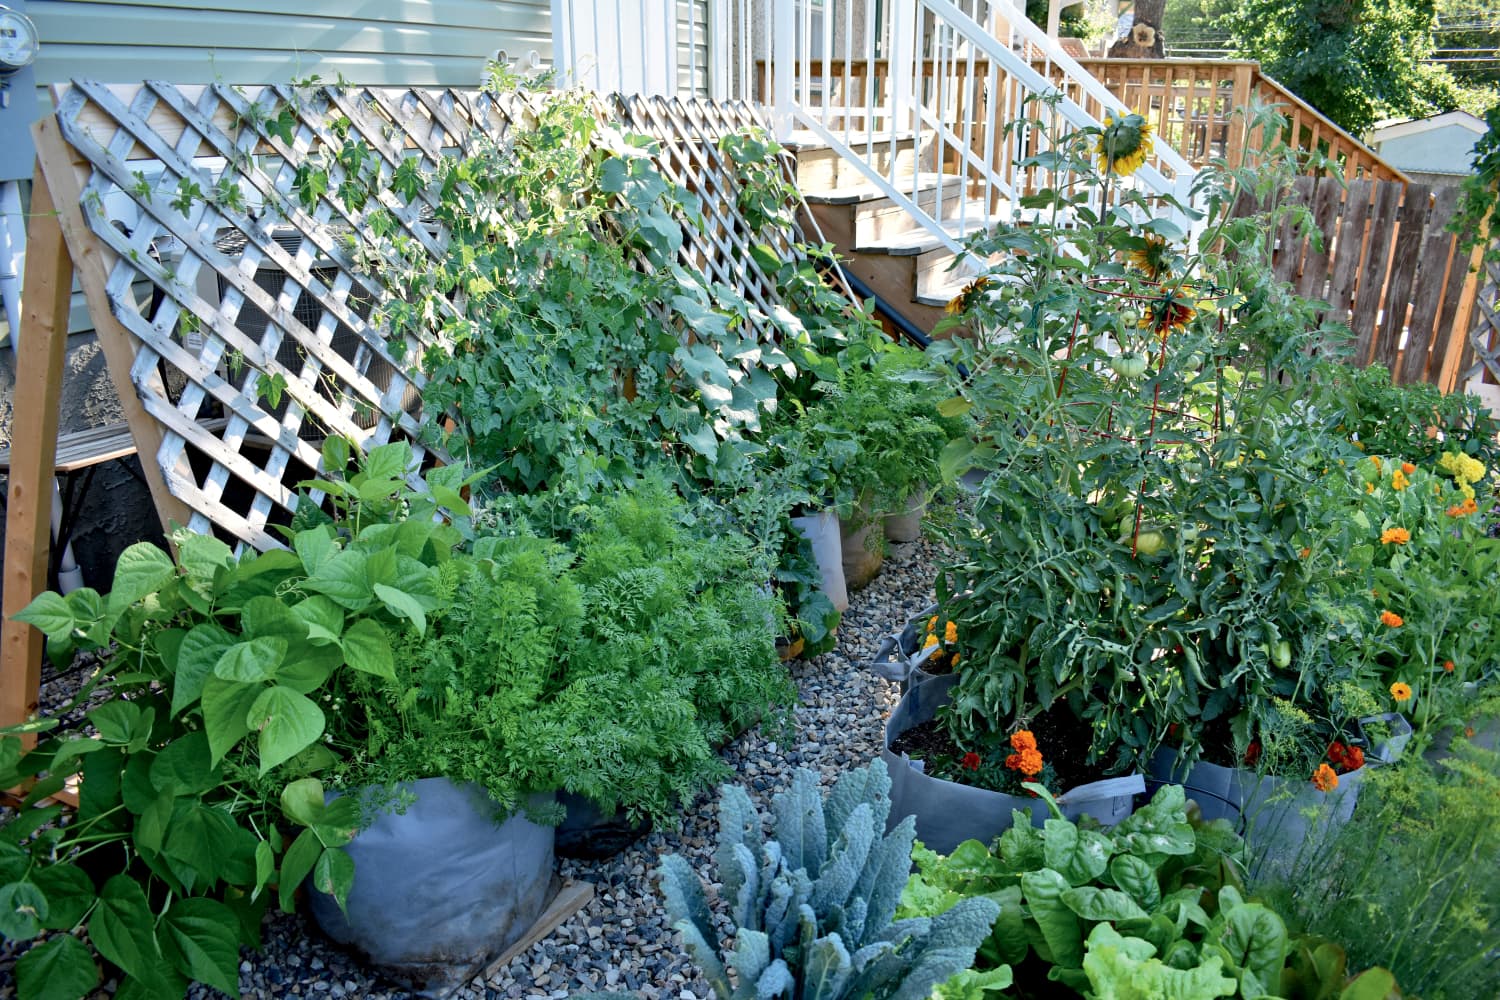
Raise your hand if you’re one of the many homeowners who became a first-time homesteader once the pandemic hit. Well, maybe you didn’t start growing all your food on your own land, but the spike in gardening and yard improvements last year made vegetable gardens a very 2020 yard feature. The good news, aside from … Read more