The “TGIF Rule” Saves Me So Much Money on Home Decor

As a professional designer, I love to transform spaces — both my own and my clients’ — but I am determined to do it without spending a fortune. It’s a learned skill: I started out with limited resources and had to get creative, and my clients don’t have sky-high budgets, either. (Before I was a professional designer and an antiques dealer, I worked in theater as a prop man and set dresser, so I have 35 years of experience in hunting for bargain-priced gems.)
Over time, I developed what has become my signature rule for creating beautiful spaces: the TGIF Rule, which stands for thrifted, gifted, invented, and found. This rule helps me skip buying things straight from retail stores and instead get more creative with my shopping. Here’s how I use the TGIF rule to create spaces that are super homey (and very affordable).
My TGIF rule started as a shorthand I used to keep myself from impulse buying during the early days of my design business. To help myself use items that were budget-friendly, I used the adage thrifted, gifted, invented, and found.
Over time, the TGIF rule evolved from a budgeting trick into a full-blown design philosophy. I realized these four categories were the building blocks of my favorite spaces — not just because they saved money, but because they helped me fill spaces with unique items that told a story.
In my work, I start every design process by taking stock of what a client already has, what can be obtained on the secondhand market, and what we can invent together — and I do the same thing in my own home (most recently, when transformed my bare patio into my own cheap slice of paradise). Here’s how I use each piece of the TGIF rule.
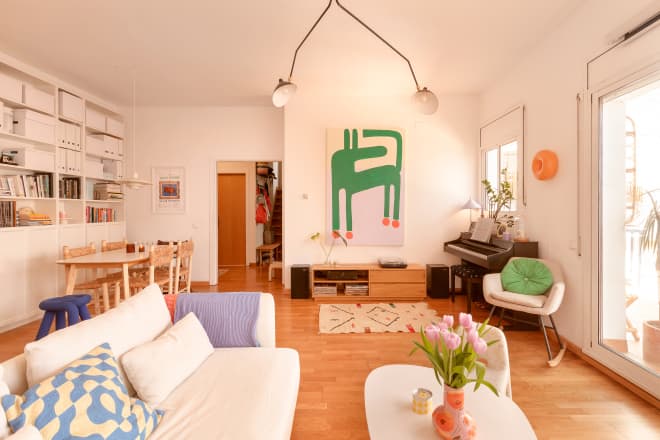
Thrifted: To get thrifted items, I might hunt for pieces at a local vintage shop, flea market, estate sale, or online listings.
If you’re thrifting, focus on pieces with good bones that just need some love or a fresh idea to transform them. While some thrifted items will be ready to use immediately, most are diamonds in the rough.
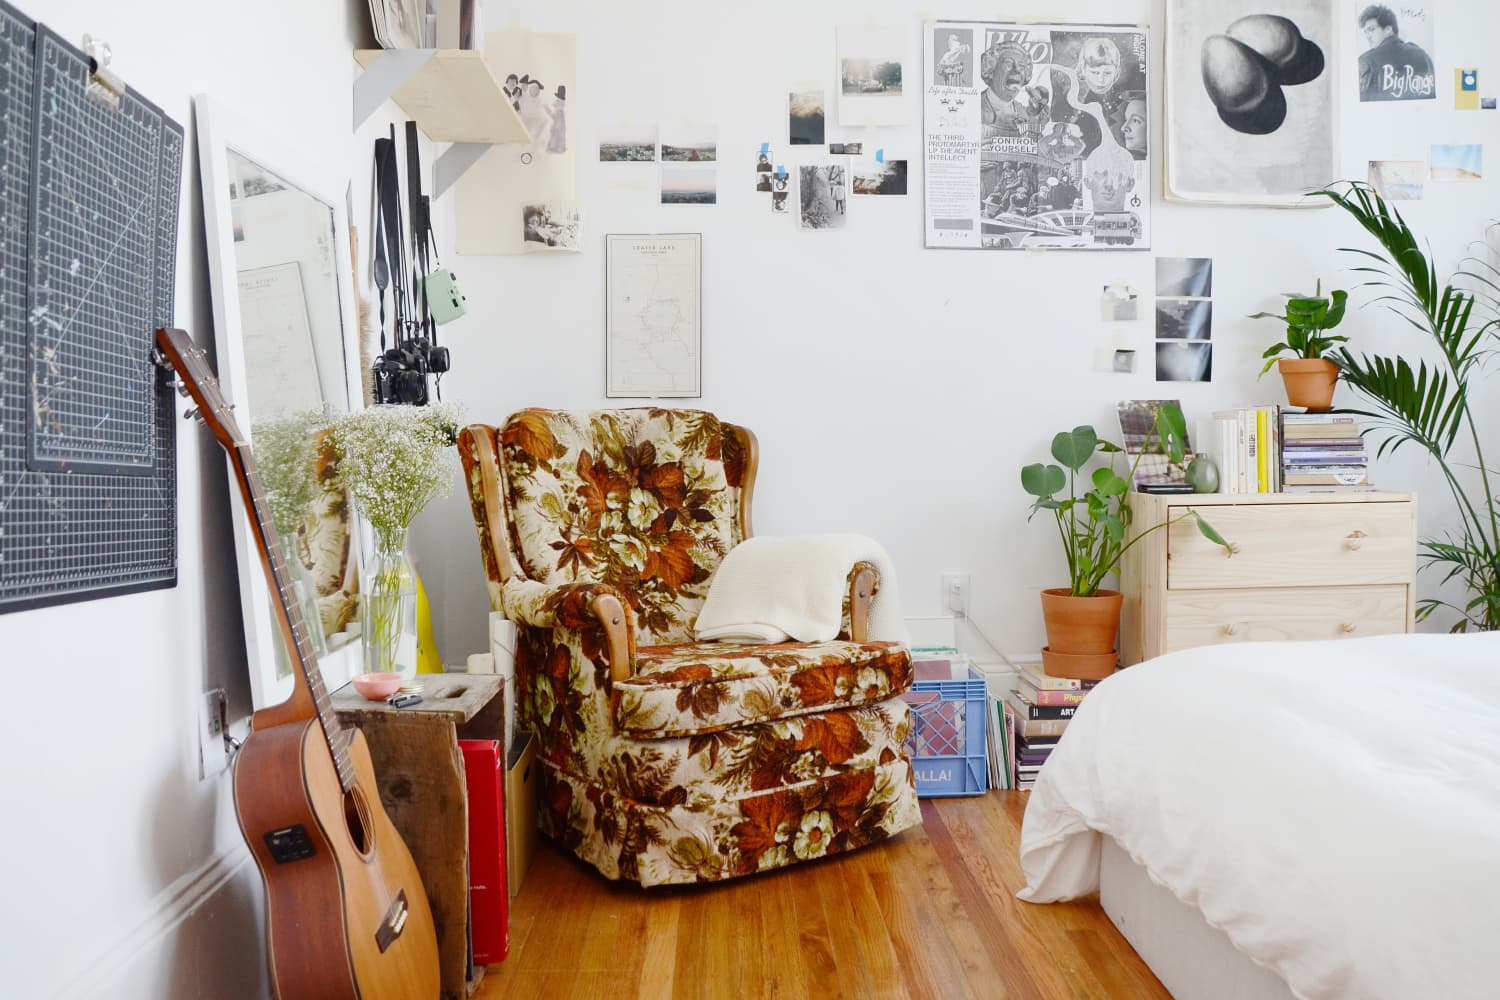
Gifted: “Gifted” items are things like family heirlooms or secondhand pieces from friends. Not everyone has gifted items on hand, but when possible, I like to showcase these things! For example, I pulled out a quilt a client’s grandmother made that had been tucked away in a closet so it could be put on display at the foot of their bed.
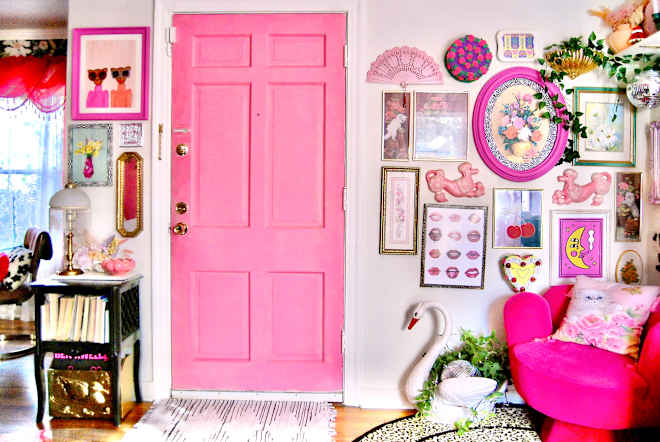
Found: To get my found items, I keep an eye out for natural or unexpected treasures like branches, stones, sea glass, driftwood, or even old bricks. And I’m always cruising swanky neighborhoods to see what the well-to-dos have put out on their curbs. It’s honestly incredible what people throw away!
What I Love About the TGIF Rule
What sets TGIF apart from most design advice I’ve learned over the years is that it’s super adaptable to any style and any project. It’s not about trends — it’s about following curiosity and experimenting with new ways to decorate.
I’ve used the TGIF rule in my own home, I’ve used it for clients I’ve worked with, I’ve taught it to design students, and I’m even writing a book about the philosophy. No matter where you use it, TGIF gives people permission to be creative with what they have and do more with less. And personally, it keeps me inspired, and always on the lookout for the next beautiful surprise.