A patio is a wonderful addition to any home, providing a space for relaxation, entertaining, and enjoying the outdoors. But weather conditions can cause mildew or algae. Let’s talk about how to clean the mildew and algae off your patio.
.tasty-pins-banner-container{display:block;margin-bottom:20px;position:relative;width:-moz-fit-content;width:fit-content}.tasty-pins-banner-container a{cursor:pointer;display:flex;font-size:14px;font-weight:700;letter-spacing:1px;line-height:1.8em;text-transform:uppercase}.tasty-pins-banner-container a:hover{opacity:1}.tasty-pins-banner-container .tasty-pins-banner{align-items:center;bottom:0;cursor:pointer;display:flex;justify-content:center;left:0;padding-bottom:1em;padding-top:1em;position:absolute;right:0}.tasty-pins-banner-container .tasty-pins-banner svg{margin-right:4px;width:32px}.tasty-pins-banner-container .tasty-pins-banner span{margin-top:4px}.tasty-pins-banner-container a.tasty-pins-banner{text-decoration:none}.tasty-pins-banner-container a.tasty-pins-banner:hover{opacity:.8}.tasty-pins-banner-container a.tasty-pins-banner-image-link{flex-direction:column}.tasty-pins-banner-container a img{margin-bottom:0}.entry-content .wp-block-image .tasty-pins-banner-container img{margin-bottom:0;padding-bottom:0}#et-boc .et-l div .et_pb_image_wrap .tasty-pins-banner-container .tasty-pins-banner{padding-bottom:1em!important;padding-top:1em;text-decoration:none}#et-boc .et-l div .et_pb_image_wrap .tasty-pins-banner-container a.tasty-pins-banner{cursor:pointer;display:flex;font-size:14px;font-weight:700;line-height:1.8em;text-transform:uppercase}#et-boc .et-l div .et_pb_image_wrap .tasty-pins-banner-container a.tasty-pins-banner span{letter-spacing:2px;margin-top:4px}.et-db #et-boc .et-l .et_pb_module .tasty-pins-banner-container a:not(.wc-forward){padding-bottom:0}
However, over time, patio slabs can become plagued with unsightly mildew and algae growth, particularly in shaded or damp areas.
Algae on patio surfaces not only look unpleasant but can also create a slip hazard.
In this blog post, we’ll explore effective methods for removing mildew and algae from your patio, ensuring it remains a safe and inviting space.
Gathering Necessary Supplies
Before starting the cleaning process, it’s important to have all the necessary supplies on hand. Here’s a handy list to get you prepared:
Stiff-bristle brush or scrubbing brush
Garden hose with a spray nozzle or a pressure washer
Protective gloves and eyewear
Broom or leaf blower
Tarp or drop cloths to shield nearby areas
Cleaning agents
Oxygen bleach, which is great for tackling mildew
Algae remover specifically designed for patio surfaces
White vinegar, a natural cleaning alternative
Baking soda for those tough stains
Chlorine bleach for the most stubborn mildew (just be careful with certain materials)
With these supplies, you’ll be ready to tackle any mildew or algae that has taken over your patio.
Preparing the Patio Area
Preparing your patio for cleaning is a straightforward but essential step.
Start by moving all your furniture, potted plants, and decorative items to another spot. This will give you clear access to every inch of your patio and protect your belongings from any potential damage.
Next, grab a broom or a leaf blower to sweep away loose debris, leaves, and dirt.
To protect plants and nearby surfaces from cleaning agents, cover them with a tarp or drop cloth. This is particularly important if your patio is next to wooden decking or porous materials.
Taking these preparatory steps will ensure that your cleaning process goes smoothly and that everything stays in great shape.
Cleaning Methods for Mildew
To get rid of mildew on your patio, start by mixing oxygen bleach with warm water according to the instructions on the package.
Wearing gloves and protective eyewear, apply the solution to the mildew-infested areas using a stiff-bristle brush. Focus on small sections at a time to ensure thorough coverage.
Let the solution sit for about 10-15 minutes so it can break down the mildew effectively. After that, rinse the patio well with a garden hose or pressure washer to remove any residue.
If you prefer a natural approach, a mixture of white vinegar and water works wonders for less severe mildew. Just apply it in the same manner and scrub away.
Dealing with Algae on Your Patio
Algae can make your patio look grimy and can even be slippery.
If you’re dealing with light algae growth, start with a simple solution of water and baking soda.
Sprinkle the baking soda over the algae, then scrub it with a stiff-bristle brush. This should break up the algae and make it easier to wash away.
For more stubborn patches, you’ll want to use an algae remover that’s specifically designed for patio surfaces.
Follow the manufacturer’s instructions for application and let the product sit for the recommended time. Afterward, scrub the area thoroughly with your brush to ensure all the algae is lifted.
Once you’ve scrubbed away the algae, rinse the area well with a garden hose or pressure washer. Make sure to get rid of all the cleaning solution to prevent any residue from affecting the patio’s appearance or feel.
Remember, consistent cleaning can prevent algae from taking over, so make this a regular part of your patio maintenance routine.
Preventive Measures
To keep your patio looking its best and free of mildew and algae, regular upkeep is essential.
Start by sweeping your patio frequently to remove leaves, dirt, and other debris that can hold moisture and encourage growth.
Address any drainage issues promptly—standing water is a major contributor to mildew and algae.
Think about how much shade your patio gets. If it’s heavily shaded by trees or bushes, consider trimming them back to allow more sunlight to reach the area. Sunlight helps to dry out moisture and discourages growth.
If your patio is made from a porous material like concrete or sandstone, applying a sealant can provide an extra layer of protection.
Another tip is to move outdoor furniture and potted plants around occasionally. These items can trap moisture beneath them, creating ideal conditions for mildew and algae. By moving them, particularly out of shady areas, you allow those areas to dry out properly.
Consider setting a schedule for light cleanings using your preferred method. Whether it’s a quick scrub with a vinegar solution or a spray down with a hose, frequent maintenance can stop problems before they start.
If you live in a particularly wet or humid climate, you might need to increase the frequency of these cleanings.
By staying proactive, you can enjoy a beautiful and safe patio year-round.
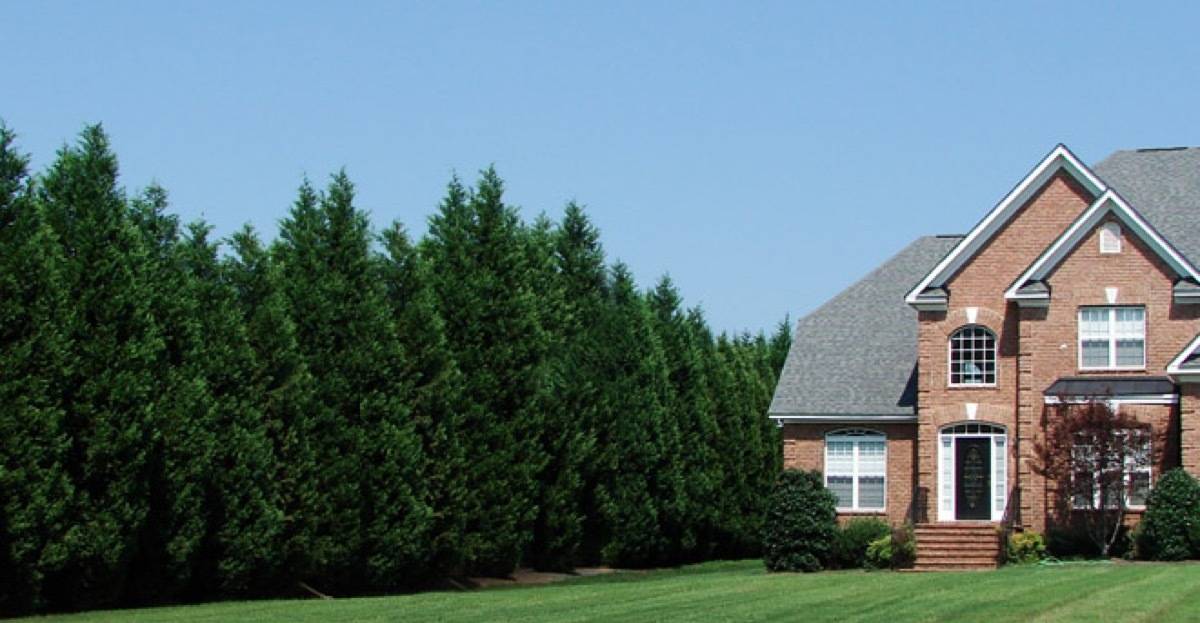
Removing Mildew and Algae from Your Patio
Cleaning your patio can seem like a big job, but it doesn’t have to be overwhelming.
By gathering the right supplies and taking the time to prepare properly, you’ll be well on your way to a sparkling clean outdoor space.
Regular upkeep will not only keep your patio looking great but also prevent mildew and algae from taking hold in the first place.
Simple steps like sweeping often, addressing drainage issues, and allowing more sunlight to reach your patio can make a huge difference. Moving furniture and potted plants around occasionally will also help keep moisture from building up.
By making these tasks part of your regular routine, you’ll maintain a beautiful, safe patio that enhances your outdoor living experience.
So roll up your sleeves, get scrubbing, and enjoy your refreshed patio!
In Hour 1, learn the reason why toilet water is low, the best temperature for outside painting and more.
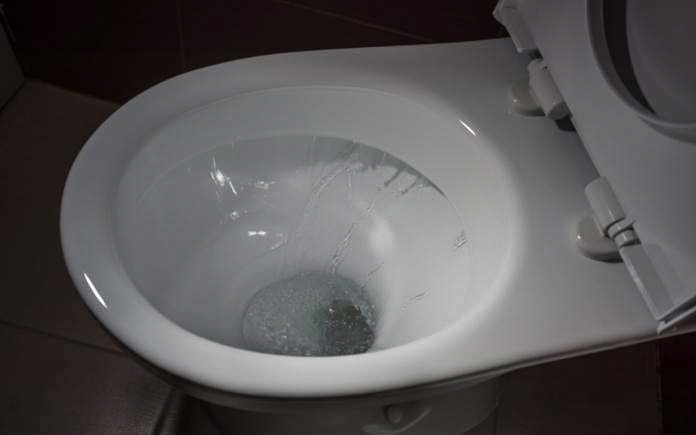
Water Not Refilling in a Toilet
Blockage in a vent pipe could make the water level low in a toilet. (Ratikova, Getty Images)
Every time Paul Johnson flushes his toilet, the water fills up but then drains to almost empty.
“We have had two plumbers check it out. One said the bowl design was made to do that. One snaked it and had no answer,” he says.
There could be some obstruction farther down the drain than the plumber’s snake can reach.
The only other reason water drains out is if there’s a crack in the toilet, but you’d notice that water in your bathroom.
There might be a blockage on your vent pipe. A plumbing vent allows that air to drain the water out, so if there’s any obstruction, even partial, it creates a siphon effect.
It works similarly to when you put your finger on top of a straw that’s in a glass of water and lift it, the water stays in the straw until you release it.
Birds can build nests in those things or other things can get down there and create a vacuum or siphon effect that keeps it from working properly.
Have the plumber check the vent pipe on the roof to make sure there’s nothing in it. If they do find a block, put hardware cloth over the pipe to prevent future blockage.
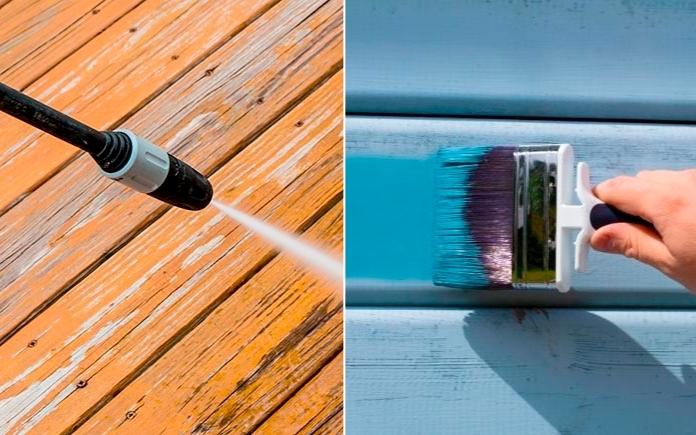
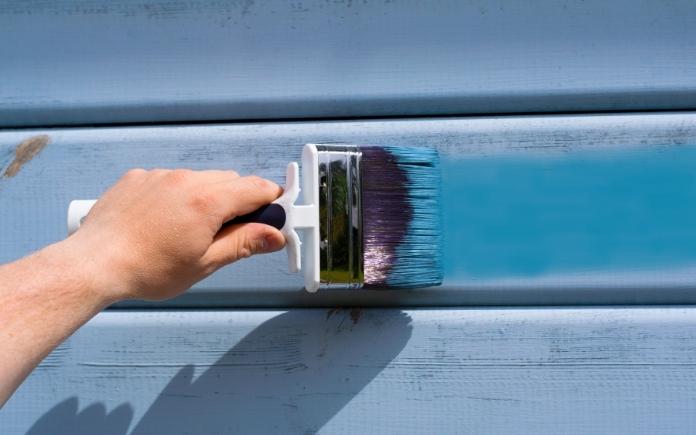
Lowest Temperature for Exterior Painting
Don’t paint in temperatures lower than 40 degrees Fahrenheit. (Susie Hedberg, Getty Images)
Teresa asks, “What is the lowest temperature that I can paint my exterior house trim? Also, what’s the best kind of paint to use?”
First, before you do any kind of exterior painting, you have to do the proper prep work.
Clean and sand the exterior so the paint will adhere to the surface. If you don’t, you’re gonna have problems no matter what kind of paint you use or what temperature it is outside.
We love acrylic latex paint for exteriors — go with a semi-gloss for trim. Pricewise, you don’t have to get the most expensive type of paint, as moderately priced ones work just as well and won’t break the bank.
As far as what temperature to paint, always read the label. Different manufacturers have different recommendations. However, the vast majority claim you can apply the paint in temperatures as low as 35 degrees Fahrenheit. And now, there are some that are rated for colder weather, but they’re more expensive and harder to find.
Our suggestion: Don’t paint in temperatures lower than 40 degrees Fahrenheit. The important thing is that it has to remain at that temperature for at least four hours after you apply the paint. If the temperature is expected to drop, put off painting.
You don’t have to do the entire house in one go — paint in stages. Do the front of the house one day, and the sides and back on other days.
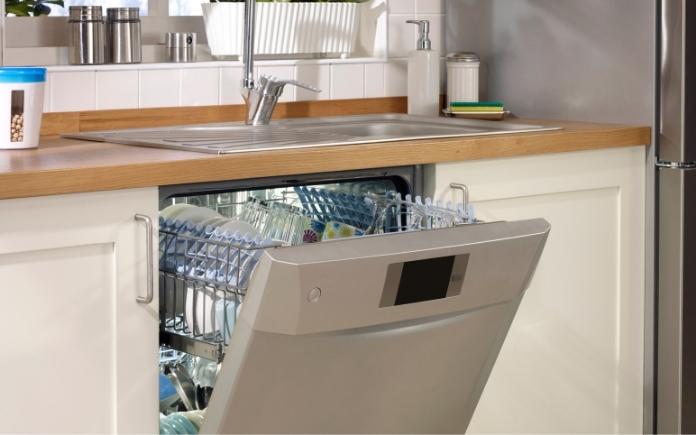
Tip for Protecting Laminate Countertops
Seal the underside of laminate countertops to prevent warping from dishwasher steam. (gerenme, Getty Image Signature)
When you open a dishwasher, you get a blast of initial steam, it dissipates pretty quickly, but over time it can warp a laminate countertop.
Many laminate countertops are applied to particleboard, and rarely is that particle board sealed where it comes in conjunction with that steam coming out of the dishwasher.
A fan called in with this tip for protecting laminate countertops: Paint the underside of your countertop just above the dishwasher with a sealant of some sort to keep the steam from warping the countertop.
You can use just about anything to seal the pores of the wood, but we suggest brushing on a coat of clear polyurethane varnish. It just seems to give it a better buildup.
Hour 2
In Hour 2, hear what might be causing mold on a deck and how to get rid of it, plus tips for autumn irrigation.
Getting Rid of Black Mold on a Deck
Black mold on your deck means there’s too much moisture and shade. (DepositPhotos)
A hotline caller just can’t get rid of black mold on her deck.
“I have tried Clorox, Wet & Forget and I have also painted multiple coats of deck paint but it keeps coming back. Any last suggestions before I start over?” she asks.
We think three things are contributing to this mold growth:
The deck is in the shade. While it makes for a nice, relaxing spot for homeowners, it also creates the perfect environment for mold and mildew to grow.
The deck is relatively close to the ground and has a lot of moisture collecting under it.
The boards’ undersides aren’t sealed. People seldom paint the underside of the deck boards, so moisture will penetrate through them.
She mentions painting the deck, but that’s not something we recommended. This puts a coating over the wood, making it easier for mold and mildew to form on it.
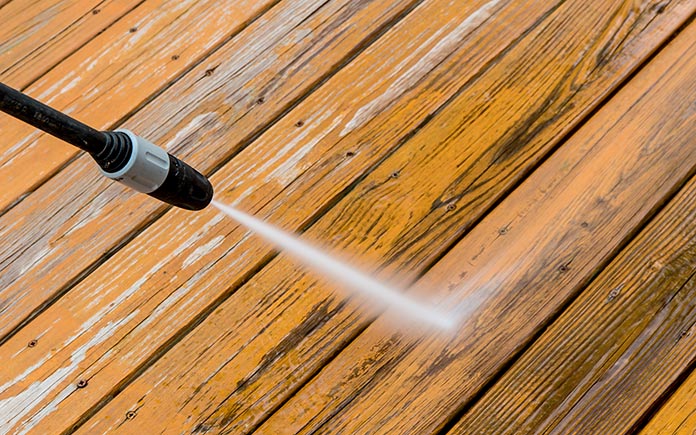
Pressure wash the deck to remove the mold and apply a semitransparent stain. This soaks into the wood and blocks moisture from passing through, preventing mold growth and blistering. And be sure to stain the entire surface and just the top.
Trim back some tree limbs to allow for more sun to shine on the deck, and create a drainage system so water doesn’t accumulate underneath it.
After you’ve addressed the shade and drainage issues, continue using something like Wet & Forget to get ahead of any future mold growth.
As the weather cools off you may think less about watering your lawn and gardens. But even in cooler temperatures, plants need moisture to remain healthy. If autumn is a dry season where you live, it’s essential to pay attention to how much water your yard is getting.
If you need to augment the natural rainfall with your irrigation system here are some ways to minimize water waste and maximize what rainfall you do get.
Raise the height of the blade on your lawnmower. Mowing close to the ground allows the soil to dry out more quickly, plus the slightly taller grass will require less water to begin with.
Check your garden hose connections at the hose bib and between hoses to be sure they aren’t leaking. When you do water with a hose, use a spray handle or shut-off control so you only apply water exactly where it’s needed.
Consider watering early in the morning. At that time of day, temperatures are coolest and the evaporation rate is at its lowest.
If you apply a generous layer of mulch in your gardens it will help the soil retain moisture so you can water less frequently.
If your home has downspouts, consider making a rain barrel to put under one or more of them. You can collect rainwater for your garden without adding a penny to your utility bill.
This Around The Yard segment is sponsored by Pavestone.
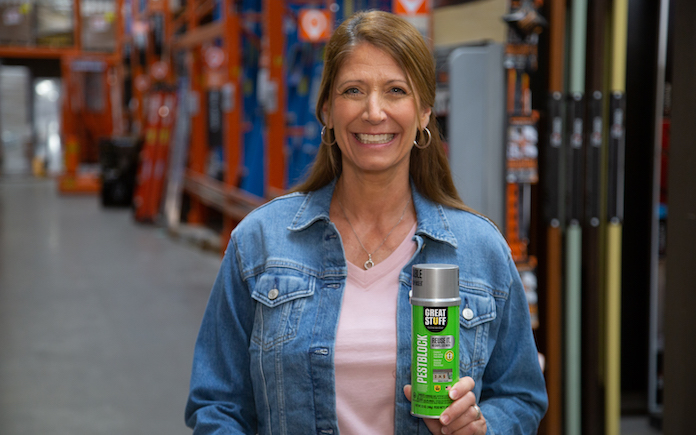
Best New Products
Spray foam is an economical way to fill gaps around your home, but applying it can get messy. Great Stuff’s new Smart Dispenser solves this problem! Learn more >>
Simple Solutions
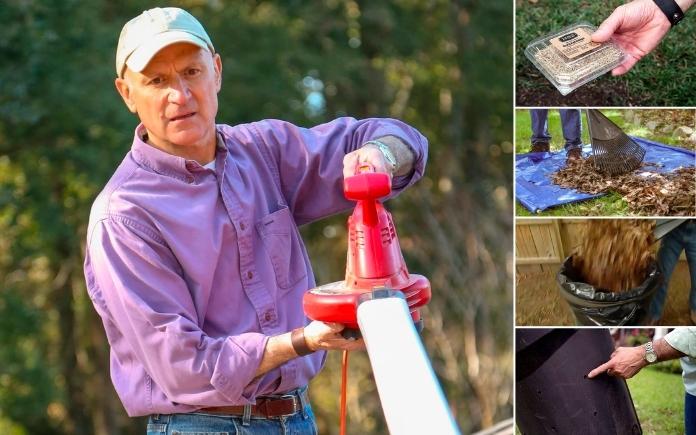
Joe Truini’s Top 5 Fall Simple Solutions are all about making yard work easier. (3 Echoes Content Studio)
Joe Truini shares his Top 5 Fall Simple Solutions! Listen to the full podcast.
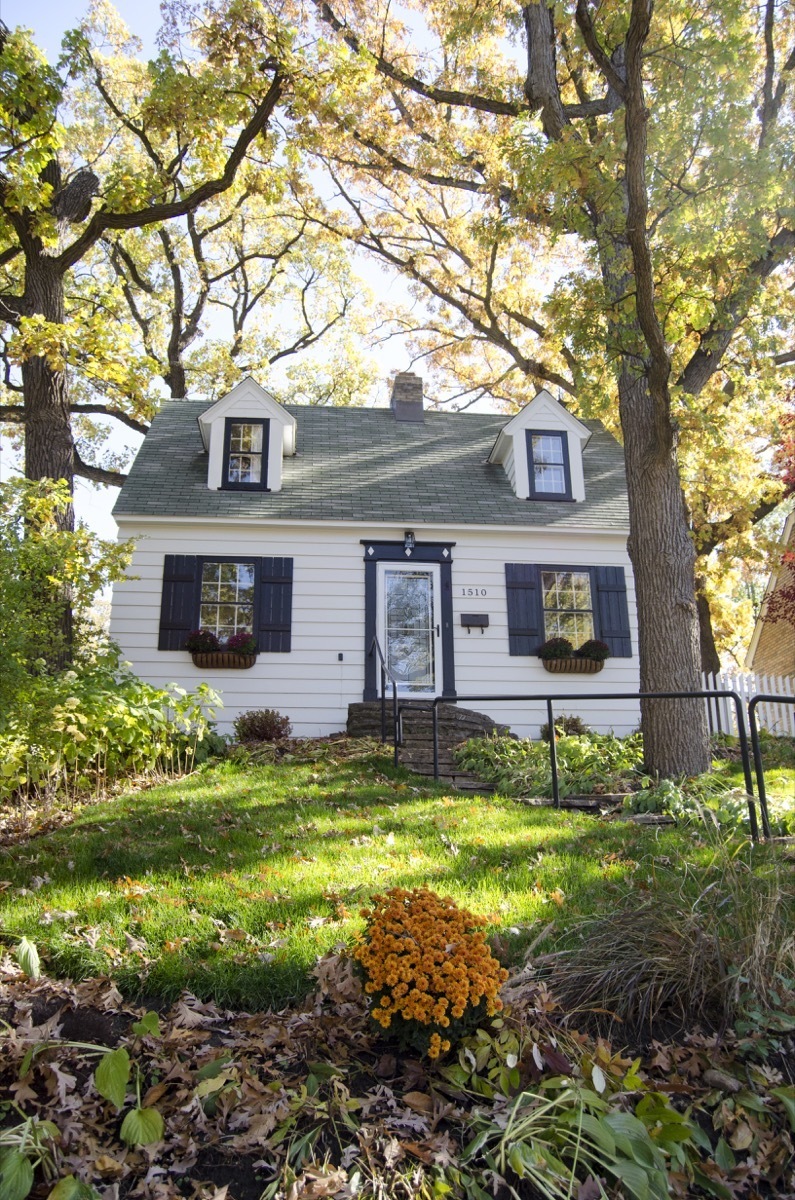
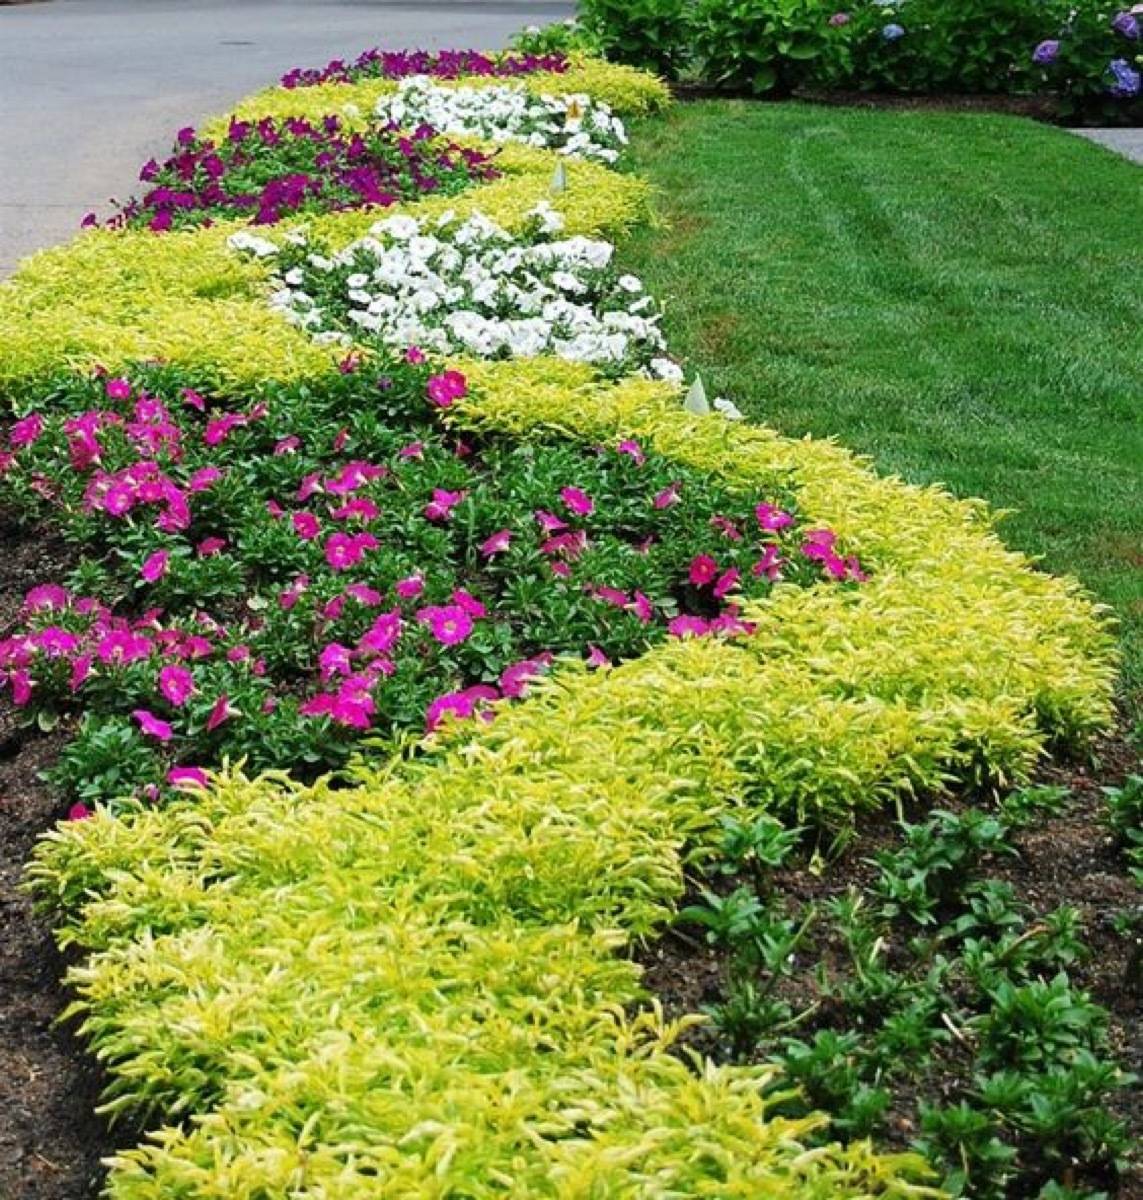
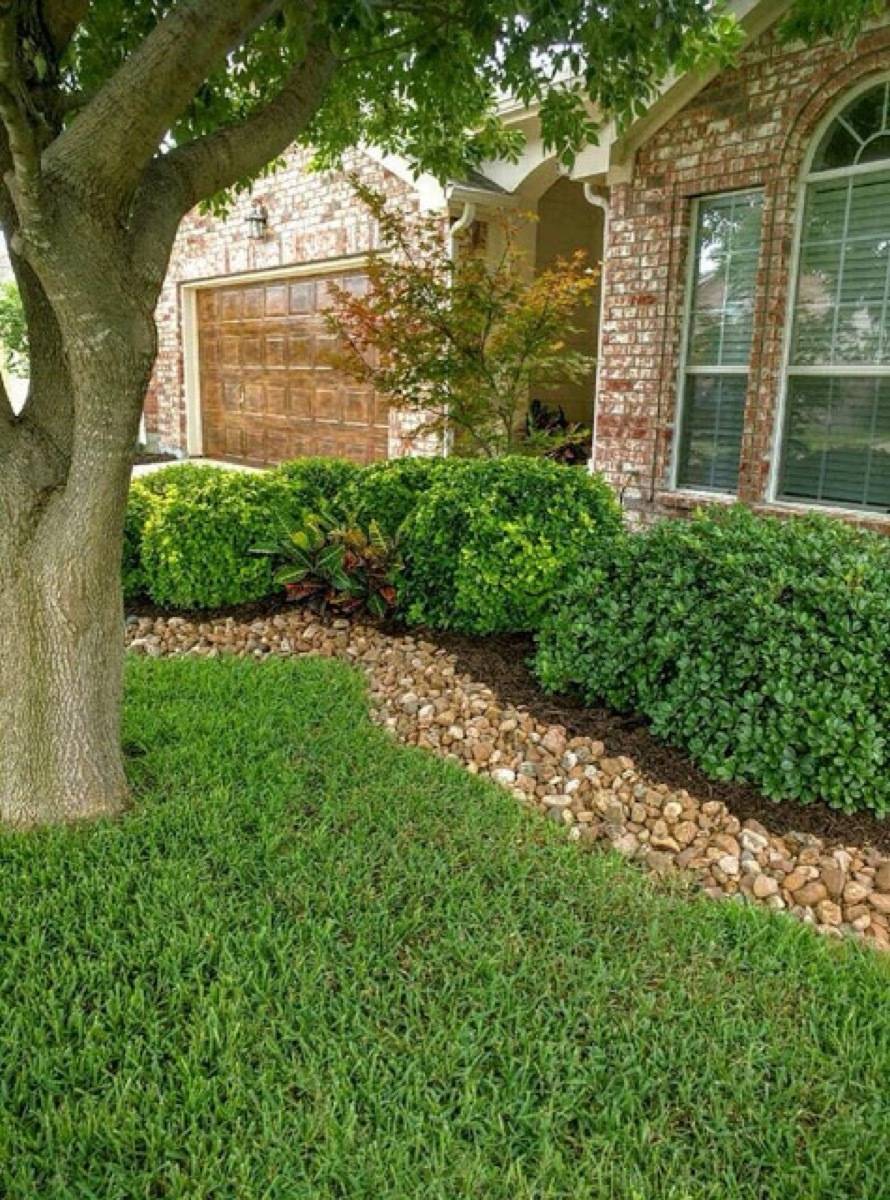
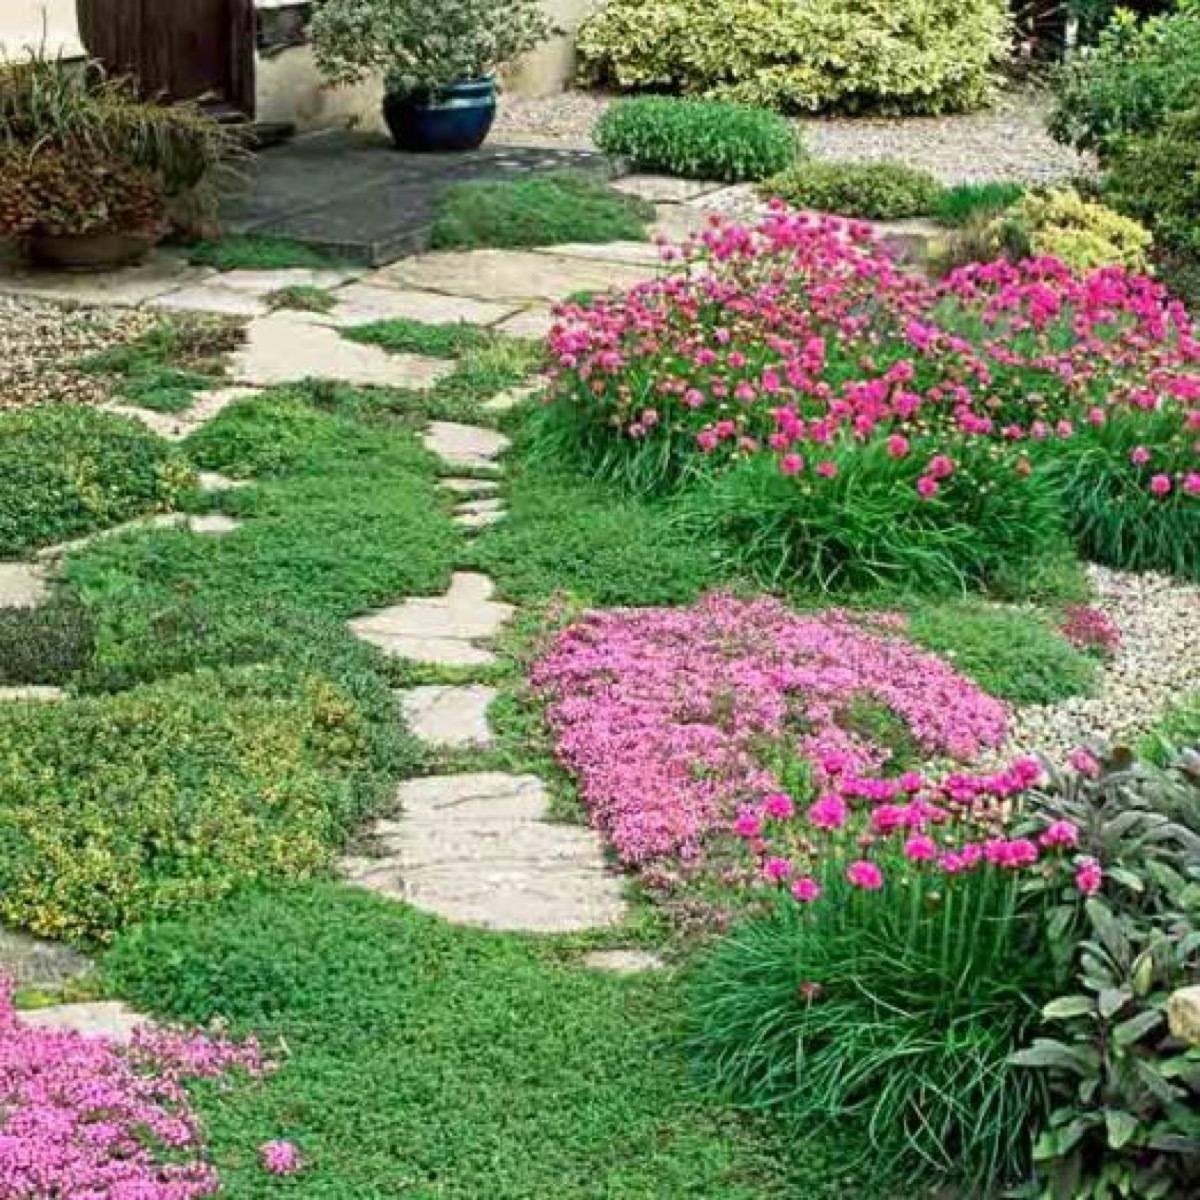
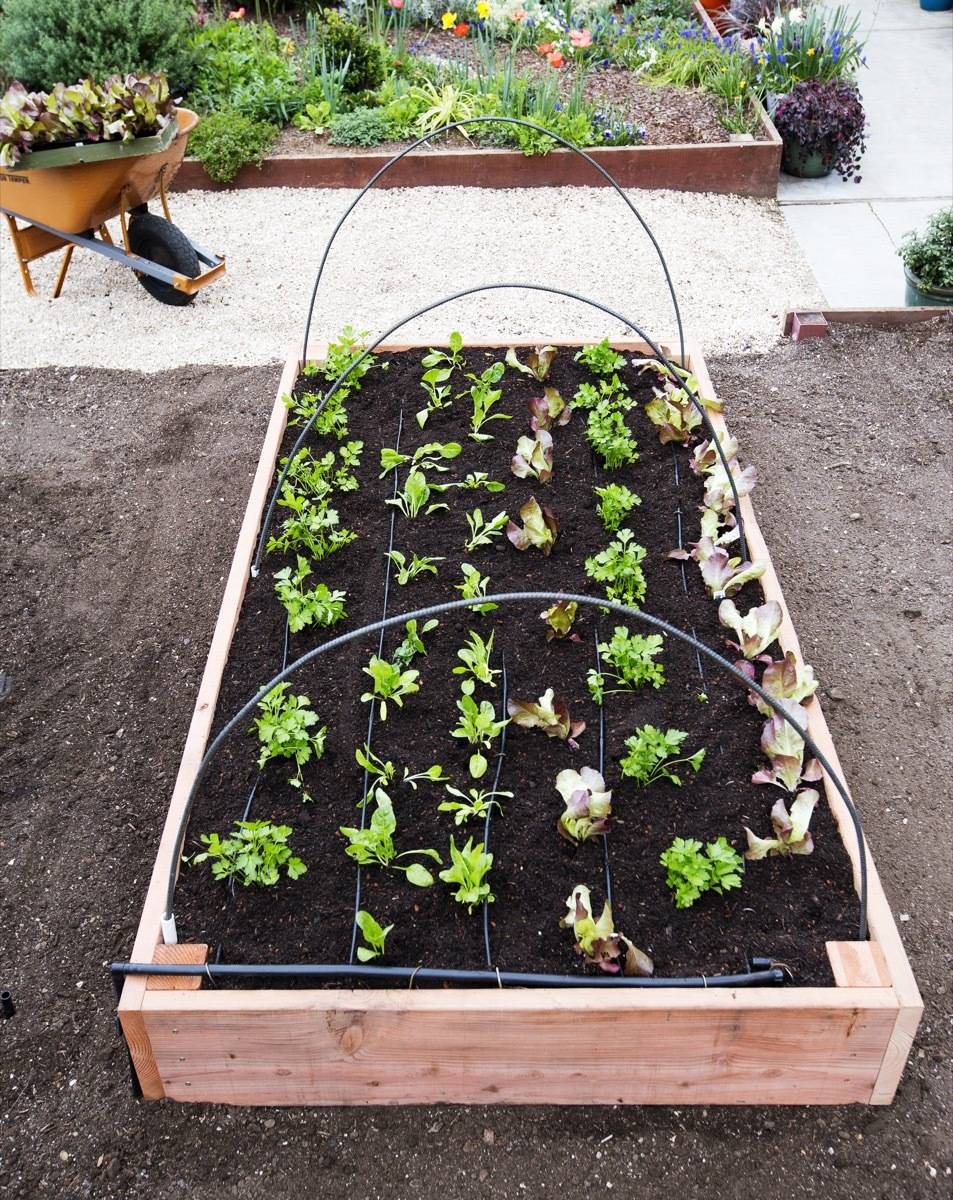
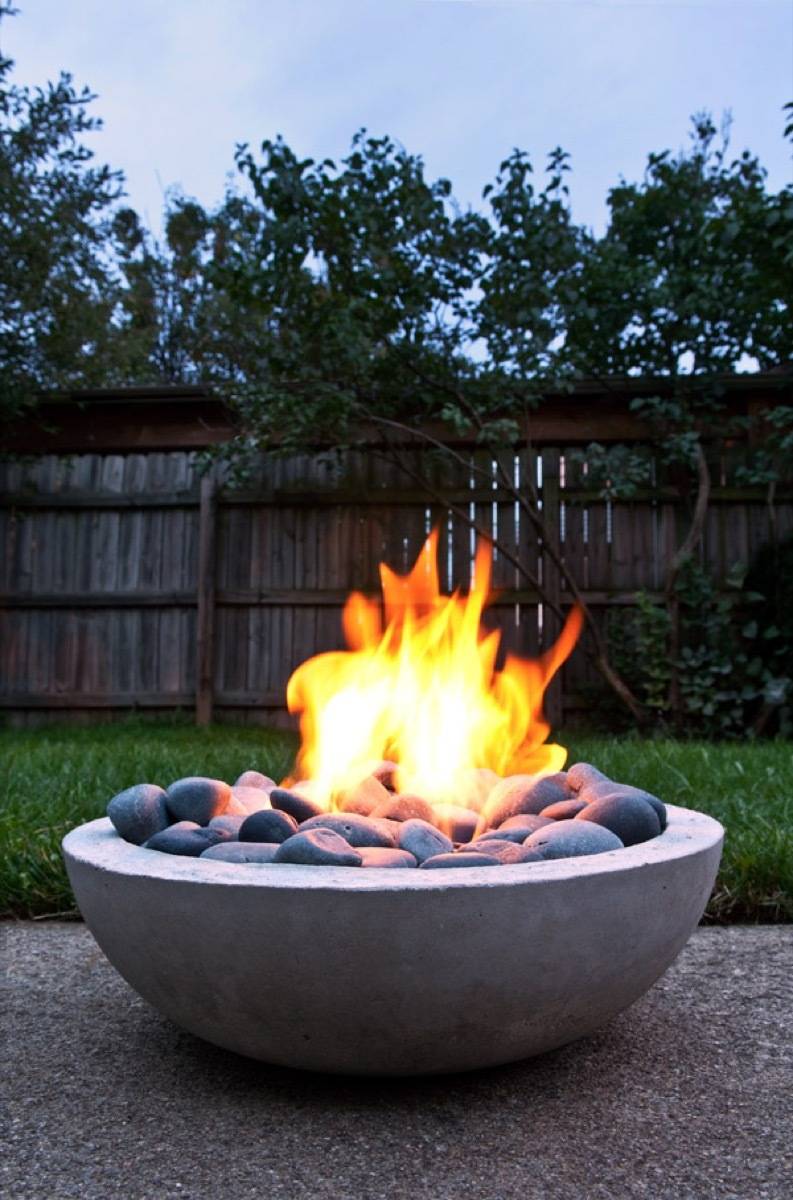
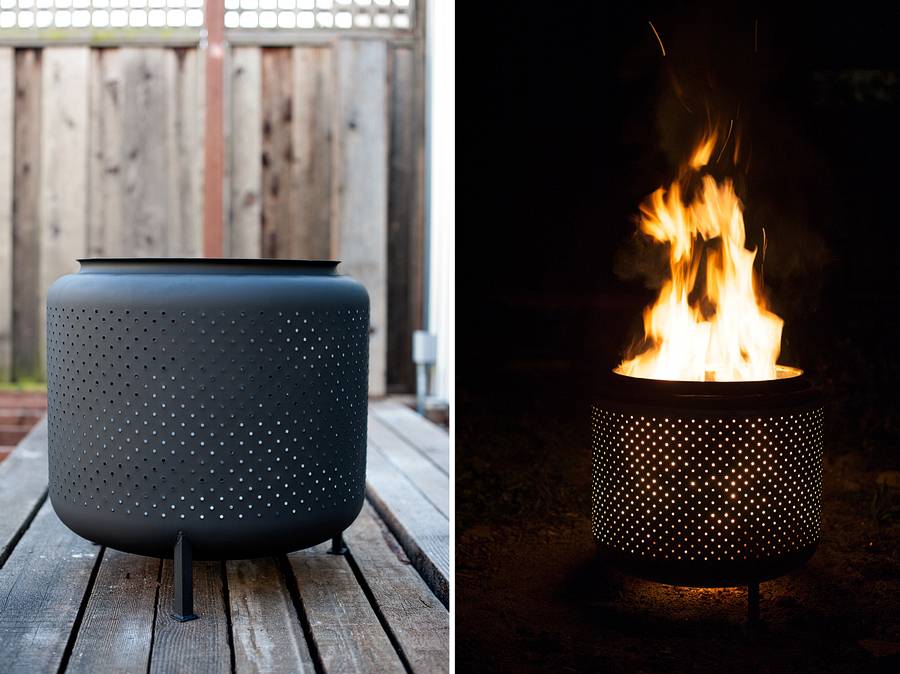
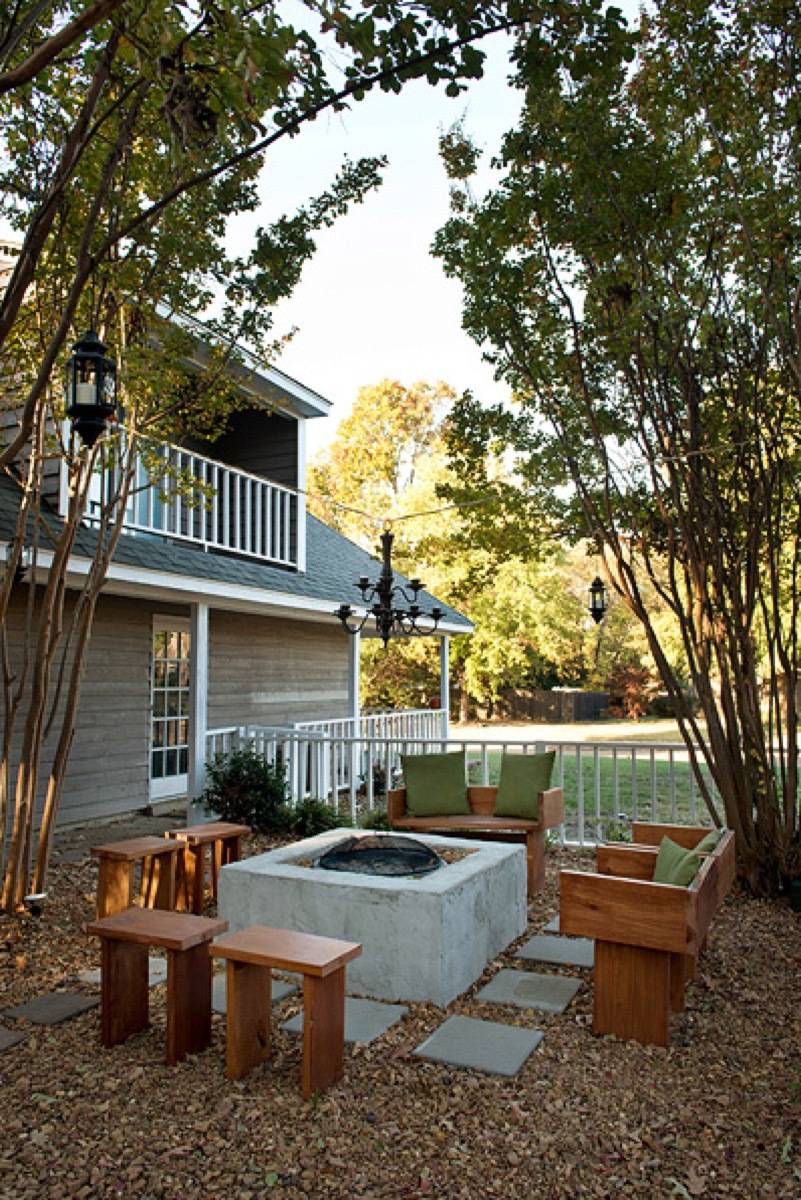
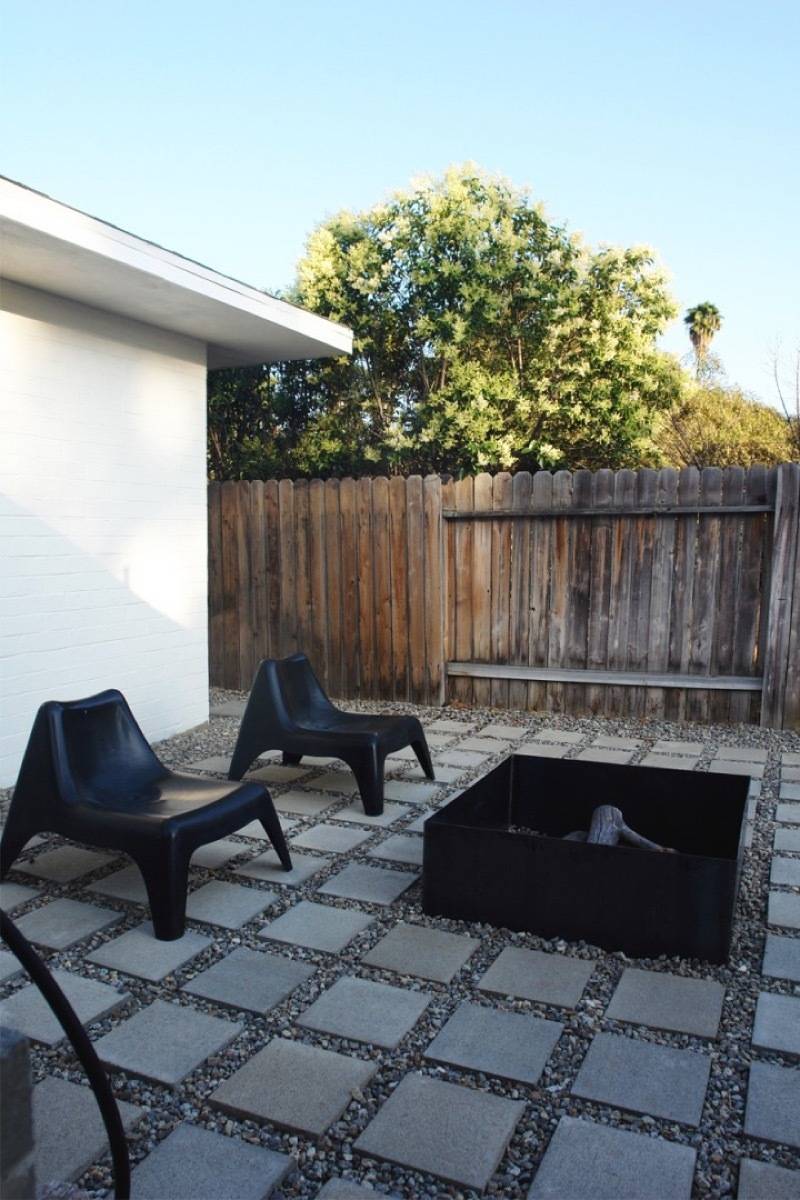
Being a homeowner is a big responsibility, and while there’s plenty to take care of inside you home, don’t forget about the outside, either. If you’ve ever looked into the cost of hiring a professional landscaper, you know they’re not cheap. Fortunately, there are a slew of inexpensive and affordable DIY landscaping ideas at your disposal, so long as you’re willing to get your hands a little dirty. From the front yard to the back, barbeque pits to bistro lights, here are 59 ways you can affordably improve your outdoor space.
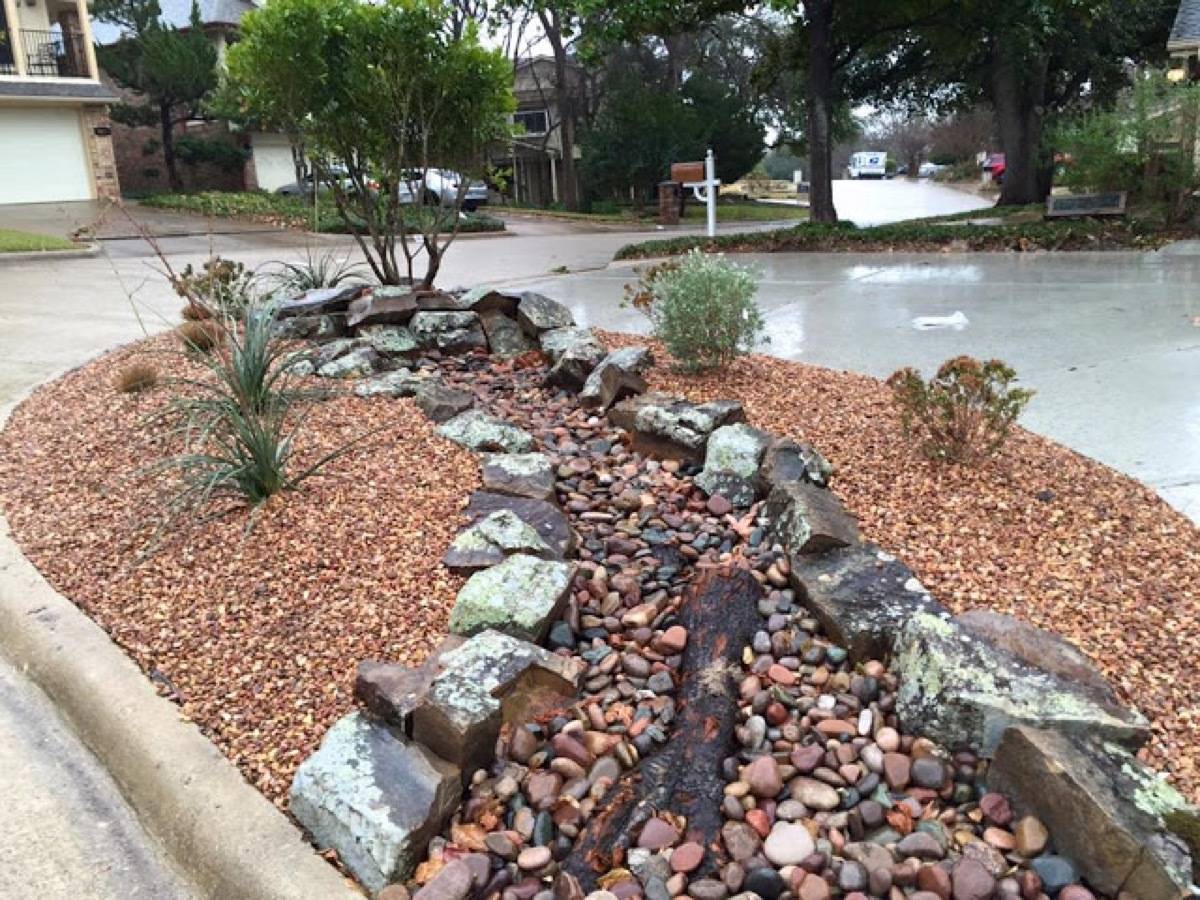
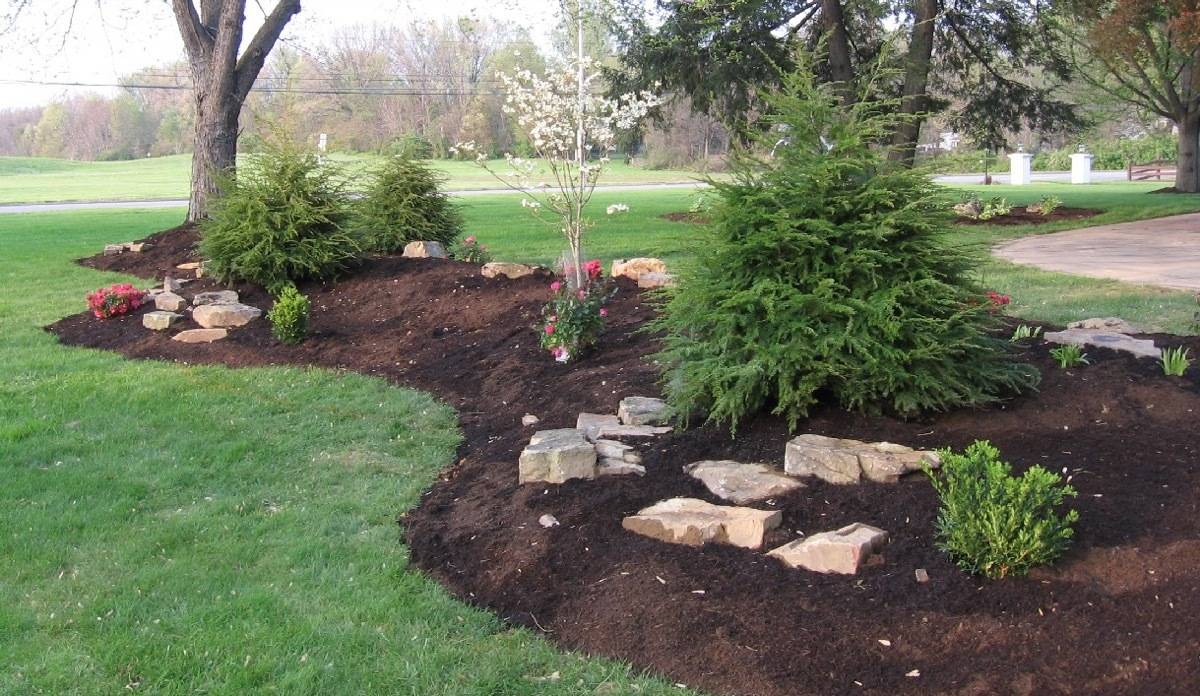
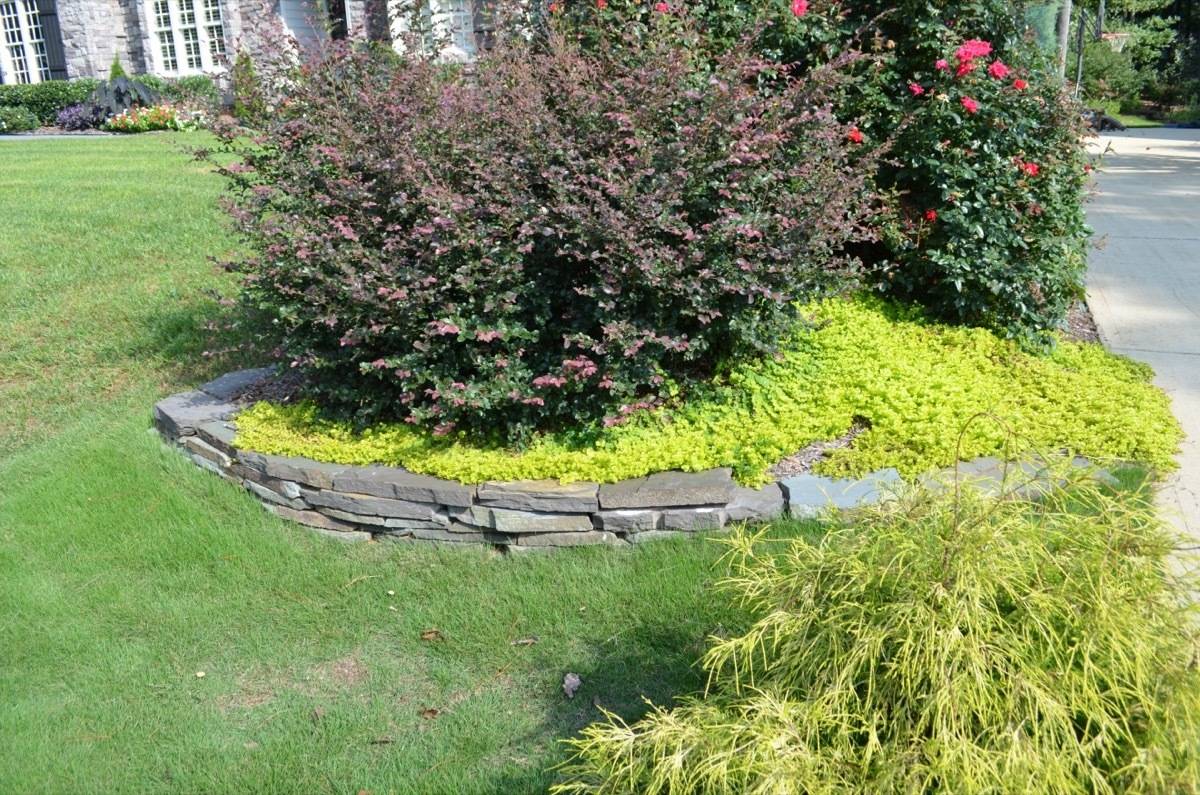
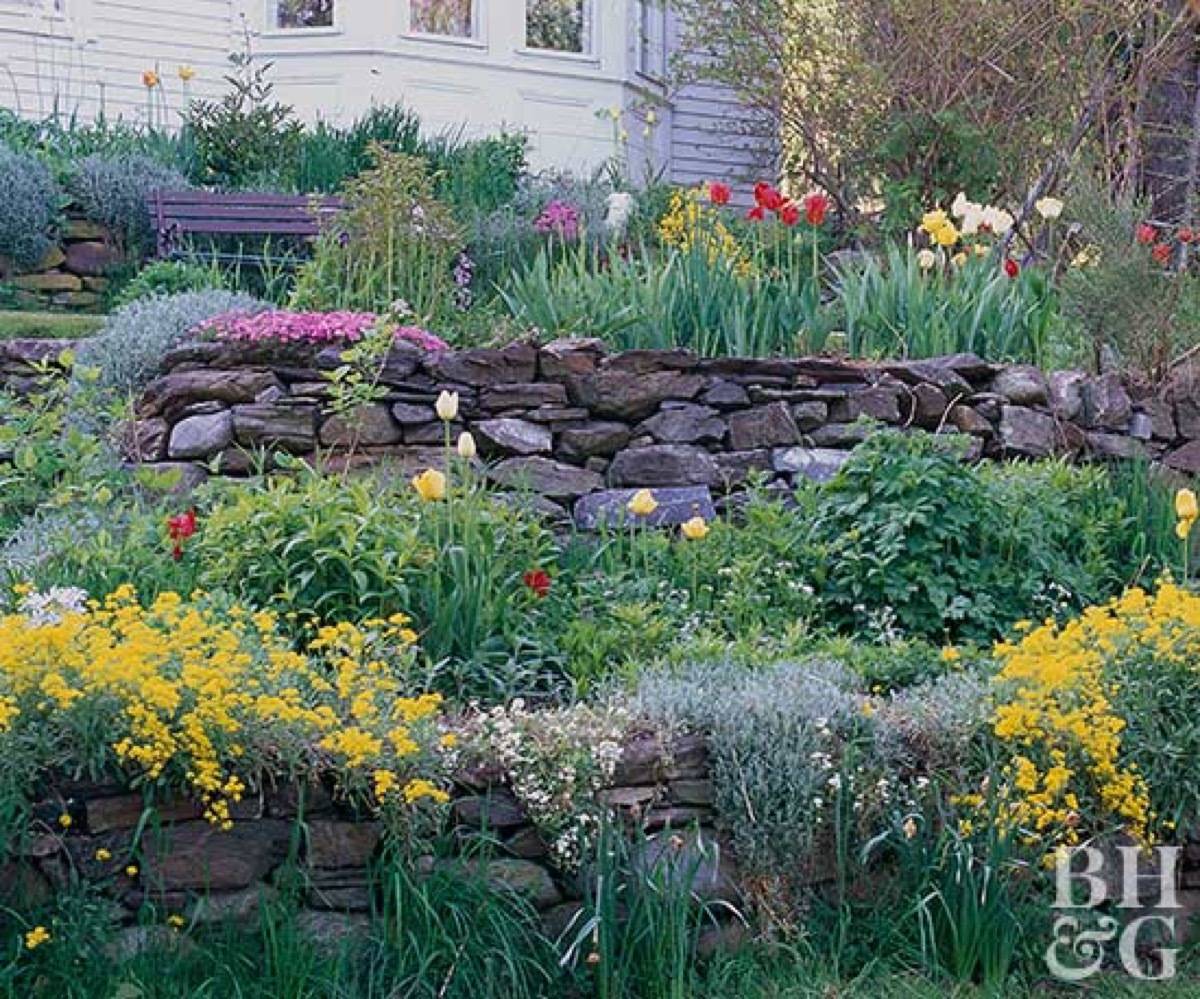
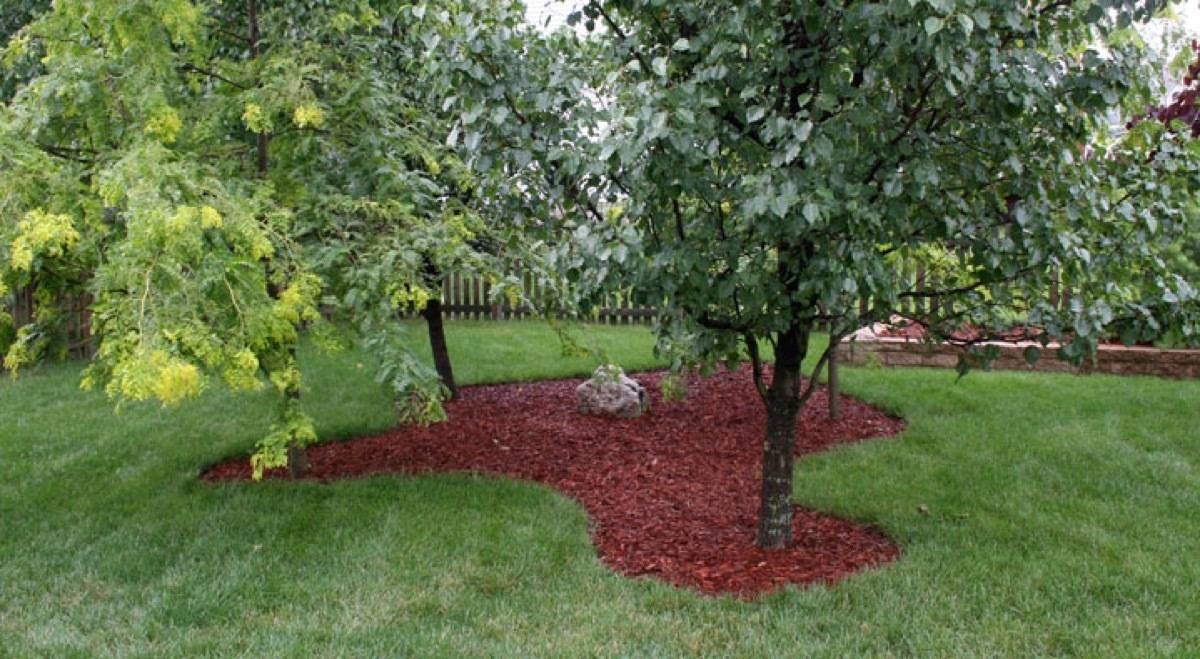
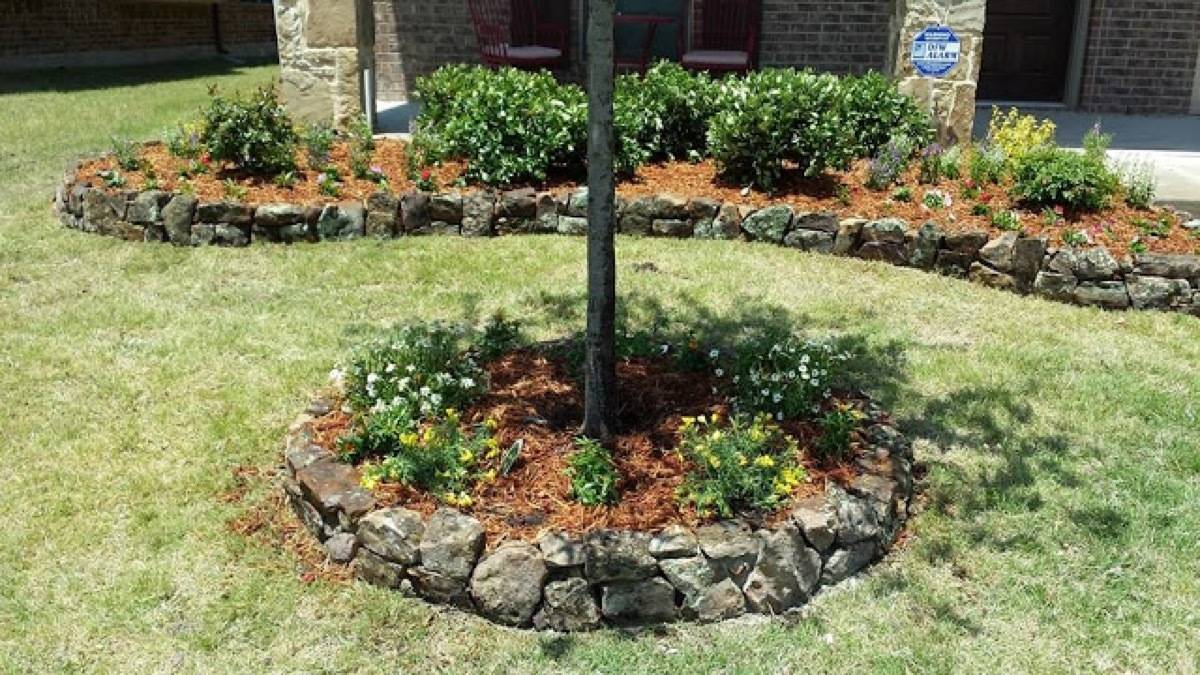
7. How about creating a berm? What’s a berm, you ask? It’s when you transform your totally flat yard by creating mounds of interest. Easy, and totally affordable. Be sure to do your research first before create a berm around the base of any tree, as too much dirt can suffocate the tree.
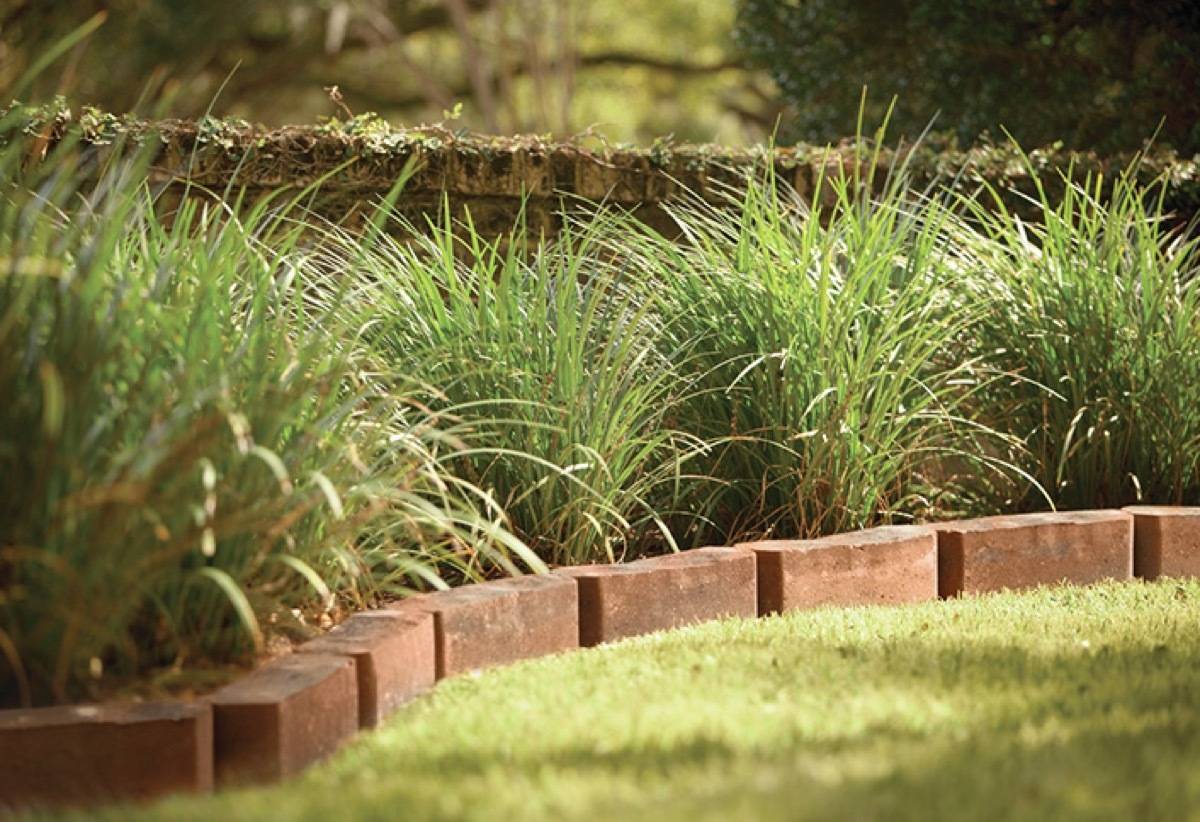
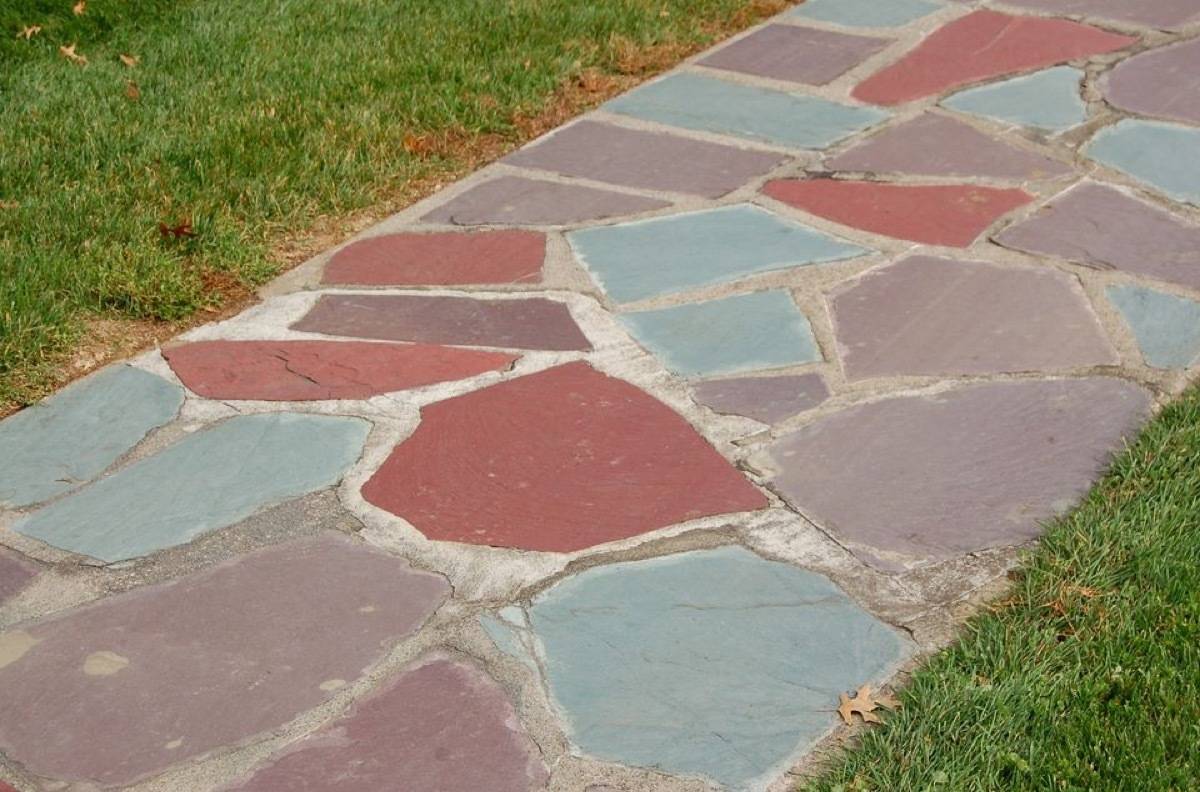
10. DIY landscaping ideas don’t get much more affordable than this: install brick edging to outline areas of your yard using salvaged or recycled brick.
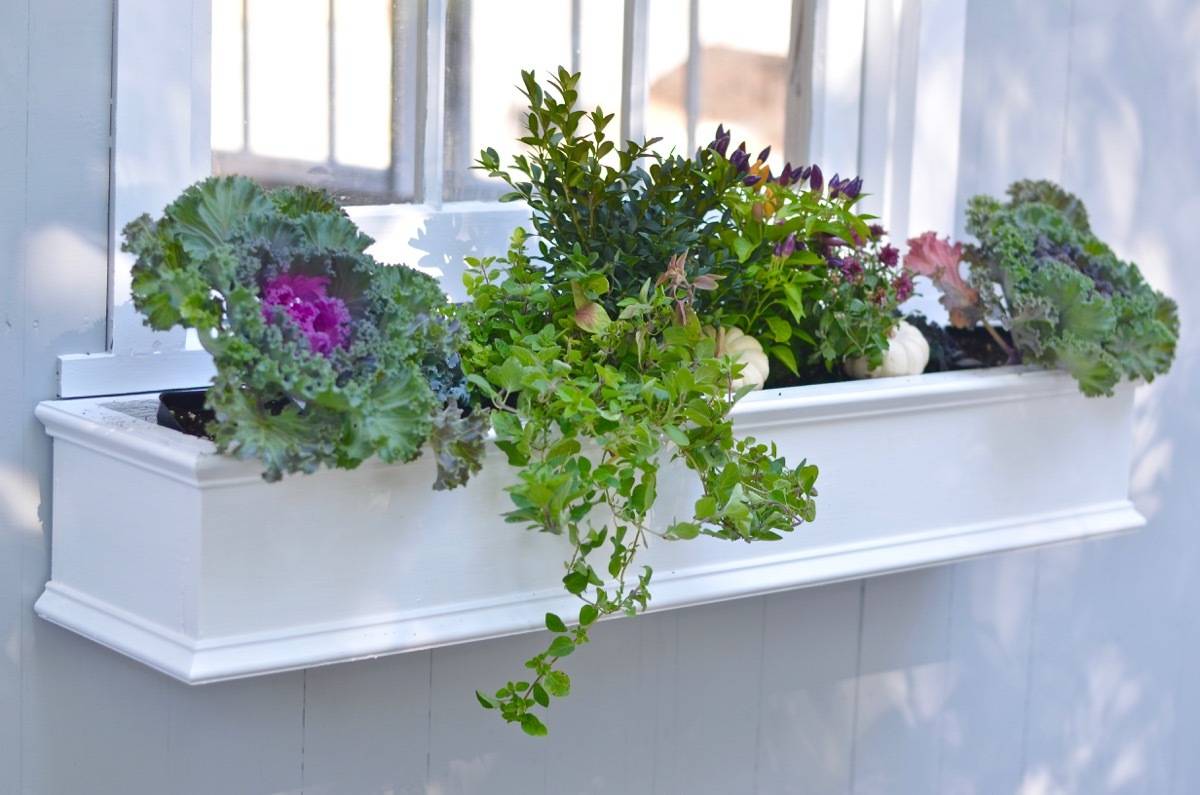
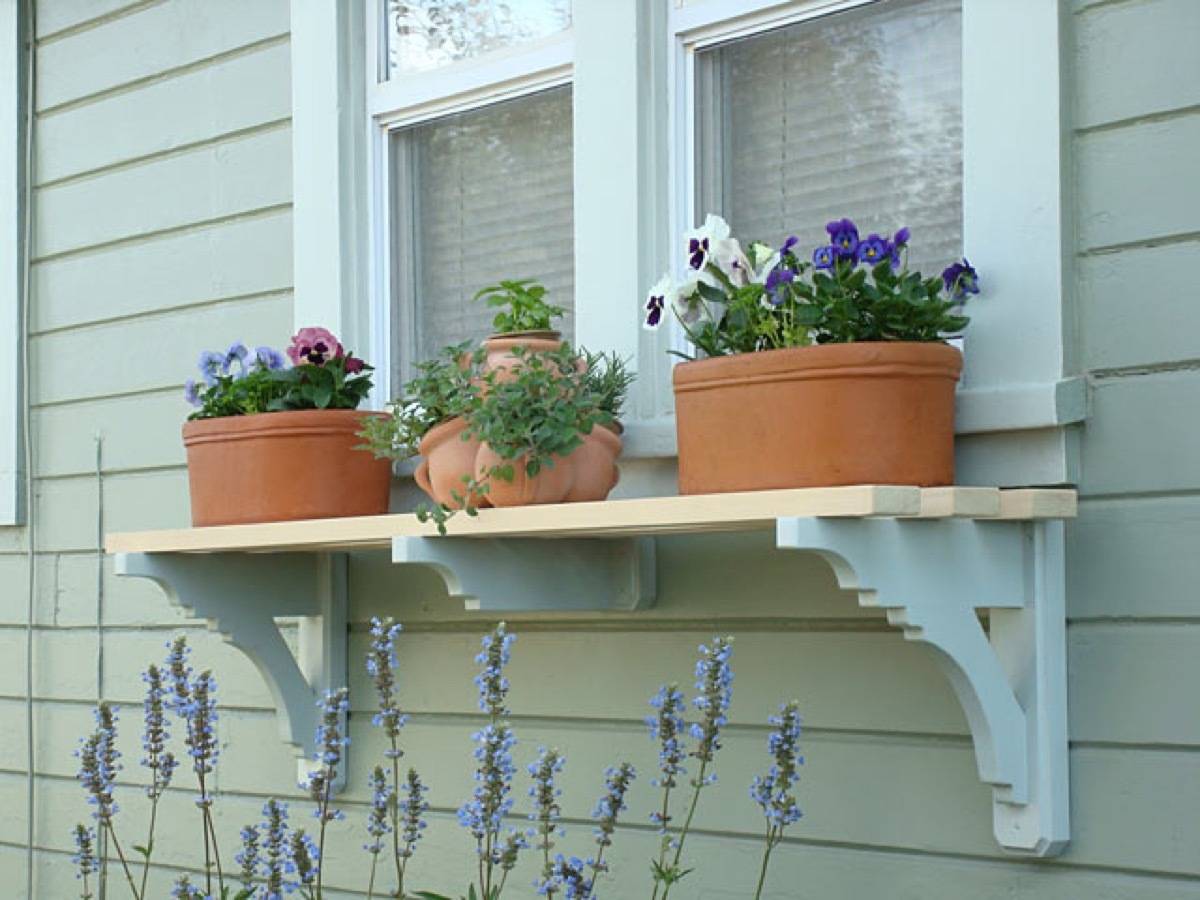
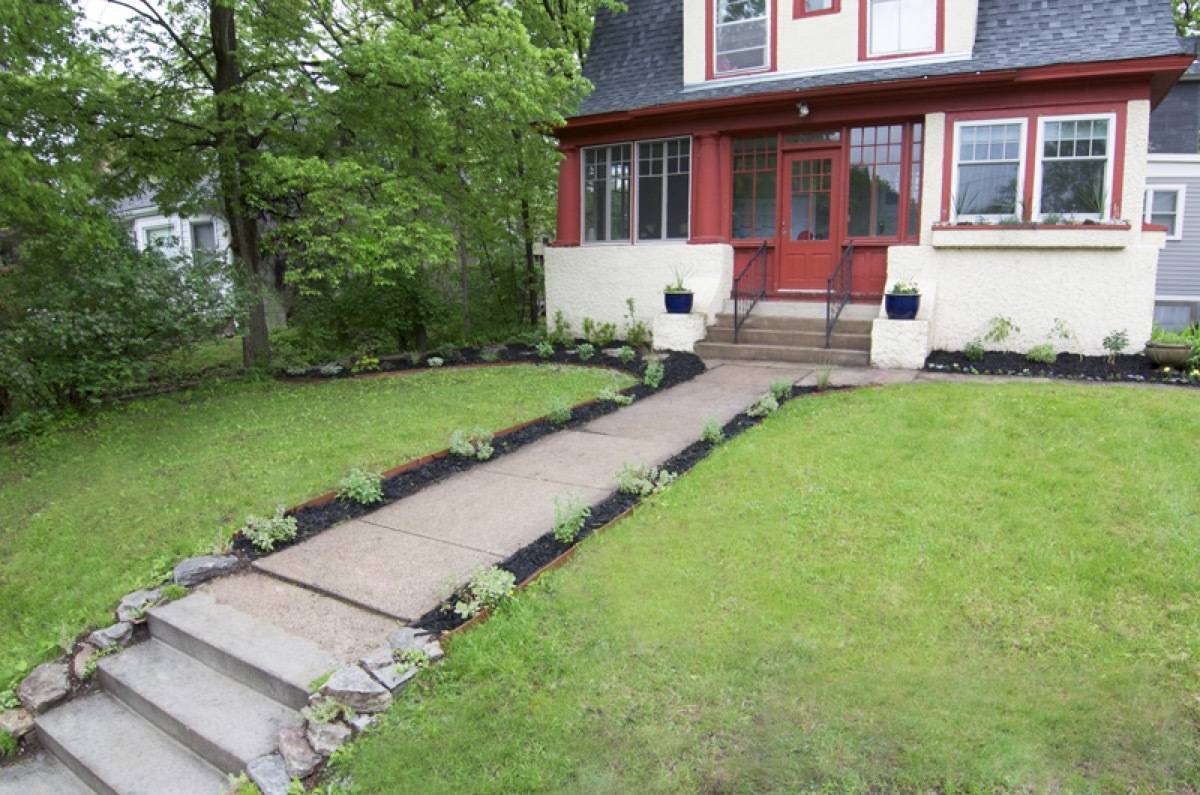
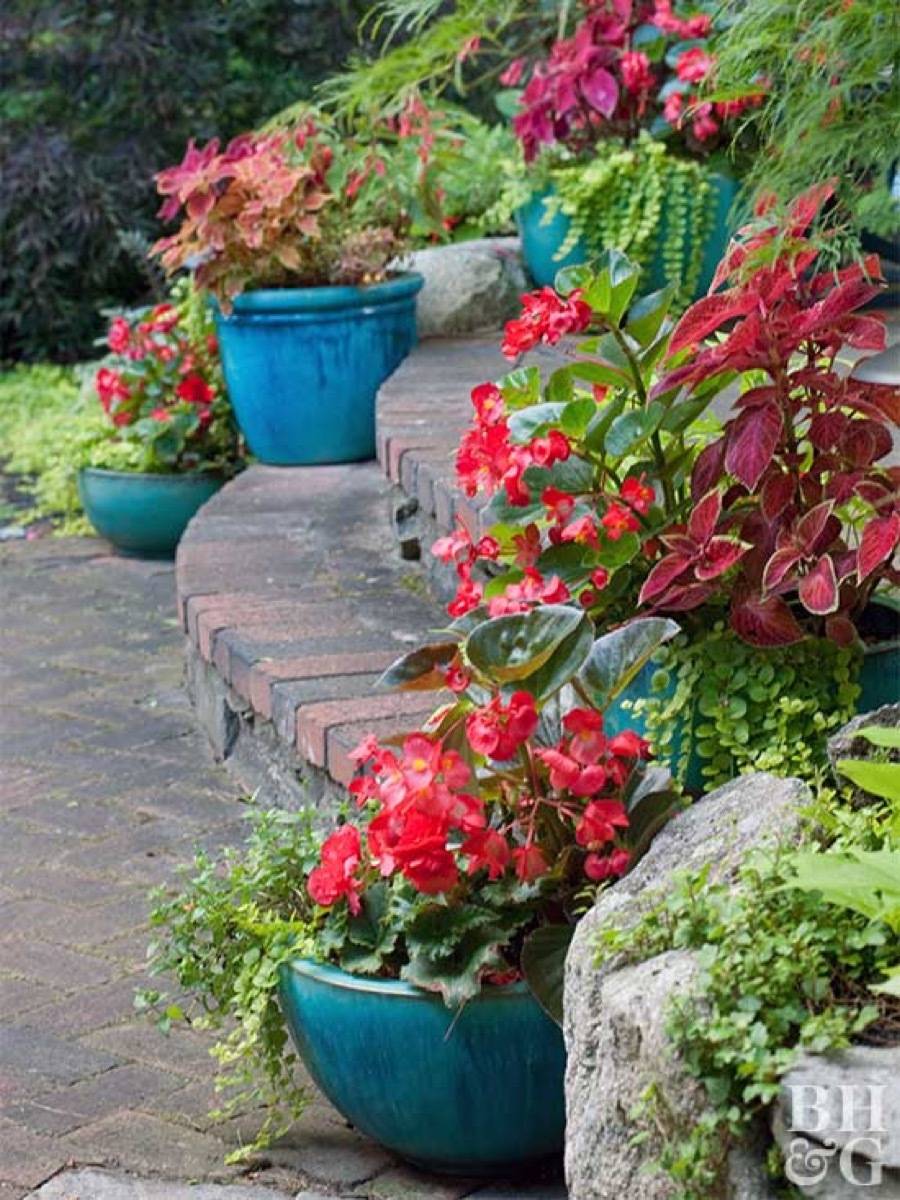
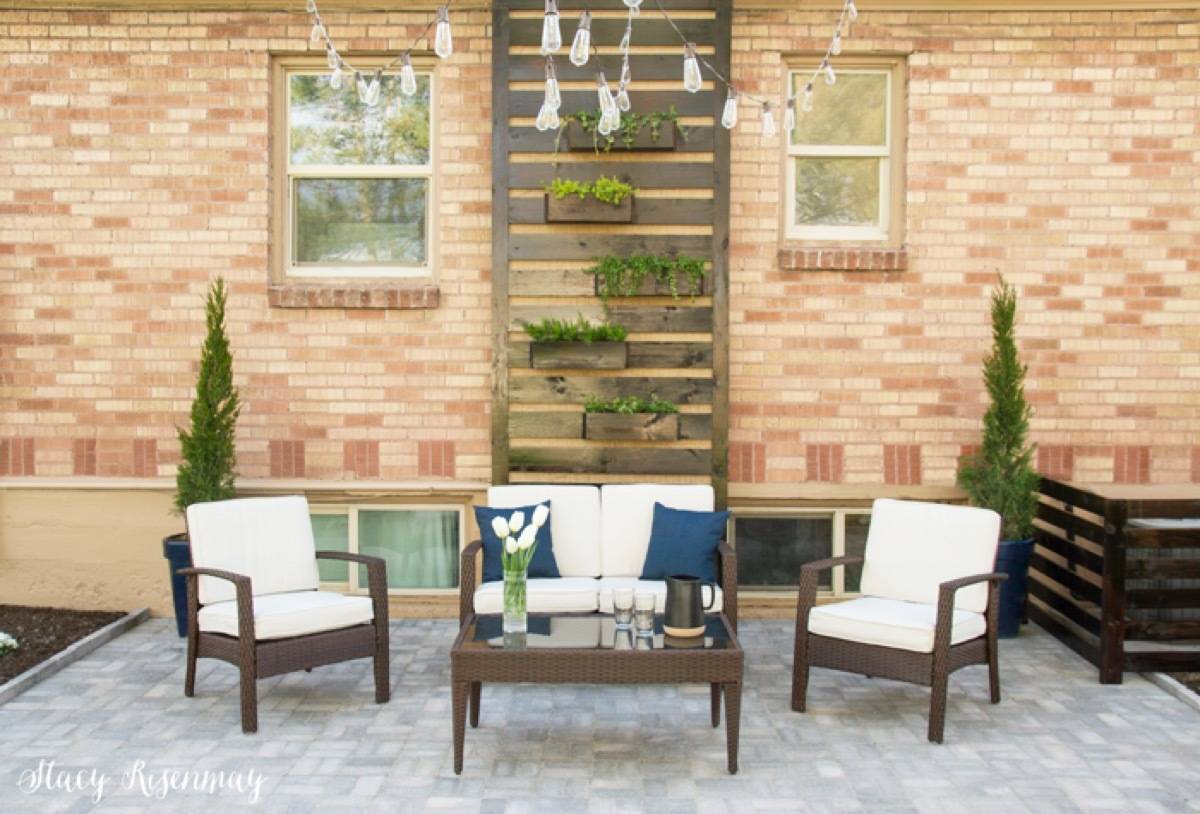
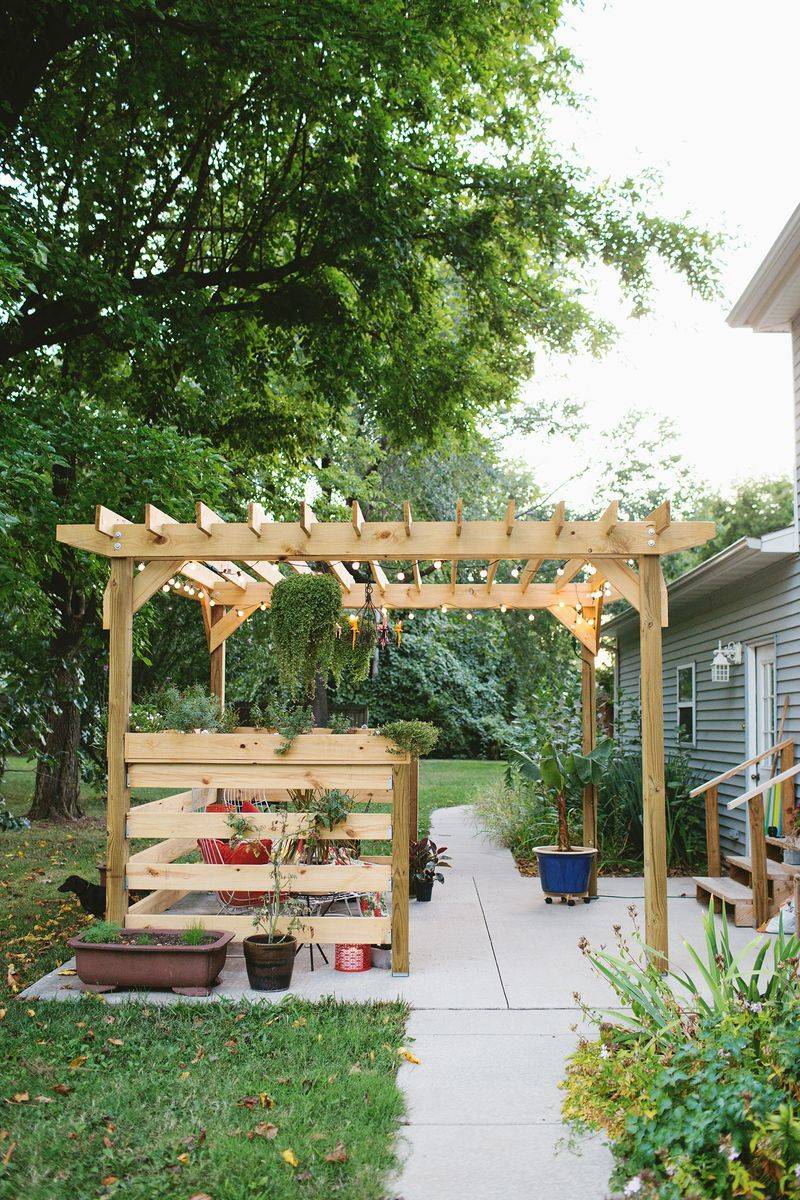
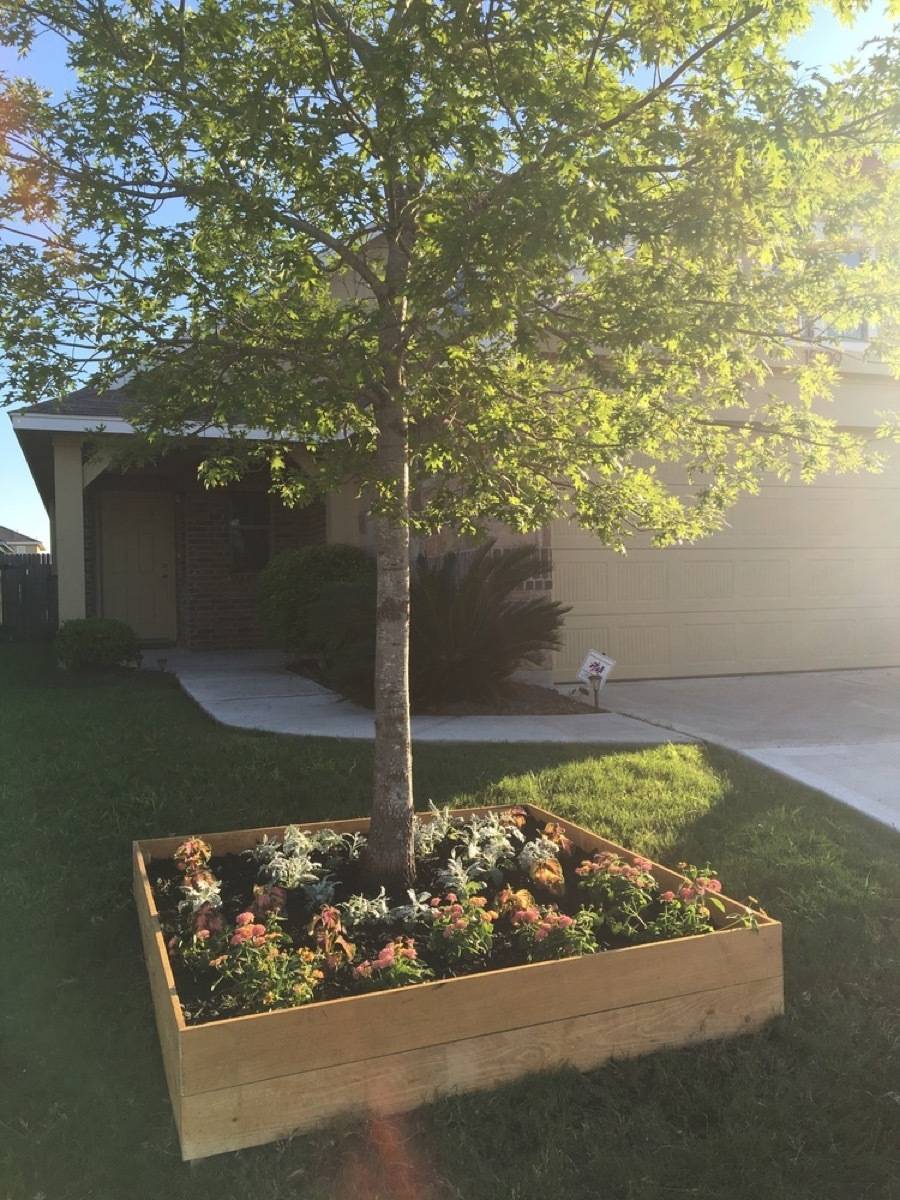
14. Display flowers in containers along steps, walkways, or on ledges. This is a great way to add visual interest if you have a lot of brick or asphalt in your front yard.
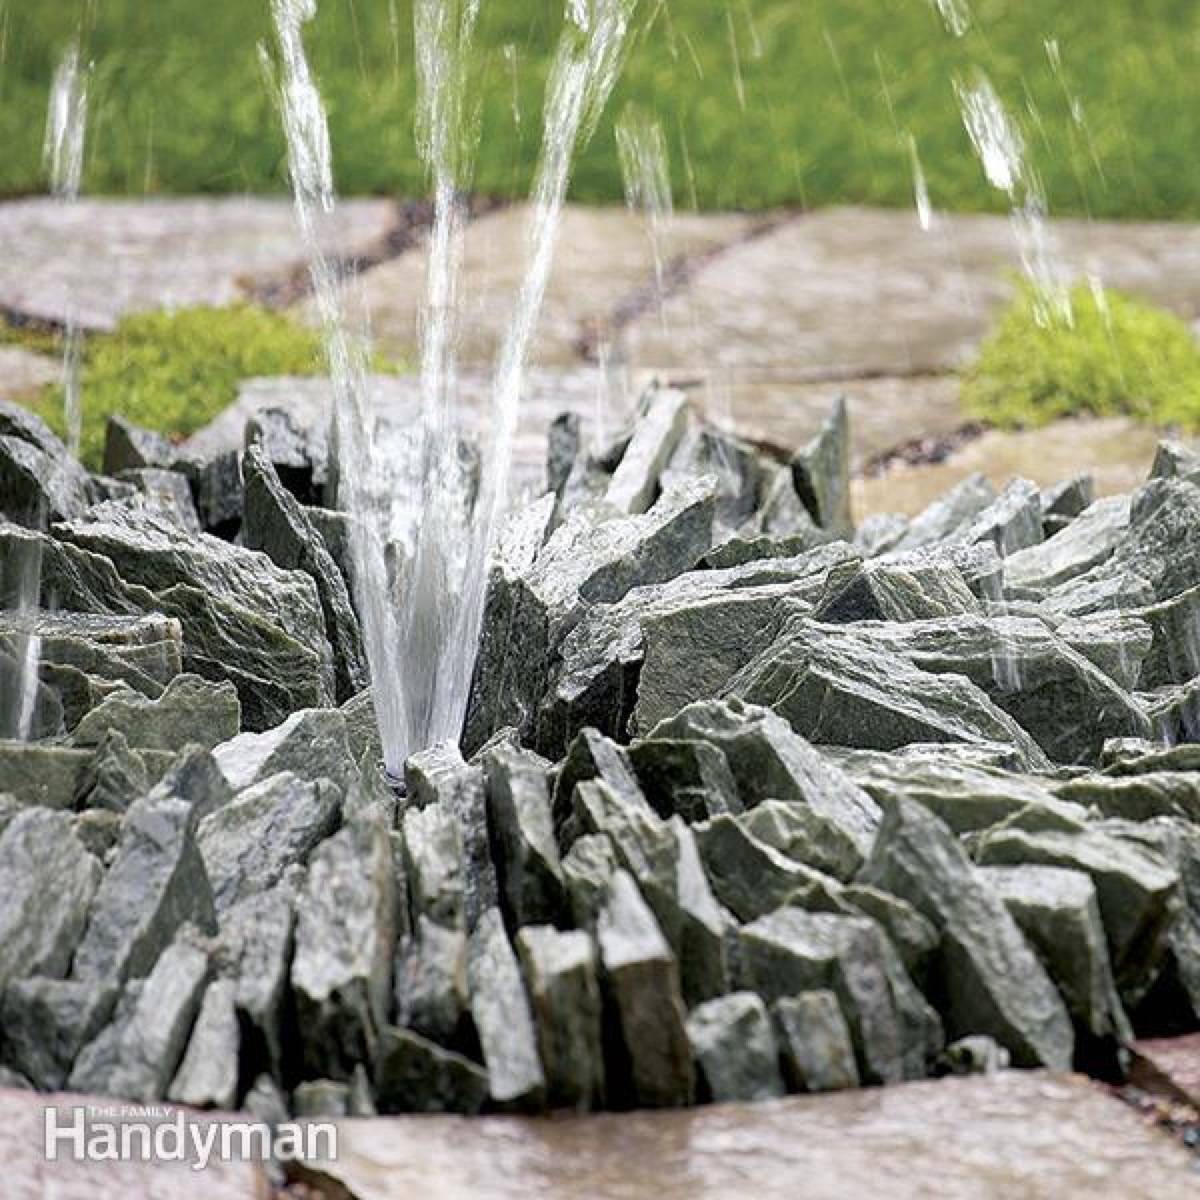
24. Get ready for DIY landscaping ideas straight out of childhood. Why not create a secret garden in your back yard? The 9-year-old in me is absolutely giddy over this idea.
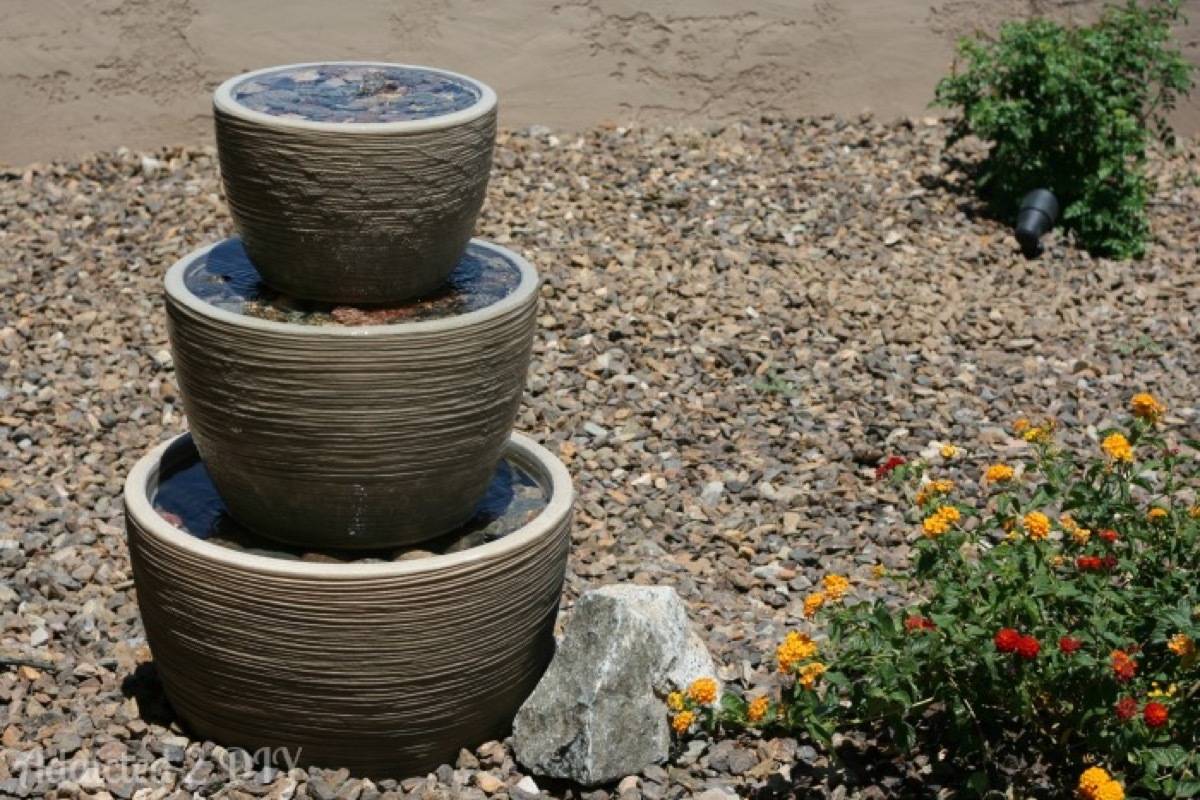
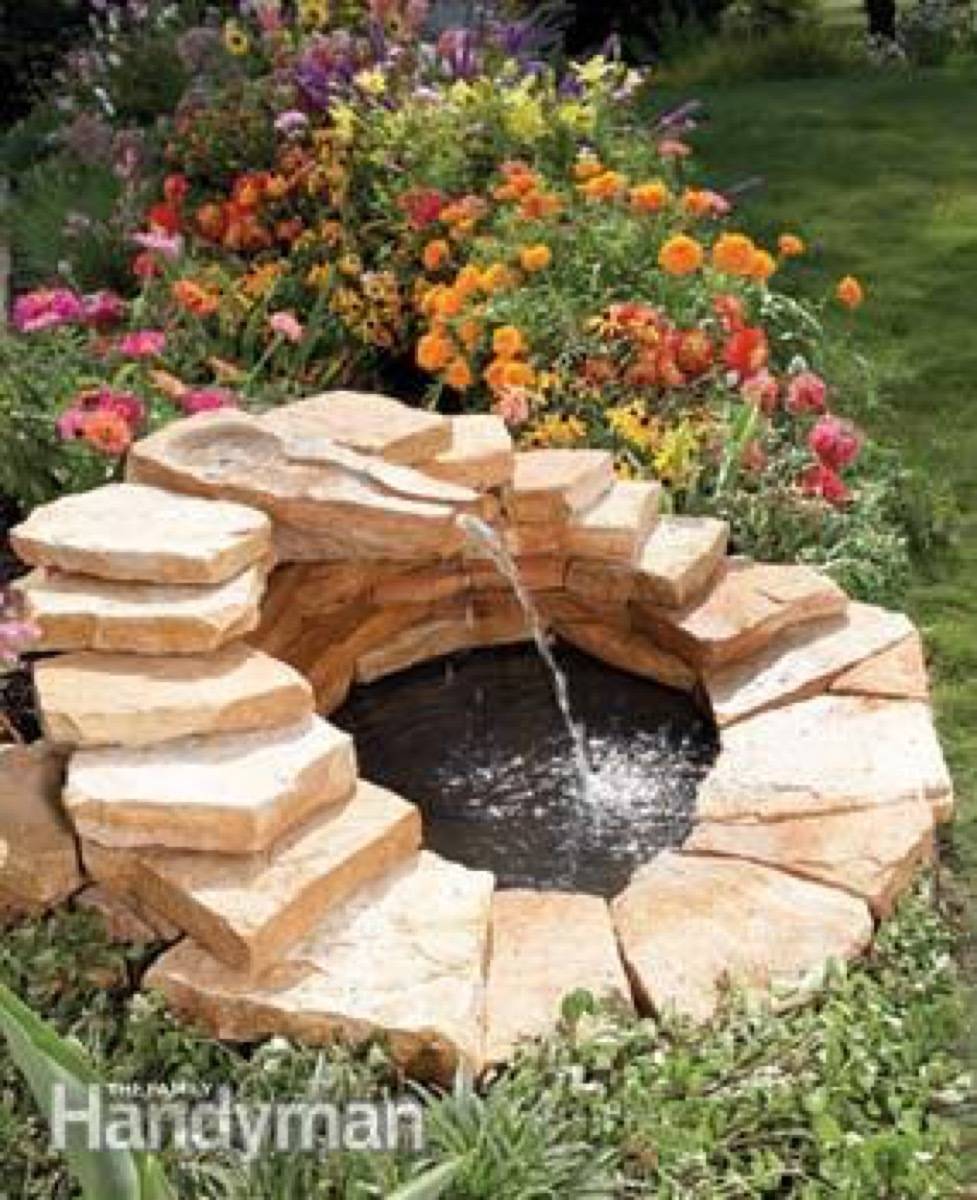
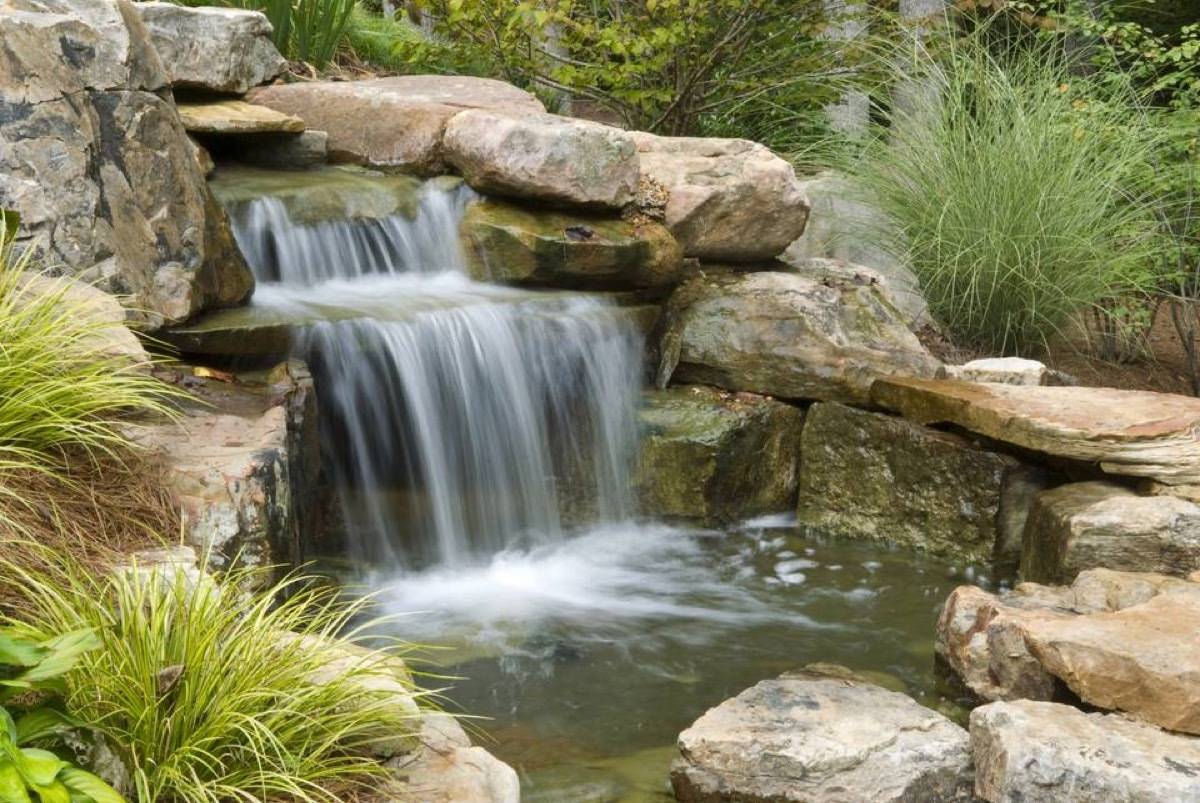
35. Stack ’em up! With a little extra effort, you can transform the previous project on this DIY landscaping ideas list into a multi-level water feature.
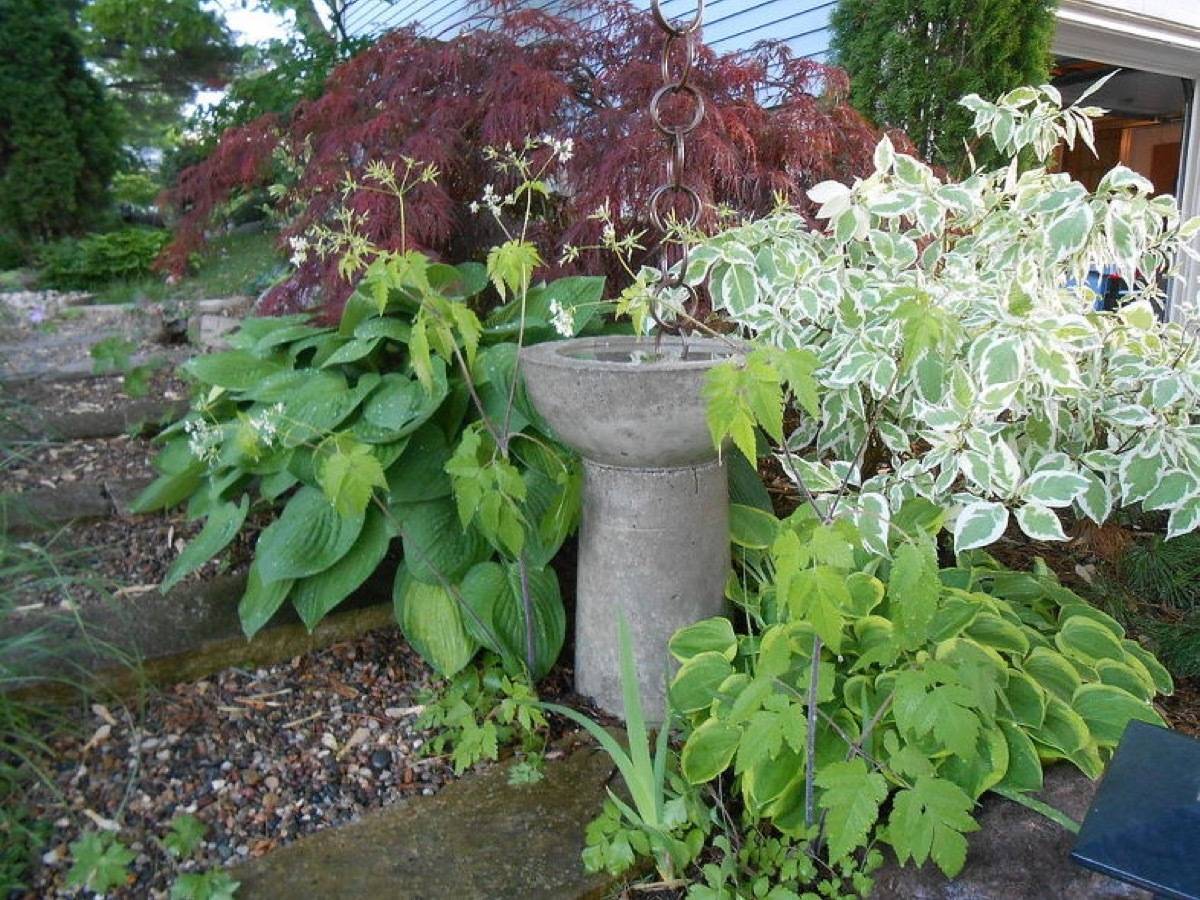
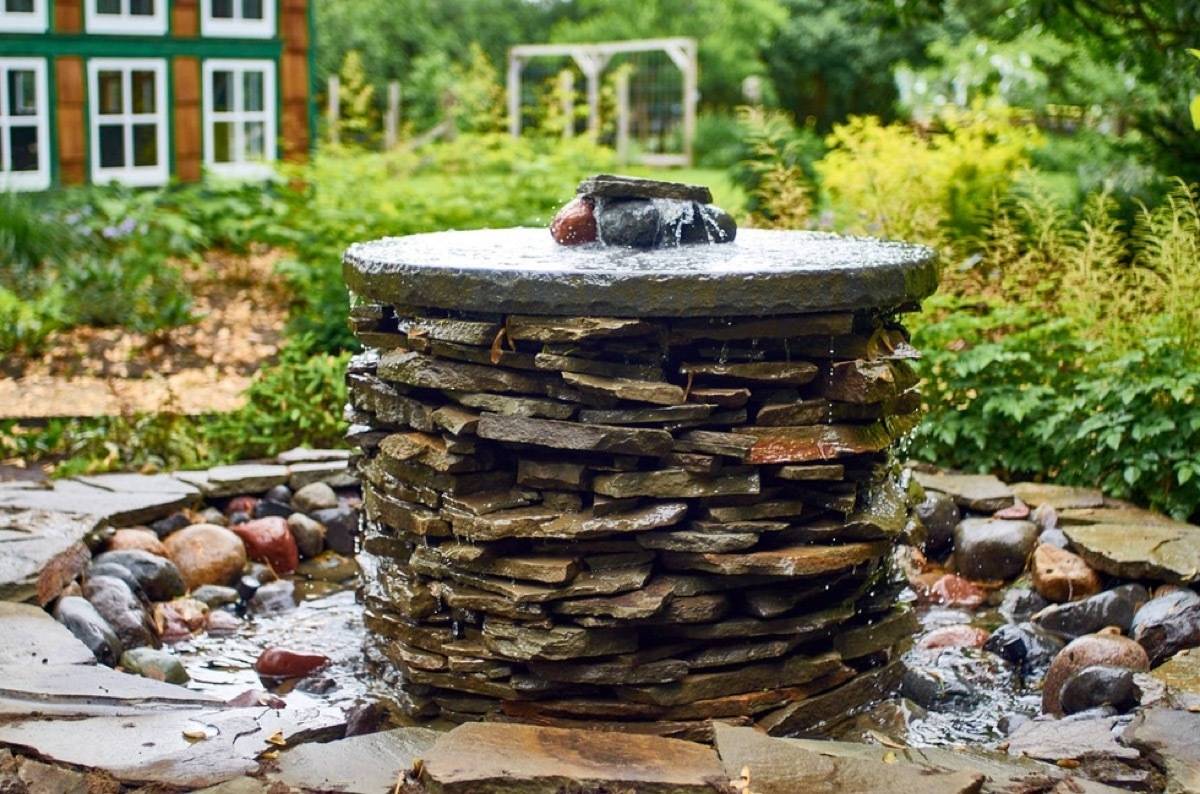
37. This is one of those DIY landscaping ideas that is going to require the help of a friend, but if you’re into drama, consider building a stone pond fountain.
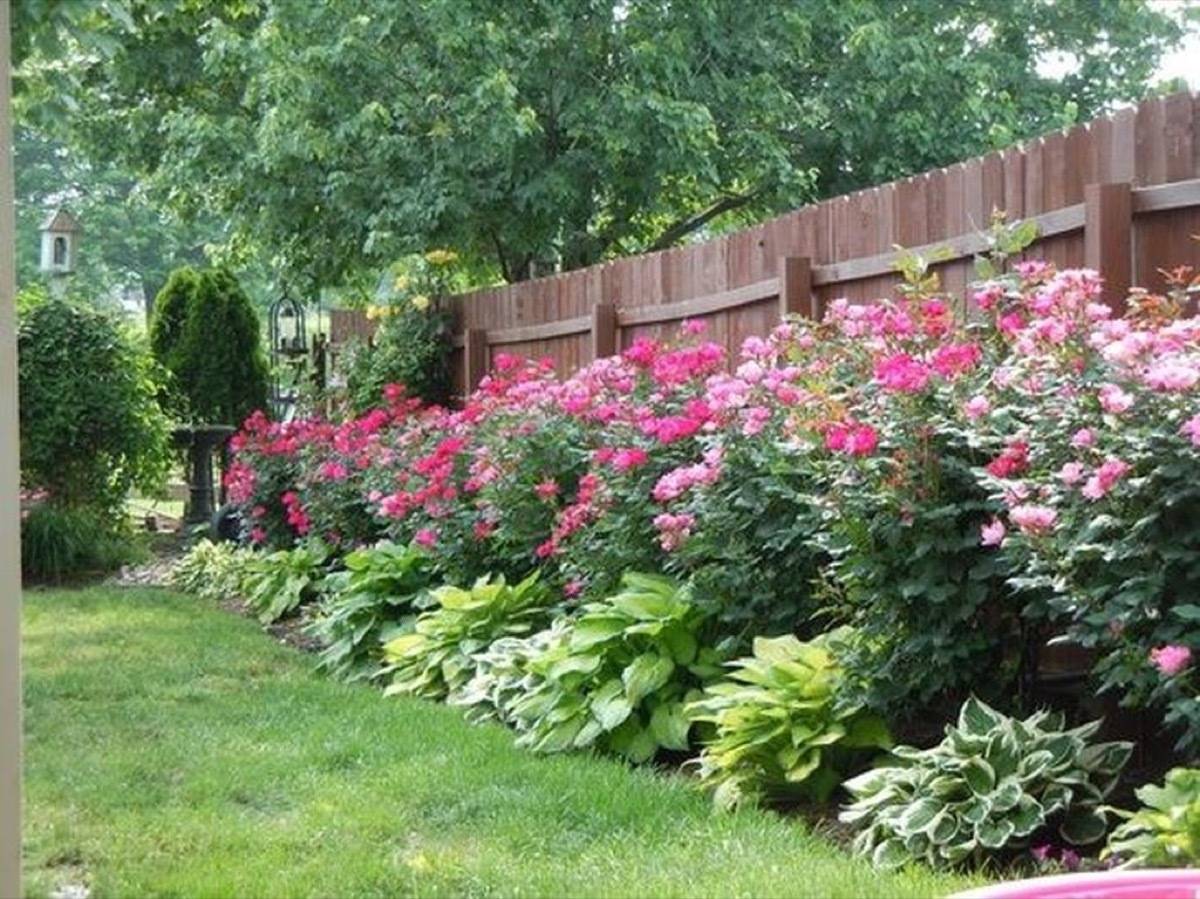
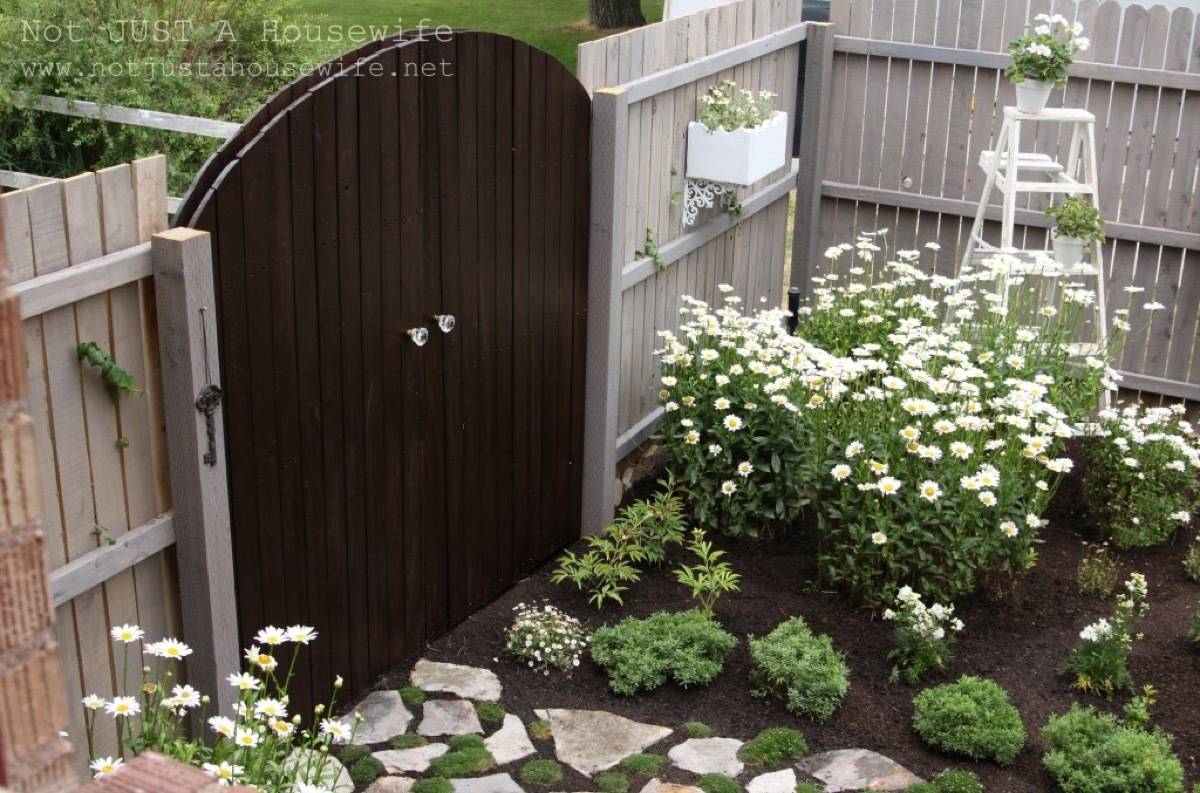
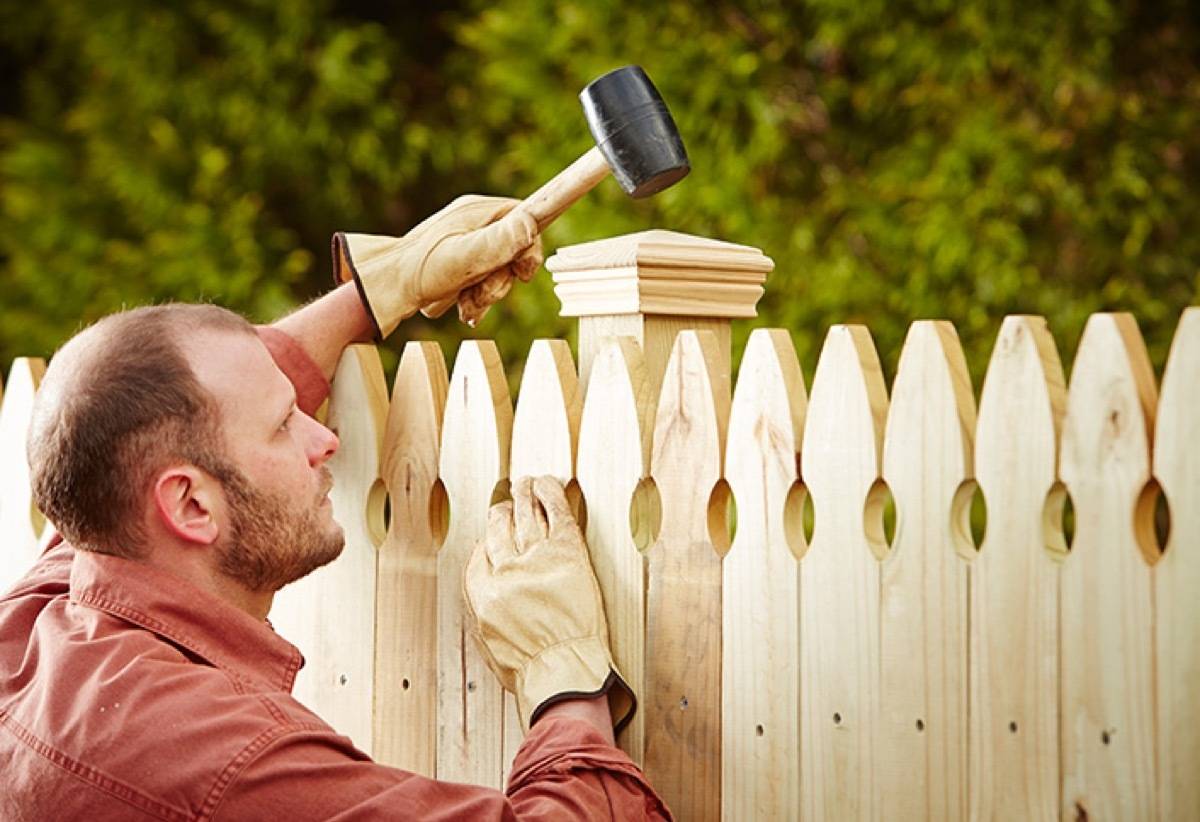
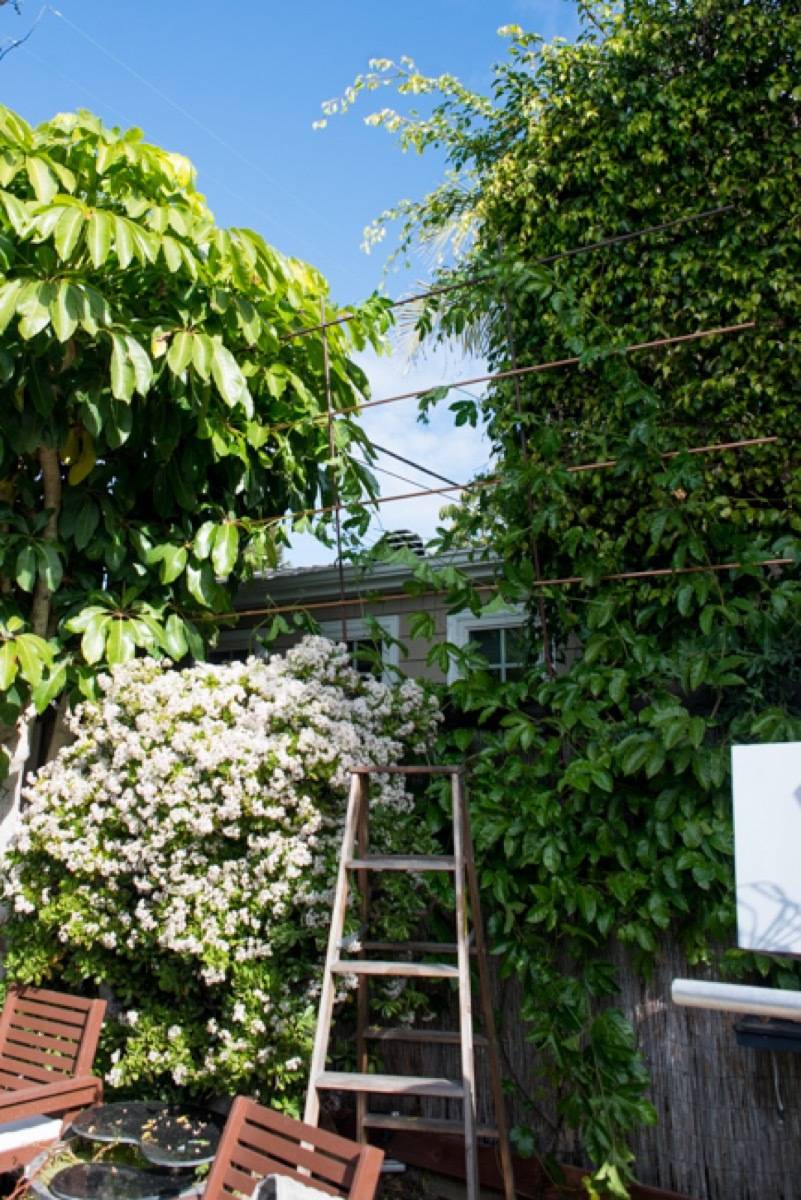
42. Nothing beats the backyard privacy of your own fence. Before you begin the building process, you’ll need to be sure of a few things: Verify your property line, check with your city or township about the limitations and height-restrictions of your fence, have someone from the city come and check for gas lines, and have a neighborly chat with anyone you’ll be sharing the fence line with.
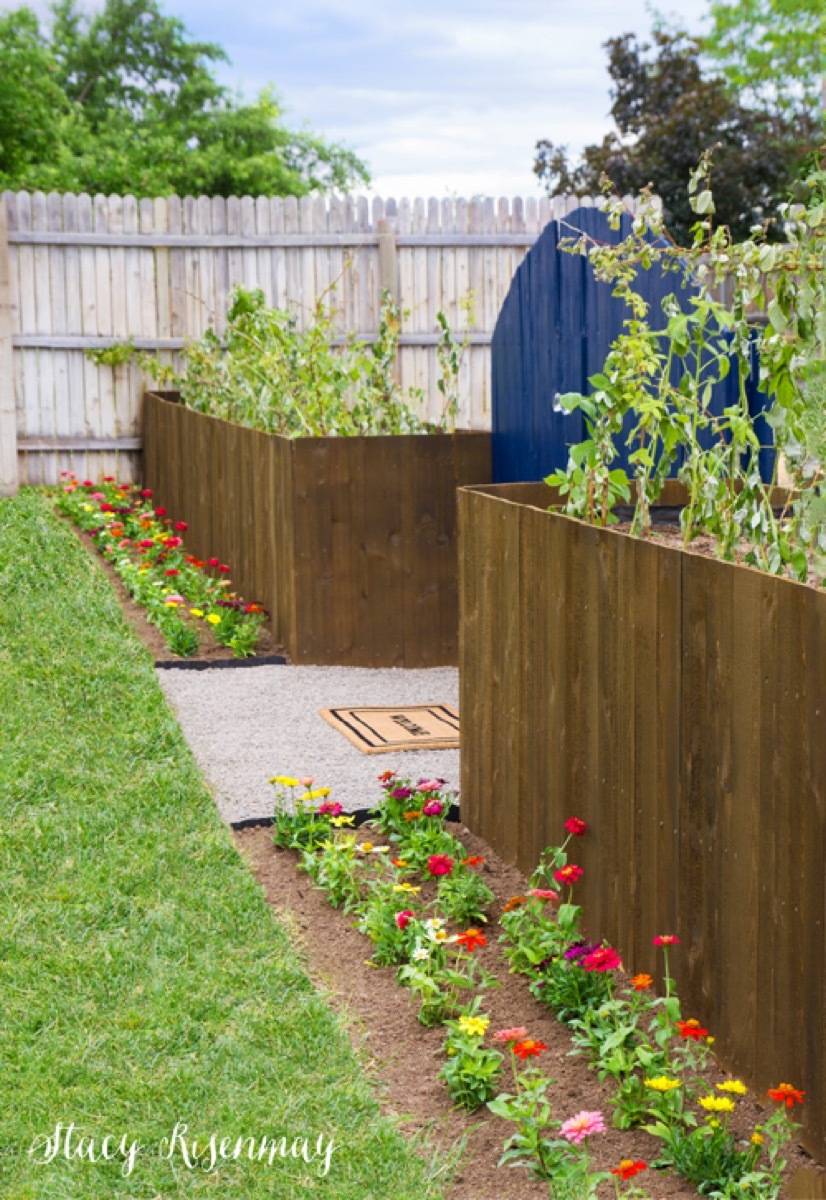
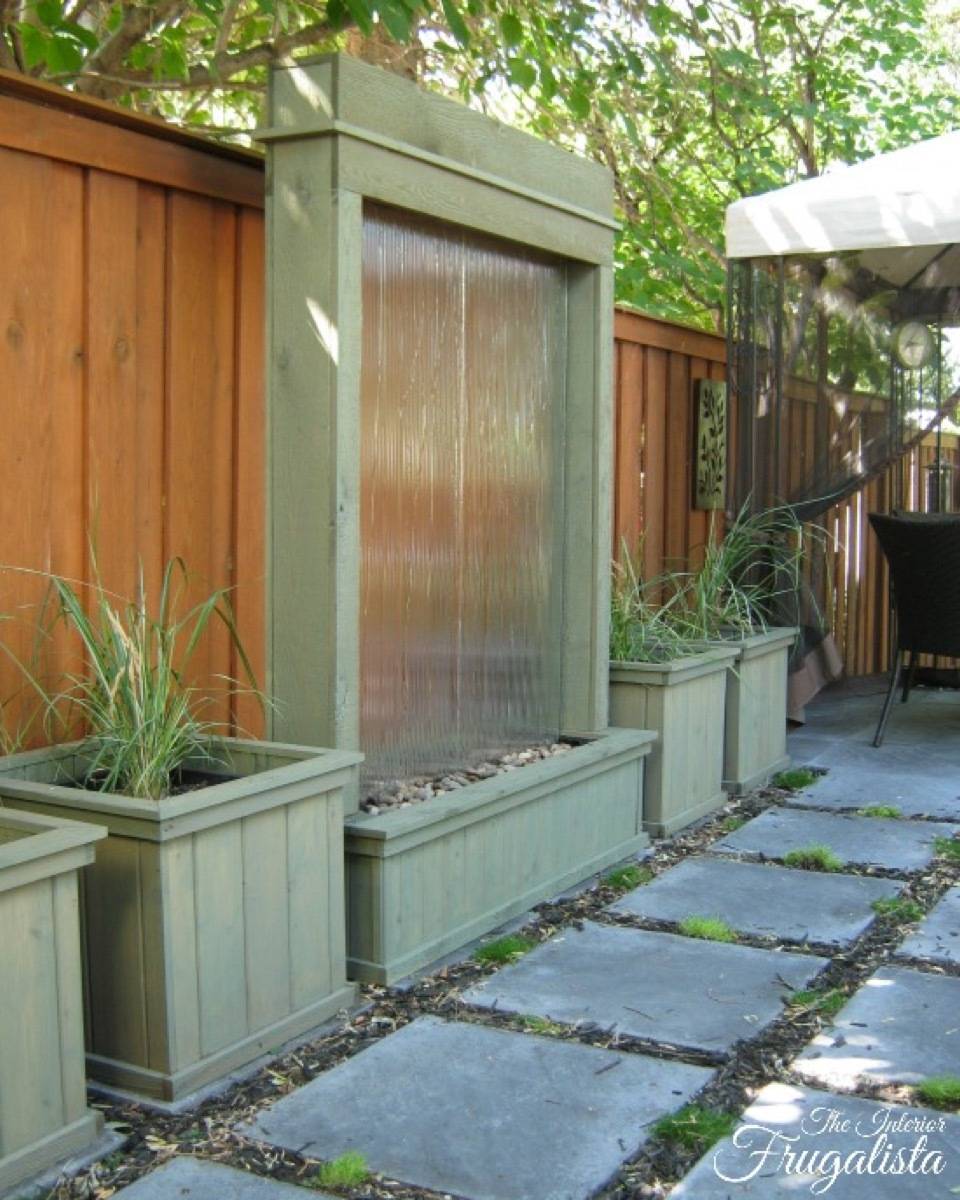
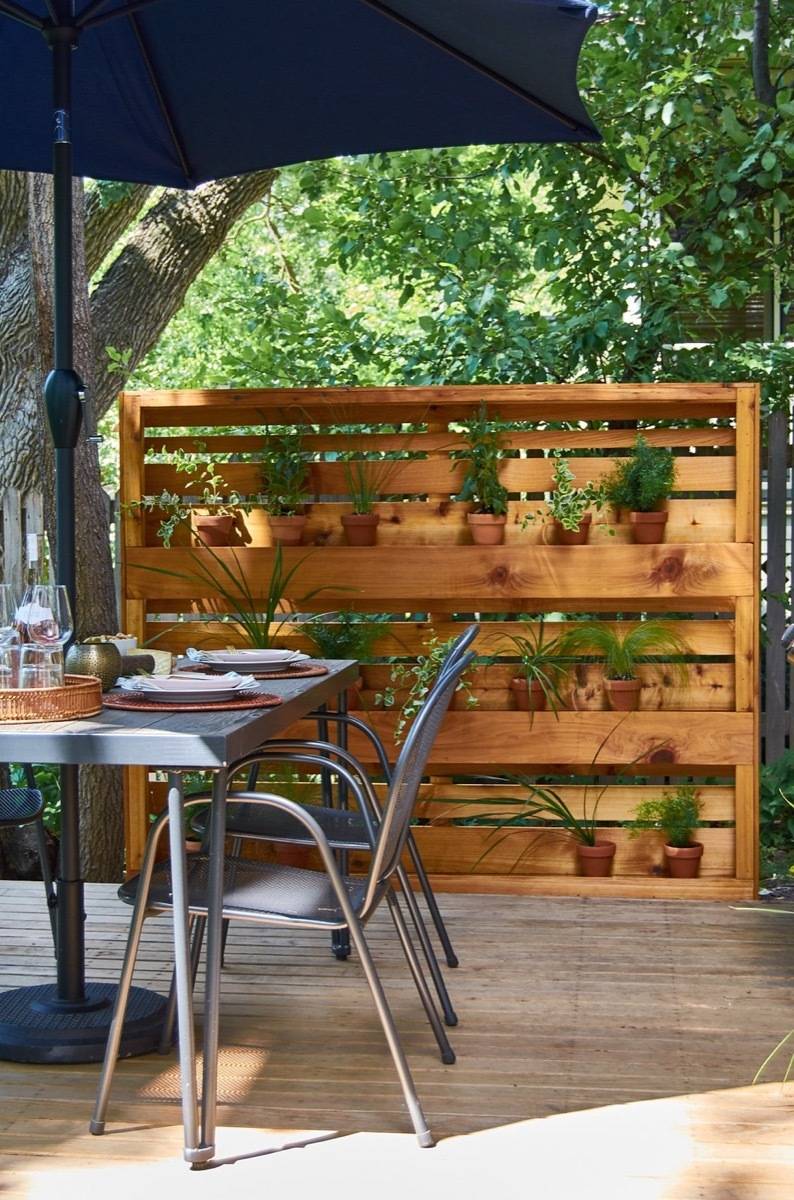
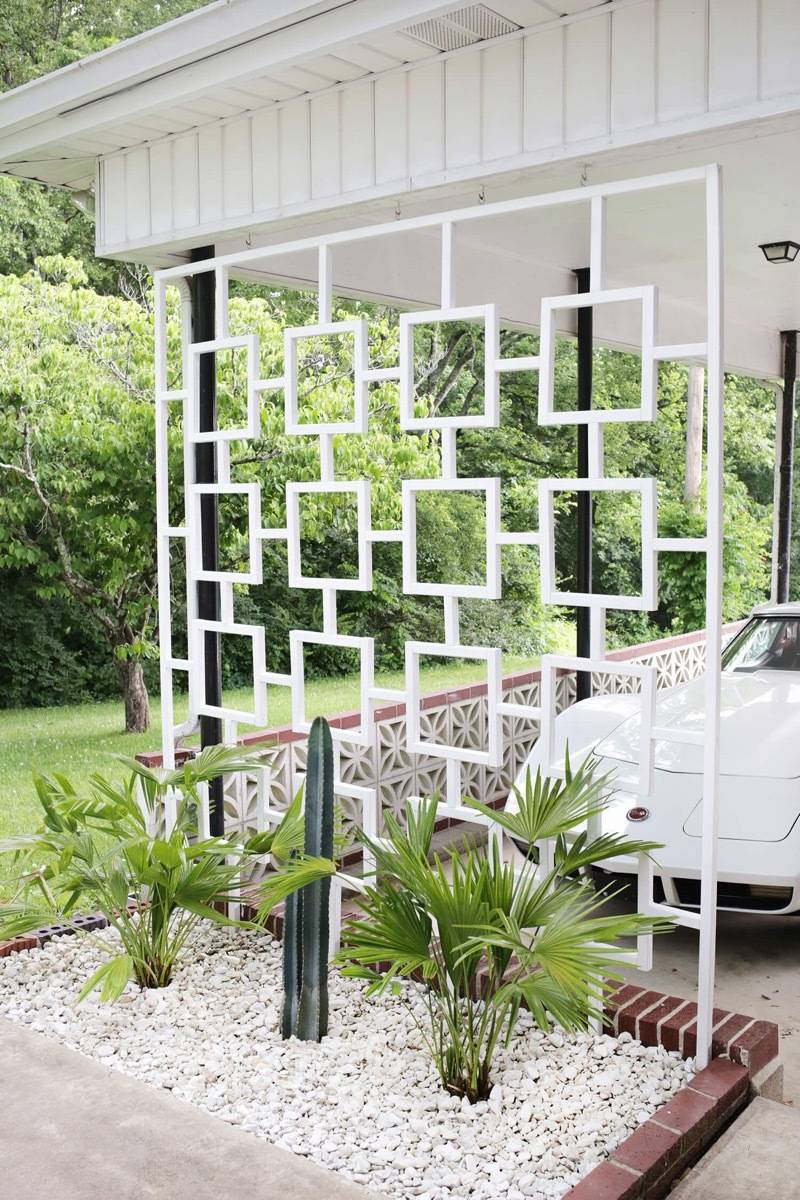
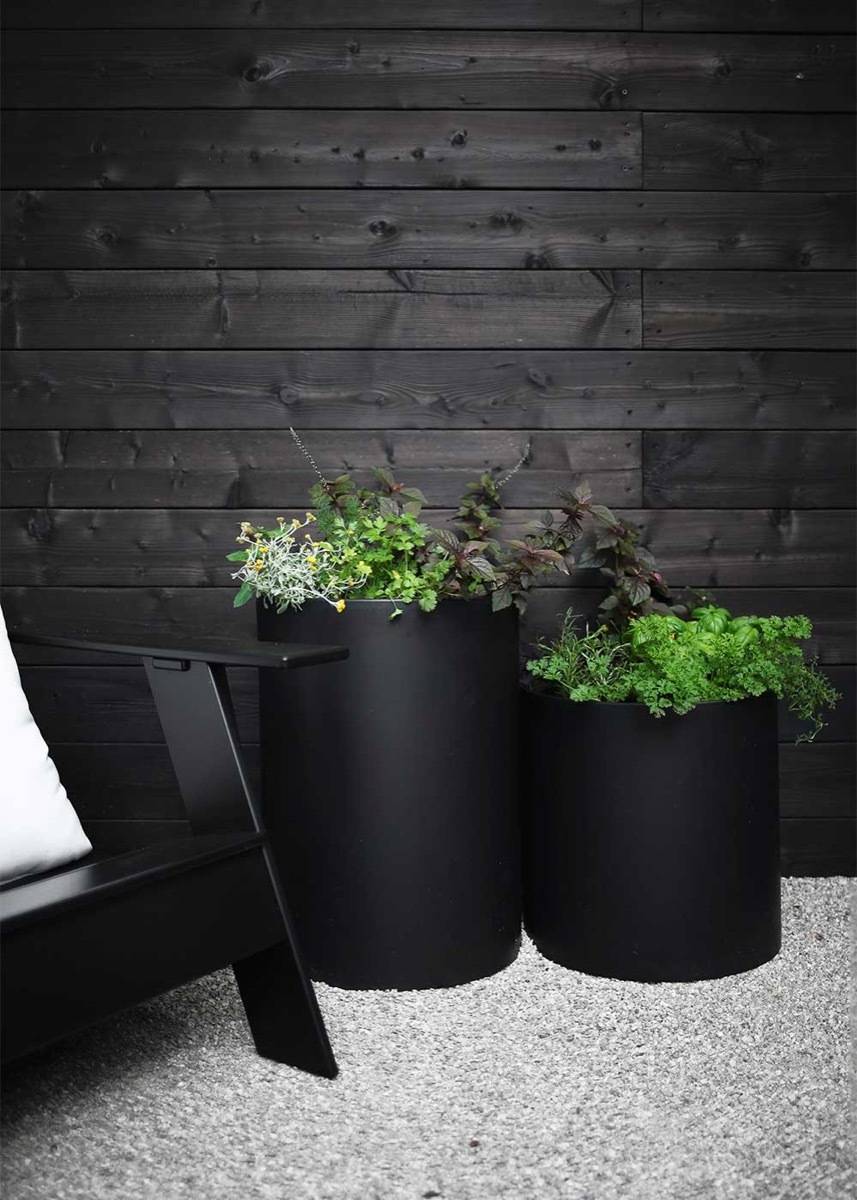
46. Transform your privacy wall using shou sugi – the process of burning wood, making it water-resistant. Side effect, the shou sugi treatment transforms wood to a beautiful, rich black color.
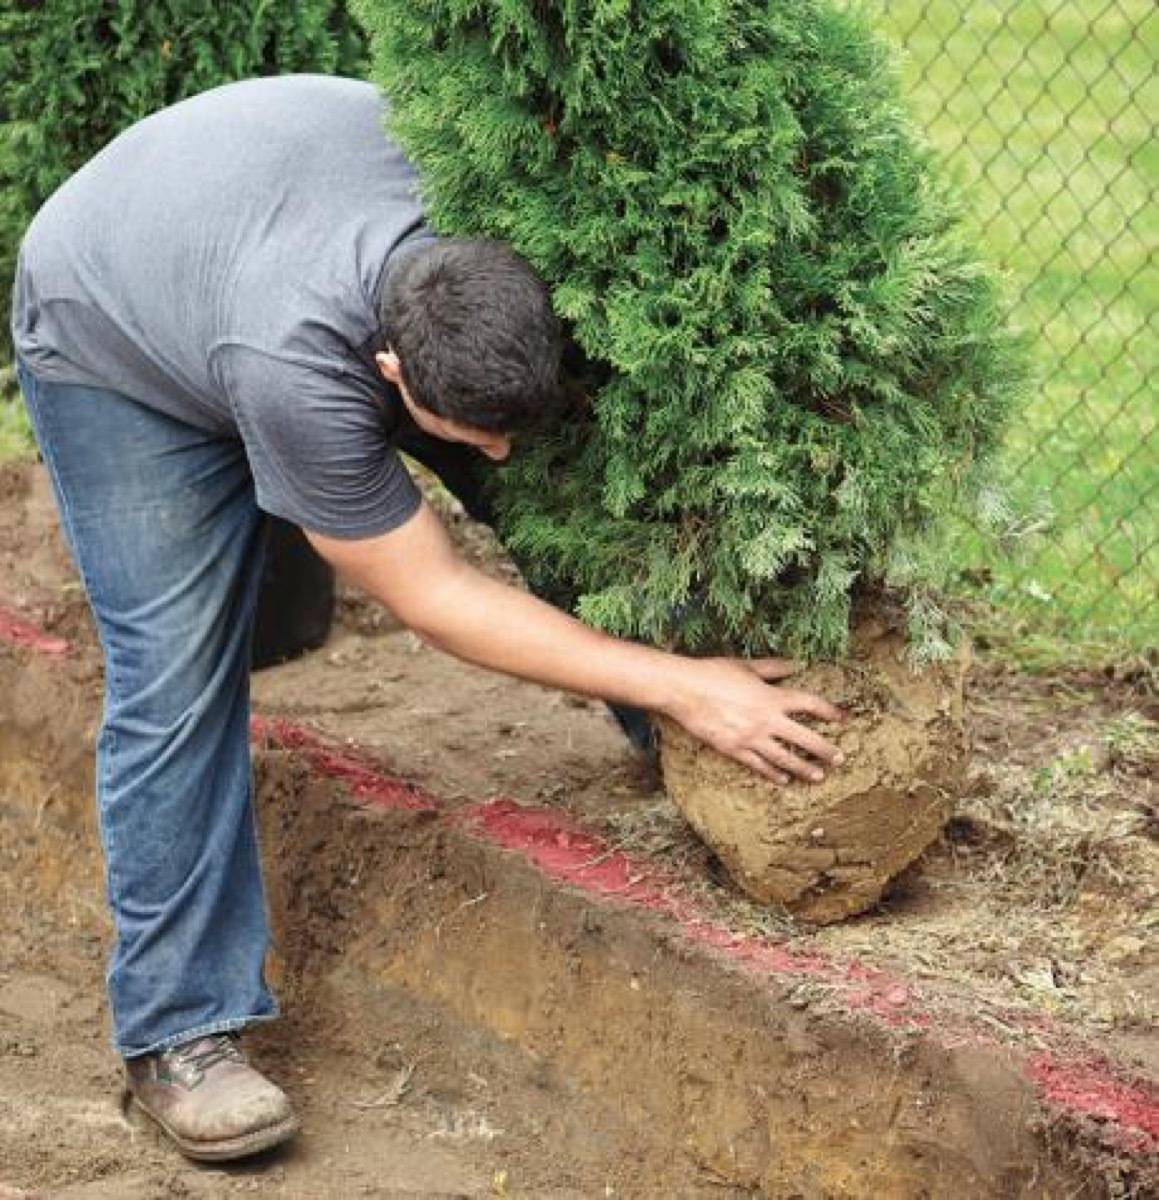
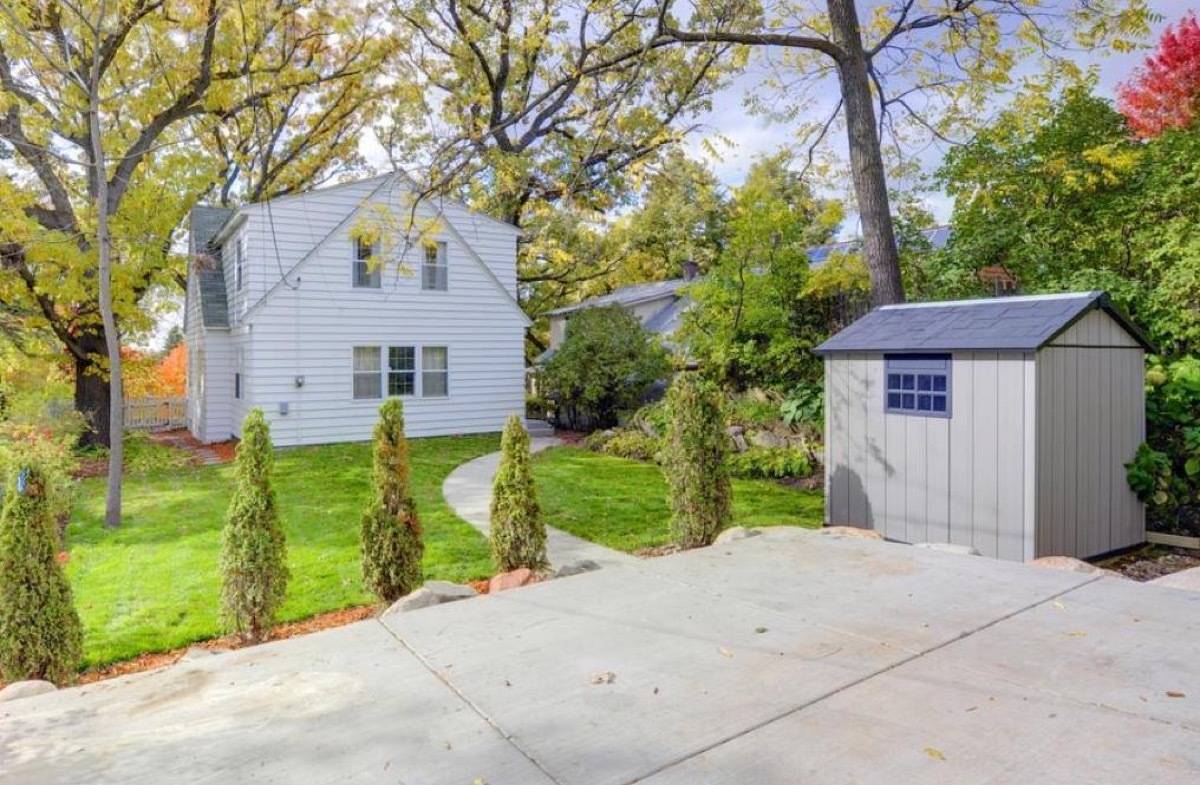
48. Need lots and lots of privacy? There are cheap trees you can buy that over time will block out the neighbors, like the inexpensive Leyland Cypress.