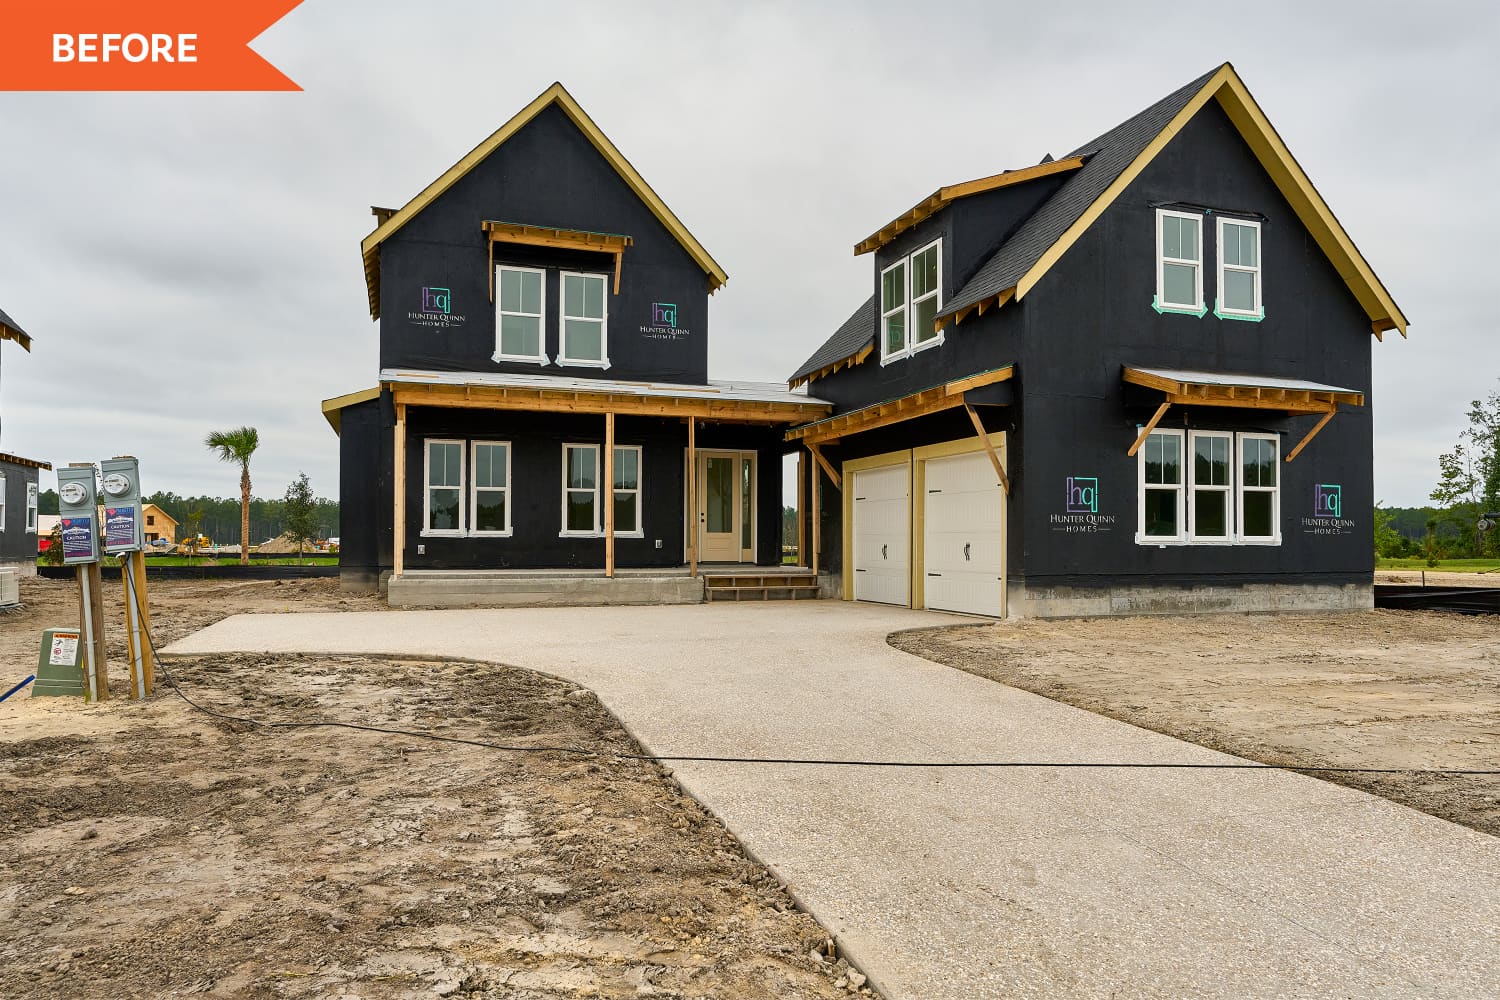
The type of fence you install on the perimeter of your property is about more than just enhanced curb appeal — it’s about creating privacy and security. These are things that you no doubt value as a homeowner, and if you’re looking to sell your home in the near future, know that they will be high on homebuyers’ wish lists, too.
According to Home Advisor, it costs anywhere between $1 and $45 per linear foot to install a fence. That’s quite a budget range, which means that it’s not only the size of your property that factors into the price, but also the quality of the fencing materials you choose. Vinyl and composite fencing are on the pricier end, which might tempt you to opt for a cheaper type of fencing material. That could work, though there’s one type of fence experts agree it’s probably best to avoid.
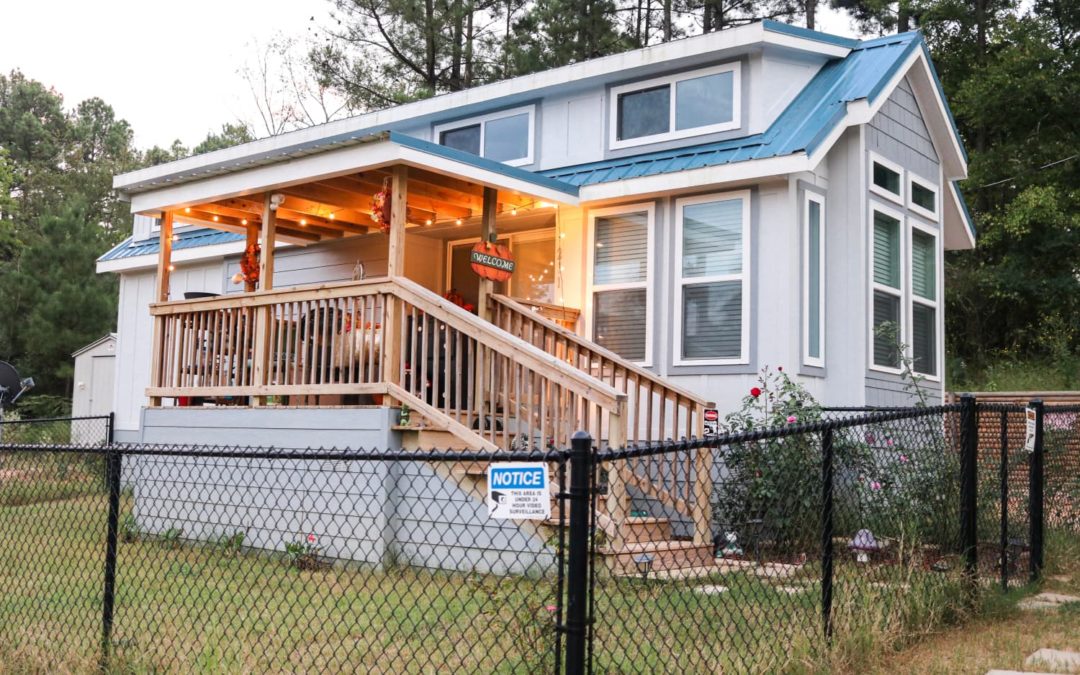
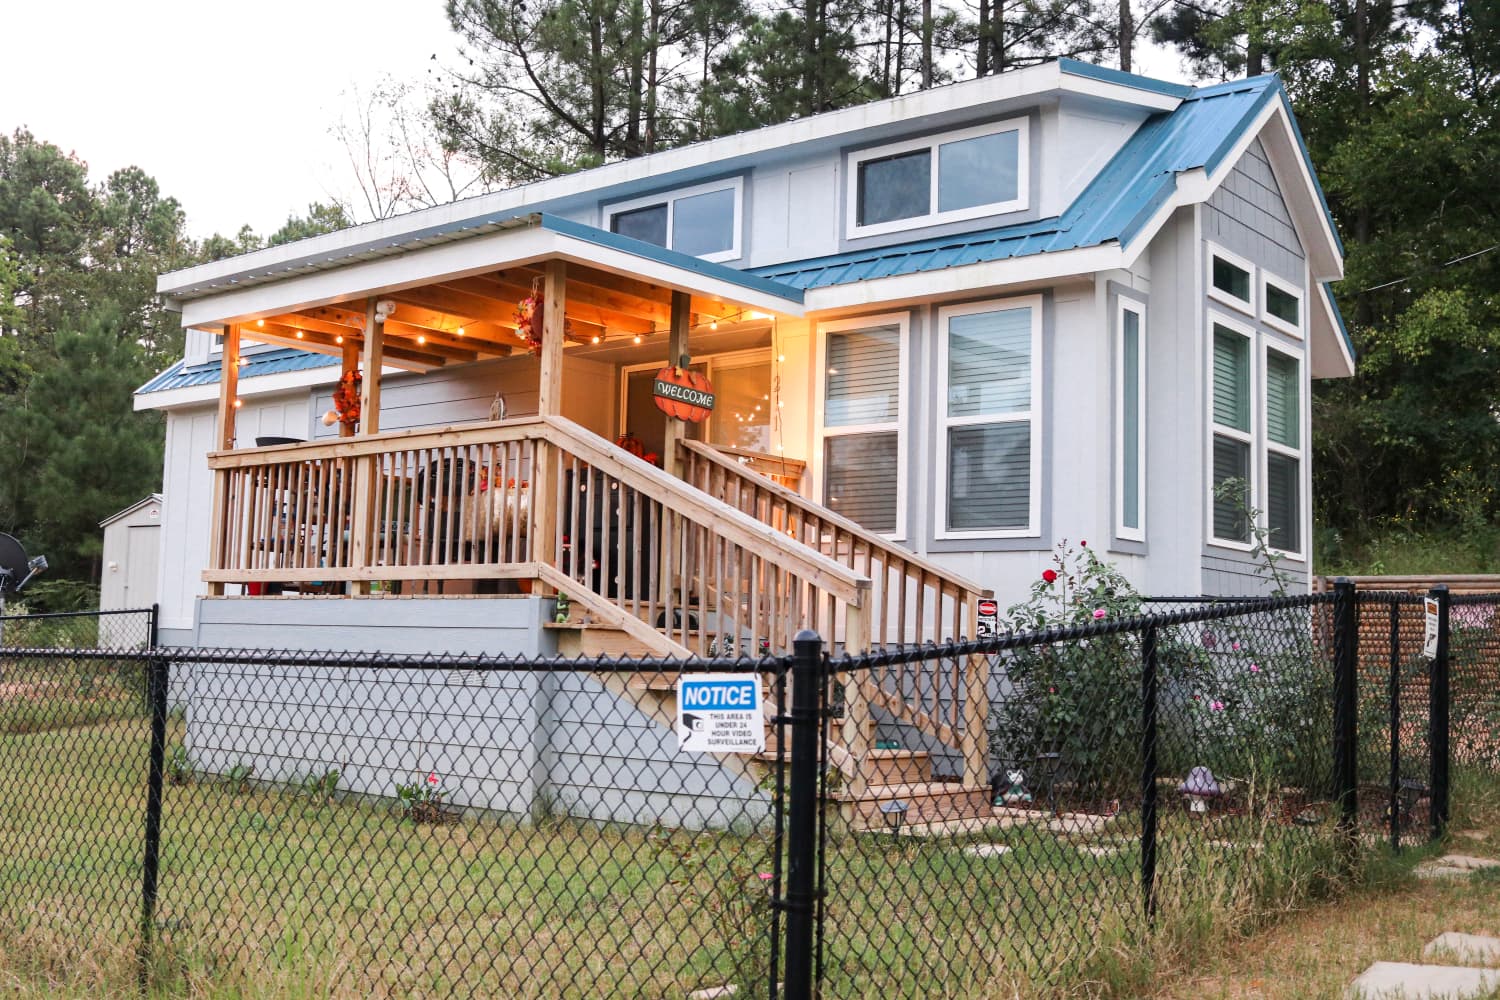
“It is best to steer clear of installing a chain link fence,” says Jeff House, a strategic real estate advisor at Real Estate Bees, who has over 30 years of experience in real estate. “Aesthetically, a chain link fence is not something that is appealing or helps add value.” While it is functional, House says it’s better to install a wood or vinyl fence.
Lisa Mindus, another strategic real estate advisor at Real Estate Bees, agrees a chain link fence does serve a purpose, but it lacks privacy and aesthetic appeal.
“Plastic slats can be purchased and secured to a chain link fence for added privacy, but it will add to the cost per square foot and still appear inferior to wood, vinyl, or wrought iron in the eyes of the consumer,” Mindus says. “The materials used for a fence should reflect the style of the home.”
If you’ve already got a perfectly fine chain link fence, take heart. House recommends giving your fence a fresh coat of paint in black, white, or another neutral color to enhance the appearance. “Adding a color instantly makes the fence look more finished,” he says. This is good news if you are looking to sell your home in the near future and can’t bear the thought of pouring any more money into it for improvements.
What to Consider When Choosing a New Fence
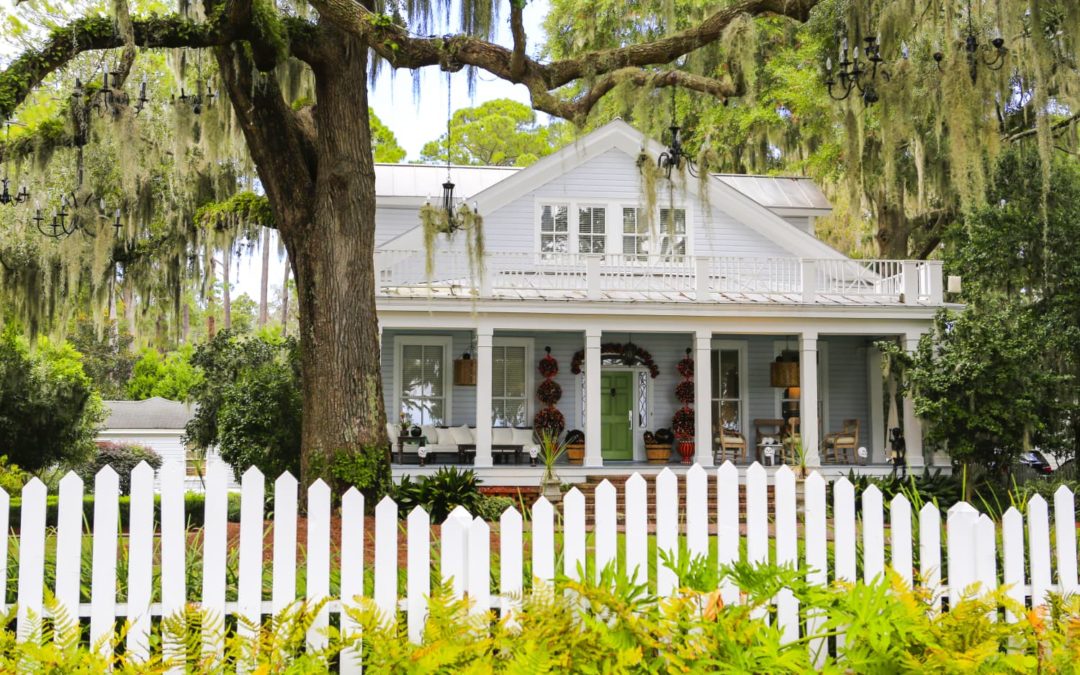
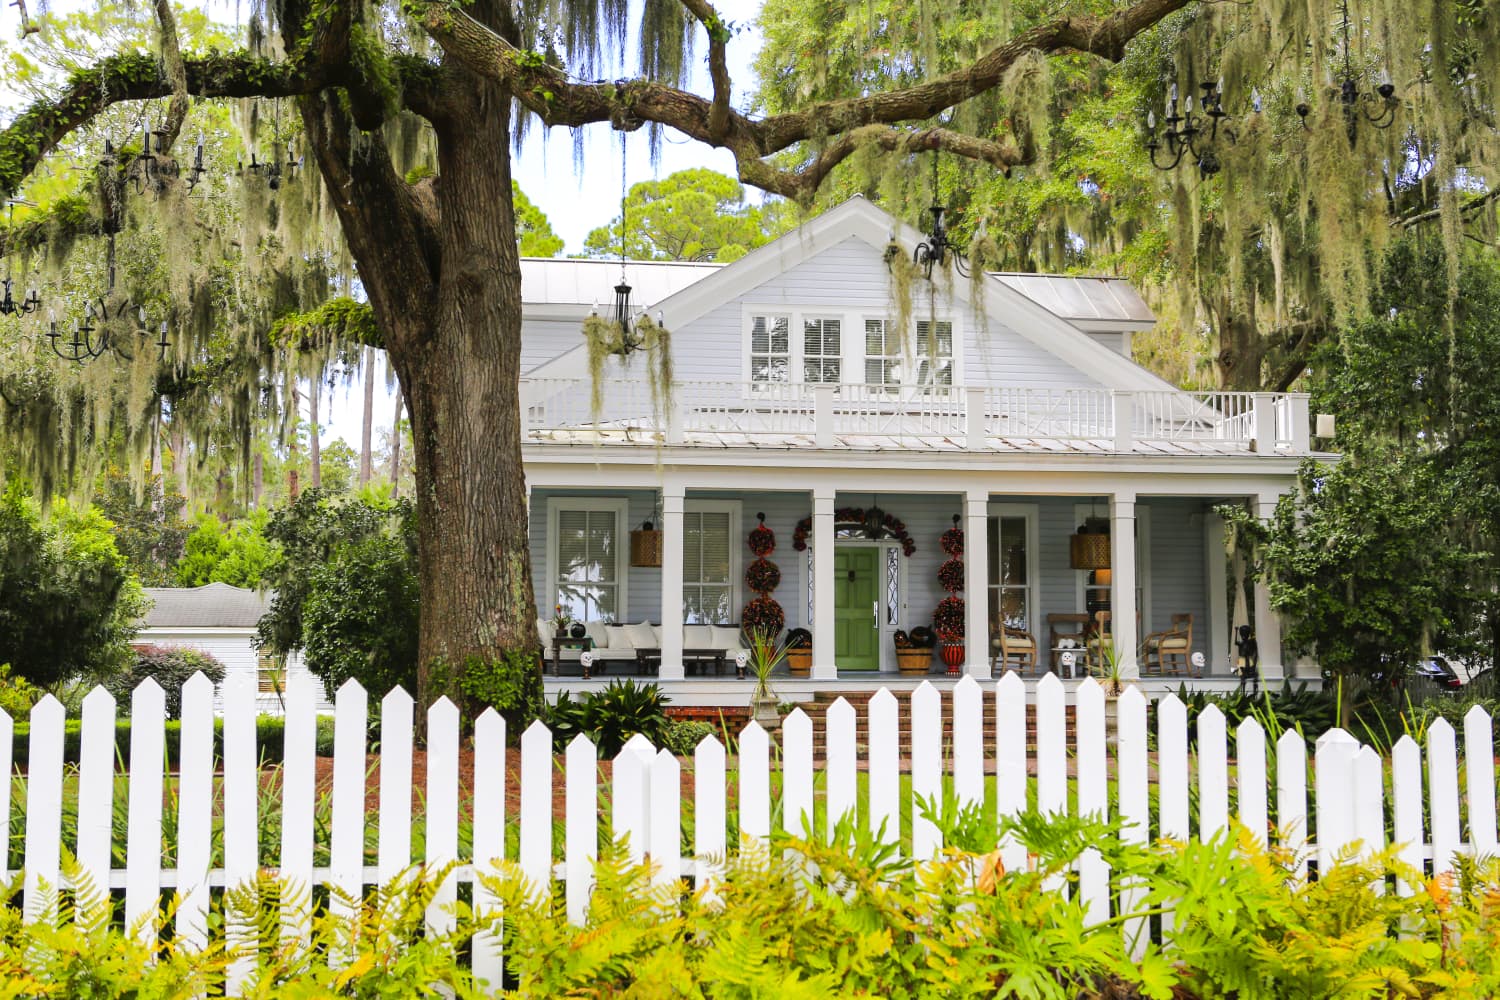
“There are many fence types, so be mindful to select a fence type that is harmonious with the rest of the home and property,” says Eugene Colberg, principal of Colberg Architecture. He notes wood is a common choice because it’s an easily accessible material. If that’s the route you take, Colberg advises to choose a wood that is water resistant and can stand up to rot.
He notes that there are drawbacks to wooden fences, and they might not be allowed where you live. “Keep in mind wood is a combustible material — and there might be local regulations around using a combustible material, especially near open fires, outdoor kitchens, or grills,” Colberg says. If this is the case where you live, he recommends a synthetic or composite wood like Trex, which is long-lasting, though it is pricier.
“First and foremost, know the property line,” says Colberg. He advises property owners to do their due diligence in finding out where their neighbor’s property ends and where theirs begins. Aside from that information, Colberg says you must also follow local codes and zoning requirements, including any HOA regulations, if you happen to live in a development.
“When it comes to installing a fence, homeowners need to know what they want to get out of it,” Colberg says. If it’s privacy, Colberg says to take into account the size and how solid the materials are. He notes, however, that not all private fences have to feel like you’re surrounded by a wall — there are options that leave plenty of air for circulation, especially if you’ve got a small yard or a terrace. Security fences, on the other hand, do need to be solid and hefty enough so that there are no gaps to allow for unlawful entry.
Then again, if you want a fence just to mark your property lines — which is common in more rural areas or suburbs with large plots of land — you don’t need the security of a tall fence, says Colberg. In fact, for home owners with small properties, a low fence in front might be enough of a deterrent. “Sometimes you simply don’t want people to hang out on your stoop,” he says.
Barbara Bellesi Zito is a freelance writer from Staten Island, covering all things real estate and home improvement. When she’s not watching house flipping shows or dreaming about buying a vacation home, she writes fiction. Barbara’s debut novel is due out later this year.
Lauren Wellbank is a freelance writer with more than a decade of experience in the mortgage industry. Her writing has also appeared on HuffPost, Washington Post, Martha Stewart Living, and more. When she’s not writing she can be found spending time with her growing family in the Lehigh Valley area of Pennsylvania.
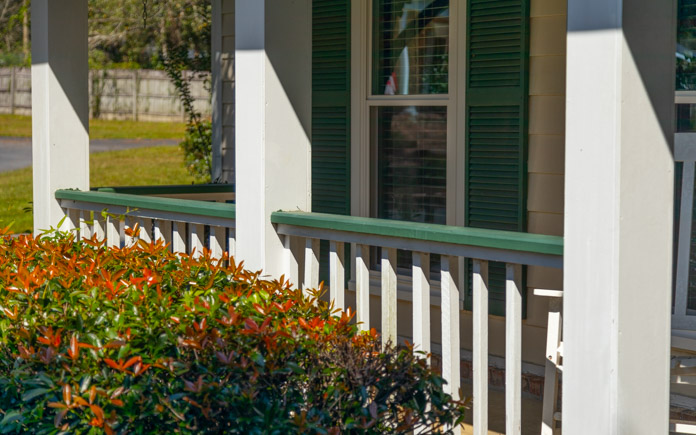
Front porch railing — some homeowners love it, some hate it, and some absolutely need it.
This railing can make your front porch feel cozy or claustrophobic. Whether or not you need it is up to you and your style.
There are four basic components of front porch railing.
What are the Parts in Front Porch Railing?
A front porch railing has four basic components: posts, a top rail, a bottom (base) rail and balusters.
The posts are the thickest vertical planks of wood that hold your horizontal top and bottom rails.
The balusters are the vertical slats of wood between the top and bottom rails.
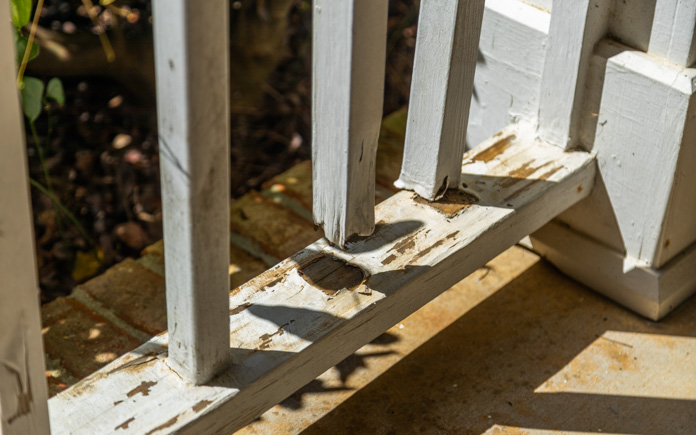
If your wood railing is rotting, you can remove it, or repair it.
Removing Railing
If your front porch railing seems more like confinement than a retreat, you can remove it to have a clear and open view of your yard.
Also, if your railing is rotting, that’s even more reason to get rid of it. The most common cause for a rail to rot is the bottom of the railing not being painted while it’s being built.
Even though the bottoms of the balusters aren’t visible, it’s still vital to paint them. The unpainted wood will soak up water like a paper towel and accelerate rot.
Also, if the railing is made with untreated wood, this could further accelerate rotting.
First, you’ll need a mallet or hammer. Knock out the balusters down one by one, and then remove the top and bottom railings.
After removing the front porch railing, apply putty and sand the columns so it’s like they were never there, to begin with.
This railing was easier to remove because the base railing was a few inches off of the ground. If you don’t have a base railing and your balusters are embedded in the concrete, you’ll need to get a utility knife to dig out the wood railing within the concrete, then patch the hole with a concrete patcher.
This method for repairing front porch railing will also strengthen the balusters.
Repair Front Porch Railing
One thing to consider if you are thinking about removing front porch railing is safety. Does the railing keep children out of harm’s way?
If safety is your concern, you need to make sure your rails are functional. The purpose of front porch railing is to be held onto, so it should be able to hold your weight.
Also, what if you need it in the future?
Now more than ever, people are desiring to age in place, so will this railing be useful later on? Or, do you have an aging relative who could be living with you sometime in the future?
Keep railing height in mind. To be compliant with the American Disabilities Act, the front porch railing must be 34-38 inches high.
If you want to keep the railing for these reasons but it’s in bad condition, you can repair it.
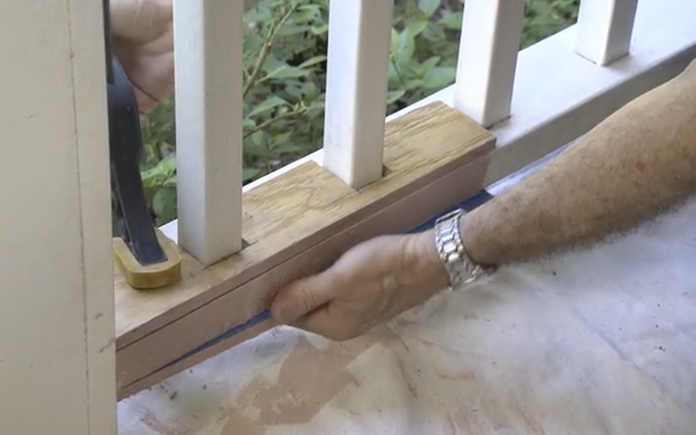
Create two plywood forms and clamp them on the top and bottom of the rail. Then, use a plastic putty knife, and apply auto body filler to the front of the rail. Paint the forms to match your railing.
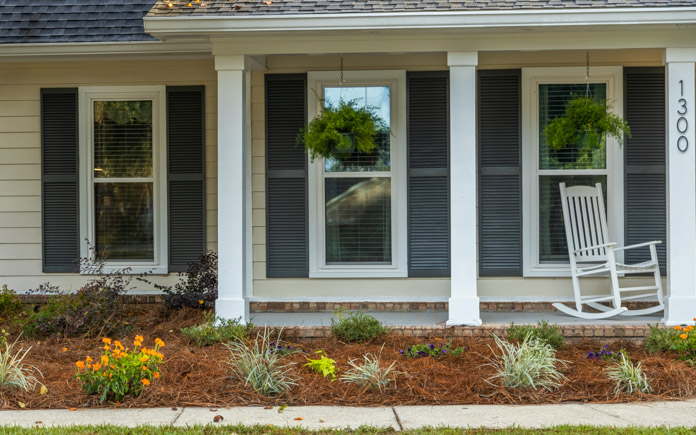
Having the right type of plants can transform the look of your front porch.
Other Ways to Add Front Porch Curb Appeal
Whether you decide to ditch the railing or keep it for safety reasons, there are more ways to add some curb appeal to your front porch.
Change up the color scheme. A new paint color can elevate your home’s exterior. Paint shutters and the front door for a punch of fresh color.
If the concrete floor of your porch is looking a little dull, add some character to it with a paint stencil. Watch ‘How to Stencil a Pattern on a Concrete Porch‘ to learn how to do it.
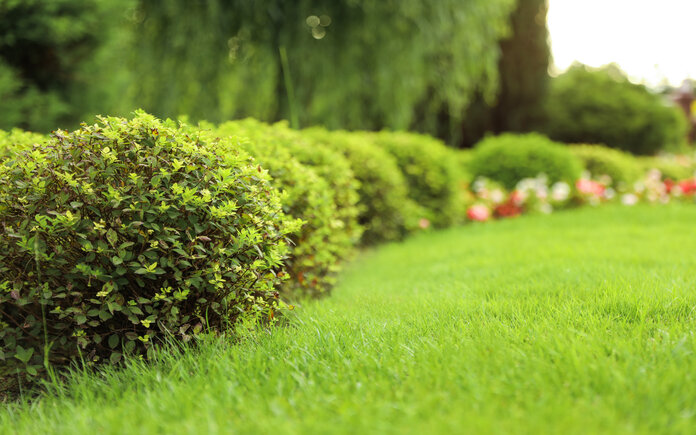
Finally, replace overgrown shrubs with lower plants spread out in a larger bed to cover a wider area.
Watch the video above to see what a difference these changes make!
Gardening tools are essential not only for your safety and comfort but also for productivity. With the right tools in hand, you’ll be able to work more efficiently and effectively, yielding bigger and healthier harvests.
Sharp garden tools work more efficiently, effectively, and save you energy. (DepositPhotos)
As you move through this checklist of essential gardening tools, keep in mind that different products offer a wide selection of features, as well as varying degrees of quality.
How tall are you? Can you kneel to work? How large is your garden?
These are just a few questions to ask yourself as you move through all your options.
A good pair of gardening gloves will protect your hands from a number of hazards, including thorns, chemicals, and adverse weather conditions. They’ll also keep your hands and nails clean.
Choose gloves based on the task you’ll be performing — for instance, pruning roses and planting seeds make for two very different gardening experiences.
So, if you’re an avid gardener, you’ll want to have different pairs of gloves to tackle various jobs.
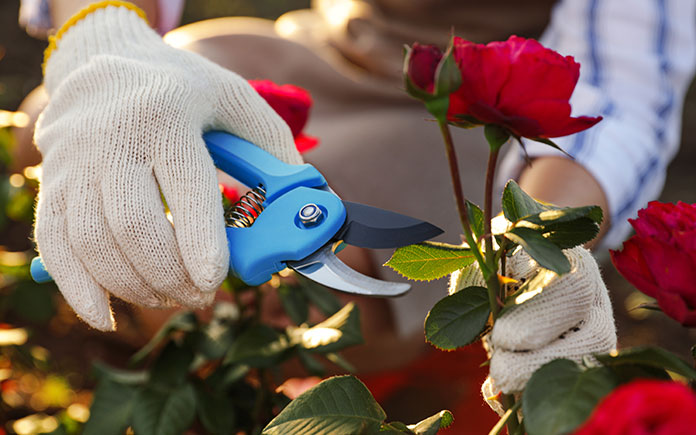
This handy gardening tool will prove invaluable for cutting smaller vines and branches. Even vegetable gardeners like to use pruning shears to harvest tomatoes, peppers, melons and other yields that don’t easily pop off the vine.
When choosing your pruning shears, make sure the grips are comfortable and the blades are sharp.
It takes just a few minutes to sharpen shears with grinders, files or sharpening stones. You just need to disassemble the tool, clean it, sharpen it, reassemble it, and clean the assembled tool for optimal performance.
And once you start using pruning shears, you might be surprised at how many miles you put on these handy little devices!
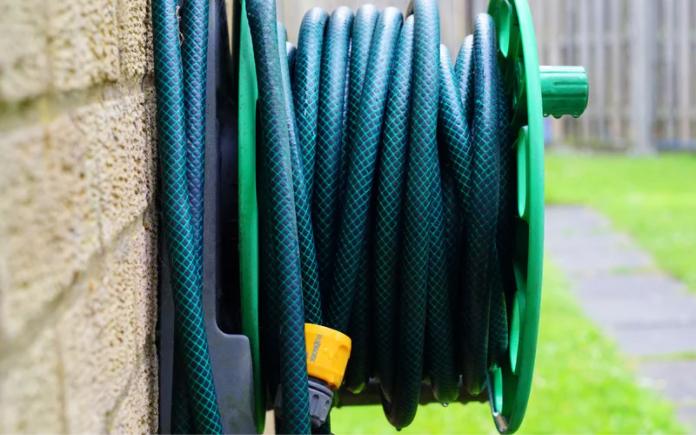
Everyone knows you need a garden hose, but did you also know some plants require a soaker hose?
3. Garden Hose
Your plants will need water — and unless you plan on hauling it in buckets, you’ll need a hose that reaches the farthest end of your garden.
Some plants, particularly perennials, don’t thrive with wet foliage, so you’ll also want a soaker hose, which slowly releases water so it soaks deeply into the soil.
Best of all? You can hide a soaker hose beneath your mulch and set it with a timer to turn on and off as needed.
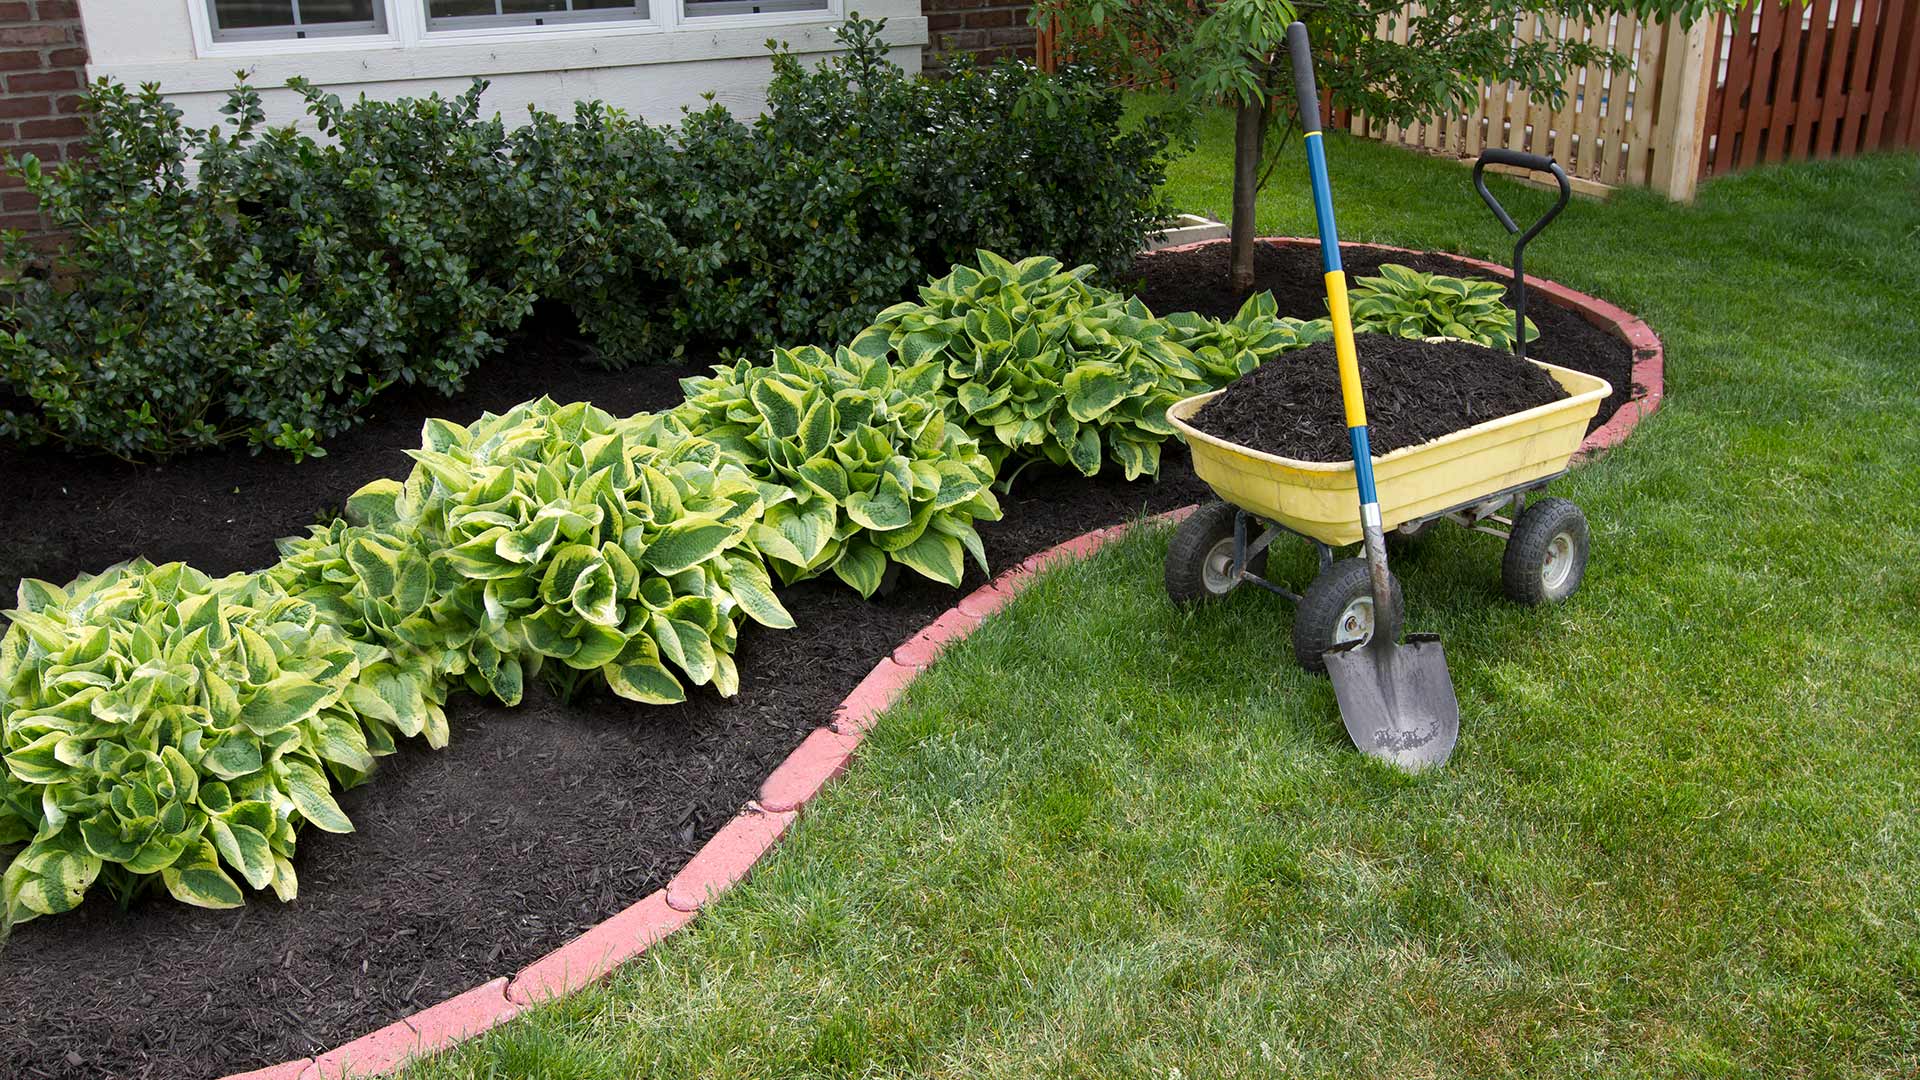
A wheelbarrow is essential for moving around soil, plants and tools while gardening.
4. Wheelbarrow
Chances are you’ll need to move dirt, clippings, compost, rocks — and the tools listed in this article. A wheelbarrow (or a garden cart or sled) will come in handy. Choose one that feels sturdy and balanced.
Pro Tips:
• Replace the wheelbarrow’s tire with a solid, universal tire that’s not inflated with air and can never go flat.
• Before you load up a wheelbarrow, point it toward the direction of travel. This will prevent you from pivoting with a heavy load
If you’re removing vines and branches, you’ll need garden shears.
5. Garden Shears
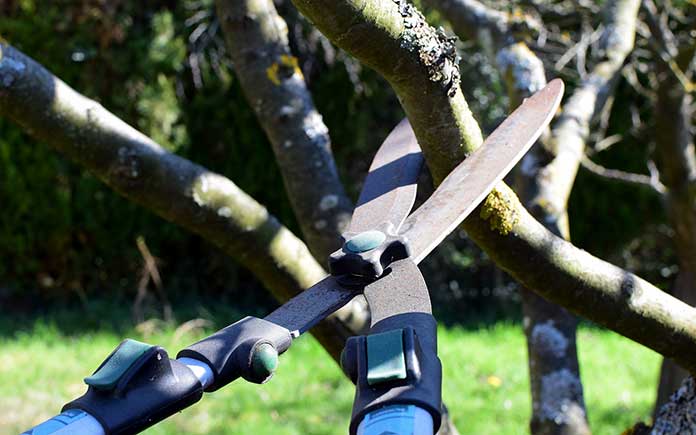
Lawn/shrub/garden shears, which are larger than pruning shears, are designed to trim shrubs and cut larger vines and branches. Choose a model that’s sturdy, yet light enough to be ergonomic.
Whether you’re digging trenches or transplanting seedlings, one thing is certain: You’re going to need a shovel.
6. Shovel
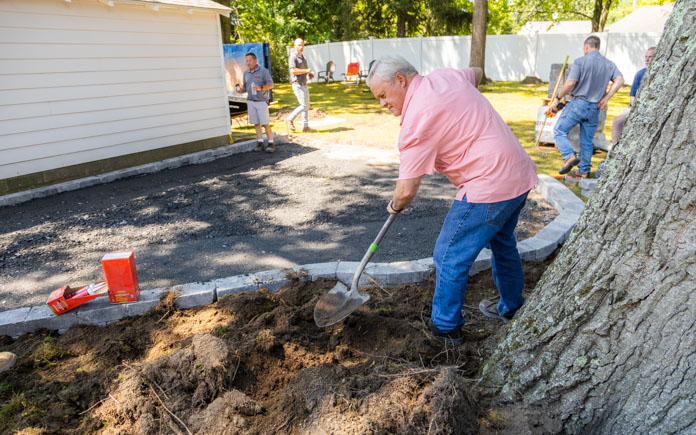
Whether you’re digging out old shrubs, root balls or rocks, transplanting seedlings or filling a bed with soil or mulch, you’ll need a shovel or spade.
Choose one with a sharp edge, comfortable handle and a shaft that’s the right height for you.
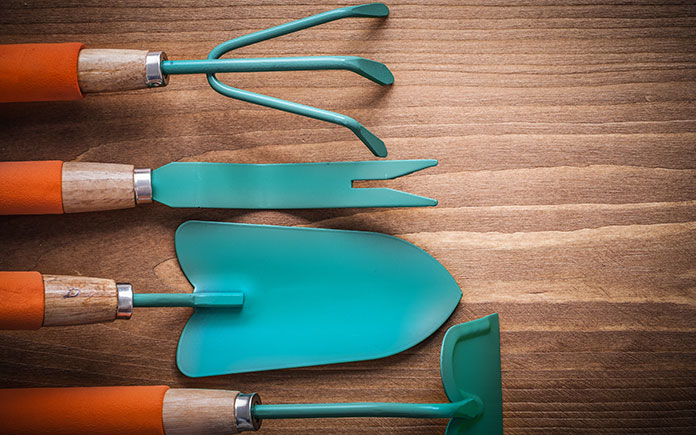
Carving out holes for plants in a raised garden bed? You don’t need a big tool — do it with a hand trowel!
7. Hand Trowel
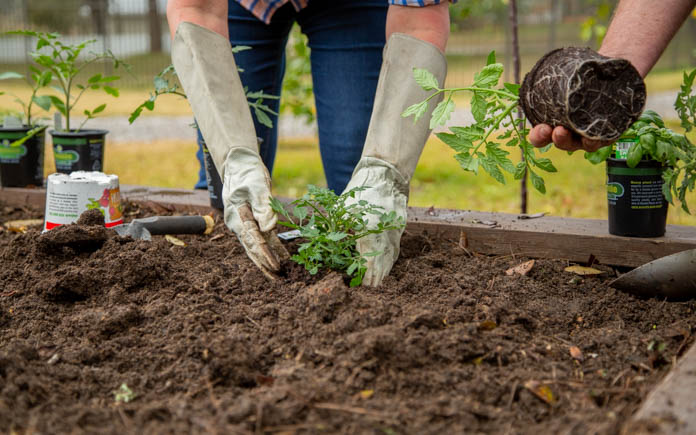
This is much like a shovel, but it’s small enough to fit in one hand. Select a hand trowel that feels good in your grip, with a steady blade that won’t bend. Then use it to carve out holes for small plants, dig up weeds and extract plants for overwintering.
Whether you need to smooth out soil after it’s been tilled, comb rocks from the dirt or level out mulch, a garden rake with metal tines is a necessity.
You may need multiple rakes, depending on your lawn and garden’s needs. The three most common options are bow, leaf and shrub rakes.
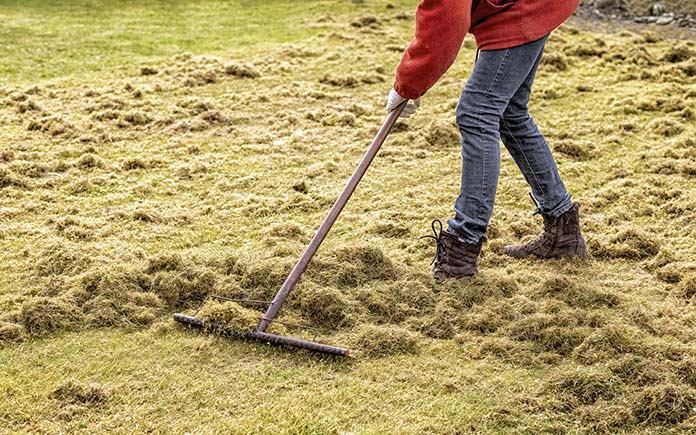
Bow rakes help with smoothing out soil in a garden; leaf rakes are perfect for gathering leaves or pine straw; and small shrub rakes come in handy for placing mulch in tight spaces.
Pro Tip: Rake leaves fast with a tarp and two wooden dowels that make it easy to transport piles of leaves to a garbage can.
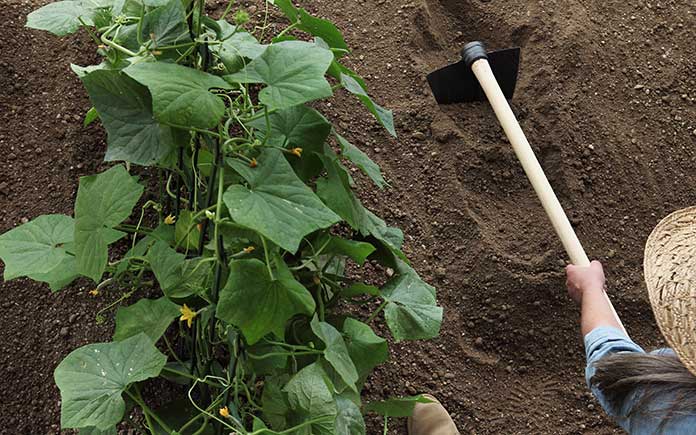
When it’s time to create furrows, plant seeds, mound up soil and dig weeds or root vegetables, a garden hoe is the tool you’ll need.
Choosing the right garden hoe will require a bit of research. If eliminating weeds is at the top of your list, a scuffle hoe, swoe or serpentine hoe might be the best choice.
For planting seeds, go with a warren hoe; and for tougher jobs that require more earth-moving, the draw hoe will be your multi-purpose friend.
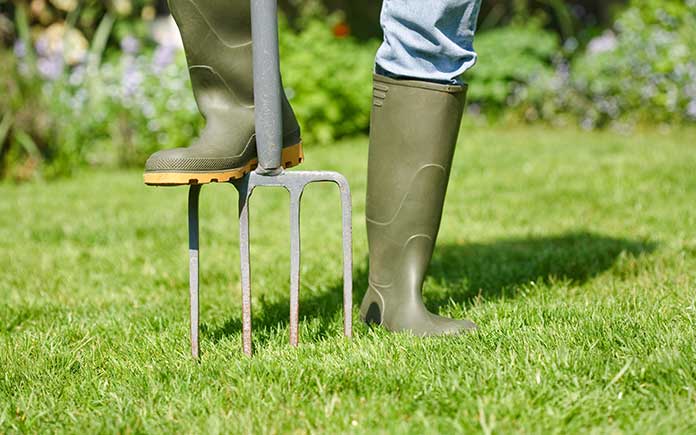
Need to aerate your lawn? If you don’t have a machine to do it, a simple garden fork works, too!(DepositPhotos)
10. Garden Fork
This tool is great for breaking up compacted soil. Choose a garden fork with sturdy tines that won’t bend if you hit a rock. If you plan to move mulch or compost, pick one with curved tines so you can use it as a shovel.
Having the right gardening tools helps you to take better care of your lawn and garden.
When you have just the right gardening tool for every job, you will move quickly through tasks, your garden will look beautiful, and you’ll be better equipped to care for plants.
Choose tools that will work best for you and your garden, but also those you can expect to last for years to come.
And remember: Inexpensive tools might seem attractive at first, but nothing beats reliability and longevity.
Barb Abrahms is the CEO and co-founder of PalmFlex. Abrahms has over 20 years of experience consulting her team and customers on their ideal personal protective equipment needs for a variety of industries and applications.
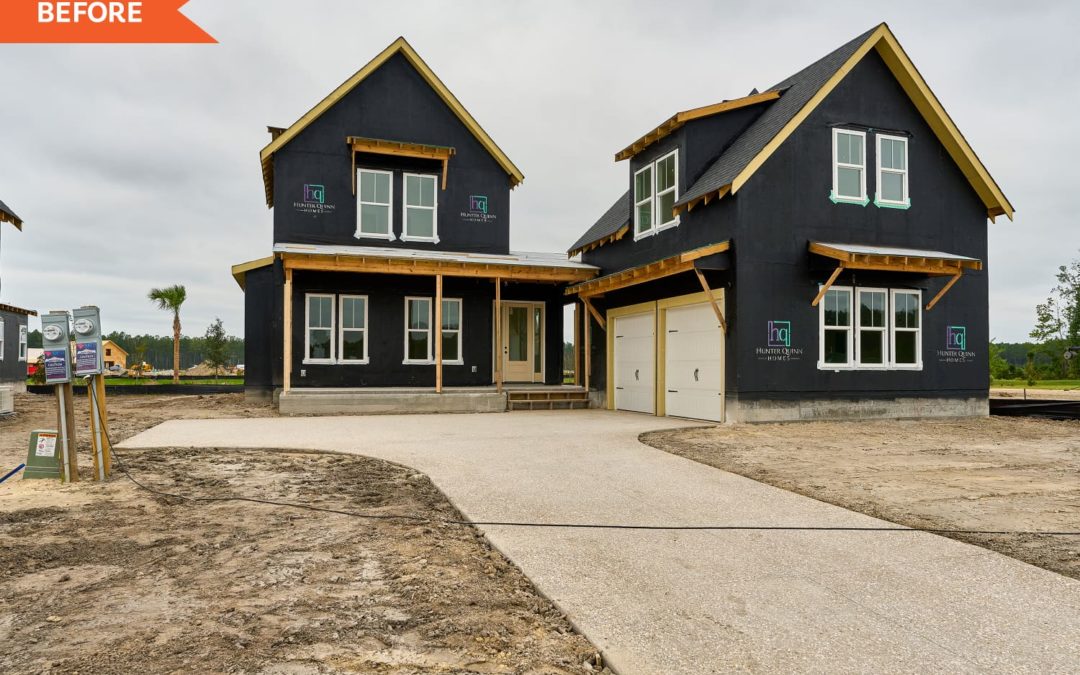
Interior design and renovation is the key to any successful home makeover, but it only matters if the exterior of a property is also up to par. In the latest episode of “Rock the Block,” four HGTV all-star teams finally turned to the outside of their identical houses after several weeks of indoor work. While they had flexibility on personal taste and design in prior weeks, part of the focus of the exterior was creating a home and yard space that fit into the local atmosphere of Charleston, South Carolina.
Judges Mina Starsiak Hawk and Karen E. Laine (“Good Bones”) were most interested in how the teams put their own spin on the blank slate properties, which began as bare-bones houses and dirt yards. The two standout renovations, and the stiffest competition, came from Egypt Sherrod and Mike Jackson (“Married to Real Estate”) and Keith Bynum and Evan Thomas (“Bargain Block”), who completely transformed their respective properties.
Bynum and Thomas went for a two-tone color scheme with dark metal roofing to help their house stand out from the others. For the top floor and garage, they opted for a vibrant blue, which was accented by the cedar color used on the first floor exterior. They used the same cedar paint on the front porch support beams, which kept the structures from standing out too much against the backdrop of the house. The whole home was tied together by a brick skirt surrounding both the main house and the garage.
Bynum and Thomas lined the porch in an L-shape with boxwood plants, curving along the driveway. They added magnolia trees and sycamores, which meant that the variety of foliage was dynamic and spread out at different heights. “I like that you used grasses and created all that movement,” Laine said, in reference to the front yard landscaping. The couple also hung a couple of understated plants from the cedar support beams, which helped pull the front of the house and the yard together into one cohesive property.
Sherrod and Jackson were similarly interested in brick, but they opted to take it to a whole new level. The duo added light bricks to the entire exterior of their home, careful to keep the original color of the bricks present in the muted white limewash look.
“I didn’t want it to read too white,” Sherrod explained. “I wanted to capture … the brick undertone, that aged look that a lot of the homes on Rainbow Row have.” Keeping historic Charleston in mind, they also installed gas lamps on the porch for some classic lighting.
The couple added lots of greenery to their yard, including hydrangeas for “a pop of color” that stood out against the neutral tones on the house. They also planted two crepe myrtles to add some local vegetation. Sherrod strategically placed the two trees so that they adorned the driveway and helped isolate the house, maximizing curb appeal and making the front of the house the focal point of the property.
“The brick was an amazing choice,” Starsiak Hawk said. “I think it added so much value. The limewash is beautiful.”
“Rock the Block” airs new episodes on Mondays at 9/8 central on HGTV and Discovery+.