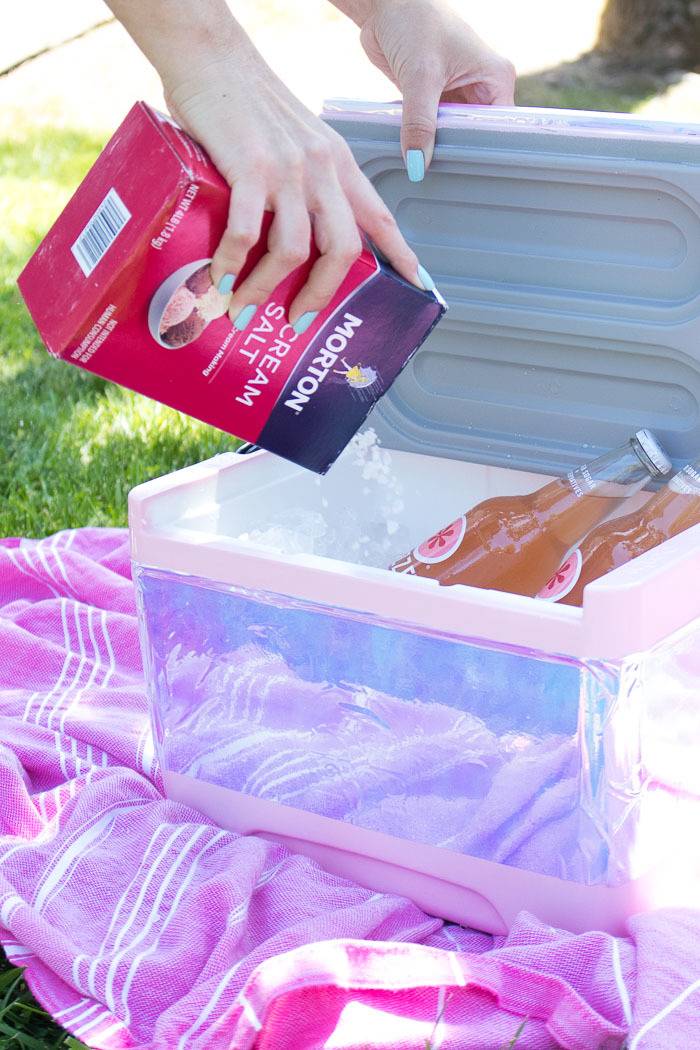
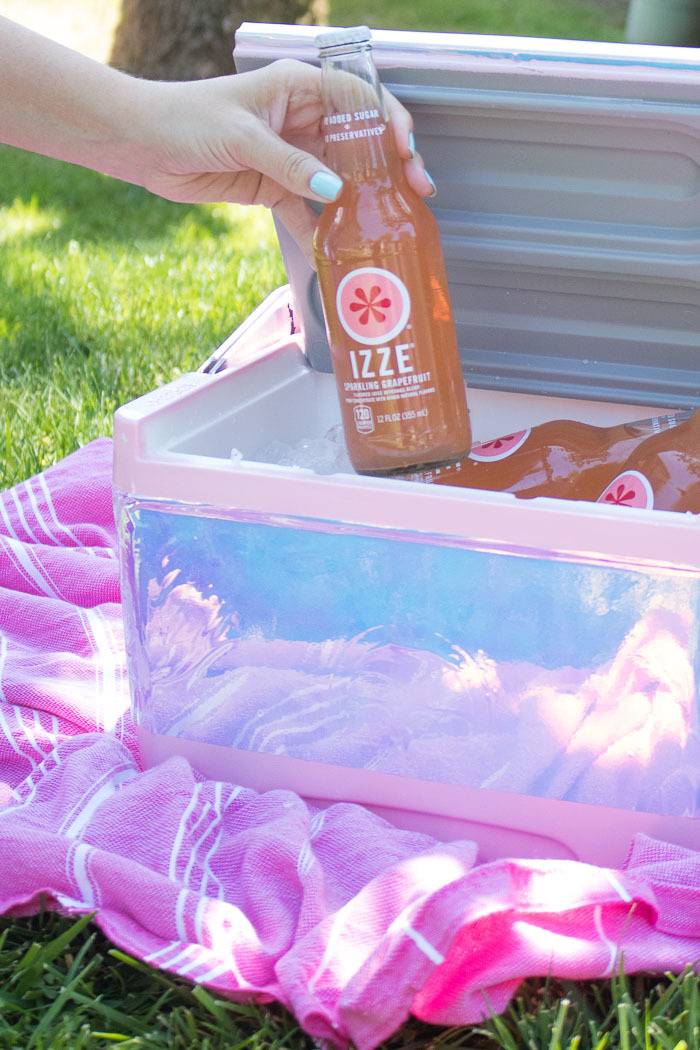
Summer is the ideal time of year for family outings, beach days, picnics, adventures in the park and so on. You probably bring along an ice chest to keep your drinks and a few snacks cold, but in the hot sun, that ice will be melted in no time. One sure-fire way to make the ice in your ice chest last longer is to add a simple household item…salt. Rock salt, to be exact. Much like salt helps freeze ice cream as it churns, it can help the ice in your cooler last longer because salt lowers the freezing point. Here’s how this technique and several others can help the ice in your ice chest last longer!
1. Add Rock Salt to your Ice Chest
You can either add rock salt to a cooler full of ice, or you can actually make ice by freezing salt water. Either can help reduce the freezing point so that the ice lasts longer. However, this will only help if you follow a few other tips as well.
2. Maintain Ice and Water Levels
Don’t drain your cooler as the ice melts! Keeping the water inside the cooler means that air won’t get between the ice, reducing melting. If possible, add more ice halfway through the day.
3. Bury your Ice Chest or Raise It
Avoid having the ice chest directly on hot ground if you can. Raise it to encourage airflow underneath or bury it into the sand at the beach (where it’s cooler).
The other obvious way to keep your ice frozen is to open your ice chest as little as possible. You know when your dad yells at you for “air conditioning the whole neighborhood?” Well, the same is true for your ice chest. Keeping the lid closed keeps the coldness inside, so only open it when you need something!
If you combine these three tricks, your ice will (hopefully) last all day or for the length of your event. Remember, the quality of your ice chest also makes a difference! The more insulated and high-end the cooler, the better it will cool your food and drinks, so don’t skimp if you really need something that will last. You can also help your cause by purchasing a lighter colored ice chest as it will reflect the light rather than absorb it. Personally, my mini cooler works perfectly for me, and as long as it’s kept in a cool place, my ice lasts more than a full day!
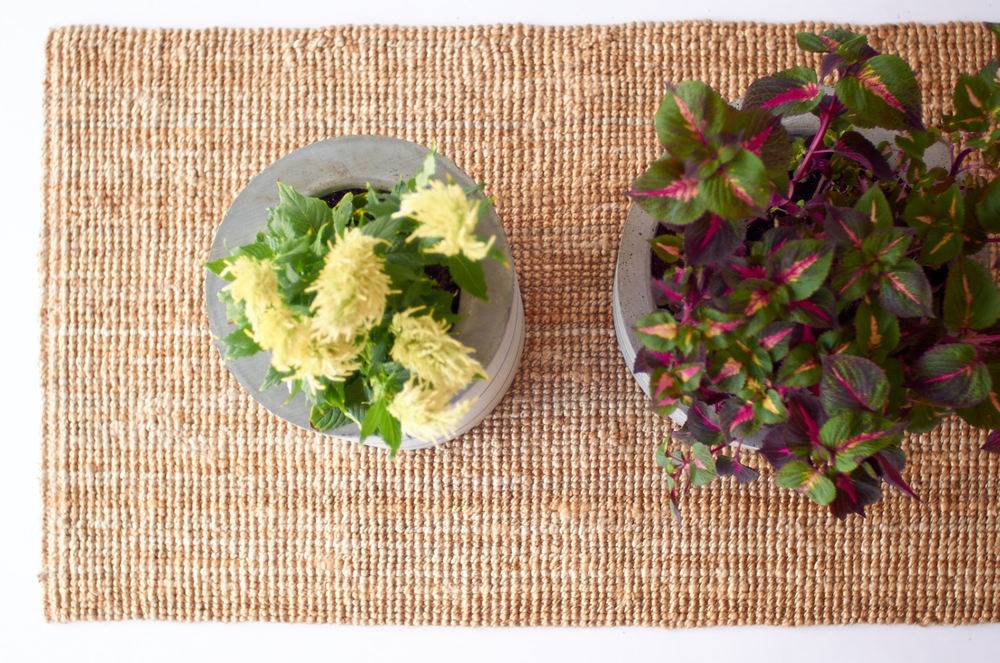
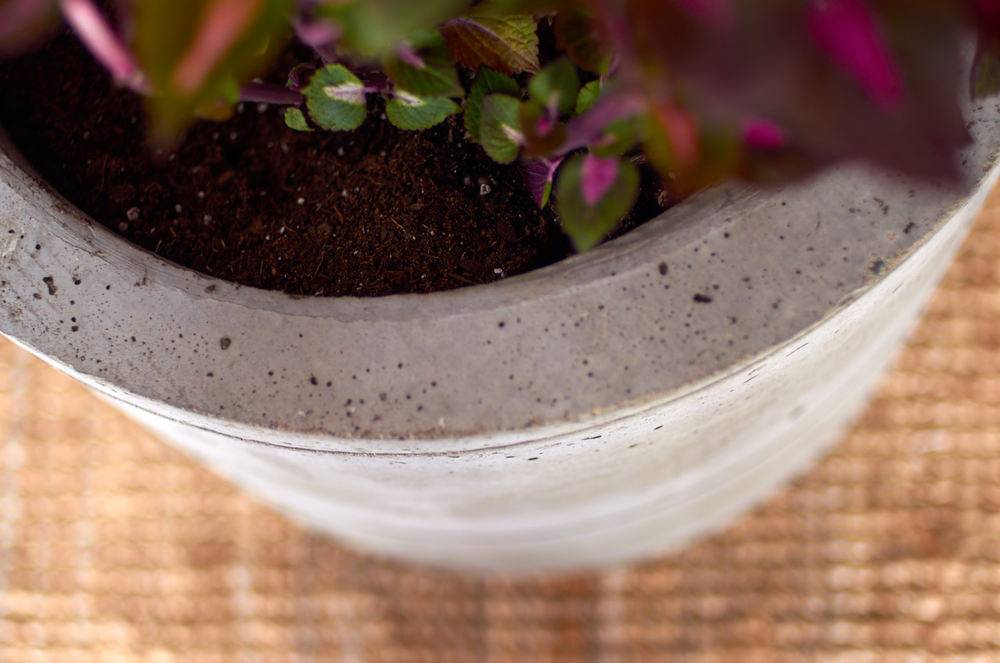
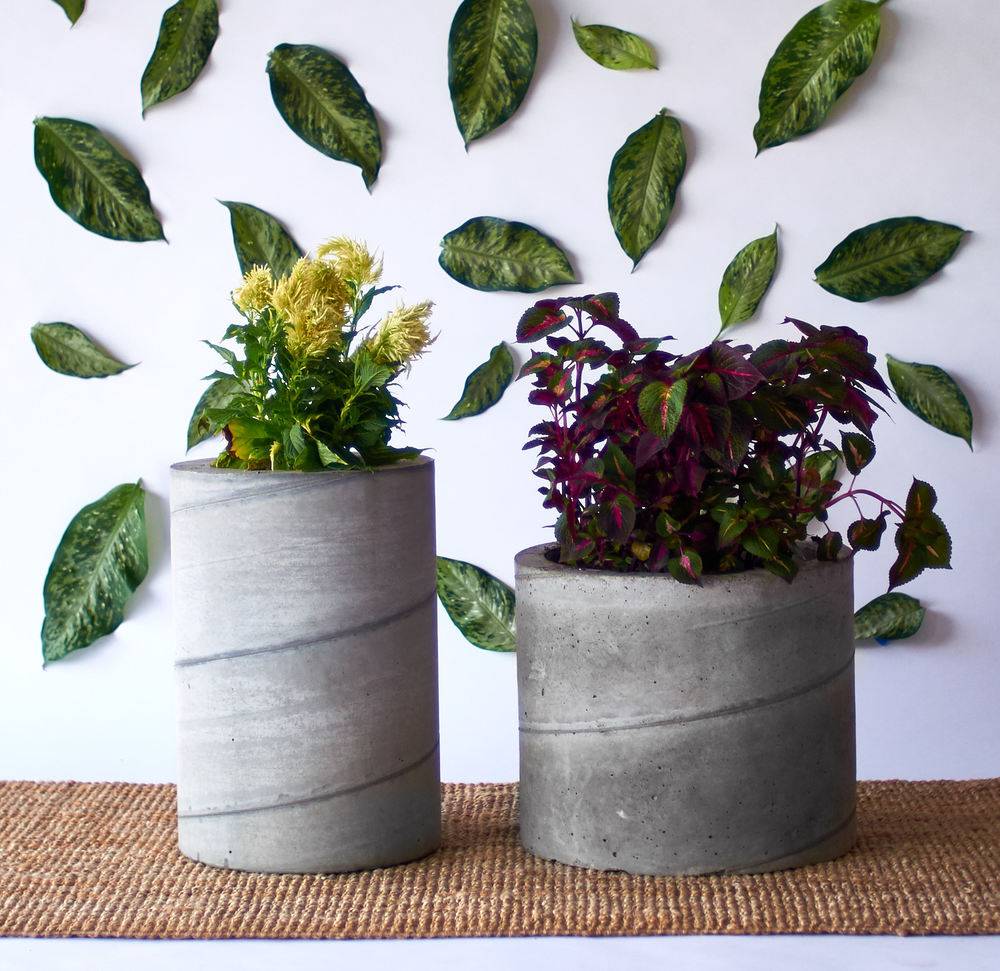
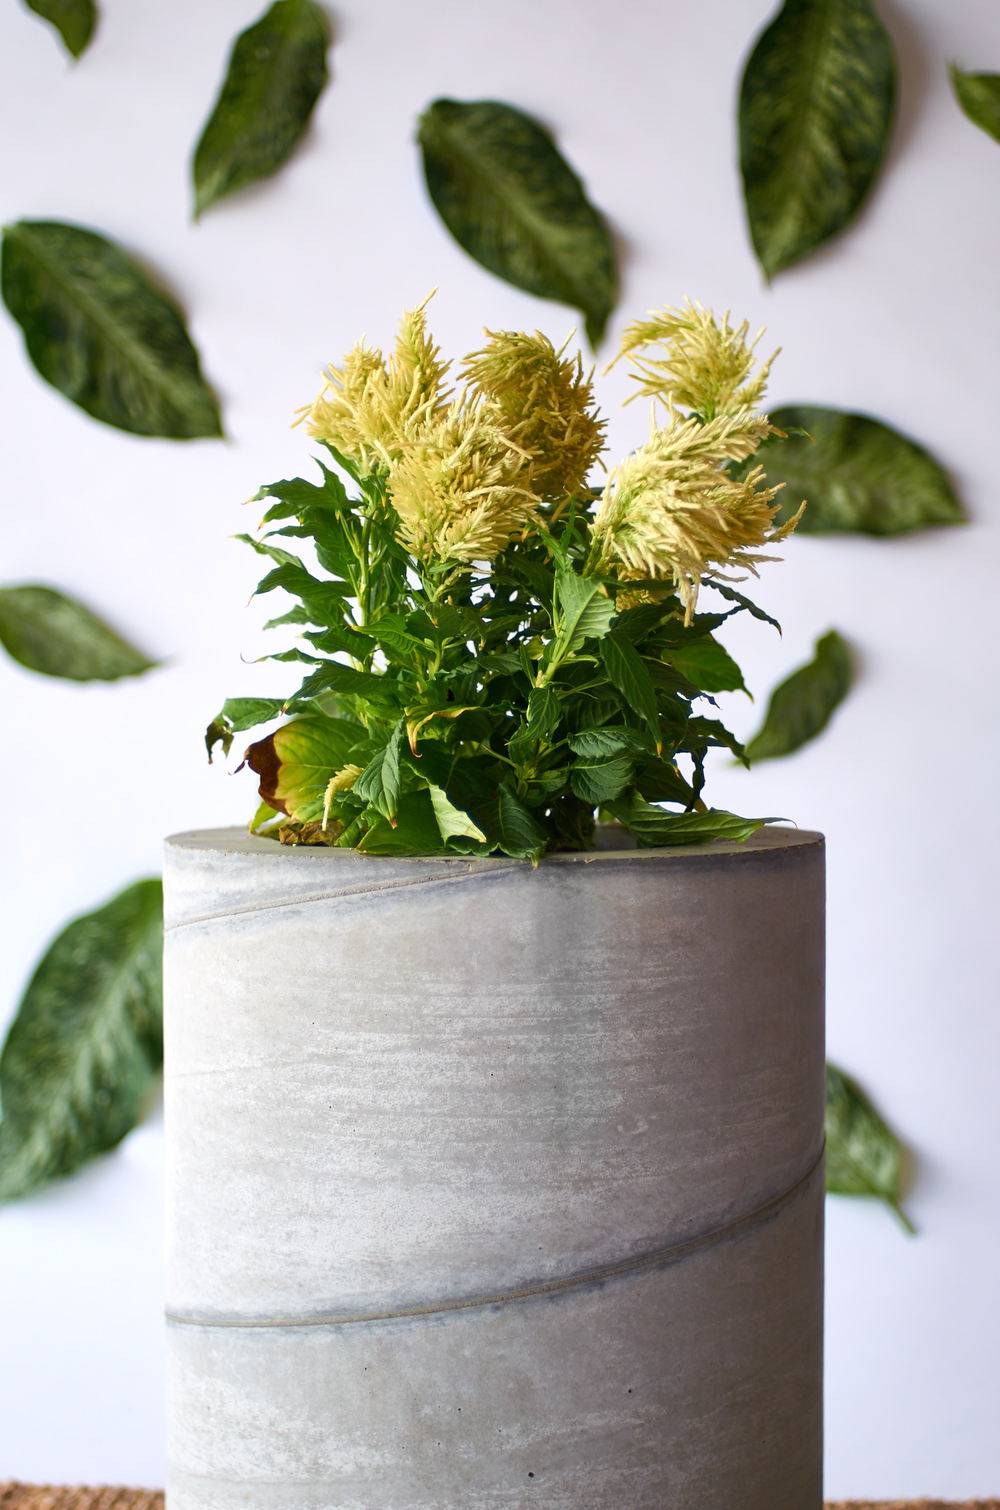
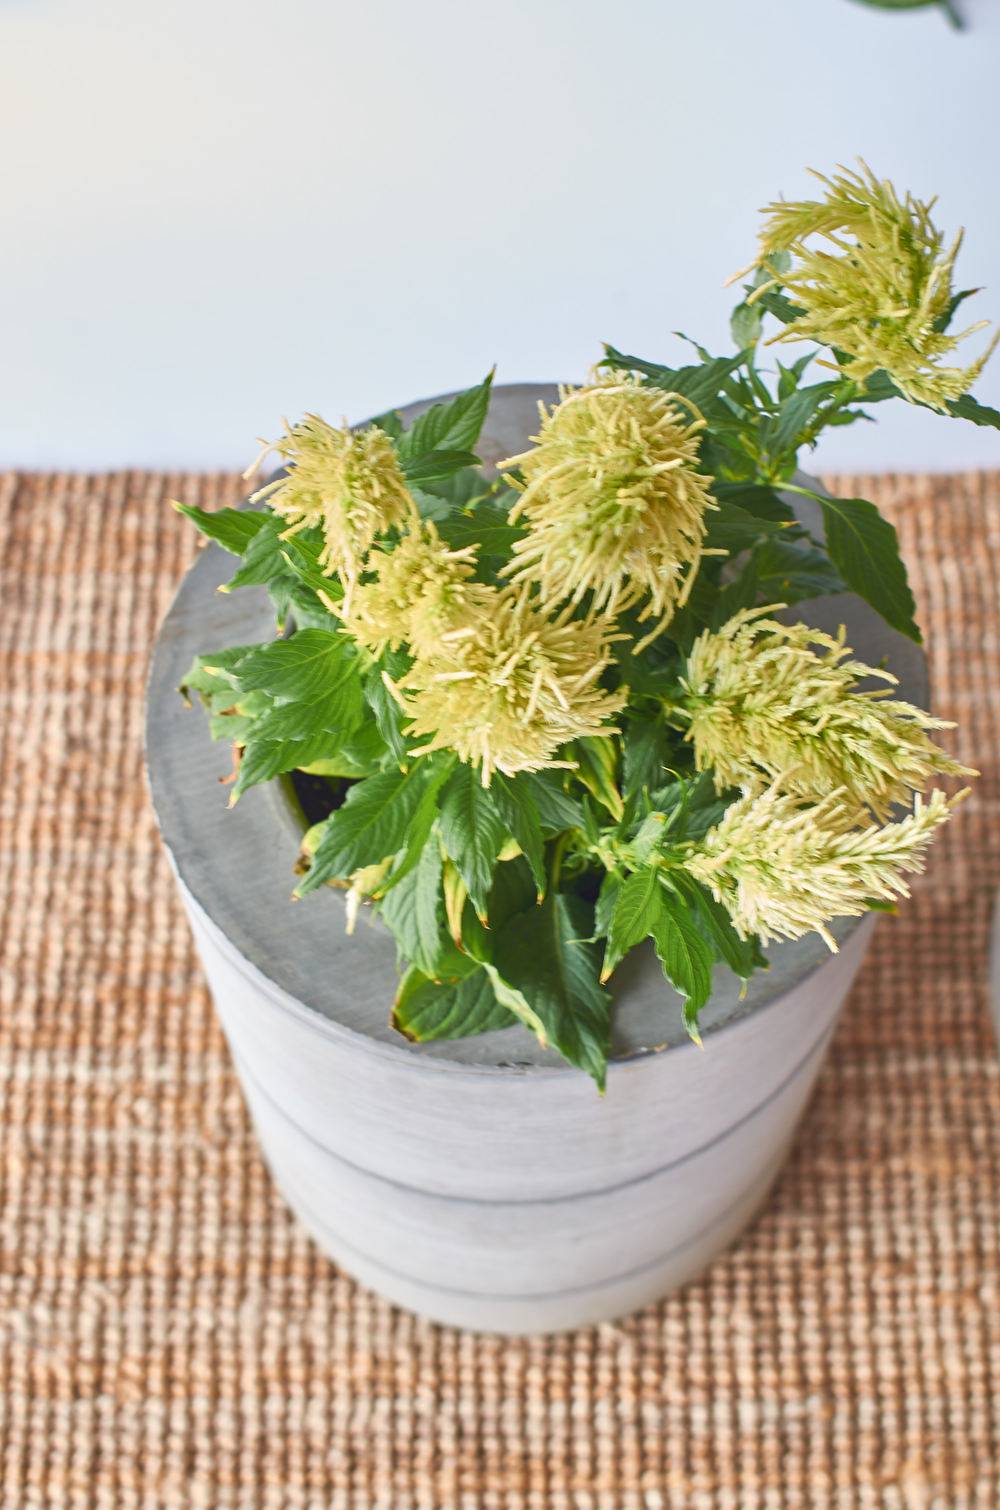
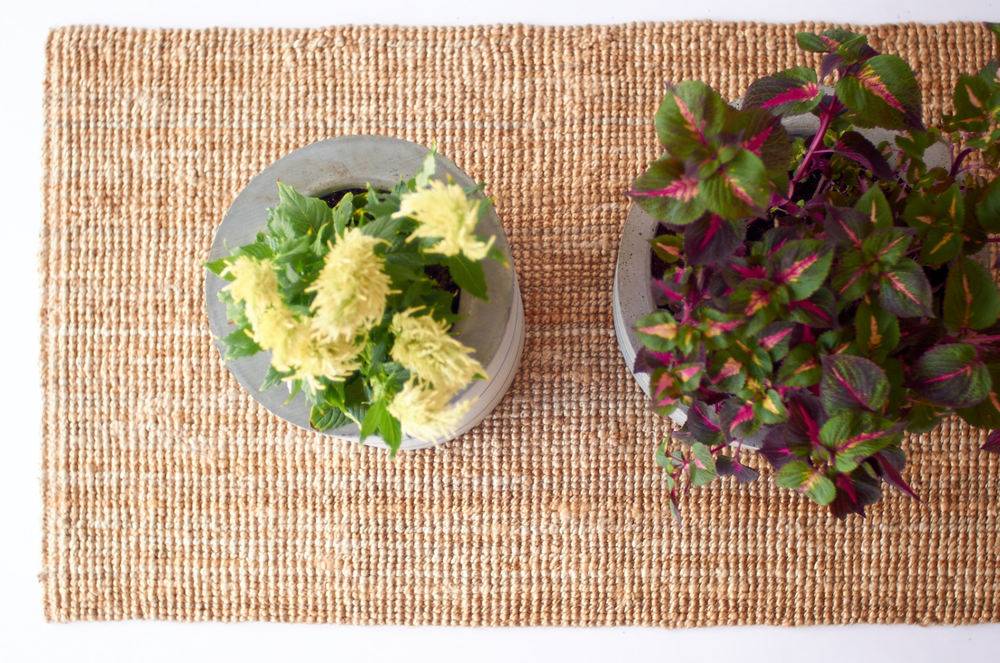
This tutorial will guide you through all the steps to making your own, large-scale DIY concrete planters at home.
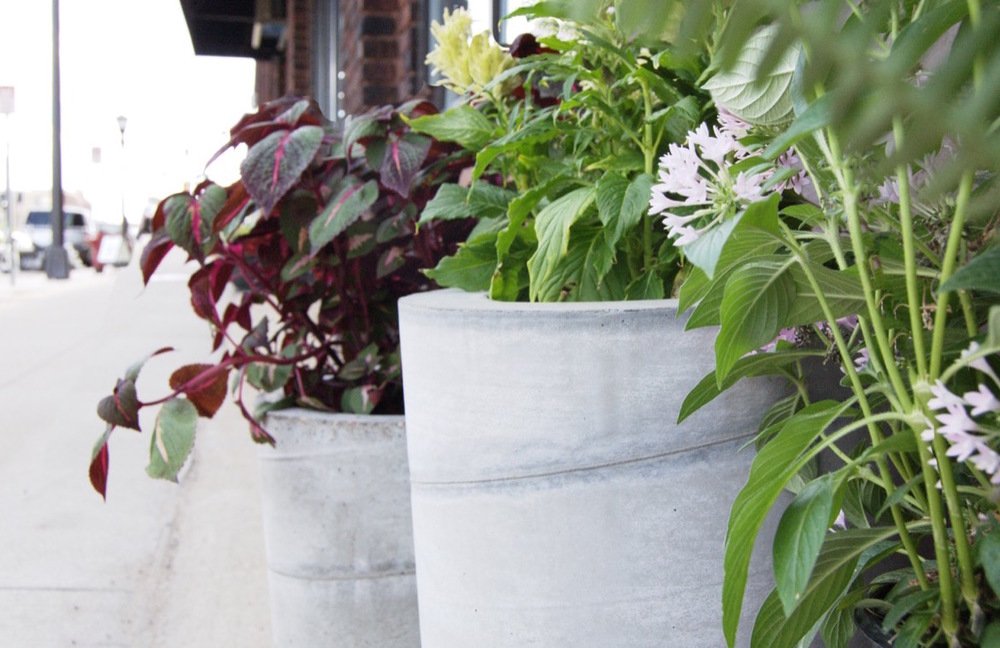
This summer, we moved into a new studio space on a bustling avenue that cuts right through the heart of St. Paul and Minneapolis. We love it; our huge floor-to-ceiling-windows look out into the sun-filled street and sidewalks where we can watch the light-rail trains go rolling by. But the people looking back at us don’t have as much to look at; our storefront is still looking a little shabby and unloved. So we decided to start out office transformation from the outside in: with a few large-scale DIY concrete planters.
Ahh… concrete. It’s kind of a miracle substance. Look around, and you’ll start to notice that practically everything is made of concrete. It’s strong, durable, infinitely moldable, easy to work with, and looks oh so sharp!
We partnered with Quikrete for this project, so we wanted to try out their countertop concrete mix, which has an additive that lets the mixed concrete flow and consolidate better at a lower water-to-cement ratio. It’s great for, duh, countertops, but also any other concrete project where you want a really nice finish.
For this project, we wanted to build some planters that were large and impressive. They’re going to go out on the street in front of our office, where lots of people will see them. And we didn’t want to just go to the big box hardware store and buy a few faux Tuscan jobs; where’s the fun in that?! This is a DIY site, and it wouldn’t do to have some generic store-bought planters sitting in front of our HQ.
So we came up with the idea of using concrete footing tubes … you know, those cardboard concrete tube forms you can use to make fence post footings? They’re perfect because they come in lots of sizes, and are easy to cut down to length. They make perfect concrete planter molds. We went with a basic cylinder-shaped planter; simple but stylish. Here’s how we did it:
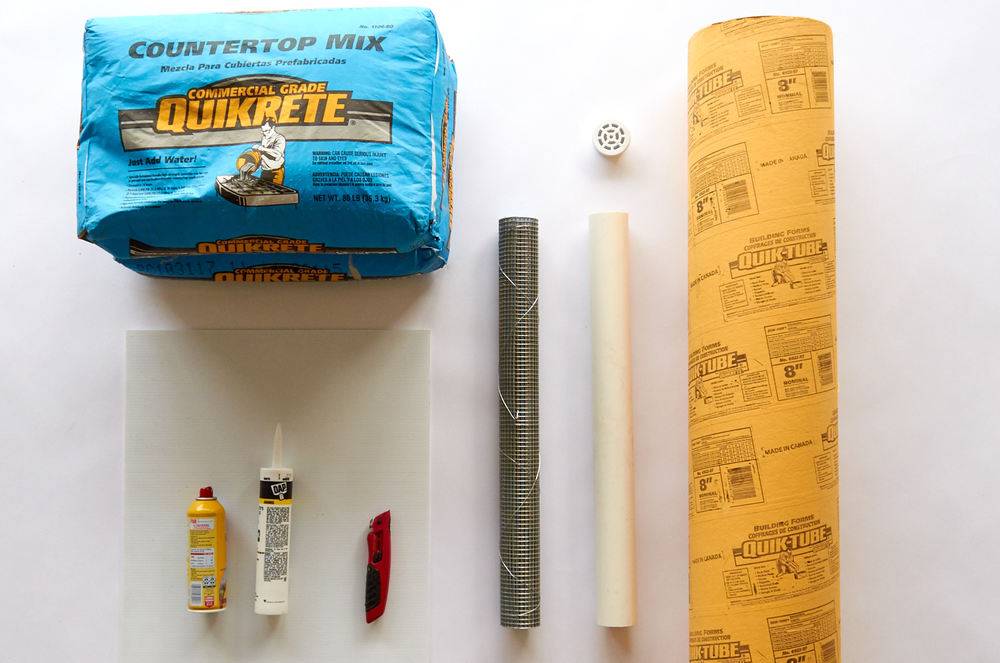
3 Quikrete Quik-tube® building forms (16″, 12″ and 8″ diameters)
2 PVC drain caps (2″ diameter)
3 sheets of corrugated plastic, smooth-top
Non-stick cooking spray
Duct tape
Silicone caulk
1 length 2″ PVC (we actually didn’t end up needing this)
1 roll of wire mesh
Plastic garbage bag or sheeting
A large concrete mixing tray
A shovel (for mixing)
Caulking gun
A utility knife (or circular saw, optional)
A tape measure
How to Make Your Own DIY Concrete Planters
Step 1
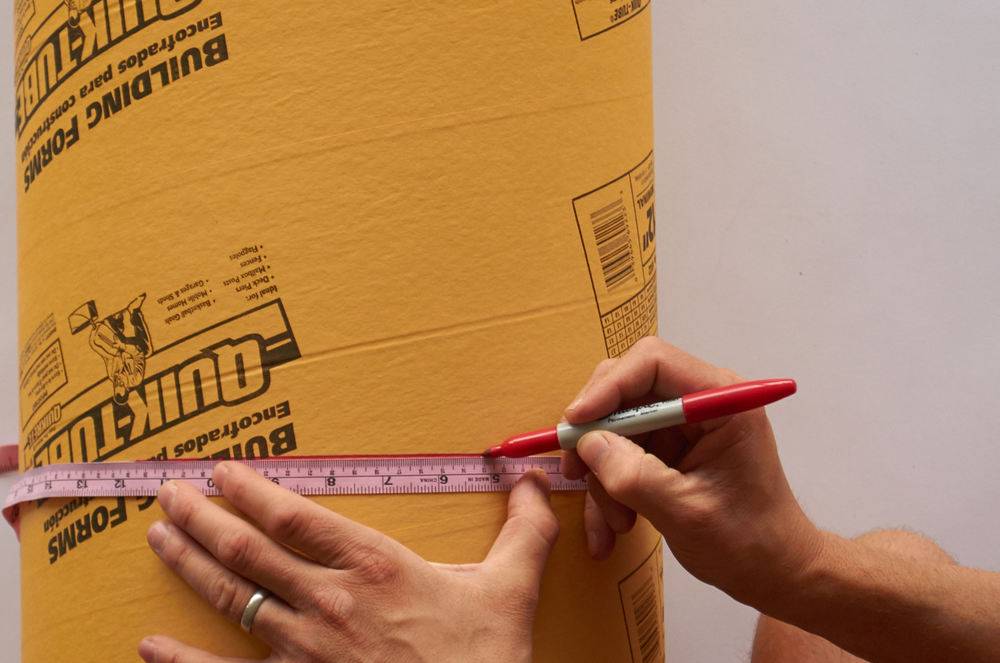
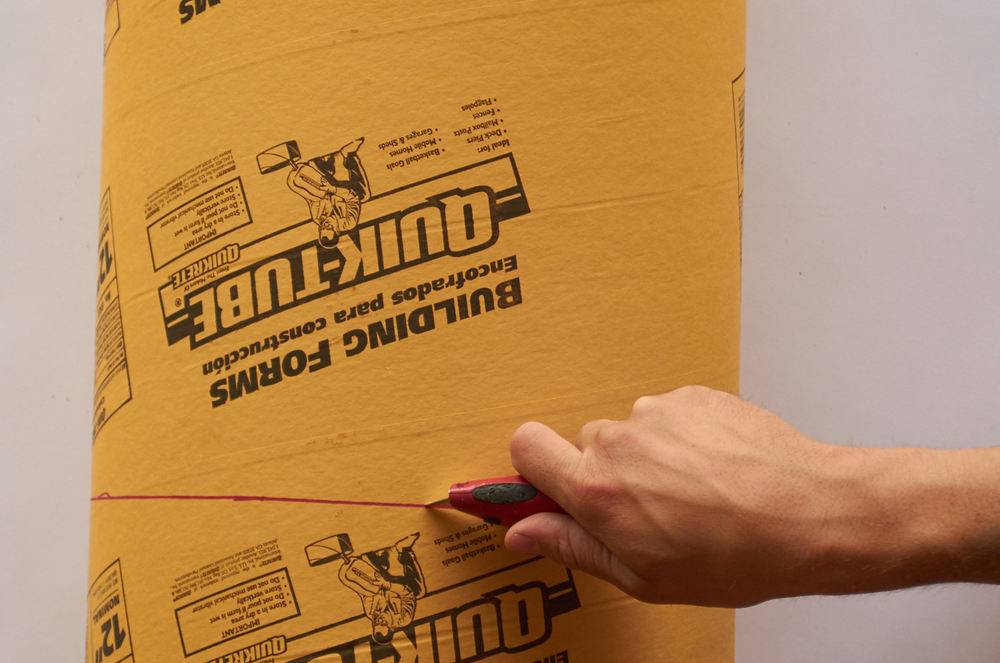
Decide how tall you want your planter to be. We made our first one 24″ tall. Then mark that on the tube (in our case, I started with the 12″ diameter tube), and cut the tube at that length. You can use a sharp utility knife, or, to go faster, use a circular saw to carefully make the cut.
Step 2
To make the inside part of the form, mark your smaller tube at a length 1.75″ shorter than the first (this will account for the height of the PVC drain cap and also makes up the base of the planter. For example:
Our first planter was 12″ in diameter and 24″ in height. So our inner tube (8″ diameter) was cut to 22.25″ in height.
Step 3
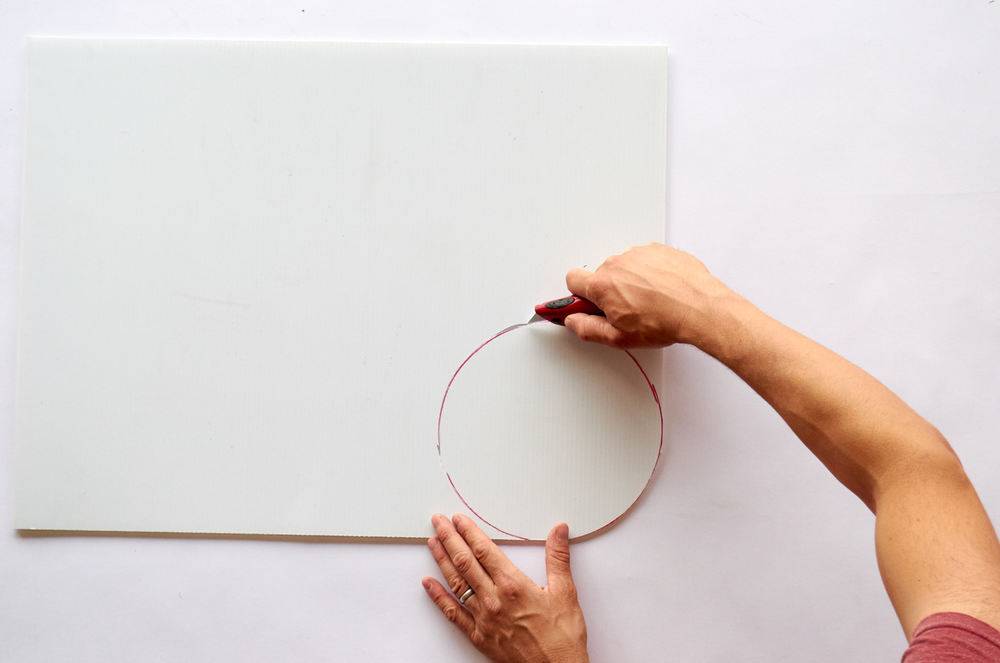
Now place the smaller tube (the one that will end up inside the larger one) on your plastic sheet and trace it. Then cut out that circle with a utility knife. This will be the base of the smaller tube.
Step 4
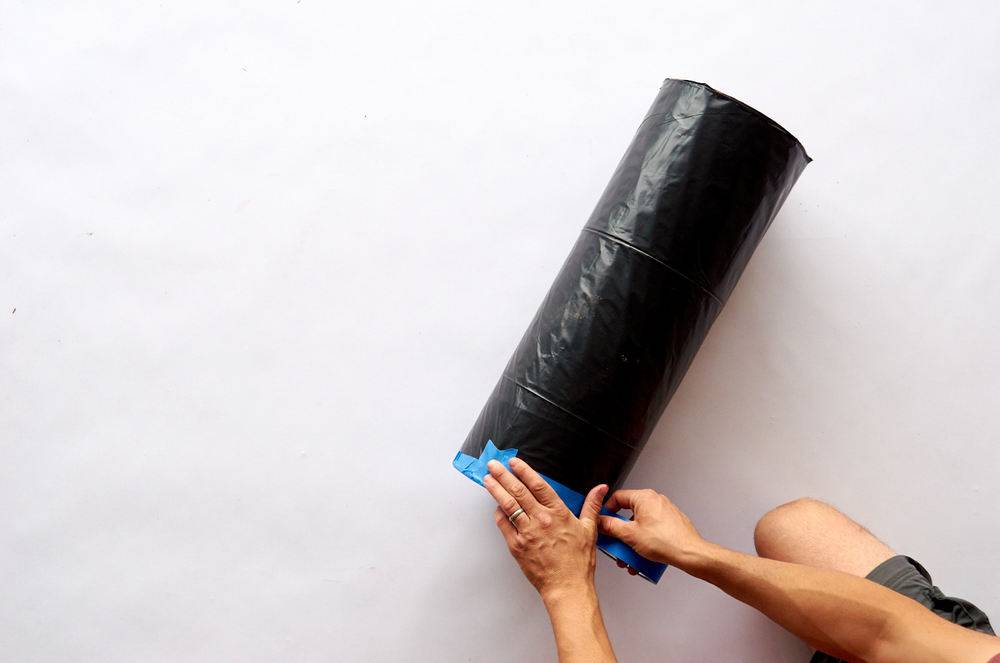
Tape the plastic circle you just cut out to the bottom of the smaller tube, taping it neatly all the way around so that it won’t let concrete through. Then wrap the whole cylinder in plastic, taping it on. This isn’t strictly necessary, but it’ll make the form easier to pull away from the concrete later.
Step 5
Now place the PVC drain cap in the center of the cylinder’s plastic ‘lid’, and screw it in place. Now your interior form is ready to go.
Step 6
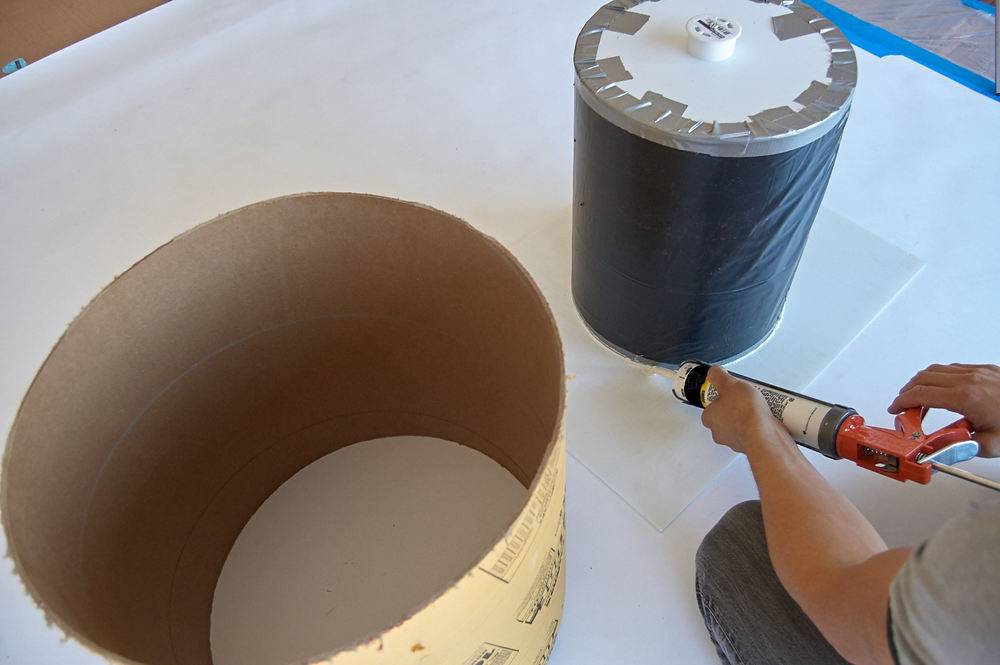
Place the smaller tube on top of a clean sheet of the corrugated plastic, with the ‘cap’ side up. You’ll adhere it to the plastic using the silicone caulk.
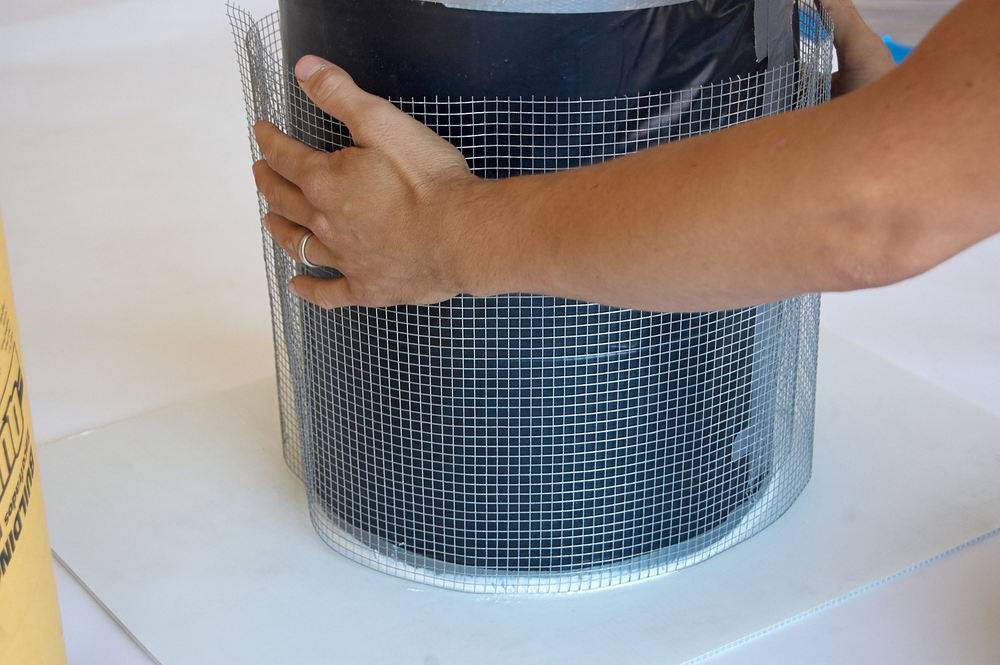
Don’t do this! Believe it or not, we often make mistakes when doing DIY projects! Here’s something we tried that you shouldn’t: putting a wire mesh into the mold.
I thought this would add strength to the planter. It probably would’ve, but it also made it really hard to get the concrete distributed evenly within the mold, and, honestly, it’s a planter … it’s not like anyone’s going to be standing on it. So, if I were you, I’d leave the wire mesh out … the planters will be plenty strong without it.
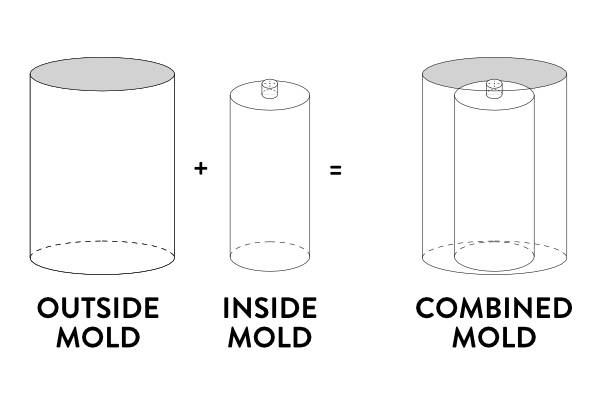
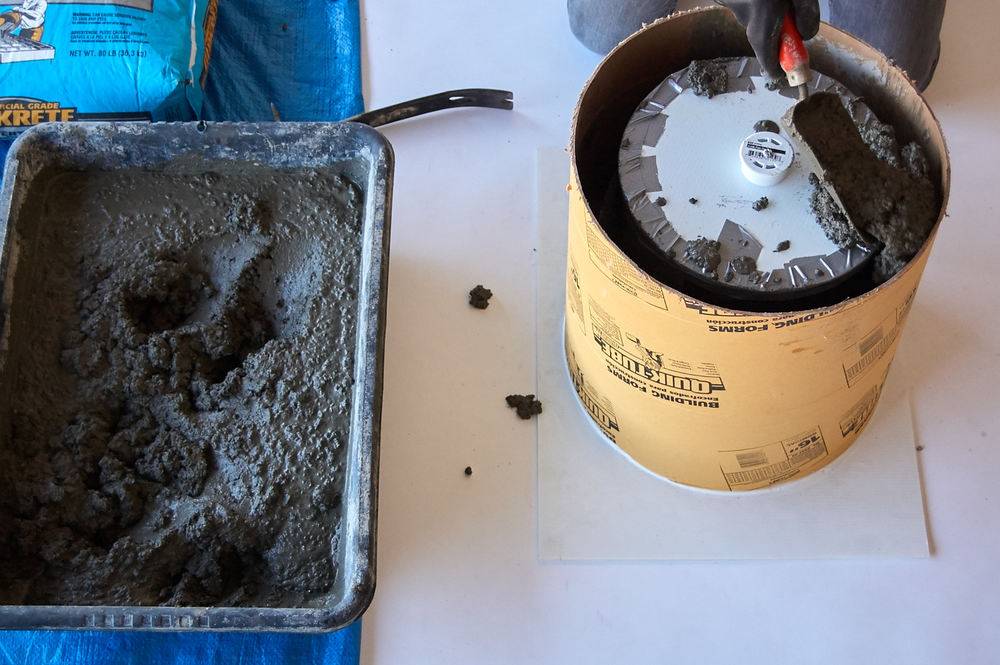
Here’s how the whole mold comes together:
Step 7
After spraying the interior tube with cooking spray, set the outside tube down around it and adhere it to the base with silicone caulk. Once the caulk has dried, your form is ready for concrete.
Step 8
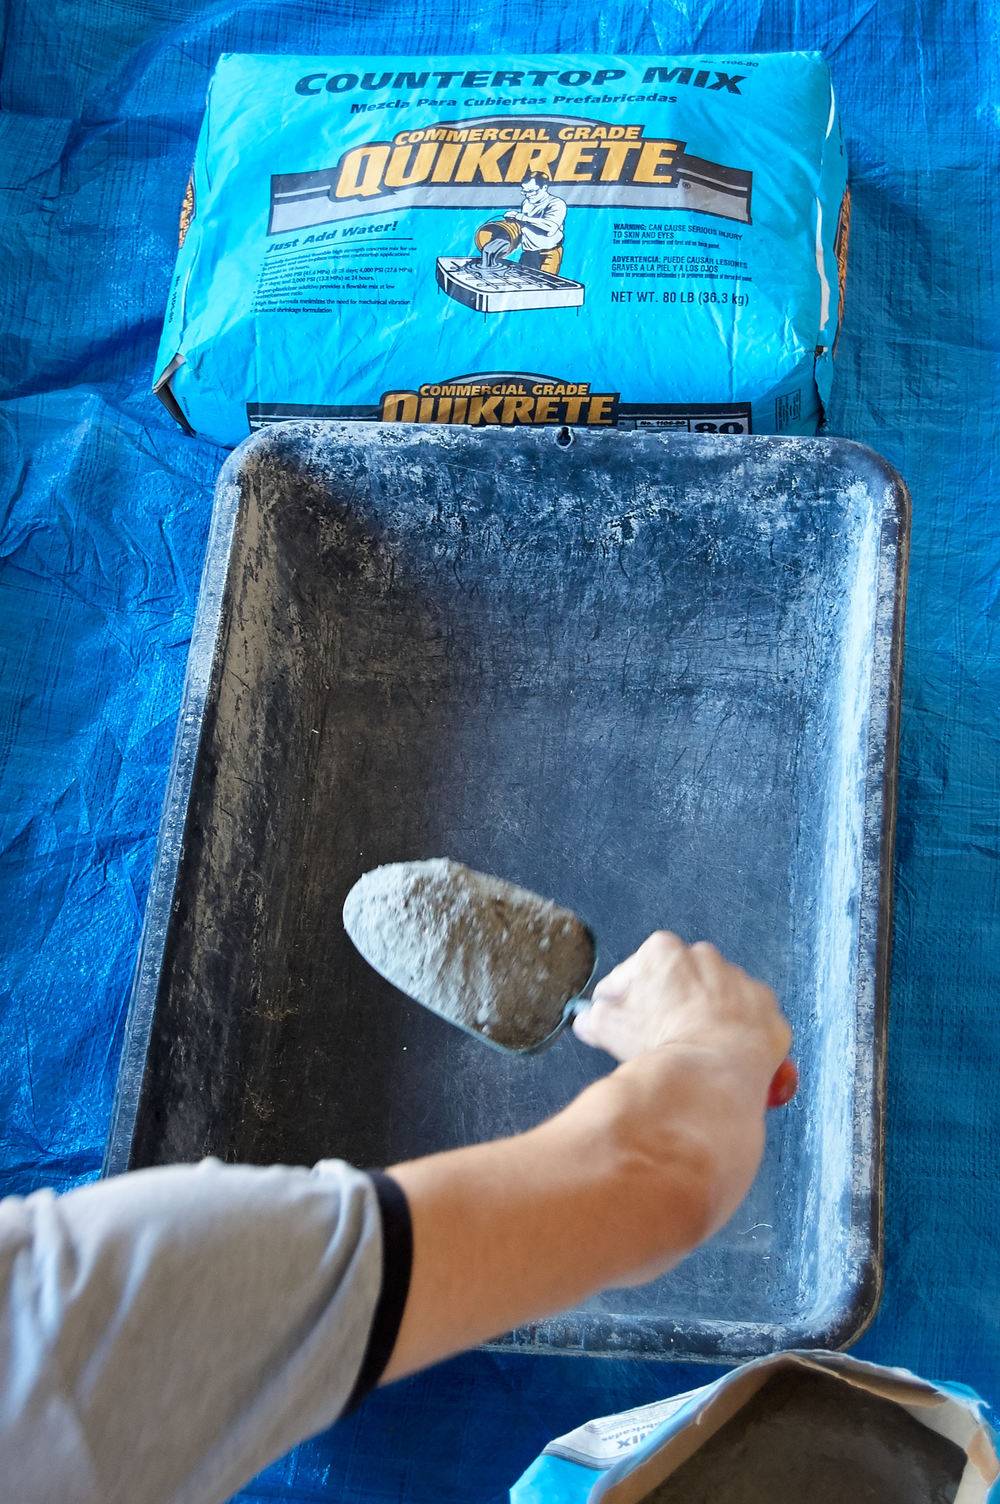
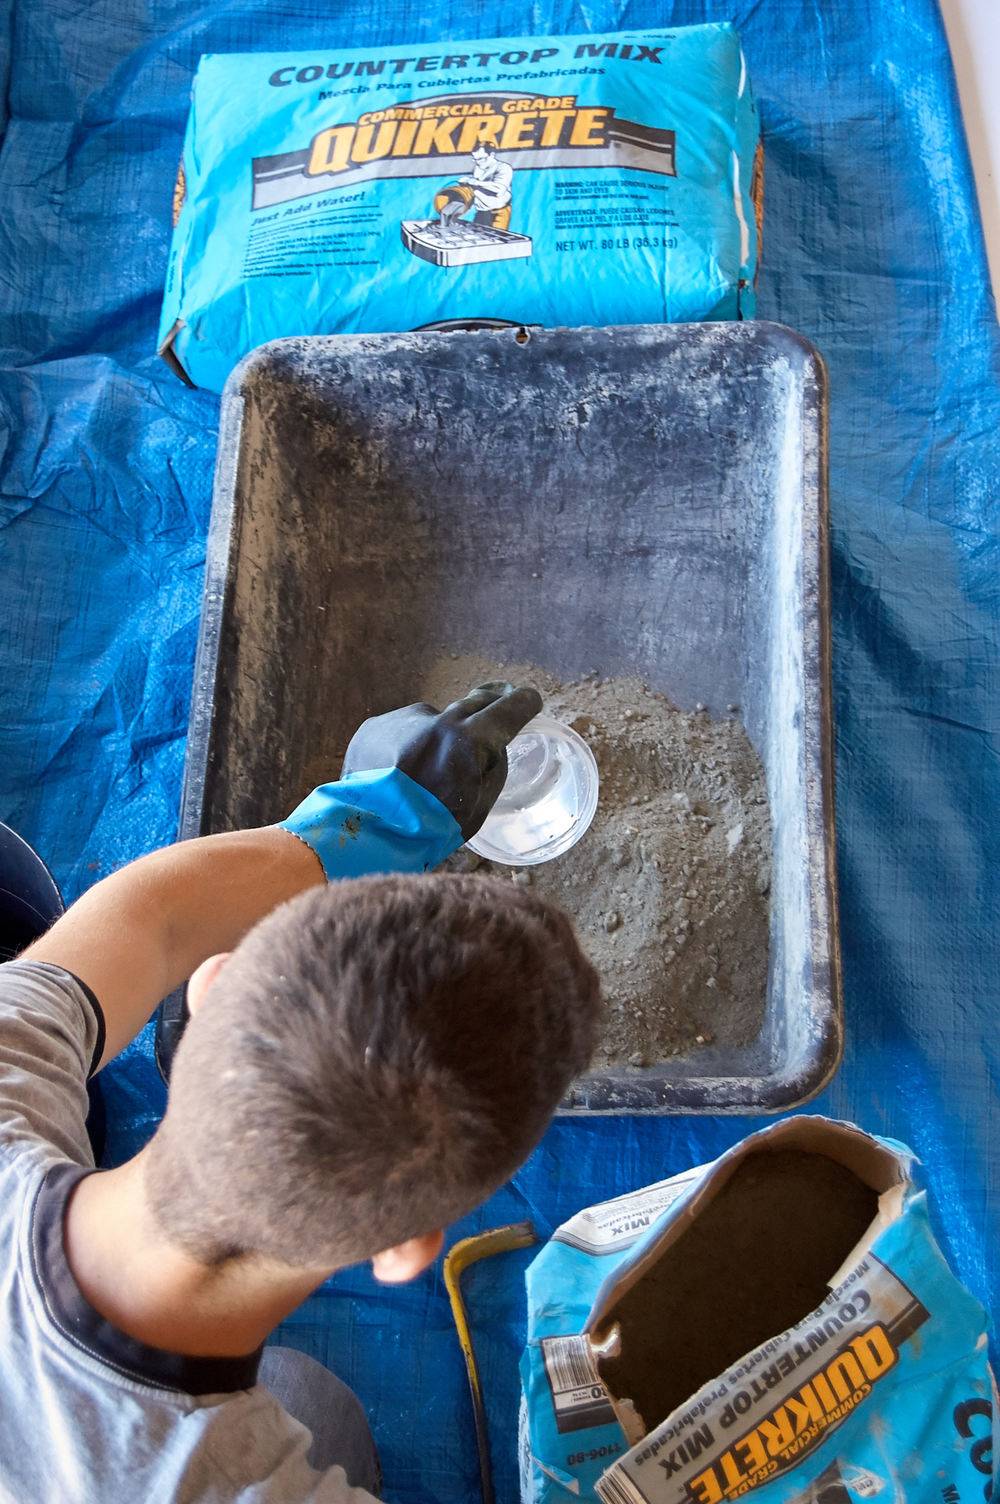
Open a bag of Quikrete and mix it according to the directions on the back! I can’t stress this enough; unless you’re an expert concrete-mixer-guy/gal, just swallow your pride and follow the directions. Things will turn out much better. For a project like this, where a nice, even, smooth finish is most important, you want the concrete to be pretty wet (wetter even than it looks in my photos below). A wetter mix will flow into the form better and give a smoother, more even surface finish.
Step 9
Fill the form all the way to the top, making sure to pack the material in well (you can use a dowel to make sure it all gets in there).
At this point, you’ll want to vibrate the form with a rubber mallet, an orbital sander, or even a reciprocating saw (with the blade taken out). Vibration helps the concrete compact, eliminating air bubbles in within the mix.
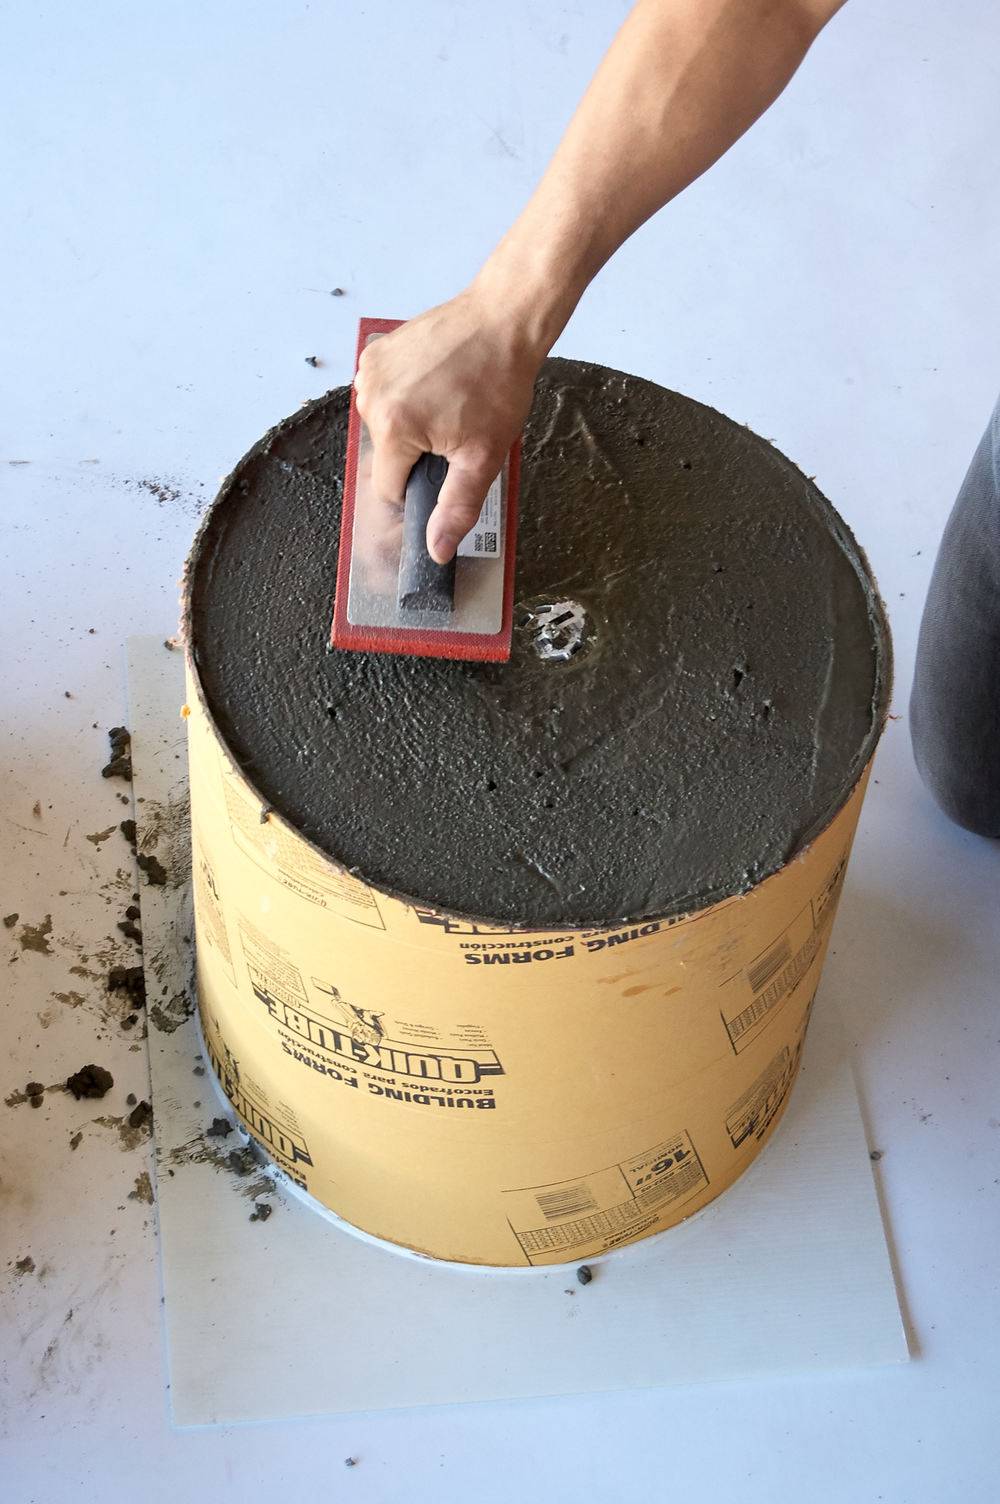
The ‘top’ here will actually be the base of the planter. Smooth it out with a trowel or rubber concrete float, making sure not to cover the drain (this face won’t be visible, so don’t worry about making it too perfect).
Step 10
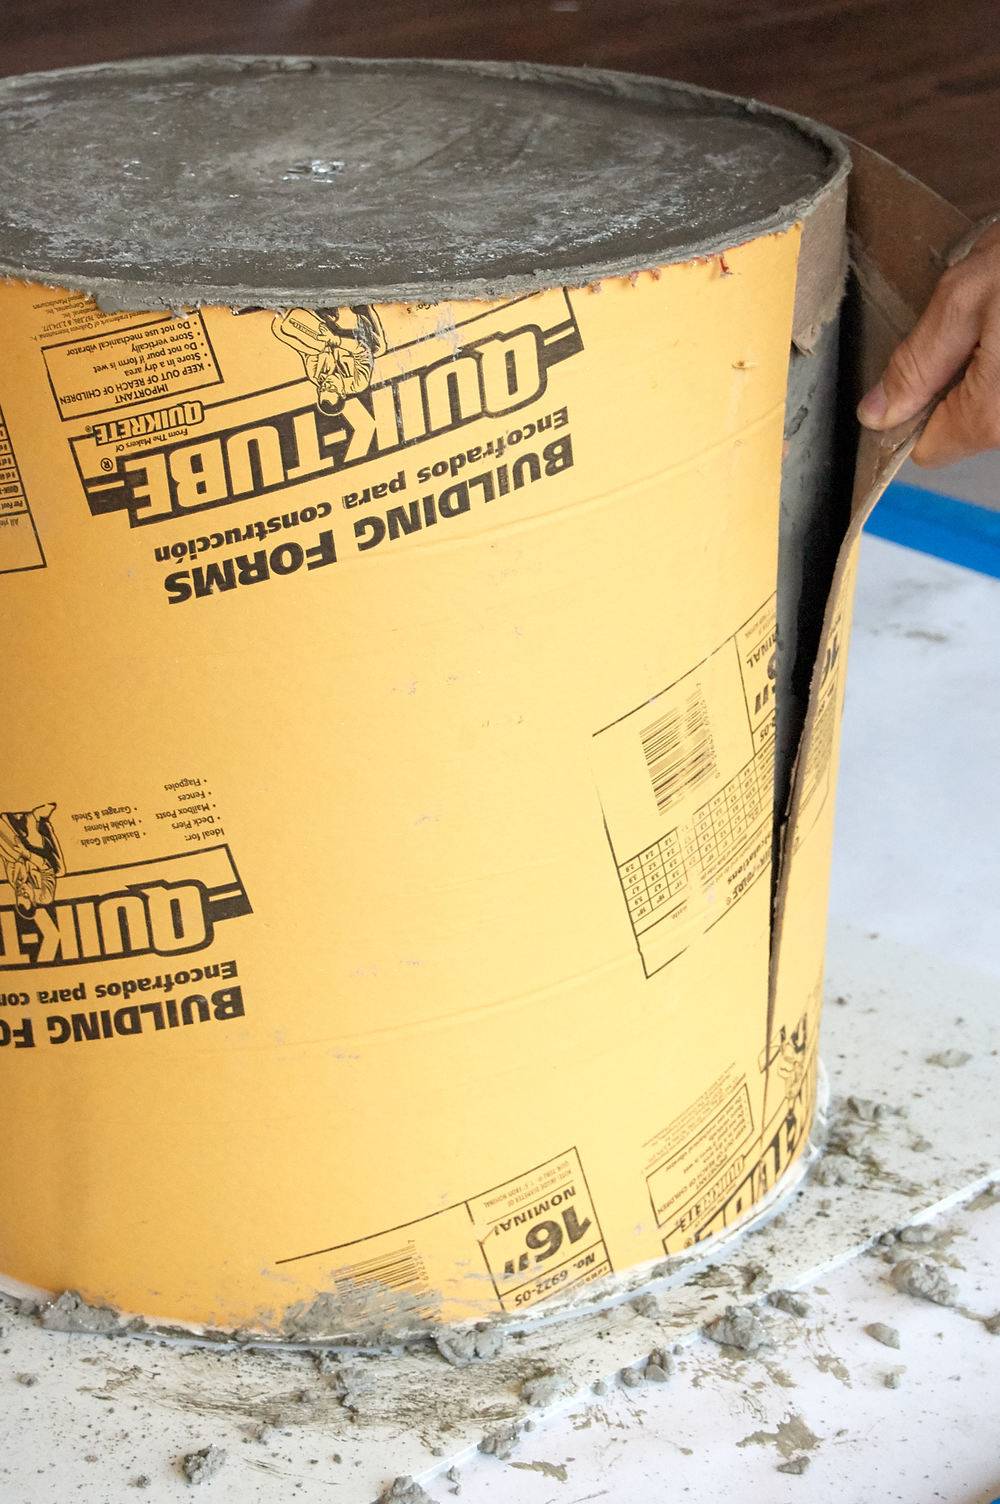
After letting your planters dry for 48 hours, take them out of the molds! You can cut the cardboard away with a utility knife, and then the mold should just peel off pretty easily by hand.
That’s it! Your planter is done. If there are any rough or sharp edges, you can knock them down with a bit of hand sanding.
We love how our planters turned out. They’re crazy heavy, which makes them hard to move around, but perfect for an outdoor, public location. Once we get them into place, we’ll be ready to move on to our next office transformation DIY project: custom-printed window signage!
This post was sponsored by Quikrete, but all opinions are mine alone. Thanks for supporting the brands help that make Curbly possible.
Everyone has their own unique taste when it comes to decorating, furnishing, and accessorizing their own home. But how do you bring those preferences together into a cohesive décor style?
Whether you love bright colors or shades of white, natural materials, or tons of pattern, understanding your interior design style means making better interior choices. (And fewer, potentially costly interior mistakes!)
Ready to start your search? These interior design style quizzes are a great way to figure out what style suits you and your home.
8 of the best interior design style quizzes
1. Apartment Therapy: Find your Style Quiz
This quiz couldn’t be quicker or simpler. Just grab a pen and paper and take a look at each set of interior images. Pick the design style you like best (as quickly as you can — no overthinking it!) and record your preferences.
Depending on your choices, you’ll find out that your style is Warm Industrial, Classic Glam, Happy Modern, or Eclectic Collector.
This Apartment Therapy quiz also gives you some great tips on where and how to shop in order to master your preferred style.
2. The Decorist
Want the eye of a professional interior designer for your house? Use this simple quiz to get matched with one!
You’ll answer five questions put together by Decorist’s online interior designers and then find out what kind of style suits you best. Just share your email at the end to access your results.
3. SheKnows
Answer these easy questions to discover your interior design style.
This style quiz uses everything from your fashion sense to your favorite vacation destination to figure out your interior design preferences. It’s simple, quick, and super fun.
4. Buzzfeed
Another beautiful, visual interior design quiz to try. Select your must-have items from an interior wish-list and you’ll discover your home style aesthetic.
Will yours be industrial, farmhouse, eclectic or shabby chic? Take the quiz to find your style and then make use of Buzzfeed’s handy sharing functions to send your results to a friend.
5. Lonny
What are your interior faves? A jungle of houseplants or a neutral color palette? Vintage finds or sleek lines?
We particularly loved the all-important and hugely divisive question, what are your thoughts on wicker?
6. Houzz
Don’t think your favorite restaurant, your choice of pet, or your go-to tipple have anything to do with your interior design style? Think again!
This Houzz quiz is lots of fun and full of questions totally unrelated to interior design. This means you can’t predict your results. And you get a totally fresh look at how your interior design style could work.
Get ready to discover your interior design style with just a single question. The first step is the only step for this interior design quiz.
Take a look at eight sets of sofas, rugs, and room accessories. And then choose your favorite items to find out your specific design style. It really is that simple!
8. Designer Society of America
This interior design quiz has been put together by the Designer Society of America, so you can trust that these people are at the cutting edge of interiors.
To complete the quiz, take a look at imagery of furniture and differently decorated rooms before selecting your preferences. You’ll pick your favorite area rug, tables, wood flooring, kitchen, and sofa before finding out which style suits you best.
Along with your quiz result, DSA also suggests some great interior magazines suited to your interior design style.
If you’re struggling to realize your décor style, why not try one (or all!) of these interior design style quizzes today?
Pick the Designer Society of America or Apartment Therapy quizzes and you also get some great tips on how to put your newly discovered interior style into action.
Once you’ve got a handle on what your style is all about, redesigning a room or finding those perfect finishing touches is sooooo much easier. A cohesive style gives you the focus to confidently pick out the right colors and pieces for every room.
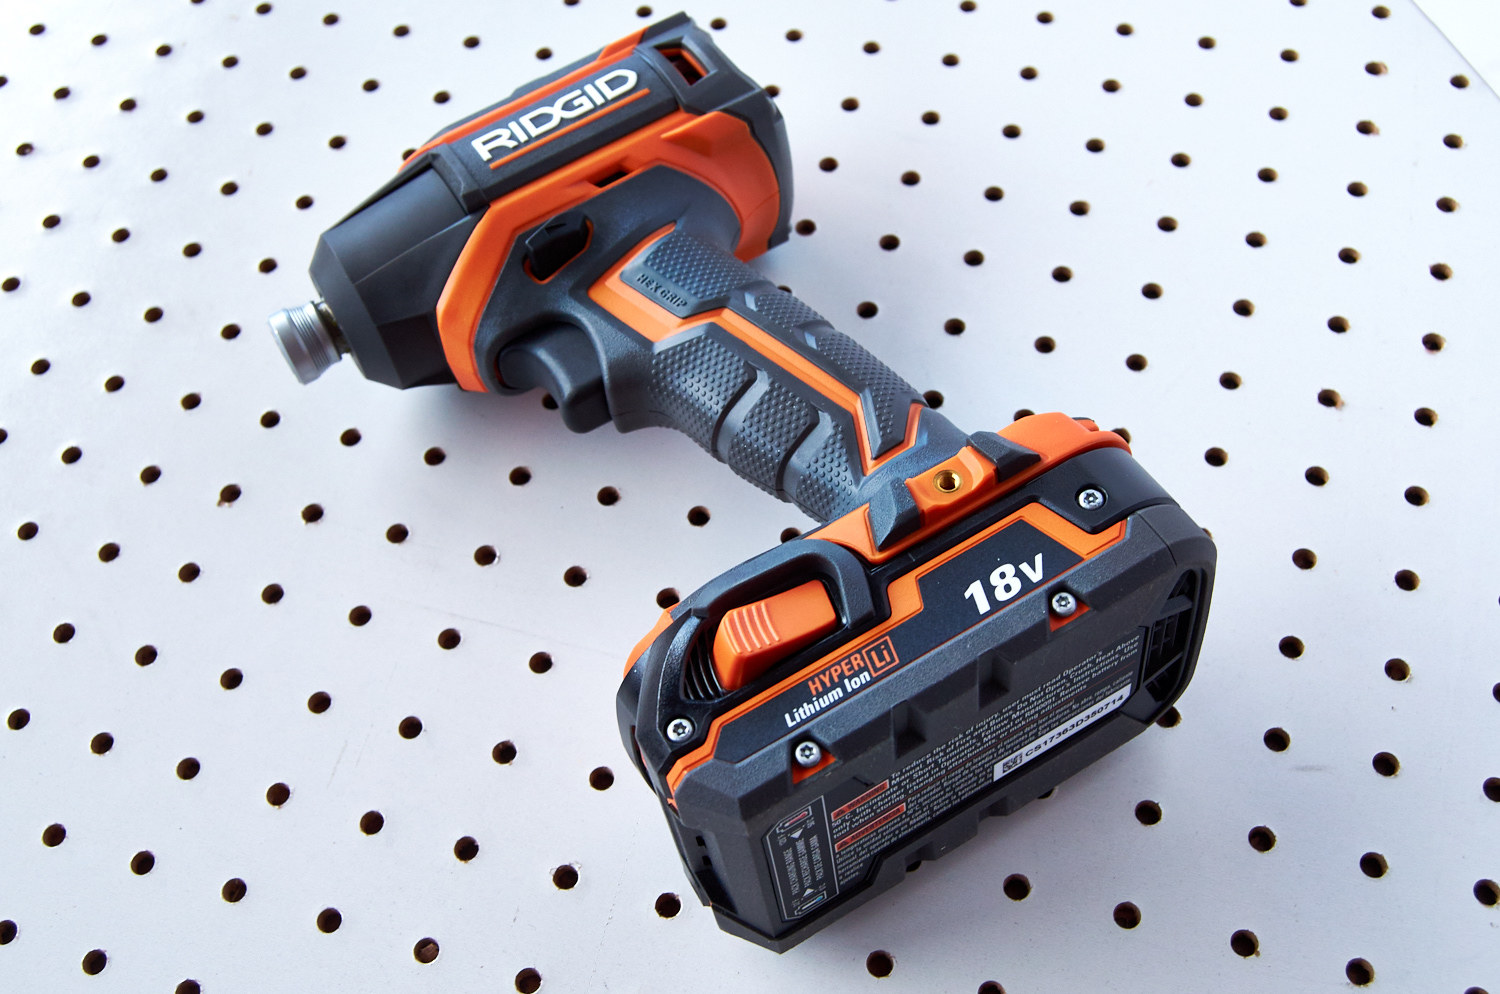
Today we’re checking out the RIDGID 18-Volt Impact Driver, which you can buy alongside a cordless drill in a combo kit for $179 at The Home Depot. I’ve built up a lot of trust for the Ridgid brand over the years. In fact, my very first (ever) impact driver was a Ridgid (the great-grandaddy of this model). But beyond that, I’ve owned several of their products, including a circular saw (indestructible) and a wet/dry vacuum (unbelievably versatile).
So I was excited to get this combo kit in the mail last week, because I feel a guy can’t ever have too many impact drivers. Sure, having the drill is nice too, but to be honest, I only reach for a normal drill in rare occasions. The impact driver is just so much more versatile and useful, not to mention light and maneuverable.
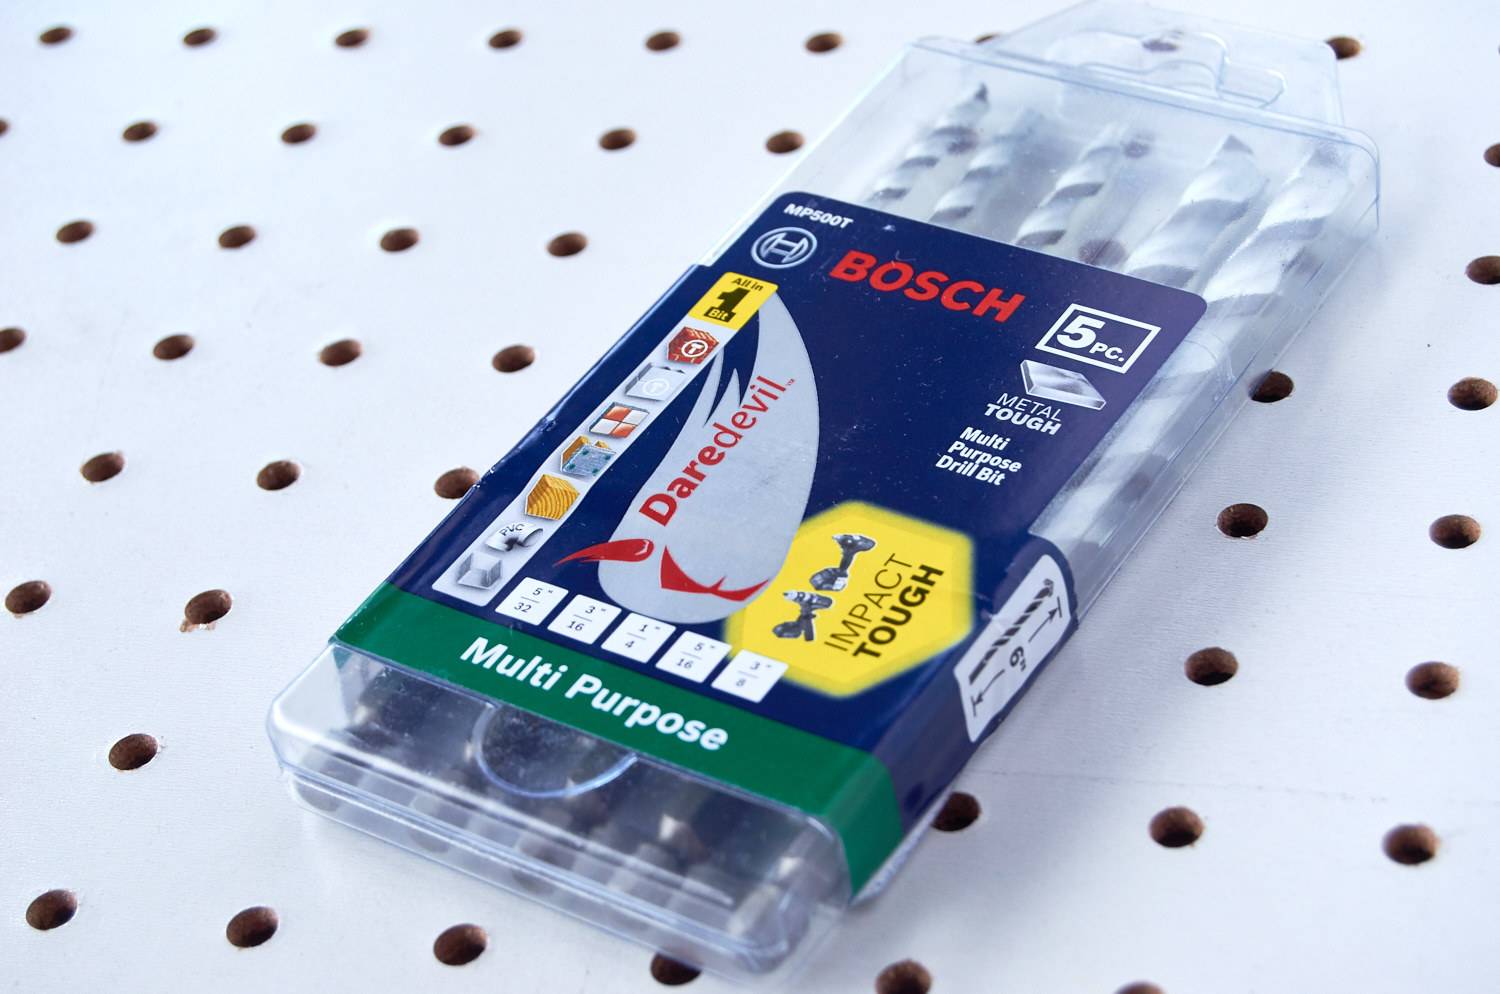
Along with the tool, The Home Depot sent us a multi-purpose drill bit set from Bosch. These tungsten carbide-plated bits have a hex shank (big plus) for compatibility with quick change chucks (like, every impact driver on the market), and they’re meant to go through almost any material (namely: tile, masonry, wood, metal, and concrete). I have an absolute jungle of drill bits in my tool bags right now, primarily because I never know what type of material I’ll be drilling into. So if these work as advertised, I’ll be excited to toss out a bunch of redundant bits.
So, What Is An Impact Driver, Anyway?
A normal drill uses a motor to turn the shank with a constant torque (you can change the speed, but for each speed you’re at, you get an even output of torque). Then the shank turns the screw, or drill bit, rotating it into the material.
An impact driver is different: it has an internal mechanism which uses a spring to store up and release energy in a burst, twice for each rotation. This generates much more torque.
Why is torque so great? Well, with a normal drill, you need to push down onto the tool to get it to continue moving through the material. With an impact driver, the torque bursts do all the work for you, so you just need to hold the drill in place. With a power drill, you always have to worry about the bit getting caught in dense material, which causes the tool to kick back (potentially injuring your arm!). Impact drivers don’t kick back that way.
Let’s start with the driver. This combo kit comes in a neatly packed, rugged contractor bag. The kit includes two batteries and a charger, so, it’s pretty much everything you need to get going. As with all power tools, your choice of battery platform is going to influence what you buy, but as I said before, I’ve had great experiences with the Ridgid brand, so I’d feel very comfortable locking into that platform.
The impact driver has three speed settings, which is a feature I haven’t see on impact drivers before. That said, most of what I end up using this tool for is heavy duty work, so I’d be surprised if I often use more than one speed.
Some other features:
Both tools have all metal gears and brushless motors (read: more durable, better battery life)
The impact driver produces 2,250 in. lbs. of torque (that’s about the most of any battery-powered tool out there)
RIDGID offers a lifetime service agreement (with free replacement batteries, apparently!)
So how’d it do?
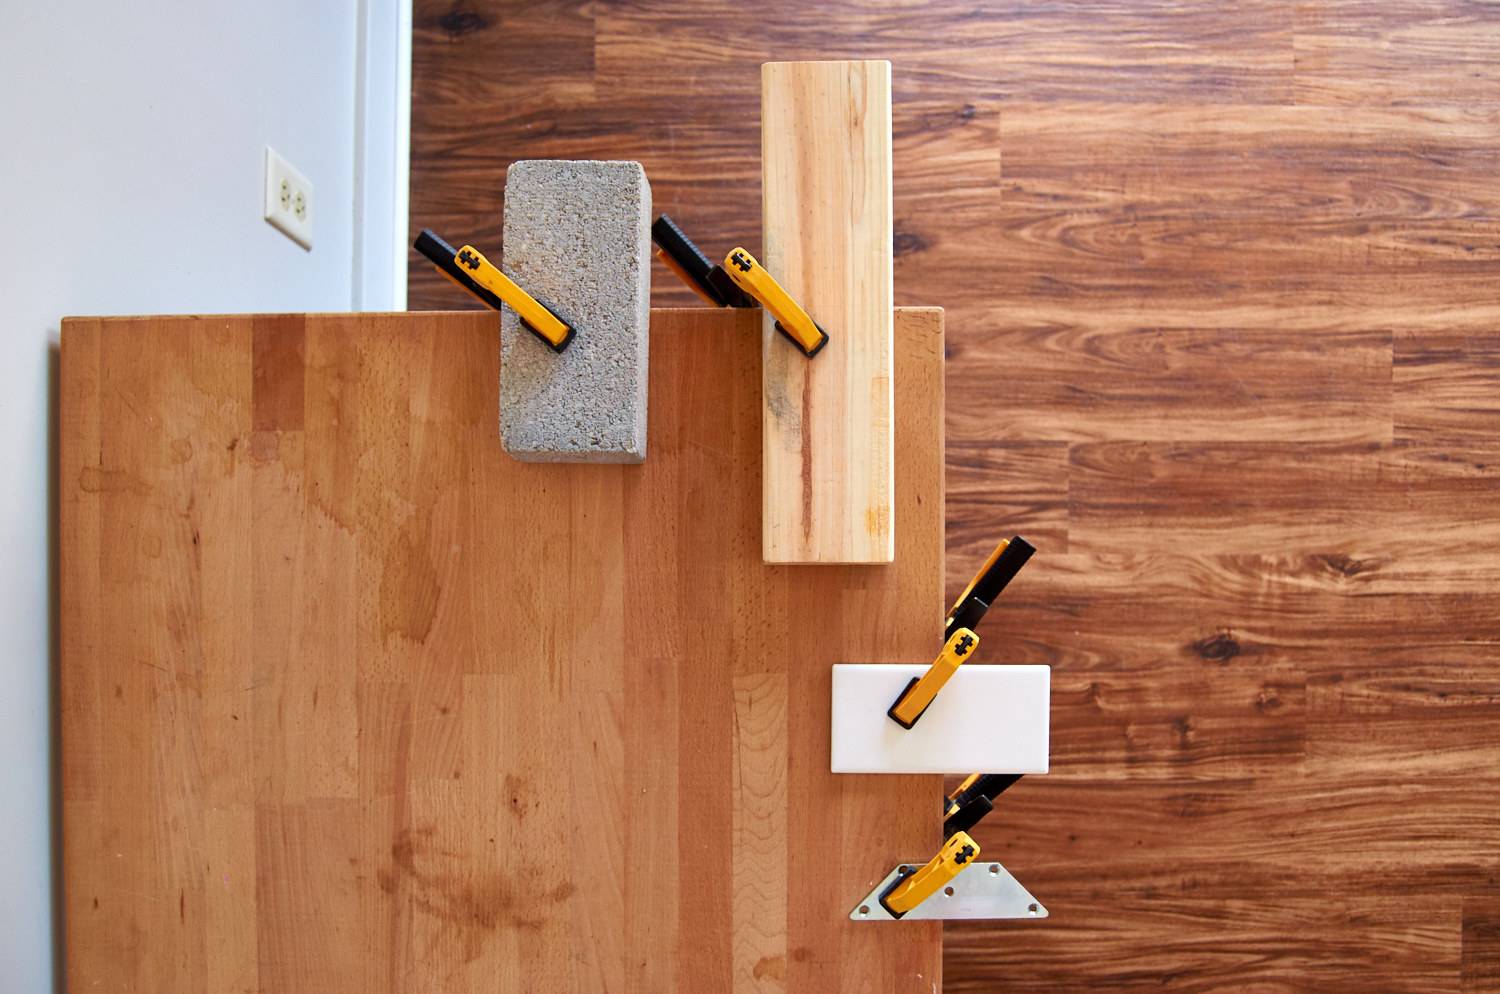
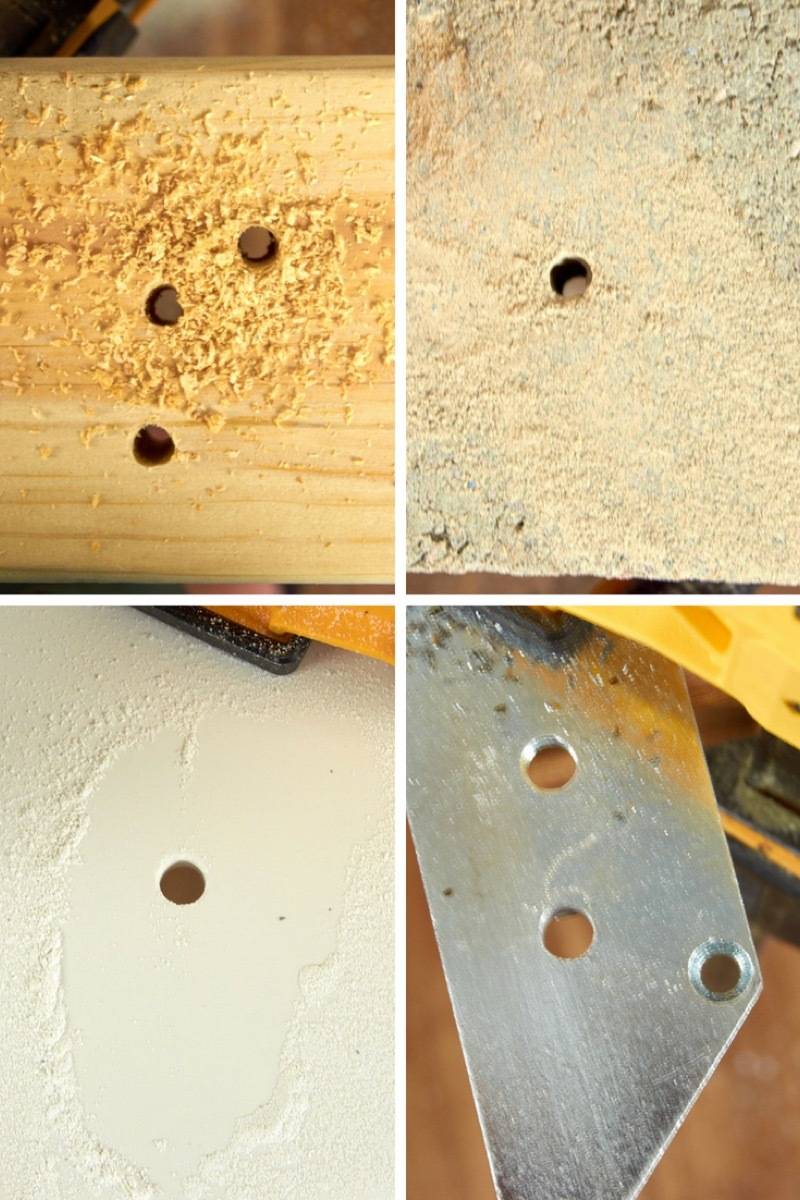
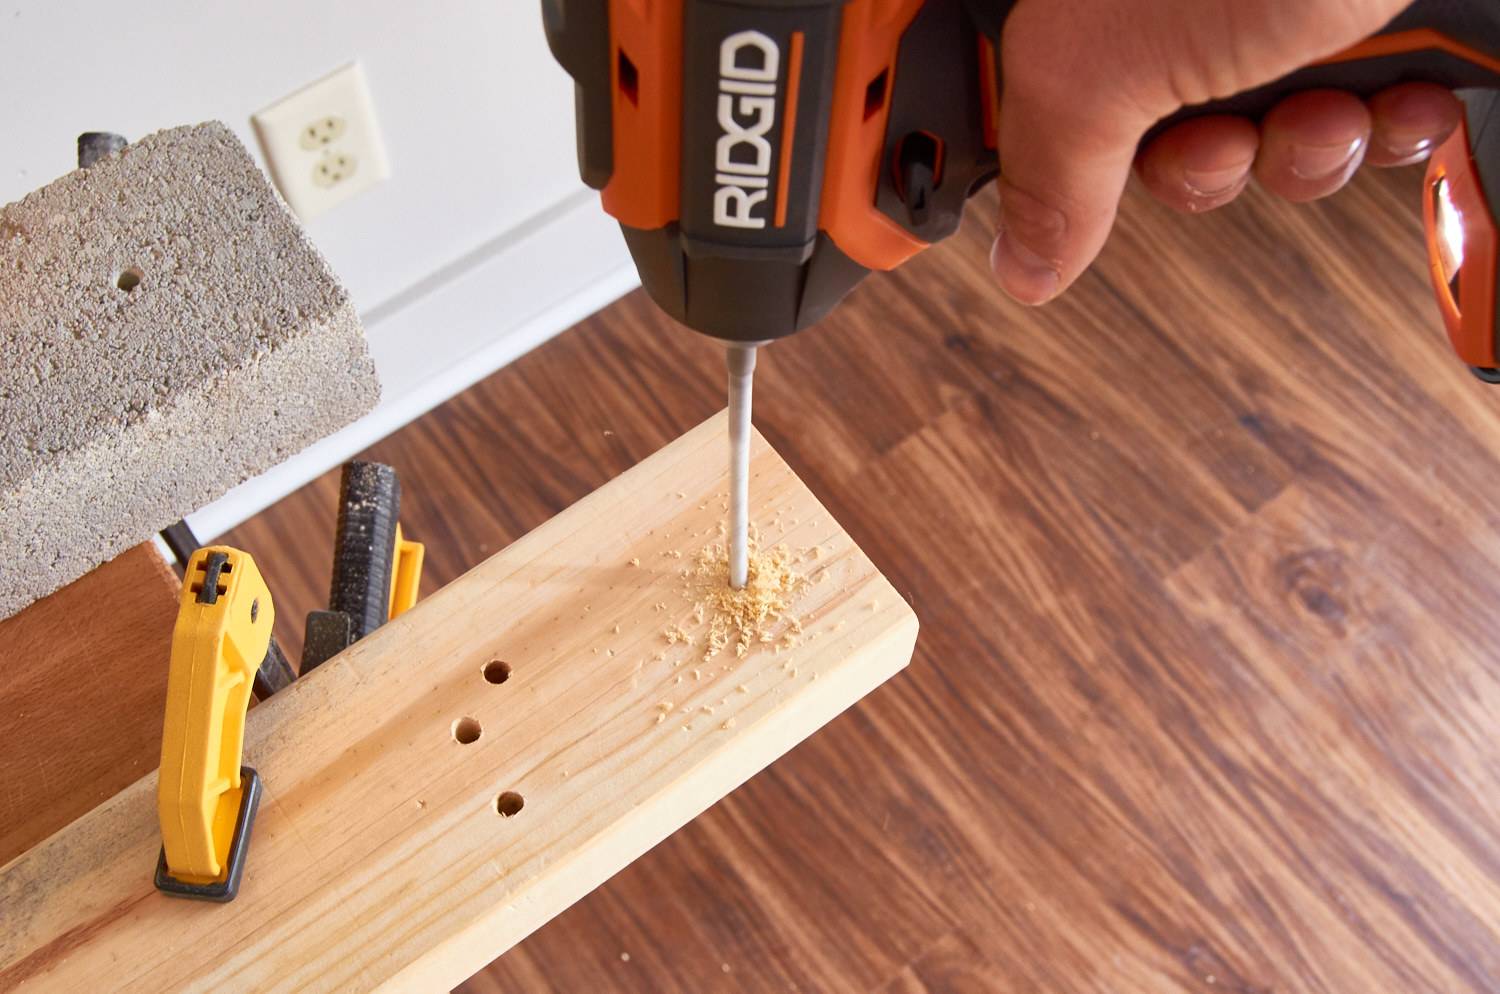
No complaints here, friends. The RIDGID impact driver, paired with Bosch’s Daredevil bits, blasted through all the materials I tried it on. No difficulty, whatsoever, even when drilling through 4mm of stainless steel. As expected, I received no kickback from the tool, and was able to operate the drill one-handed on all the materials except metal (there, I needed two hands just to keep the bit from wandering).
Do I need an impact driver? I already have a drill!
Yes. You do. Sorry. That’s the only correct answer. A drill is super useful and great for a lot of tasks, but just can’t match the power and torque of an impact driver. Without an impact driver, you’ll never be able to free rusted bolts, bore through thick hardwoods, or fix bolts into masonry. And that would just be sad, right?
Hmm… let’s see. An impact driver is not a precision tool. It’s hard to control the rotation at low speeds, and therefore easier to strip screws and bolts with it. Don’t use one for fixing your mother-in-law’s reading glasses (or, if you do, take a video and let me know ’cause that would be some intense #impactdriverskills).
Eye protection is, believe it or not, important when using one of these. You never know when a piece of material will catch and come flying out toward your face. Likewise, while you can operate an impact driver with one hand, you should try not to. Having a second hand on the tool makes it less likely that it’ll slip free and land on your foot. Or your mother-in-law’s foot.
We tested all the drivers in my collection in a thoroughly unscientific (and therefore, fun) roundup. Read all about it here.
This post is sponsored by The Home Depot. All opinions are mine alone. Thanks for reading, and for supporting the brands that make Curbly possible.
I acknowledge that The Home Depot is partnering with me to participate in the ProSpective 2018 Campaign. As a part of the Program, I am receiving compensation in the form of products and services, for the purpose of promoting The Home Depot. All expressed opinions and experiences are my own words. My post complies with the Word Of Mouth Marketing Association (WOMMA) Ethics Code and applicable Federal Trade Commission guidelines.
Where are the best places to see rhododendrons? If you love these gorgeous displays of colourful flowers, we’ve got the lowdown on the 10 of the best places to see rhododendrons in the UK in May.
Late April to June is when you’ll see the best displays of rhododendrons. There are over 1,000 species of wild rhoddies as well as hundreds more hybrids, so they come in a huge range of size, shape and colour. If you visit a site which specialises in these woody shrubs, it can look absolutely spectacular. We’ve put together some suggestions of where to go, but for more locations near you take a look at The National Trust for Scotland, The National Trust, English Heritage, RHS Partner Gardens and An Taisce, the National Trust for Ireland.
1. Best places to see rhododendrons: Emmetts Garden, Kent (National Trust)
Emmetts Garden’s collection of rhododendron and azaleas is vast and stunning – a truly remarkable display of colour is revealed each spring from its 130 species. If you cast your eye out across the landscape in May, then nine times out of ten the colour will be rhododendron or azalea of some description. To find out more, visit the Emmetts Garden website.
2. Rhododendron wood, Leith Hill, Surrey (National Trust)
The Rhododendron Wood was created in the late 1800s by Caroline Wedgwood of the illustrious pottery family who lived at nearby Leith Hill Place, so has to feature in our list of the best places to see rhododendrons. A keen plantswoman and botanist, Caroline was the eldest sister of Charles Darwin who would visit Leith Hill and walk in the woods. To find out more, visit the Leith Hill website.
3. Royal Botanic Garden, Edinburgh, Scotland
Rhododendrons love Scotland’s naturally acidic soil, so you’ll be spoilt for choice! The Royal Botanic Garden covers 72 acres, and has a large selection of tropical rhododendrons which usually bloom in early spring. In total, they have 819 species which are used for science, conservation and education as well as decoration. To find out more, visit the Royal Botanic Garden website.
4. Achamore Gardens, Argyll and Bute
Created by Colonel Sir James Horlick with the assistance of Gardener Kitty Lloyd Jones in 1944, Achamore Gardens is the home of Horlick’s renowned rhododendron and camellia collection and specialises in rhoddies, so we had to feature it in our best places to see rhododendrons list. To find out more, visit the Achamore Gardens website.
5. Powerscourt House and Gardens, Co Wicklow, Ireland
A 1,000 acre site just outside double, Powerscourt House and Gardens boasts the Rhododendron Walk which contains many varieties of azalea and rhododendron. Introduced to Ireland by the Victorias, these woody shrubs quickly became popular not only for their decorative qualities but also to provide cover for game birds. To find out more, visit the Powerscourt House and Gardens website.
6. Rhododendron Dell, Kew Gardens, London
Botanist and explorer Sir Joseph Hooker brought back many new specimens of rhododendron from his travels to the Himalaya in the mid-19th century. Struck by the spectacular beauty of these colourful flowers, he exclaimed: ‘The splendour of the Rhododendrons is marvellous: there are 10 kinds on this hill, scarlet, white, lilac, yellow, pink, marroon[sic],: the cliffs actually bloom with them.’ Today, 150 years later, dense clusters of rhododendrons flower in the dell, including unique hybrids not found elsewhere in the world. To find out more, visit the Kew Gardens website.
7. Dunge Valley Rhododendron Gardens, Nr. Whaley Bridge, Derbyshire
Positioned at 1,000ft above sea level, Dunge Valley Gardens have been able to create a reproduction of a hidden Himalayan valley, the rhododendron’s native habitat. They have a collection of over 500 species and hybrids in a setting of streams, waterfalls, bridges and bog gardens. Opening hours are limited so make sure you take a look at the Dunge Valley website before travelling.
8. Best places to see rhododendrons: Sheringham Park, Norfolk
Sheringham Park has a nationally important collection of rhododendrons giving colour throughout much of the year to the garden. During May into early June the display comes to its peak when visitors can stroll down the main drive through the wild garden flanked on either side by flowering plants.To find out more, visit the Sheringham Park website.
9. Muncaster Cacstle, Ravenglass, Cumbria
Muncaster Castle is a hotel, but you can visit the gardens and other attractions separately. Sir John Ramsden, the sixth Baronet, was responsible for the creation of what was, at one time, considered to be the largest collection of species rhododendrons in Europe. The acid soil, proximity of the Gulf Stream and the sheltered steep-sided valleys of the gardens provide a perfect micro-climate for special plants such as Rhododendron broughtonii, Rh. elliottii and Rh. griersonianum. To find out more, visit the Muncaster Castle website.
10. Colby’s Woodland Garden, Pembrokeshire, Wales (National Trust)
Rhododendrons are Colby’s speciality and thrive in the garden’s acidic soil; look out for unusual varieties including large-leaved species. To find out more, visit the Colby’s website.
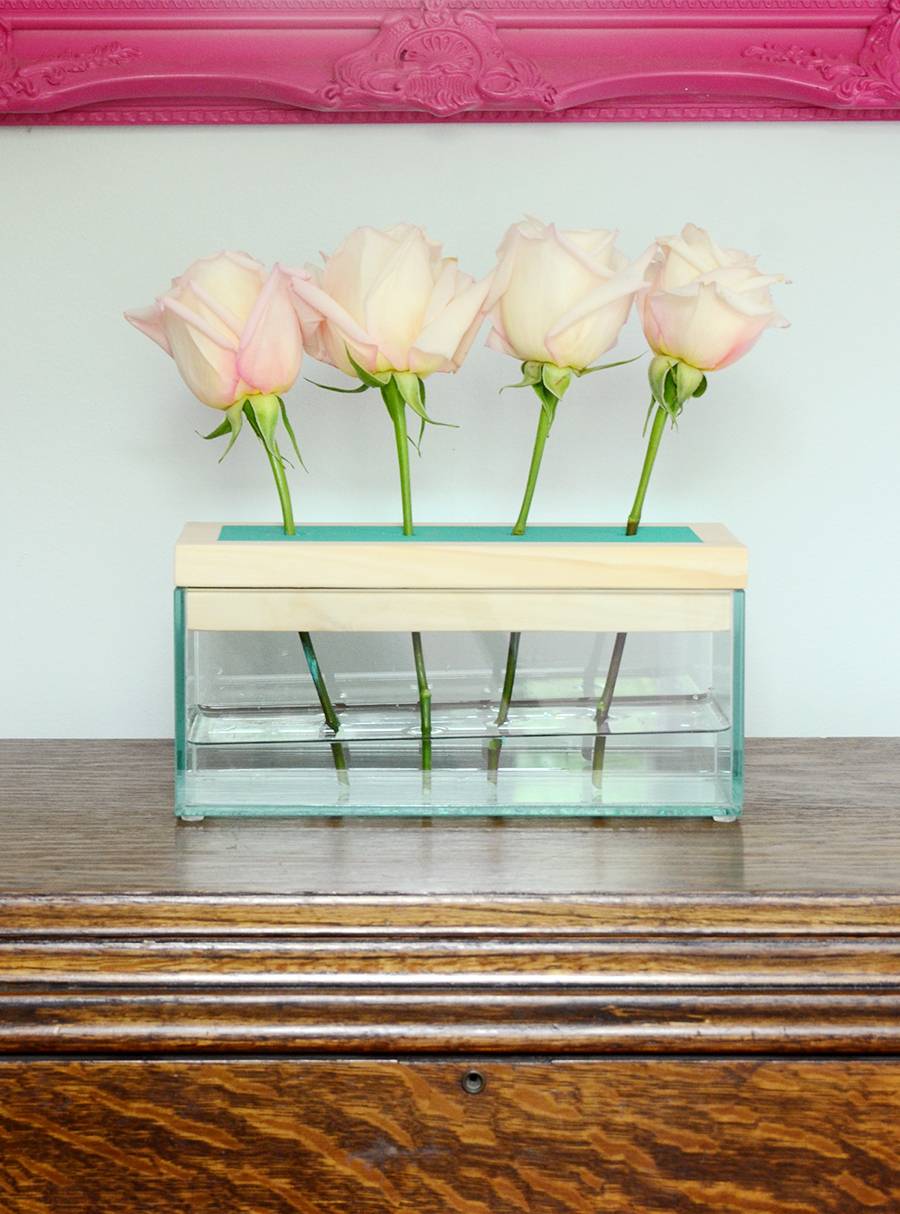
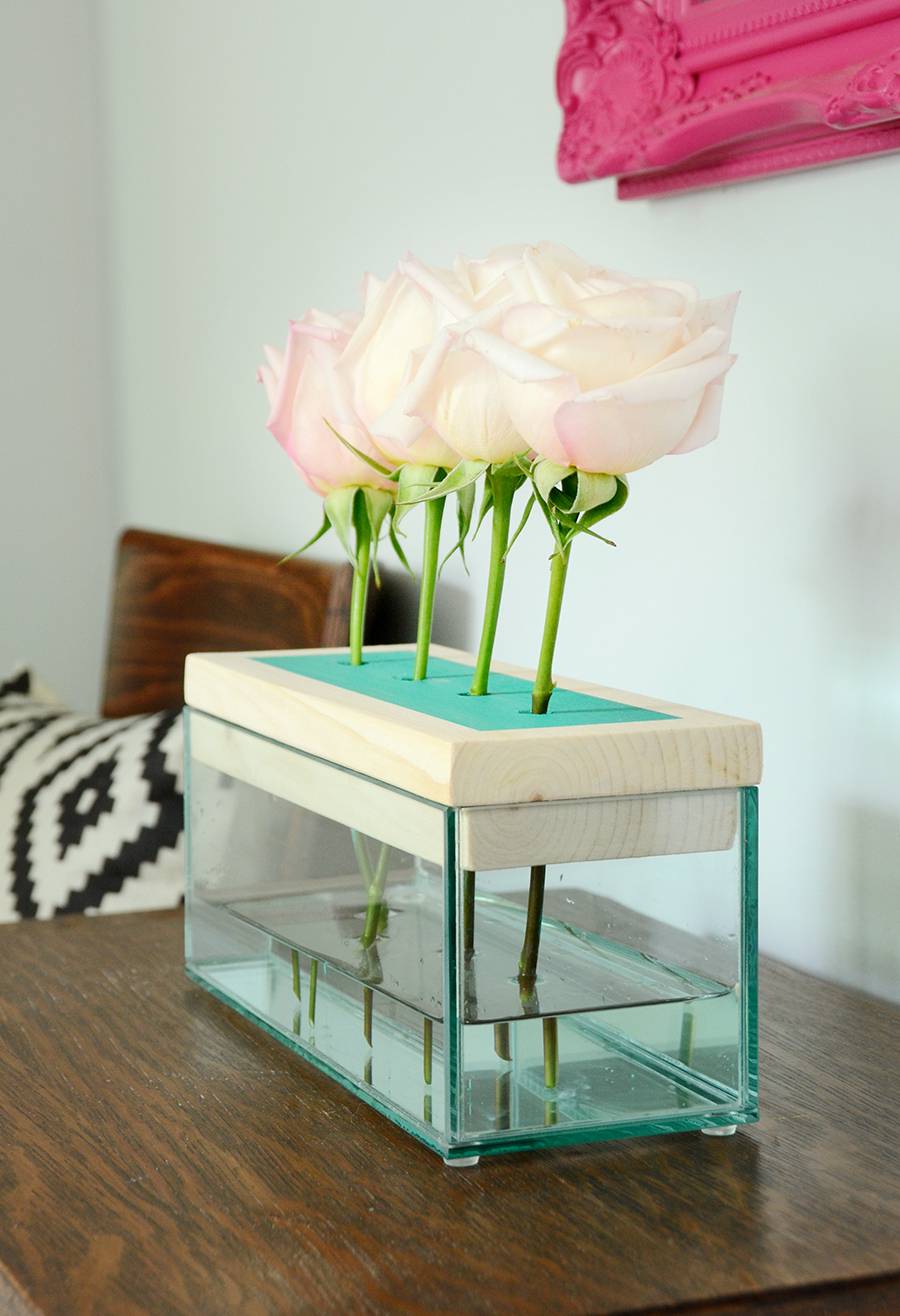
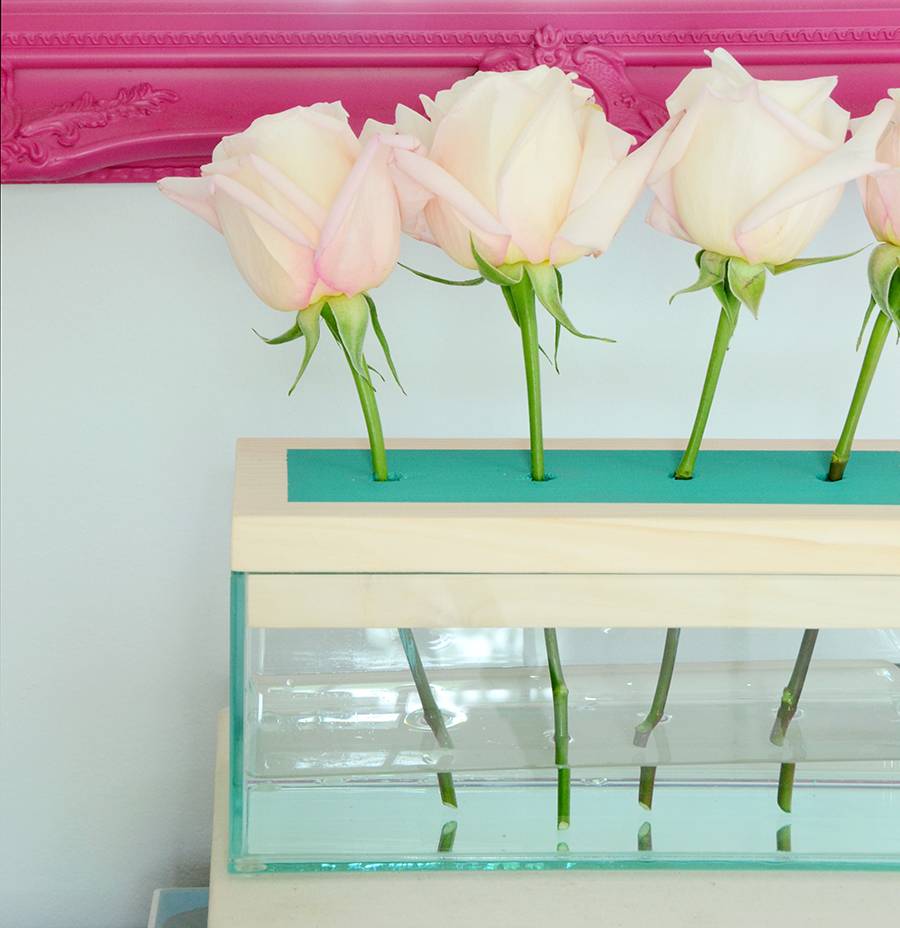
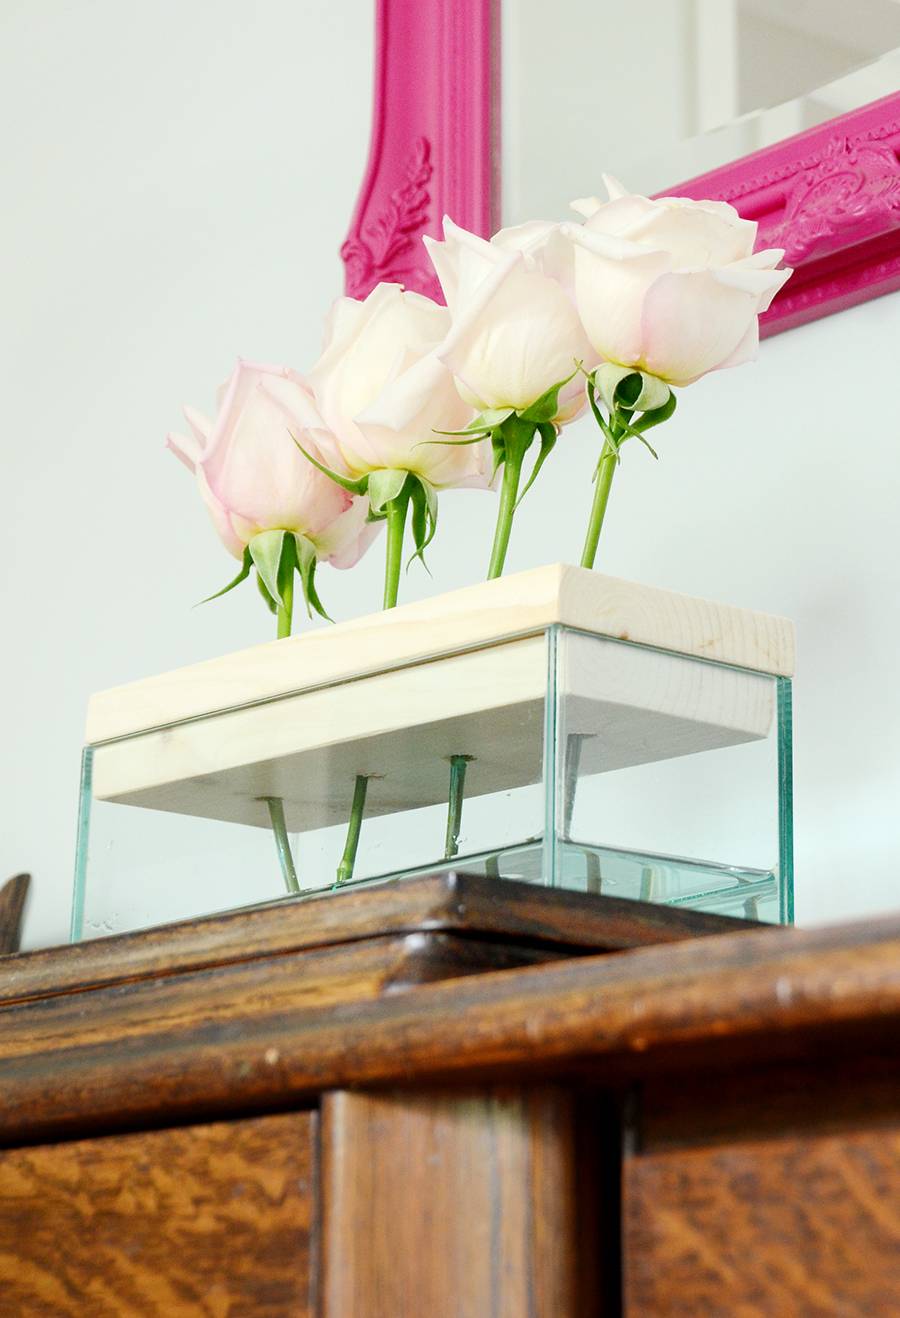
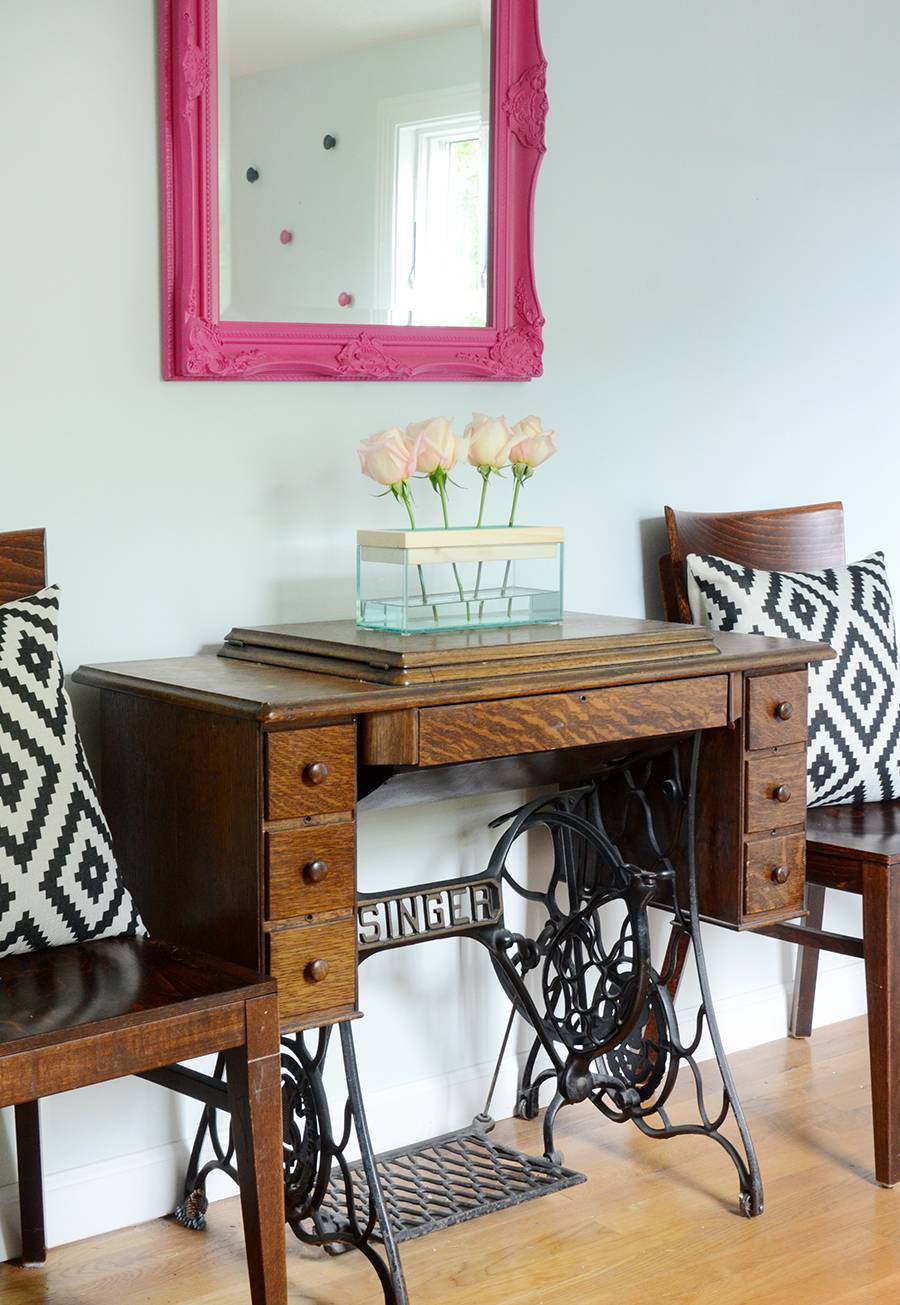
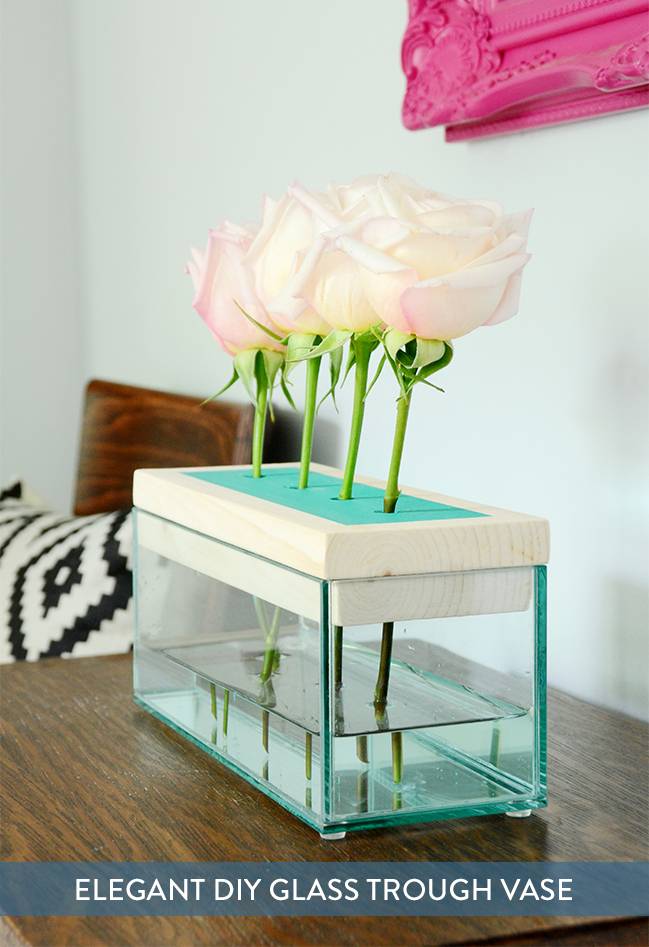
As a borderline obsessive flower lover, I’m always on the hunt for new vases and centerpiece ideas. So when I ran across a beautiful rectangular glass container on Amazon, I knew I had to have it (and make something out of it, of course). Click through to check out the resulting trough-style vase that I came up with.
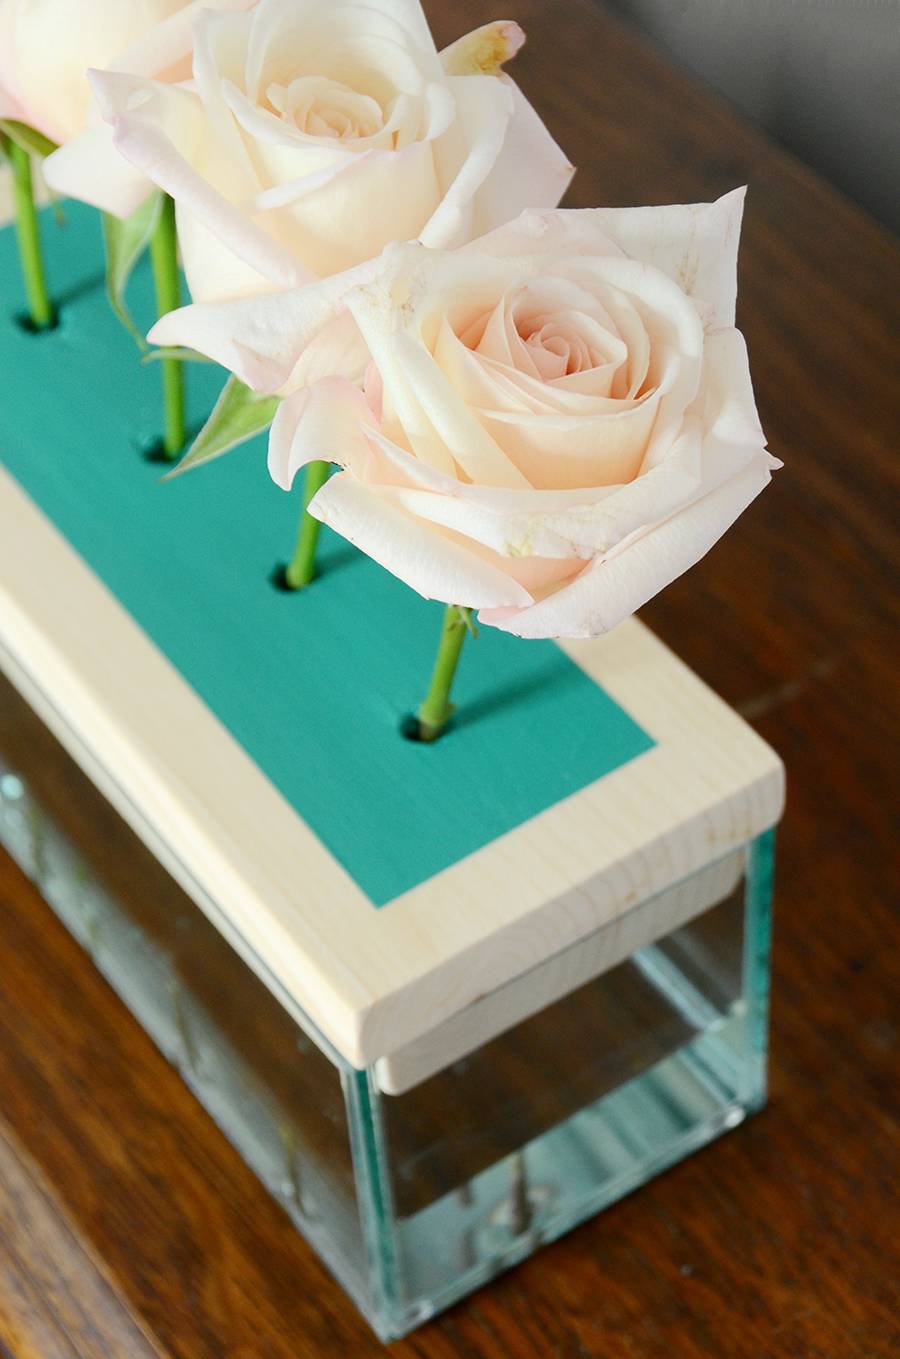
It has space for four stems, and all four draw from the trough of water below. The wooden top is removable, and keeps the stems securely in place. And it’s really quite simple to make! So let’s get started.
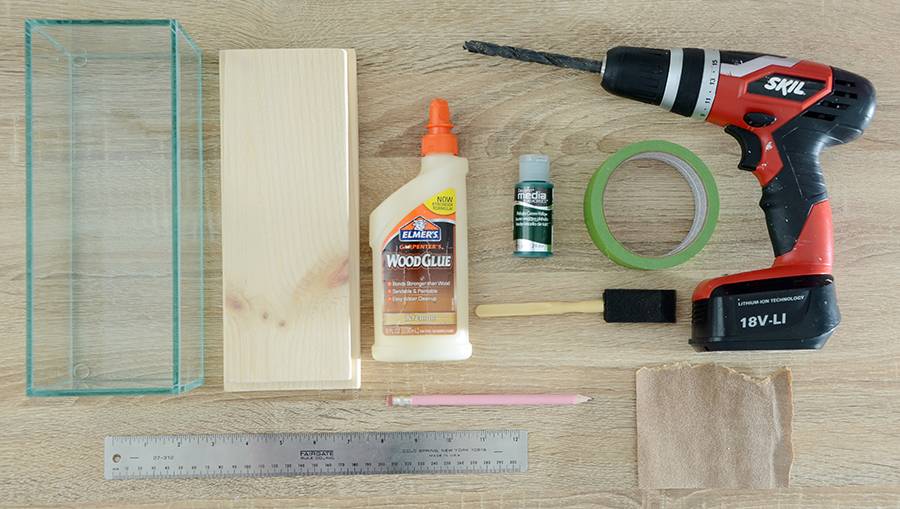
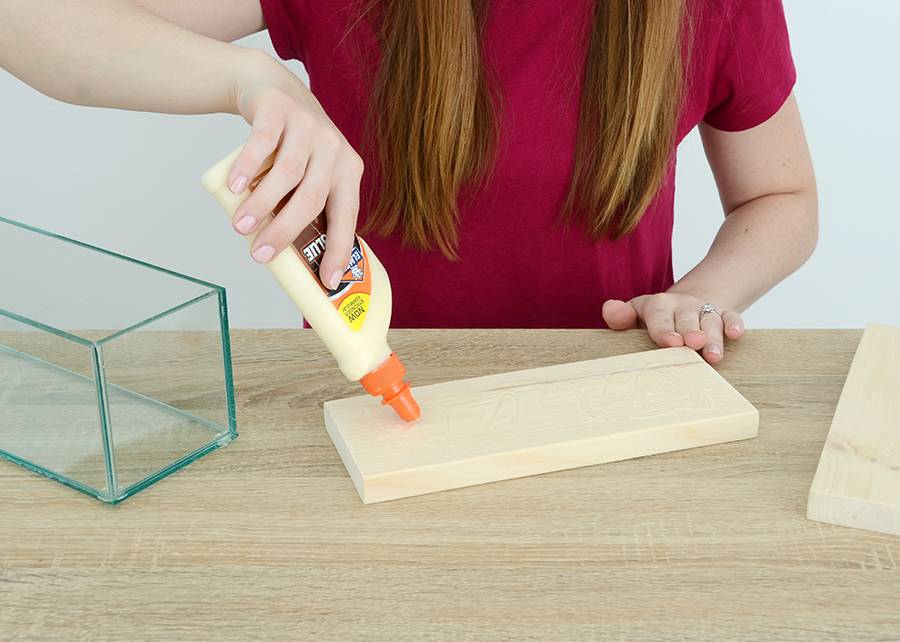
Before you begin, make sure that the larger piece of wood has the exact same measurements as the outside of the glass centerpiece vase and that the smaller piece fits snugly in the interior of the top of the glass vase. If not, sand it down so that it fits nicely. Apply a healthy dose of glue to the larger piece of wood, leaving about a 1/2 inch glue-less around the edges.
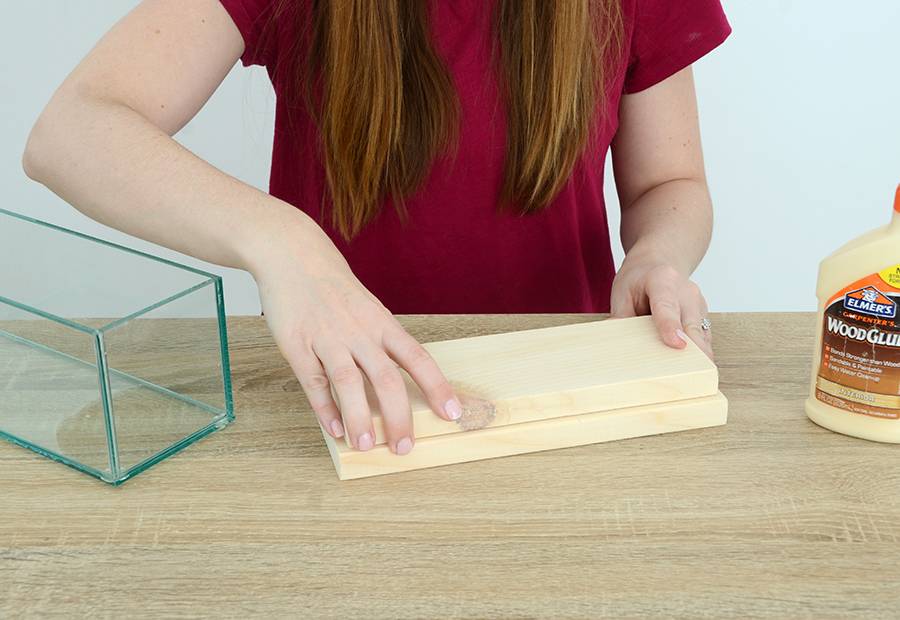
Place the smaller piece of wood on top of the larger one, pressing down firmly. Make sure it is centered. Let it dry for a minute or two until it is quite tacky but not completely adhered.
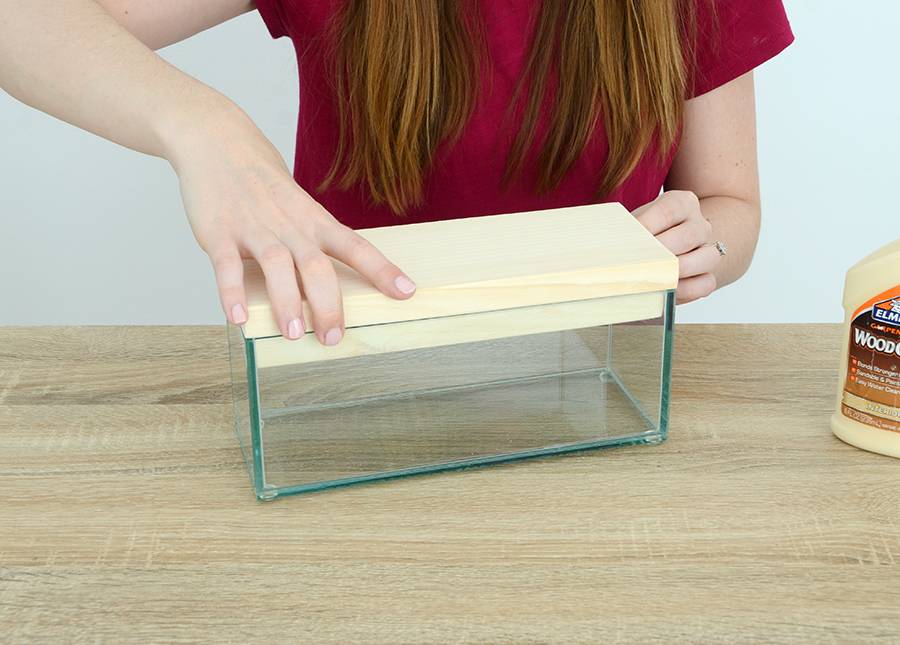
Place it on top of the glass centerpiece vase to make sure that the wood pieces are aligned so that they fit perfectly into the top of the glass vase. Remove it and let it dry for a couple of hours.
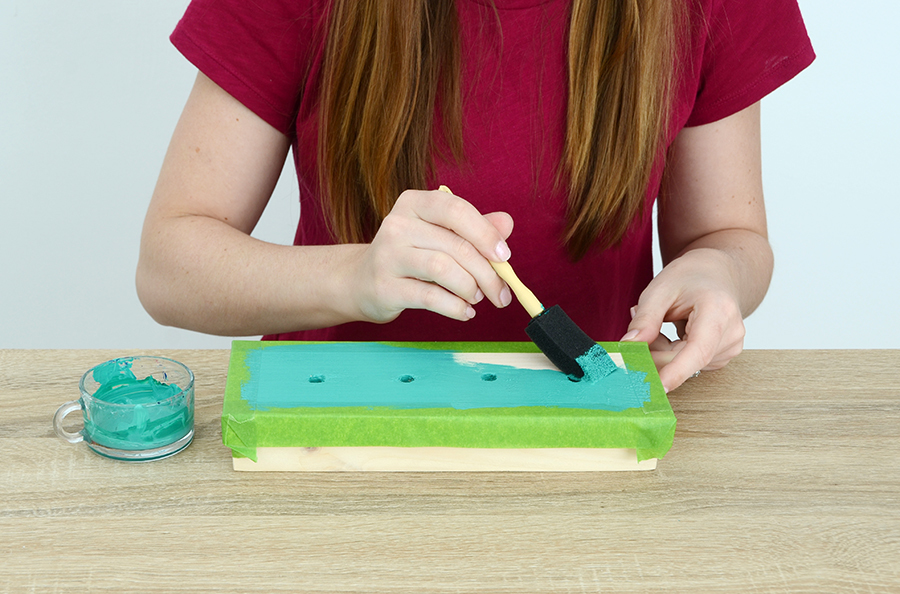
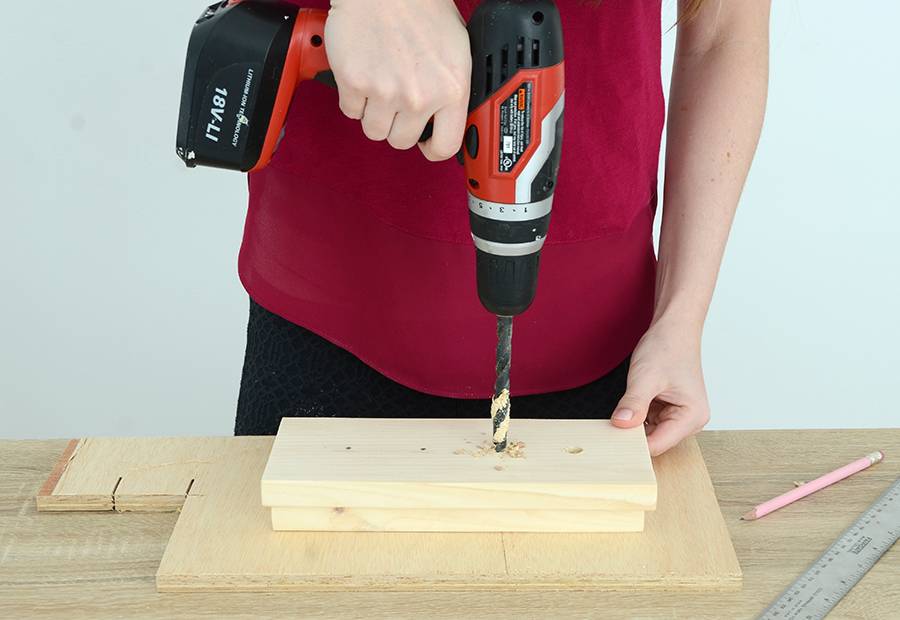
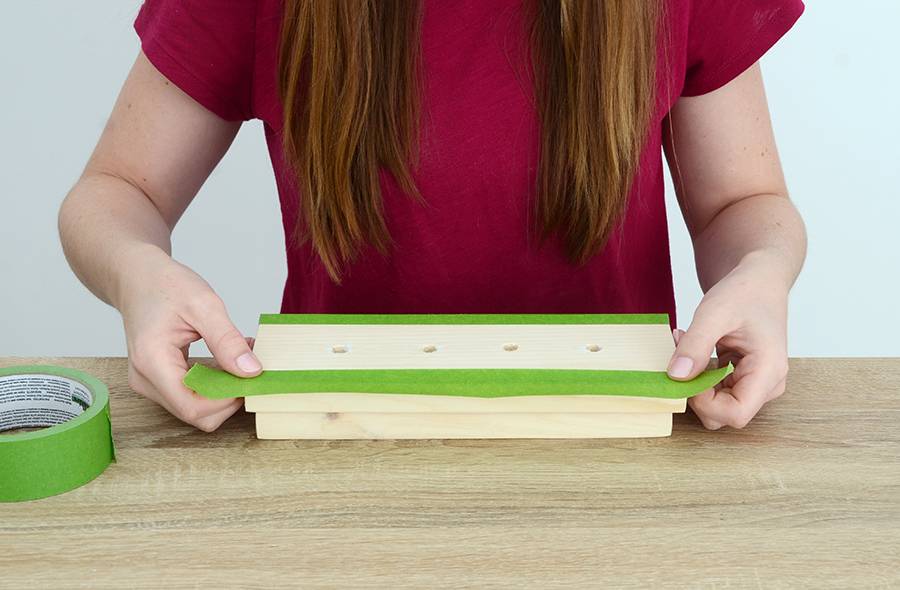
Next, find the horizontal center line of the wood and place four dots along that line as shown above. They should be evenly spaced, with two inches between each dot. Drill a hole down through each mark. Don’t forget to place a piece of scrap wood underneath. Sand any rough edges.
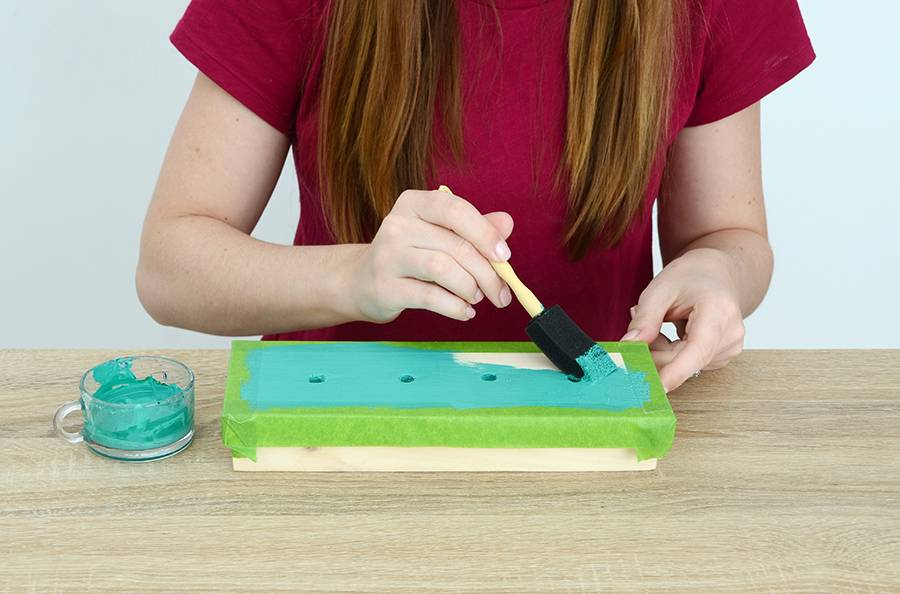
Remove the tape, let the paint dry, and you’re finished! Fill the glass vase with water and insert four stems for a unique centerpiece for your dinner table, kitchen island or accent table.
This is sure to be a conversation starter, thanks to its unusual design and contemporary vibe. You can change the look of it by trying different types of flowers… calla lilies would lend a modern feel, while daisies would give it a more rustic sensibility.
You might also consider a different color or even a different finish for the top part – a dark stain would be beautiful, or a metallic rose gold would look super glam.
While this project looks like it would be difficult to complete, it’s actually surprisingly simple and quick to finish. You should be able to do it in an hour or two (not including drying time), depending on how quickly you work. Feel free to post questions or links to your own versions in the comments section below!
Share this post on Pinterest! [Photo: Faith Towers]