How do you clean a glass-top stove without scratching it? Also, what do you need to do before laying sod? Read on to find out!
This week, we’re talking about getting green grass, cleaning stubborn, stuck-on food on a glass-top stove, and solving the mystery of what’s stuck on a power tool cord.
Laying down sod will give you an instant lawn! Here’s how to do it.
Get a Green Lawn
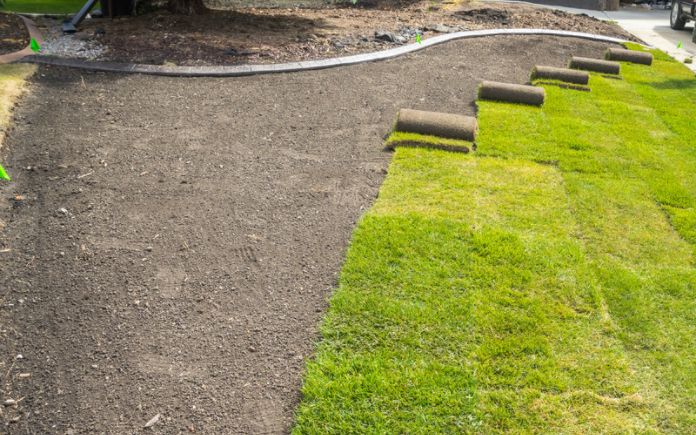
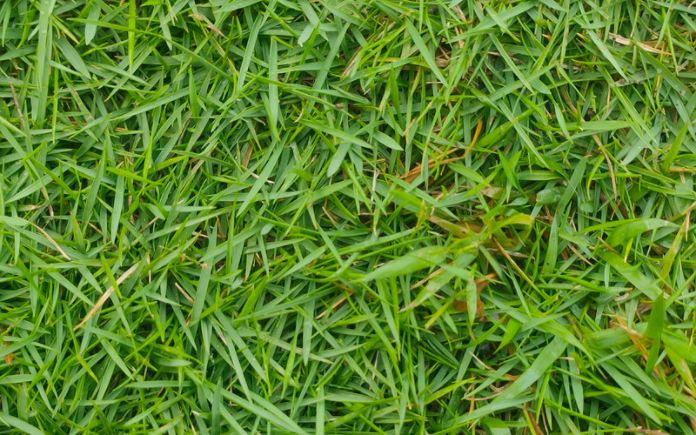
There’s nothing more satisfying than an instant lawn. The only way to do that is to lay down some fresh sod.
I’m visiting my daughter to lay some zoysia grass sod in her yard this week, so I thought I’d share my tips on how to successfully get that green grass to stick.
If you want all new grass in your yard, don’t lay down fresh sod on top of an existing sod lawn. The new roots of the sod will need to penetrate into the soil, and a blanket of existing sod will be another barrier for them.
Eliminate any vegetation you can by raking it or tilling it. You can rent a tiller from The Home Depot for less than $100 a day (prices vary based on your location). Rotate and cultivate the soil about four to five inches deep.
After that, add some bagged compost and rake it again. Water the soil and, finally, put the sod down.
Get all the sod down as soon as you can because you don’t want your exposed soil to sprout any new growth. Then, you’ll be back to square one.
Once you’ve laid your sod, take care of it like any other lawn. Water it regularly until it’s established. Mow it, but never remove more than a third of the height of the grass.
Another alternative to laying down sod is hydroseeding. This process involves spraying a watery mixture containing seed, mulch and fertilizer. Because this mixture is so rich in nutrients, new grass will sprout fast, and it will stick to any surface you spray it.
You usually see highway workers spraying this along the sides of highways to replenish bare spots. However, you can rent a hydroseeder from a lawn equipment company and do it yourself, or hire a landscaper to do it.
The most budget-friendly way to get a green lawn is to overseed it. Be sure to water it frequently to guarantee new grass grows.
Skip to [1:24]for the full segment on the Today’s Homeowner Radio Show.
Be careful when cleaning a glass-top stove. Anything too abrasive will damage the cooktop.
How to Clean a Glass-Top Stove
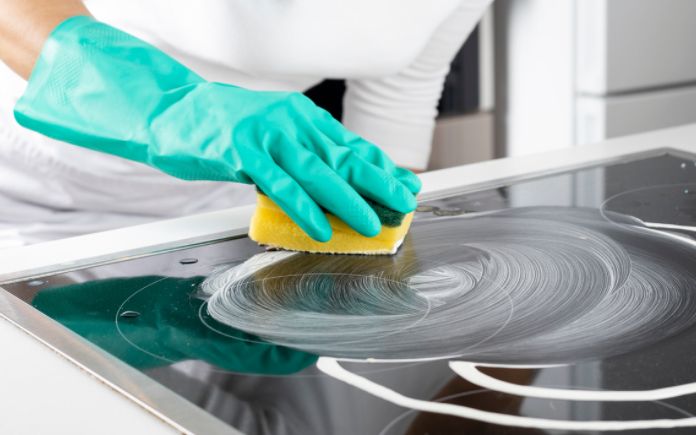
Erin McDonald in Dallas, Texas, bought a new glass-top stove last year, and she’s having a terrible time cleaning it. Burnt-on food and spills just won’t budge.
How can she clean her new stove without damaging the glass top?
You can buy a kit specifically designed for cleaning glass-top stoves. Cerama Bryte has a three-piece kit with everything you need to clean it.
If you don’t want to buy a kit, you can do it yourself with household items you have on hand.
First, make sure the stovetop is cool. Use a plant mister to spray the stovetop with distilled white vinegar. Then, sprinkle on a coating of baking soda. Take a terry cloth rag or microfiber cloth, dip it in hot water, and set it on the stovetop. Wait 15-10 minutes and wipe away the baking soda with another cloth.
If you have any caked-on particles, use a plastic putty knife to scrape off the food particles. Afterward, spray it with more vinegar to wipe it clean.
Do this frequently, and it will be easy to keep your glass-top stove clean.
Skip to [47:03] for the full segment on the Today’s Homeowner Radio Show.
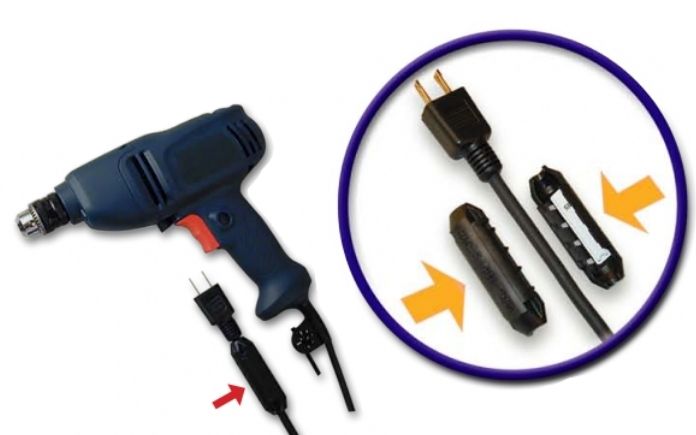
Mikey Ray in Temple, Texas, just bought two new power tools and both have a round black plastic cylinder on the power cords. Since the cylinder slides up and down, it always seems to be in the way.
So, what is this thing and what does it do?
The cylinder he’s referring to is called an Emtag. Emtags are cylindrical-shaped anti-theft devices manufactured by B&G International. This same company also manufactures the security devices you see on clothing, hardware packaging, laundry detergent and wine and liquor bottles.
You can remove these tags and it won’t affect the functionality of your power tools. Surprisingly, a pair of pliers or a screwdriver will crack it open, and it will come off in two pieces. Be careful to not damage the cord when you remove it.
Skip to [52:46]for the full segment on the Today’s Homeowner Radio Show.
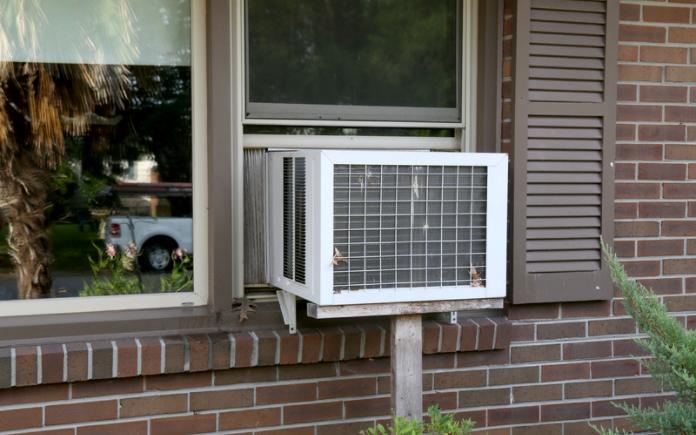
Shopping for a small window air conditioner? Look for multiple features that can help you save energy and money.
If you want to save energy with a small window air conditioner, then you need to consider several factors.
Overall, window units are more efficient than they were in past decades, but you want to make sure the system is the right one for your home.
Before buying a window air conditioner, consider the size of the space you want to cool. You don’t want a unit that is too small to service your room.
First, check the BTU rating on the unit to make sure it will work for your room. BTU stands for British thermal unit, which is a measure of the heat content of fuels or energy sources.
Basically, this rating represents how much heat is required to raise the temperature of one pound of liquid water by 1 degree Fahrenheit.
Measure the square feet of your room to decide what BTU rating you need for your small window air conditioner. Here’s a guide:
5,000-7,000 BTUs: Rooms up to 150 square feet
8,000-9,000 BTUs: 150-250 square feet
10,000 BTUs: 250-350 square feet
12,000 BTUs: 350-450 square feet
14,000 BTUs: 450-550 square feet
If your room is too big for a small window air conditioning unit, consider a split air conditioning system. It’s a ductless system and costs significantly less than a conventional central air conditioning system.
Next, check the window air conditioner unit’s Energy Efficiency Ratio rating. The higher the Energy Efficiency Ratio rating is, the less it will cost you to operate the system.
To find the Energy Efficiency Ratio, divide the air conditioner unit’s BTU rating by its wattage. Small window air conditioner units typically have ratings between 8 and 12. Generally, you don’t want anything below 10.
Other features on a window unit can affect energy efficiency. Overall, you want a unit with digital temperature control, variable fan speeds and sleep settings that turn on and off, depending on your sleep pattern. Those will conserve power and will make your unit more energy efficient.
Skip to [35:58] for the full segment on the Today’s Homeowner Podcast.
Also in this episode:
Best New Product
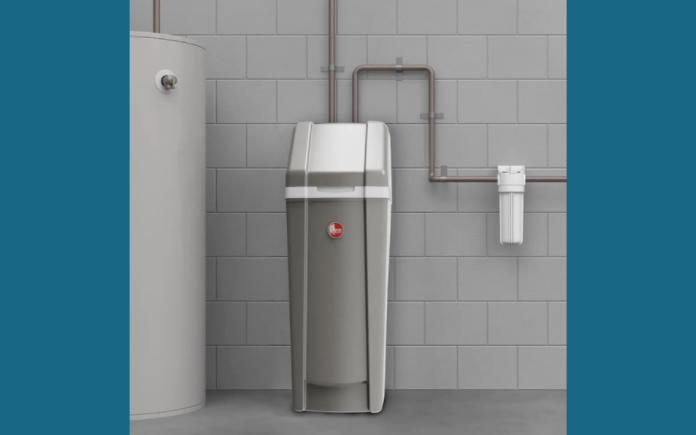
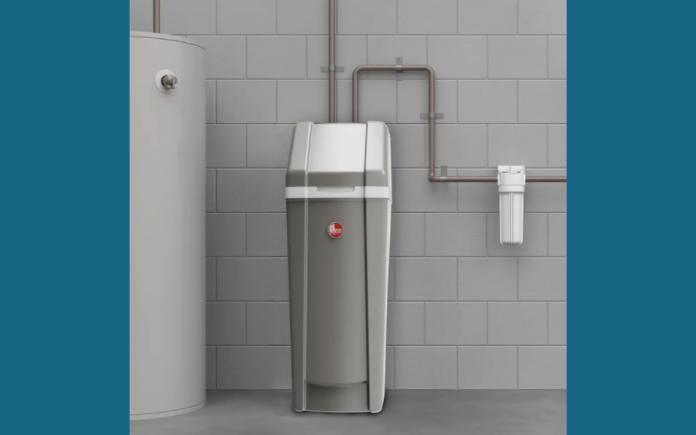
Complete your smart home and take control of your water quality with this water softener.Learn more>>
Simple Solutions
Quick and Easy Grout Cleaner — Plenty of specialty products on the market are specifically made for cleaning dirty, grungy tile grout. But you might just have something in your home right now that works just as well: toilet bowl cleaner.
That’s right — the same squeeze bottle of cleanser used to clean toilets does an excellent job of cleaning tile grout. Just squirt a bead of liquid toilet bowl cleaner along the grout joint, wait a few minutes and then wipe off with a scouring sponge.
Wall Protector— When prying off baseboard molding, it’s often necessary to pry against the wall. However, if you’re not careful, it’s very easy for the pry bar to dent or bust through the drywall.
Prevent this by placing a 1-by-4, 1-by-6 or even a 2-by-4 between the pry bar and wall. And be sure to cut the board about 24 inches long so it spans two studs.
The board will not only protect the wall, but it’ll also act as a fulcrum, making it easier to pry off the molding.
Quikrete Stucco Repair Sealant (This is an affiliate link. If you purchase this product, we will earn a small commission at no additional cost to you.)
Further Reading
Ask a Question! (Podcast)
Ask a question and we could answer it on the “Today’s Homeowner Podcast!” We also may use it on our nationally syndicated radio broadcast or on todayshomeowner.com.
The newest Rheem water softener will boost your home’s efficiency.
If you live in an area with hard water, you know the difficulties it presents. Mineral deposits build up in appliances, reducing their efficiency, and stains show up on dishes, sinks and toilet bowls.
Rheem’s Learning Technology adapts to how your household uses water. It optimizes salt consumption and provides on-demand soft water for your home.
This 42,000-grain water softener is ideal for families of all sizes and provides softened water throughout the entire home. Plus, with its industry-leading valve, you’ll keep your water pressure throughout all bathrooms.
The high-impact salt storage tank with an internal double-lined mineral tank won’t deteriorate, rust or corrode and is guaranteed to last for 10 years. Plus, the large tank opening with a hinged cover makes loading salt fast and easy.
This page contains affiliate links. If you purchase a product from these links, we will earn a small commission at no additional cost to you.
Remote Accessibility
Want peace of mind? The iQua water management smartphone app can help.
The app lets you keep an eye on critical alerts, like low salt levels and continuous water flow events, and provides information about your household water usage over time.
The Rheem water softener will save you up to $558 per year in household costs and up to 24 percent on water heater electricity costs by removing scale build-up and improving efficiency. The tank uses 40 percent less salt than traditional water softeners and costs less than $5 in electricity costs per year.
This smart water softener also cycles less, which means less water usage. On average, it uses less than $10 of water per year.
The Rheem Preferred Platinum Water Softener with WiFi Technology comes with a one-year parts and labor warranty, three-year electronics warranty and a 10-year tanks warranty. The parts and labor warranty can be extended up to five years with regular use of the Rheem water softener cleaner.
Listen to learn all about this Best New Product!
Find the Rheem Preferred Platinum Water Softener system with Wi-Fi Technology at The Home Depot.
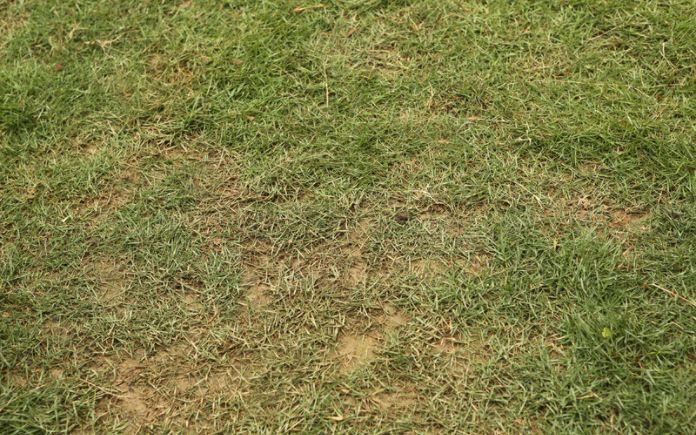
Zoysia grass can be a great option for your lawn, but be sure to take certain care measures to keep brown patches from forming.
Zoysia grass is a warm-season turf from Asia made of several species. This coarse grass— which thrives in central and southern states — is not shade-loving and prefers the sun.
Still, even with the best care, drought and pest damage can cause grass blades to turn brown or go dormant. If extensive damage occurs, and bare spots form, overseeding zoysia grass in the fall can help restore the turf.
To that end, here’s what makes zoysia grow patchy, how to overseed your zoysia lawn, and how to ensure the best results.
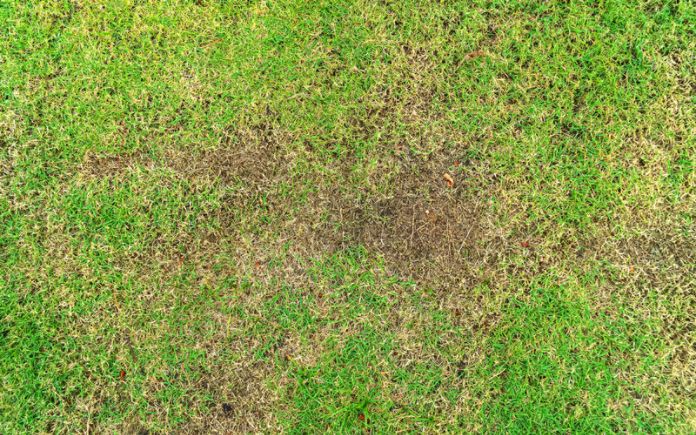
Zoysia grass can become brown and patchy if certain pests or fungi are present. (Getty Images Signature)
What Makes Zoysia Grass Patchy?
Before overseeding zoysia grass, you’ll need to identify the root cause of the damage. Drought is the often leading factor, but pests such as Chinch bugs, Hunting billbugs, and fungal pathogens like Rhizoctonia solani could also be culprits.
Here’s a breakdown of how pests and pathogens affect zoysia lawns:
Chinch bugs begin damaging grass from one side and expand as populations increase. (Getty Images)
Chinch Bugs
Chinch bugs — the most common pests of zoysia grass — spread rapidly to destroy major lawn areas. These insects inflict damage during the hot and dry summer months, and it’s tough to distinguish their visits from drought effects. Still, their patterns are predictable. Chinch bugs begin damaging grass from one side and expand as populations increase. As a result, damage is the most severe along lawn boundaries, like sidewalks and driveways.
Hunting billbugs feed on plant stems and grass blades. (Getty Images)
Hunting Billbugs
Hunting billbugs are most active during the night and early morning. Their damage is more common in mid- to late spring and early summer, when billbug larvae bore into the zoysia’s lower leaf stem and flourish. The turning point comes when growing larvae feed on stolons in the early summer, and grass shows symptoms of yellow areas that eventually brown and die out.
Rhizoctonia solani, a soil-borne fungal pathogen, causes large brown patches in zoysia grass. (Getty Images)
Rhizoctonia Solani – Fungal Pathogen
The third most common zoysia grass nuisance is Rhizoctonia solani, a soil-borne fungal pathogen. The large-patch symptoms appear in the fall and are most severe as zoysia grass growth slows due to cool temperature. This fungal pathogen can affect patches ranging from 6 inches to many feet in diameter.
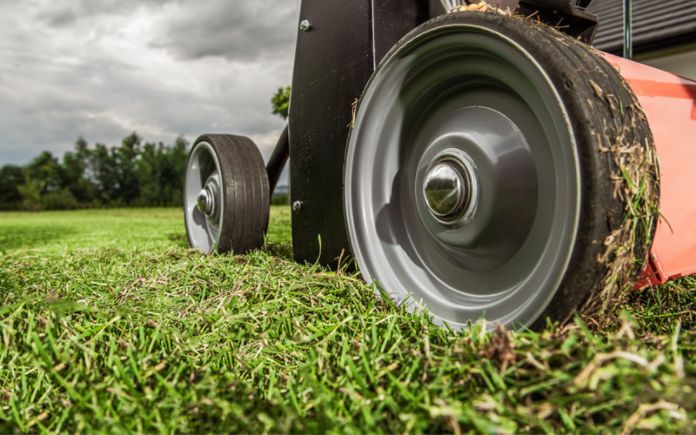
Aerate your lawn so your seeds can penetrate deeper into the soil.
How to Overseed Zoysia Grass — Easy Steps
Overseeding zoysia grass is necessary to cover bald lawn patches and create a healthy lawn. You should overseed lawns in the late spring or early fall as temperatures are favorable for seed germination. If you overseed in the fall, spread seeds at least 60 days before the first frost.
To prepare a zoysia lawn for overseeding, follow these steps:
Collect debris. The first step of seedbed preparation is removing debris, stones, rocks, pinecones, straws or any other ground cover. Use a rake to collect and remove smaller pieces of debris. If you’re seeding a bare spot, remove any dead grass to expose the soil.
Mow. Cut the grass to about 1-inch tall, ensuring appropriate seed-to-soil contact. When grass is high, seeds get stuck in the blades and may not reach the soil. Maintaining low blade height is mandatory for the successful overseeding of zoysia grass.
Aerate. This involves punching holes into the ground to loosen compacted soil. Adequate air circulation allows water to penetrate deeper to reach roots, and aerated soils can allow for greater seed-to-soil contact.
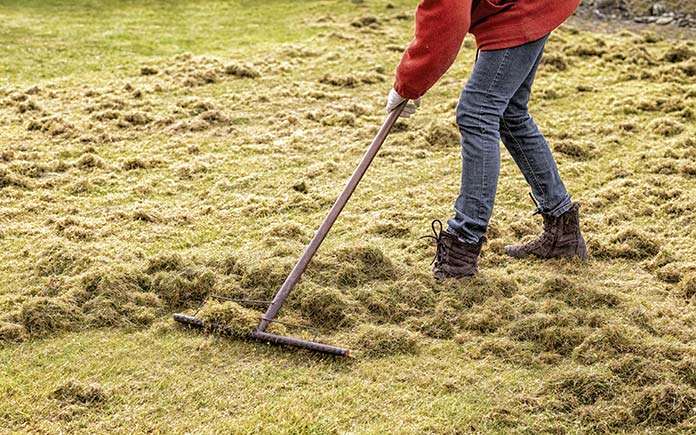
Dethatch. Whereas aeration prepares the soil, dethatching prepares existing turf. Thatch— consisting of dead grass under actively growing turf — accumulates over time. It limits water, fertilizer and grass seed from reaching the soil. Even if the lawns are mowed and aerated, don’t overlook dethatching before overseeding zoysia.
Fertilize. Before distributing seeds, check the soil for nutrient deficiencies and apply a fertilizer based on recommendations from a soil test.
Zoysia needs more nitrogen, little to no phosphorous and less potassium. Always keep in mind that the best Zoysia grass fertilizers will have high nitrogen content.
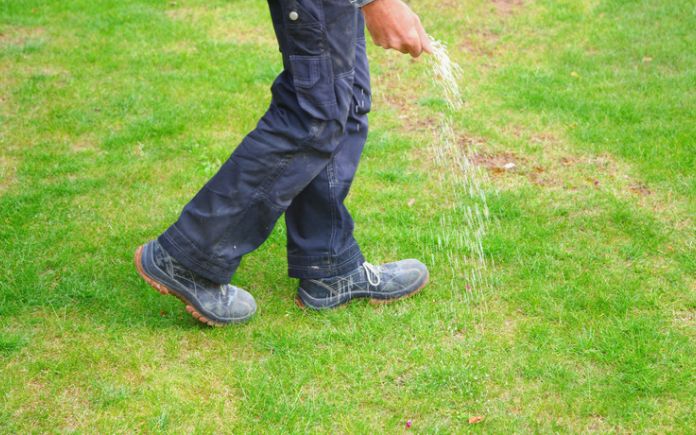
Distribute seeds. Zoysia needs 2 pounds of seed per 1,000 square feet for optimal overseeding. Calculate the amount of seed needed by dividing your lawn area by the recommended seeding rate.
Typically, a hand spreader or push spreader is the best tool to spread seed. Either one will help ensure that seeds are dispersed uniformly, so that revived lawn is equally covered.
Fertilizing your lawn will make grass blades thicker and give denser growth. (Getty Images)
So, you’ve overseeded your zoysia grass—now what? Here are some pointers.
Overseeded zoysia lawns need good moisture to sprout seed. Initially, water daily until germination. The recommended rate is 1 inch of water per week, including rainfall.
Remember: Overwatering attracts pests to the lawn. Take regular measurements of water for optimal results.
Fertilization helps lawns thrive and indirectly helps to reduce the risk of insect damage. Proper fertilization makes grass blades thick and gives denser growth. When there is a thick layer of grass above the soil surface, insects have less access to the nutrients found in the roots of the turf, and the lawn is more likely to grow insect-free.
Mow the overseeded lawn when grass gets to a height of 2 inches or more. Under ideal conditions, you will start to see growth in 14 to 21 days.
HAMILTON, Ontario – Resurfacing countertops is easy with the newest DIY product from Daich Coatings.
The LuxROCK Solid Surface Granite Countertop Kit allows homeowners to add a smooth, granite surface over laminate, concrete, plywood, MDF, stone, pre-coated and solid surface countertops, tables and vanities. It covers 40 square feet and retails for $299.
“This easy four-step DIY process totally revolutionizes how consumers can sidestep costly and complicated processes of adding real granite or solid surface slabs to their homes,” says Peter Daich, president of Daich Coatings. “Using the items in the kit, any existing flat surface can be upgraded in just one weekend. The result is a luxurious new stone surface that looks and performs just like real granite.”
According to Daich, the finished product’s high-end appearance has a smooth richness that rivals a professional granite countertop installation, at just a fraction of the price.
Roll On Real Granite Richness
Each LuxROCK Solid Surface Granite Countertop Kit includes a prime coat, stone coats, clear epoxy and a clear coat finish. Tools needed for the project are included in the kit.
“LuxROCK is a functional and decorative blend of real stone, with stunning mineral highlights,” says Daich. “This project is exceptionally easy, and you don’t need any artistic or technical skills to make the countertop resurfacing project a success.
“The best thing is that this is an extremely economical way to get authentic granite surface tops without the exorbitant price of installing slabs of granite. There’s no long wait time or messy construction with this kit. And, you’re not locked into the color! If you want to change it in a few years, just use another countertop kit!”
Named after real granite stones, the colors available in the LuxROCK kits include Galaxy Black, Platinum White, Basalt Mist (a dark gray), Crystal Quartz (a light gray) and Carrara (a creamy beige).
LuxROCK authentic stone surfaces resist stains, heat and impact.
Weekend Transformation
“LuxROCK is a revolutionary real stone countertop resurfacing system,” says Daich. “If you can use a paintbrush, you can transform your surfaces into luxuriously smooth, solid sparkling granite beauty that will simply amaze you.
“Best of all, you’ll save thousands of dollars compared to installing traditional stone slabs. Forget the hassles, supply chain problems and labor hassles. In one weekend, you can brush on your own solid surface granite countertop!”
LuxROCK authentic stone surfaces resist stains, heat and impact. Application of the product has low odor and low volatile organic compounds. Sinks, plumbing fixtures and countertops do not need to be removed before applying this product to laminates, concrete, plywood, MDF, pre-coated and solid surfaces. The final LuxROCK surface is food safe.
Choices of Smooth or Textured Finish
Daich Coatings also offers its original SpreadStone Mineral Select Countertop Kit, which offers a textured granite finish on countertops in 11 colors. The countertop resurfacing kit sells for $125 and covers 40 square feet.
The difference between the two kits is in the finish. The new kit has a higher stone content and provides a refined look that resembles a sleek, smooth stone slab finish.
Both the LuxROCK Solid Surface Granite Countertop Kit and the SpreadStone Mineral Select Countertop Kit, along with other Daich Coatings primers and decorative concrete products, are available at The Home Depot and https://www.daichcoatings.com, among other locations.
Gardening tools are essential not only for your safety and comfort but also for productivity. With the right tools in hand, you’ll be able to work more efficiently and effectively, yielding bigger and healthier harvests.
Sharp garden tools work more efficiently, effectively, and save you energy. (DepositPhotos)
As you move through this checklist of essential gardening tools, keep in mind that different products offer a wide selection of features, as well as varying degrees of quality.
How tall are you? Can you kneel to work? How large is your garden?
These are just a few questions to ask yourself as you move through all your options.
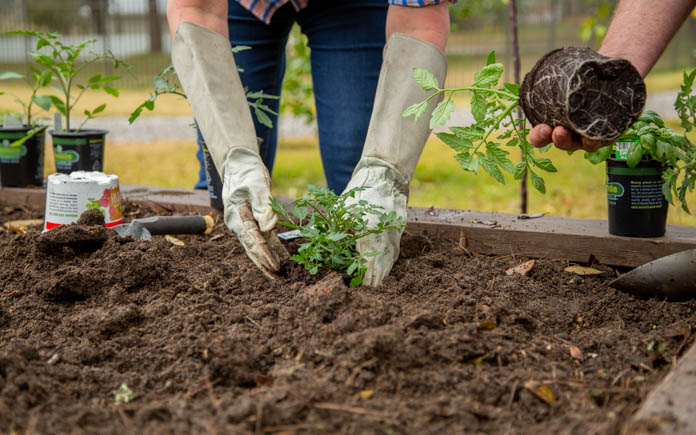
A good pair of gardening gloves will protect your hands from a number of hazards, including thorns, chemicals, and adverse weather conditions. They’ll also keep your hands and nails clean.
Choose gloves based on the task you’ll be performing — for instance, pruning roses and planting seeds make for two very different gardening experiences.
So, if you’re an avid gardener, you’ll want to have different pairs of gloves to tackle various jobs.
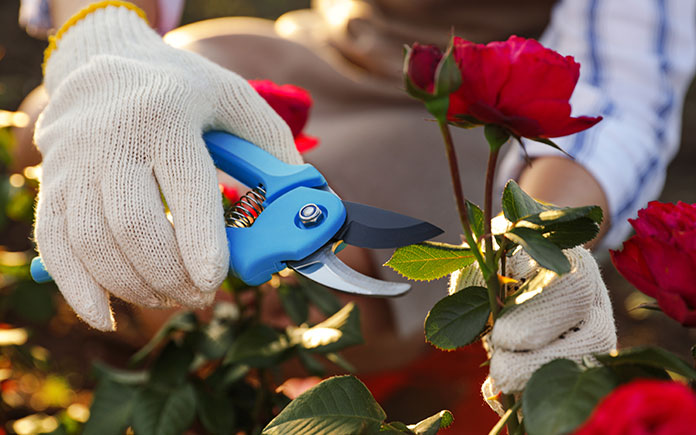
This handy gardening tool will prove invaluable for cutting smaller vines and branches. Even vegetable gardeners like to use pruning shears to harvest tomatoes, peppers, melons and other yields that don’t easily pop off the vine.
When choosing your pruning shears, make sure the grips are comfortable and the blades are sharp.
It takes just a few minutes to sharpen shears with grinders, files or sharpening stones. You just need to disassemble the tool, clean it, sharpen it, reassemble it, and clean the assembled tool for optimal performance.
And once you start using pruning shears, you might be surprised at how many miles you put on these handy little devices!
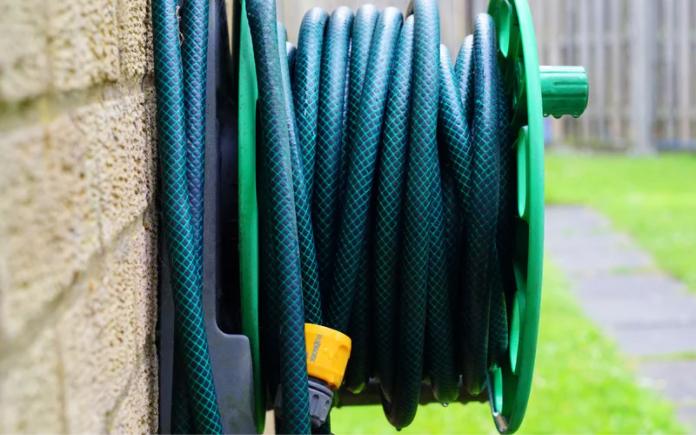
Everyone knows you need a garden hose, but did you also know some plants require a soaker hose?
3. Garden Hose
Your plants will need water — and unless you plan on hauling it in buckets, you’ll need a hose that reaches the farthest end of your garden.
Some plants, particularly perennials, don’t thrive with wet foliage, so you’ll also want a soaker hose, which slowly releases water so it soaks deeply into the soil.
Best of all? You can hide a soaker hose beneath your mulch and set it with a timer to turn on and off as needed.
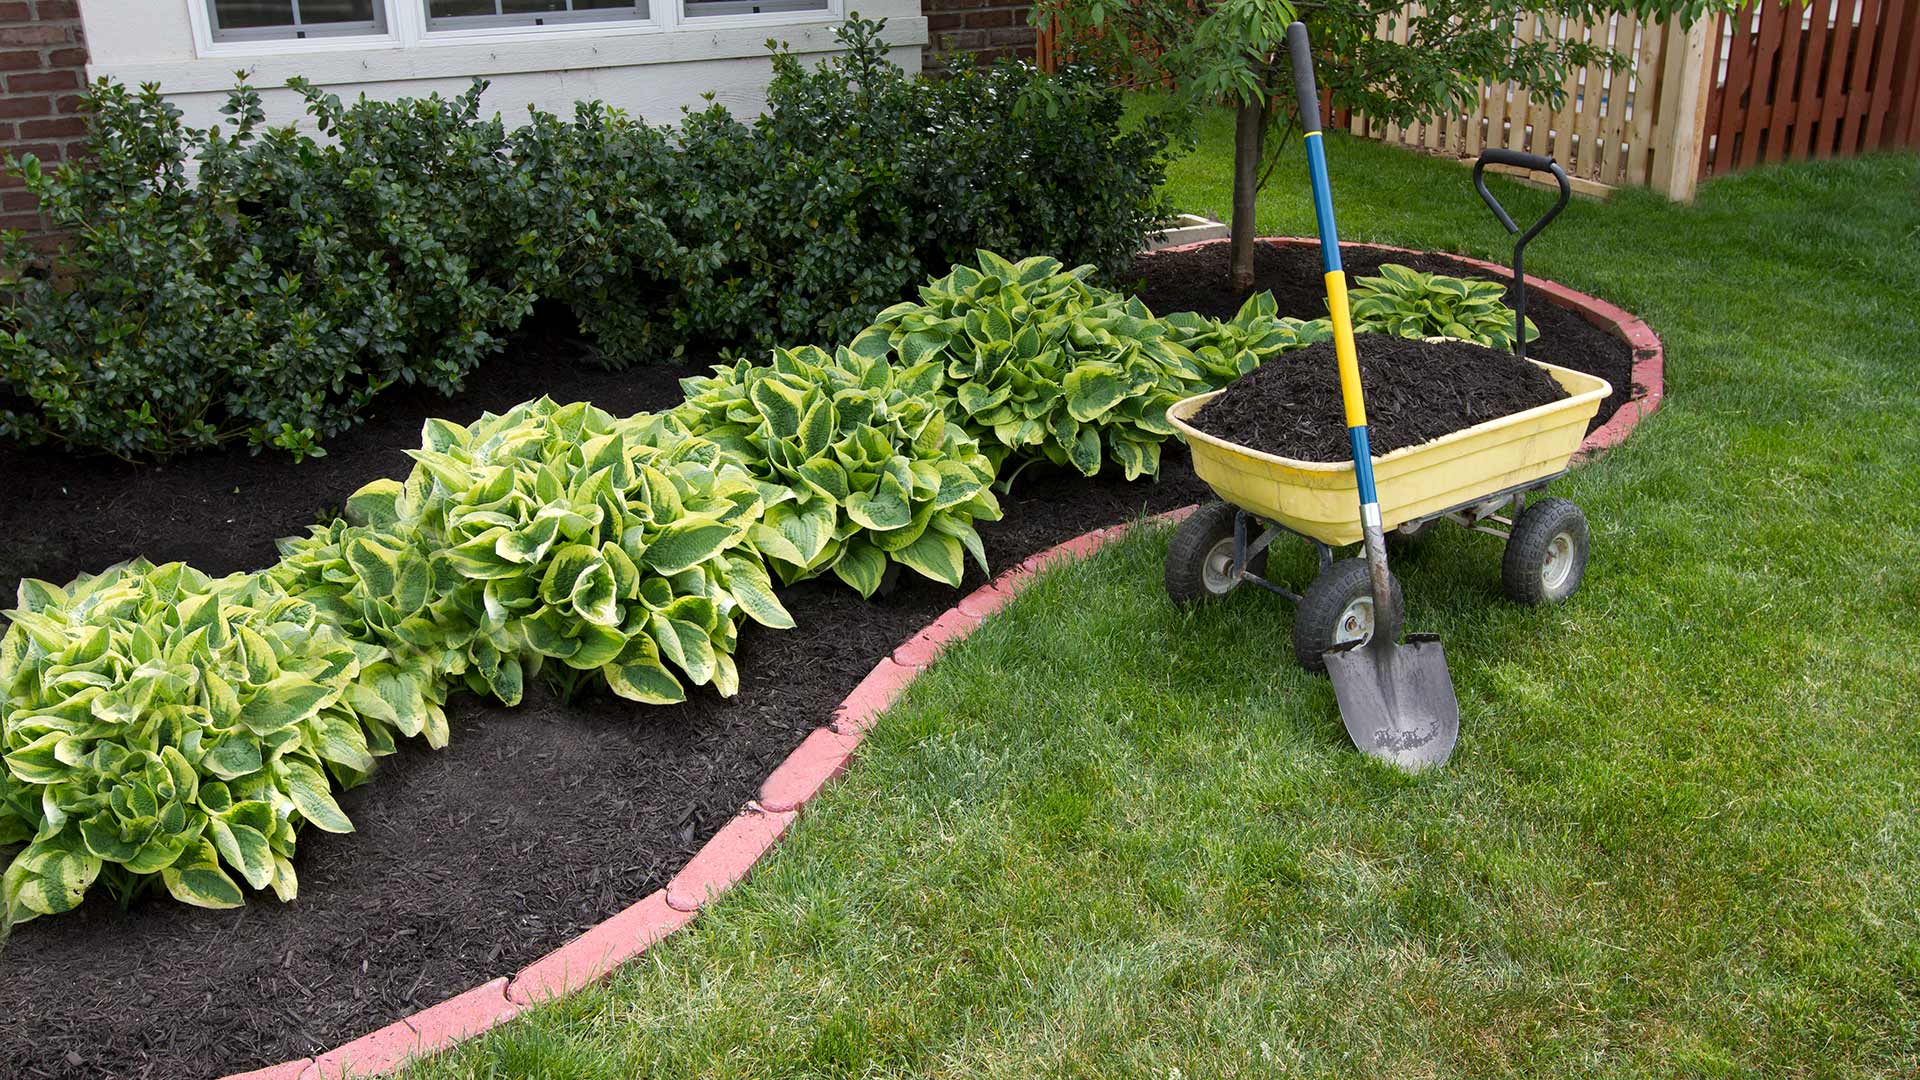
A wheelbarrow is essential for moving around soil, plants and tools while gardening.
4. Wheelbarrow
Chances are you’ll need to move dirt, clippings, compost, rocks — and the tools listed in this article. A wheelbarrow (or a garden cart or sled) will come in handy. Choose one that feels sturdy and balanced.
Pro Tips:
• Replace the wheelbarrow’s tire with a solid, universal tire that’s not inflated with air and can never go flat.
• Before you load up a wheelbarrow, point it toward the direction of travel. This will prevent you from pivoting with a heavy load
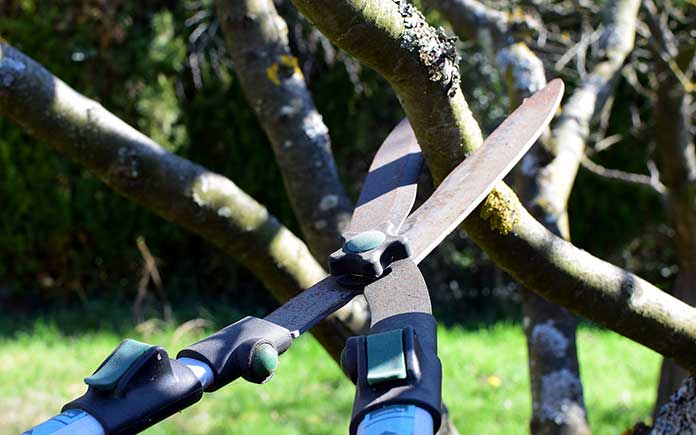
If you’re removing vines and branches, you’ll need garden shears.
5. Garden Shears
Lawn/shrub/garden shears, which are larger than pruning shears, are designed to trim shrubs and cut larger vines and branches. Choose a model that’s sturdy, yet light enough to be ergonomic.
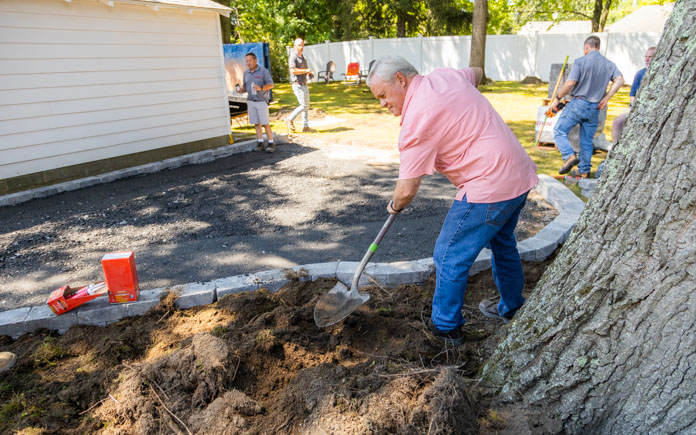
Whether you’re digging trenches or transplanting seedlings, one thing is certain: You’re going to need a shovel.
6. Shovel
Whether you’re digging out old shrubs, root balls or rocks, transplanting seedlings or filling a bed with soil or mulch, you’ll need a shovel or spade.
Choose one with a sharp edge, comfortable handle and a shaft that’s the right height for you.
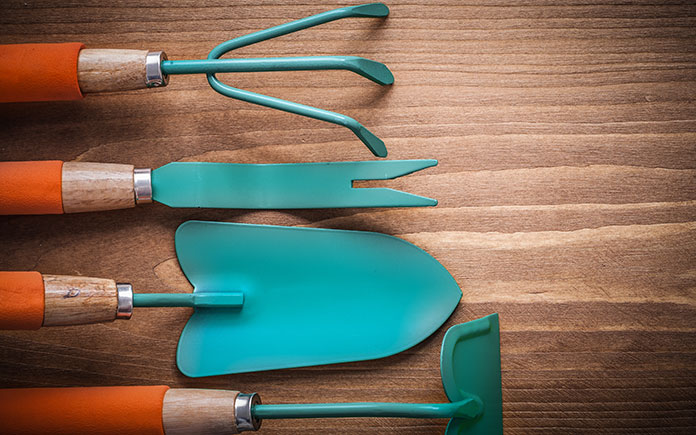
Carving out holes for plants in a raised garden bed? You don’t need a big tool — do it with a hand trowel!
7. Hand Trowel
This is much like a shovel, but it’s small enough to fit in one hand. Select a hand trowel that feels good in your grip, with a steady blade that won’t bend. Then use it to carve out holes for small plants, dig up weeds and extract plants for overwintering.
Whether you need to smooth out soil after it’s been tilled, comb rocks from the dirt or level out mulch, a garden rake with metal tines is a necessity.
You may need multiple rakes, depending on your lawn and garden’s needs. The three most common options are bow, leaf and shrub rakes.
Bow rakes help with smoothing out soil in a garden; leaf rakes are perfect for gathering leaves or pine straw; and small shrub rakes come in handy for placing mulch in tight spaces.
Pro Tip: Rake leaves fast with a tarp and two wooden dowels that make it easy to transport piles of leaves to a garbage can.
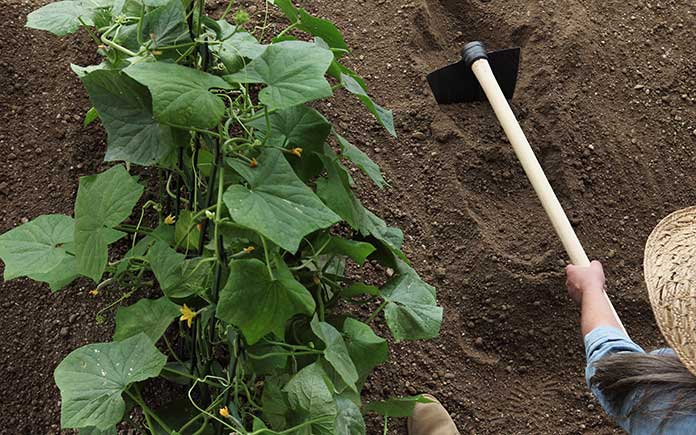
When it’s time to create furrows, plant seeds, mound up soil and dig weeds or root vegetables, a garden hoe is the tool you’ll need.
Choosing the right garden hoe will require a bit of research. If eliminating weeds is at the top of your list, a scuffle hoe, swoe or serpentine hoe might be the best choice.
For planting seeds, go with a warren hoe; and for tougher jobs that require more earth-moving, the draw hoe will be your multi-purpose friend.
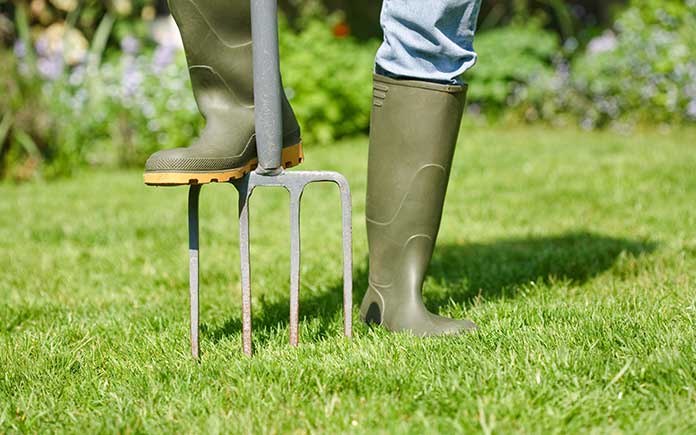
Need to aerate your lawn? If you don’t have a machine to do it, a simple garden fork works, too!(DepositPhotos)
10. Garden Fork
This tool is great for breaking up compacted soil. Choose a garden fork with sturdy tines that won’t bend if you hit a rock. If you plan to move mulch or compost, pick one with curved tines so you can use it as a shovel.
Having the right gardening tools helps you to take better care of your lawn and garden.
When you have just the right gardening tool for every job, you will move quickly through tasks, your garden will look beautiful, and you’ll be better equipped to care for plants.
Choose tools that will work best for you and your garden, but also those you can expect to last for years to come.
And remember: Inexpensive tools might seem attractive at first, but nothing beats reliability and longevity.
Barb Abrahms is the CEO and co-founder of PalmFlex. Abrahms has over 20 years of experience consulting her team and customers on their ideal personal protective equipment needs for a variety of industries and applications.