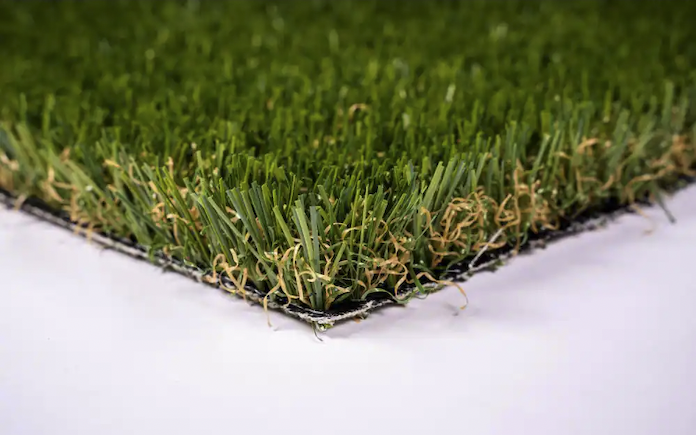
Pet turf is a godsend for homeowners who lack a lush lawn space for their furry friends to roam.
It also could be a solution to a four-legged problem child digging up a preciously manicured lawn.
Pet owners know the challenge. You let them out to take care of business and they wind up digging in the dirt and bringing it back inside. Not to mention the damage they do to the grass outside.
Repointing the brick on this historic home will help the exterior upkeep for longer. (Photo by Scott Evans)
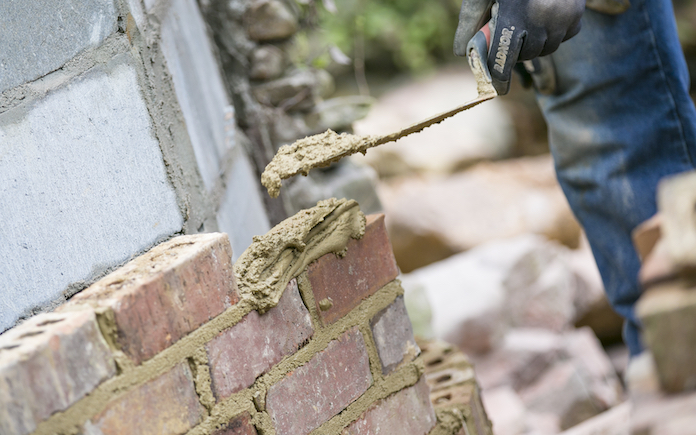
Repointing brick is the process of renewing the pointing, or external mortar joints, in between them. Over time, weather deteriorates the mortar, which could then cause water to leak inside the brick wall.
Repointing a historic brick home requires a different type of mortar so it will last for years to come.
Scott Evans in Rochester, Ill., has begun repointing his 155-year-old brick home in Rochester, Ill., but the mortar is popping out.
So, what’s the solution?
Scott’s problem has to do with the type of mortar he used.
When repointing an older brick home, you don’t want a mortar that will cure harder than the brick itself.
Older bricks are soft, and they tend to expand and contract more in temperature and humidity changes than newer, harder bricks.
Use type O mortar — a high-lime mortar with low compression strength. It contains less Portland cement and more lime, which makes it softer and also more waterproof.
Here are the basics for repointing brick:
Use a chisel or handheld grout saw to remove the mortar.
Wet the bricks and let them soak overnight. Keeping them hydrated will prevent the bricks from soaking up too much of the water in the mortar mix.
Next, mix the mortar. The general rule for mixing mortar is to use three parts sand to one part mortar mix. Combine the mix with water until it reaches the consistency of cake frosting. Work in small batches so the mortar doesn’t dry out before you apply it.
Work the mortar between the bricks using a pointing trowel. Use the flat end of the trowel to scrape away any excess on the face of the brick.
For the next three days, mist the mortar daily so it dries slowly and won’t crack.
Skip to [9:35]for the full segment on the Today’s Homeowner Podcast.
Also on this episode:
Best New Product
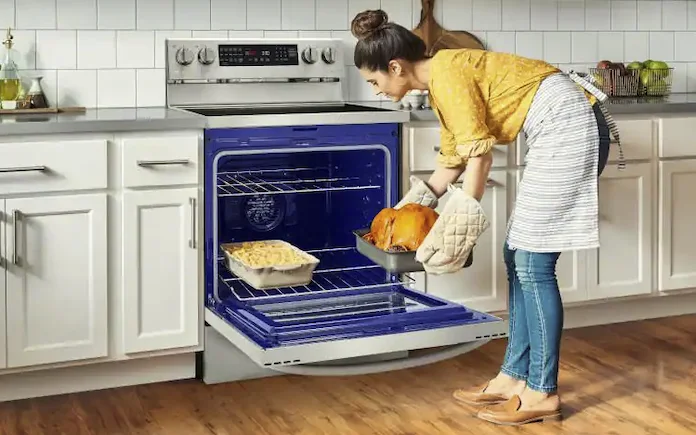
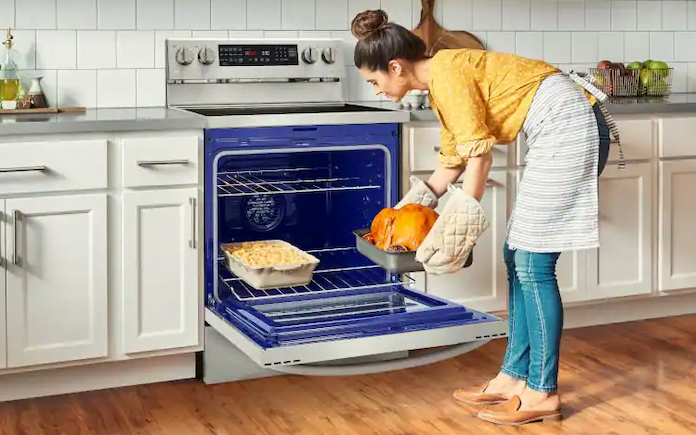
LG’s new convection oven with air fry capability saves on counter space and can cook for a crowd. Learn more>>
Simple Solutions
Adding Epsom salt to your tomato plant soil will improve its health and taste. (pixabay)
Epsom Salt in the Garden — Epsom salt is magnesium sulfate, which is rich in minerals that plants need.
By adding Epsom salt to your garden, the plants will absorb much more nutrients from the soil and fertilizer.
Here are three ways to grow healthy plants with Epsom salt:
1) Plants in the nightshade family — tomatoes, peppers, eggplants, potatoes — need magnesium to produce greater yields and more flavorful fruits and vegetables. Sprinkle 1 tablespoon of Epsom salt around the base of your plants. Or, mix the salt with a gallon of water and water the plants with the mixture. Repeat every two weeks.
2) Is your lawn looking dull? Add three pounds of Epsom salt for every 1,250 square feet of grass and then water your lawn.
3) Want robust roses? Sprinkle Epsom salt at the time of planting and when the flowers are in bloom. The salt encourages the rose bushes to produce larger flowers with deeper colors.
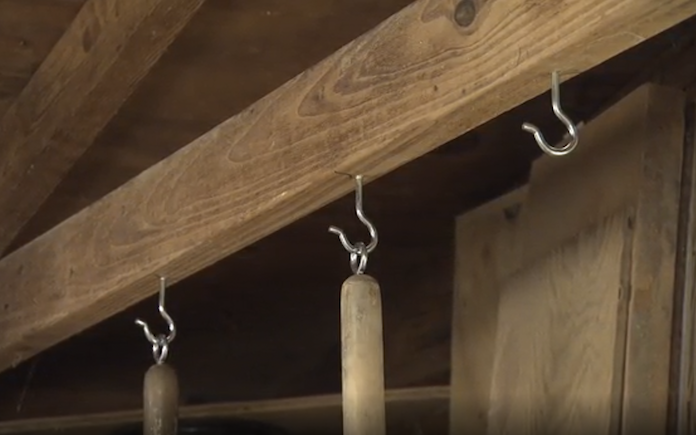
Hanging tools on screw hooks keeps them off the floor and out of the way.
Storing Garden Tools — Here’s an easy and effective way to store long-handled garden tools in a shed or garage:
Drill a pilot hole in an overhead joist and twist in a screw hook.
Then, drill a pilot hole in every end of the tool’s handle, and twist in a screw eye.
Now you can simply suspend the tools from the overhead hooks.
Q: I live in north Georgia where the soil is comprised almost entirely of red clay, so it’s nearly impossible to grow flowers and vegetables in my gardens. I tried tilling the soil and using fertilizers, but nothing seems to grow, except weeds. Do you have any suggestions?
A: Clay soil has poor drainage and is compacted tightly, so roots won’t hold well.
Typically, tilling the clay soil and adding a layer of topsoil is enough for grass to grow. However, for plants with deeper root systems, like vegetables and flowers, you’ll need to do a fair amount of work to make that clay soil suitable.
First, till the soil and aerate it as much as possible. Then, sprinkle about an inch of expanded shale over the soil.
Till the expanded shale into the clay soil, and then spread two to three inches of compost over it.
Finally, till the compost into the shale and clay soil mixture.
Once your soil is prepped, make sure the pH is correct for whatever plants you choose.
Skip to [33:50]for the full segment on the Today’s Homeowner Podcast.
Other Products and Links Mentioned
Further Reading
Ask a Question! (Podcast)
Ask a question and we could answer it on the “Today’s Homeowner Podcast!” We also may use it on our nationally syndicated radio broadcast or on todayshomeowner.com.
It’s normal for a copper pipe to develop a green patina over time. When copper is exposed to air and water, it oxides and turns a light green color.
However, if there is a lot of buildup and corrosion, it might corrode the copper.
To clean it, mix together one teaspoon of salt, a cup of vinegar, and enough flour to make a paste. Scrub it on the copper pipe to remove the buildup.
Skip to [43:42] for the full segment on the Today’s Homeowner Radio Show.
Solving the Mystery of Cracking Paint
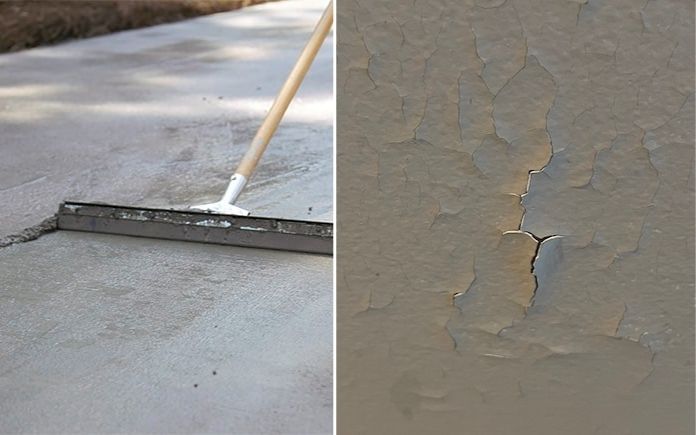
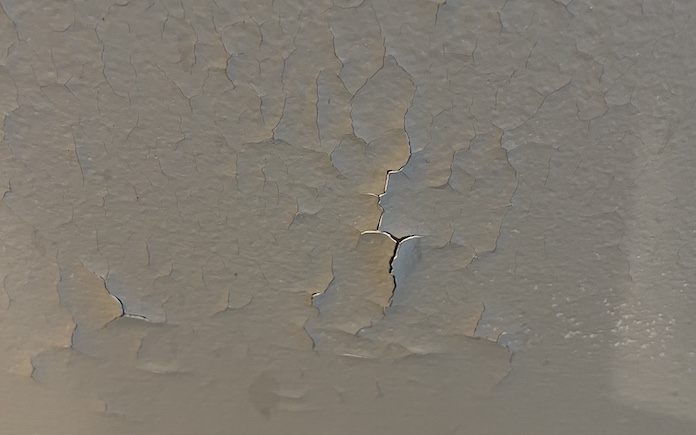
The paint keeps cracking on the walls in Judy Stringer’s condo. (Photo by Judy Stringer)
Paint on every wall in Judy Stringer’s Orange Beach, Ala., condo is cracking. The cause of the paint cracking is perplexing.
It happens in every room.
She’s tried sanding and repainting it using a bonding primer. That didn’t work.
She keeps the air conditioner on consistently, so there’s not a moisture problem.
Also, she’s spoken to her condo association, and none of the other neighboring condos have this problem.
To us, this sounds like an adhesion problem. The fact it’s happening on all the walls and no other neighbors have a problem indicates it’s a not paint problem.
The original wall surface was probably not prepped correctly before it was painted.
Judy tells us that after Hurricane Sally hit the Alabama Gulf Coast in 2020, there was damage to a bedroom window. A contractor replaced some drywall around it and painted it. Now, this is the only spot in the condo where the paint does not peel.
This is an indication that the problem is with the drywall.
Fortunately, you don’t have to replace all the drywall. You can veneer over it with quarter-inch drywall one room at a time.
Skip to [17:36] for the full segment on the Today’s Homeowner Radio Show.
Q&A With Quikrete
Outdoor living rooms are one of the hottest summer trends right now. (DianaLundin/Getty Images Signature)
Question: My wife wants to make our patio into a fancy outdoor living space with new furniture and an outdoor kitchen. We have enough space, but the concrete itself looks terrible. It’s full of little divots and rough places where you can see the rocks in it. Do we need to just bust it up and start over or is there a way to fix it? — Burt from North Carolina
A resurfacer will make concrete floors look brand new.
Answer: Even though concrete is a durable material, over time with traffic, weather and chemicals the surface can lose its luster.
But there’s an easy solution.
The folks at Quikrete make a product called Re-Cap Concrete Resurfacer that’s designed to solve your problem exactly. It can be applied as thin as sixteenth of inch or as thick as a half-inch.
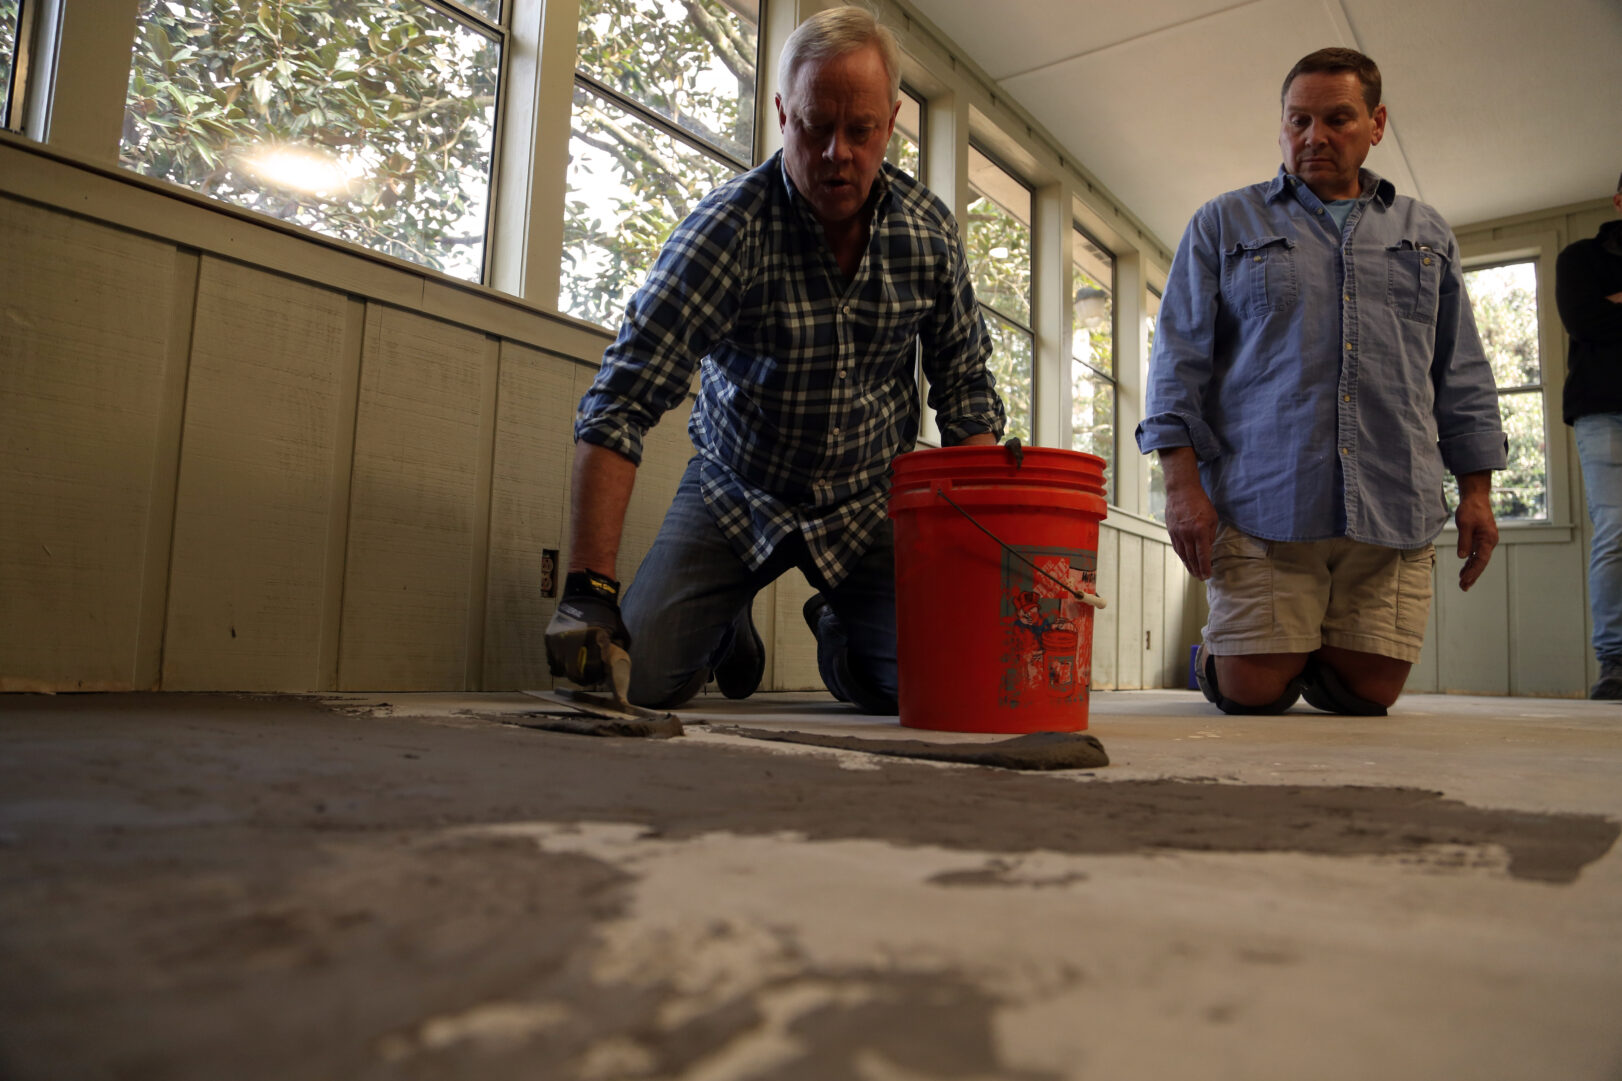
First though, you’ll want to fix any deep pits or cracks using Re-Cap in a thicker consistency and let that cure for about 24 hours before applying Re-Cap to the entire surface.
Then, you simply spread it out over the whole patio with a squeegee and any small divots will be filled in. As it dries, you can add a slip-resistant surface by gently pulling a push broom across the re-surfacer.
Once it’s dry, your patio will look like a brand new slab with consistent color and texture throughout. Learn more about Re-cap at quikrete.com.
Skip to [1:10:43] for the full segment on the Today’s Homeowner Radio Show.
Air fryers have exploded in popularity for their healthy take on fried foods. The problem with this appliance, however, is it takes up valuable countertop and storage space.
LG now has a solution for you to reclaim your counter.
The new Smart True Convection Instaview Range has 6.3 cubic feet of oven space with air fry capability. Get that crispy flavor fast with no preheating and air fry in big batches enough to feed a crowd!
Taking a page from LG’s InstaView refrigerator, this range lets you check cooking progress without opening the door or reaching over a hot cooktop to flip a switch. Just knock twice on the window to turn on the oven light while your meal is baking without disrupting your food’s cooking progress.
This page contains affiliate links. If you purchase a product from these links, we will earn a small commission at no additional cost to you.
LG’s 3-in-1 element adjusts its size, so you won’t have to shuffle pans around the stovetop. (Photo via homedepot.com)
The stovetop features LG’s 3,200 Watt 3-in-1 element. Because you can adjust the element from 12 inches to 9 inches to 6 inches with just a turn, you won’t have to move pans around.
A sofa arm tray keeps everything you need in the living room within close reach.
Let’s face it, your couch can easily swallow everyday items if you lack table space to keep them stable and in view. Remotes mysteriously vanish moments after you set them down, and phones slip between cushion gaps.
From reading glasses to snacks, and everything in between, a sofa arm tray can keep these items in plain sight and easily accessible. Plus, it’s the perfect spot to set down a drink so you don’t have your hands full while lounging in the living room.
This is especially useful if you use your hands a lot while talking — it eliminates any chance for your drink to spill during a spirited conversation!
You can easily build this small sofa arm tray in less than a day. And, depending on how long it takes the finish to dry, you can enjoy its convenience and receive compliments from friends in no time!
Materials
Determine the Size
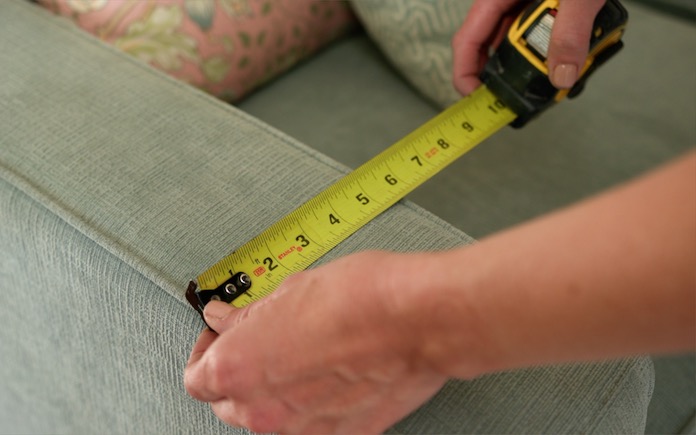
First, you’ll need to measure the width of the armrest where you’ll use the sofa arm tray.
Then, measure the distance from the top of the armrest to the cushion.
Cut Wood Pieces
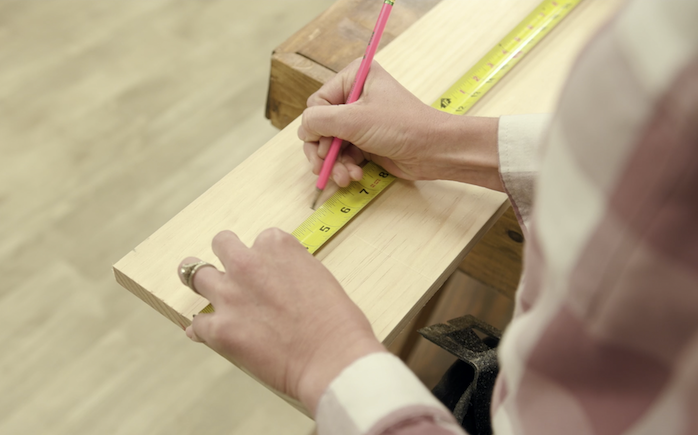
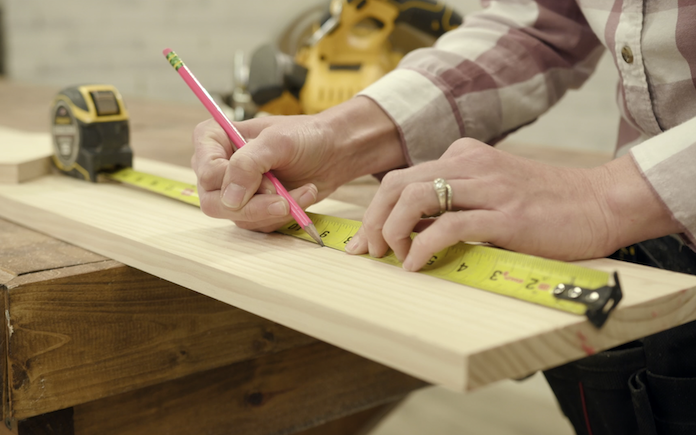
From a piece of 1-by-8 board, cut one piece 1 1/2 inches wider than the armrest and one piece the same length as the distance to the cushion.
Then, cut a third piece 2 1/2 to 3 inches longer than the cushion height. This piece will go on the outside.
Assemble Sofa Arm Tray
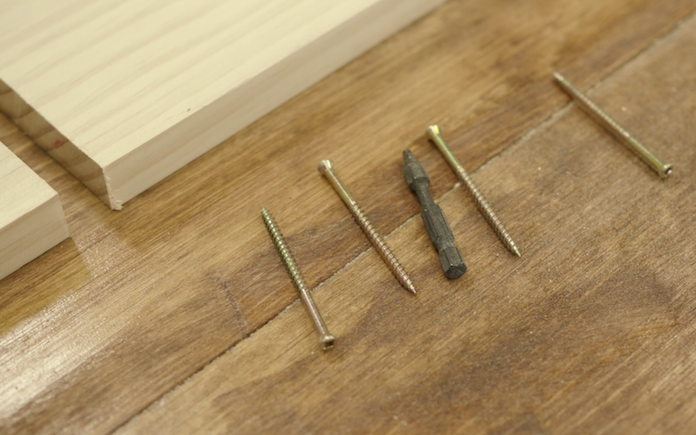
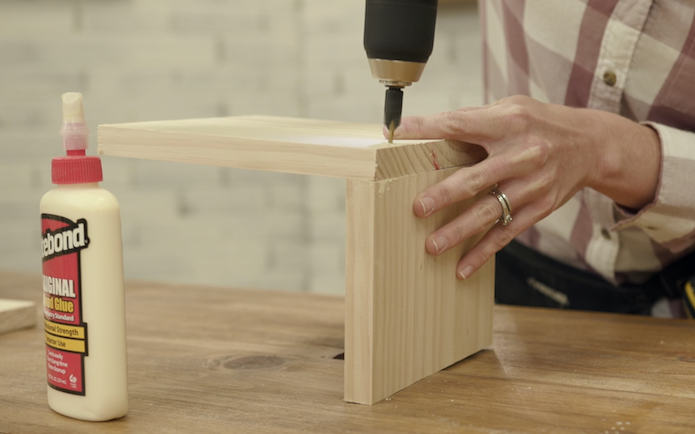
You’ll need some 3-inch trim screws, a countersink drill bit, and some wood glue for assembly. Glue the pieces together with Titebond Original Wood Glue to quickly bond them together. This makes the tray sturdier and drilling the screws easier.
Use the countersink bit to drill a pair of pilot holes in each location before you drive in screws to secure the joint.
Trim screws have a tiny head, so once they’re in place, they’re nearly invisible.
Repeat this process with the other leg.
Add the Final Touches
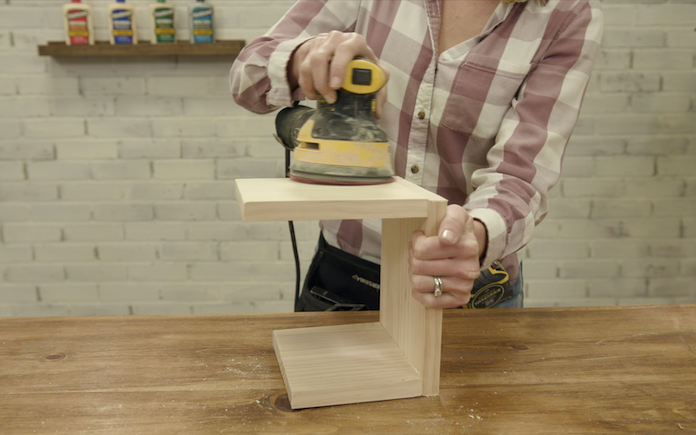
After you’ve assembled the sofa arm tray, sand the edges for a smooth finish.
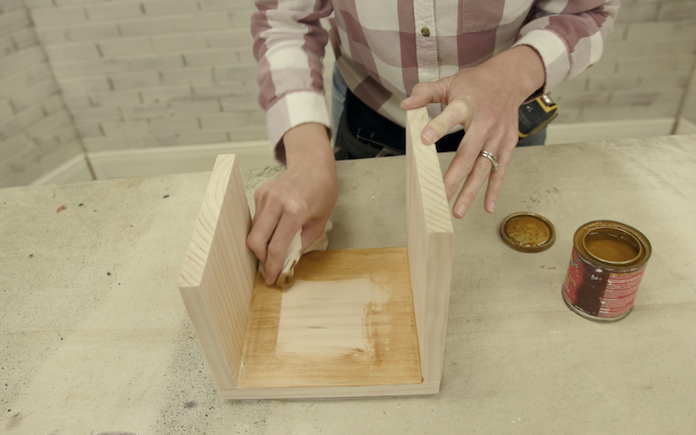
Next, apply a coat of wood stain with a cotton cheesecloth.
Once the wood stain is dry, brush on a coat of clear polyurethane sealer. A water-based polyurethane sealer should dry in about two hours, whereas an oil-based one will take at least eight hours.
After your sofa arm tray is dry, unwind in your living room with your essentials in sight!
Quikrete’s calculators eliminate any guesswork when purchasing building materials for home projects. (Photo provided by Quikrete)
Concrete is a cornerstone element for any home project.
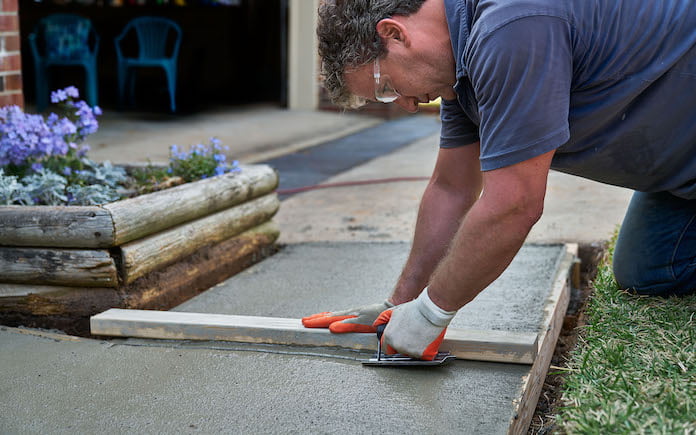
For many homes, it’s literally the foundation upon which they are built. Concrete is also a key ingredient of hardscape elements to enhance your backyard; it provides a solid entrance with driveways and walkways; and it securely sets posts for fences or mailboxes.
Here’s how Quikrete’s calculators do the math for you and make home improvement projects easier.
For concrete slabs, big or small, Quikrete’s concrete calculator tells you the precise amount you’ll need.
Concrete Slabs
Whether you need a slab for a concrete driveway or shed foundation, Quikrete’s concrete calculator tells you how many bags of mix you’ll need to get the job done — eliminating any worry of being short a bag or buying too many.
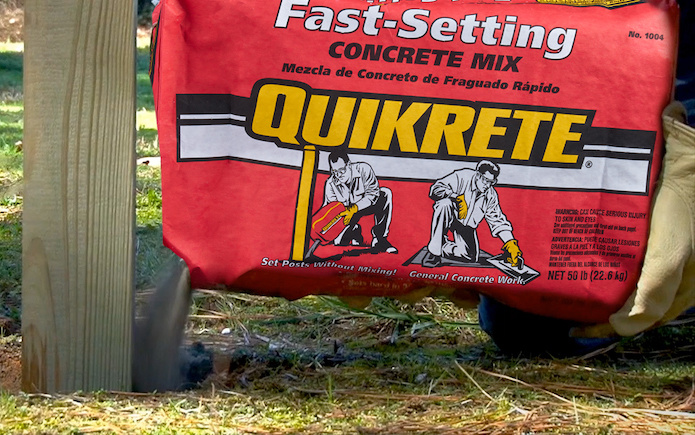
First, choose the desired product — popular options include Quikrete’s Concrete Mix (for larger slabs) and Fast-Setting Concrete Mix in the red bag (for smaller slabs).
The calculator determines the amount you need for a 4-inch or 6-inch slab. Just enter your slab’s square footage and it will tell you how many 40-, 50-, 60- or 80-pound bags you’ll need.
Calculate how many bags you’ll need here. All you need to do is enter the depth of the hole. The calculator will generate the number of bags you need for various post and hole diameters.
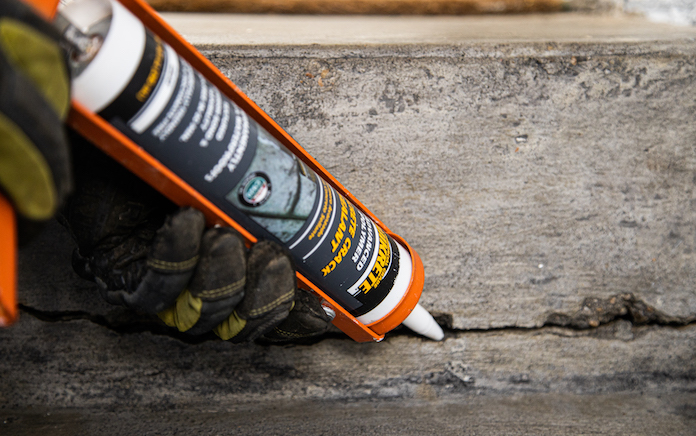
Over time, cracks and crevices will creep up on your concrete. To maintain your concrete surface’s structural integrity and prevent additional damage, repair those cracks with a concrete crack sealant.
Simply enter the approximate length of the crack you will be repairing in feet, and Quikrete’s Concrete Crack Sealant Calculator will tell you how many 10.1-ounce tubes you will need for your project.
When building a paver patio, don’t end up short on sand. Quikrete’s paver sand calculator tells you how many bags you’ll need to fill every square inch.
Just enter the size of the area you need to cover in square feet. The calculator will tell you how many bags you will need to cover the area at a 1/8-inch, 1/4-inch, 3/8-inch 1/2-inch, 3/4-inch, 1-inch or 2-inch depth.
Once you have your pavers in place, you’ll need to secure them with some polymeric jointing sand. You guessed it — Quikrete also has a calculator for that.
Mortar is the glue that holds bricks together. Whether you’re building a retaining wall or a privacy concrete block wall for your garden, you’ll need some.
And Quikrete has a mortar mix calculator to tell you how much you’ll need. Just enter the number of bricks or concrete blocks you plan to use for your project.
The calculator will tell you the number of 60-pound or 80-pound bags of Quikrete Mortar Mix you need to construct your project with a ⅜-inch mortar joint.
Building a backyard playground for your child? Quikrete has a calculator to tell you how many bags of sand you’ll need to fill a sandbox. (pixelshot)
Other Material Calculators
Still have a question after you’ve calculated how much material you need? Quikrete has a live chat function on its calculator webpage, so you can talk one-on-one with an expert, ensuring your project will be completed to perfection.