If you want to add a wider casing around a door, you’ll need to remove a portion of your baseboard trim to accommodate it.
Your first thought might be that you need to pry off the whole baseboard and cut it to size with a circular saw in your shop.
However, you don’t have to go through the extra effort of removing the whole thing. Use an oscillating multi-tool to get a precise cut while it’s still on the wall.
An oscillating tool is a compact, portable power tool that accepts a wide range of interchangeable blades. It can sand, cut, scrape, grind and polish depending on the blade.
It’s called an oscillating tool because the blade oscillates back and forth.
You can use it for cutting drywall openings and plumbing pipes, trimming baseboard molding and more.
While this tool cuts great and is very versatile, it’s a little hard to control. The vibrations make it easy for you to slip and knick a chunk of material that you don’t want to cut.
To make a perfectly straight cut, you’ll need a little assistance from a speed square.
Behr’s new wood stain comes in 12 premixed colors and 60 custom colors, so you’re sure to find a tint that matches your unique style.
The high-performance stain dries quickly and evenly in just one hour, giving you great results in less time. It also provides superior color control and application control for interior projects.
Plus, it’s reworkable for up to 48 hours after staining the wood, so you have more time to get the look you want.
Faster drying means less time waiting to get your wood pieces functioning again. (3 Echoes Content Studio)
The stain starts working in two to three minutes. The longer you leave the stain on, the richer and darker the color will be. To get an even deeper and darker color, apply a second coat after the first hour of drying.
Clean-up is easy — just use soap and water. And you won’t have to smell that stain for very long because this product has less odor than other oil-based stains.
This page contains affiliate links. If you purchase a product from these links, we will earn a small commission at no additional cost to you.
Watch the video to learn all about this Best New Product!
In this week’s radio show, some good news on the home improvement horizon, plus some tips for painting and how to fix a bowed stud.
Home Improvement News
Lumber prices are falling after months of price increases. (elenaleonova, Getty Images Signature)
Good news on the home improvement front! Lumber prices are starting to fall.
At the start of the year, the price of lumber was $1,112 per thousand board feet, and as of June 23, the price has fallen to $617 per thousand board feet, according to the Chicago Mercantile Exchange.
So, if you’ve been thinking about replacing a fence or building a deck, there’s some hope in sight.
But, there’s also more to keep in mind. If you’re planning a project, you’ll need to order things well in advance. The lead times on some common materials may take a lot longer than you think.
The average delivery time for materials increased in May to 85 days, according to the Institute for Supply Management’s latest manufacturing report.
Joe is installing a bay window, and he ordered it a few weeks ago and it’s supposed to come in at the end of July. (They didn’t tell him the year so we’re assuming it’s next month!)
So, if you want to complete a new project this year or buy a new appliance, don’t put it off!
Skip to [00:28] for the full segment on the Today’s Homeowner Radio Show.
The Secret to Vanishing Brushstrokes
It’s possible to get the look of airbrushed painted cabinets while using a paintbrush. (3 Echoes Content Studio)
Add an additive like Flood Floetrol Latex Paint Additive to your paint. Add a little bit to the paint and it does an amazing job of evening out the brushstrokes.
Also, don’t skimp on a cheap foam brush. Buy a good-quality brush that will last a long time.
Skip to [52:09] for the full segment on the Today’s Homeowner Radio Show.
How to Straighten a Bowed Stud
If you find a bowed stud after removing drywall, you can fix it without removing the whole board. (Pancaketom)
Gordon Lipinski in Akron, Ohio is in the middle of a major bath renovation. He ripped out an old bathtub to replace it with a large shower.
However, when he went to install the cement backer board to the 2-by-4 wall frame, he found that one stud is bowed out slightly, making it impossible to set the backer board flat against the wall.
“There’s no easy way to remove the bowed stud now, so should I shim out the other four studs or is there some way to straighten out the bowed stud?” he asks.
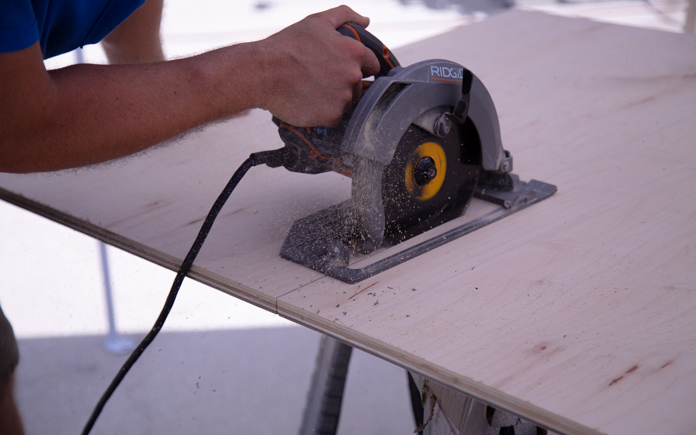
To fix this so the backer board is level against the stud, use a cordless saw to vertically cut the stud along the bowed area.
Before you cut, pop a line from top to bottom. This will get it back in line with the wall.
Skip to [54:05] for the full segment on the Today’s Homeowner Radio Show.
Around the Yard
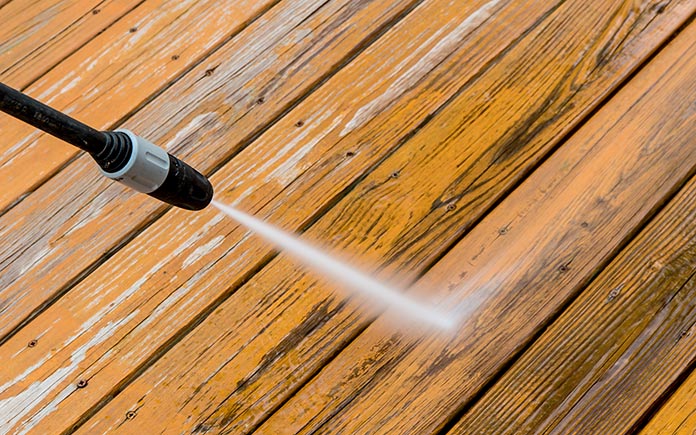
Make deck dirt and buildup disappear with the swipe of a pressure washer wand.(DepositPhotos)
If you love creating or improving outdoor spaces like I do, you know how frustrating it can be when they start to get dingy and dirty.
It’s inevitable, that pergola, deck or paver patio you built will eventually start to gather dirt and mildew until it looks old and tired — stealing the joy you used to feel every time you looked at your creation.
With the swipe of a pressure washer wand, your deck or patio can go from cruddy to clean in minutes.
So here are some tips to make the job faster and more efficient.
First, choose the right cleaning solution. If you’re using the pressure wand to apply it, be sure the formula is “pressure washer safe.” Anything containing bleach can damage the pump in your machine. However, if you need bleach, apply it separately with a pump-up sprayer.
Next, choose the right tip. Most pressure washers come with a variety of tips ranging from a narrow point to a broad fan pattern. The finer the pattern the greater the chance of doing damage to softer surfaces like wood. User a wider tip for a fence or deck than you would for a patio or driveway.
Finally, get some good accessories. One of my favorites is the cleaning disc that snaps onto the wand in place of the pressure tip. Inside the disc there are two fine tips that spin in a circle to clean large, flat areas fast. Plus, there’s less chance of leaving streaks behind when you’re done.
Skip to [34:12] for the full segment on the Today’s Homeowner Radio Show.
Also on this episode:
Best New Product
Get the same power as gas minus all the noise with Ryobi’s Whisper Walk electric push mower. Learn more>>
Other Products and Links Mentioned
Further Reading
Radio Show: Send us your question!
If you have a comment, general question about home improvement, or something we’ve featured on Today’s Homeowner, please fill in this form:
You don’t need to use a ton of chemicals to get rid of peeling concrete paint. (Katherine Jones)
Katherine Jones, in Cherokee Village, Ark., wants to know the best way to remove paint from the concrete on her 60-foot-long front porch.
She doesn’t want to use a harsh chemical stripper that could kill the shrubs and grass around the porch.
The freshly painted concrete looks great and easy to clean, but not long after it starts to blister or bubble. This is why we don’t recommend painting concrete.
Here’s how to remove paint from concrete.
For a porch this size, rent an orbital floor sander and choose a sandpaper that’s not too coarse. You want to remove the finish and not grind the concrete. This will be the easiest way to get the bulk of the paint off.
Then, you’ll have to use some elbow grease to sand the areas the sander can’t reach, like around handrails and columns.
There are citrus-based strippers that are non-toxic and aren’t harmful to plants. This type of stripper will help in the areas where the sander can’t reach.
Also, consider renting a soda blaster. It works the same as a sandblaster but uses baking soda instead.
Skip to [23:12] for the full segment on the Today’s Homeowner Podcast.
Also on this episode:
Best New Product
Get the same power as gas minus all the noise with Ryobi’s Whisper Walk electric push mower. Learn more>>
Improvised Lawn Sprinkler — The next time you need to water newly planted grass seed, trees, flowers or shrubs, and you don’t have a sprinkler, you have a few options.
You can go out and buy one, borrow one from a neighbor, or you can make one from an empty soda jug.
Drill three or four 1/8-inch-diameter holes in the side of a plastic, two-liter soda bottle.
Wrap some Teflon tape around the bottle treads and then screw on a female-to-female hose connector.
Attach a garden hose to the hose connector, place the sprinkler in the yard with the holes facing up, and turn on the water.
Protest your fingertips with latex gloves. (eduardolopezcoronadophoto)
Rescuing Used Rubber Gloves — Before discarding used latex gloves, snip off any fingers that aren’t too badly damaged or dirty, and use them as slip-on fingertip protectors when spreading glue, smoothing caulk or spraying paint.
Some termite warranty companies don’t cover your house if you have spray foam insulation. (stock.adobe.com)
Question of the Week
Q: My wife and I are building a new home. I was planning to use spray foam insulation, but after calling several termite-bonding companies, I was surprised that most were hesitant to cover homes with spray foam. Some flatly refused coverage. Why is that, and what other options do I have?
A: Some termite-bonding companies don’t cover homes with spray foam insulation because of inspection issues.
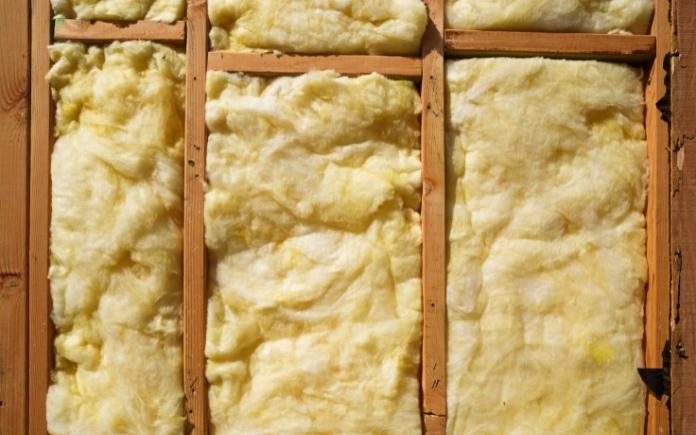
If you have fiberglass or Rockwool insulation, an inspector can just pull the insulation away to look for termite damage. With spray foam insulation, they can’t do that because it sticks to the wood.
Some southern states have modified their building codes to require a termite inspection strip. This strip is installed above and below the foundation slab and allows inspectors to see termite damage in homes with spray foam insulation.
Talk to a local building inspector and see what they recommend to do on a new home build.
Skip to [31:59] for the full segment on the Today’s Homeowner Podcast.
Further Reading
Ask a Question! (Podcast)
Ask a question and we could answer it on the “Today’s Homeowner Podcast!” We also may use it on our nationally syndicated radio broadcast or on todayshomeowner.com.
Don’t delay mowing your lawn for fear of waking the neighbors. Buy a quiet electric push mower like the Ryobi 40 Volt HP Whisper Walk and get the job done early!
This page contains affiliate links. If you purchase a product from these links, we will earn a small commission at no additional cost to you.
Because it’s electric, it’s whisper-quiet. Plus it has high-intensity LED headlights, so you can mow before the sun rises.
The Ryobi 40 Volt HP Whisper Walk electric push mower gives you all the power of gas with cordless convenience. The brushless motor provides more power, longer runtime, and longer motor life than competing battery-powered mowers.
With a 70-minute run time, it’s ideal for yards up to three-quarters of an acre. The onboard fuel gauge shows the battery life, so you won’t be caught off-guard mid-mow.
11-inch high wheels and a lightweight deck make operating this electric push mower a breeze.
And the all-wheel-drive with Smart Trek technology matches the mower’s speed along with your own pace.