
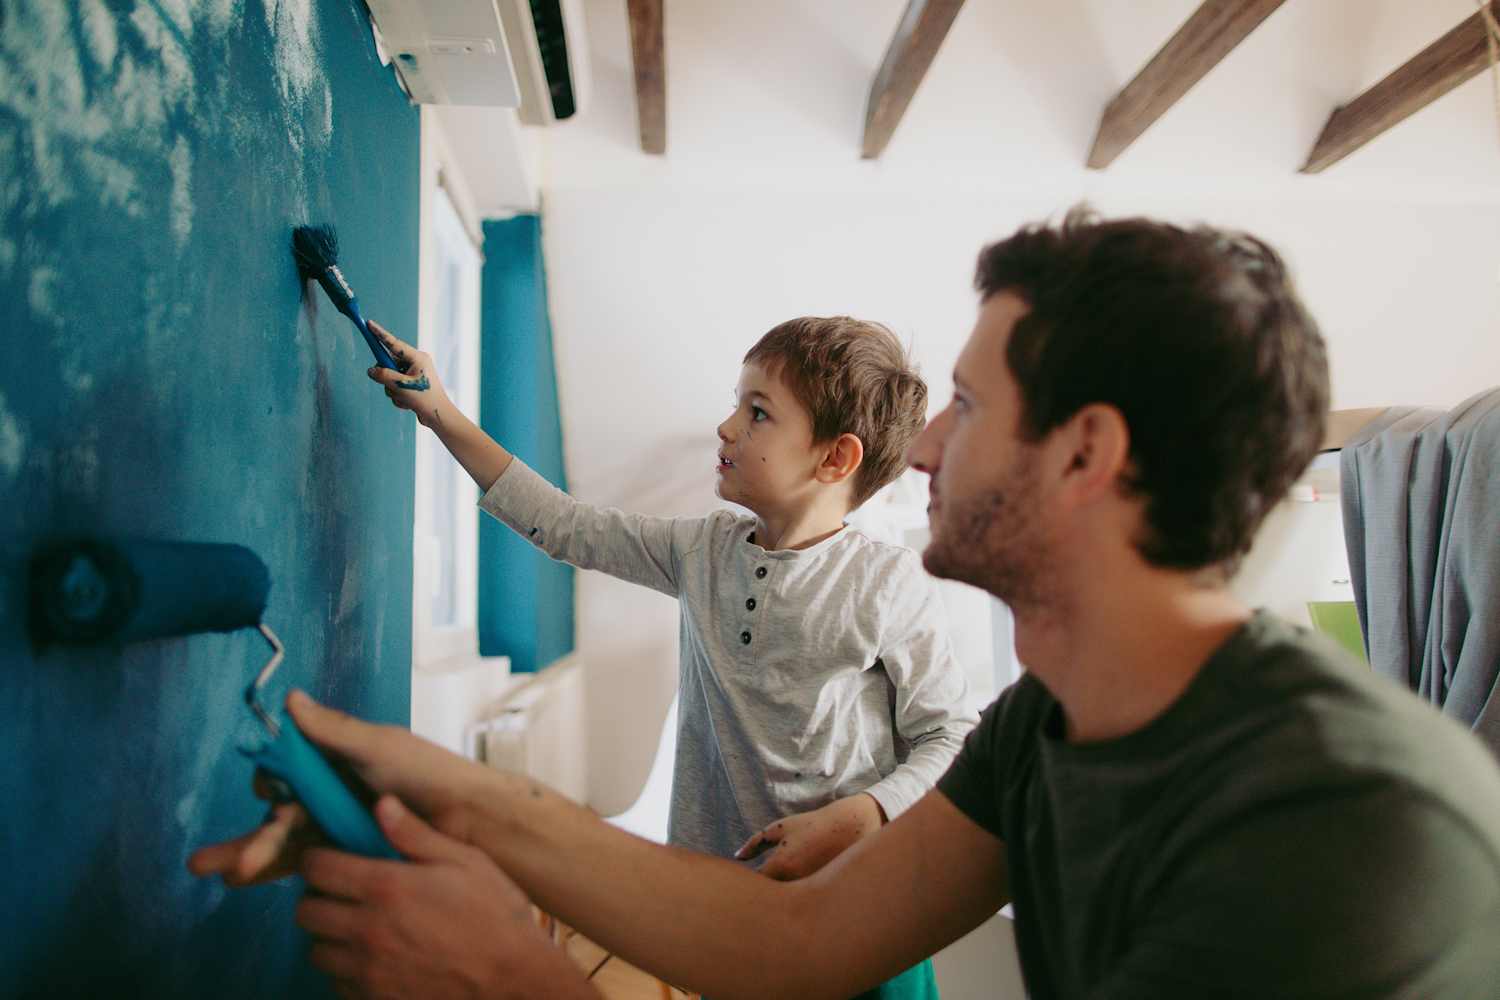
Any painter, DIYer, or crafter will tell you there is perhaps nothing more frustrating than a fuzzy paint line. Whether you’re painting baseboards or color-blocking a wall, it can be devastating to peel back the tape (if you are like us mere mortals who can’t freehand a straight line) and see that — despite your prayers to the DIY gods — some paint has bled.
And so we tapped the experts to find out how to achieve a beautiful, oh-so-satisfyingly straight paint line. The masses agree that preparing properly is well worth the effort.
“Spend your time on taping, not on painting,” says Bar Zakheim, CEO of Better Place Design & Build in San Diego, California. “It’s a lot easier to redo your tape job than it is to take back that first coat of paint.”
And yes, experts do recommend shelling out a little more money for high-quality, name-brand painter’s tape. Anthony Kulikowski, owner of Five Star Painting of South Bend in Indiana, says that, like with anything, you get what you pay for when it comes to tape.
“This is definitely an area you don’t want to save a dollar or two on,” he tells Cubby. “Low-quality tapes don’t stick well and tend to bleed, which results in manual touch-ups [or even damage] and a lot of frustration and extra time.”
Once you have cleaned your surface and have that high-quality tape placed, there is a simple hack for making a line crisp.
Jacob Naig, a Des Moines, Iowa-based real estate investor, contractor, and interior designer, says the “holy grail” to creating a perfect line is covering the edge of the tape with the original base color. For example, he says, if you have a white ceiling and want a blue wall, place the tape where the ceiling meets the wall and paint a light coat of white over the edge of the tape first.
“That way, if any paint bleeds through, it will be the ceiling color, and it forms an impenetrable seal,” Naig tells Cubby. When the white ceiling paint has dried, you can cover that bit of white (and the rest of the wall) with the blue. The same goes for painting orange stripes on a yellow dresser. Paint the edges of the tape with that base yellow, and then go in with the orange.
“When you peel the tape up, you’re left with a meniscus-sharp transition,” Naig continues, explaining that when he flips a house, he uses this trick on everything from accent walls to cabinet edges and trim corners.
If you don’t have the original paint — let’s say you want to add a bold color to the bottom half of a cream wall from your newly-purchased home — most hardware stores can mix up a color match if you bring in a paint chip. Or if that down payment means you’re doing this project on a tight budget and don’t want to buy extra paint, experts say you can use other tools in your painting arsenal. Run a line of clear latex caulk, a putty knife, a wet sponge, or even a credit card over the edge of the tape to create a stronger seal.
Or, better yet, use what’s already in your hand. “I’d just recommend giving it a once-over with a dry brush or even with your fingers to activate the seal,” says Carr Lanphier, CEO of Improovy, a Chicago-based home painting company.
When the time is right (typically before the paint is fully dry to avoid tearing or jagged edges, according to Kulikowski), remove your tape according to package instructions. By applying that first barrier coat of paint on the tape, you should have achieved that “meniscus-sharp” line.
“It’s a little more upfront time,” Naig says, “but there won’t be any of those fuzzy lines that just scream ‘DIY gone wrong.’”