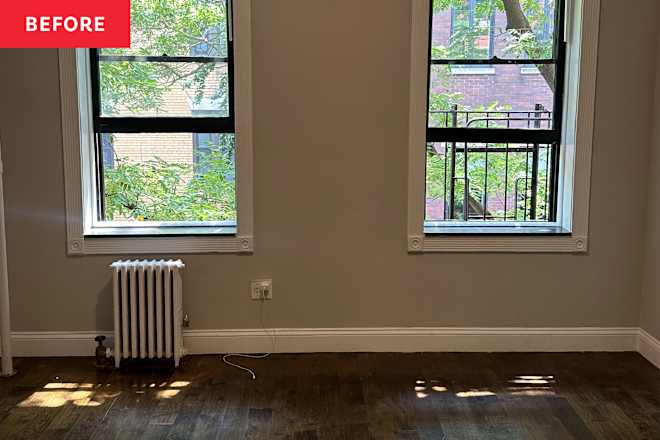
This Small NYC Bedroom Gets the Coziest Coastal Makeover
There’s a clever headboard DIY project!
READ MORE…
There’s a clever headboard DIY project!
READ MORE…


I’m the kind of person who loves checking things off my to-do list. So I had my doubts when I took my career freelance and a friend told me not to expect to cross everything off my to-do list each day.
“Make the list, but only expect to cross three things off,” the seasoned freelancer said. “Maybe fewer.”
For more content like this follow
The next day I was feeling smug when I crossed five of six things off before lunch. And then… the toilet started leaking. I became an amateur plumber who made two trips to the hardware store to get everything watertight again. I definitely didn’t cross number six off the list that day.
That’s also when I fully embraced my friend’s rule and appreciated the wisdom in it. Now, my husband and I even apply it to home projects. Before we moved into our new house, we excitedly made a list of all the things we wanted to do:
But when we got the home inspector’s report, we had to scale back our wishes and add more urgent to-dos:
Then, as we lived in our home, we noticed problems and had to add those to our list:
Each time we add something, we reprioritize the list. We factor in the amount of time a project will take and whether we have the skills and equipment necessary to complete the job ourselves.
For example, we could easily cut back the overgrown plants and clean the grout ourselves. But since my plumbing skills are amateur at best, we had to hire a pro to handle our most urgent concern, fixing the water main shutoff. A quick glance at our reprioritized list told us the new flooring was getting punted to next year.
So just as my friend told me, we haven’t finished everything. Luckily, my husband and I can still joke about how we thought we’d get the whole interior painted before we even moved in. Maybe 2023 will be our year.
Whether you’re looking out for your pets or simply don’t want to worry about extensive plant upkeep, faux plants can be a great solution for anyone who wants to add some greenery to their home without having to worry about keeping it alive. Still, finding suitably life-like fake plants for your space can be tricky — but there are easy steps you can take to make them look even more like the real deal.
For more content like this follow
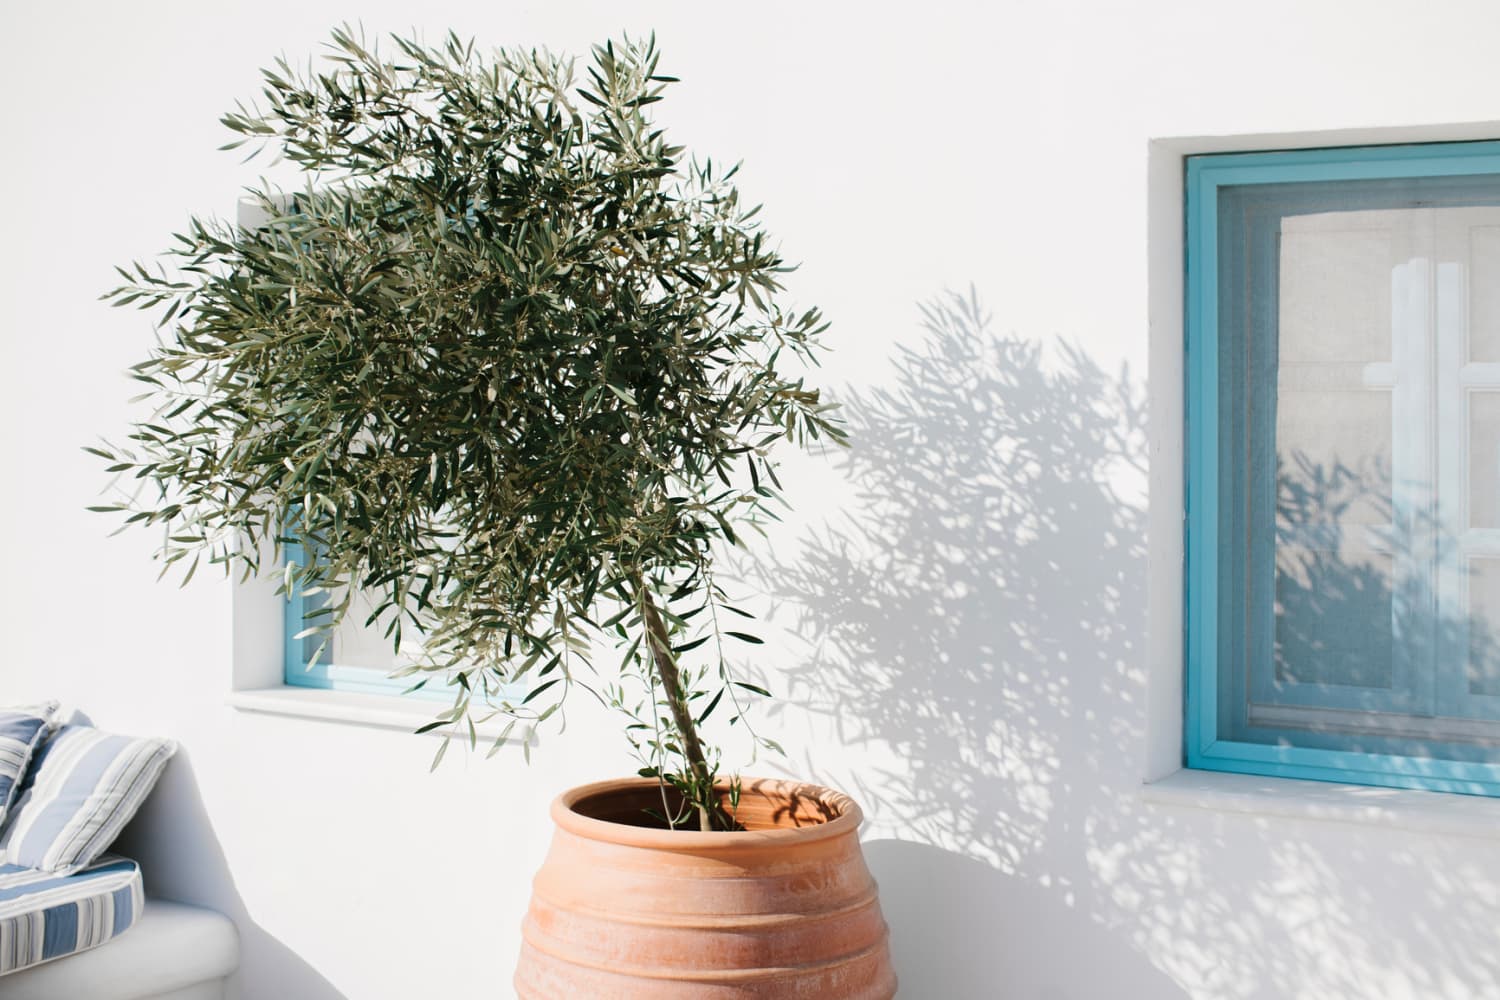
Unsurprisingly, TikTok has you covered in this regard. Recently, TikToker Meriam Pulles (@meriampulles) posted a video sharing how she used leftover packing materials to make her fake olive tree look strikingly real.
First, Pulled and her partner placed the faux tree on top of several broken-down cardboard boxes. Next, they surrounded it with packing peanuts to keep it stable, before adding leftover foam at the top. Finally, they covered the packing materials with faux Spanish moss, and voila! A convincingly real olive tree for their apartment living room.
“One of the many little hacks we pulled off when we first moved into our apt,” Pulles captioned the video.
Clearly, plenty of fellow TikTokers were also taken with her simple DIY solution. At the time of writing, Pulles’ video has racked up over 452,500 likes and 4.3 million views in just three days.
“This is so smart and it looks so good!” one user commented.
Another TikToker provided a suggestion for people who prefer the look of stones to Spanish moss: “Fill the pot with foam or something and then mix stones and glue together and put them on top, it looks really nice. We do this at work.”
There you go, faux plant parents!
Maria Hunt is a lifestyle journalist and author specializing in wine and food culture, interior design and wellness. She believes pork should be its own food group, bubbly is meant for sipping anytime, and the Sicilians got it right when they made ice cream a breakfast food. Her work has appeared in Architectural Digest, The New York Times, The Kitchn, Christian Science Monitor, and Forbes Travel Guide, plus she’s the hostess of The Bubbly Girl.com. She’s based in Oakland, California.
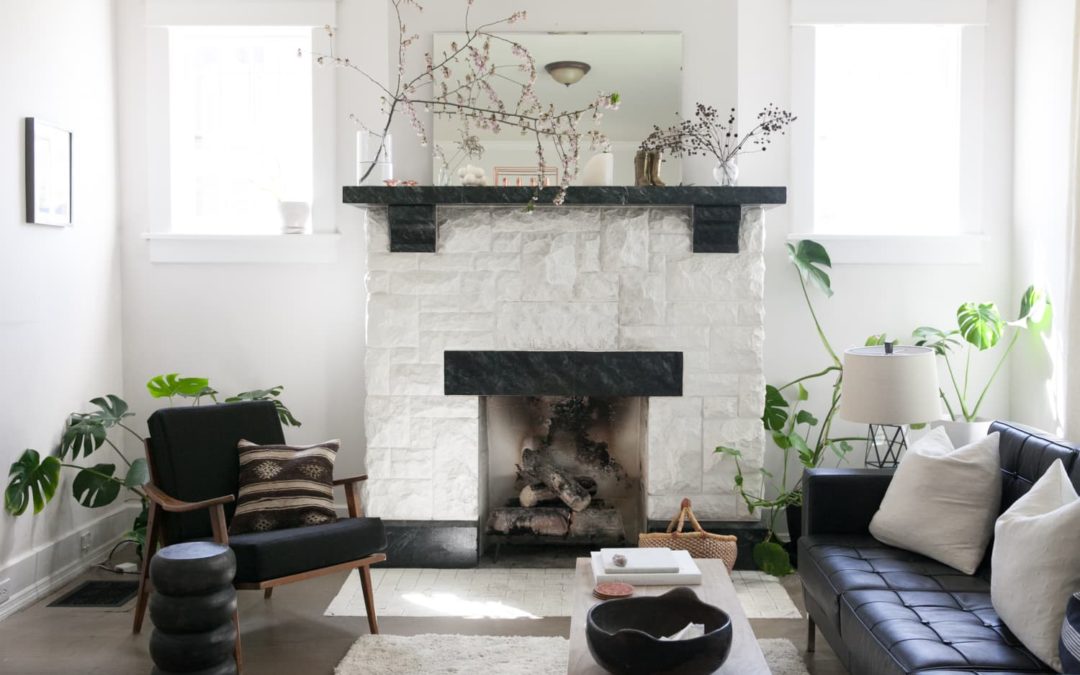
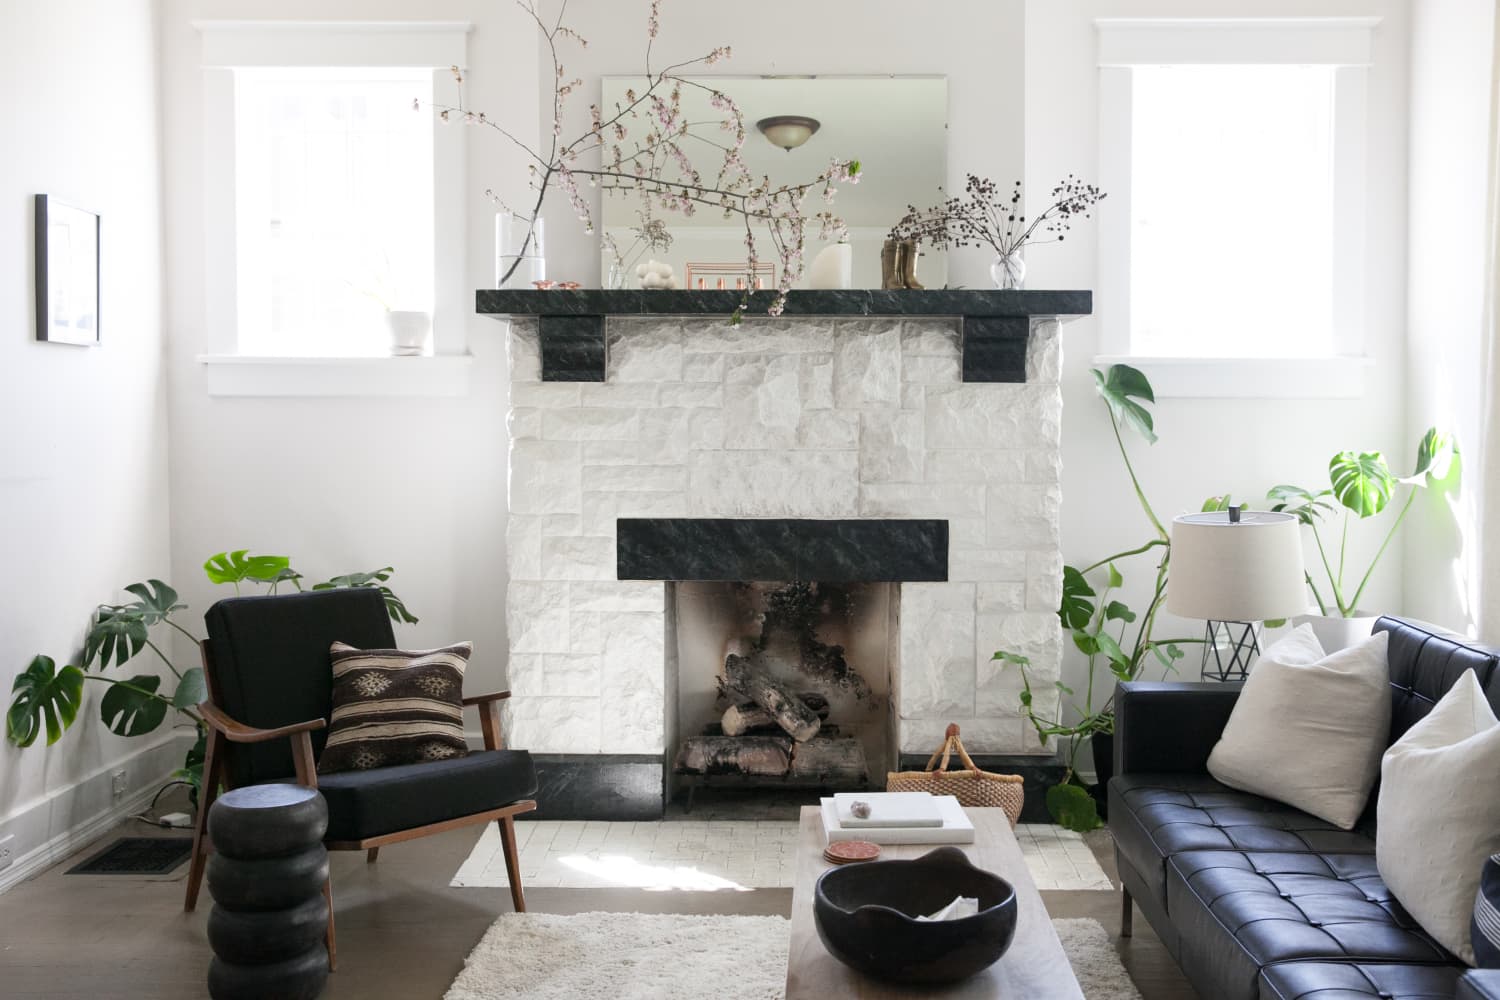
Dressing up your fireplace mantel is an easy, budget-friendly way to decorate your home for the season. Going all-out with decor swaps all around the house can be time-consuming (and expensive!), but sticking to one little stretch makes the process totally doable in the span of a lazy afternoon.
For more content like this follow
While there are plenty of store-bought ways to decorate your mantel for the fall season, there are lots of DIY options for adding autumn vibes, too. These DIY fall mantel decor ideas will help cozy up your home just in time for fireplace season.
This moody pumpkin piece from Lucy of Craftberry Bush is a unique twist on incorporating pumpkins. It carries the same seasonal impact without the finickiness of real pumpkins or the logistics of storing faux gourds, and is a perfect fit for the trendy dark academia vibe that’s making the rounds on social media. If you’re not artistically inclined to create your own, she generously shares a free printable of her artwork here. That means that to pull off this decor, you’ll just need to print it out and frame it. Easiest DIY ever!
DIY garlands don’t have to be complicated to be impactful. Here, Emily of LeCultivateur used branches of dried fall leaves as a base then added pink roses, white pumpkins, and brass candlesticks to make the whole assembly feel extra luxe and elevated. To get the most out of natural leaves and branches, use a clear acrylic craft spray to preserve the color.
Of course, you can also go a little less traditional with your botanical decor. This one, also from Emily of LeCultivateur, shifts away from typical fall florals in favor of eucalyptus, roses, and berries. A few white pumpkins act as seasonal bookends. To copy the style at home, look for items that are already on your mantel and swap them for pumpkins to get instant fall vibes.
A matching DIY wreath, garland, and floral arrangement make a beautiful display that warms up your whole home. But the showstopper in this decor, from Carol at Bluesky at Home, is the overflowing bouquet. Bouquets like this one are great if you’re short on space, since they make a big impact within a small footprint. See how Carol made her bouquet and the other pieces on her blog.
This mantel is bursting with texture, from soft pampas grass to rough-hewn rattan and silky feathers. Designer Liz Marie pulled together “rustic, gold, and muted greens” with this display, using found materials and other decor to create a layered look. The great thing about this DIY mantel decor is that the individual pieces can be swapped out seasonally, so you can make use of different parts of it all year. Thrift stores are a great resource for a project like this. If you find a piece that’s shape would work but isn’t the right gold, you can use Rub ‘n Buff to quickly get it into scheme.
A DIY wheat bundle takes center stage in this soft and subtle arrangement from Ashley of Modern Glam. A pink ribbon helps the wheat tie in to the rest of Ashley’s decor; for yours, choose a color that complements your own home’s palette.
Plastic pumpkins look a lot more luxe when given a faux aging treatment. Jessica Sara Morris (White Picket Farmhouse) shows off the look here. She gave a few cheap, plastic pumpkins a vintage-looking makeover by painting them her colors of choice before rubbing the dried pumpkins in dirt to give them a little extra dimension. (Using dirt to create a DIY antiqued look is a method you can use on other decor, too.) Jessica completed her vignette by swapping out the art on her TV to a pastoral landscape to complement her newly “old” pumpkins. You don’t need a fancy TV, either: Here’s how to display art on any smart TV and how you can do it on any TV with a USB drive.
This hanging installation from Amber Thrane is perfect inspiration to reach for if your fireplace lacks a mantel (or if you want to add extra oomph above). Get the look by attaching a bundle of faux or dried grasses to a wood dowel, making sure to fluff up both ends for extra volume. Then, tie rope or cord to each end of the dowel before hanging. And bonus idea: If you don’t have a working fireplace, the hearth is a great place to display seasonal decor like this stack of pumpkins.