You’ll Regret Not Calling This One Pro Before the First Day of Fall
Waiting will cost you.
READ MORE…
Waiting will cost you.
READ MORE…

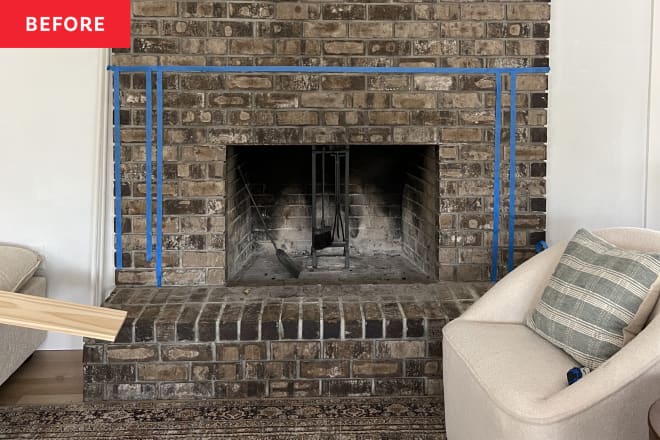
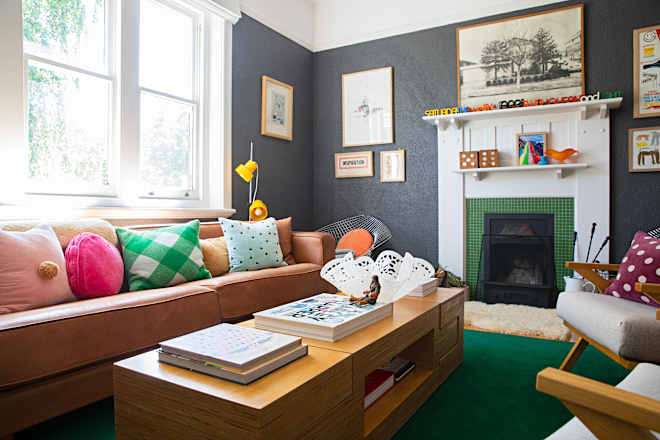
It looks so sophisticated.
READ MORE…

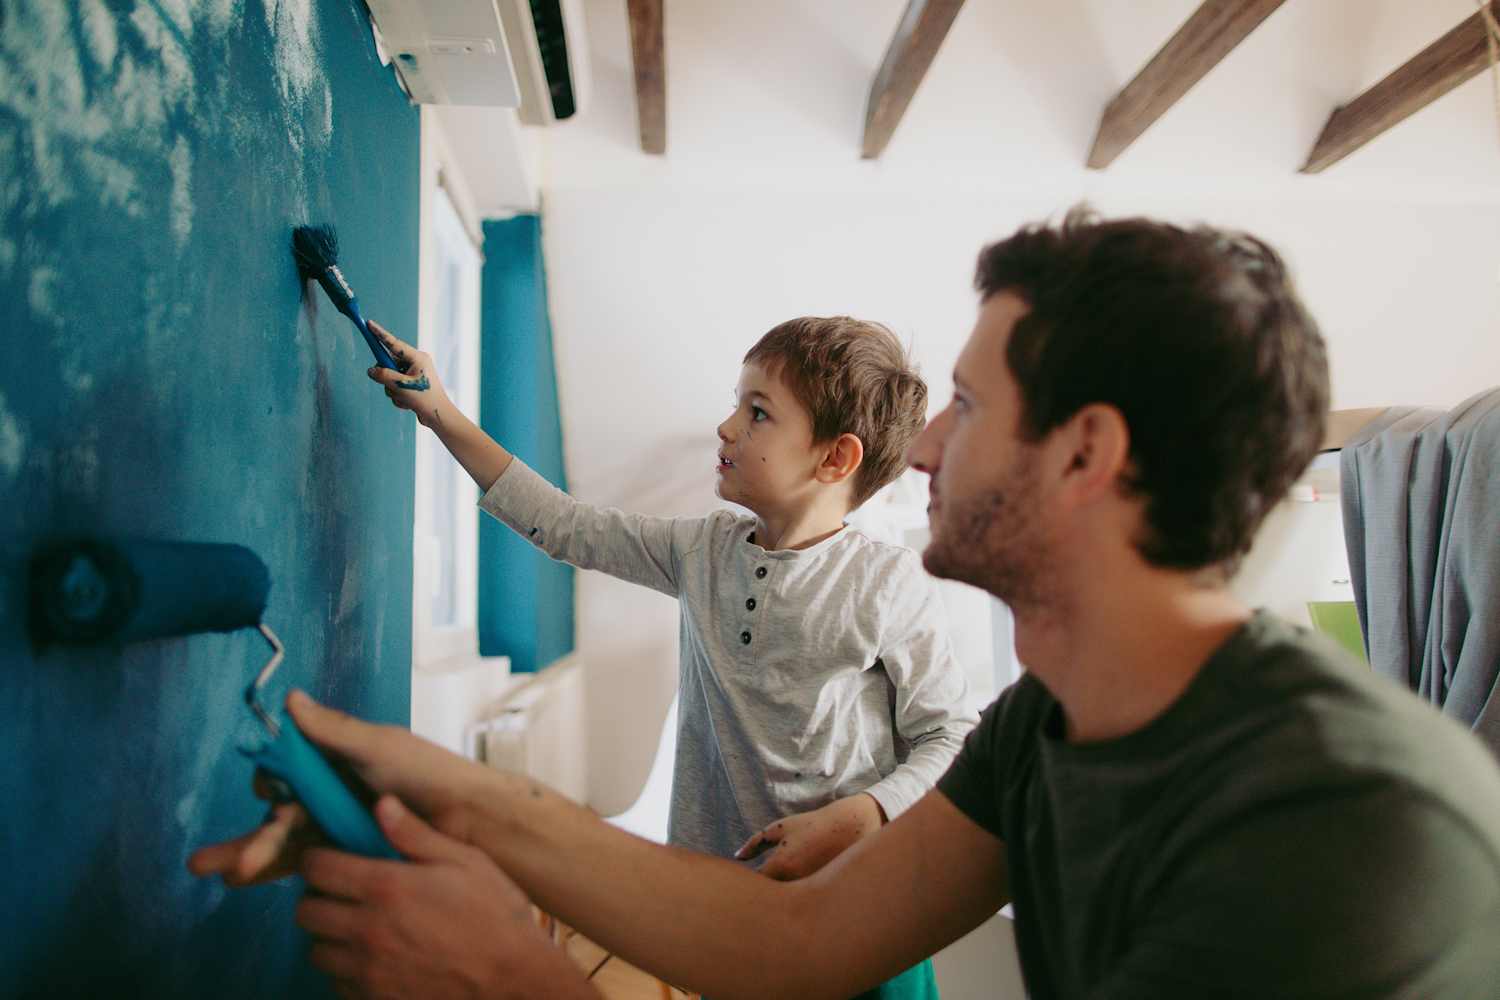
Any painter, DIYer, or crafter will tell you there is perhaps nothing more frustrating than a fuzzy paint line. Whether you’re painting baseboards or color-blocking a wall, it can be devastating to peel back the tape (if you are like us mere mortals who can’t freehand a straight line) and see that — despite your prayers to the DIY gods — some paint has bled.
And so we tapped the experts to find out how to achieve a beautiful, oh-so-satisfyingly straight paint line. The masses agree that preparing properly is well worth the effort.
“Spend your time on taping, not on painting,” says Bar Zakheim, CEO of Better Place Design & Build in San Diego, California. “It’s a lot easier to redo your tape job than it is to take back that first coat of paint.”
And yes, experts do recommend shelling out a little more money for high-quality, name-brand painter’s tape. Anthony Kulikowski, owner of Five Star Painting of South Bend in Indiana, says that, like with anything, you get what you pay for when it comes to tape.
“This is definitely an area you don’t want to save a dollar or two on,” he tells Cubby. “Low-quality tapes don’t stick well and tend to bleed, which results in manual touch-ups [or even damage] and a lot of frustration and extra time.”
Once you have cleaned your surface and have that high-quality tape placed, there is a simple hack for making a line crisp.
Jacob Naig, a Des Moines, Iowa-based real estate investor, contractor, and interior designer, says the “holy grail” to creating a perfect line is covering the edge of the tape with the original base color. For example, he says, if you have a white ceiling and want a blue wall, place the tape where the ceiling meets the wall and paint a light coat of white over the edge of the tape first.
“That way, if any paint bleeds through, it will be the ceiling color, and it forms an impenetrable seal,” Naig tells Cubby. When the white ceiling paint has dried, you can cover that bit of white (and the rest of the wall) with the blue. The same goes for painting orange stripes on a yellow dresser. Paint the edges of the tape with that base yellow, and then go in with the orange.
“When you peel the tape up, you’re left with a meniscus-sharp transition,” Naig continues, explaining that when he flips a house, he uses this trick on everything from accent walls to cabinet edges and trim corners.
If you don’t have the original paint — let’s say you want to add a bold color to the bottom half of a cream wall from your newly-purchased home — most hardware stores can mix up a color match if you bring in a paint chip. Or if that down payment means you’re doing this project on a tight budget and don’t want to buy extra paint, experts say you can use other tools in your painting arsenal. Run a line of clear latex caulk, a putty knife, a wet sponge, or even a credit card over the edge of the tape to create a stronger seal.
Or, better yet, use what’s already in your hand. “I’d just recommend giving it a once-over with a dry brush or even with your fingers to activate the seal,” says Carr Lanphier, CEO of Improovy, a Chicago-based home painting company.
When the time is right (typically before the paint is fully dry to avoid tearing or jagged edges, according to Kulikowski), remove your tape according to package instructions. By applying that first barrier coat of paint on the tape, you should have achieved that “meniscus-sharp” line.
“It’s a little more upfront time,” Naig says, “but there won’t be any of those fuzzy lines that just scream ‘DIY gone wrong.’”
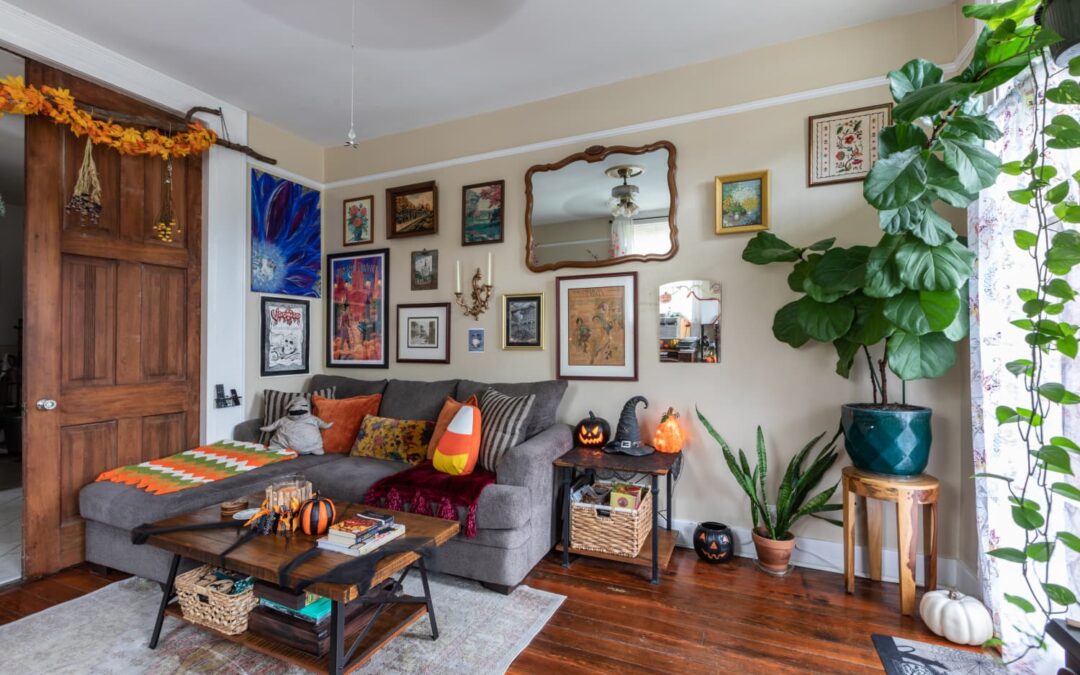

Even though temperatures might not be crisp near you yet, you might be feeling the urge to spruce up your space with a few festive fall or Halloween-inspired finds. Whether you want to go all-out on spooky decor this year or you’re tempted to just light up a pumpkin spice candle and call it a day, this fun DIY provides a nice middle ground — festive, but still easy to pull together in less than 10 minutes.
In a recent TikTok video, user Ashley (@ashleymariesavage_) shares a tutorial on how to create the most adorable “sherpa ghosts” to decorate a tabletop or shelf. Not only are these ghosts easy to assemble, but they’re also just big enough to stand out in your room without taking up too much space. Plus, the soft sherpa fabric adds the coziest touch to a classic Halloween decoration.
To make these ghosts at home, you’ll need the following:
As Ashley demonstrates in the video, the first step of this DIY is to hot-glue the foam ball to the top of your cone. When it’s dry, loosely drape a piece of the white sherpa fabric on top of each cone to give it a ghostly shape. Then, cut your felt sheet into small ovals to be used as eyes, and attach them onto the sherpa fabric with hot glue. The final step: Apply hot glue to your pumpkins, and set them in between the folds of the sherpa fabric, so that it looks like your ghosts are each holding one up.
Some commenters chimed in with suggestions to further personalize their ghosts. One user writes that she’d put a little Dr. Pepper can in the place of the pumpkin, to show off her affinity for the soda. Another person says that adding LED lights underneath the cloth could allow your ghosts to light up as well.
If DIYs aren’t your cup of tea, these cute pre-made options will give you the same vibe with a little less effort.

“It makes me happy every time I open the front door or walk into the living room,” the DIYer says.
READ MORE…