We independently select these products—if you buy from one of our links, we may earn a commission. All prices were accurate at the time of publishing.
For more content like this follow
The Indoor Window Gardens window hanging plant shelves have earned a solid 5-star rating on Etsy from over 1,800 rave reviews. “Perfectly level,” one reviewer says, “and easy to install!” Other customers say the shelves are of “superb quality,” “came fast,” and were “exactly as described.” Reliability, design quality, and easy of installation — check, check, and check. You can choose from five different mounting and hanging styles, from hooks to angle brackets, each being more or less conspicuous than the last. Each shelf is designed to hold 10-15 pounds depending, making it perfect for that DIY herb garden wall you’ve (read: I’ve) been wanting forever.
The shelving systems come in 2, 3, and 4-tier styles, so you can customize the sizing to your windows as well as the number of plants you’re going to want to display. And, yes, not only is this a storage solution for plants living in small or dim spaces, but they make for an awesome display of (almost) all your living things. Keep them happy, display them proudly, and add even more to your now thriving collection by giving it the gift of these hanging plant shelves. I certainly plan to.
When it comes to maximizing space in your home, floating shelves can be a game-changer. But as anyone who’s shopped for these shelves can tell you, they’re not always the most affordable option out there. Luckily, TikTok has a money-saving tip that’ll help you make your floating shelf dreams come true for just $7 apiece.
For more content like this follow
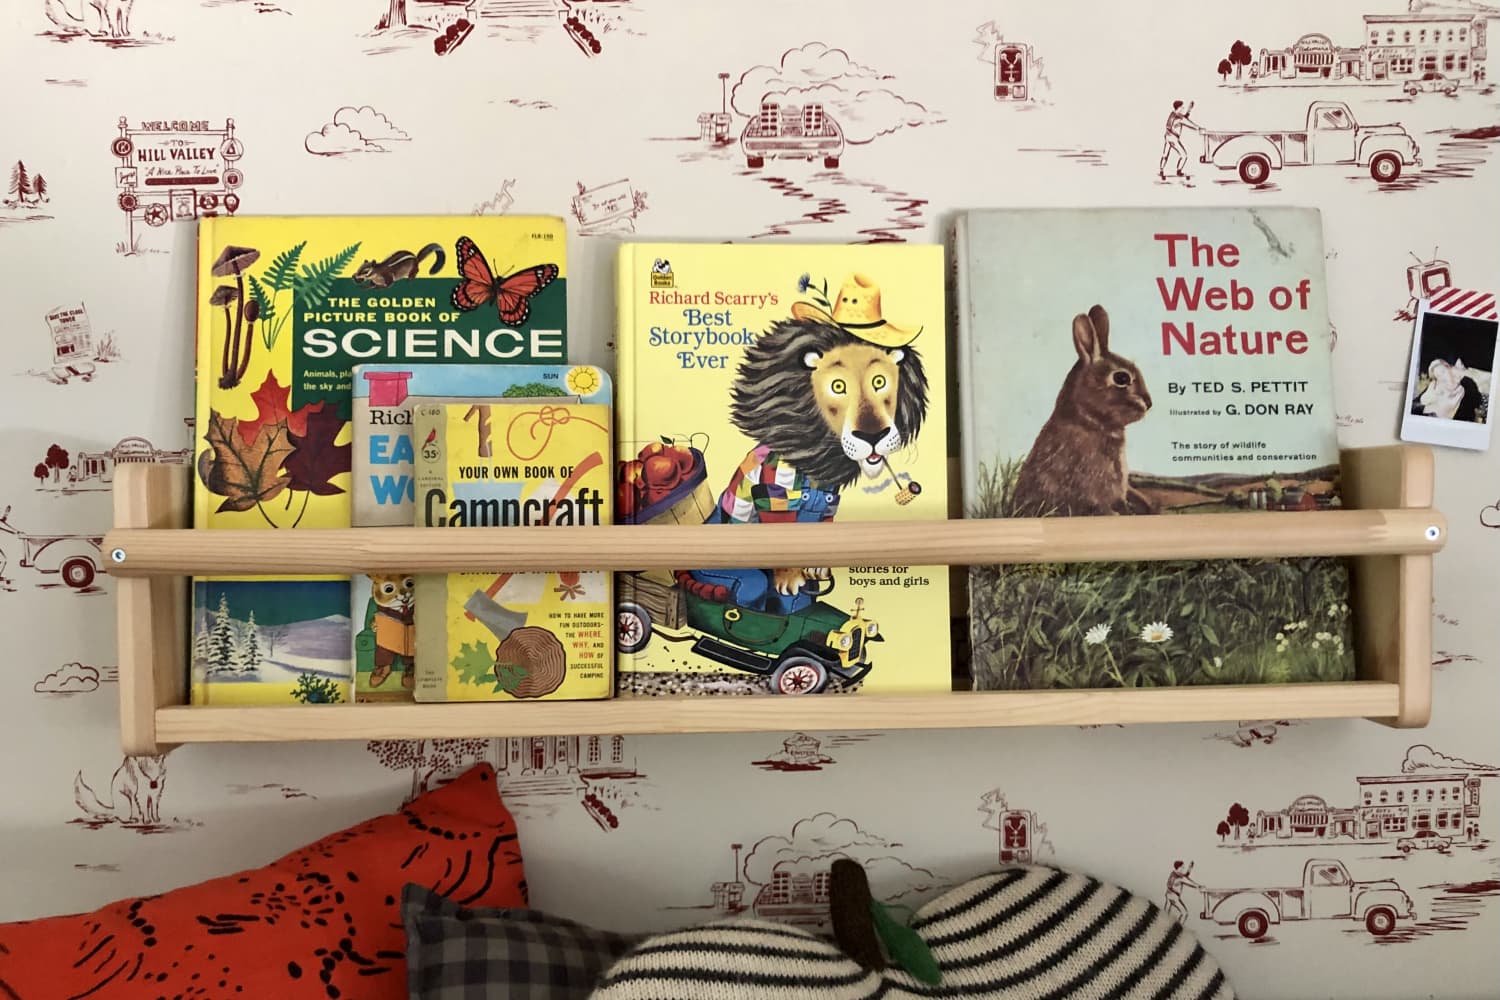
TikTok content creator Rhiannon McLendon (@rhiannon.mclendon) recently shared a genius trick that helped her store her kids’ books without breaking the bank. Instead of buying bookshelves, McLendon purchased three IKEA spice racks (also known as BEKVAM racks) to get the job done.
“If your kids have tons of books and you’re running out of room, save some money and don’t buy floating bookshelves, buy the IKEA spice racks,” she wrote in the video. “They’re only $7 and hold a decent amount of books. Super easy to put together and hang up, too.”
McLendon also gave viewers a crucial piece of installation advice: use painter’s tape to mark your shelf’s bracket holes and make a level wall line.
TikTok followers were seriously impressed with the hack, taking to the comments to share their thoughts.
“Genius! Not only have you given me a book storage solution, you’ve also taught me how to hang things!” one person wrote.
However, BEKVAM racks don’t just double as bookshelves. The tiny rack can also be reworked as bathroom storage, a jewelry holder, arts and crafts storage — truly, the possibilities are endless.
Looking for more tips on how to utilize your BEKVAM racks in your home? Check out Apartment Therapy’s recommendations below.
That said, there have been plenty of tasks that have come as a surprise since becoming a homeowner — things I used to leave to a landlord or, more often, leave totally unattended because I didn’t realize they even needed to be done.
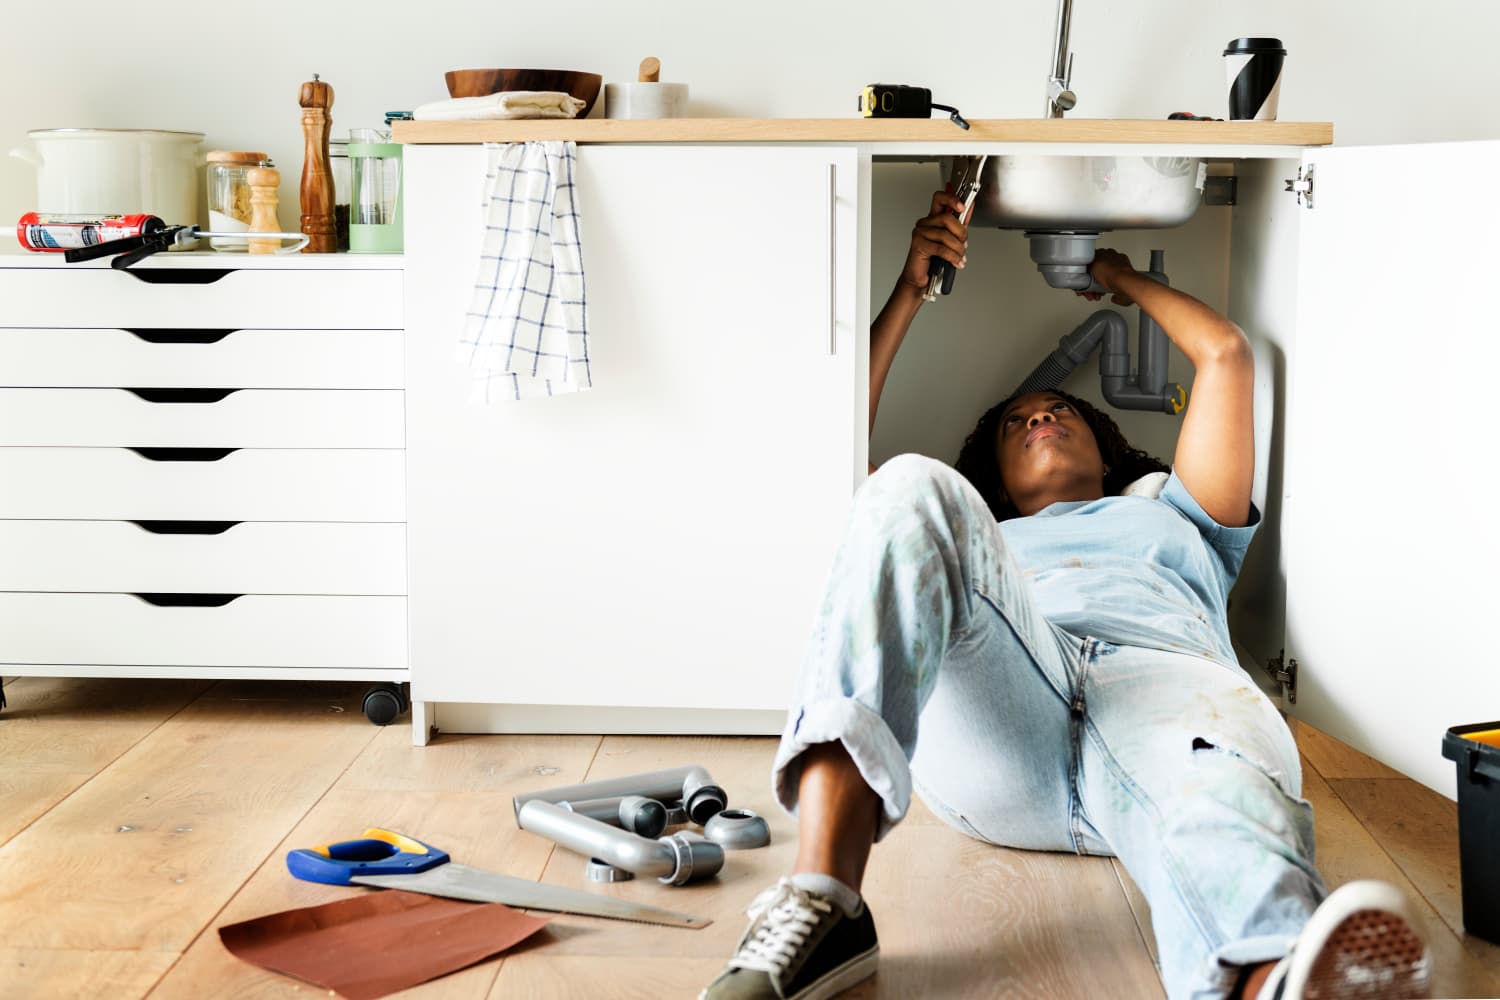
But when I was working on redoing our bathroom last fall, I hit a snag that came with a pricey lesson. I had hoped to replace our standard-issue low-neck faucet with something more modern and stylish, which the internet assured me I could totally do. I assembled my tools, I pulled up my YouTube videos, and I slid myself underneath the vanity to get to work.
Unfortunately, I didn’t get far. I knew that step one to any project involving plumbing was to turn off the water locally. That meant reaching under the sink to turn two shutoff valves — one for hot, one for cold — so that they were completely blocked and no water would make its way from the main water line to the sink. I turned on the water at the sink so I had real-time feedback on my progress. I turned the handle that controlled the left valve, which turned off without issue. Then, I turned the handle for the right valve until I couldn’t any more. I looked up to the sink, and the water was still running. Huh.
Over two hours, I fussed and futzed over the two handles, using my hands, my hands plus grippy rubber bands, my hands plus pliers, and my hands plus WD-40 to try to get the valve to close. And while I was able to turn the actual handle, the valve housed inside of it would. not. close. Nothing worked. Finally, I gave up and called a plumber.
Backup was thankfully fast to arrive, and even faster to fix the issue. It turns out the shutoff valves in my 65-year-old house had become sticky over time, a common issue among older homes. My bill came to around $200 to have the plumber replace the old valves with new ones that would effectively open and close when you turned them, allowing me to (hours later) finish my full remodel.
While he was working, my plumber told me a secret: This pricey visit could have been avoided by giving the shutoff valves under the vanity a little workout by fully closing and opening them a couple times about once a month — a chore that takes literal seconds. Giving those valves a bit of a stretch helps prevent mineral buildup that can lead to them sticking in the future.
Functional shutoff valves aren’t just important for doing DIY home upgrades like I was. In the event of an emergency — an overflowing toilet, a clogged sink — the shutoff valves help you to cut off the water supply to the affected fixture. If you’ve ever tried to staunch an overflowing toilet, you know how important that can be.
Since my plumber’s visit, I’ve been periodically giving all the valves in my house a little twist. It’s not always once a month; usually it’s just when I remember to do it, but that’s better than nothing. When you think of it, try to give yours a stretch, too. It could save you from paying hundreds of dollars for a plumber visit — or even thousands for repairing avoidable water damage.
Megan is a writer and editor who specializes in home upgrades, DIY projects, hacks, and design. Before Apartment Therapy, she was an editor at HGTV Magazine and This Old House Magazine. Megan has a degree in Magazine Journalism from Northwestern University’s Medill School of Journalism. She is a self-taught weighted blanket connoisseur.
Kelly Dawson is a media consultant based in Los Angeles. She is a prolific writer for notable publications including Cup of Jo, Vox, AFAR, Dwell, Martha Stewart Living, McSweeney’s and Architectural Digest. Kelly is the three-time guest editor for Refinery29’s “Voices of Disability” series, two-time guest host of “Call Your Girlfriend,” and deputy editor at Apartment Therapy.
We independently select these products—if you buy from one of our links, we may earn a commission. All prices were accurate at the time of publishing.
I have not been blessed with apartments that have central AC or allow me to control my own heat in my time in New York City. On top of that, many of my apartments haven’t been well-insulated and have plenty of unsealed areas that hot or cold air can sneak in through, driving my electricity bill up regardless of whether it’s summer or winter.
When it got so chilly in my apartment that my roommate and I were shuffling around in blankets and the cat was using the heating pad to get warm, I knew that I had to find a solution for all of the windows letting in blasts of cold air. I stumbled upon 3M’s Interior Transparent Weather Sealing Tape on Amazon and decided for under $10, it was worth trying.
I placed the tape, which looks like your typical clear tape, over the the top and sides of the window. I used about six 4′ strips of tape and had plenty remaining on my roll. It wasn’t hard to figure out where to tape — I just put my hand over to determine if there was a draft. I pushed the tape into every cranny, making sure it covered the area around the window latch. The leaks were staunched — I couldn’t feel the air anymore. This, of course, did not magically make our sluggish radiator any better, but I didn’t feel like I was torching money when I plugged in my space heater to supplement.
This hack isn’t only for winter, however. Last month, my roommate and I noticed that the weather tape was starting to lose its stickiness. Rather than removing it entirely for the summer, we reapplied all six pieces, so the cold air from our AC units didn’t get diluted with hot, humid outside air. Our electric bill in the summer can be expensive as $150-200 a month, but it barely cracked $60 this month, despite the fact that we ran our AC and fans at night.
What I like best about this tape is that it’s transparent, you don’t really notice it on the windows aside from when the sun is directly reflecting off of it. And it hasn’t peeled off any of the paint on our windowsills, aside from a bit leftover from a “landlord special” that should not have been there in the first place.
If you want to be as energy efficient as possible this summer, I recommend adding this tape to your cart. An added bonus: There are less places for ants, mosquitos and other creepy crawlies to sneak in.
Alicia Kort is the Senior Commerce Editor at Apartment Therapy. She enjoys writing about cool finds and all things organizational. She’s based in Brooklyn and is from the suburbs of Chicago.