by Furnishly | Aug 25, 2022 | Design Inspiration, Style
We independently select these products—if you buy from one of our links, we may earn a commission. All prices were accurate at the time of publishing.
If, like me, you’re the type who gets bored of your decor quickly, then putting lots of holes into your walls probably feels scary. That’s why traditional gallery walls aren’t for everyone; you run the risk of getting tired of a print or wanting to upgrade a frame, which then might call for another round of nails. But what if I told you there’s a way to create a non-committal gallery wall, one that allows you to switch up the size, shape, and look of your frames on a whim without worrying about rejiggering your entire wall configuration? No, it doesn’t include Command strips. The trick is to utilize gallery shelves or picture ledges.
For more content like this follow
Whether you want a floor-to-ceiling gallery wall or just a few rows of curated pieces running across a small section of a wall, gallery shelves can do the job. I first came across this idea when I was on a Palm Springs home tour; one couple had put up three wall-spanning gallery shelves and had arranged their massive art on those shelves. Thinner than slab-style floating shelves, gallery shelves really allow the art to take center stage. Essentially shallow ledges that are about four to five inches deep, you can even paint these perches the color of your wall if you want them to blend into their surroundings.
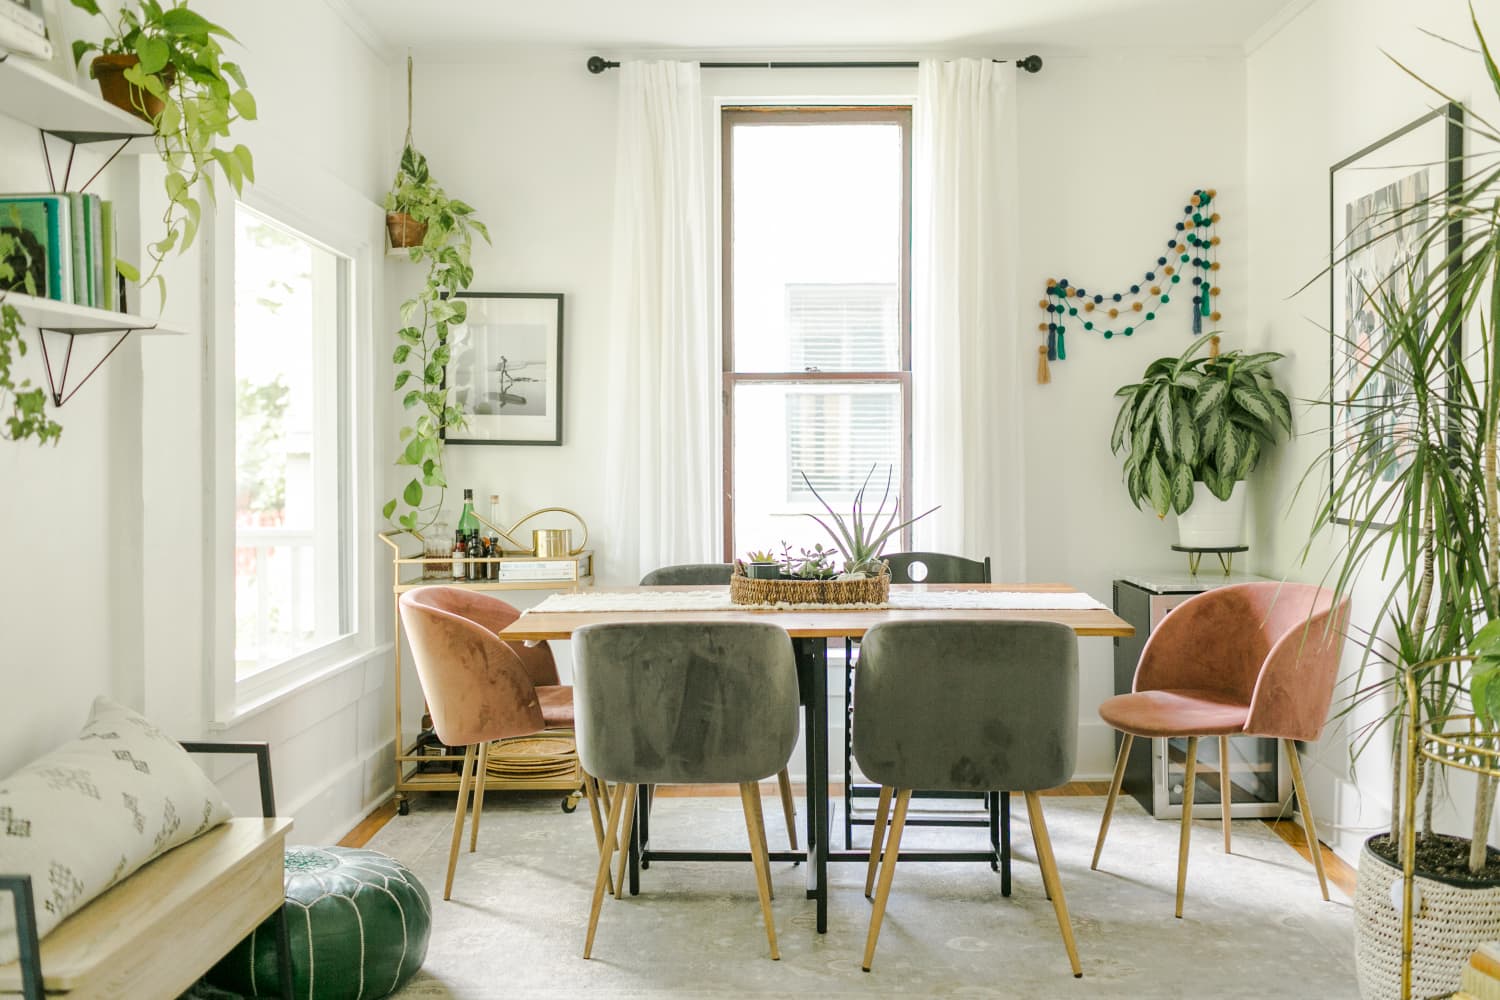
Before hanging gallery shelves, the biggest factor you need to consider is the height of the art pieces you want to display. Are you the type of person that gravitates towards large scale prints and landscapes, or are you someone who likes to mix-and-match medium-sized pieces with small pictures? Depending on the answer, you need to measure out the space between the shelves to accommodate the frame heights you’ll be working with. If you don’t want to box yourself in, you can make the bottom and middle rows big enough to accommodate medium-sized frames and the top ledge large enough to fit oversized prints, as seen in the inspiration image above.
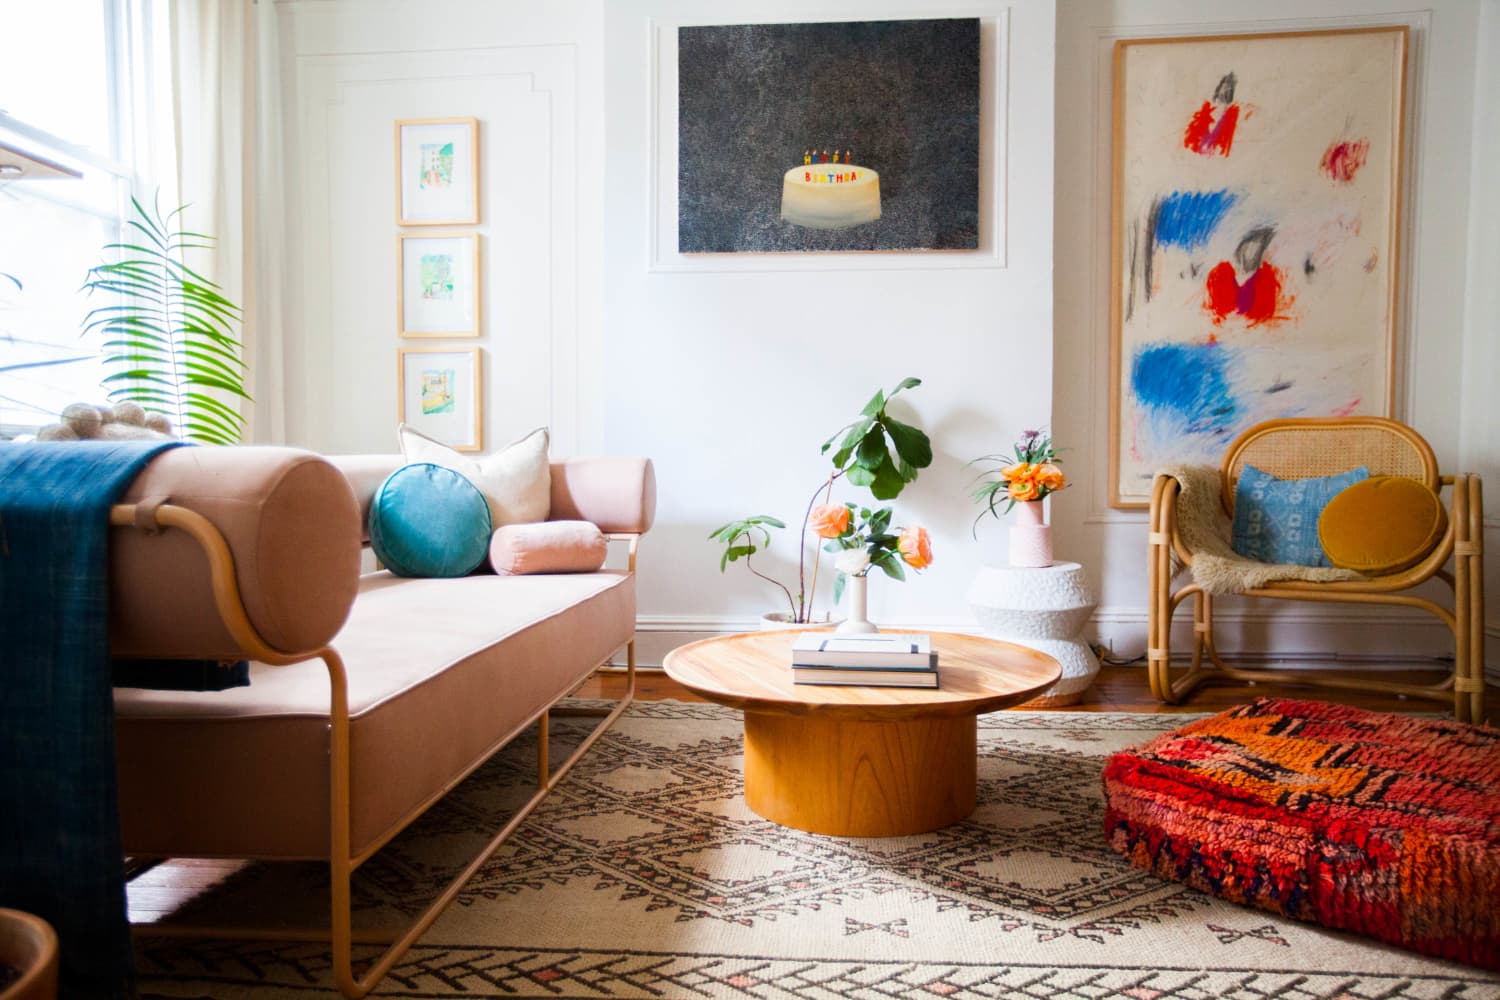
If, in the end, you don’t ever invest in jumbo-sized art, you can always hang an extra shelf on top to even out that space. You can also use shelves in combination with pictures hanging on the wall, as seen just above here. Obviously, this hybrid arrangement won’t be quite as flexible as a full wall of gallery ledges, but you get the idea.
Once you settle on the spacing, you can rotate your art in and out as frequently as you would like without ruining the look (or configuration) of your wall. Again, the most impressive example of a gallery ledge wall I saw was in the The Desert Star apartment complex designed by Howard Lapham in Palm Springs, California. The entire apartment was filled with massive art, and the ledges gave the owners flexibility to keep constantly updating and growing their collection. Gallery shelves are the key to keeping your art display an ever-evolving thing rather than a static collection — no additional nail holes (beyond the initial shelf-mounting) required!

by Furnishly | Jun 13, 2022 | Design Inspiration, Style
We independently select these products—if you buy from one of our links, we may earn a commission. All prices were accurate at the time of publishing.
Bright, natural light in my apartment is a rare sight, but when it does come, it cheekily aims itself at the back wall of my living room, spitefully dodging each and every floor plant I have. Plant stands could never quite reach the light, nor did they protect my plants from my cat’s frequent and destructive munchies. I’d also failed too many times at hanging plants from the ceiling to attempt that route again. Discovering Loop Living’s wall hanging planter bundles gave me some relief — maybe I could display my plants in a cool way while keeping them fed and away from my cat. It was the installation I was worried about.
But take it from me: There’s nothing to worry about. Loop Living’s wall planters come in a small, lightweight box along with the screw and anchor needed to install them. They even have how-to videos that clearly visualize the assembly process, which I found extremely helpful, just be sure to hang your plants on a concrete, brick, or studded wall — no drywall! I apprehensively started with just one planter from my bundle of two, but I was able to install the floating hanger arm in no time at all. The rope and wooden hoop planter holder are already attached, so not only was the hardest part already done… It wasn’t even that hard! Once I had my plant happily repotted in its new Loop Living self-watering planter (there’s a video on that, too), I nestled the small dish that’s included into the hanger’s wood hoop, following suit with my plant. Done.
Here’s the exciting part: One week later, my English ivy (for which I had little hope) was thriving. Like, twice-as-many-leaves thriving. The self-watering mechanism involves rope that extends through the bottom of the planter and rests inside the small dish. The dish acts as a water reservoir, feeding water to the rope which slowly carries moisture back into the plant. Now, I can leave for weeks at a time and not worry about my plants. I can even leave the room for a few minutes and not worry about my cat dotting them with bite marks. Not only do I have living (read: thriving) wall art now that gets me all the compliments, but it’s art that sustains and fortifies itself, growing, changing, and getting more beautiful over time. When’s the last time anything under $100 did as much for your space?

by Furnishly | Mar 14, 2022 | Design Inspiration, Style
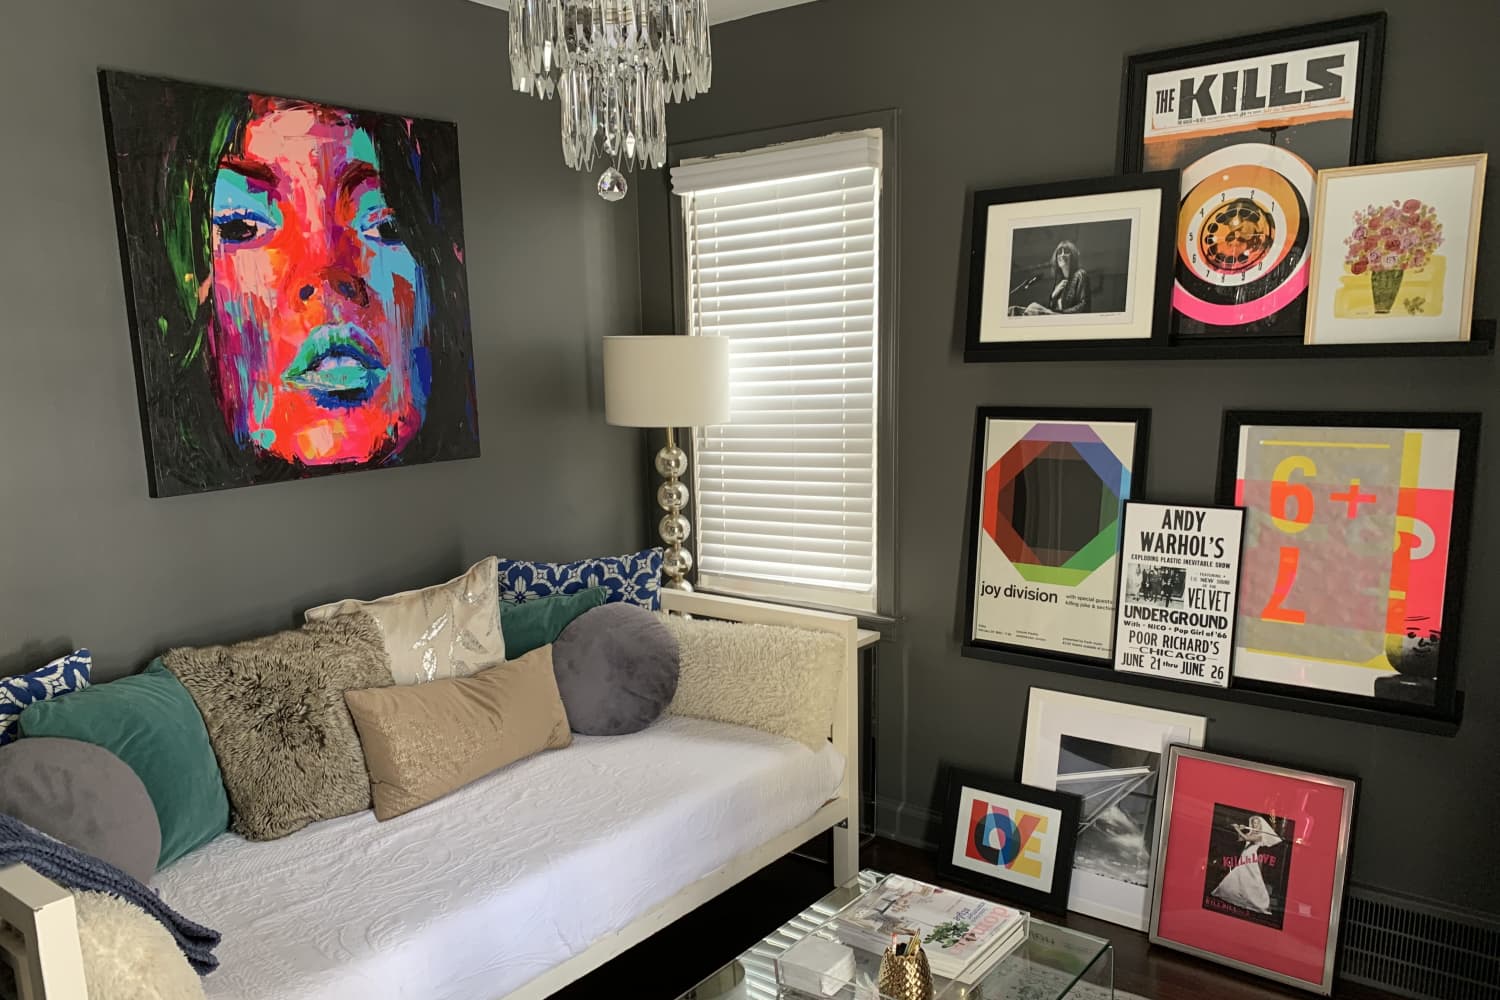
Duncan lives in a 1,050-square-foot home in Royal Oak, Michigan, that’s filled with art and light. “I am definitely not a minimalist. I love art and color,” she said in her house tour. Her design style is really bold and glamorous, with gold accents and fun shapes around every corner. And in nearly every single room, there’s a different collection of cool, colorful art.
The real show-stopping display is in Duncan’s favorite room: the study. The walls are painted a matte gray which could make the room feel dark and gloomy, but there’s entirely too much colorful art to let that happen. Every piece of art that Duncan has in this room is framed — but instead of hanging a gallery wall, she hung floating shelves. The result? A unique photo ledge.
Instead of creating one long ledge and placing all the art on it, Duncan decided to go with two black ledges that are the same exact length, mounted parallel to each other. Then she styled each shelf with three different pieces at varying heights, giving the display a little depth and visual interest. What’s even more interesting is that she displayed three more pieces of art on this wall, not on a shelf, but simply on the floor leaning against the wall.
This is a unique, budget-friendly, and time-saving way to display your art. Trying to figure out the best way to arrange your gallery can take days (or even weeks!), but this could be done in a day. Her decision to place the art on the floor, versus mounting another shelf, is a perfect example of simply filling the room with things you really like, however you like, even if it isn’t traditional or trendy.
Duncan’s biggest piece of advice when it comes to creating a home you love? Fill it with things that are “meaningful, sentimental, and just plain fun!”
Savannah West
Home Assistant Editor
Savannah is a master binge-watcher and home cook. When she’s not testing new recipes or re-watching Gossip Girl, you can find her on Facetime with her grandma. Savannah is a news producer turned lifestyle blogger and professional homebody. She has a bachelors in journalism from Clark Atlanta University, a certification in Digital Storytelling and is earning her Master’s degree from Harvard University. Savannah believes every day is a good day and there’s nothing good food can’t fix.
Follow Savannah

by Furnishly | Mar 12, 2022 | Design Inspiration, Style
Olivia Harvey
Contributor
Olivia Harvey is a freelance writer and award-winning scriptwriter from outside Boston, Massachusetts. She’s a big fan of scented candles, getting dressed up, and the 2005 film adaptation of Pride and Prejudice starring Keira Knightley. You can make sure she’s doing okay via Instagram and/or Twitter.
Follow Olivia

by Furnishly | Mar 11, 2022 | Design Inspiration, Style
We independently select these products—if you buy from one of our links, we may earn a commission.
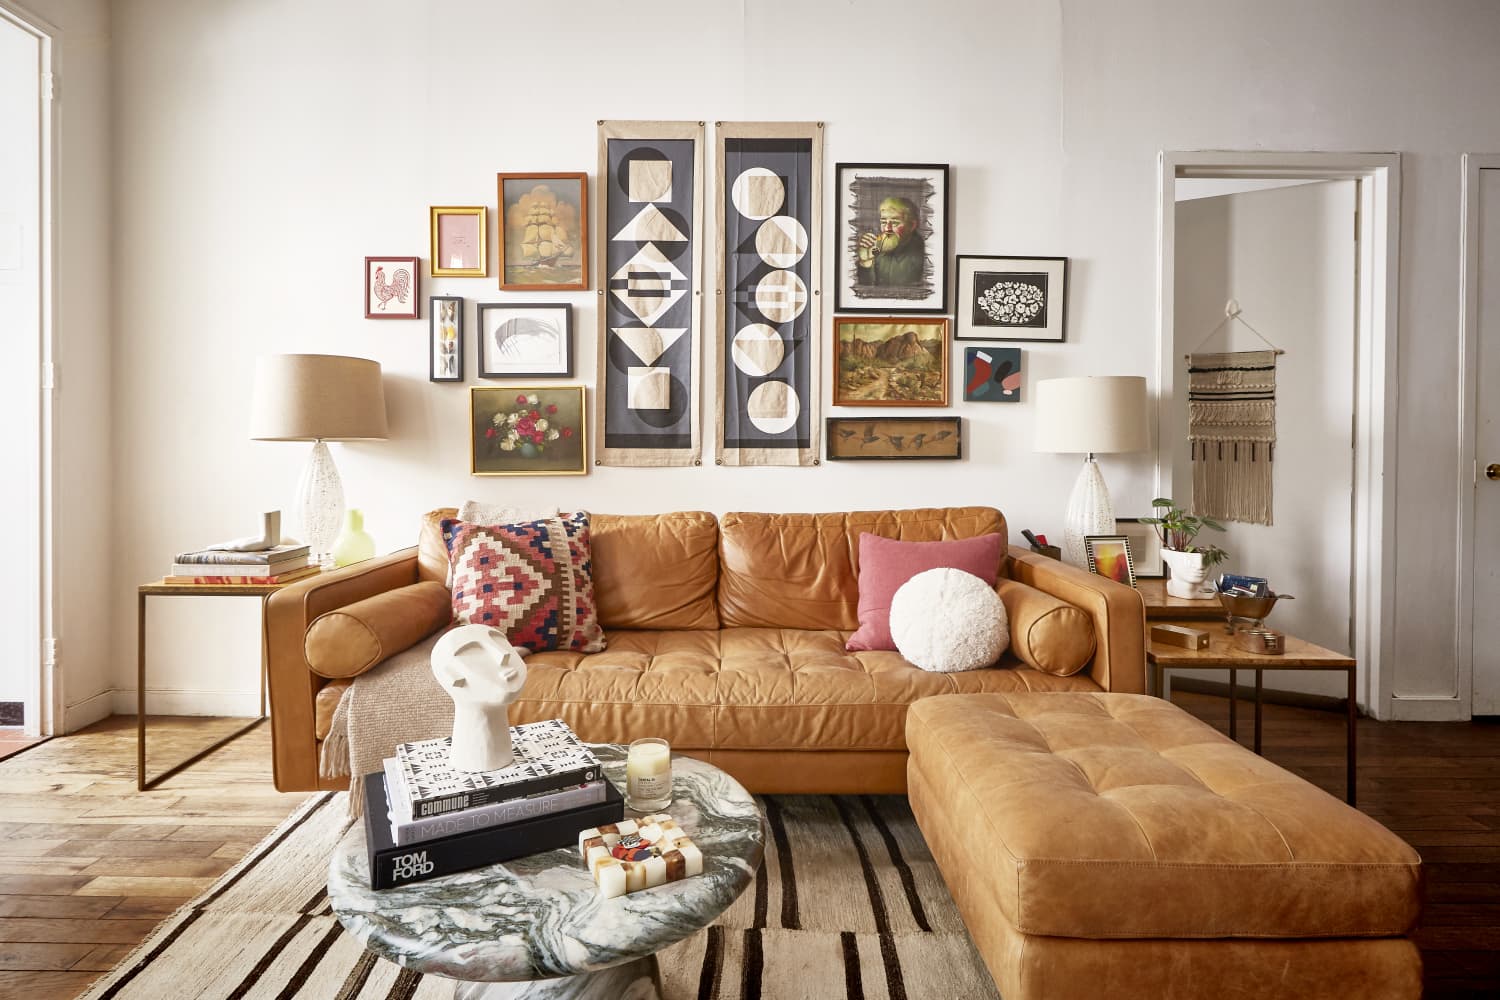
Whenever I look at the gallery wall in my living room, I’m constantly reminded of how much artwork brings me joy. I took studio art throughout high school and majored in art history in college (along with media studies), and I’ve slowly been collecting pieces to fill my walls with over the past ten years or so. To that end, I loved the above shot of my salon-style arrangement from my apartment house tour last year, but I’d be lying if I said the inner perfectionist in me wasn’t a little annoyed over the fact that the frames are most definitely askew. It’s more noticeable on the right side, and I swore I straightened them before the shot. This is a real home — not a staged one — and, I guess, things just sometimes have a mind of their own and shift.
I’ve made my fair share of mistakes hanging art; when you get in up close on this wall, you can see a few holes that didn’t quite work, and I’m still searching for the right anchor piece to replace those two geometric textiles in the middle of the arrangement. Perpetually crooked frames, though? That has to be fixable, I thought after seeing this photo. Turns out the answer is yes, and had I not been doing a million other things to my apartment for its close up last summer, I would have discovered — and implemented! — the solution sooner: The Museum Putty, which costs less than $7 a package and is available on Amazon Prime.
Maybe you remember putting up posters or magazine tear sheets on your walls as a teenager or in your dorm room with Fun-Tak, that blue sticky stuff? Museum Putty’s basically the adult version of that; it functions the same way, securely anchoring a picture or canvas in place. Generally, Museum Putty is a little bit stronger and promises not to damage walls or chip nicer frames. Even better, this putty comes in a neutral white-gray color, so I won’t spot it out of the corner of my eye when I enter my living room and am looking at the pieces from their sides.
To activate the putty, which can also be used to hold collectibles or vases in place on a shelf or table (and is utilized in earthquake zones for this exact protection), all you have to do is pull a piece off the block, mold it into a ball, and press that evenly into a corner on the back of your frame. That ball then makes contact with the wall, and voila, no more shifting once you’ve gotten your piece level and pressed it in. I used four pieces on each frame total (one in each corner), but you could probably get away with just reinforcing two opposite diagonal corners. Removal is as simple as gently twisting the putty off of the surface you put it on, and it can even be reused on another piece after this.
Now that I have this wonder product, I feel like it’s something everyone should get to keep in their toolbox. That way, you can straighten pieces as you’re hanging them and never have to worry about wonky frames again!
Danielle Blundell
Home Editor
Danielle Blundell is AT’s Home Director and covers decorating and design. She loves homes, heels, the history of art, and hockey—but not necessarily always in that order.
Follow Danielle