We independently select these products—if you buy from one of our links, we may earn a commission. All prices were accurate at the time of publishing.
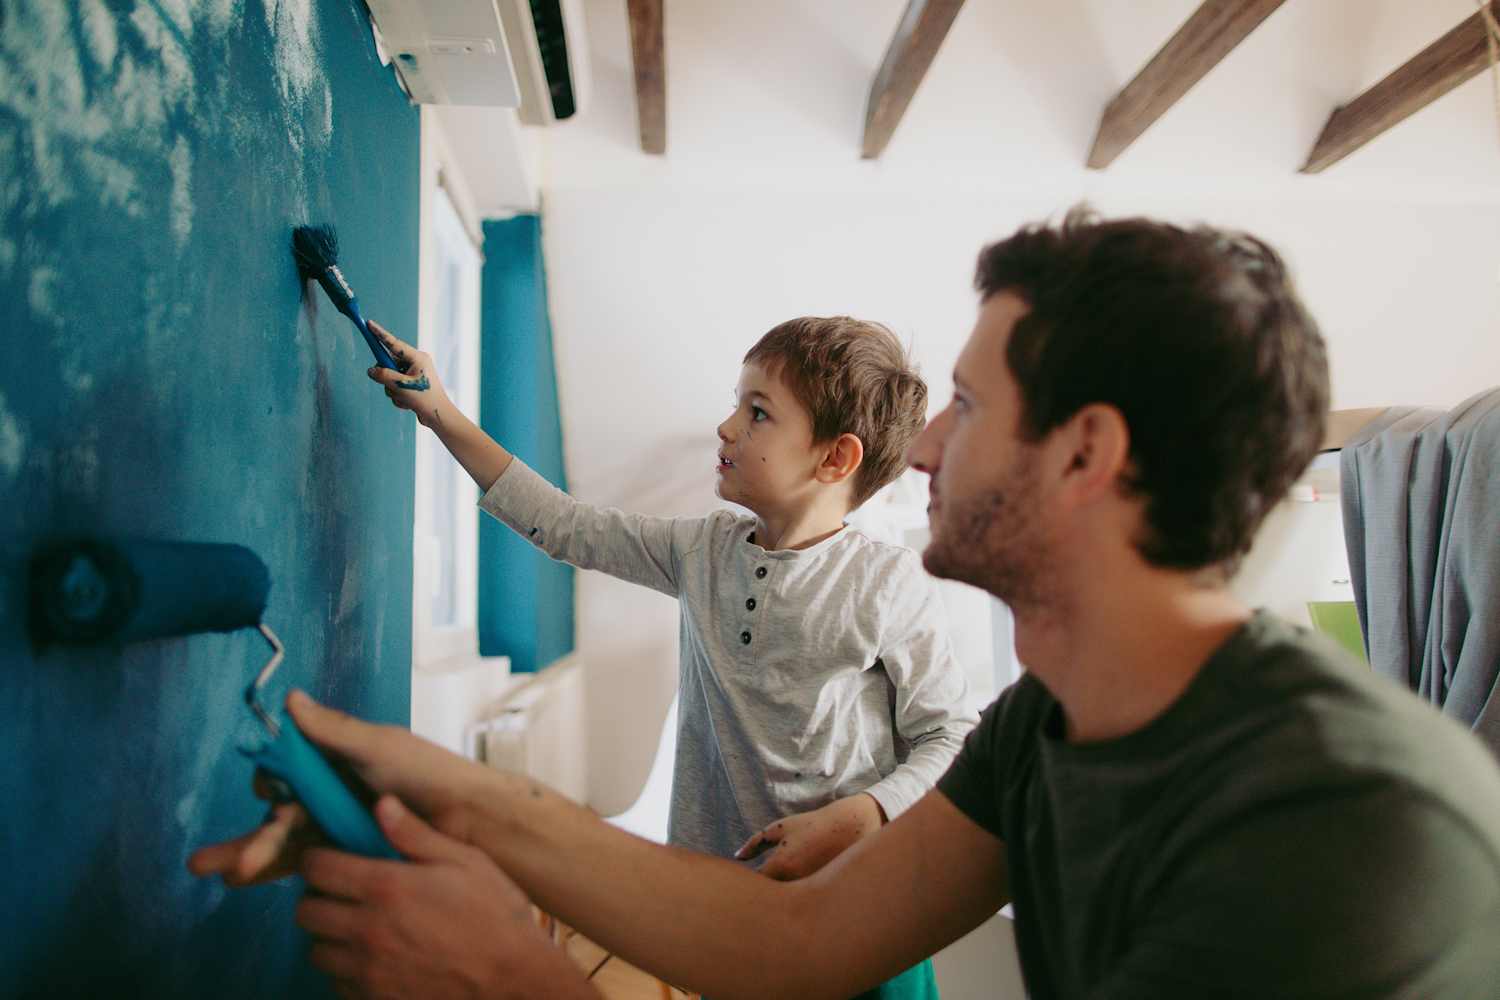
Any painter, DIYer, or crafter will tell you there is perhaps nothing more frustrating than a fuzzy paint line. Whether you’re painting baseboards or color-blocking a wall, it can be devastating to peel back the tape (if you are like us mere mortals who can’t freehand a straight line) and see that — despite your prayers to the DIY gods — some paint has bled.
And so we tapped the experts to find out how to achieve a beautiful, oh-so-satisfyingly straight paint line. The masses agree that preparing properly is well worth the effort.
“Spend your time on taping, not on painting,” says Bar Zakheim, CEO of Better Place Design & Build in San Diego, California. “It’s a lot easier to redo your tape job than it is to take back that first coat of paint.”
And yes, experts do recommend shelling out a little more money for high-quality, name-brand painter’s tape. Anthony Kulikowski, owner of Five Star Painting of South Bend in Indiana, says that, like with anything, you get what you pay for when it comes to tape.
“This is definitely an area you don’t want to save a dollar or two on,” he tells Cubby. “Low-quality tapes don’t stick well and tend to bleed, which results in manual touch-ups [or even damage] and a lot of frustration and extra time.”
Once you have cleaned your surface and have that high-quality tape placed, there is a simple hack for making a line crisp.
Jacob Naig, a Des Moines, Iowa-based real estate investor, contractor, and interior designer, says the “holy grail” to creating a perfect line is covering the edge of the tape with the original base color. For example, he says, if you have a white ceiling and want a blue wall, place the tape where the ceiling meets the wall and paint a light coat of white over the edge of the tape first.
“That way, if any paint bleeds through, it will be the ceiling color, and it forms an impenetrable seal,” Naig tells Cubby. When the white ceiling paint has dried, you can cover that bit of white (and the rest of the wall) with the blue. The same goes for painting orange stripes on a yellow dresser. Paint the edges of the tape with that base yellow, and then go in with the orange.
“When you peel the tape up, you’re left with a meniscus-sharp transition,” Naig continues, explaining that when he flips a house, he uses this trick on everything from accent walls to cabinet edges and trim corners.
If you don’t have the original paint — let’s say you want to add a bold color to the bottom half of a cream wall from your newly-purchased home — most hardware stores can mix up a color match if you bring in a paint chip. Or if that down payment means you’re doing this project on a tight budget and don’t want to buy extra paint, experts say you can use other tools in your painting arsenal. Run a line of clear latex caulk, a putty knife, a wet sponge, or even a credit card over the edge of the tape to create a stronger seal.
Or, better yet, use what’s already in your hand. “I’d just recommend giving it a once-over with a dry brush or even with your fingers to activate the seal,” says Carr Lanphier, CEO of Improovy, a Chicago-based home painting company.
When the time is right (typically before the paint is fully dry to avoid tearing or jagged edges, according to Kulikowski), remove your tape according to package instructions. By applying that first barrier coat of paint on the tape, you should have achieved that “meniscus-sharp” line.
“It’s a little more upfront time,” Naig says, “but there won’t be any of those fuzzy lines that just scream ‘DIY gone wrong.’”
We independently select these products—if you buy from one of our links, we may earn a commission. All prices were accurate at the time of publishing.
Even though temperatures might not be crisp near you yet, you might be feeling the urge to spruce up your space with a few festive fall or Halloween-inspired finds. Whether you want to go all-out on spooky decor this year or you’re tempted to just light up a pumpkin spice candle and call it a day, this fun DIY provides a nice middle ground — festive, but still easy to pull together in less than 10 minutes.
In a recent TikTok video, user Ashley (@ashleymariesavage_) shares a tutorial on how to create the most adorable “sherpa ghosts” to decorate a tabletop or shelf. Not only are these ghosts easy to assemble, but they’re also just big enough to stand out in your room without taking up too much space. Plus, the soft sherpa fabric adds the coziest touch to a classic Halloween decoration.
How to Make Halloween Sherpa Ghosts at Home
To make these ghosts at home, you’ll need the following:
As Ashley demonstrates in the video, the first step of this DIY is to hot-glue the foam ball to the top of your cone. When it’s dry, loosely drape a piece of the white sherpa fabric on top of each cone to give it a ghostly shape. Then, cut your felt sheet into small ovals to be used as eyes, and attach them onto the sherpa fabric with hot glue. The final step: Apply hot glue to your pumpkins, and set them in between the folds of the sherpa fabric, so that it looks like your ghosts are each holding one up.
Some commenters chimed in with suggestions to further personalize their ghosts. One user writes that she’d put a little Dr. Pepper can in the place of the pumpkin, to show off her affinity for the soda. Another person says that adding LED lights underneath the cloth could allow your ghosts to light up as well.
Shop for Cute Halloween Ghosts
If DIYs aren’t your cup of tea, these cute pre-made options will give you the same vibe with a little less effort.
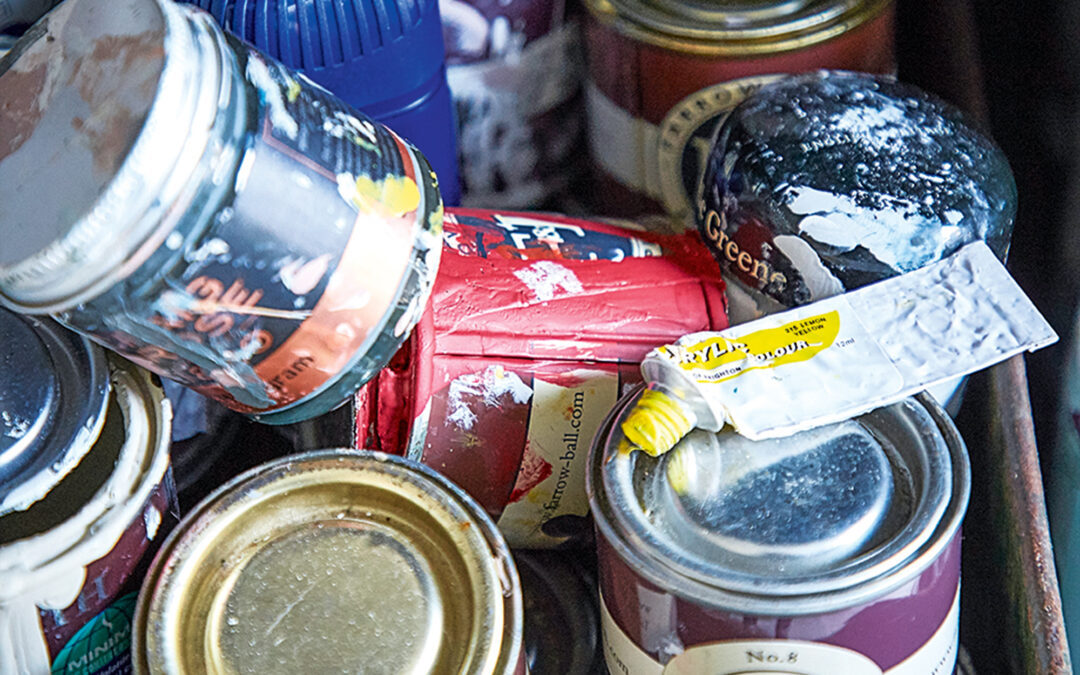
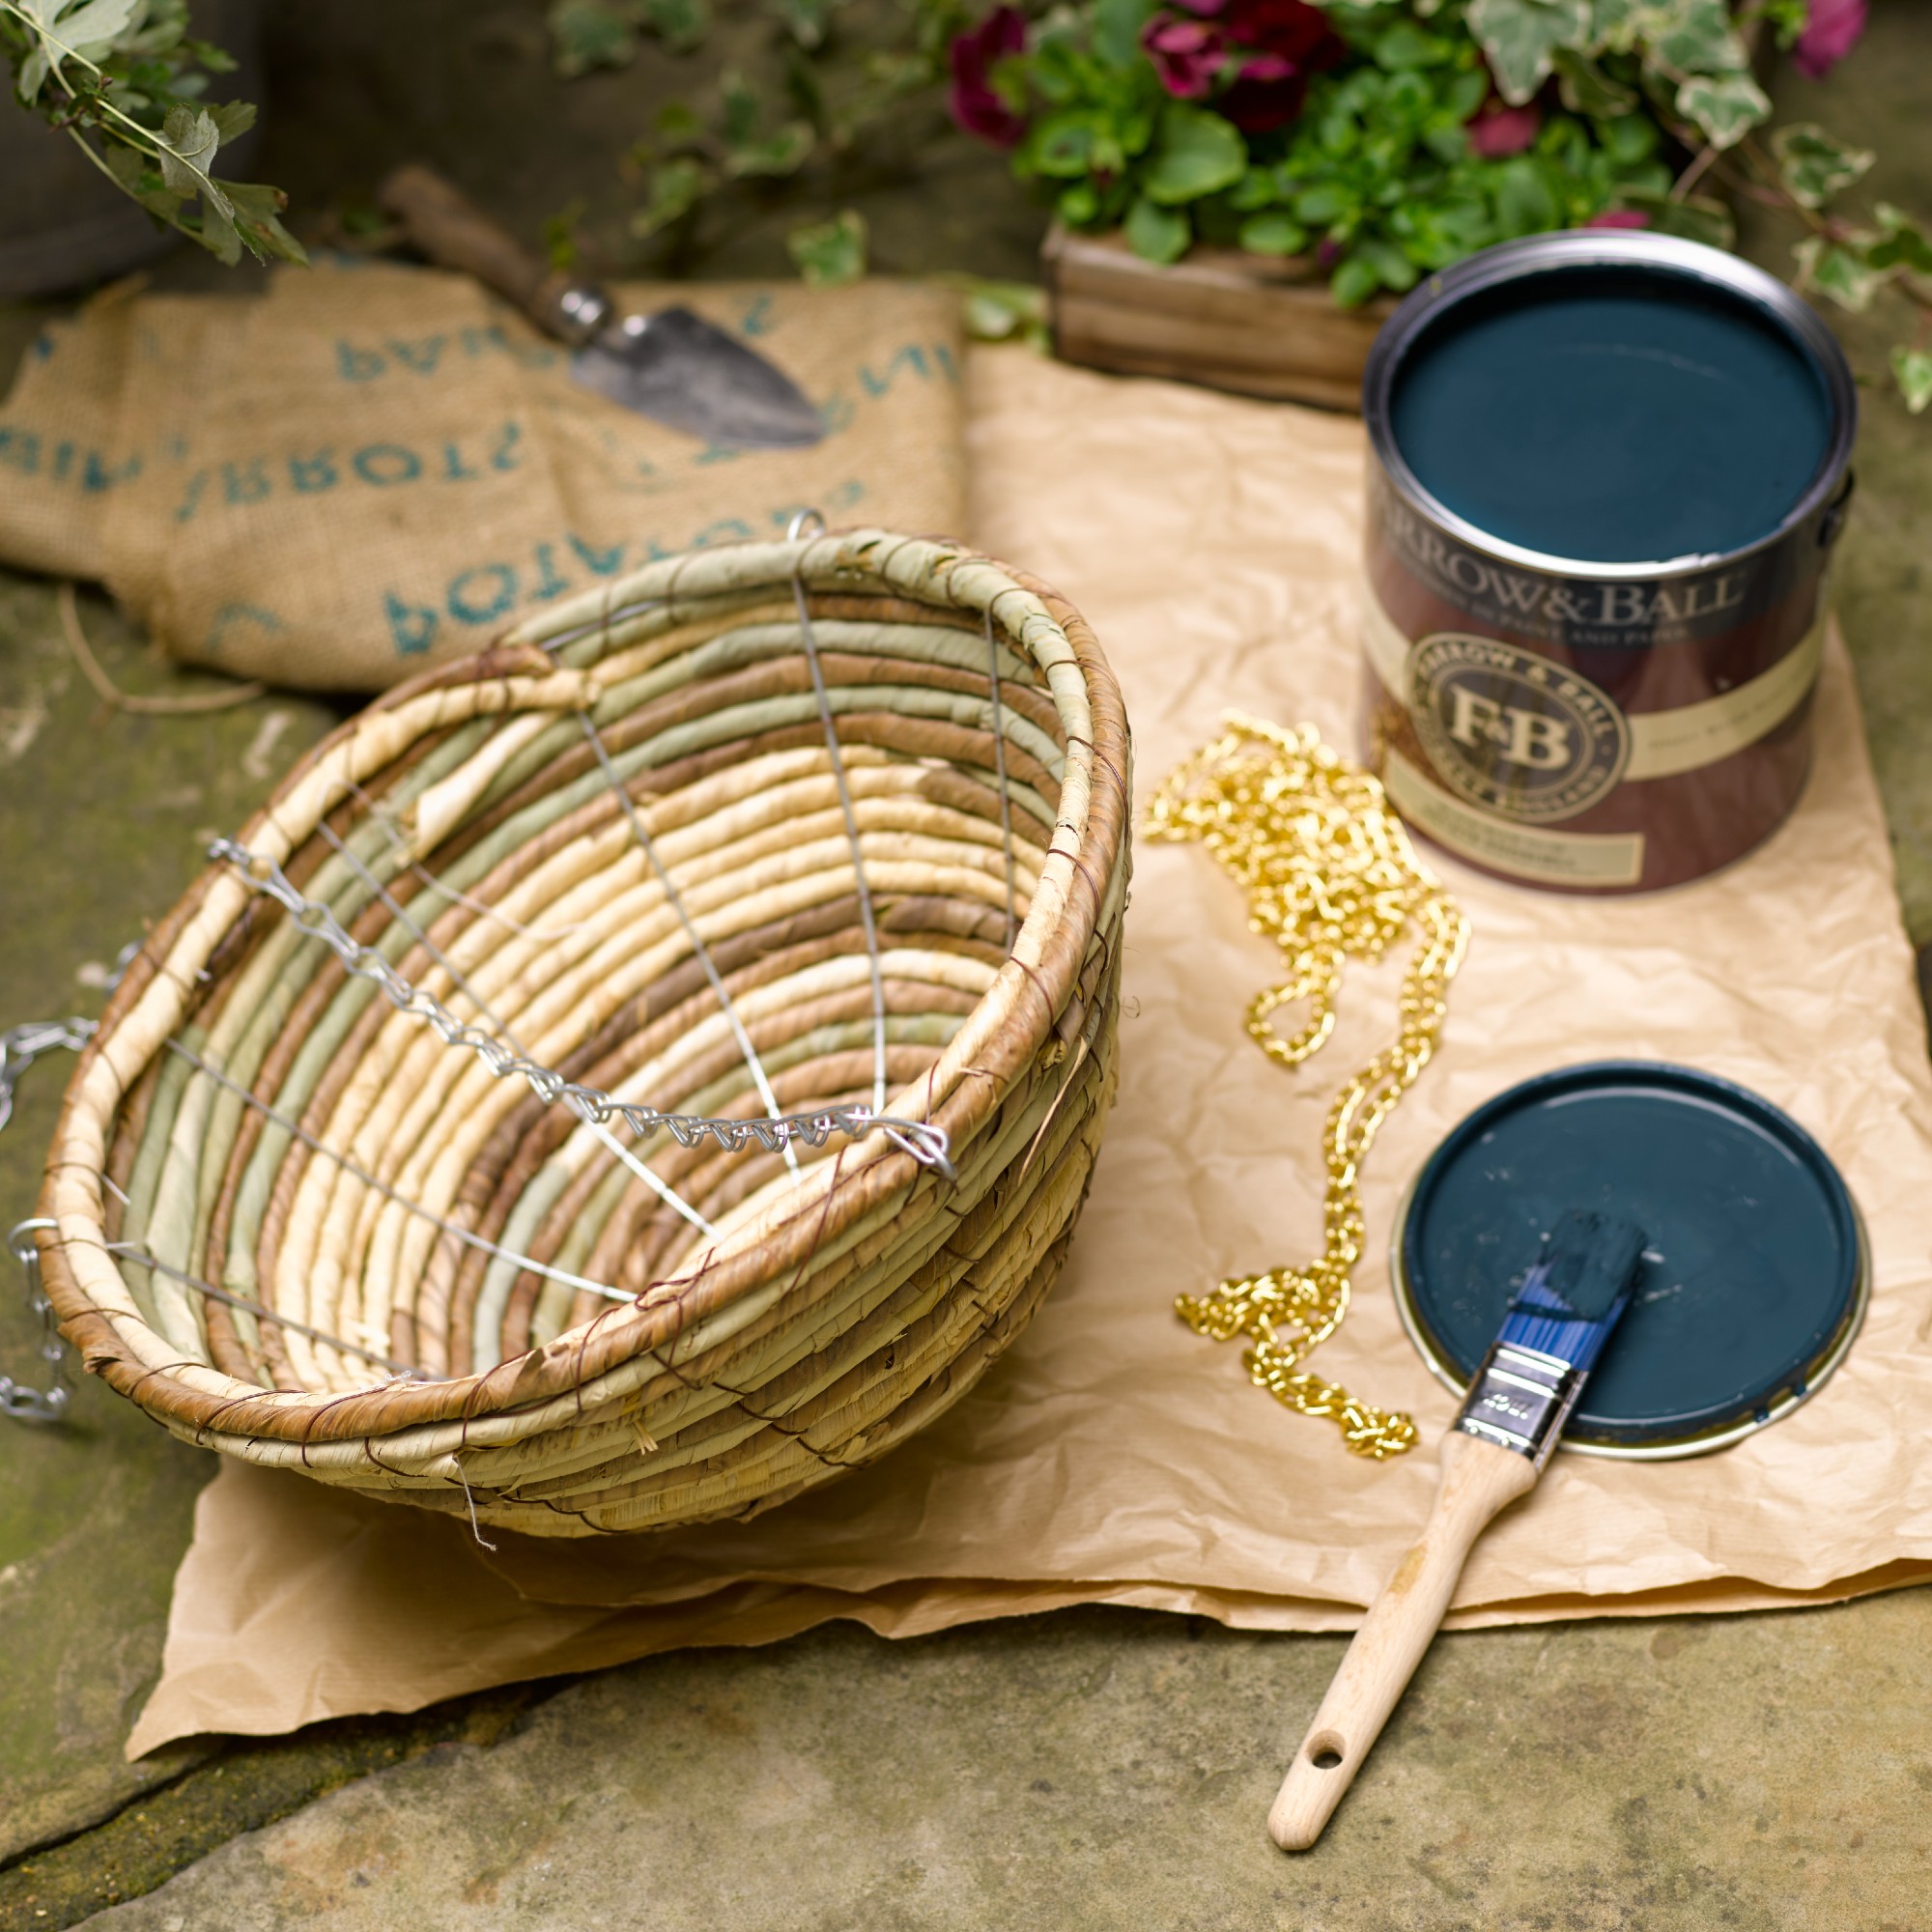
I don’t know about you, but I definitely have a couple of tins of unfinished paint knocking about at home which I’m saving for that ‘just in case’ scenario (one that will likely never happen) – and I’d be willing to bet that you do, too. But the Community RePaint service sponsored by Dulux has the answer – a paint redistribution scheme that donates your unfinished paint tins to community centres, families and individuals all across the country.
Who doesn’t love an easy DIY project?! And paint is the perfect DIY tool to give your home an update and a refresh, even if you’re a beginner. But most painting jobs result in some leftover paint as Dulux’s research has revealed that 50 million litres of paint go to waste every year in the UK and 23% of Brits admitting they don’t do anything with leftover paint.
‘Against the backdrop of 50 million litres of paint going to waste each year in the UK, it’s now more important than ever to consider how we carry out our renovations and upcycles in the most sustainable way – that’s where Community RePaint comes in,’ says Becky Orton, partnerships marketing manager at Dulux. ‘Community RePaint is the paint redistribution service that Dulux has been proud to sponsor for over 30 years.’
Just last year alone, Community RePaint redistributed over 366,000 litres of paint to 44,500 individuals and families and 2500 community groups, stopping it from going to landfill or being incinerated. Instead, all this paint was used to realise countless beautiful and creative paint ideas.
‘We now have over 100 members in the UK, which basically act as donation points across the country where DIYers can drop off their leftover paint for it to be redistributed to individuals and community groups, ready to add a little colour to homes as well as those all-important community centres and resources. And we know there’s plenty of leftover paint to go around – recent research by Dulux found that the average DIYing household in the UK has four cans of paint from old projects collecting dust!
Sign up to our newsletter for style inspiration, real homes, project and garden advice and shopping know-how
‘These can be dropped off with local Community RePaint members, where they are sorted and stored on site and later redistributed at an affordable cost,’ Becky at Dulux explains.
We independently select these products—if you buy from one of our links, we may earn a commission. All prices were accurate at the time of publishing.
If you haven’t been introduced to the Labubu craze, are you living under a rock?
I feel like these trendy bag charms have taken my feed by storm, and I can’t escape them. The blind box creatures (you don’t know which character you’ll unwrap until after you purchase) come in a variety of collectible styles, with varying levels of rarity.
Recently, I’ve been seeing a lot of people switch out their Labubu charms to match their bags or outfits depending on the day. While I love a good cohesive outfit, this results in more clutter no one has any room for.
When I came across this TikTok video by @adrianwidjy, I thought it was a genius way to display your collection and turn what could be a mess into a cute piece of wall art.
How to Make a Labubu Display Case Using an IKEA Frame
In the video, the creator removes the wood backing on a 35×35-centimeter Sannahed frame from IKEA to create a deeper space that fits up to eight Labubus. This IKEA gem comes in a variety of neutral colors like white, black, tan and brown. This ensures two things: that the frames will match whatever other decor you have in your room and that your colorful Labubus will really pop.
In the U.S., the Sannahed frame comes in either 19 3/4 x 19 3/4 inches or 9 3/4 x 9 3/4 inches. You could arrange your Labubus like how the creator does it in the video, or one commenter suggests adding faux flowers or other mementos to fill in the space. I’d probably purchase some scrapbook paper to add a background to my frame so you can’t see the original backing.
As a Labubu appreciator, I think this display case is the perfect way to show off your collection even if you don’t want to hang them on your bag. The Sannahed frame also makes a great showcase for other items if you’ve got knickknacks hanging around that haven’t yet found their proper place.