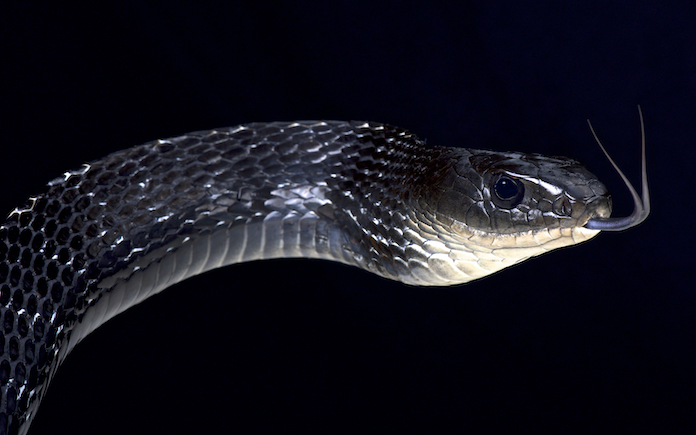
Snakes often turn to pool noodles for shelter from the heat. (Deposit Photos)
Pool noodles are popular foam flotation devices for swimmers of all ages, and they come in handy outside the water, too.
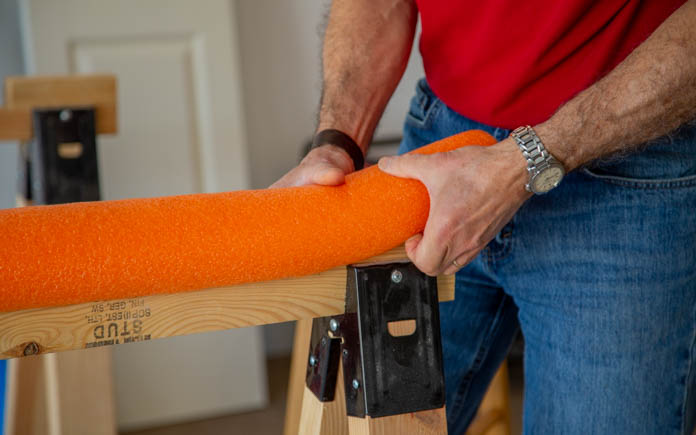
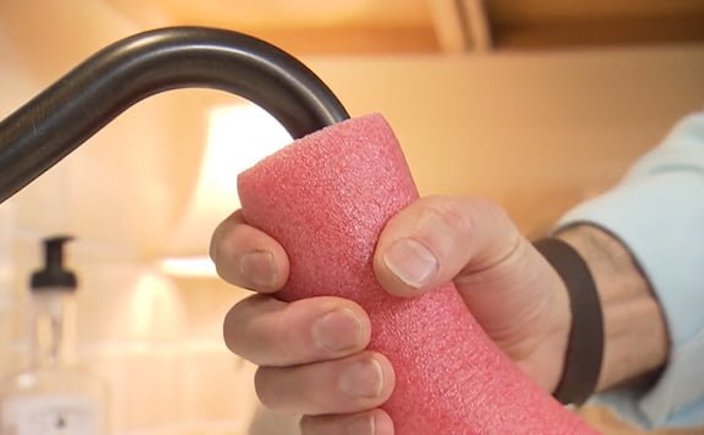
For instance, woodworkers can protect saw horses with one, families with small garages can make car door bumpers to prevent accidents, and you can even turn one into a kitchen faucet extension to fill buckets of water.
No matter how you use pool noodles, be careful because snakes sometimes find shelter from heat in their holes. The dark, cool environment inside these foam tubes is ideal for small reptiles and other creepy crawlies as temperatures rise.
A Salado, Texas, resident learned that after finding an adult rattlesnake and several baby snakes inside a pool noodle, according to USA Today.
Following that incident, the Salado Volunteer Fire Department immediately issued a statement to the public, advising people to store pool noodles in elevated, sealed locations to prevent rattlesnakes, water moccasins and other venomous snakes from using them as habitat.
However you use a pool noodle, here are some tips to keep you safe.
Snakes can find their way into pool noodles such as these.
Pool Noodle Sawhorse Protection
If you use pool noodles to protect sawhorses, make sure there is a firm seal between the foam and wood so snakes can’t slither in.
Inspect the noodles and confirm that nothing will crawl out while you’re working. If the noodle isn’t secure, tighten it down with electrical tape or duct tape, filling any gaps.
If possible, store your protected sawhorses in a garage, shed, or indoors to limit exposure to the elements and unwanted inhabitants.
After using a pool noodle as a hose extension, make sure it dries completely before being put into storage.
Pool Noodle Hose Extension
If you’ve used a pool noodle as a hose to fill buckets from your kitchen sink, be sure the inside of the noodle is dry before you store it. Moisture inside the noodle creates cooler temperatures, making it an ideal space for snakes.
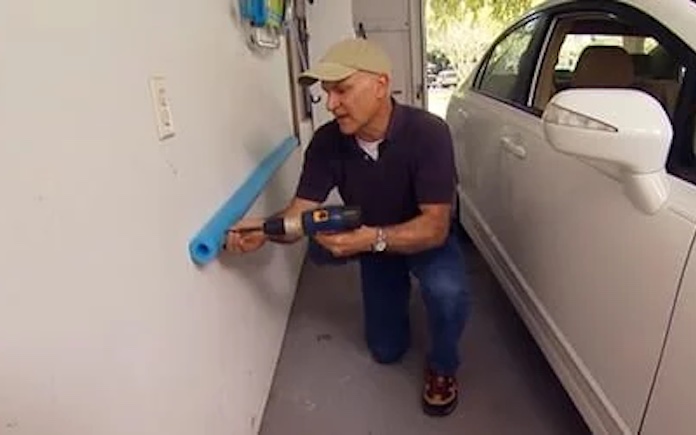
Snakes seek shelter from the heat in cool garages.
Pool Noodle Car Door Bumper
Using pool noodles as car door bumpers in your garage can be an effective, inexpensive way to protect your car’s paint, but it could also provide a perfect home for snakes.
Close off the noodle’s ends so nothing can find its way inside, and avoid leaving your garage door open for long periods to limit access for snakes and other animals.
Your garage’s cool pavement is also an ideal spot for snakes to cool off and hide from the sun.
If you see a snake, stay calm and call your local animal control office; some police or fire departments also respond to snake sightings. Don’t gesture toward the snake and, remember, the snake likely won’t bite you if you leave it alone.
What to Do If a Snake Bites You
If the snake does bite you, stay calm and call 9-1-1. Try to remember everything you can about the snake’s features such as color, patterns, head shape and size, and tell the operator.
If possible, have someone take a picture of the snake from a safe distance. This will help medical staff treat you when you arrive at the hospital.
Remember, you aren’t a cowboy, and this isn’t the Wild West. Never cut into a snake bite or suck out venom with your mouth, as infection and dental problems could worsen your condition.
Advances in modern medicine have improved treatment for snake venom, so bites increasingly are less deadly, but you should always see a doctor right away.
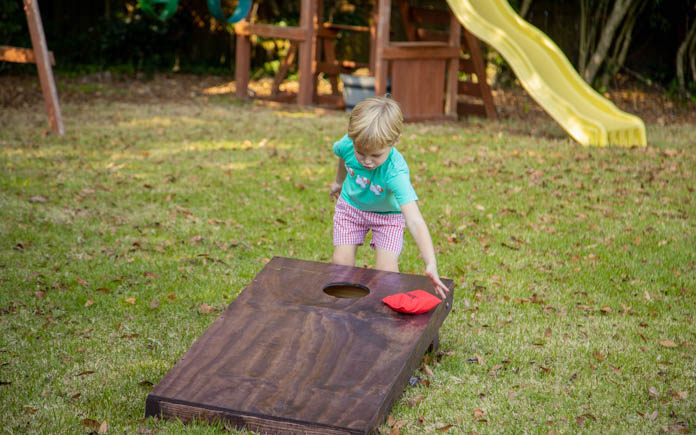
Cornhole, a game that’s been around for centuries, is a popular pastime for tailgate entertainment or backyard fun. You just need a cornhole board and some bags — and a free afternoon with family or friends!
As the story goes, Matthias Kuepermann found a group of boys throwing stones into groundhog holes for fun. Worried for their safety, he crafted the cornhole board, replacing groundhog holes with wooden boxes with round holes and stones with bags filled with dried corn.
Because of its simplicity, the game hasn’t evolved much. These days, the corn-filled bags are sometimes replaced with plastic and resin beads. But some die-hard cornhole enthusiasts insist on using real corn kernels.
Players in the United States even compete at state and national levels. And now, there are efforts to make the cornhole game an Olympic sport.
You can build a cornhole board for your backyard. The process is simple, but it might require a few specialty tools if you don’t already have them on hand!
Whether you’re passing time in the backyard or competing for bragging rights, the cornhole game is a fun activity for all ages.
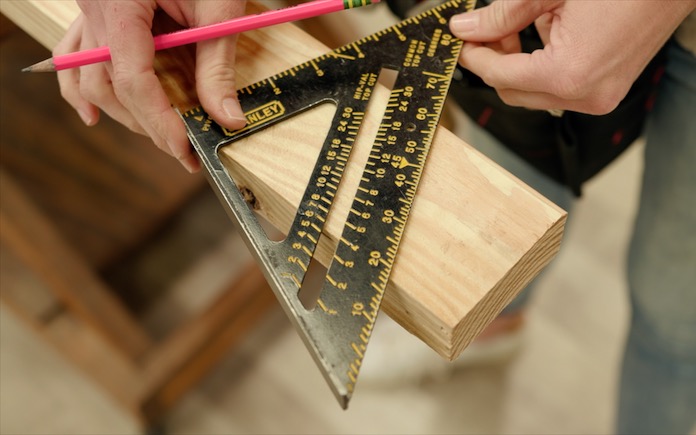
Use a carpenter square to get accurate angles for your cornhole game’s leg pieces.
Cut the Cornhole Board’s Wood Pieces
Using a carpenter or speed square, mark 25 degrees and cut along that angle. Then mark a straight line 12-and-1/4 inches from the angle’s long side. Repeat this three more times to create your boards’ legs.
For the frames, you’ll need four straight cuts at 21 inches and four straight cuts at 48 inches.
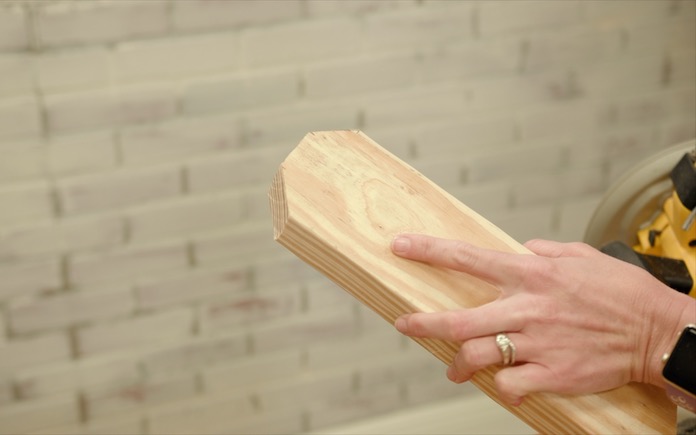
The 45-degree cuts on the leg pieces will make them easier to fold
Now back to your leg pieces. You need to cut them on the square side to make them easier to fold and unfold. Mark 1 inch in from each side and 1 inch down on each side. Connect those marks with a straight edge to draw a 45-degree angle on each corner. Cut the two triangles on each leg.
Lay your cornhole game frame on a waist-high table for easy drilling.
Assemble the Frame
To mark the hole for the legs to attach to your frame, measure 1 and 3/4 inches from one side and 1 and 3/4 inches from the short end. Drill all the way through with a 3/8-inch drill bit. Then set aside.
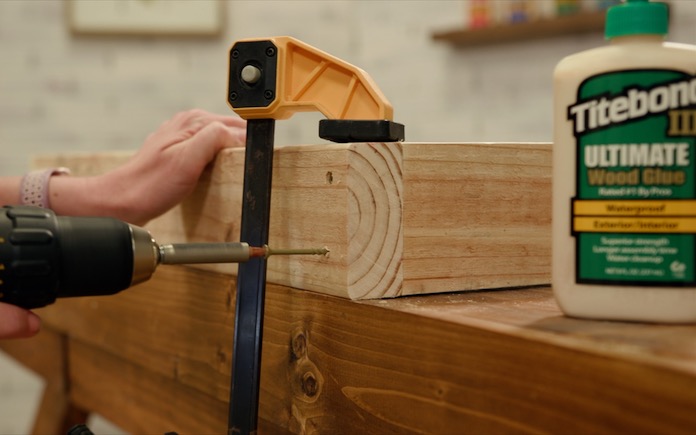
Titebond III Ultimate Wood Glue will keep your frame in place and add some waterproofing to your cornhole game.
To lay out your frames, lay two 48-inch pieces parallel to one another and set the 21-inch pieces at the ends, between them. Apply a bead of wood glue rated for exterior use, like Titebond III Ultimate Wood Glue, and attach the pieces together with 3-inch screws.
Apply more wood glue around the top of your new frame, and set the 2-by-4 sheet of plywood in place. Attach it with 1-and-1/2-inch screws through the plywood into the frame below.
To create the hole for the bean bags, mark 9 inches from one end, then measure and mark the center of the board near that 9-inch mark.
Using a 6-inch hole saw, cut a hole with your mark at the center. A hole saw this large can be a little tricky, so take your time!
Flip the board over to attach the legs.
Folding legs will save storage space.
Attach the Legs
On the end of your board with the hole, set your legs in either corner with the longer part of the angle on top. Clamp the leg half an inch from the end and use the existing hole in the leg to drill a 3/8-inch hole through the frame. Then sand the ends of the legs to round the cut angles.
Next, slide a carriage bolt through the hole from the outside, then one washer, a wood leg, another washer and finally the nut. Hand tighten.
Repeat as necessary until both of your cornhole boards are assembled!
Stain your cornhole game for a finished look or customize it by painting it with your team colors.
Start with 150- or 180-grit sandpaper. Once you’ve sanded all of the surfaces, step it up to a 220- or 300-grit sandpaper to create that smooth, slick surface that’s synonymous with cornhole boards!
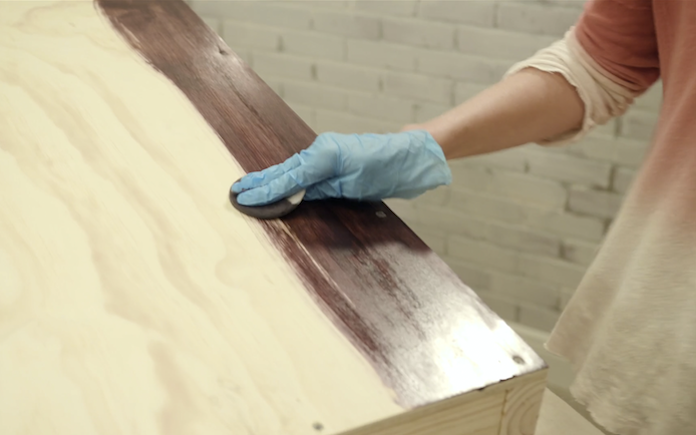
Staining: In long, even strokes rub your wood stain with the grain of the wood. Follow with a clean rag to wipe up the excess stain. Once it has dried for a few hours, start applying a clear topcoat, like spar varnish, that is safe for outdoor use.
Let the coat completely dry before sanding with 220-grit sandpaper, wiping clean and applying another clear coat. Repeat for a third time.
Painting: If you’re choosing to paint your boards, select an exterior semi-gloss paint and make sure your design covers all the wood on the top so the surface will be appropriately slick. Several coats might be required.
Once your topcoat or paint is dry, you’re ready to start keeping score!
To get your backyard ready for more summer fun, add some hanging string lights. Use planters or shepherd’s hooks to keep the good times going past sundown.
When tiling over plywood, you should always put down a layer of cement backer board first, which will provide the necessary support for the tile. Here are eight important steps to keep in mind when installing cement backer board:
Check the plywood subfloor for any movement and squeaks. Use 2 inch drywall screws to fasten down any trouble spots, driving the screws through the plywood and into the floor joists below.
Use a notched trowel to spread thin-set mortar over the plywood subfloor.
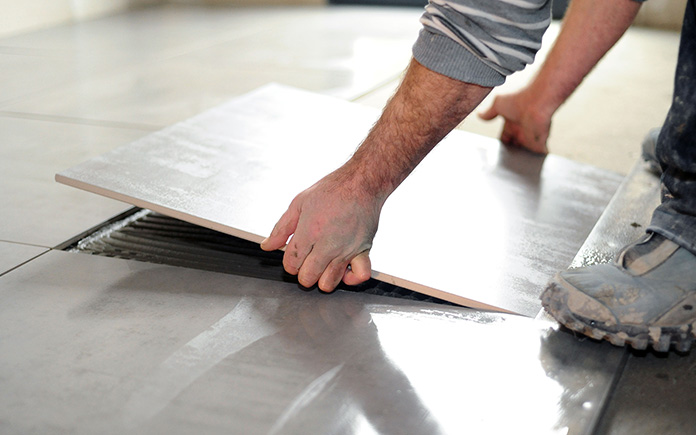
Lay the cement backer board into the thin-mortar, making sure to overlap any seams in the plywood subfloor by at least 4 inches.
Fasten the backer board using an impact driver and backer board screws; space the screws 4 inches apart around the perimeter of the backer board sheet and 8 inches apart across the center.
Leave a one-eighth inch gap between the backer board sheets and stagger the sheets so that four corners don’t meet at a single intersection.
Cover the seams between the backer board sheets with fiberglass mesh tape.
Spread a thin layer of thin-set mortar over the taped joints.
Once the mortared joints have cured, you can start setting the tile.
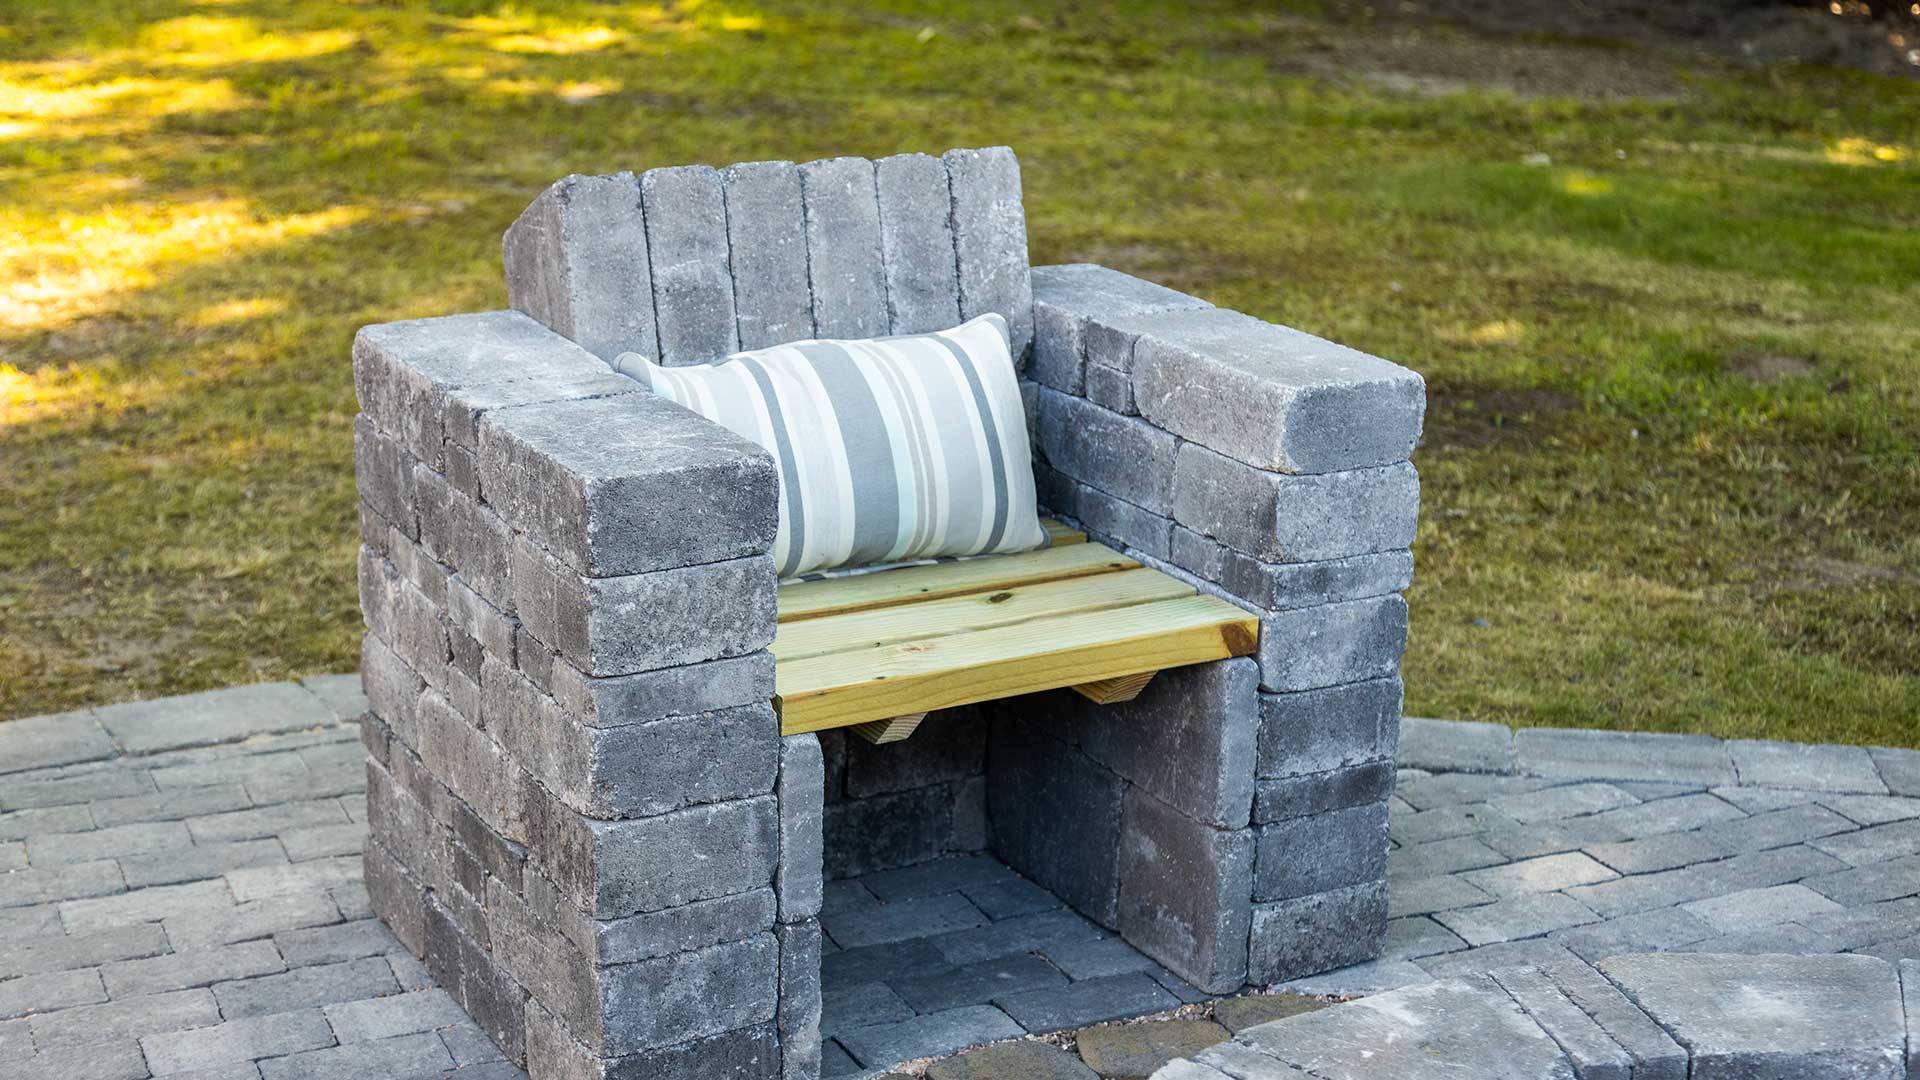
Having enough seating for your outdoor entertaining space is essential to ensure your guests are comfortable.
These chairs made from RumbleStone blocks make a great addition to any patio, particularly those made of pavers.
To create your own paver patio chair, first take small, medium, and large RumbleStone blocks and lay them out in a U shape. These are 24 1/2 inches deep, 35 inches wide.
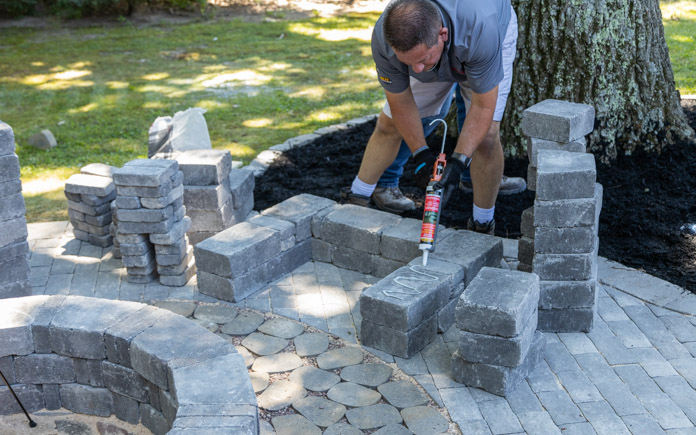
Next, apply polyurethane construction adhesive before the next row of stones are applied on top of the other stones.
Be sure that the pattern of the stones varies for each new row. This way, no continuous seams will be seen from the bottom to the top of the chair. Also, this makes the chair stronger and visually appealing.
Use trapezoid blocks to fill in the back of the chair once it reaches 24 inches high. Apply construction adhesive to the bottoms and the sides of these blocks to form the back of your chair.
Inside the legs of the chair, glue four 45-millimeter-large blocks vertically to support the seat of the chair. For the seat, use four 2×4 wood planks and a couple of 2×2 pleats.
The result will give you complimentary paver chairs to go along with your paver patio!
Patio seating comes in many materials and price ranges — which can be good and bad.
For instance, ready-to-assemble outdoor furniture may be functional, but it also looks off-the-rack. And like everybody else’s outdoor furniture.
Whether you entertain a lot or just want a backyard paradise to personally enjoy, creating a set of paver chairs is a surefire way to do that.
Pavestone RumbleStone blocks, made of durable concrete, are engineered to mimic the appearance of weathered cut stone. They have a natural look and feel and give any outdoor living space texture and depth.
Best of all, they resist decaying and fading and don’t attract pests.
Patio seating made from these rustic building blocks is sure to be a crowd-pleaser and a conversation piece.
Follow this guide as inspiration to create your own paver chairs.
What You’ll Need
Start your paver chair with a U formation of building blocks.
How to Build Paver Chairs
1. Create a ‘U.’ Lay small, medium and large RumbleStone blocks in a U shape. Choose the size that works for you and cut any of the blocks as needed with a circular saw. (Just wear protective eyewear before you do.) This chair’s U shape is 24 1/2 inches deep and 35 inches wide.
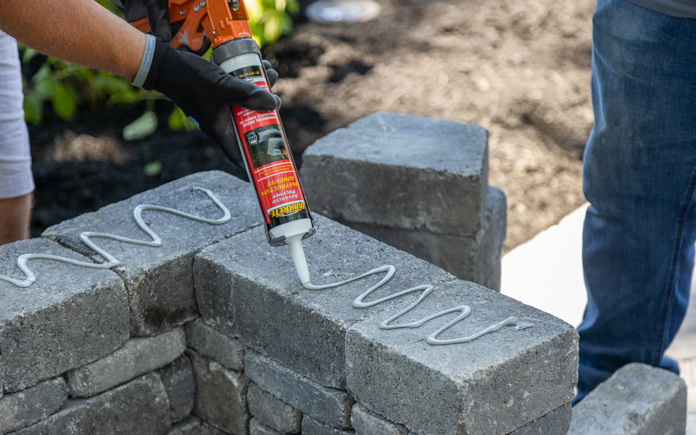
Apply Quikrete Advanced Polymer Construction Adhesive to secure each bottom row of pavers to the one above it.
2. Bond the blocks together. Apply construction adhesive on top of each row of stones before you add the next row of stones.
3. Mix it up. Vary the pattern of stones for each new row. This way, no continuous seams will be seen from the bottom to the top of the chair. Also, this makes the chair stronger and more visually appealing.
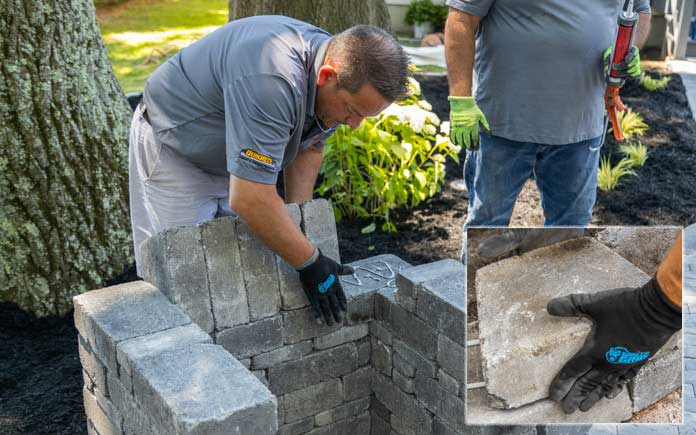
Cut RumbleStone blocks into trapezoids to fill in the back of the chair.
4.Fill it in. Use trapezoid blocks to fill in the back of the chair once it reaches 24 inches high. Apply construction adhesive to the bottoms and the sides of these blocks to form the back of your chair.
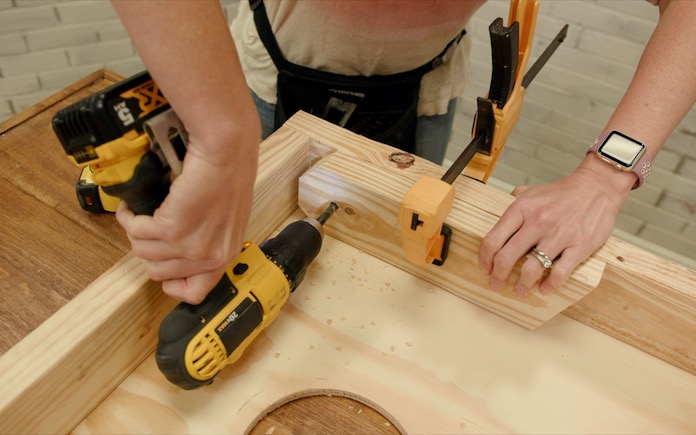
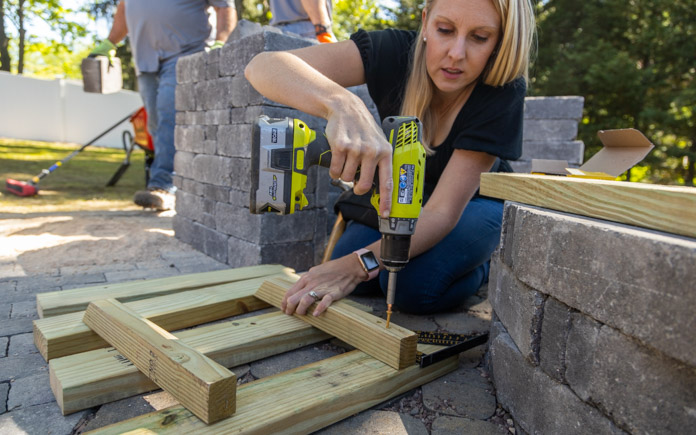
Secure two 2-by-2 cleats to four 2-by-4 planks with a power drill and deck screws.
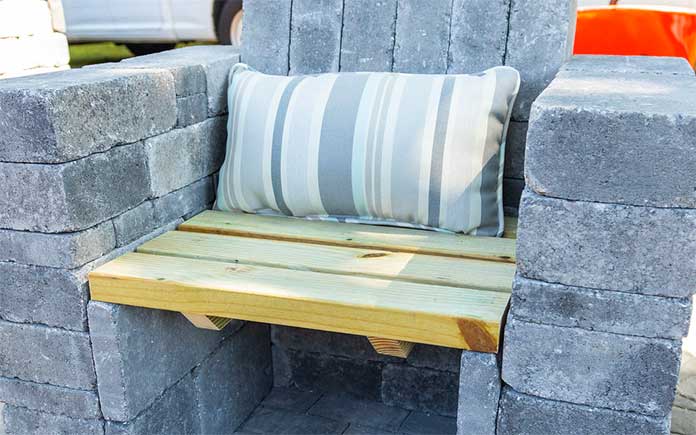
5.Add the seat. Patio seating is nothing without the seat! So, inside the legs of the chair, glue four 45-millimeter-large blocks vertically to support the seat of the chair. Then, to create the seat, secure four 2-by-4 wood planks to a couple of 2-by-2 cleats with a power drill and deck screws.
Buy a lumbar pillow or a full back cushion for each chair to soften its appearance and add comfort.
Make them Comfortable
These chairs add instant elegance to your outdoor living space, especially if you have a paver patio. Now there’s just one thing left to do: add cushions!
You can add a back cushion and leave the wooden seat as is, or you can add a matching seat cushion to soften the chair’s appearance and enhance your comfort.
Need shade? Add a matching patio umbrella or shade sail overhead to tie the look together, so your hardscape elements (the paver patio and paver chairs) match, and your cloth elements (the cushions and shade) complement each other, too!
The result is sure to rival your neighbors’ patio seating, and will make your outdoor living space the best-looking one on the block.