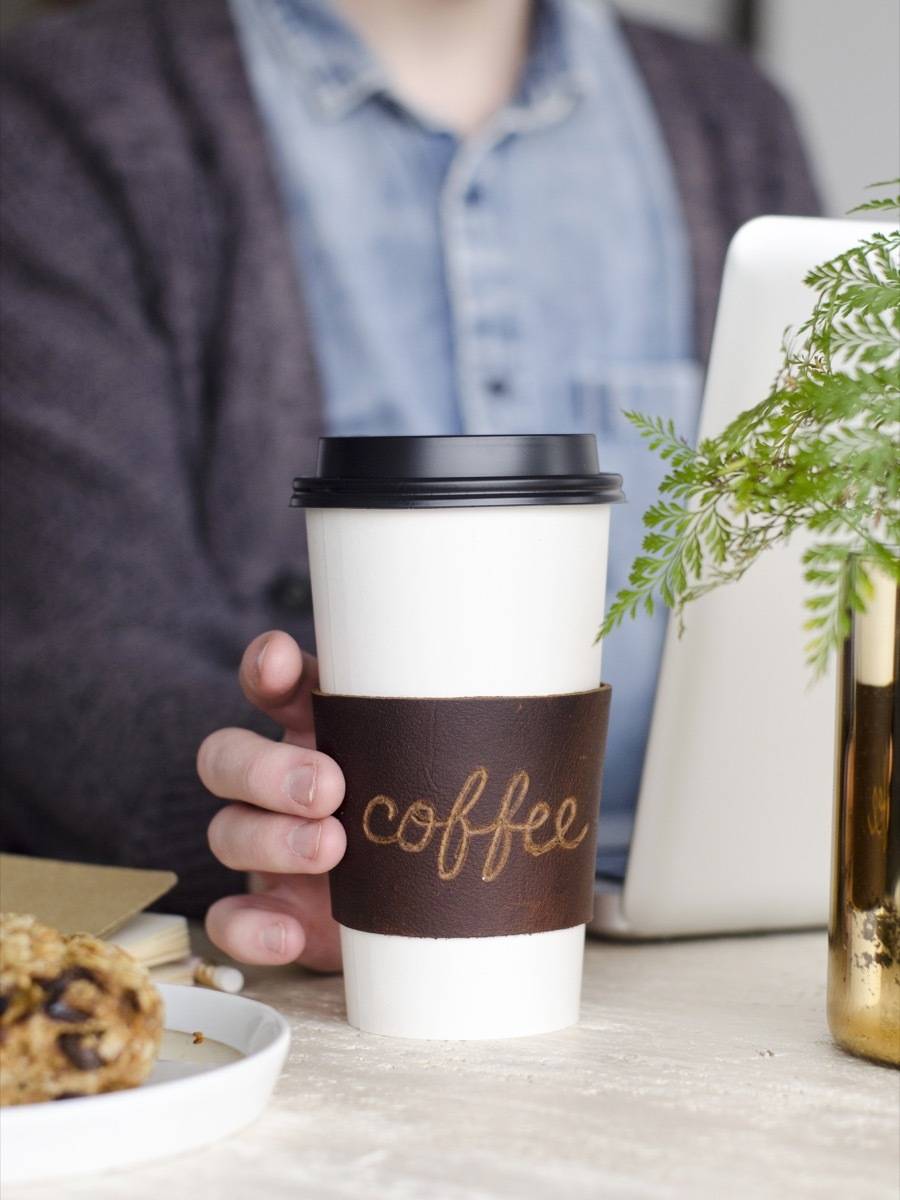
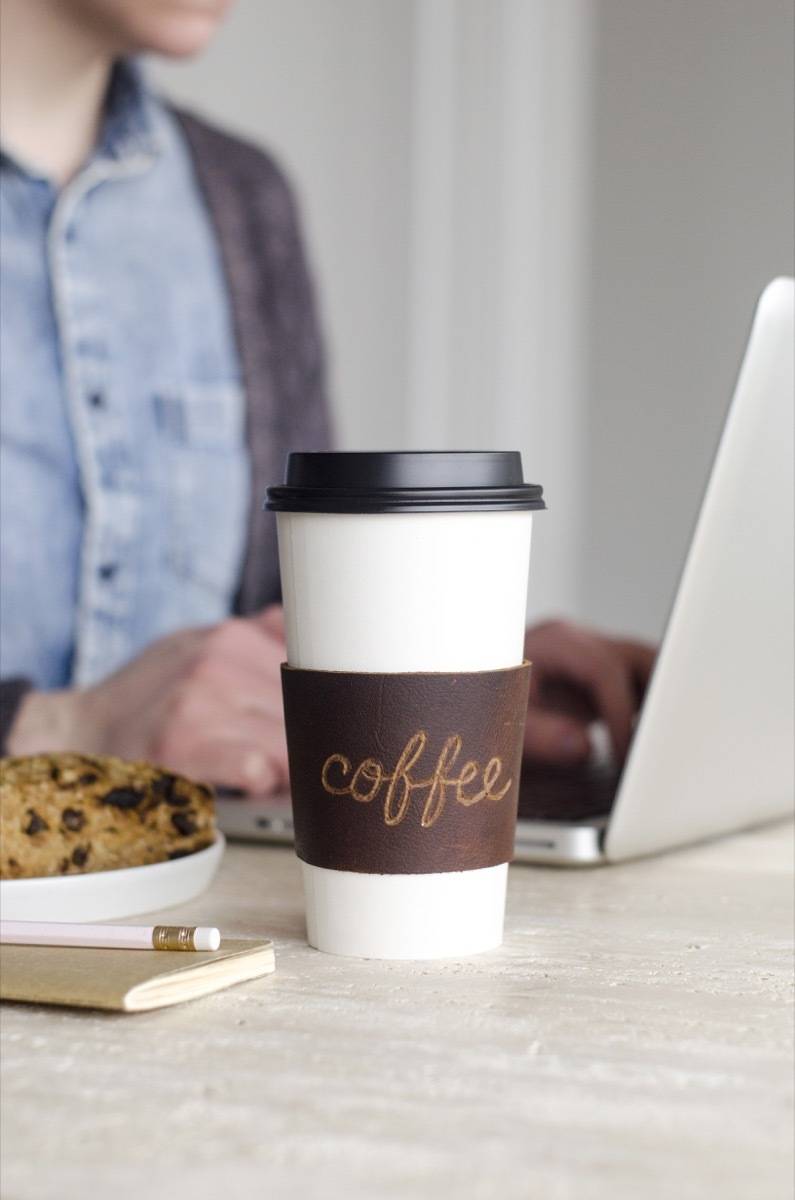
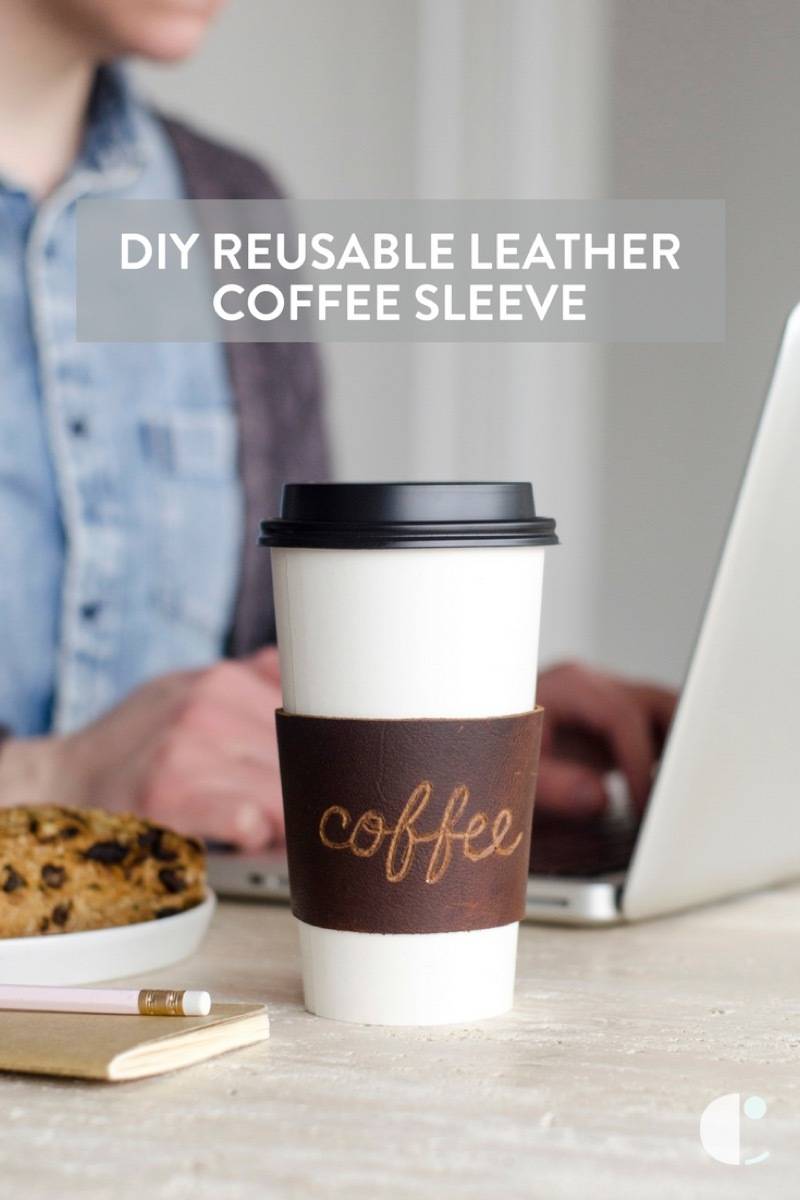
My wife and I will be buying a house somewhere in the near future. Whenever she asks me what kind of neighborhood I want to live in, I just say, “One within walking distance of a coffee shop.” That’s my only criteria, because that’s how much I love coffee. Right now we live in an apartment in a busier part of the city, so most of my coffee is to-go, and grabbed on foot. Which is where this DIY leather coffee sleeve come into play…
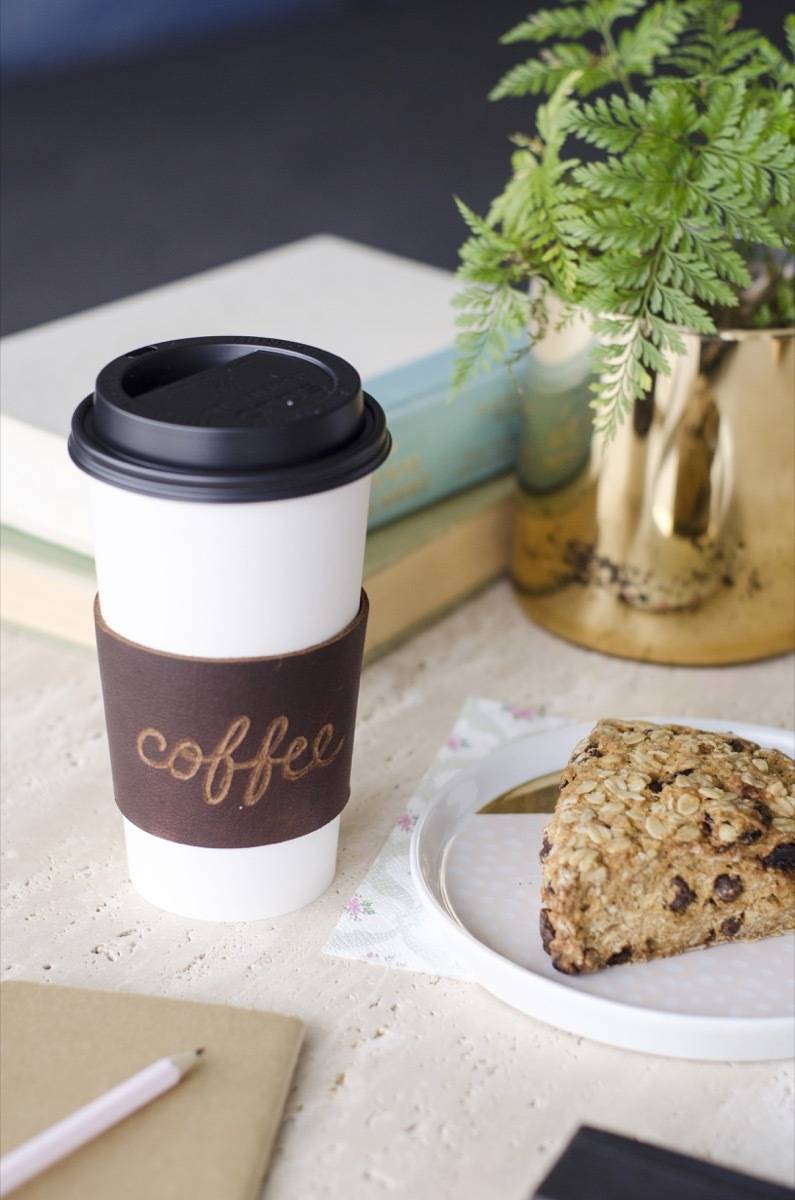
For now, I don’t live in a house within walking distance of a coffee shop. I live in an apartment within walking distance of like 20 coffee shops. It’s a caffeine-lovers dream, really. I don’t know if you can call “grabbing coffee” a hobby, but if you could, I’d be the most skilled at that hobby. Even though I get a lot of coffee, I don’t always remember to grab a reusable cup prior to a coffee run. A coffee sleeve, though, is small enough to keep in my coat pocket. It helps cut down on a little bit of waste, plus it’s cute and let’s everyone know that I am definitely not drinking tea.
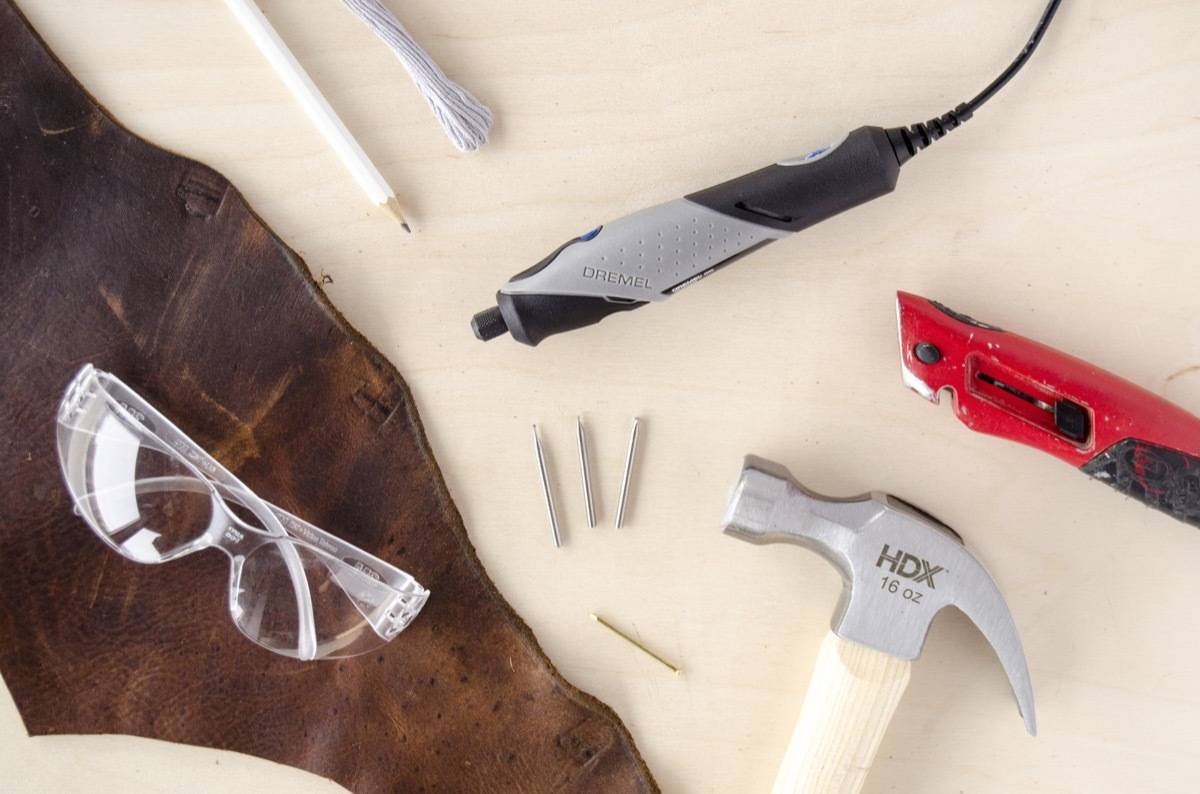
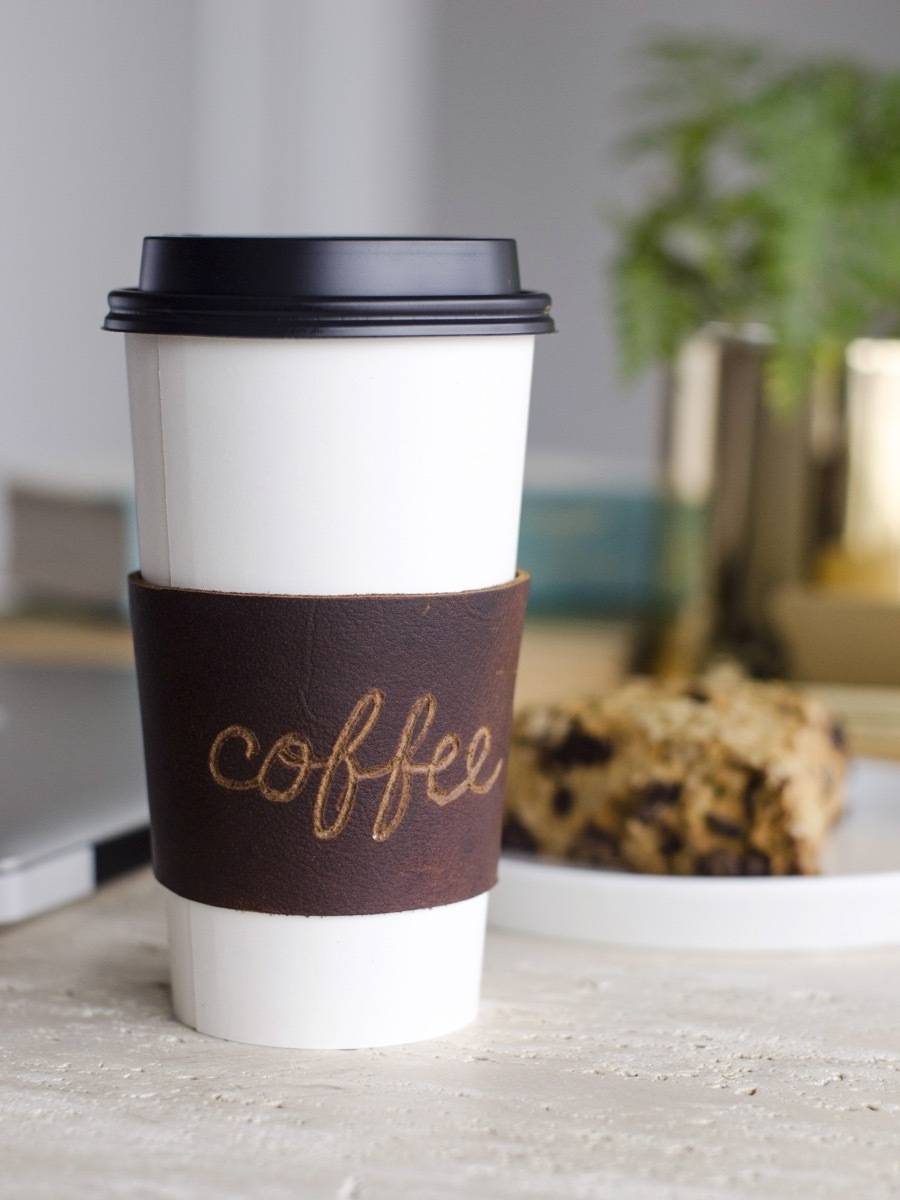
Because I live in an apartment and not a house, there’s not a lot of heavy duty crafting happening at my place. Tools are loud, and the walls in my building are thin. I had never even considered doing any mechanical etching, sanding, etc. before I got my hands on the tool I used to etch this leather coffee sleeve. You guys – it’s so quiet. And it’s small, so it’s not intimidating at all. The Dremel® Stylo+? 10/10, would etch again. Keep reading to see how I made a reusable coffee cup sleeve to keep my hands cool and my drink hot.
Materials
Step
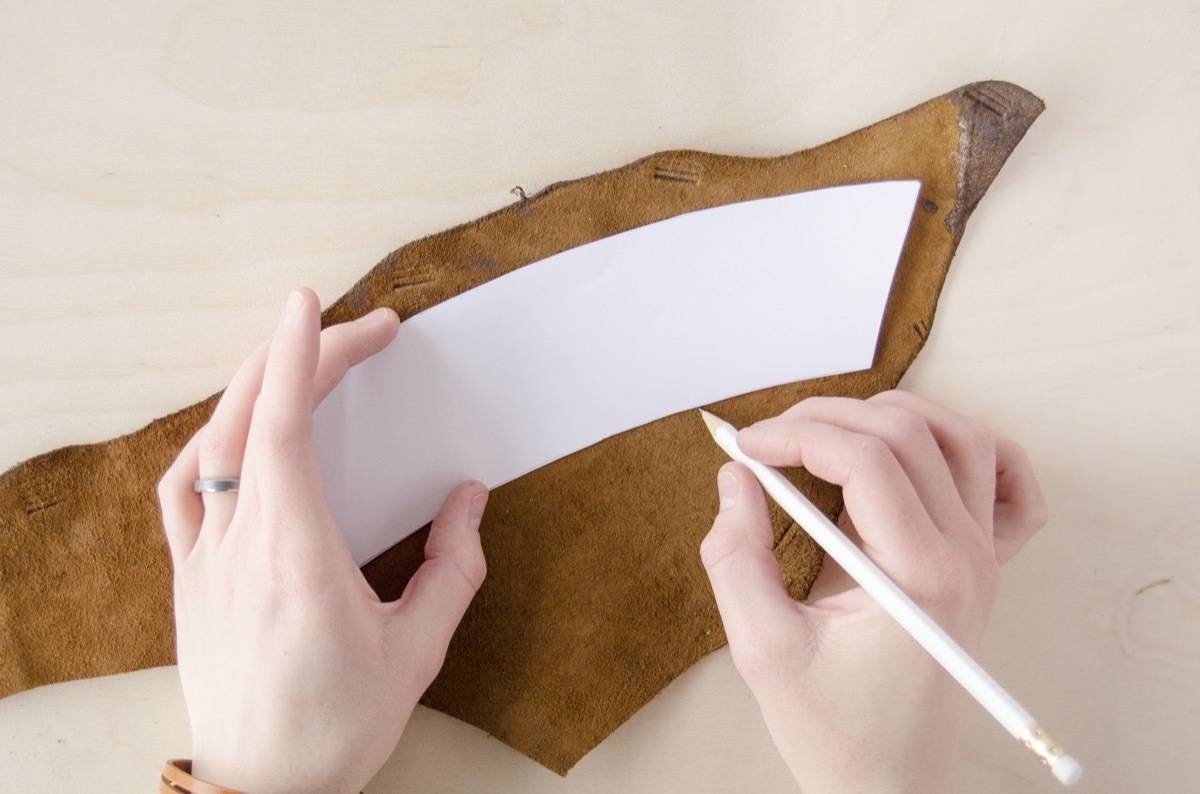
Print out the Leather Coffee Sleeve template, cut out the template, and trace the shape of the cup sleeve onto to the back of a piece of scrap leather.
Step
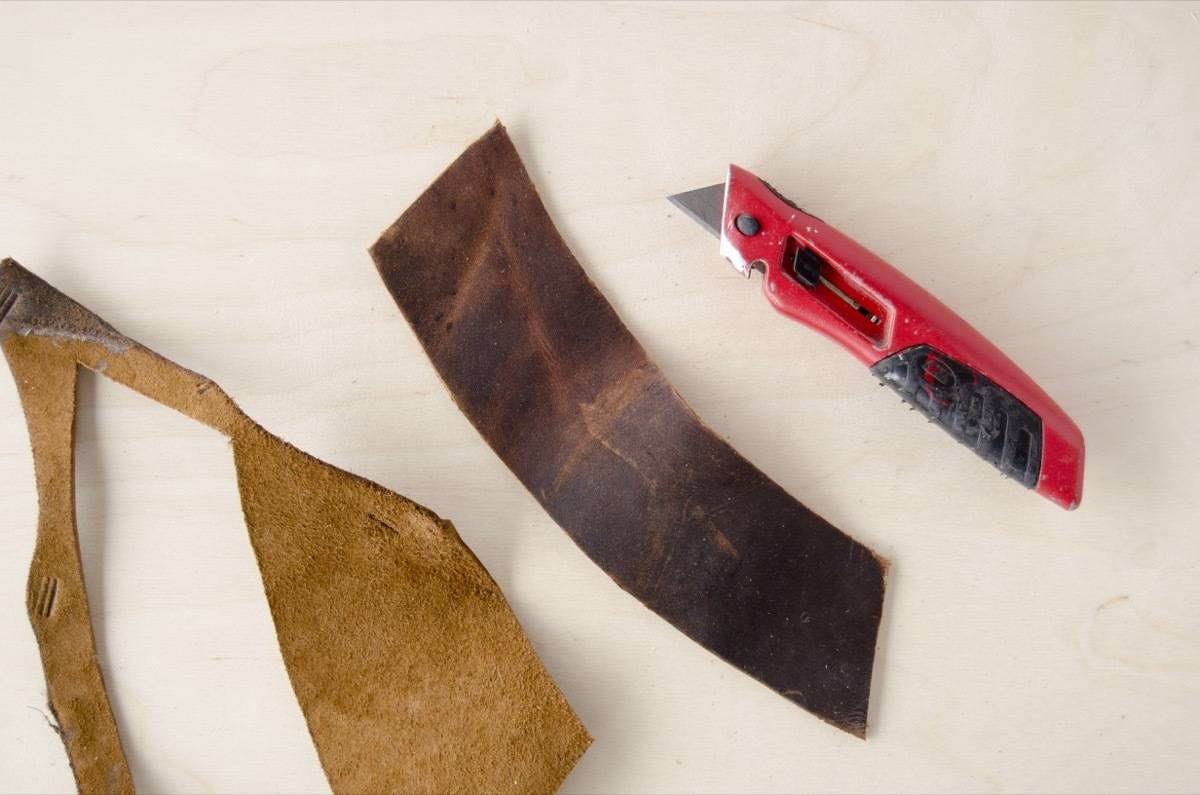
Use a sharp utility knife (or a sharp pair of scissors) and cut out the shape of the sleeve.
Step
Line the template back up with the cut piece of leather, both the leather and the template facing right side up. Trace over the lettering lightly with a pencil. This will leave an indentation in the leather.
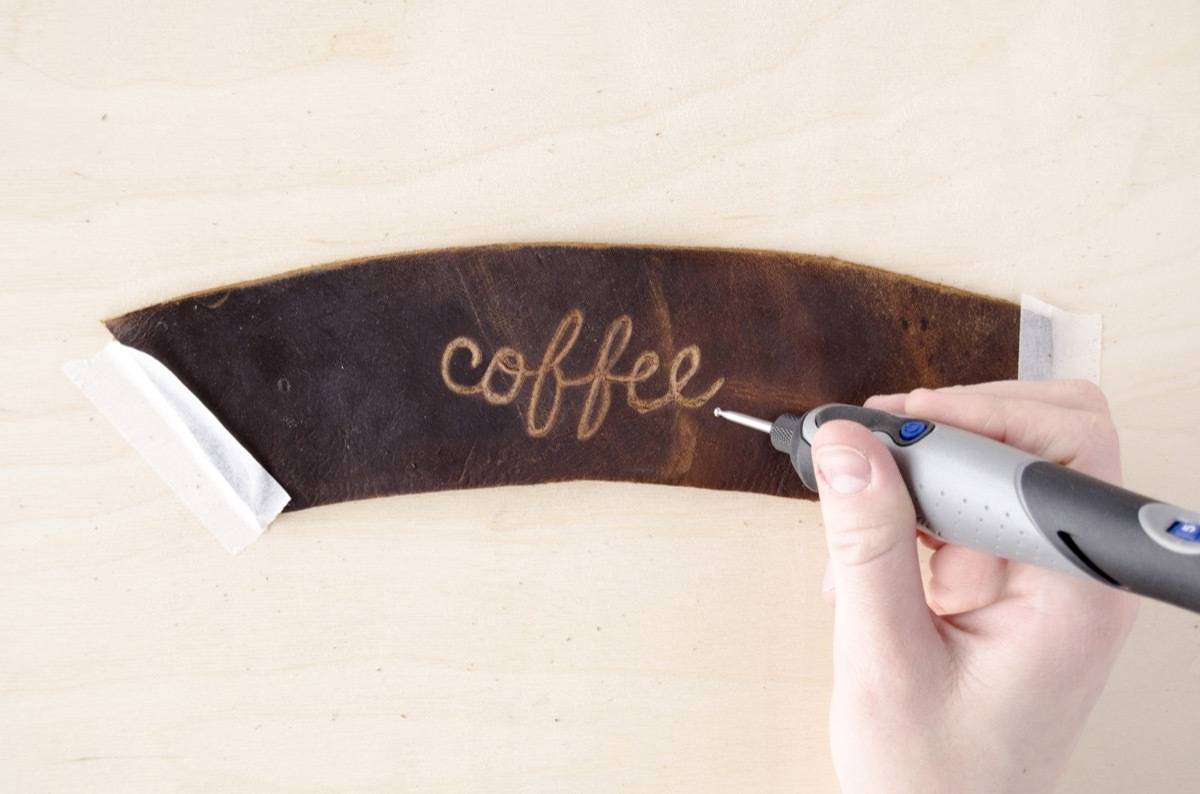
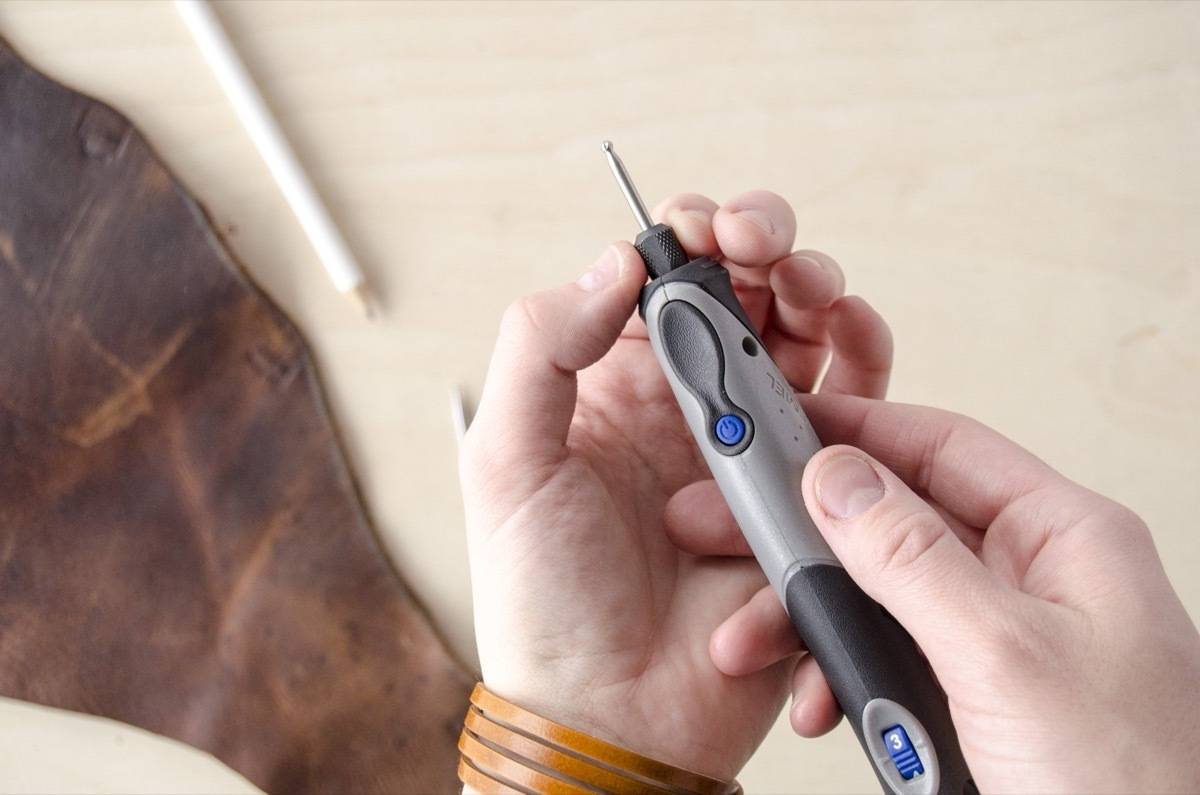
Affix the leather to your work surface (using clamps or tape, just so it doesn’t move while you’re trying to work on it), and throw on a pair of safety goggles. Following the indention, etch over the design using the Dremel® Stylo+ tool.
While this tool is small, take the same precautions as you would with a larger power tool (because while it’s small, it’s still powerful!). When switching out the accessories, make sure to unplug the Dremel® tool. And always wear some type of protective eyewear. Safety first!
Step
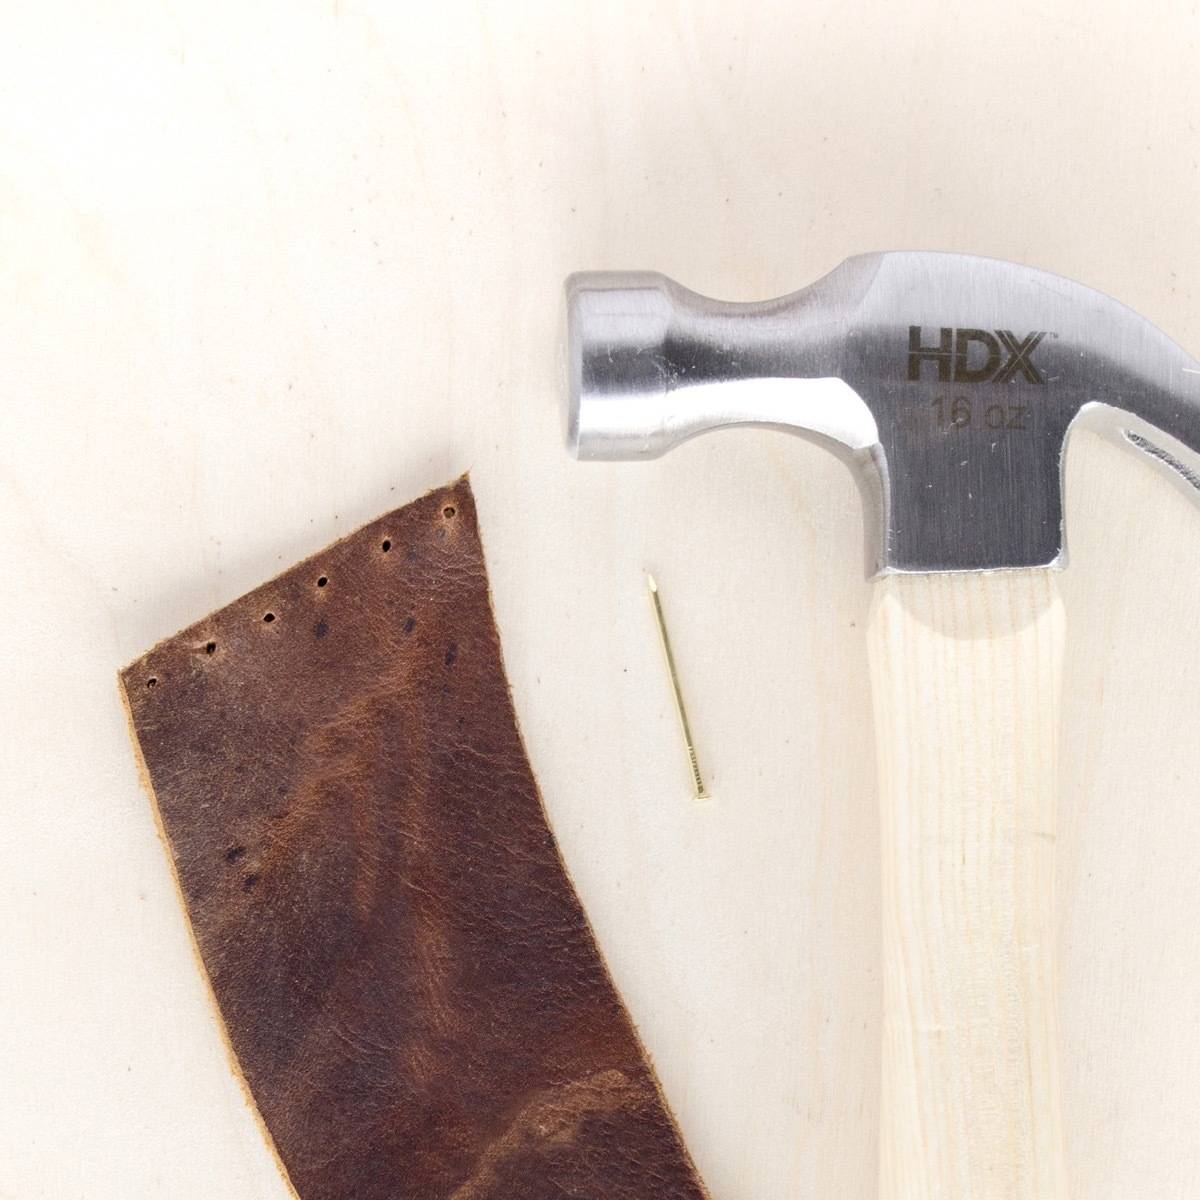
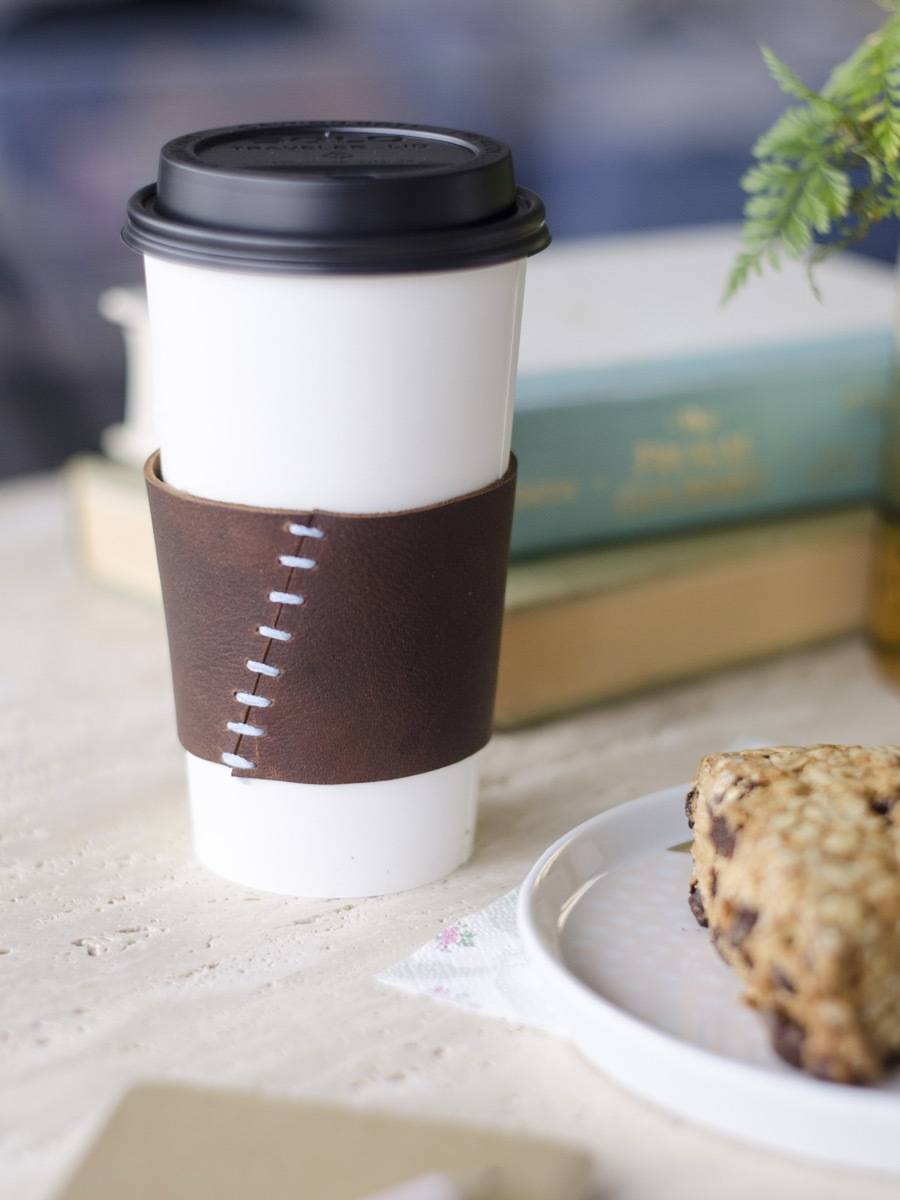
Lay the leather on a scrap piece of wood, and use the small nail to press a few equally-spaced holes along the edge of strap. After you’ve marked your holes, hammer the nail through each mark to puncture the leather and create a hole to stitch through. Line up the other edge of the strap with the punctured one, and press the same number of holes onto the other side. Puncture through these holes with a hammer and nail as well.
Step
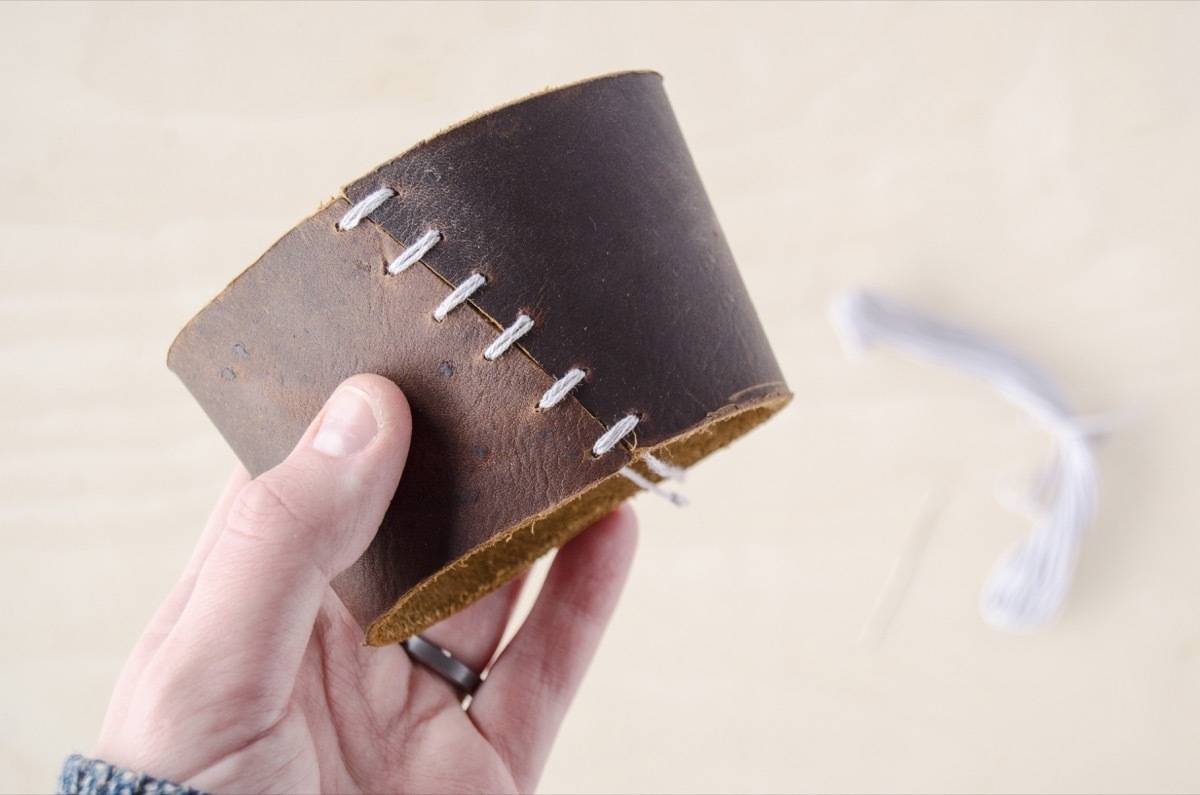
Thread your needle with embroidery floss, and stitch into one of the bottom holes. Leave a few inches of floss at the first hole (so you can tie it up at the end). Stitch across as you go up the edge of the cuff, joining the strap together. Once you’ve reached the top, turn around and stitch down, going through each pair of holes again. Once you’ve reached the bottom, tie the ends of the thread together in a knot.
Share this project on Pinterest!
Oh, coffee. I really do love you. There are few things that I will always agree to no matter the time or place, but coffee is one of those things. It doesn’t even matter the kind of coffee. Espresso shots, mochas, drip coffee, crappy gas station cappuccinos… just give me caffeine. I’m drinking an almond milk latte right now as I write! What a coincidence.
This post is sponsored by The Home Depot, but all opinions are mine alone. Working with great brands like The Home Depot enables us to pay for all the content you see on Curbly. Thanks for supporting us, and them!
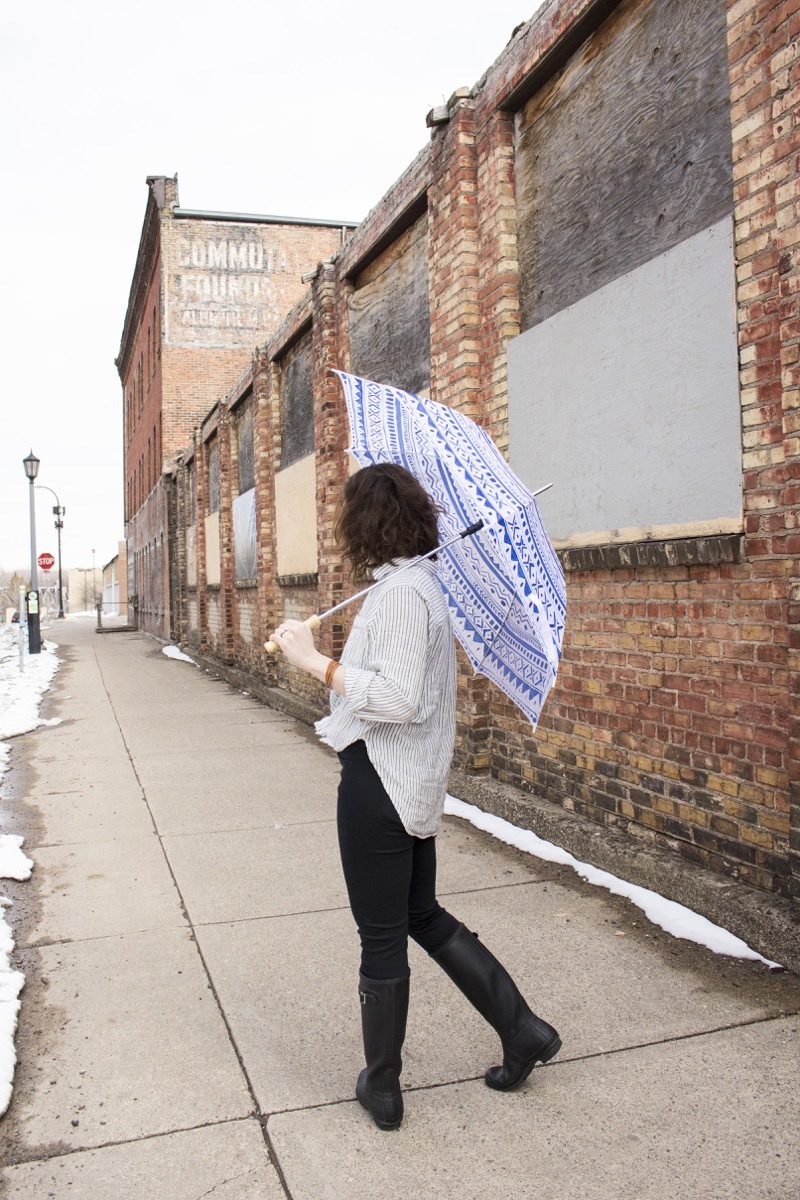
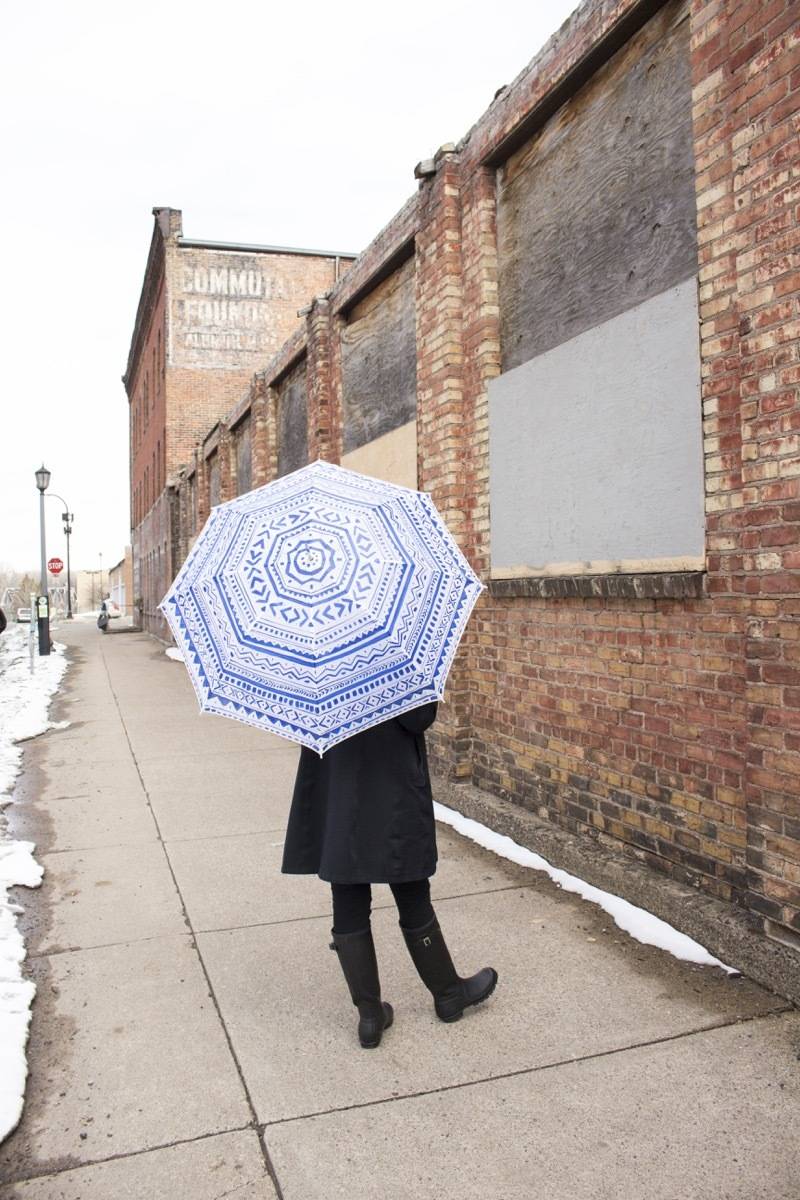
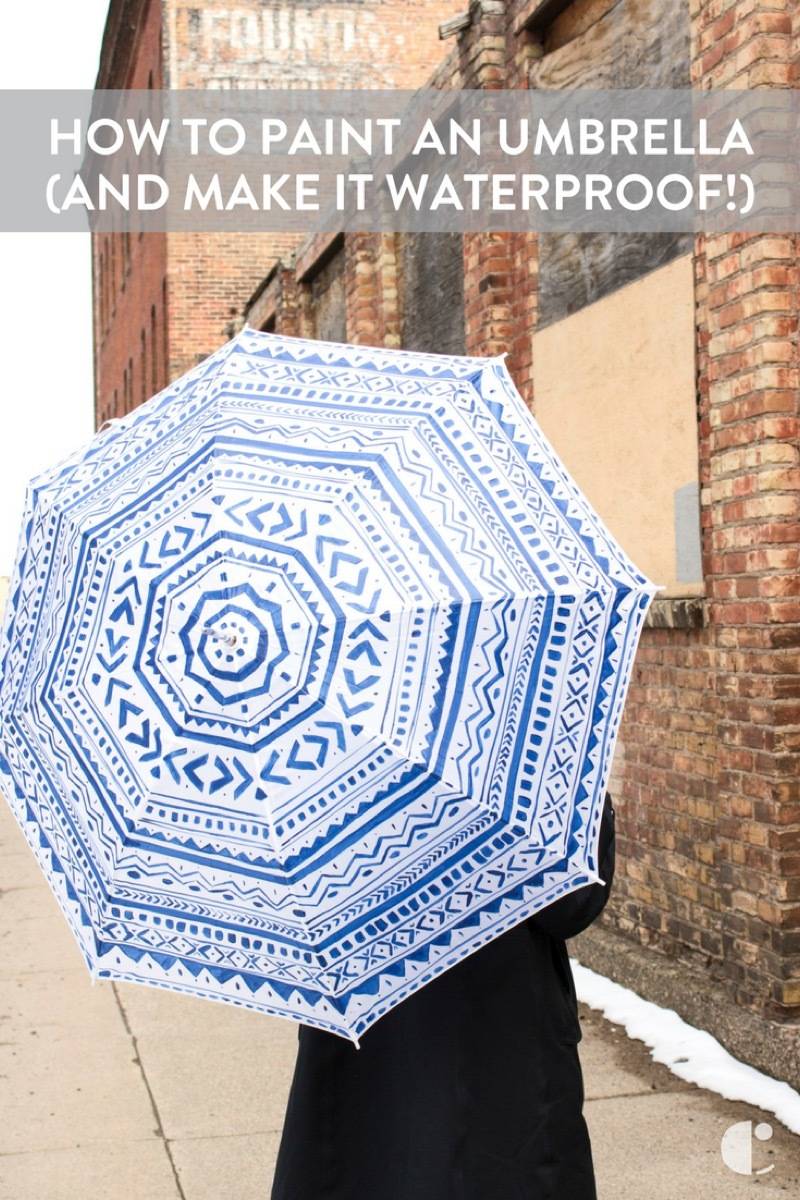
Do you remember this joke?: April showers bring May flowers, what do May flowers bring? The answer is “pilgrims” for those of you skipped the third grade. Cue eye roll. Anyway – we are headed right into the rainy season as March comes to a close and winter is finally releasing its chilly, chilly grasp. It’s finally time to break out the umbrellas and rain boots! Keep reading to see how to make your rain gear more personal by DIY-ing this painted umbrella (P.S. it’s totally waterproof, too!).
[embedded content]
Watch the video to see painting in action, and keep reading for all the details!
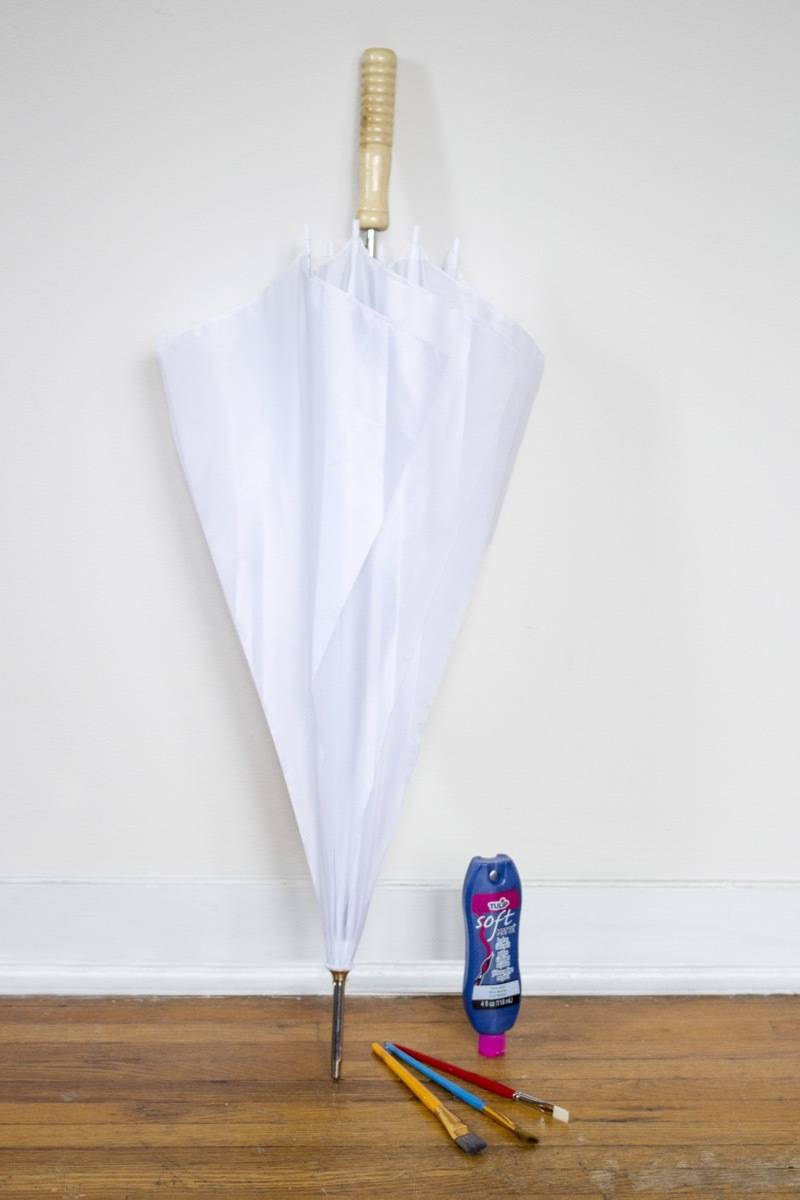
Materials
Step
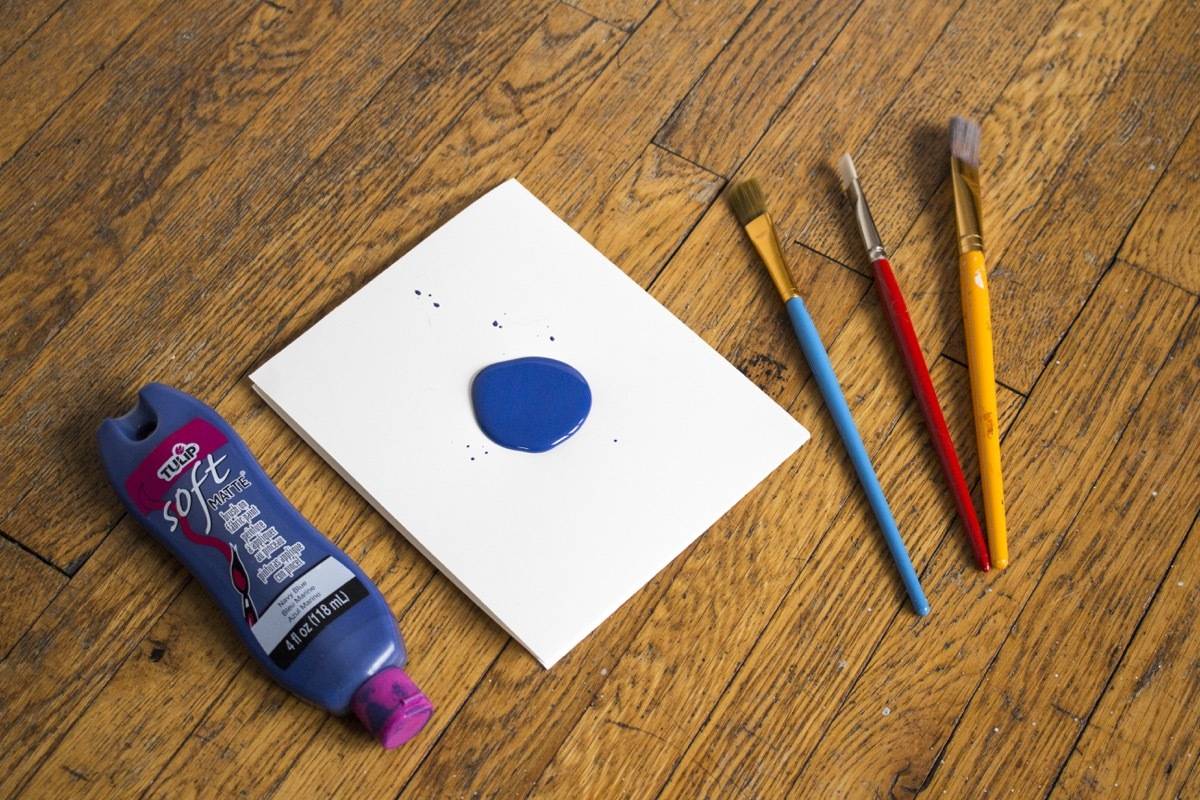
This specific type of paint is the key to the waterproof aspect of this project! Make sure to use a fabric paint that requires washing after application (per the instructions on the bottle). To prep for painting, get a scrap piece of paper or a disposable plate to use as a palette.
Step
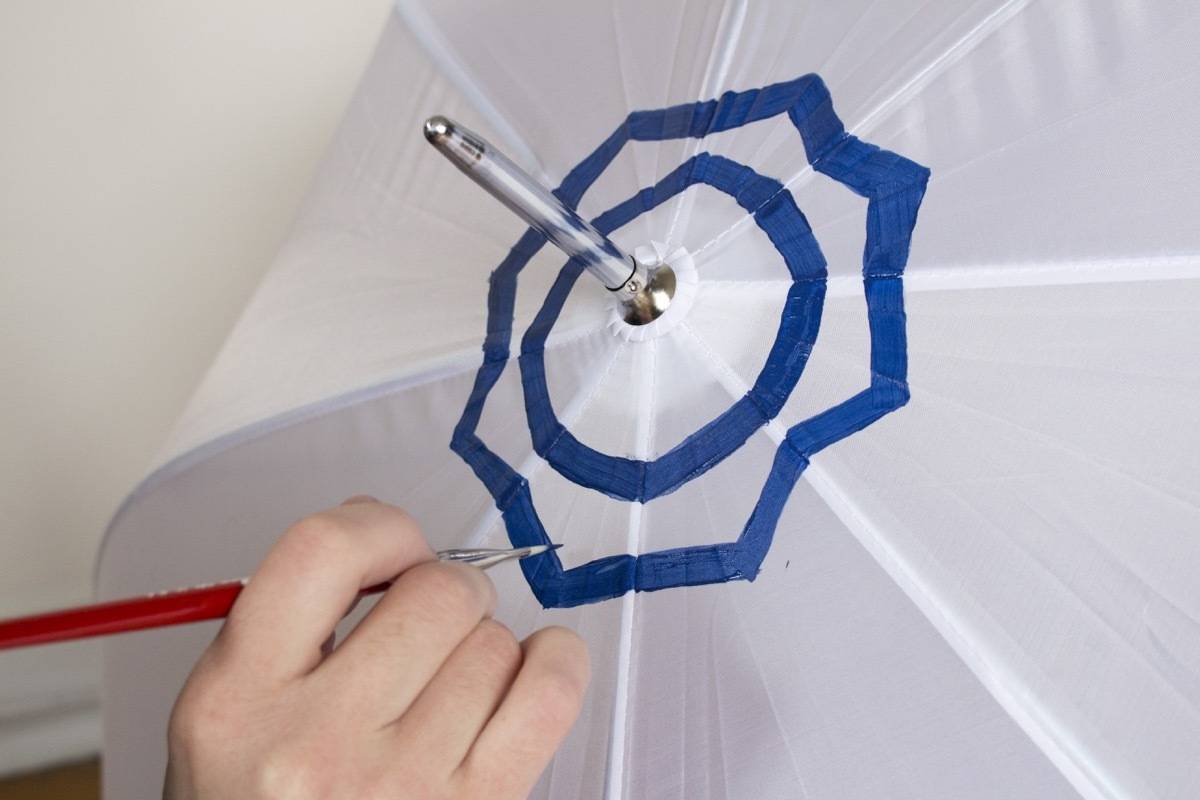
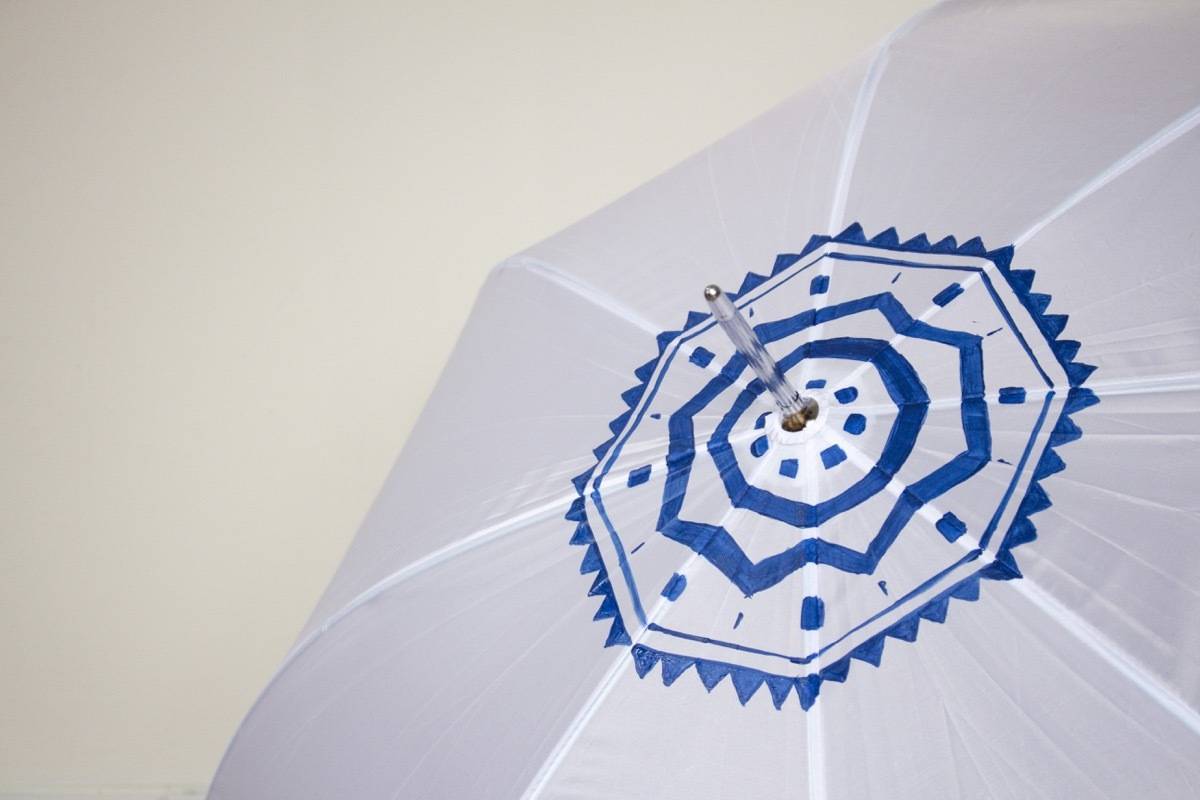
Now to start painting! Open the umbrella, and start in the middle. Begin with something easy, like a circle. Paint one panel at a time. Keep your designs simple.
Step
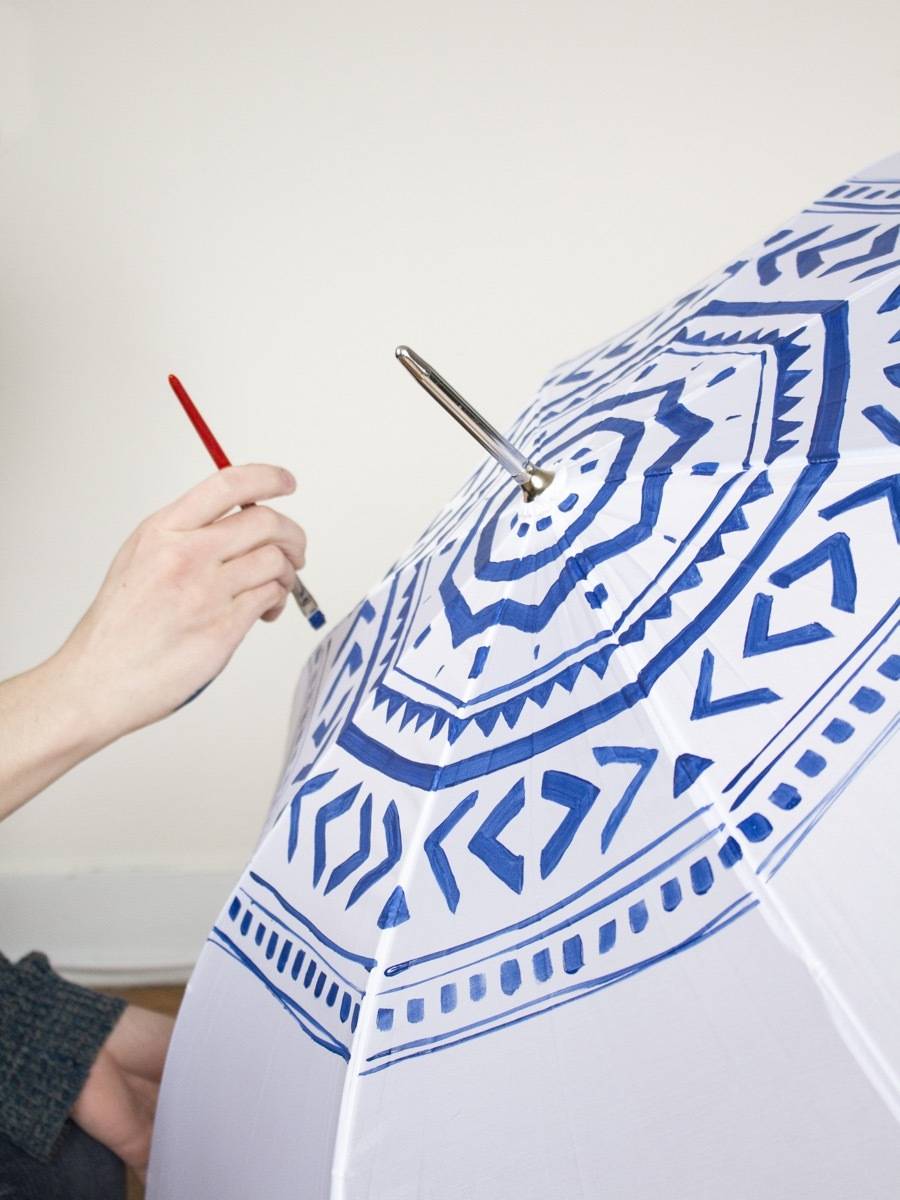
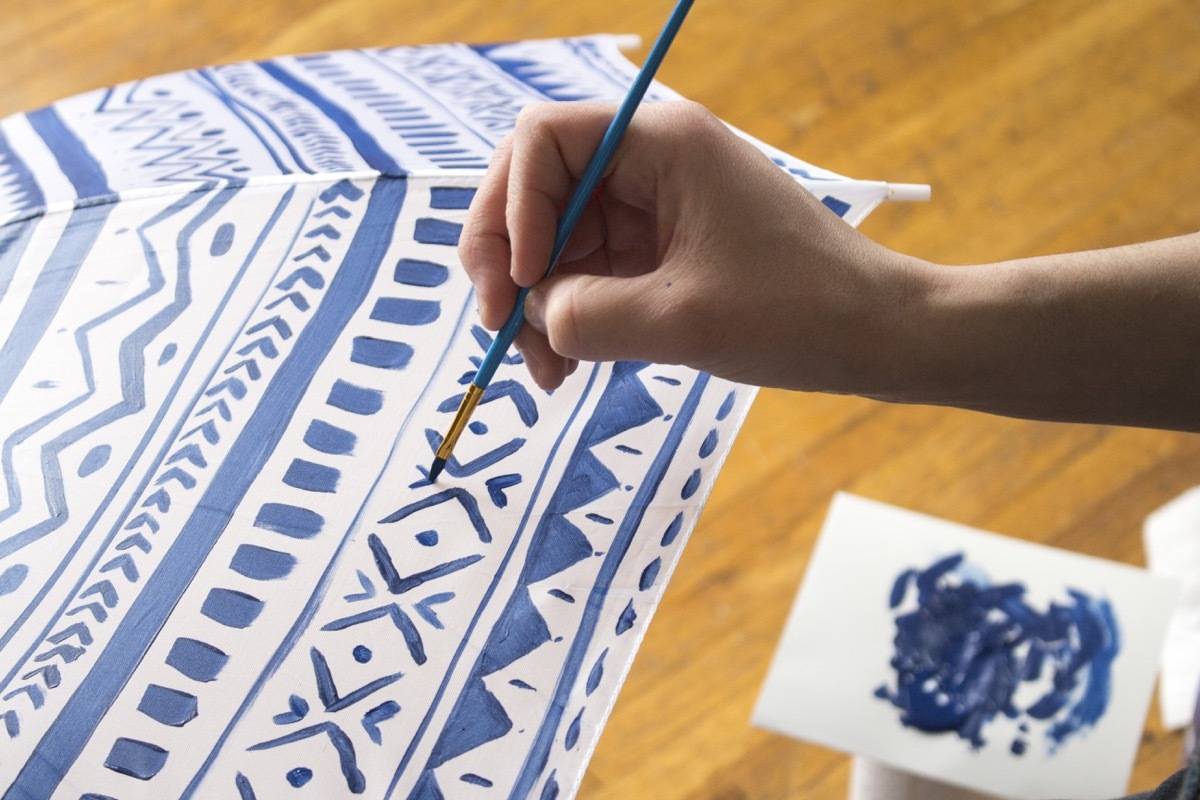
Put a podcast on, and keep working until you have an entirely painted umbrella. Try not to be heavy-handed – using less paint on your brush looks better than more paint. Use simple patterns, like triangle, lines, dashes, and zig-zags.
When your painted umbrella is complete, leave it open to dry overnight. Wash brushes with dish soap. Done!
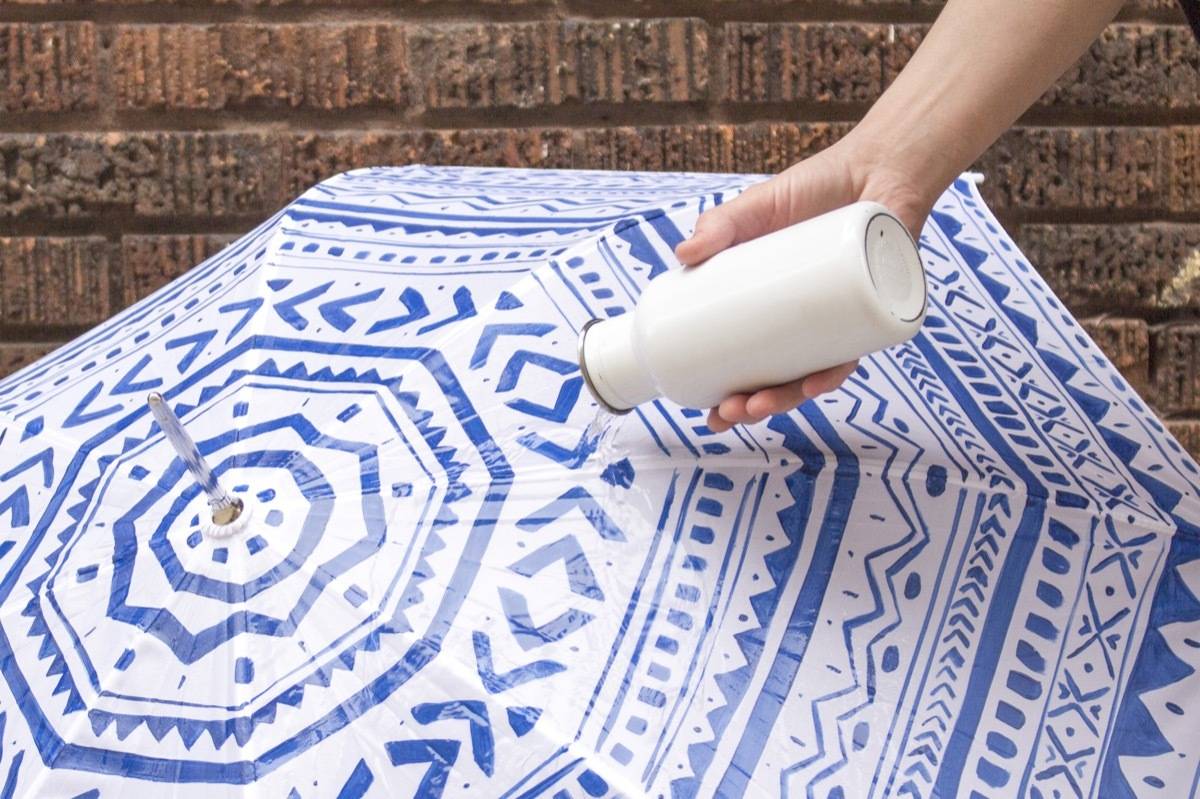
Since the fabric paint is built to be washed, you don’t need to worry about the paint running!
Share this DIY on Pinterest!
There’s just a little bit of snow left on the ground here in the Twin Cities, but hopefully a few days of springtime rain will kick it all out of town. Happy spring!
If I’m ever put in one of those awkward share-something-about-yourself scenarios, my default answer is to say: I love coffee. Because it’s just so true. I love coffee which ever way it’s prepared, and I feel like I’d tried them all… until I did a little research. It turns out there are a LOT of weird ways to make your coffee in the morning, from putting it in a sock to adding butter. Let me know in the comments if you’ve braved any of these weird ways to make coffee!
1. Cook it in an egg
You heard me. Known as Scandinavian Egg coffee, this method not only produces a bold cup, but also supposedly clarifies the coffee, removing all the bitterness. Essentially, coffee grounds are mixed with an entire egg (shell and all, folks), along with boiling water. The cooked egg pulls the coffee grounds to it, and with the addition of ice water, the whole mess sinks to the bottom of your carafe. I just don’t know if I would be able to get over the visual of what is essentially compost in my coffee. Google at your own discretion.
2. Brew it in a sock
It’s not the kind of old sweaty gym sock you’re thinking of. Known in Malaysia as “Kopi,” the sock is a filter used to steep coffee in (kind of like a tea bag). After the coffee grounds have brewed in hot water for five minutes, the coffee is poured through the sock again into a cup, and then mixed with sweetened condensed milk. Yum!
3. Throw some butter in it
You wouldn’t think coffee and butter would go well together, but the result is some kind of magic. Known as Bulletproof coffee, this sensational method of preparation stems from the Tibetan tradition of adding yak butter to black tea. The CLA and linoleic acid in yak butter is tauted being able to reduce hunger, help shed body fat, and eliminate usual post-coffee crashes. Bulletproof coffee mixes unsalted cow butter (or grass-fed ghee) with MCT oil. Prepare this high-energy beverage in a blender if you’re a texture person, and enjoy hours of heightened awareness.
4. Add reindeer cheese
Kaffeost, or “coffee cheese” in Swedish, is akin in texture to the cheese curds we enjoy here in the Midwest. When this reindeer cheese is added to coffee, the results are oddly enjoyable. I’ll just take the Swedish at their word on this one.
5. Brew it in a vacuum pot
If you live in the Pacific Northwest, you are among the few who have access to the new Starbucks Reserve locations, home to the vacuum pot. To be completely honest, I’m not even sure how it works. Part chemistry lab, this process originated way back in the 1830s and has remained unchanged since.
6. Pump it full of nitrogen
This method would be hard to replicate at home, but Nitro coffee is rapidly popping up in coffee shops around the country. Nitro coffee starts with cold-brew, which is then injected with nitrogen gas, similar to the way soda is injected with carbon dioxide to make it carbonated. What you get is a smooth, bubbly drink that pairs perfectly with a hot, summer day.
7. Put it in a popcorn maker
When you buy your coffee from the store, you either get ground coffee or whole roasted beans. If you want to really hand-craft your coffee, you can start with green beans which haven’t been roasted yet! DIY your morning cup by putting the green beans in your popcorn maker to roast, then grind and brew.
8. Add chicory root
Chicory root has been used in coffee in the south for quite some time now, and is added to take the bitterness out of regular coffee. Not only that, but chicory root may also disrupt excess hormone production in your body, so it’s great to drink when you’re having a particularly crabby day.
9. Skip the water, use milk instead
Known as Milky Macy, this pour over method of brewing coffee completely skips the H2O. Instead, hot milk is poured slowly through coffee grounds and a filter, creating a milky, comfy beverage.
Would you try any of these weird ways to make coffee? What’s the strangest brew you’ve ever tasted? Leave me a comment letting me know!
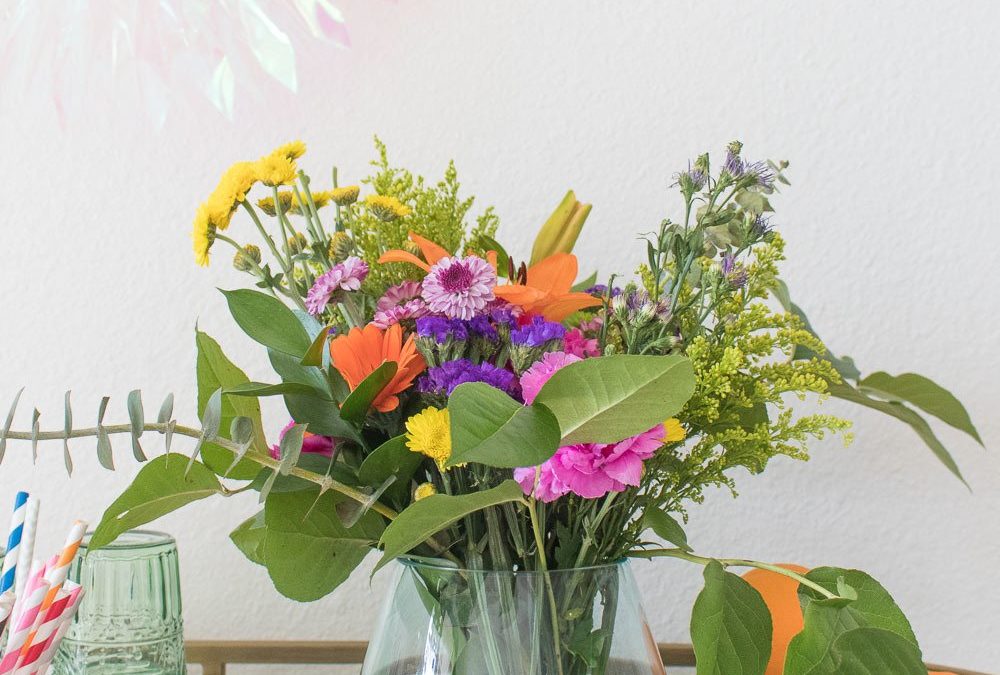
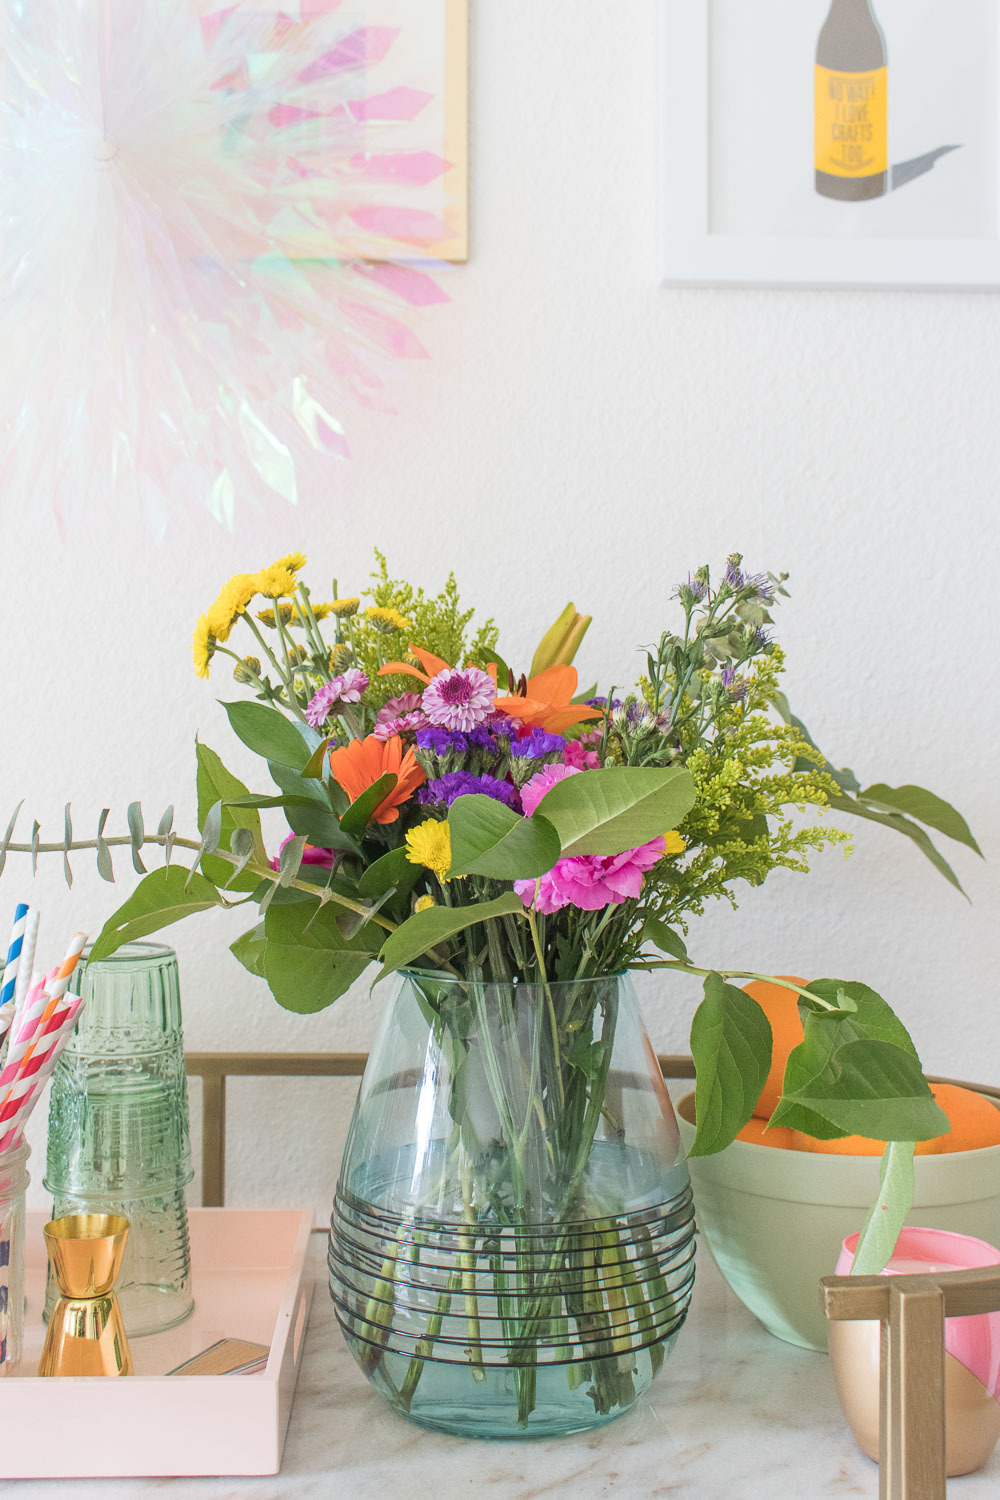
Having fresh flowers on my dining room table makes my whole day better, but I can’t always afford to have an amazing arrangement from my local florist. Instead, I’ve found ways to make standard grocery store bouquets look like unique floral arrangements made just for me! If you enjoy playing with flowers (who doesn’t?!) then you’ll love this simple way to make fabulous floral arrangements with the bouquets you find in your local grocery stores.
Depending on the store, you may see that some locations with larger floral departments carry bouquets of all one type of flower as well as the usual variety bouquets that most stores carry. Either can be turned into a beautiful arrangement, but I’d recommend combining a variety bouquet with a bouquet of one flower that you like the most so that you can make it the centerpiece of the arrangement. I personally love lilies and always choose bouquets with lilies as the star.
Materials:
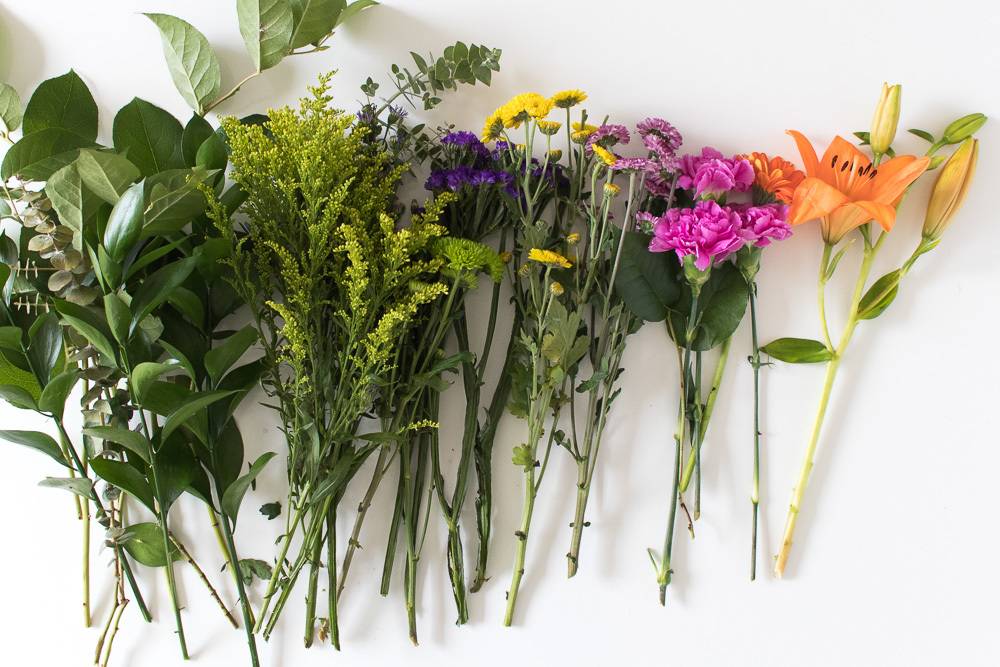
Divide the bouquet by flower/plant type (see above, from left to right):
Greenery
Filler
Smaller filler flowers
Medium flowers
Centerpiece flowers
You will also need:
Medium-sized vase
Scissors/gardening shears
Clear tape
All of these flowers came from a single large grocery store bouquet. In this case, the arrangement revolves around the single stem of lilies.
Step
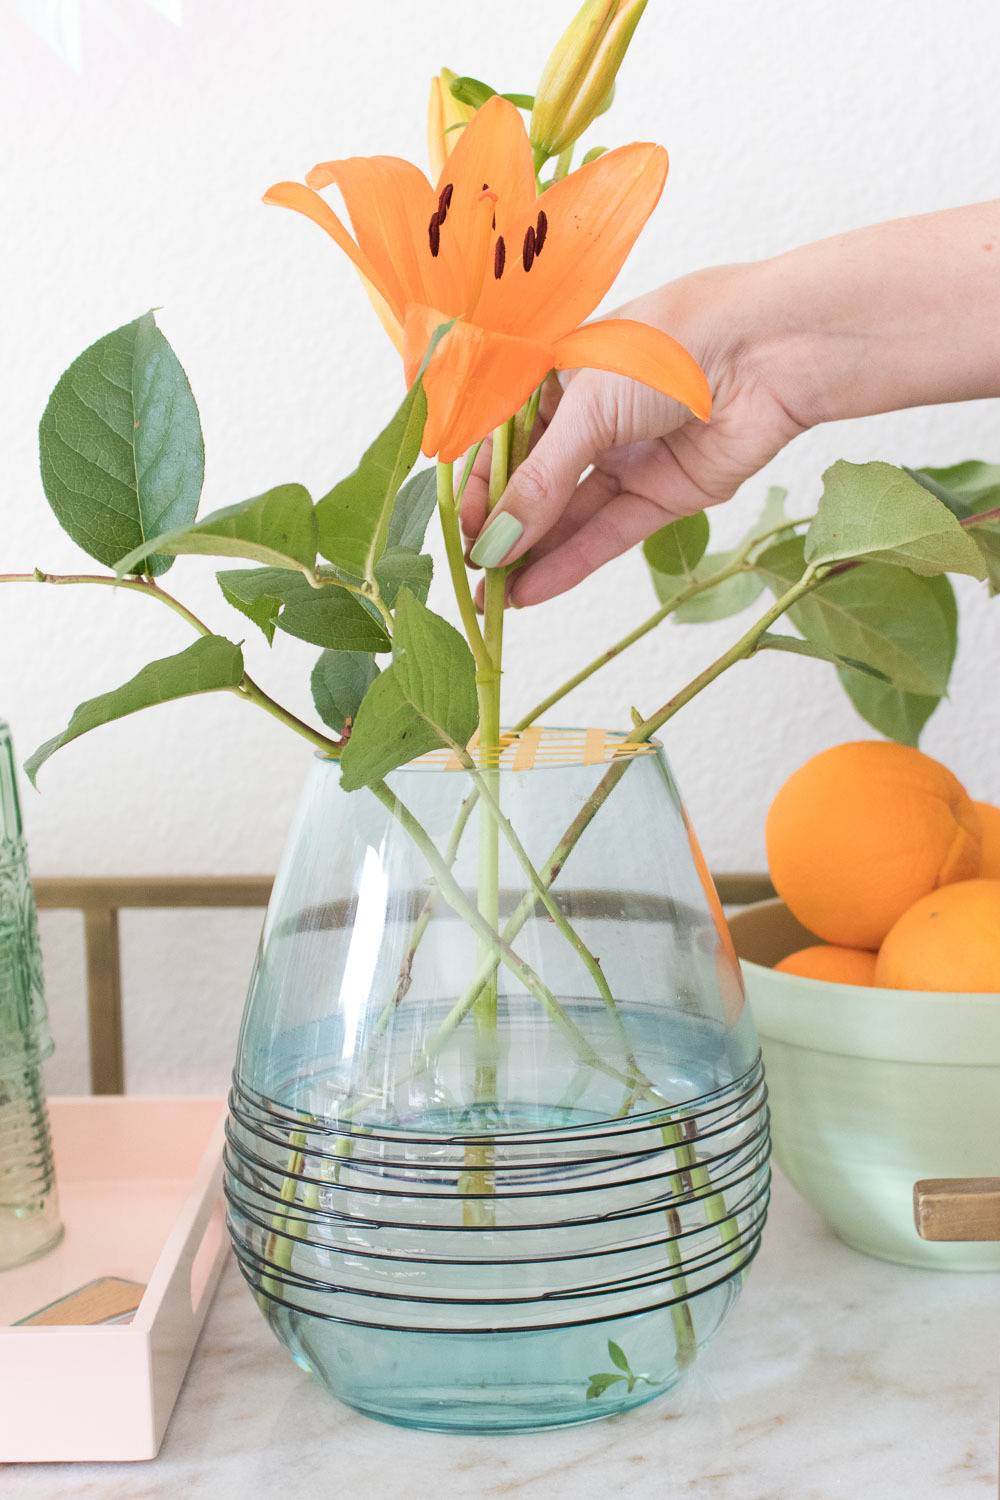
Choose a vase of the appropriate size and fill with water as well as the feed packet included with your bouquet.
Step
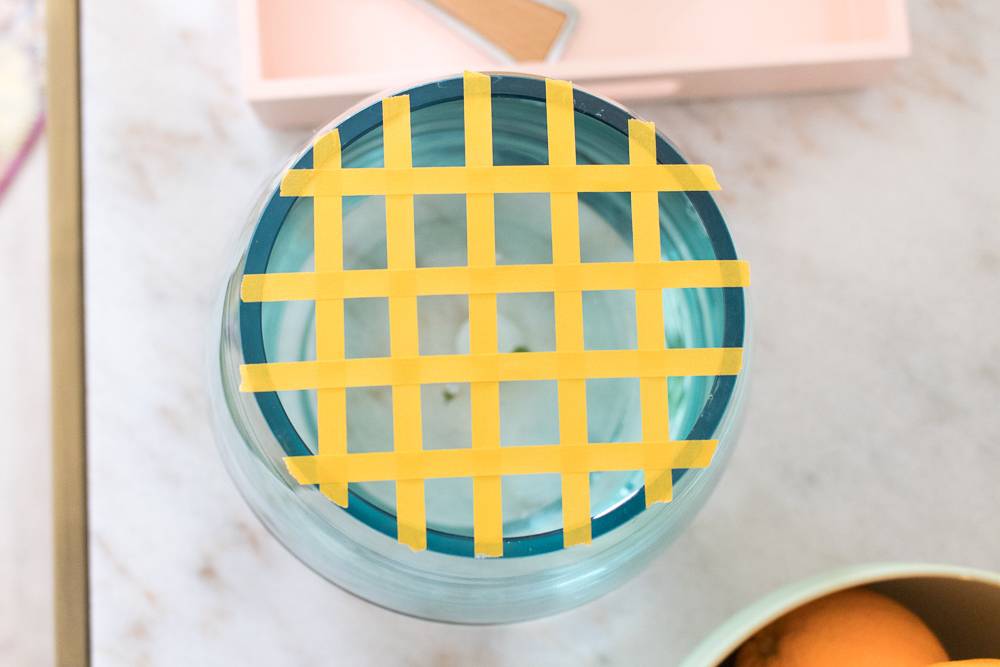
Apply thin pieces of tape in a grid pattern on top. Note, I’ve used yellow so that it’s easy to see in photos, but you should use clear so that it is not visible.
Step
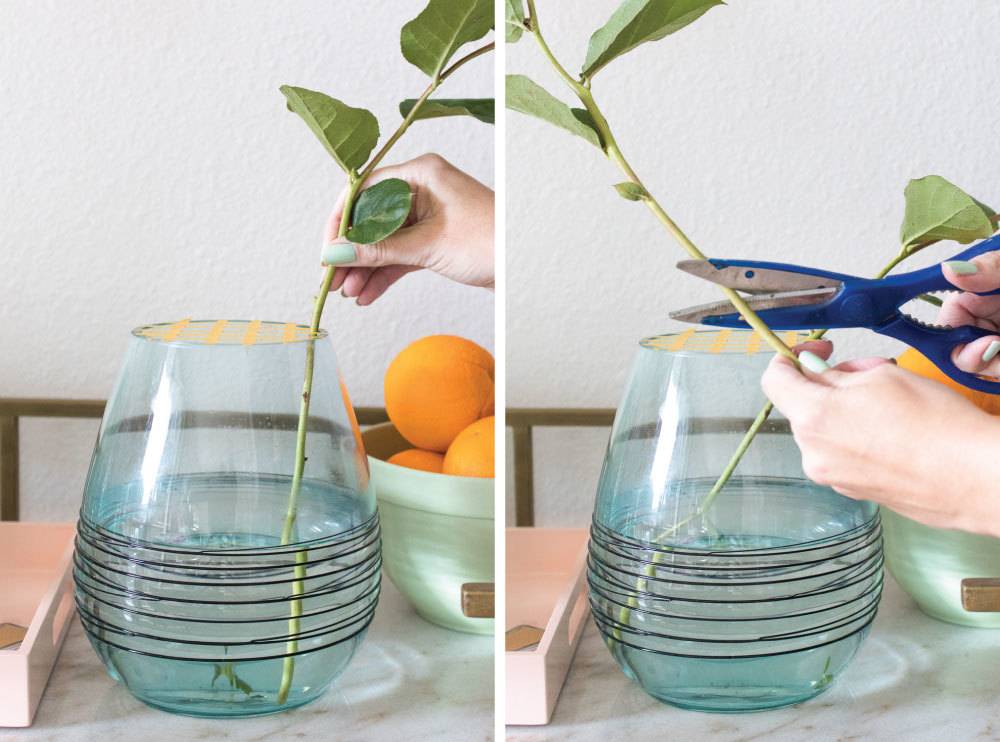
Trim stems at an angle and start adding some (not all) of the greenery in the outside edges of the grid, letting them cascade out of the vase as desired. Remember, you can always cut more off but you can’t bring it back once cut!
Step
Place the centerpiece flowers at the center of the grid. In this case it is one stem of multiple lilies that have yet to bloom.
Step
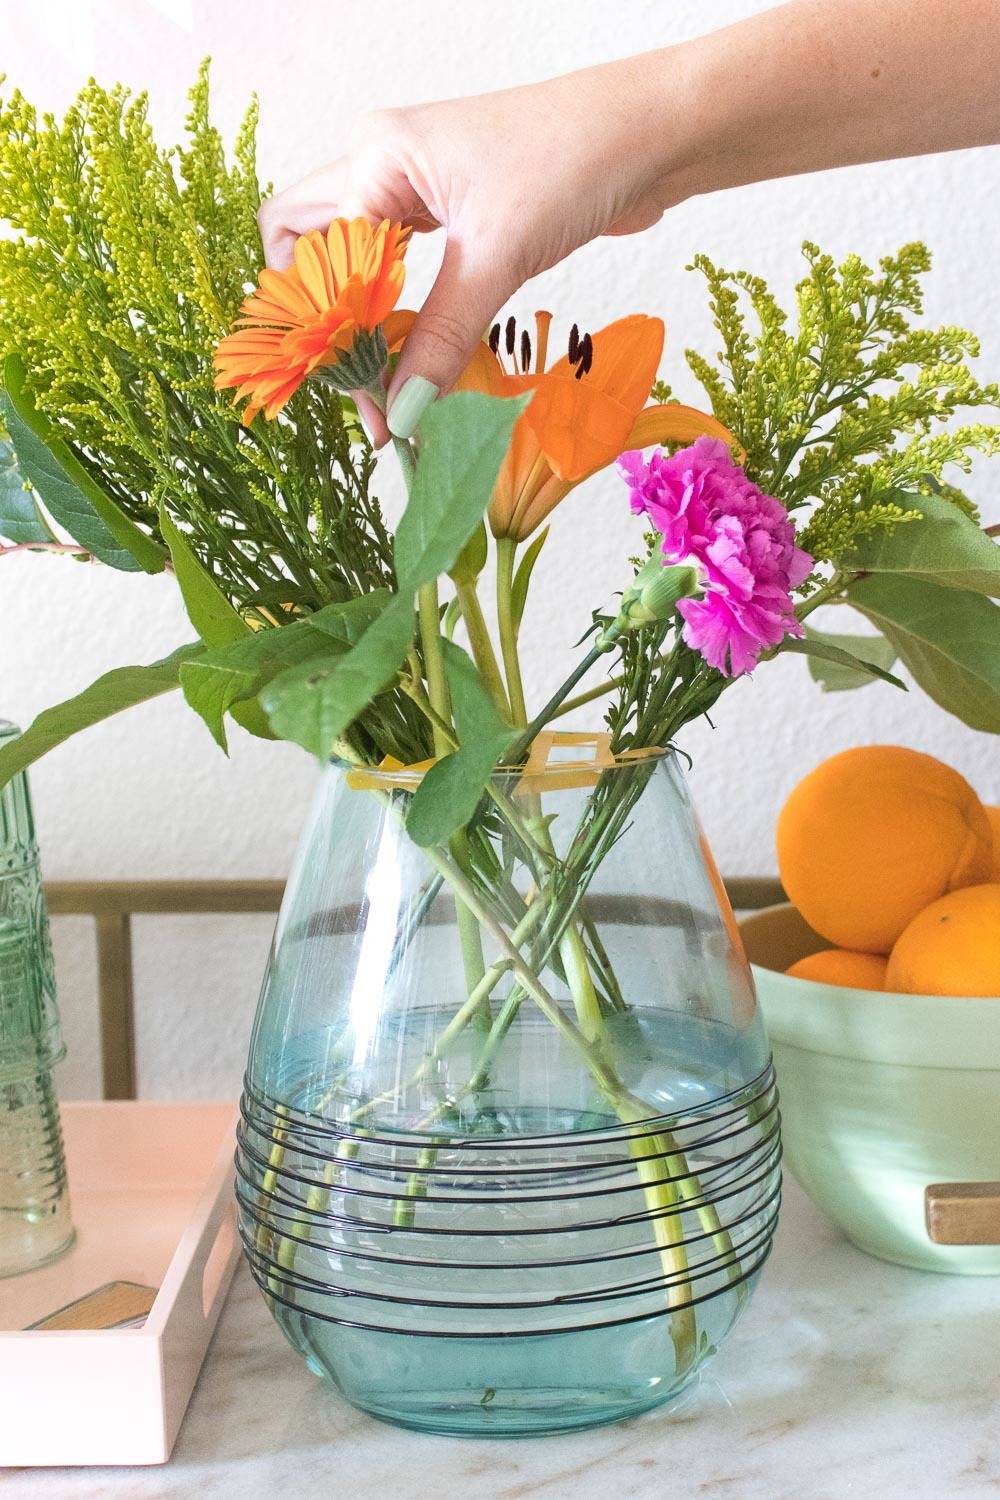
Then space out a few pieces of the filler and small flowers around the inside of the grid, next to the greenery.
Step
You can slowly see the vase filling up. Around the middle, add the medium flowers, like carnations, daisies or spider mums.
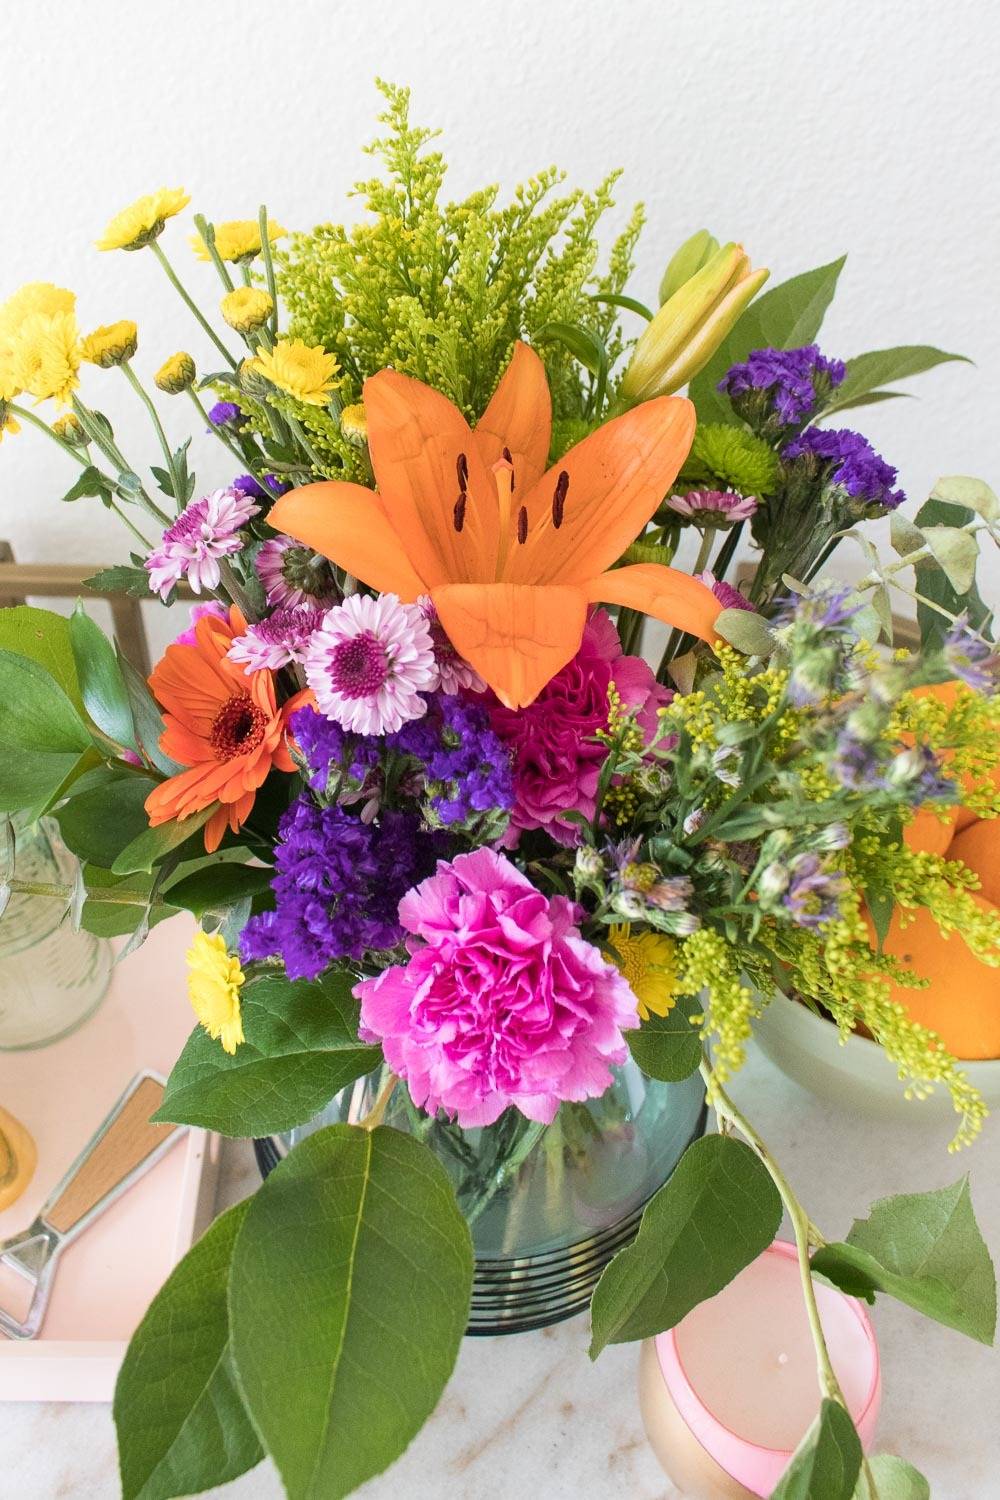
Lastly, fill in gaps with remaining filler and greenery so that the arrangement appears even and full.
No one will ever guess that this was one of those classic grocery store bouquets once you put your personal touch on it!
Tassels have been around for ages, but they’ve leapt into popularity on the blogosphere in the last year or two. And with good reason… they’re whimsical and unique, and lend some serious personality to anything they adorn. So today we’re sharing five of our favorite ways to decorate your home with them.
2. Make your own ombre tassel pillow using embroidery floss! Or you could add them to an existing pillow that needs a makeover. Get the how-to here. [Photo: Style Me Pretty Living]
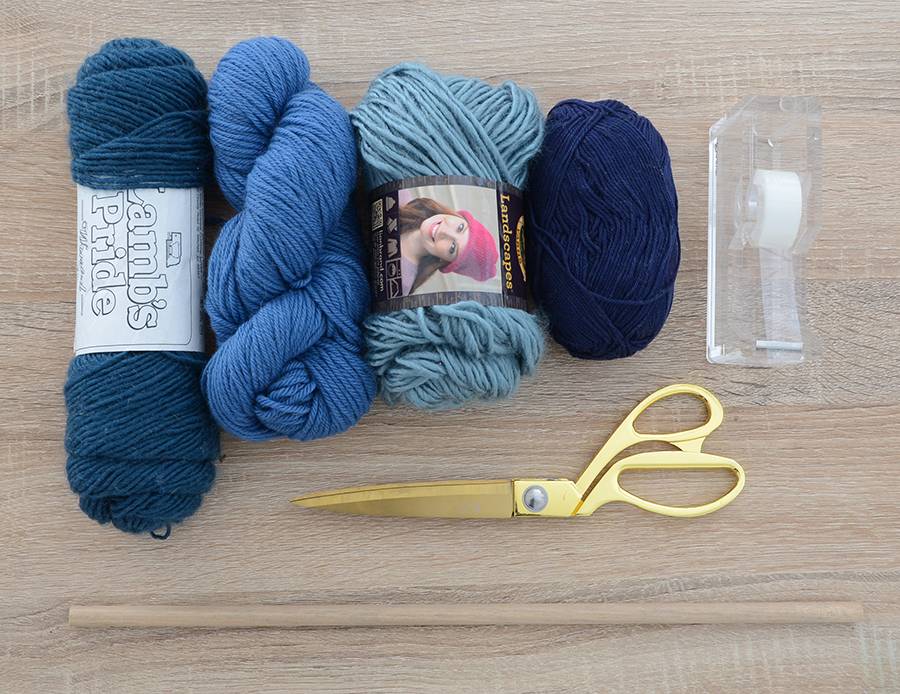
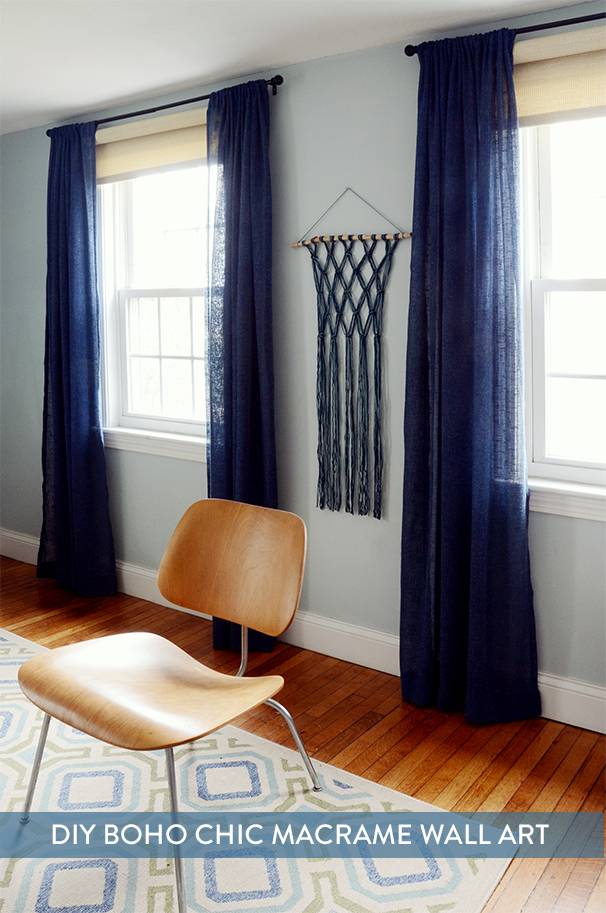
Boho style decor has taken on a life of its own lately, popping up in homes in all corners of the world. And what’s one popular element often found in bohemian style spaces? 70’s textile craft macrame, of course! So today we’re teaching you how to make a simple macrame wall hanging out of yarn.
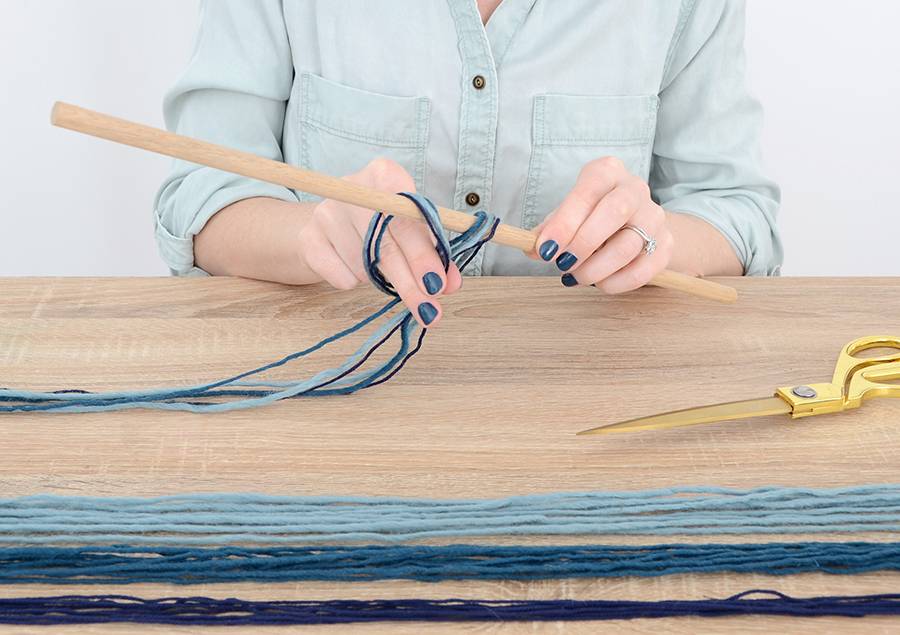
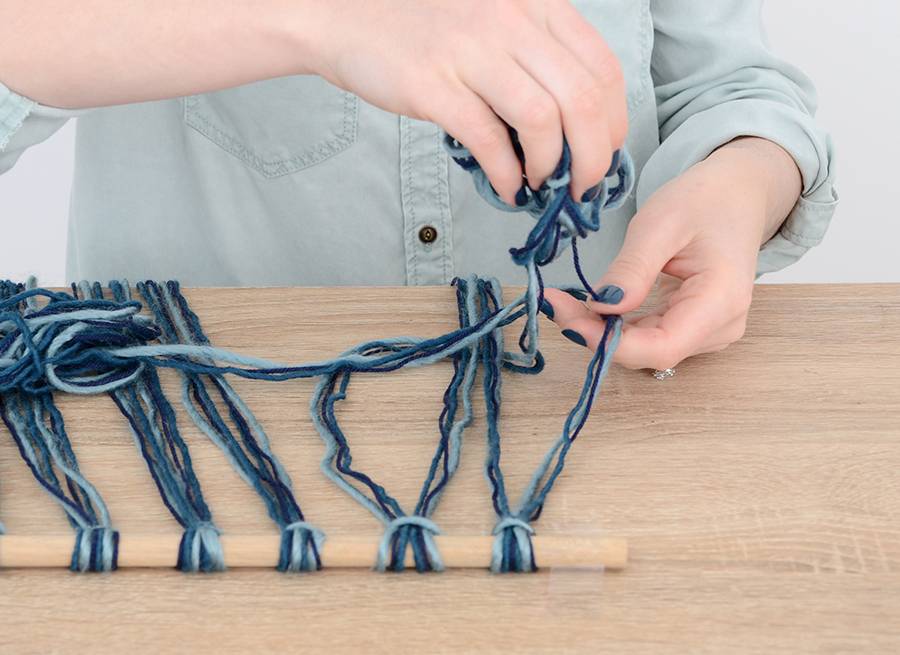
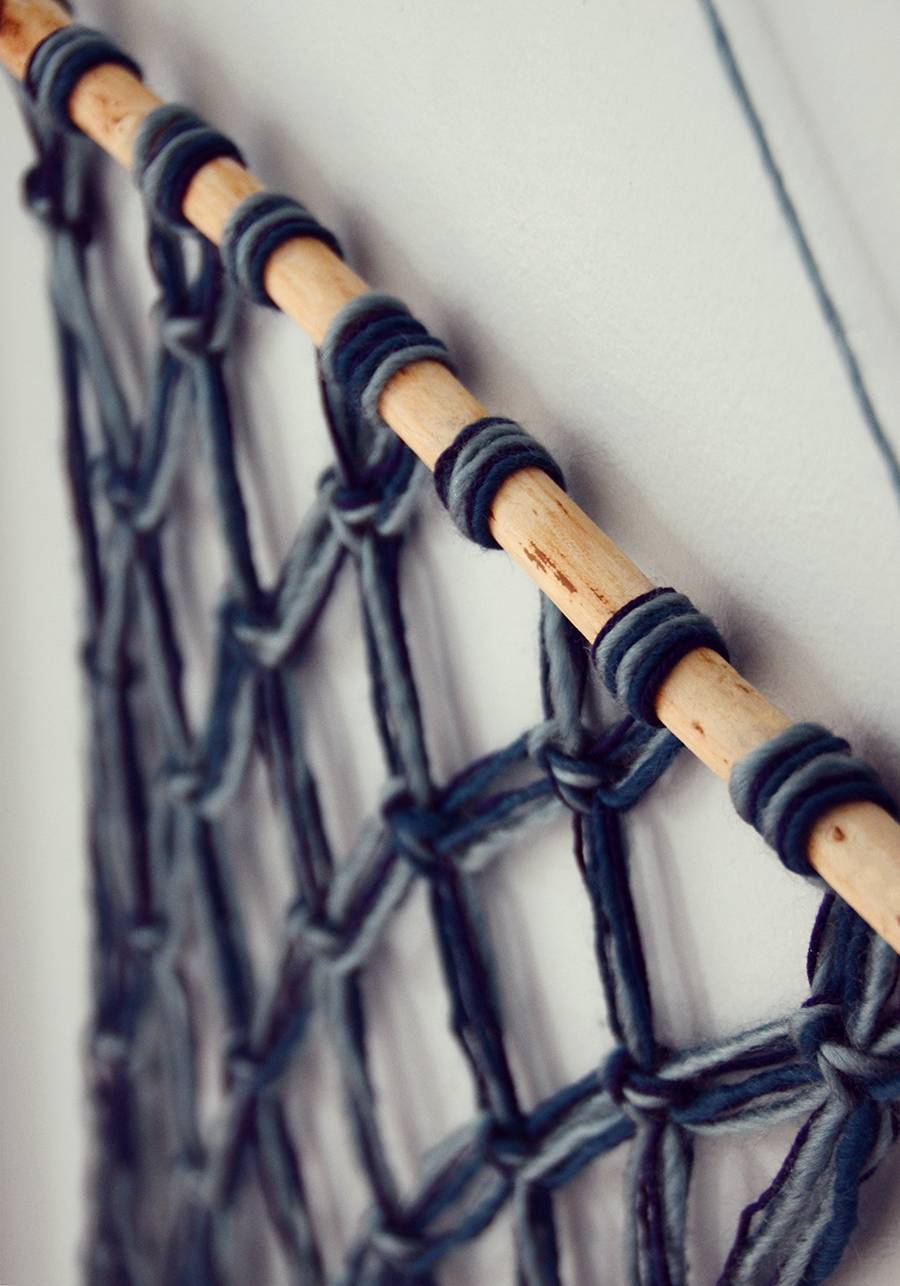
Begin by cutting your yarn into pieces that are 3 yards long each. You’ll need 10 pieces of each color. Select one of each color and fold them in half, placing the folded end over the dowel and pulling the tails through the hole as shown above. Repeat this process for the remaining yarn.
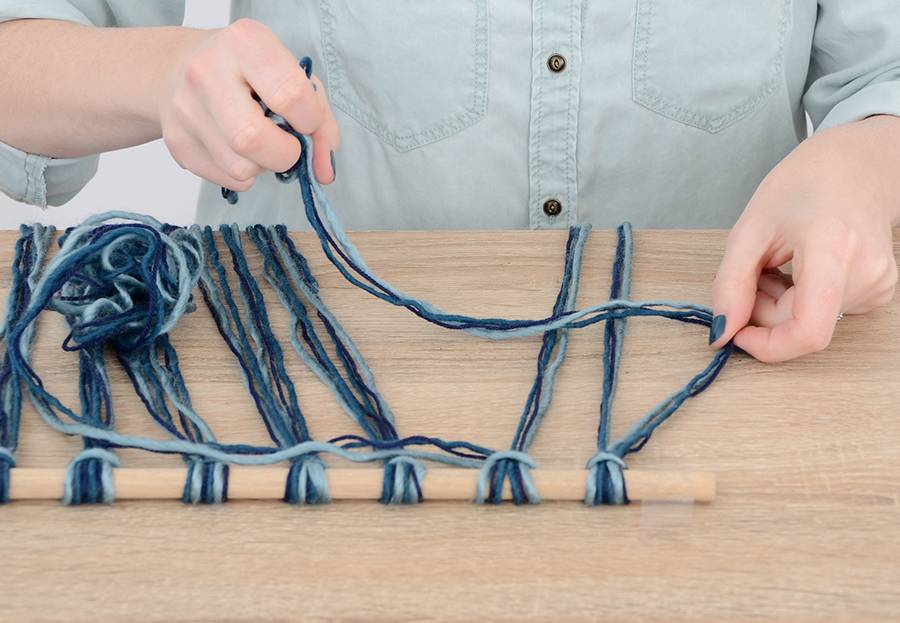
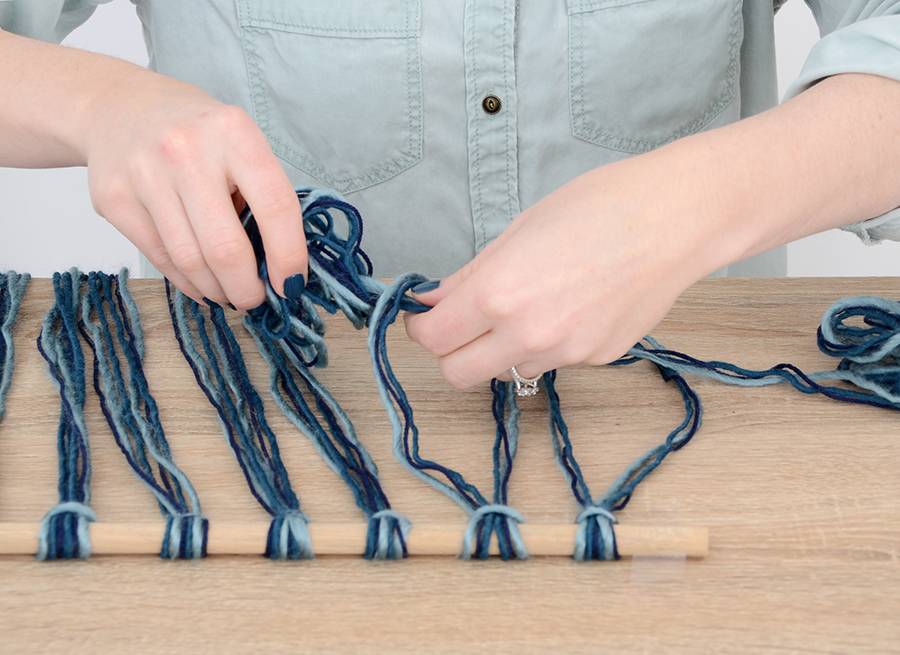
Now that you have all 10 clusters attached to the dowel, tape it down to your work surface. Each set of three colors will act as one strand… you’ll never use one individual piece of yarn. Take the outside cluster of the three colors and fold it in a “4” shape over the next two clusters as shown above.
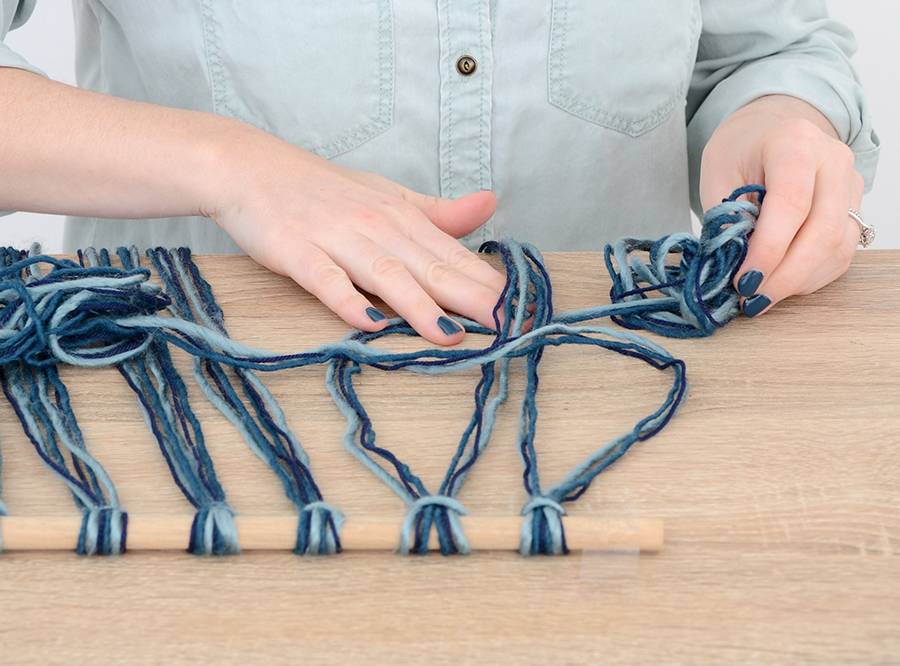
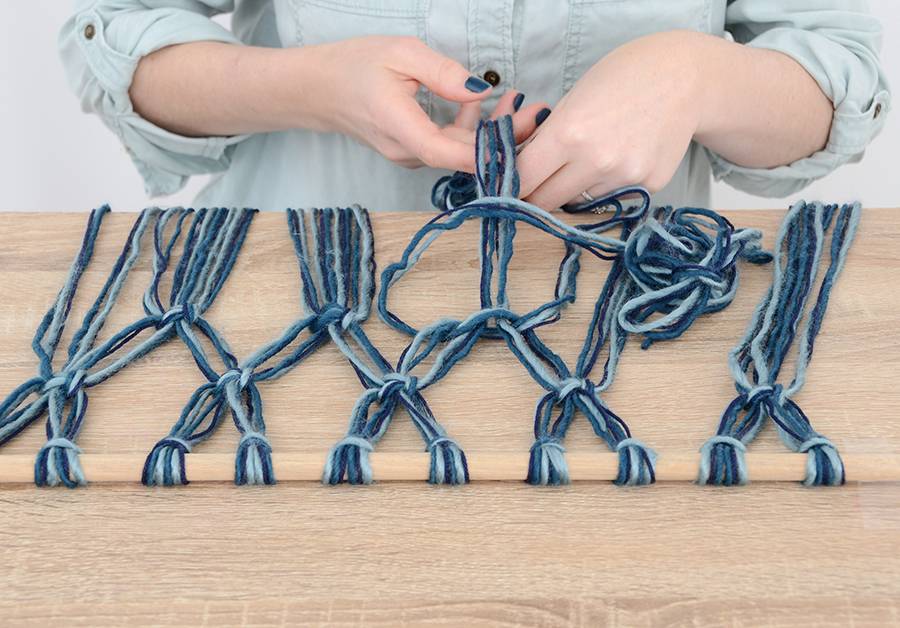
Take the fourth cluster and fold it in a backwards “4” shape underneath the middle pieces (so the opposite of what you did in the previous step). It helps to bunch the tails up into a ball so you can maneuver them better.
Put the opposite set of tails down through the backwards “4” shape. Pull the tails taut so they end up about 2 inches from the dowel. Repeat this same knot in reverse, so start by putting the right piece over to the left in a backwards “4” shape and then put the left piece under to the right side, etc. For a general instructional diagram, check out this post. Continue across in the same manner.
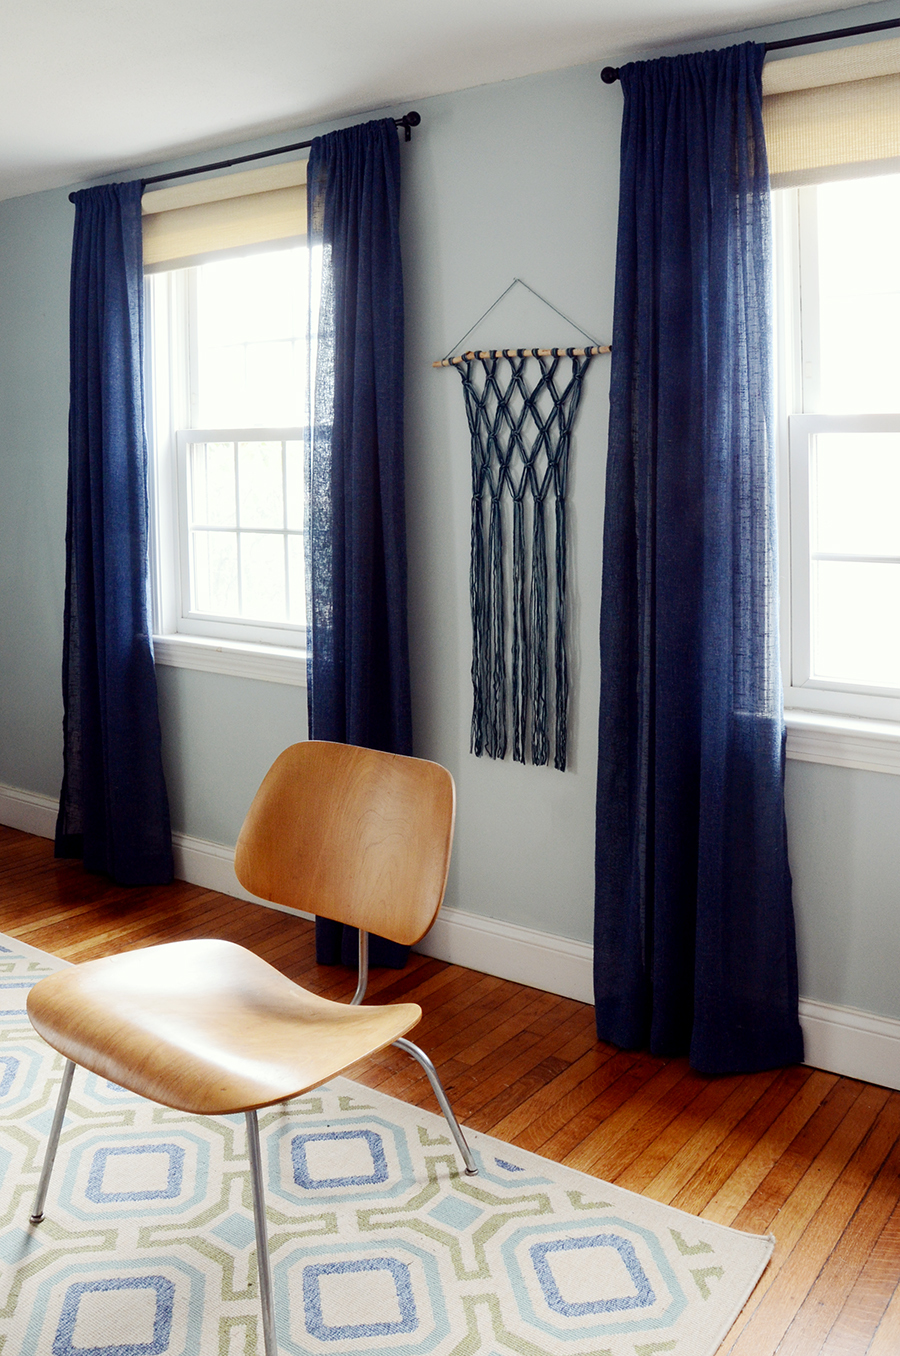
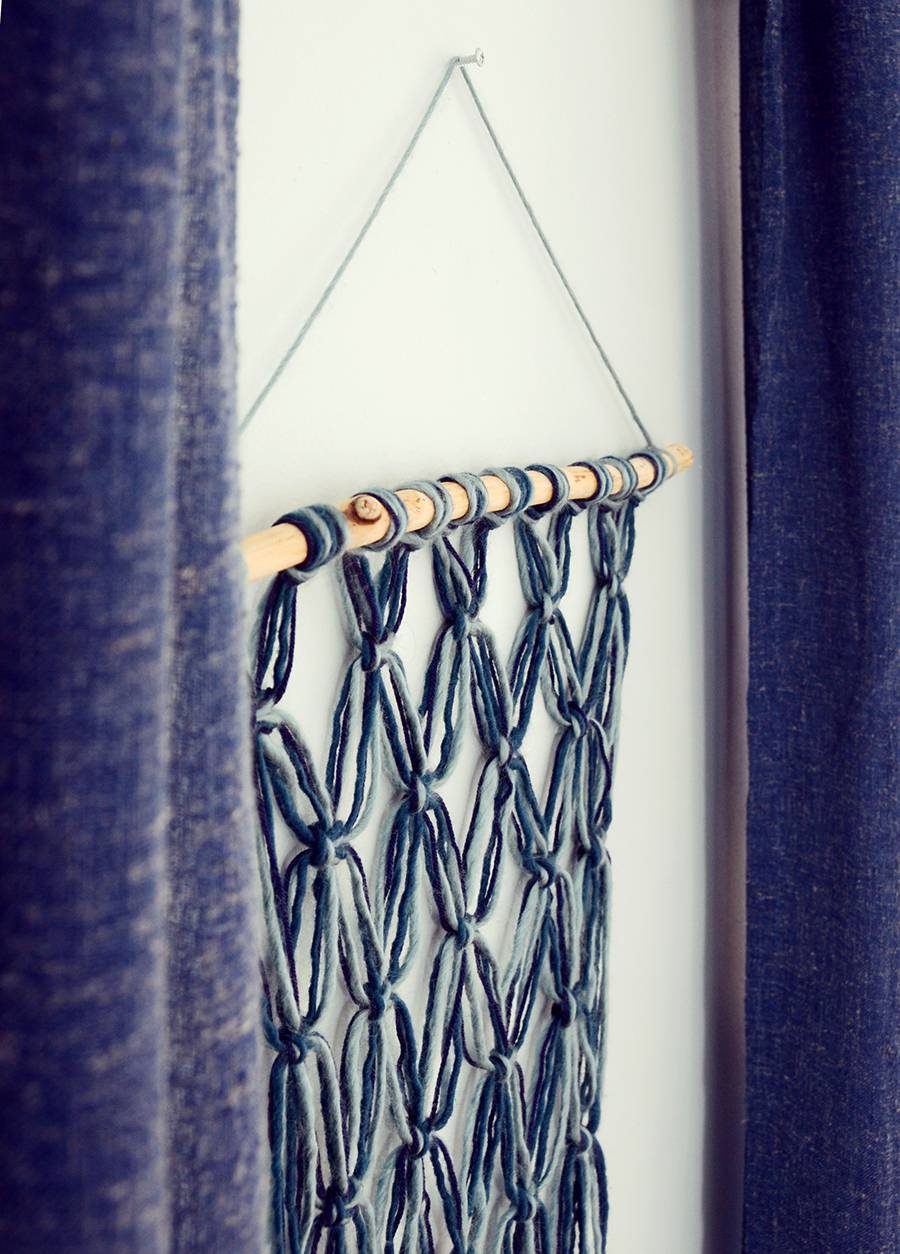
On the next row, do the opposite pieces so that you start to form diamond shapes. (Leave the end two strands alone – you’ll use them on the next row.) Do 5 rows and then trim the ends to your desired length. I like fringe, so I left about 2 feet on the bottom. Tie a 2 foot long string across the top from one end of the stick to the other, and secure with a bit of super glue.
The final product is a bit unusual, thanks to the materials (traditional macrame is made with rope or cord, not clustered yarn). And you can really customize the colors this way too! Imagine what it might look like with neon pink? Or a mix of cool and warm colors?
You can also customize it by changing the scale… use 4 or 5 yarn colors per cluster and loop 16 clusters around the stick for a larger version of this piece. Have fun with it!