
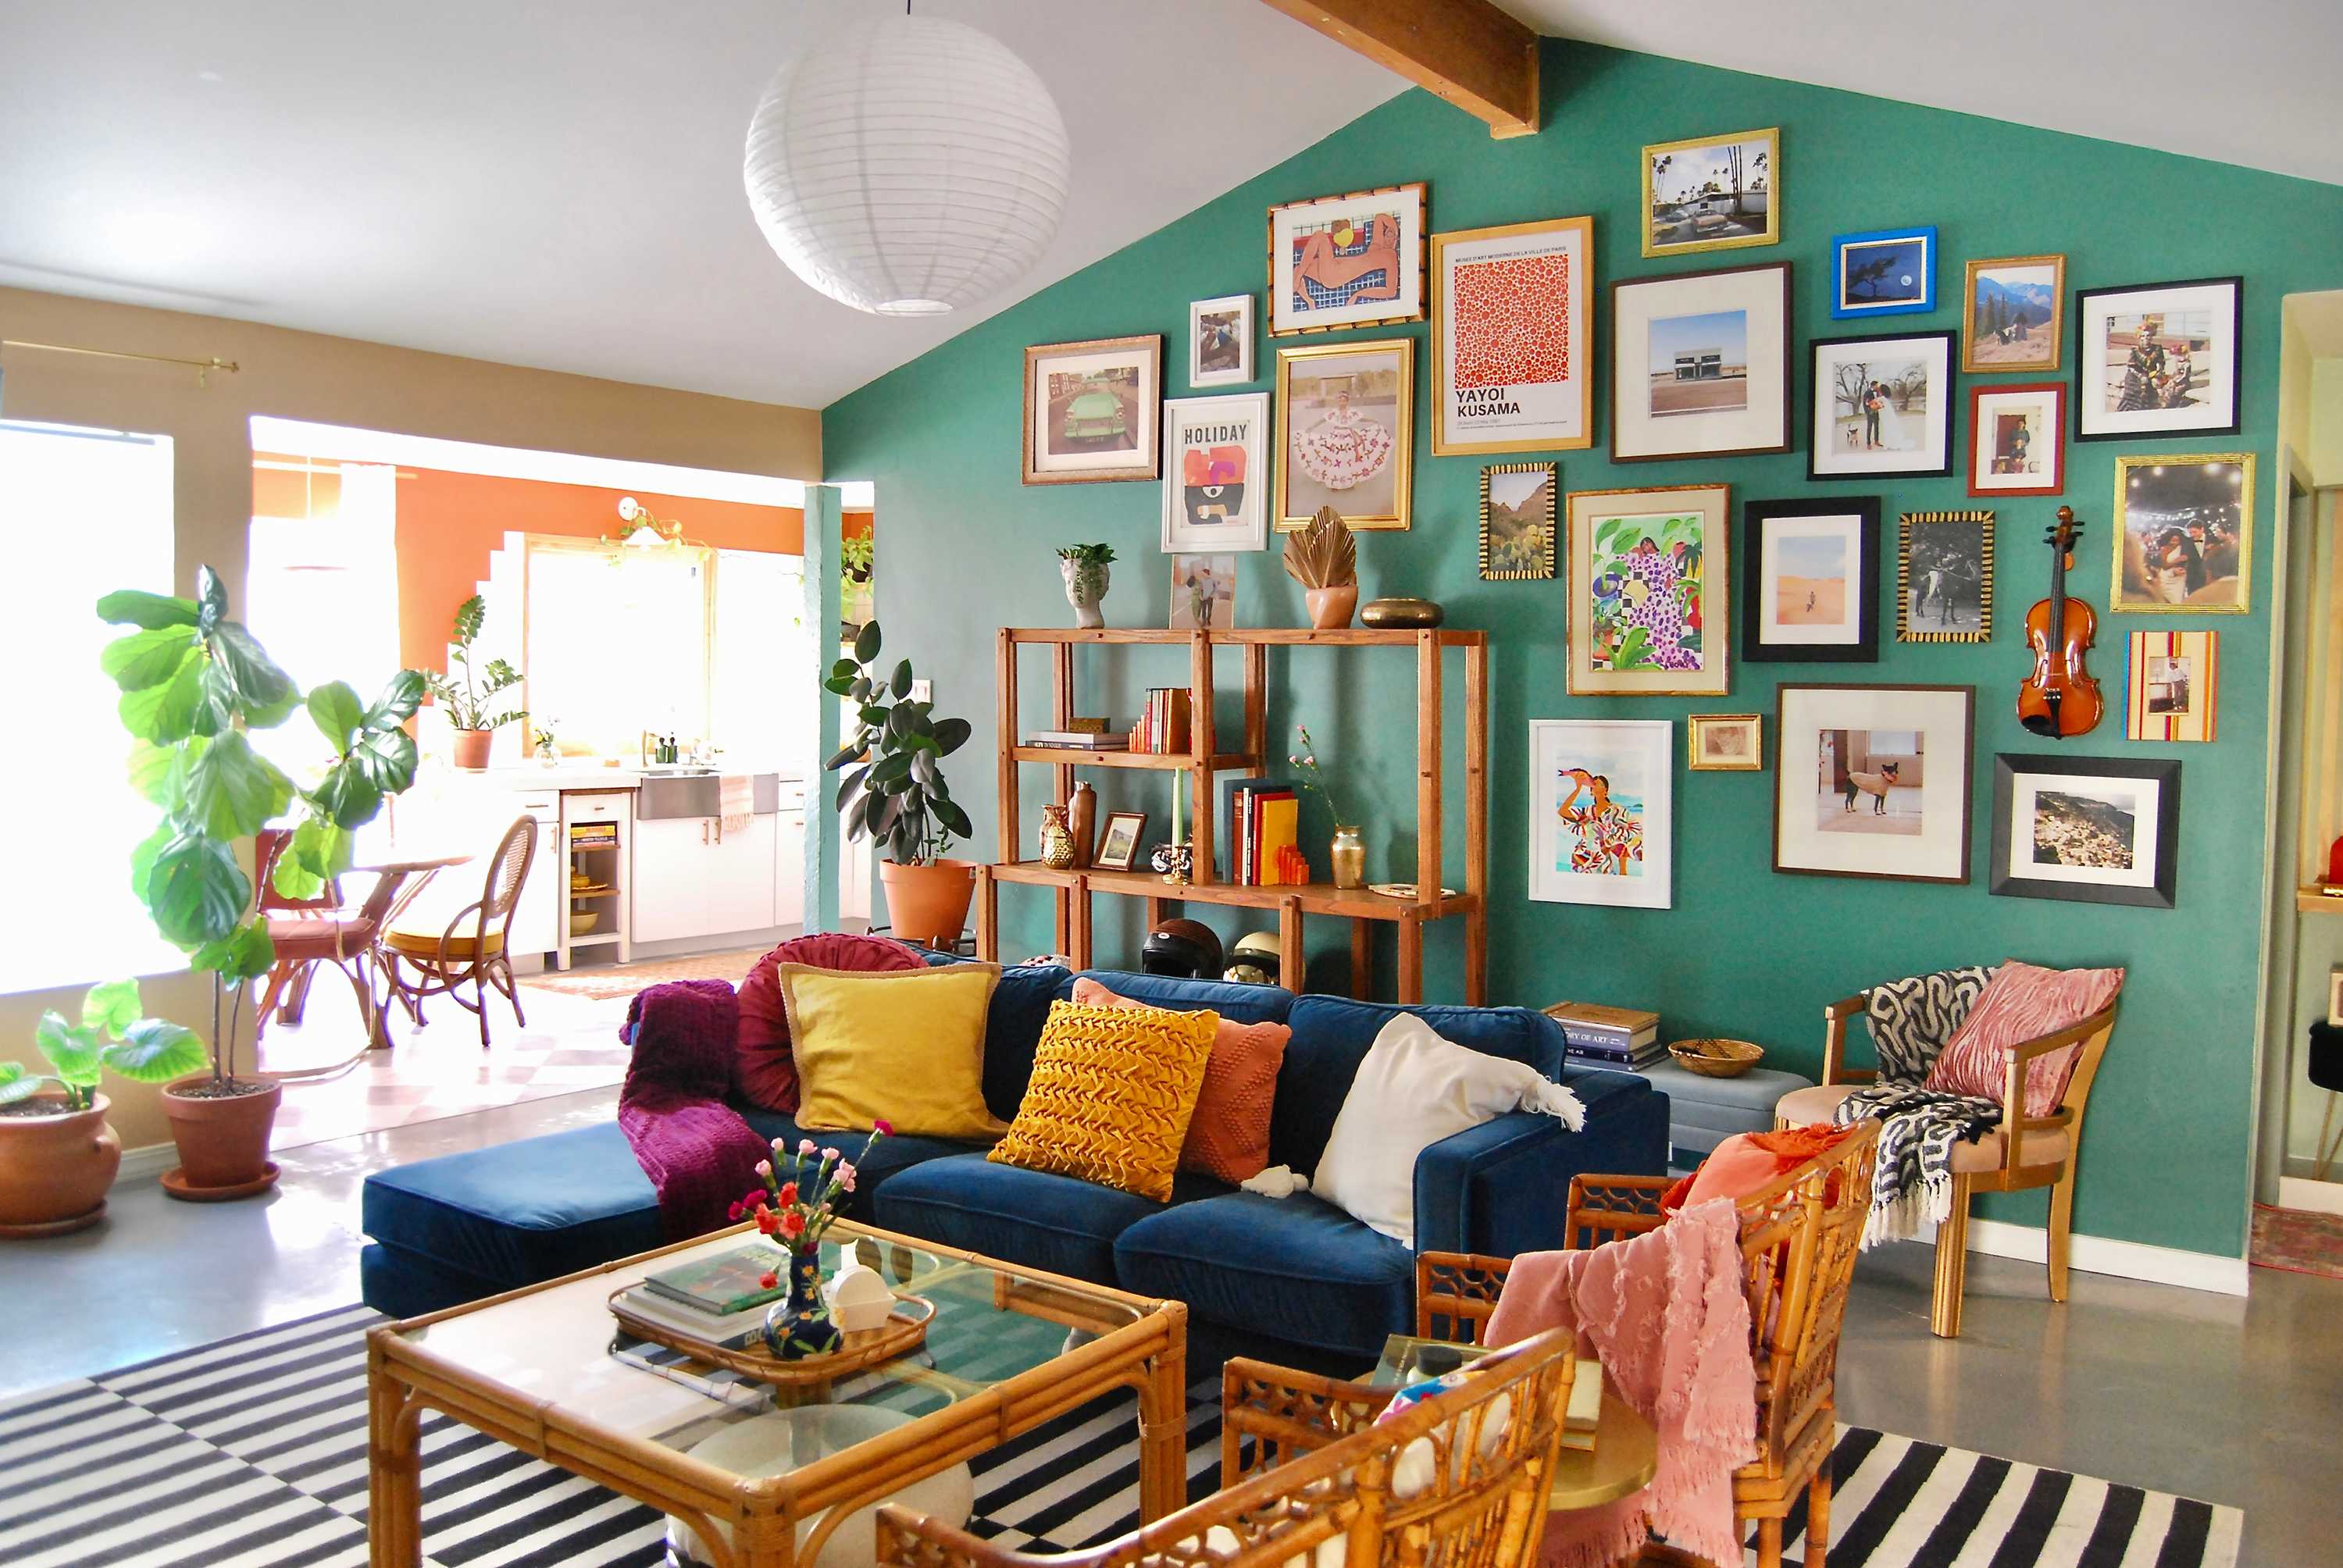
For the Best-Tasting Fried Egg, I Never Use Butter or Olive Oil
So easy and flavorful!
READ MORE…
2-Day Shipping on most products. Shop Now!
So easy and flavorful!
READ MORE…

And you definitely already have everything you need.
READ MORE…

From Anthropologie, West Elm, and more.
READ MORE…
It’s so cozy — and so risk-free.
READ MORE…
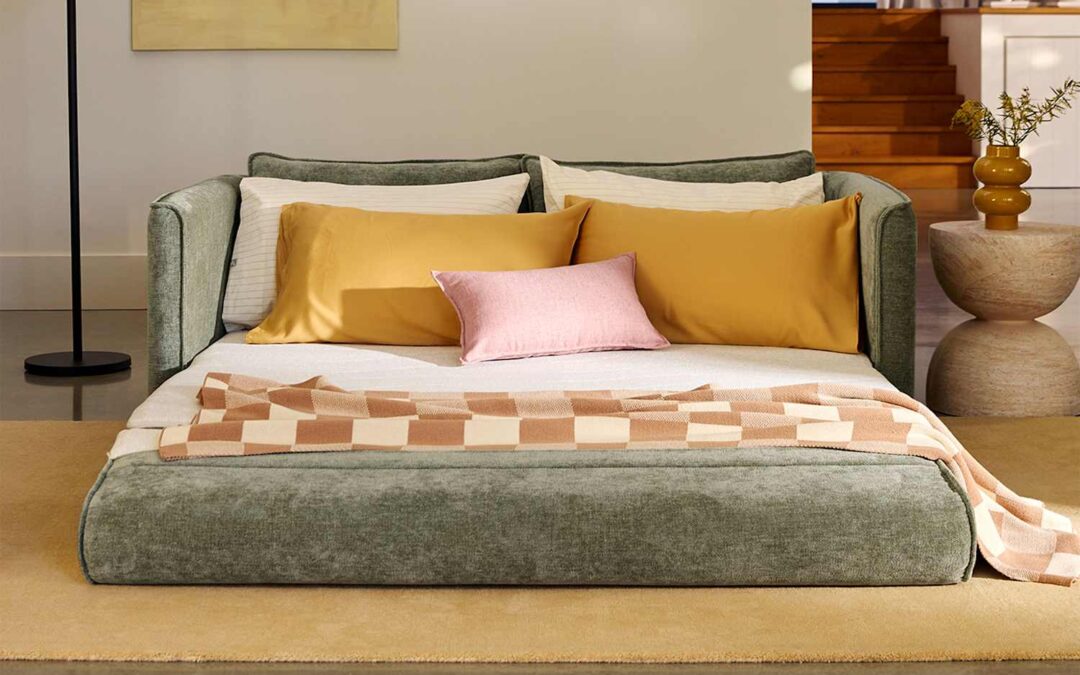
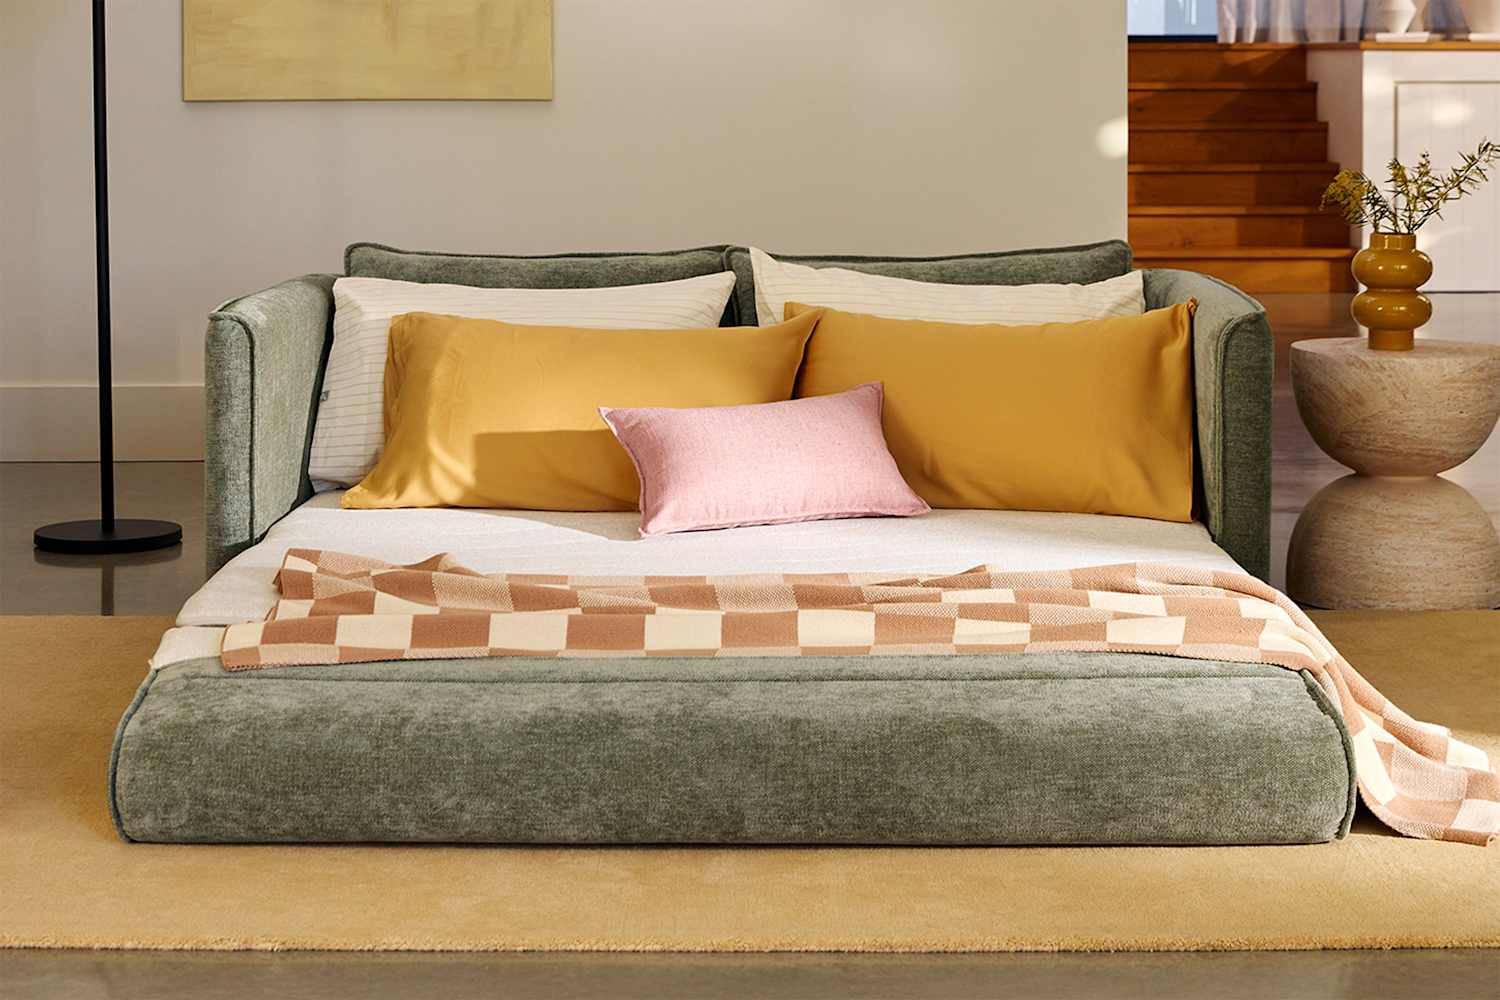
If you’re hosting during the holidays in a small space, now is the perfect time to upgrade your setup — especially if your guest plan involves a too-soft futon or an air mattress that never stays fully inflated. Koala, the brand known for its super-comfy sofa beds, just kicked off its Black Friday/Cyber Monday sale, offering up to 30% off sitewide through December 3.
The brand’s lineup is packed with smart, stylish pieces made for compact homes. From space-saving sofa beds with built-in storage to modular sofas that can shift to fit your layout, every option is designed to make last-minute hosting easier, cozier, and a whole lot more comfortable for overnight guests. Shop the sale now and be ready for when those December holidays strike.

Whether your home was built in the 1950s or ’60s or not, mid-century modern design style is incredibly popular. (In fact, Apartment Therapy’s Executive Home Director, Danielle Blundell, writes that it has homeowners and renters in a chokehold.)
DIYer and renter Juliene Winborne (@athomewithjuju) is a fan of the look. “My dream homes are mid-century modern, with wood walls and ceilings,” she says, and her goal was to “create that same look in [her] rental apartment.”
The problem? Her apartment, especially the dining room, looked far from Eames-esque. It was “a bare box,” she says. “The walls were all white, and the room felt very small and bland.” She decided to challenge herself to give the dining room more mid-century modern flair for under $500.
“The dining room felt like the perfect place to experiment, play with design, and really have fun creatively, so I leaned fully into that opportunity,” Juliene says.

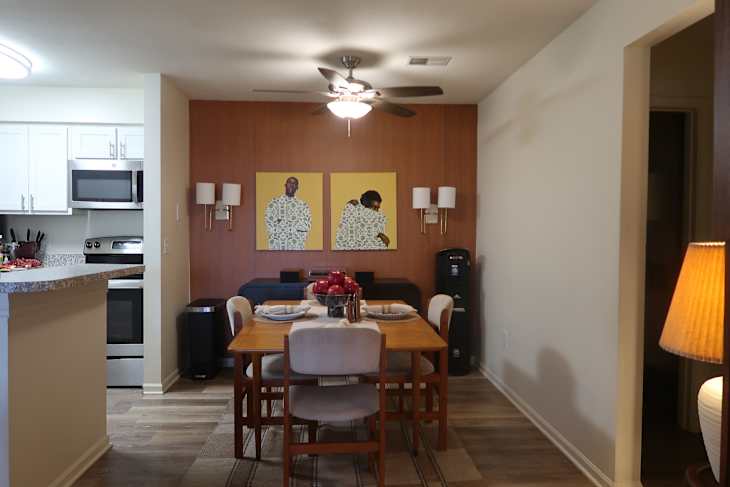
Juliene’s mom, Yvonne; aunt, Linette; and boyfriend, Joseph, helped her create a faux wood statement wall in the dining room. “I also didn’t have anything that I’d consider my ‘wow moment’ that would make the space really pop. So, first, I decided to … create a statement wall,” Juliene says.
The DIYers used $20 rolls of peel-and-stick from Amazon, and the only setback they encountered was running out of rolls before they were done and having to order extra — and the elbow grease of applying peel-and-stick was worth it.
“The faux wood wall is my fave,” Juliene says! “The room now feels like a warm hug when I walk in. The space overall feels elevated, and I love that.”
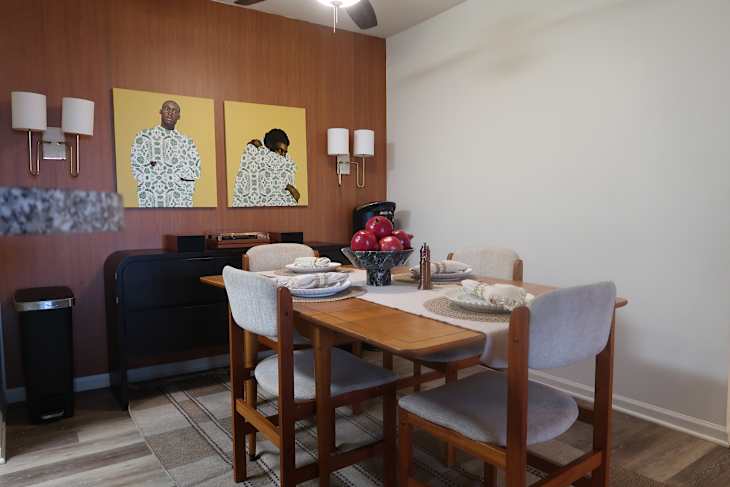
Another aspect Juliene is proud of is that she took her time to find bargain furniture that fit her style. “About 60% of this project was secondhand,” she estimates. She bought the table and chairs on Facebook Marketplace, the wall sconces are secondhand, and the sideboard was discounted from the Crate & Barrel Outlet.
“Also, I saved a lot with the rug because I bought it on sale,” she says. “The art was a bargain as well.” Juliene’s advice for DIYers is to take your time to find the right furniture. Don’t feel pressured, rush, or settle.
“I’m most proud of how I used my creativity to create the space under tight budget constraints,” she adds. “I wanted to bring some style and personality into the dining room — something that felt welcoming [and] exciting,” she says. And it is for both her and her guests.