by Furnishly | Jan 26, 2026 | Design Inspiration, DIY, Style
We
independently select these products—if you buy from one of our links, we may earn a commission. All prices were accurate at the time of publishing.
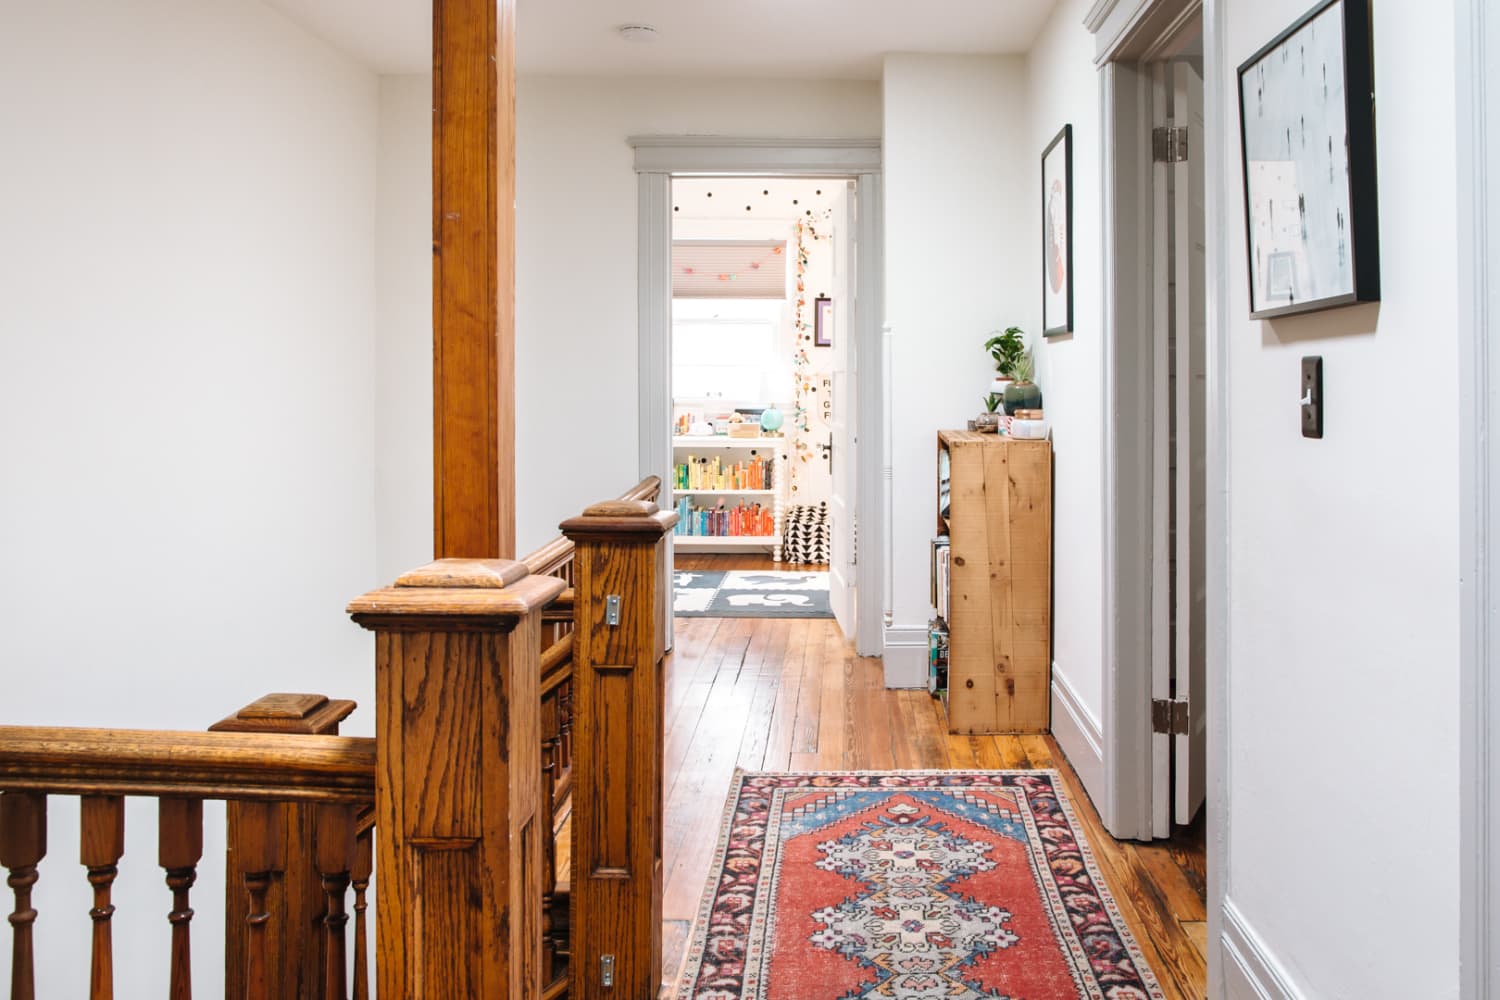
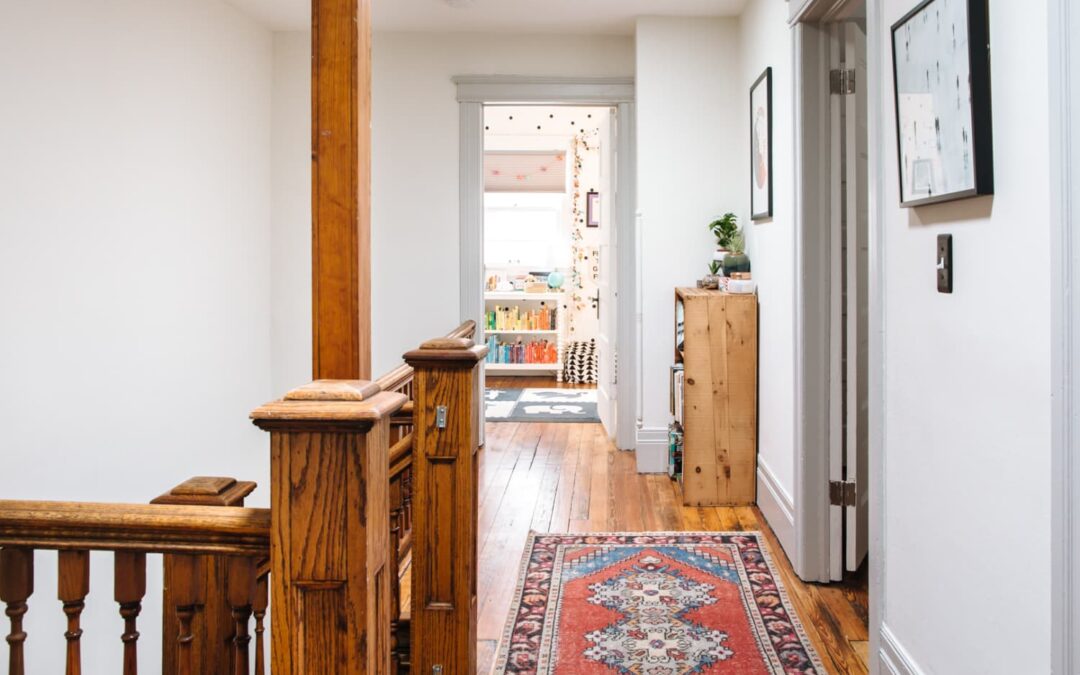
My husband and I have put a lot of time and energy into upgrading our beach town apartment. Everything from the kitchen counter to the bathroom mirrors were low-cost builder grade and lacked personality when we first moved in. At this point, we’re finished with all the big renovations (bathroom, kitchen, patio, and laundry room).
And seeing how nice those spaces are now, the cheap builder doors looked out of place and extra-dated. They were hollow core, plain white doors that were painted and repainted many times over. They were pretty thin and would rattle with the slightest breeze, and the noise really bothered me. Having just finished the kitchen renovation, I had some left over budget (and energy, surprisingly) to tackle replacing the interior doors.
I did a fair bit of research on what style I wanted and how it would fit with the laid back vibe of the beach style we created through the rest of the spaces. I narrowed it down to a shaker style with its simple, yet classic design.
Up next was working the replacement of six doors into the leftover budget. To plan this out, I had to decide what kind of replacing I could do. With interior doors, there are a couple options.
There are pros and cons to both, but I ended up going with a slab replacement for budget reasons and because some of our door frames were really thin and cornered up next to each other. It would have ended up being a lot more work to get everything to fit just right in these types of corners. Buying a slab door was much cheaper than the pre-hung door, and I could comfortably fit the six doors in the budget — plus the unlacquered brass door handles I had my eyes on.
Here’s how I upgraded my doors using the pre-existing frames:
First, I made sure I had the right materials.
I had to make sure all of my materials were the right size and came in on time. When researching how to replace doors, I landed on a super helpful YouTube video that took me specifically through replacing slab doors. It involved trimming down the door with a circular saw, routing the spaces for the hinges, and drilling the holes for the handles. I already had a circular saw, a router, and a set of drill bits.
Once everything was installed, it was time to paint. Since the new slab doors came primed already, I didn’t have to do that part, and I just chose the color I painted my walls, Valspar’s Swiss Coffee white in eggshell. I used almost exactly 1 gallon at $75. After two coats of paint, everything was done!
All in all, this project took me about one full weekend and cost $2,114. Although it was a bit of a shock to look at the price tag all together, it came out to about $230 per room and boosted the style of every room. Not to mention, they’re much sturdier than the old doors. The unlacquered brass door knobs tie in with the brass I used in the laundry and kitchen renovations as well.
I’m a fairly skilled DIYer (see: my kitchen renovation, laundry renovation, and back patio), and my project took one day for the total install and one day for painting. But this is also a project that you could outsource.
Personally, I plan on holding onto our townhouse and not selling, so it was easy to make the upgrade choice based on my personal preference, but replacing your doors is also something you might consider if you’re selling.
Doors are so noticeable because it’s the first thing a visitor (or buyer) will see walking down a hallway or up to a room. Solid wood doors are something you can also immediately feel when you open them. It is an upgrade that could make a big impact in the sellability of your home. It sounds so simple, but installing new doors gave a new and fresh look to the whole inside.
by Furnishly | Jan 23, 2026 | Design Inspiration, Style
We
independently select these products—if you buy from one of our links, we may earn a commission. All prices were accurate at the time of publishing.
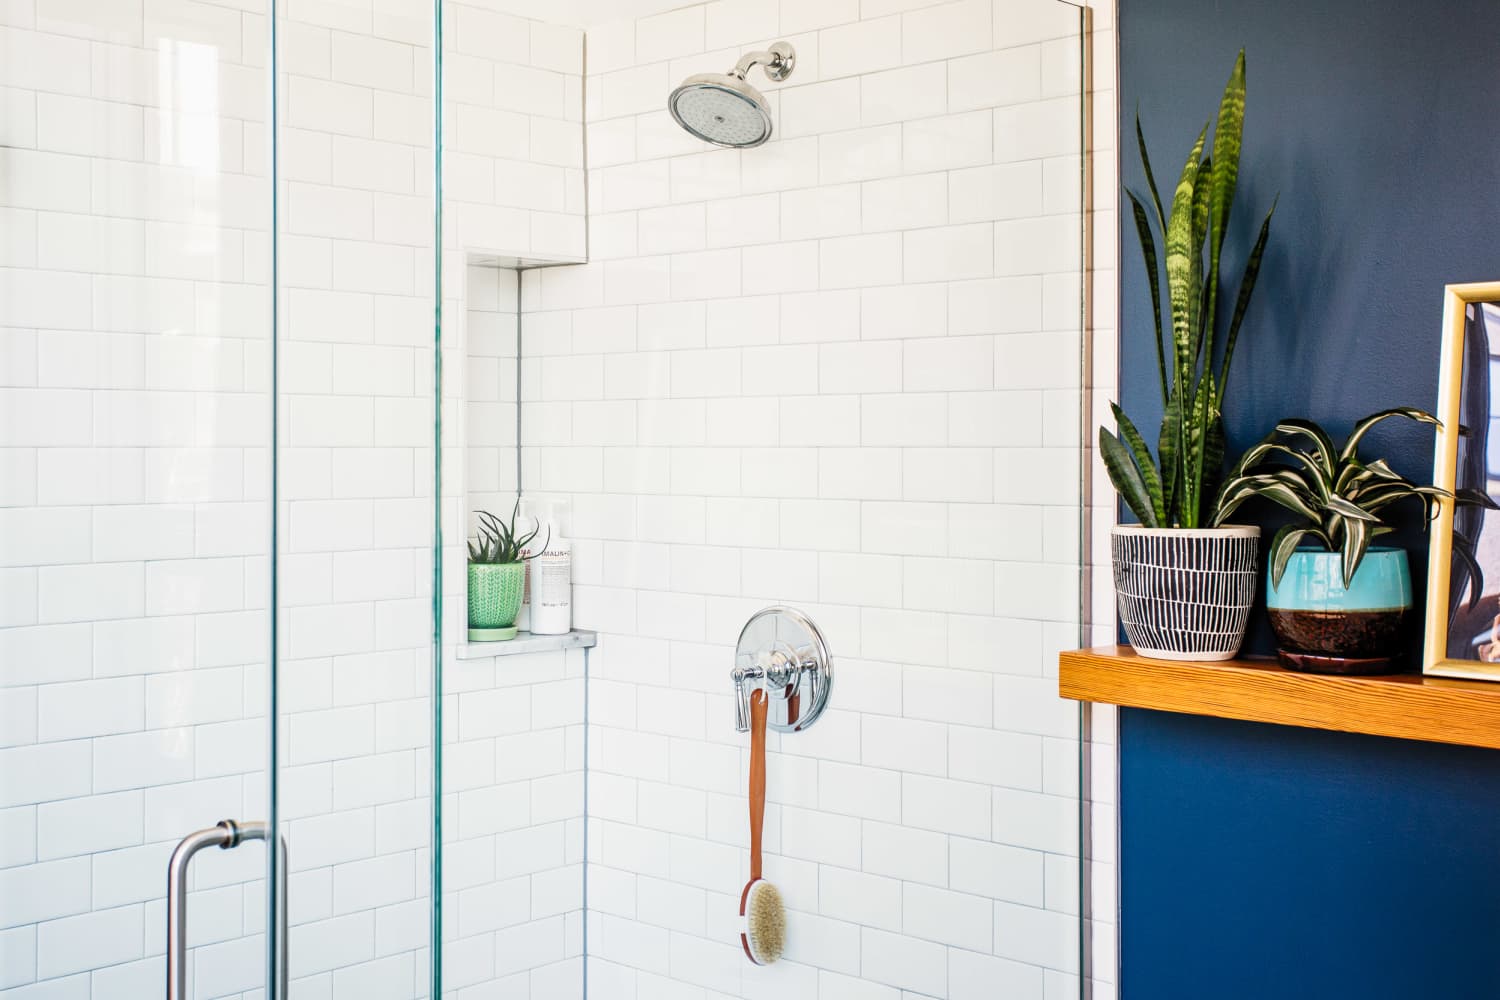
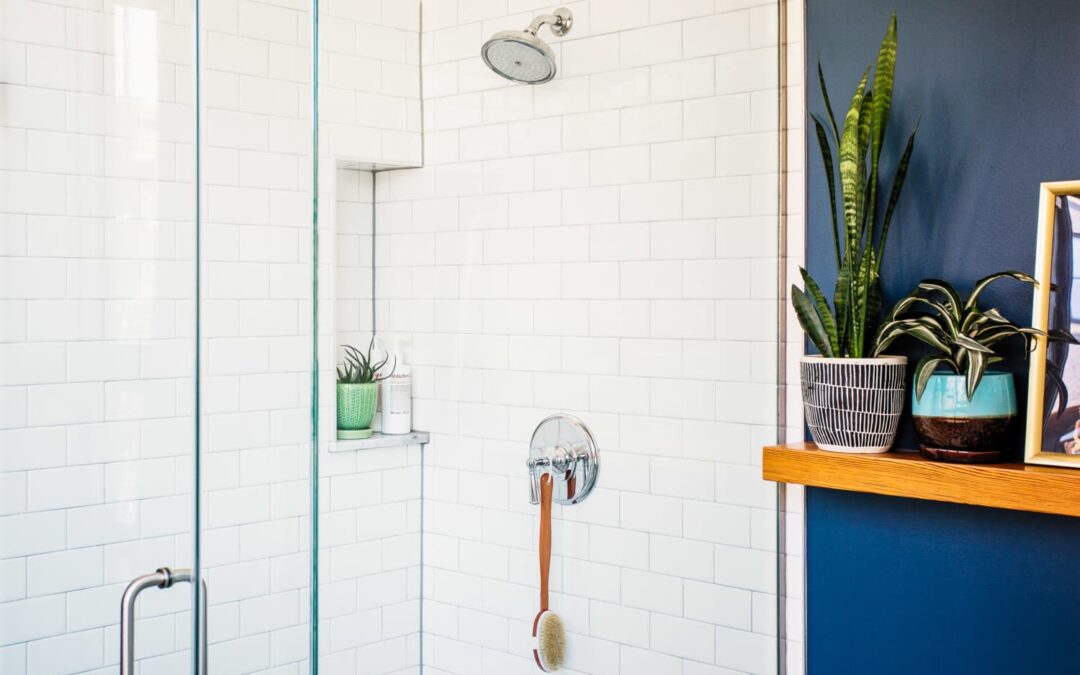
Like many people, I use a daily shower cleaner after every shower to keep my glass doors free of soap scum and hard water buildup. I also take the extra step of using a squeegee to prevent excess stains. While I thought this homemade daily cleaner of dish soap, vinegar, and water was working fine, I was starting to notice cloudiness on my doors and figured it might be time for a deeper cleaning.
I wanted to find out the best shower glass cleaner, so I decided to try out six cleaning methods to see which one got them the most sparkly clean. I discovered that not only was my homemade cleaner not working as well as I thought, but the winning method was also a product I was solely using to clean my floors.
I tested three methods on the doors in my main bathroom shower (two on different parts of one door and one on the other), and three methods on each door of my guest bathroom shower. Before testing, I did not use my homemade cleaner or squeegee on either shower for one week so I could more accurately see the results of each method.
The ratings: I used a rating scale of 1 to 5, with one being the least effective and 5 the most effective. I determined each rating based on overall effectiveness, convenience, and time spent implementing the method.
Method 1: Dish Soap, Vinegar, and Water
Method: I mixed 1/4 cup of dish soap, one cup of distilled water, 1/2 cup of distilled white vinegar, and a few drops of lavender essential oil into a spray bottle. I generously sprayed this solution onto one door and let it sit for half an hour. Afterward, I used a scrubbing brush and rinsed everything off with the showerhead.
How it went: This is the cleaning solution I use as a daily cleaner so my hopes weren’t too high. After rinsing the door, it looked clean, but I was suspicious. I exhaled hot breath onto the door (to mimic the steam of a normal shower) and could see a layer of hard water stains.
Method: I used a Bounce Dryer Sheet to gently rub the hard water stains on the door and around the hardware to try to get rid of any grime and buildup.
How it went: I admit that I was impressed that a dryer sheet was able to mostly get rid of these stains. However, the sheet would either slip out of my hand or it would grip onto the glass and my hand would slip over it, making this method quite inconvenient and not worth the time to clean up several stains.
Method: I used a brand-new Magic Eraser, soaked it with water, and wrung out the excess. I cleaned the door using circular motions and added a bit more water whenever I felt it was dried out.
How it went: Although this did require a bit more elbow grease in comparison to other methods, it did an excellent job at removing hard water stains. While I wouldn’t recommend this as the main form of cleaning glass shower doors, it’s an efficient method for quick cleanups in between deeper cleanings.
Method 4: Bar Keepers Friend
Method: I poured about a tablespoon of Bar Keepers Friend Soft Cleanser onto a slightly damp sponge, scrubbed the door in a circular motion, and let it sit for a couple of minutes. I then rinsed it off with the showerhead and removed the excess with a damp microfiber cloth.
How it went: Despite removing most of the hard water stains and other residue, this method was the most inconvenient. Not only was the scent overwhelming (especially if you’re using this after a steamy shower in a windowless bathroom), but the abrasive and grainy texture of the product was also a nightmare to feel and clean from the bathtub.
Method 5: Pine-Sol and Soft Cloth
Method: Because I only wanted to test this method before making a big batch, I did not follow Pine-Sol’s dilution directions. Instead, I poured about 2 tablespoons onto a clean, damp microfiber cloth. I then wiped the door in a circular motion.
How it went: Although it’s a multi-surface cleaner, I have always associated Pine-Sol with floor cleaning (perhaps because of its woodsy pine scent), so I wasn’t sure what to expect. This method was overall the most effective and convenient; it effortlessly wiped away hard water stains and soap scum, and left behind a fresh scent. Because this method was such a success, I will be diluting it in a spray bottle and spraying it directly onto the doors instead of pouring the concentrate directly onto the cloth.
Method 6: Lime-a-way Spray
Method: Using gloves as instructed by the label, I sprayed Lime-a-way onto a section of the door, let it sit for a minute, wiped it with a damp microfiber cloth, rinsed it with water, and used a squeegee to remove excess droplets.
How it went: When I first sprayed this product onto my door, I was overcome with its strong chemical scent — in fact, I immediately started coughing! I covered my face with my T-shirt as I wiped it away with a microfiber cloth. As effective as this spray was, I couldn’t comfortably clean the rest of my shower doors in my small, windowless guest bathroom.
I learned how to clean glass shower doors by testing out six different methods and discovering that one method reigned supreme. While the winning method was clear (literally!), every method could be useful in some way depending on your preference and lifestyle factors. For example, if you have a guest bathroom that doesn’t get used often, wiping off a couple of droplets with a dryer sheet could be a quick fix.
Additionally, a daily cleaner (whether it’s homemade or not) and a squeegee can still be beneficial for the overall maintenance of glass shower doors. If you’re looking for a thorough, deep clean, however, you can’t go wrong with Pine-Sol and a soft cloth.

by Furnishly | Jan 22, 2026 | Design Inspiration, Style
Jessie Quinn is a lifestyle writer with words published in The Spruce, Byrdie, Well + Good, Shape, PEOPLE, and more. Jessie has a Bachelor’s Degree in Fashion Journalism from Academy of Art University and leans on her background in fashion to inspire readers to hone their…read more
by Furnishly | Jan 22, 2026 | Design Inspiration, Style
We
independently select these products—if you buy from one of our links, we may earn a commission. All prices were accurate at the time of publishing.
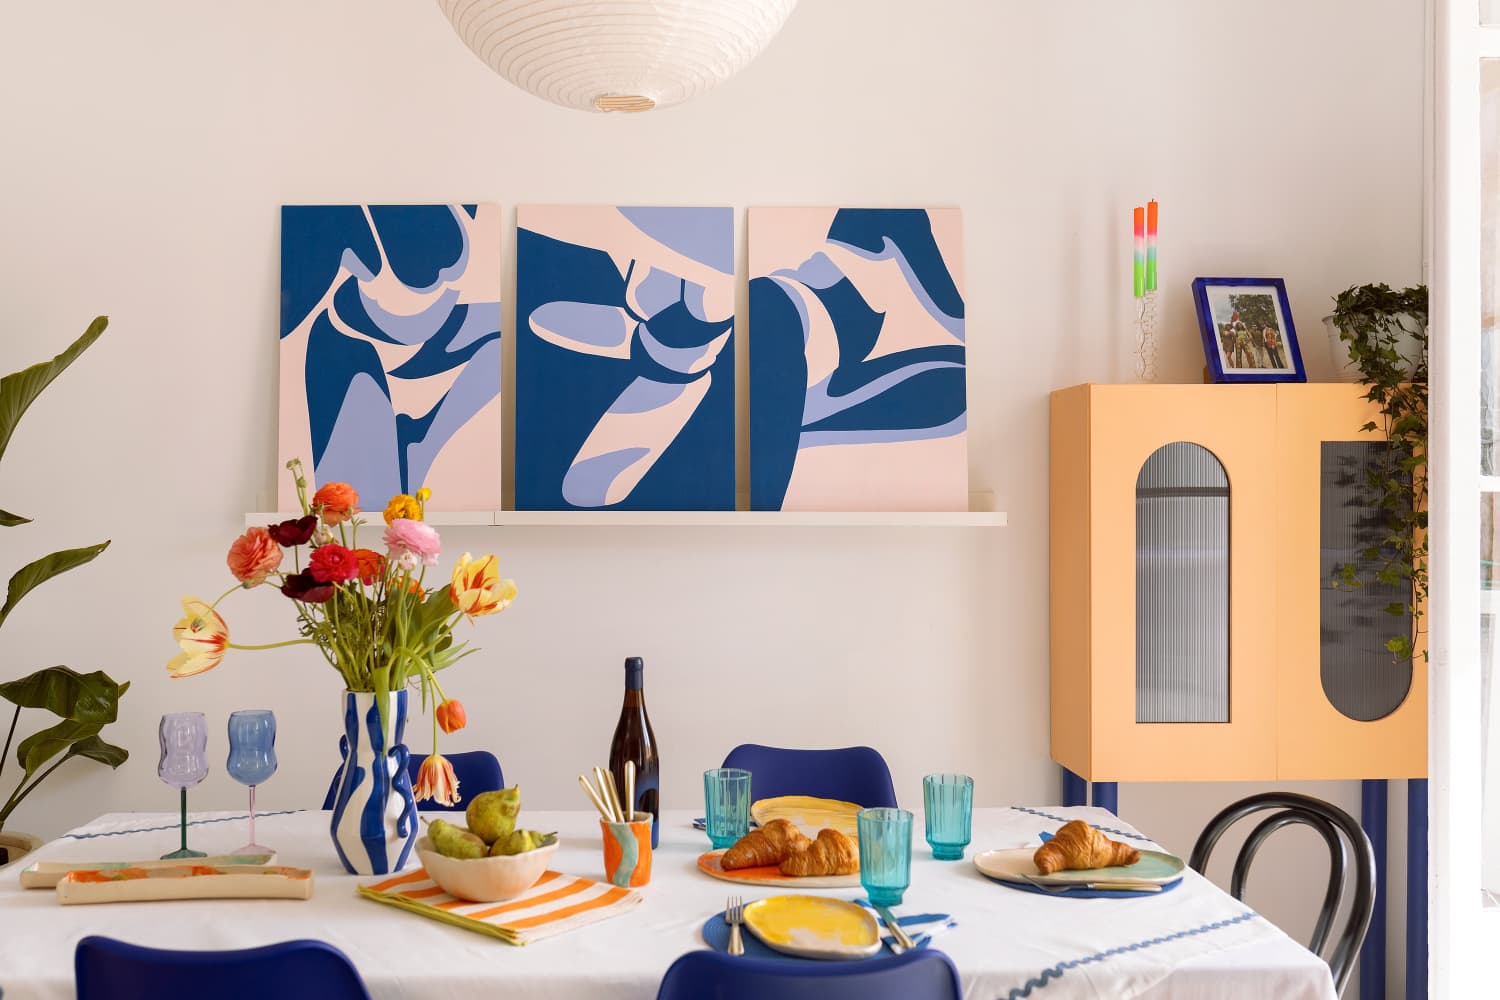
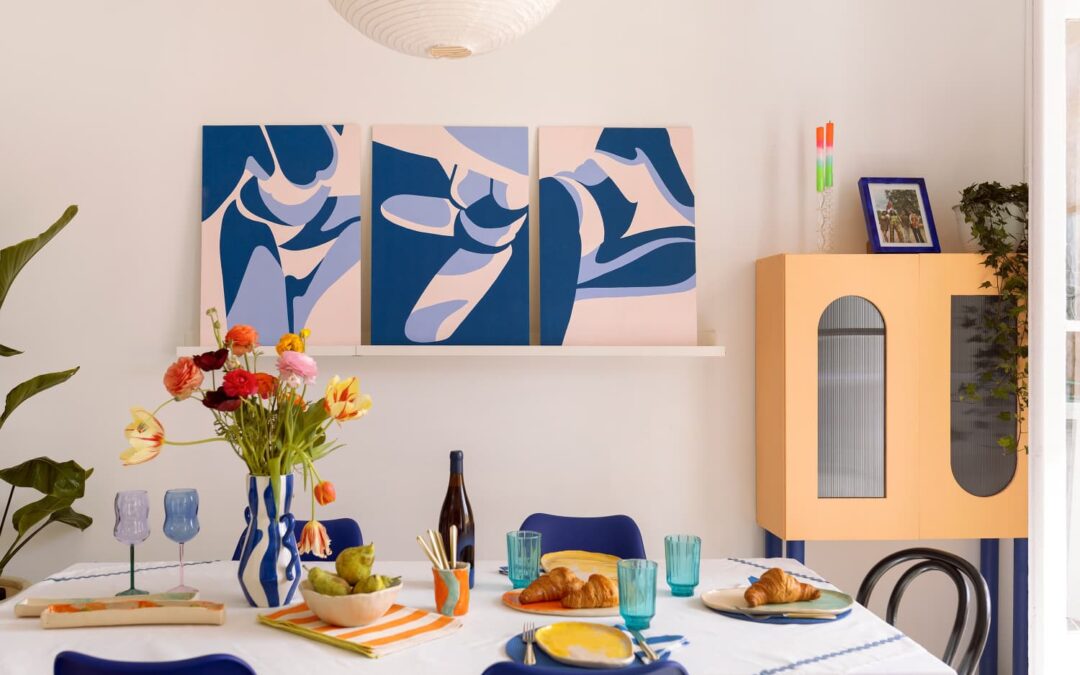
If I ever won the lottery, there would be signs. For one thing, my kitchen cabinets would be stacked full of fancy, handmade dishes in artsy glazes and designs (they make everyday meals look like a culinary triumph!). But until I hit the dinnerware jackpot I’ll be sticking to budget-friendly alternatives, like these Stoneware Splatter Plates from Target. I’d actually argue that they’re the furthest thing from second-best — they look like the high-end enamelware plates that have lived on my Pinterest board for years (and cost half the price).
It was only a matter of time before the plates were all over TikTok. Now it seems like every other post on my feed is a call to snatch them up before they sell out. Here’s why I’d do exactly that.
Adorned in a statement-making blue splatter design, the stoneware plates give you all the style and charm of a pricey enamelware piece — without the splurge. Featuring a chunky round rim, the plates have a funky, sculptural look that brings a stylish flourish to mealtimes and hosting. While I’ll obviously be going for the blue splatter colorway, the plates also come in solid blue, butter yellow, and classic white options, giving you plenty of room to mix and match pieces for a tablescape that’s all your own. Select pieces, like the Stoneware Mug and Snack Bowl, even come in a yellow splatter design.
The plates are also far less precious than fancier pieces. The durable stoneware material can withstand minor bumps and scratches, and it’s dishwasher- and microwave-safe (which makes reheating meals so easy!). Enamelware can’t go in the microwave, for what it’s worth.
Target’s Room Essentials line is known for its affordable prices, but I was floored by how inexpensive these plates are. Those high-end brands on my Pinterest board would normally charge well over $60 for a set of four dinner plates, but you can buy four of these equally stylish plates for only $24. So if you’re looking to overhaul your dinnerware without spending a ton, these plates stack way above the rest.
Buy: Room Essentials 8.5″ Stoneware Round Rim Salad Plate, $4
Buy: Room Essentials 10.5″ Stoneware Round Rim Dinner Plate, $6

by Furnishly | Jan 18, 2026 | Design Inspiration, Style
We
independently select these products—if you buy from one of our links, we may earn a commission. All prices were accurate at the time of publishing.
Even if you live a busy, active life, you probably find yourself moving a bit more slowly in the winter months. It gets dark early, which inherently makes you feel a bit more sluggish, and the cold, wind, rain, and snow can be hard to bear. On top of all that, it’s also cold and flu season. So, it’s no wonder most people spend more time at home this time of year.
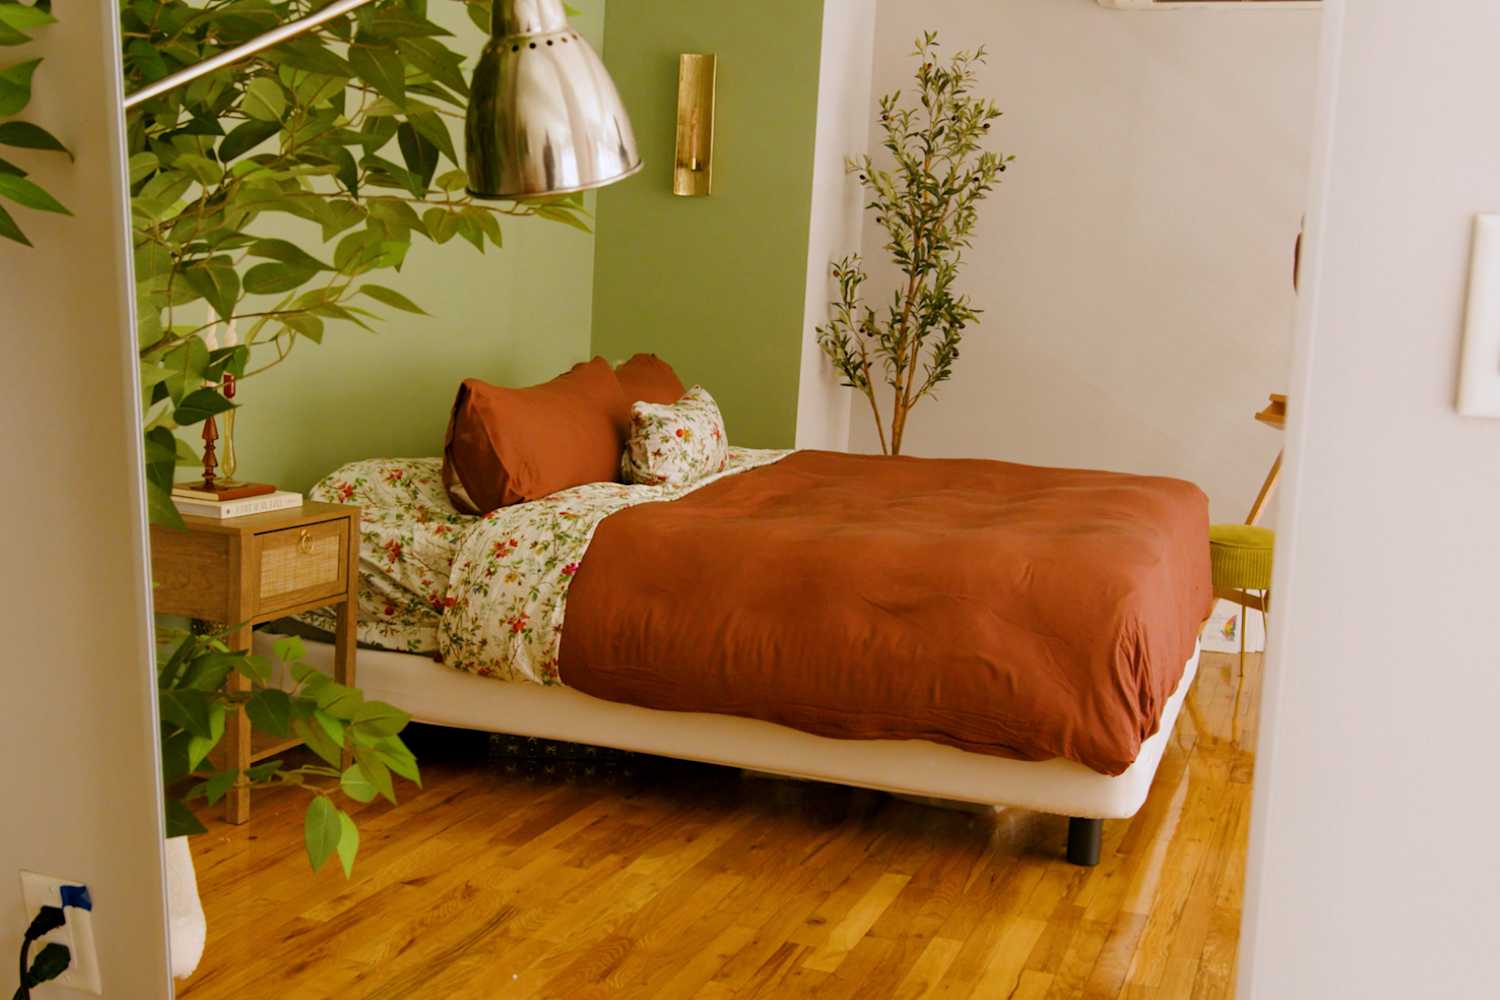
Sitting around inside all day can make you feel glum, but it doesn’t have to! It can also be a chance to discover new ways to love being in your own home. One way to do that is by making your everyday routine a bit more special — like making your usual tea in a cute new teapot from IKEA.
What Is the IKEA SKEDSTOR Teapot?
Priced at $24.99, the SKEDSTOR teapot from IKEA has a “modern Scandinavian design” that combines sunny colors, geometric shapes, metal accents, and curved lines. It’s cuter and more unique-looking than most teapots I’ve seen — it’ll look great in the middle of a table or sitting out in the kitchen — and it holds 34 ounces of liquid, so you’ll get four 8-ounce cups of tea out of it. And although it’s made from attractive glazed stoneware, you can actually put it in the dishwasher.
Inside the teapot, you’ll find a removable stainless steel infuser, which you fill with the tea of your choice. It’s meant for loose-leaf tea, but you could also put tea bags in there (or take the tea out of the bags) if that’s what you have or prefer. Just don’t heat it over the stove; you’re meant to boil water separately, then pour the water into the teapot.
Why This Cheery Teapot Is Perfect for Wintertime
If you’re already a big tea drinker, then a fun new teapot can be a nice way to treat yourself — especially if you want to start drinking more loose-leaf tea. If you don’t drink tea much, then the playful design of this teapot could inspire you to try it more often. Because it makes multiple cups of tea at once, you could even have a few friends over for tea time or turn your next roommate movie night into an extra-cozy experience.
The cheery teapot is “one of the best purchases I’ve made,” writes Alex, a reviewer on IKEA’s website. It “not only works great,” but “its fun pattern and colors make me happy every day when I use it.” When it gets dark at 4 p.m. and the air is always frigid, you need all the extra happiness you can get.
by Furnishly | Jan 17, 2026 | Design Inspiration, Style
We
independently select these products—if you buy from one of our links, we may earn a commission. All prices were accurate at the time of publishing.
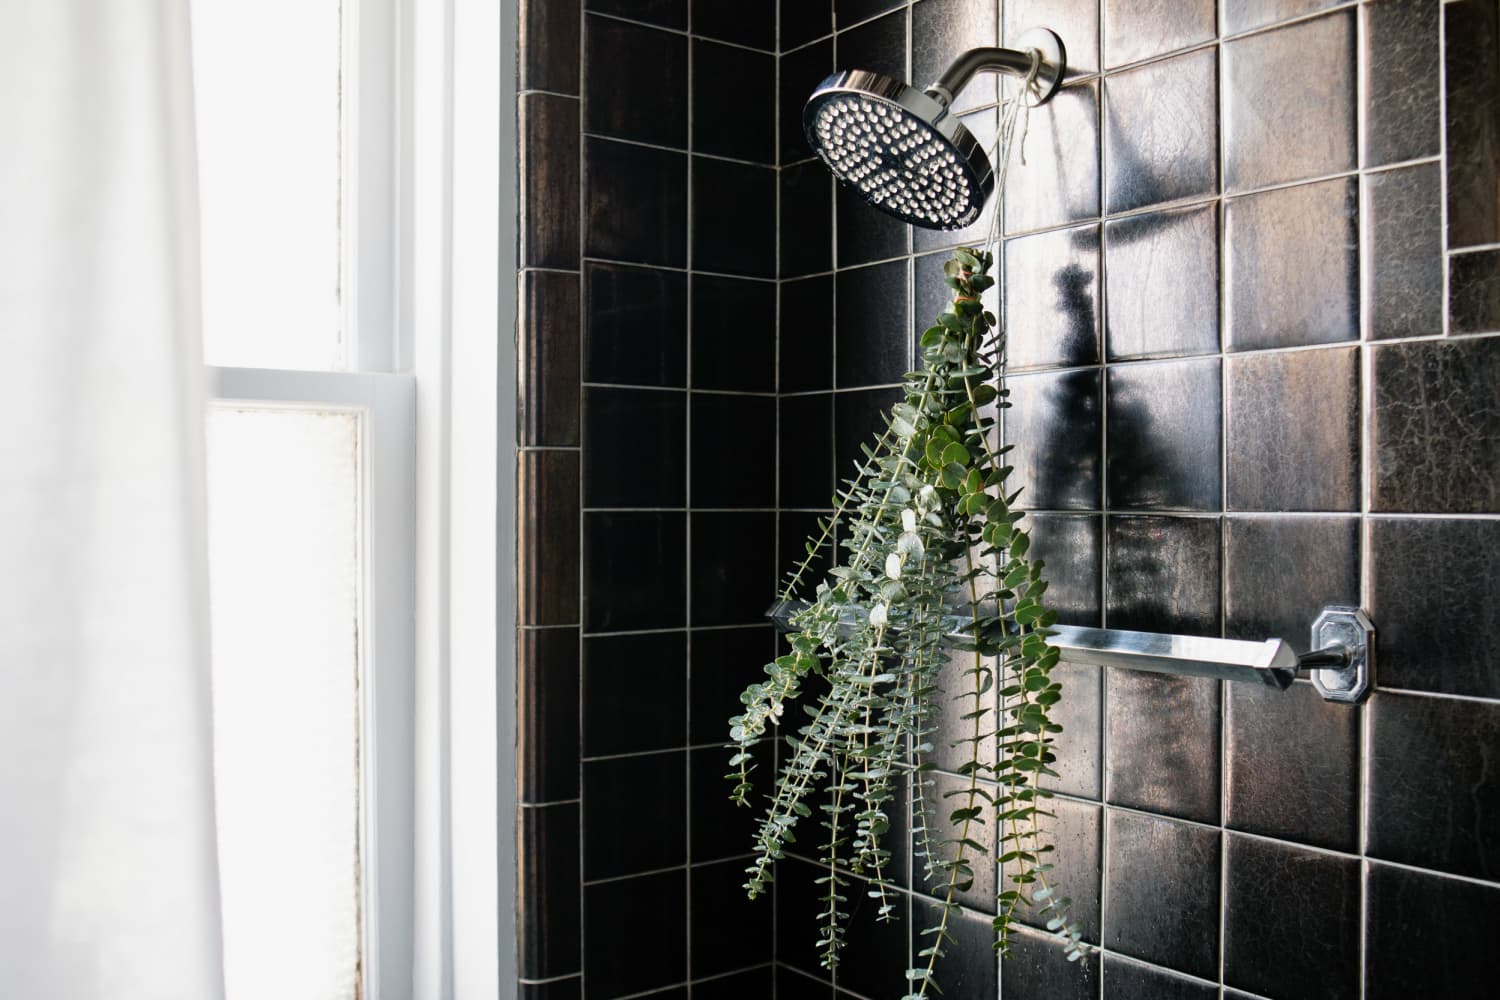
After a long day, there’s nothing better than taking a hot shower to melt the stress away. But to really enjoy it, you need to set up your bathroom for ultimate relaxation. The best way to do that? It’s all in the lighting.
“Dark showering” has been trending on TikTok recently, but it’s actually something I’ve personally been doing for years. Basically the trend encourages those who shower at night to do so with the lights off, and instead light a candle or turn on a waterproof lamp for an ambient glow. Whatever you do, just don’t use “the big light!”
I’m a night-shower person; the combination of cozy lighting and warm water helps calm my nervous system in preparation for a good night’s sleep. Other “dark shower” enthusiasts say it feels luxurious and spa-like, too. That got me thinking: What else could I add to my bathroom to help make my nights even more relaxing?
How to Make Your Bathroom Feel Like Your Own Personal Spa
But that’s only the very beginning. Check out a few more of my favorite finds below to help elevate your night showers, too.