One of the main pitfalls of summer is the sudden surge of flies that plague homes, gardens and particularly kitchens. If you’re fed up of seeing these buzzing pests trying to get a look in on your fruit bowl, Lidl has just dropped a £4.99 solution.
No one wants to see flies – which are typically vinegar flies – swarming around their fruit bowl. They’re unhygienic and annoying, making it a no-brainer that we all want to know how to get rid of flies during summer.
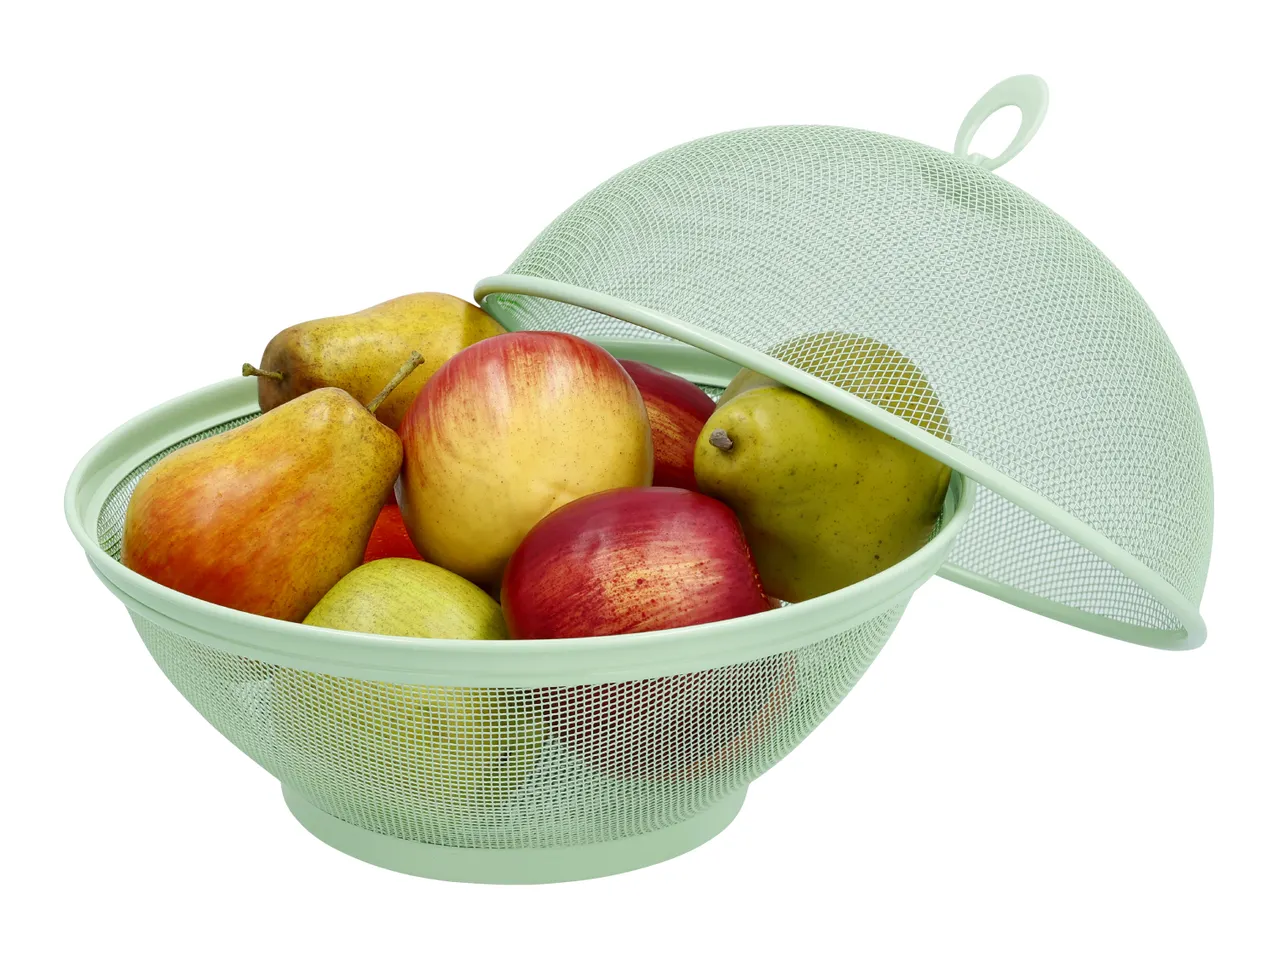
Landing in stores on Sunday (21 June), Lidl’s Silvercrest Green Fruit Basket – 2 Piece Set (£4.99) can be used to protect both your fruit and plates of food from flies. Here’s why.
Latest Videos From
Silvercrest
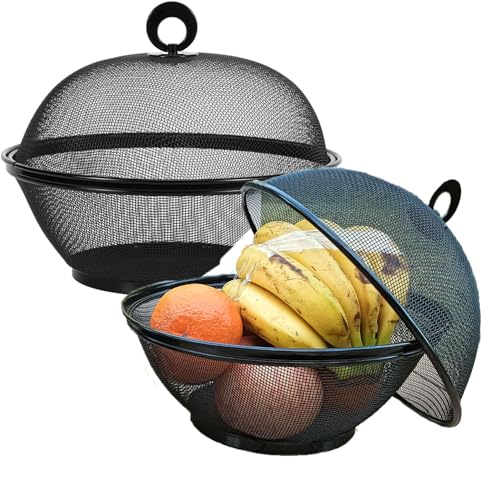
Green Fruit Basket – 2 Piece Set
Unfortunately, your fruit bowl is one of the biggest attractants (aside from your food waste bin) for flies. When fruit begins to overripe, its natural sugars start to ferment, which releases a pungent smell which flies love.
Because of this, it’s advisable to say goodbye to your fruit bowl for good and store fruit in the fridge over summer. However, there are ways around this. For example, I use Lakeland’s £9.99 StayFresh sheets in my fruit bowl, and they absorb ageing ethylene gases to slow the ripening process. Or, Lidl’s new fruit basket provides a physical barrier to stop flies from reaching your fruit.
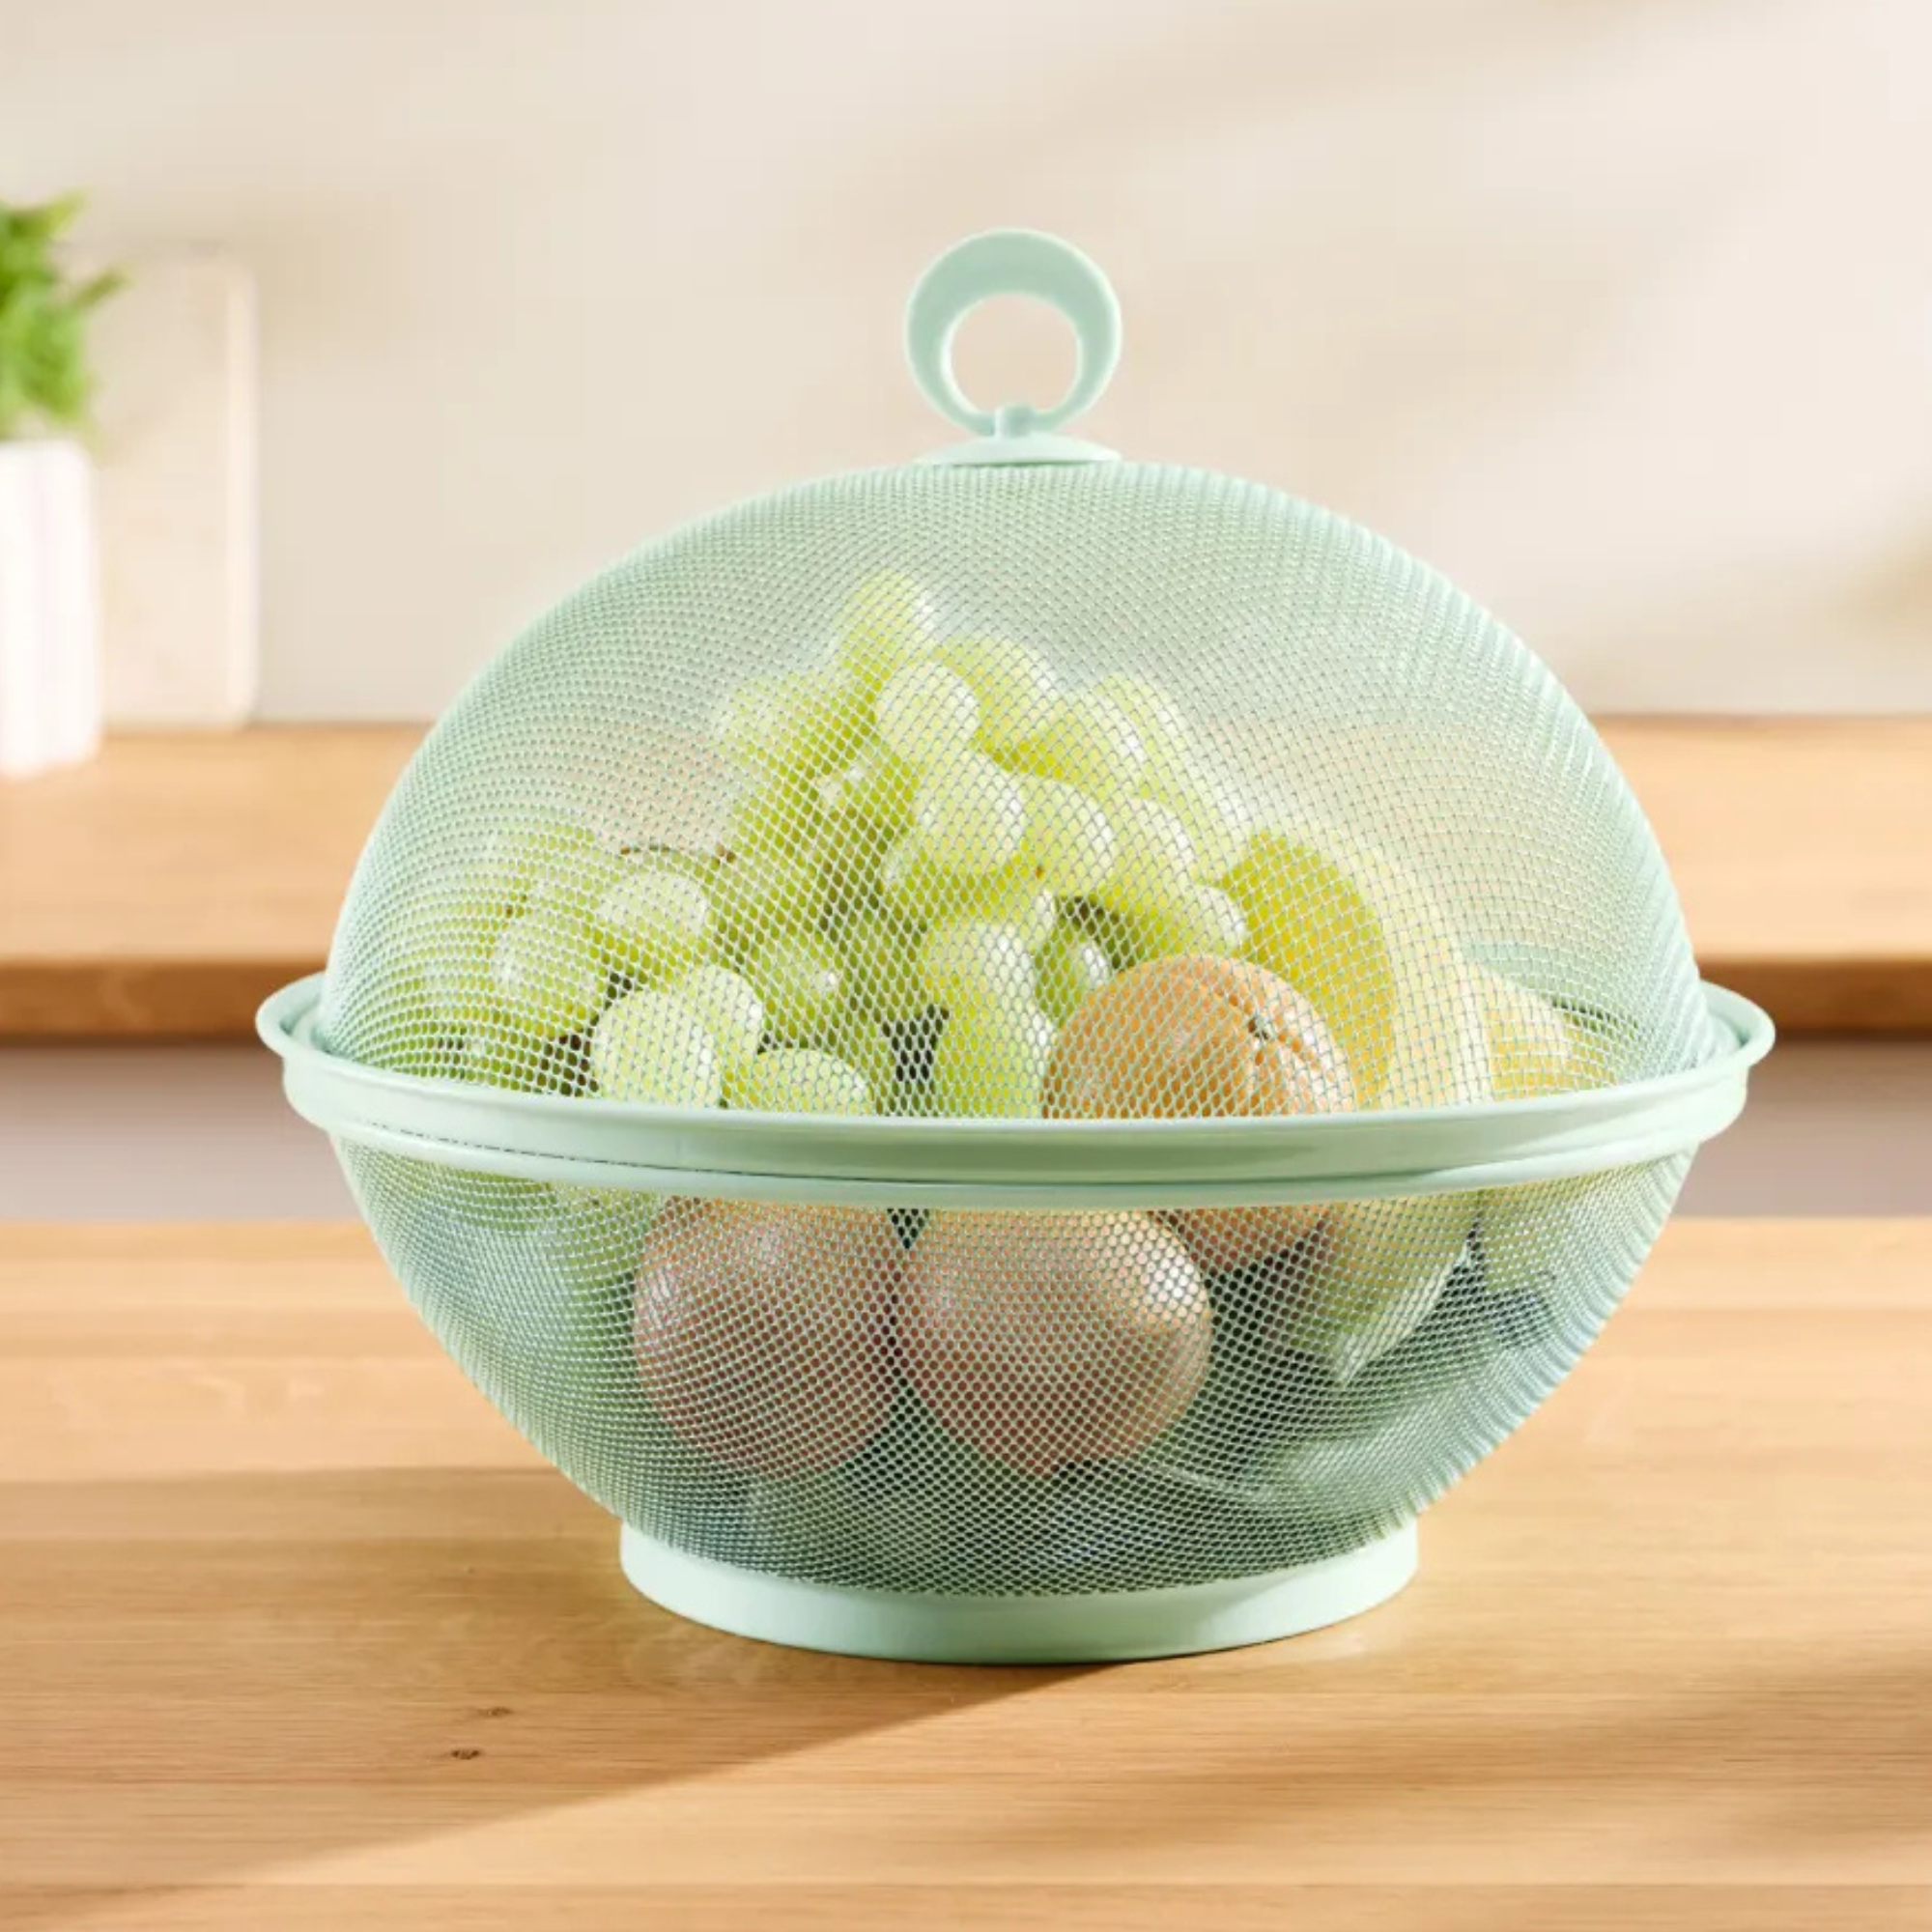
Simple yet effective, the Silvercrest Fruit Basket is made up of a basket and lid, crafted with wire mesh to create a breathable yet impenetrable barrier for flies and wasps. The lid can also be used as a food cover, making it ideal for protecting dishes when dining al fresco or protecting desserts at BBQs.
(Image credit: Lidl)
The bowl is large enough to hold a variety of fruits, while its attractive mint green colourway is an excellent way to add a pop of colour to your kitchen ideas.
Sign up to our newsletter for style inspiration, real homes, project and garden advice and shopping know-how
While this is a good barrier against flies, the fruit bowl won’t get rid of flies. The best way to reduce the amount of flies in your home is to practice cleanliness, not leaving food out, emptying food waste bins regularly and cleaning your food waste bin.
You can also use scent deterrents such as cucumber to get rid of flies, or you can make your own repellent with dish soap, water and strong-smelling essential oils such as peppermint, lavender, cloves, lemongrass and eucalyptus.
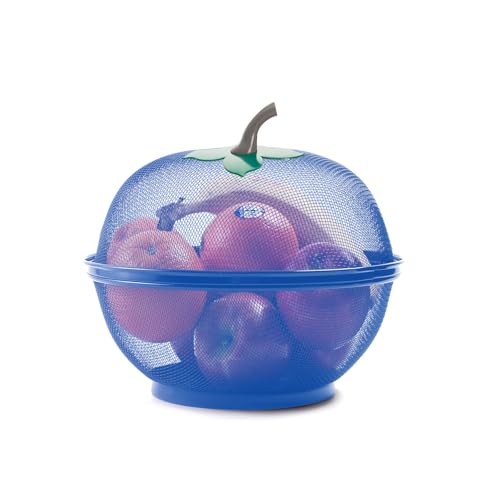
HAADI
Haadi Fruits Bowl Basket
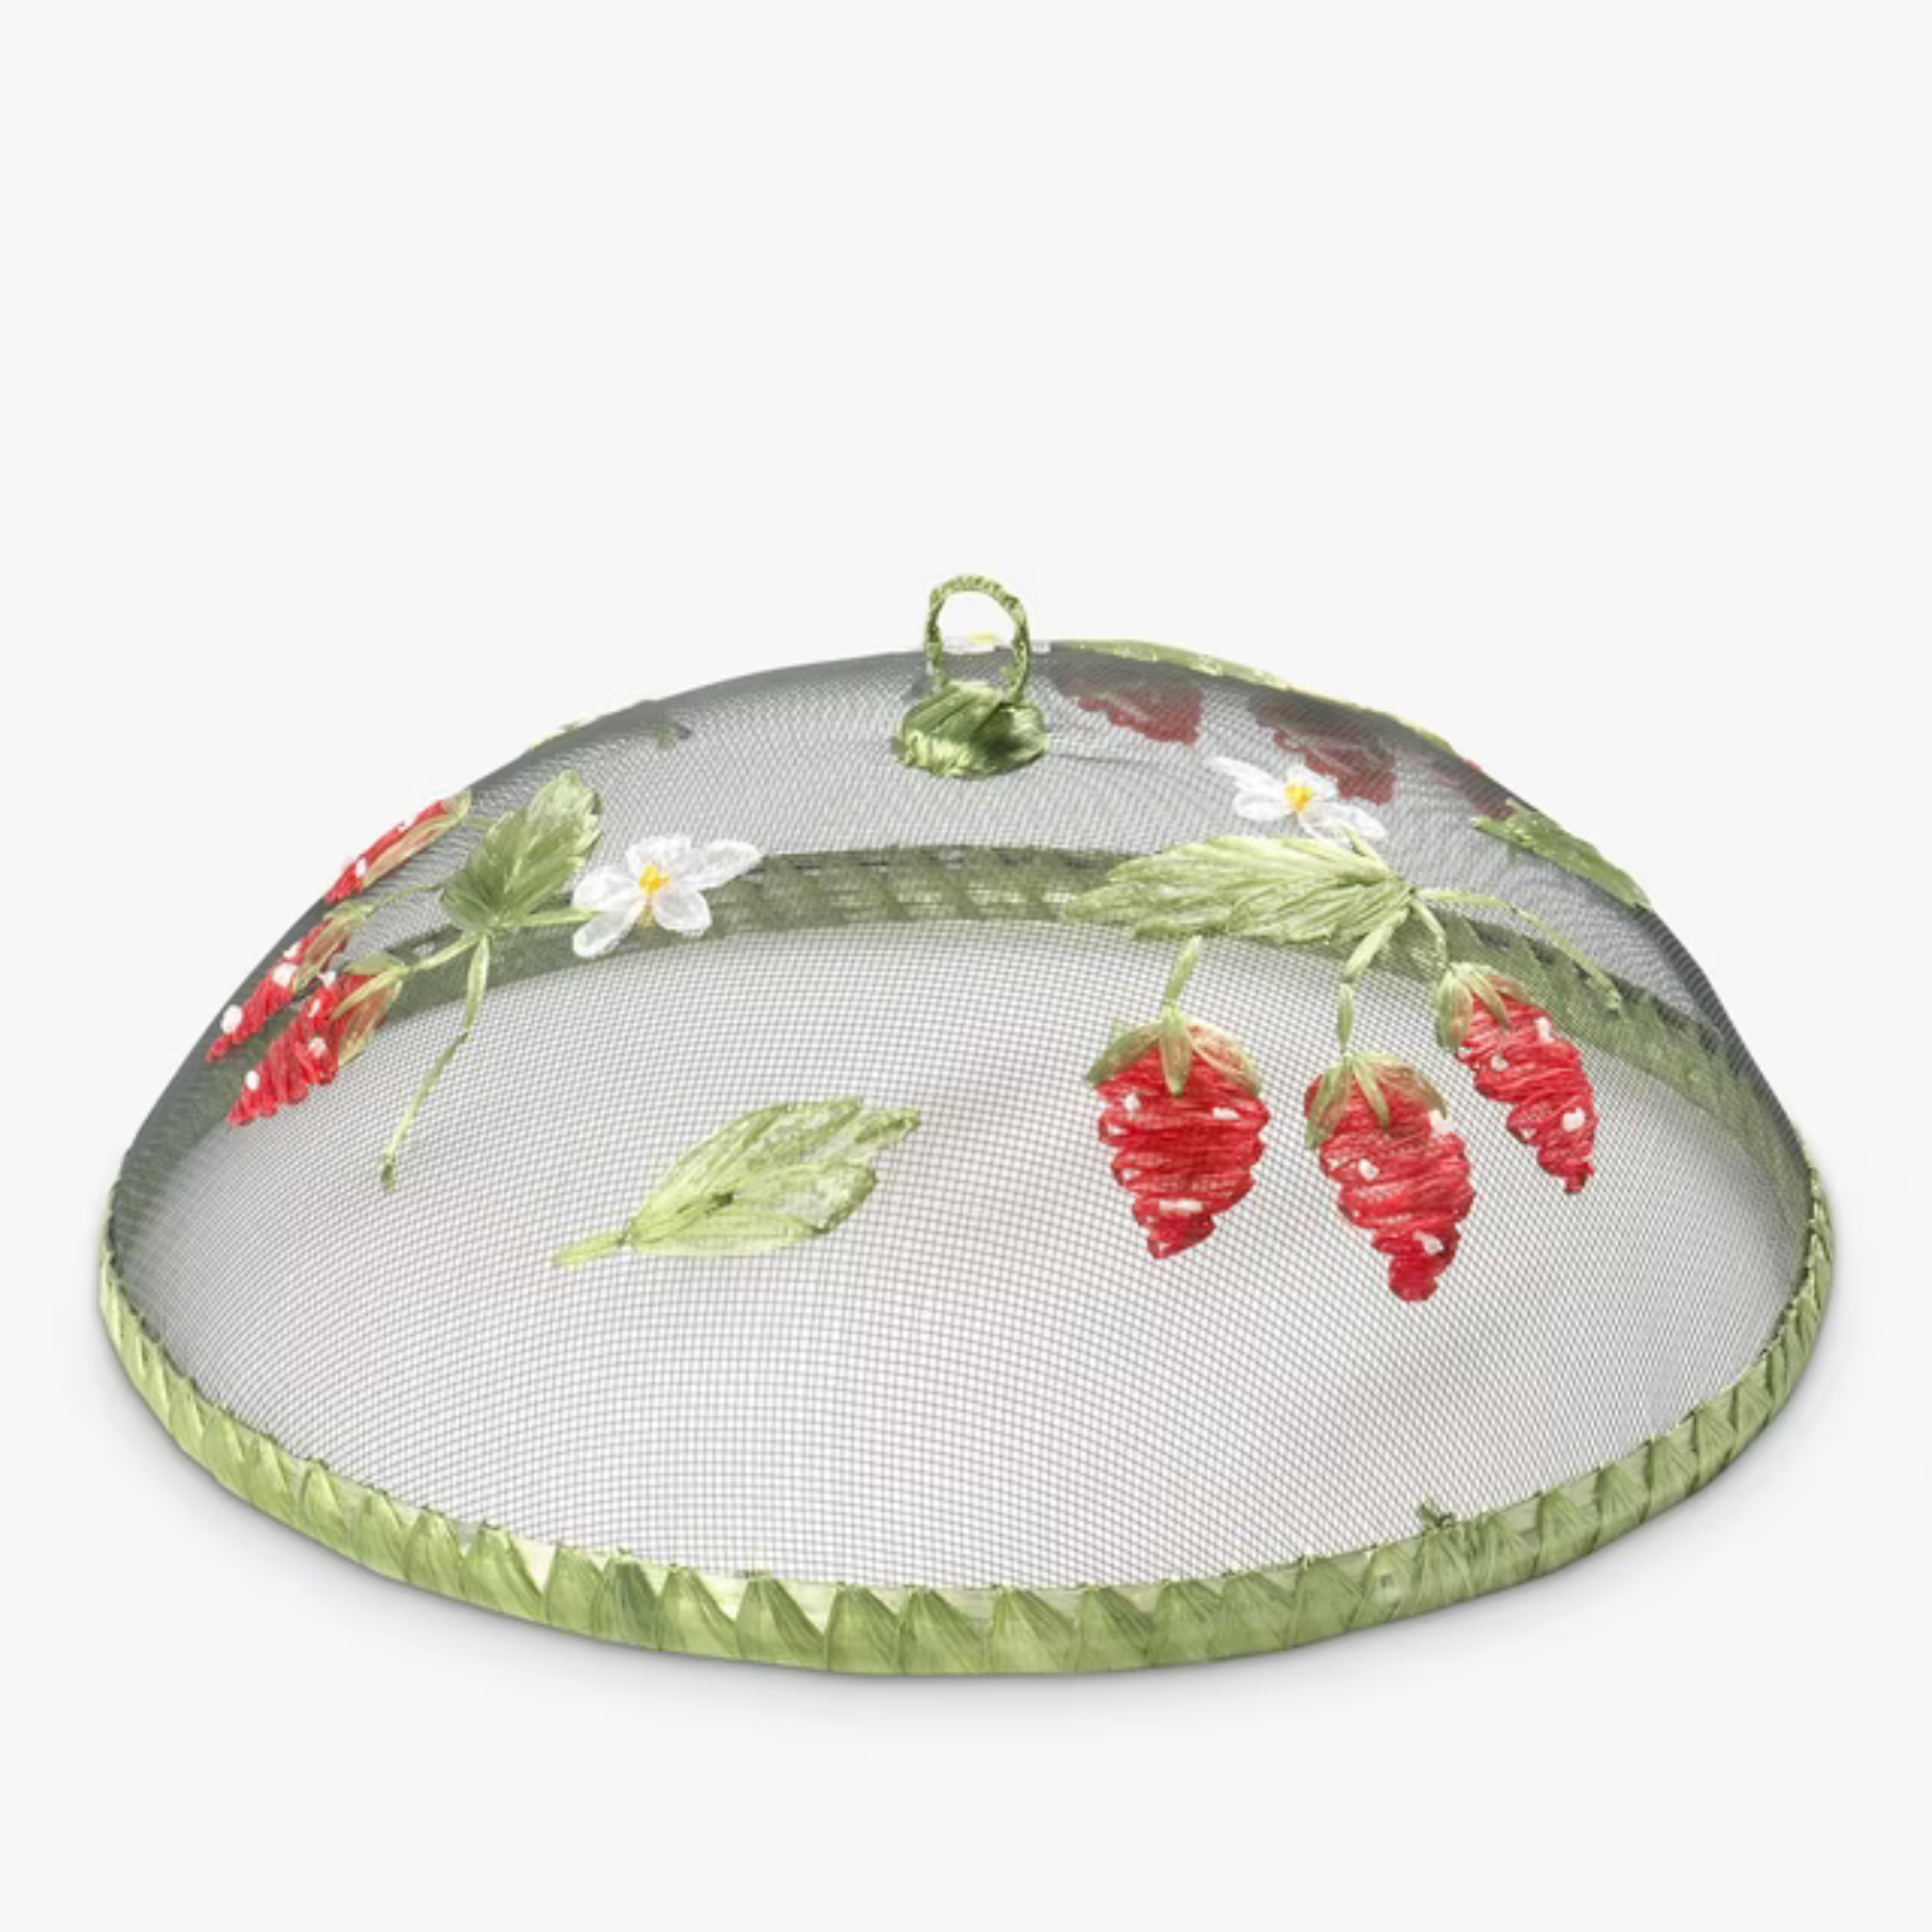
Epicurean
Strawberries Outdoor Food Umbrella/Cover, 35cm
QWXOSR
Fruit Metal Mesh ‘baskets’ with Lid – 2 pack
However, fruit bowls such as these ones can be a great extra layer of protection against flies and wasps. What do you say?
Your bathroom has no windows, your bedroom faces an alley, and that corner by the bookshelf gets about as much light as a cave.
You want plants. Real ones. Not plastic imitations that scream “I gave up.” But every time you try, they turn yellow, drop leaves, or just slowly fade into botanical sadness. The problem is not you. The problem is you have been choosing sun-hungry plants for shade-loving spaces.
Low light does not mean no plants. It means choosing the right ones for your indoor spaces. Some plants evolved under rainforest canopies where indirect sunlight is a rare luxury. They are built for shadows. They thrive in gloom. And they will turn your darkest corners into the greenest parts of your home.
In this article, we’re looking at exactly which plants survive where others die, how to care for them, and what mistakes to avoid so they actually thrive.
What Low Light Actually Means
Most people think low light means “kind of dim.” That vagueness kills plants faster than anything else. Low light has a specific definition, and understanding it determines whether your plant lives or slowly withers into a brown stick you water out of guilt.
Low light means a space that gets indirect light or is several feet away from a window. It is a room with north-facing windows, a bathroom with frosted glass, or a corner that never sees direct sun. If you can comfortably read a book without turning on a lamp during the day, that is low light. If you need a lamp by noon, that is very low light, and your plant options narrow significantly.
Here is what matters most:
Duration matters more than intensity. A plant in consistent dim light all day will outperform one that gets two hours of weak sun and then sits in darkness. Consistency beats bursts.
Distance from windows changes everything. A plant five feet from a window gets exponentially less light than one two feet away. Every foot matters. Move a struggling plant just three feet closer and watch it perk up within a week.
Artificial light counts, but only if it is the right kind. Standard LED bulbs help a little. Full-spectrum grow lights actually work. If your space is truly dark all day, you will need supplemental lighting unless you stick to the toughest plants on this list.
If you are guessing about your light levels, you are setting yourself up for failure. Know your space before you pick your plant.
The Toughest Low Light Champions
Some plants tolerate low light. Others were engineered by nature to dominate in darkness. These are the unkillable and easiest indoor plants, the varieties that laugh at dim rooms and thrive anyway.
Snake Plant (Sansevieria) – The plant that refuses to die no matter how much you neglect it. It tolerates low light, irregular watering, and dry air. The only thing that kills it is overwatering. If you forget it exists for two weeks, it will be fine. If you drown it weekly, it will rot. Water every 2-3 weeks and ignore it otherwise.
Pothos (Epipremnum aureum) – This vining beauty grows in office fluorescent lighting and forgotten corners. It trails beautifully from shelves, tolerates inconsistent watering, and actually signals when it needs water by drooping slightly. The leaves will be smaller and less variegated in very low light, but it will still grow. Water when the top two inches of soil feel dry.
ZZ Plant (Zamioculcas zamiifolia) – Thick, waxy leaves store water like a camel stores fat. This plant can go a month without water and still look glossy and full. It grows slowly in low light, but it grows. The rhizomes underground hold reserves that keep it alive through neglect. Water once a month and let it do its thing.
Cast Iron Plant (Aspidistra elatior) – The name tells you everything. This plant survived Victorian parlors with coal dust and gas lamps. Your dim living room is a luxury resort by comparison. It grows slowly, tolerates temperature swings, and handles dry soil better than wet. Water every 1-2 weeks and enjoy the deep green foliage
Philodendron (Heartleaf variety) – Another vining option that thrives in shade. It grows faster than Pothos in the same conditions and tolerates lower humidity. The heart-shaped leaves stay vibrant even in dim corners. Pinch back the vines to encourage bushier growth. Water when the soil is mostly dry.
These five easy-care favorites are your starting lineup of beautiful plants that thrive in lower light conditions, thanks to their low maintenance requirements. If you can kill one of these low light indoor plants, the problem is likely to be overwatering, not light.
Best Plant Choices for Style and Variety
Once you have mastered the basics, there are more indoor houseplants that can be used to add visual interest to a dark room or a cozy corner without demanding more adequate light. They are all a good choice and bring texture, height, and variety to spaces that would otherwise stay empty.
Dracaena (multiple varieties) – Tall, architectural, and absurdly tolerant of neglect. The leaves grow in spiky clusters atop woody stems, adding height without taking up floor space. Some varieties have striped leaves, others are solid green. All of them handle low light and infrequent watering. Watch for brown tips, which mean either tap water with too much fluoride or inconsistent watering.
Peace Lily (Spathiphyllum) – One of the few low-light plants that actually flowers. The white blooms appear even in dim conditions, though less frequently than in bright indirect light. The plant dramatically wilts when it needs water, then perks up within hours of watering. It is a clear communicator, which makes it beginner-friendly despite being slightly more particular than others on this list.
Chinese Evergreen (Aglaonema) – Variegated leaves in shades of green, silver, pink, and red depending on the variety. This plant grows slowly in low light areas but stays colorful and full. It tolerates inconsistent watering better than most and actually prefers to dry out slightly between waterings. Wipe the leaves monthly to keep them dust-free and vibrant.
Parlor Palm (Chamaedorea elegans) – A true palm that grows in shade. Most palms need bright light, but this one evolved on rainforest floors under dense canopy cover. It brings a tropical feel to dark spaces without the high-maintenance drama of other palms. Keep the soil slightly moist and mist occasionally if your home is very dry.
Each of these adds something different. Mix them to create depth and variety without increasing your care workload.
Watering Rules That Keep Plants In Low-Light Rooms Alive
Overwatering kills more low-light plants than anything else, and the reason is simple: plants in low light photosynthesize slower, which means they use less water. If you water on the same schedule as a plant in bright light, you are drowning it.
Check the soil, not the calendar. Stick your finger two inches into the soil. If it is dry, water. If it is damp, wait. A plant in a dark corner might need water every two weeks. The same plant in a brighter spot might need it weekly. Let the plant tell you.
Water thoroughly, then wait. When you do water, saturate the soil until water runs out the drainage holes. This ensures the entire root ball gets moisture. Then do not water again until the top two inches are dry. Shallow, frequent watering creates weak roots and encourages root rot.
Use pots with drainage holes. Non-negotiable. Sitting water at the bottom of a pot is a death sentence in low light. If you love a decorative pot without drainage, use it as a cover pot. Keep the plant in a plastic nursery pot inside it, and remove it to water.
Adjust for seasons. Plants use even less water in winter when growth slows. If you watered every ten days in summer, you might go three weeks in winter. Pay attention to how quickly the soil dries rather than sticking to a rigid schedule.
Watering is where most people fail. Master this and your happy houseplants will thrive.
Common Mistakes That Kill Low Light Plants
Even the toughest low light houseplants die when you make these errors. The good news is that most of them are fixable once you know what to look for.
Overwatering in the name of care. You think you are helping. You are drowning them. Yellow leaves, mushy stems, and a swampy smell mean too much water. Pull back immediately and let the soil dry out completely before watering again.
Putting them in actually dark rooms. Low light is not no light. A windowless basement or a closet will not work unless you add grow lights. Even the toughest plants need some light to photosynthesize. If you cannot read comfortably during the day without a lamp, add supplemental lighting.
Using soil that stays soggy. Heavy, dense potting mix holds water too long in low light conditions. Use a well-draining mix designed for houseplants, or add perlite to standard potting soil to increase good drainage. The soil should feel light and airy, not thick and clumpy.
Ignoring pest problems until it is too late. Low light does not prevent pests. Spider mites, mealybugs, and fungus gnats all thrive on neglected plants. Inspect your plants monthly. Wipe down leaves. Catch problems early before they spread.
Expecting fast growth. Plants in low light grow slowly. That is normal. If your Pothos puts out two new leaves a month instead of one per week, that is fine. Slow growth is not a problem. No growth combined with yellowing leaves is.
Avoid these mistake and your plants should live for years in low-light conditions with minimal intervention.
How to Know If Your Plant Is Actually Happy
Plants communicate clearly if you know what to look for. These signs tell you whether your low-light setup is working or needs adjustment.
New growth means success. Even if it is slow, new leaves or shoots mean the plant is getting what it needs. The growth might be smaller or less vibrant than in bright light, but consistent healthy growth is the ultimate green flag.
Leggy, stretched stems mean not enough light. If your plant is reaching desperately toward the window with long gaps between leaves, it needs more light. Move it closer to a window or add a grow light. This is one of the few times more light actually helps a low-light plant.
Yellowing lower leaves are usually natural. Older leaves die off as the plant grows. One or two yellow leaves near the base is normal. Multiple yellow leaves appearing rapidly, especially new growth, signals overwatering or a pest issue.
Crispy brown tips mean inconsistent watering or low humidity. If the rest of the plant looks healthy but the tips are brown, you are either letting it dry out too much between waterings or your air is very dry. Increase humidity slightly or water a bit more frequently.
Stable is good enough. A plant that looks the same month after month in little light is doing fine. It does not need to explode with growth to be healthy. Stability without decline is a win.
Your goal is not Instagram-worthy growth. Your goal is a living plant that stays green and does not die. These signs tell you if you are winning with your collection of low light plants.
Troubleshooting When Things Go Wrong
Even the best low-light houseplants struggle sometimes. Here is how to diagnose and fix the most common problems before they become fatal.
Yellowing leaves with soft, mushy stems: Root rot from overwatering. Stop watering immediately. Remove the plant from the pot and inspect the roots. Healthy roots are white or light tan and firm. Rotted roots are brown, black, and mushy. Cut away rotted roots with clean scissors, repot in fresh dry soil, and do not water for at least a week.
Leaves turning pale or losing variegation: Not enough light, even for a low-light plant. Move it closer to a window or add a small grow light. The plant is surviving but not thriving. More light will restore color and vibrancy.
Sudden leaf drop: Shock from a sudden change in temperature, light, or watering. Plants hate surprises. If you just moved it, brought it home from the store, or changed your watering schedule drastically, give it two weeks to adjust. Keep conditions stable and it will likely recover.
White fuzzy spots on leaves or stems:Mealybugs. Wipe them off with a cotton swab dipped in rubbing alcohol. Inspect the whole plant and treat any you find. Check neighboring plants because mealybugs spread quickly.
Tiny flies around the soil: Fungus gnats from overwatering. Let the soil dry out completely between waterings. The gnats lay eggs in wet soil, so breaking the moisture cycle kills the population. You can also top the soil with a layer of sand to prevent them from laying eggs.
Most problems are fixable if you catch them early. Inspect your plants weekly and you will see issues before they kill the plant.
Final Thoughts
Low-light plants are not fragile. They are tough survivors built for conditions that would kill their sun-loving cousins. Give these tolerant indoor plants the basics, avoid the common mistakes, and they will turn your darkest spaces into the greenest parts of your home without drama or daily maintenance.
The difference between a thriving low-light plant and a dying one comes down to understanding what low light actually means, choosing plants that are built for it, and watering based on what the plant needs rather than what the calendar says. Get those three things right and even the darkest corner becomes a place where green things grow.
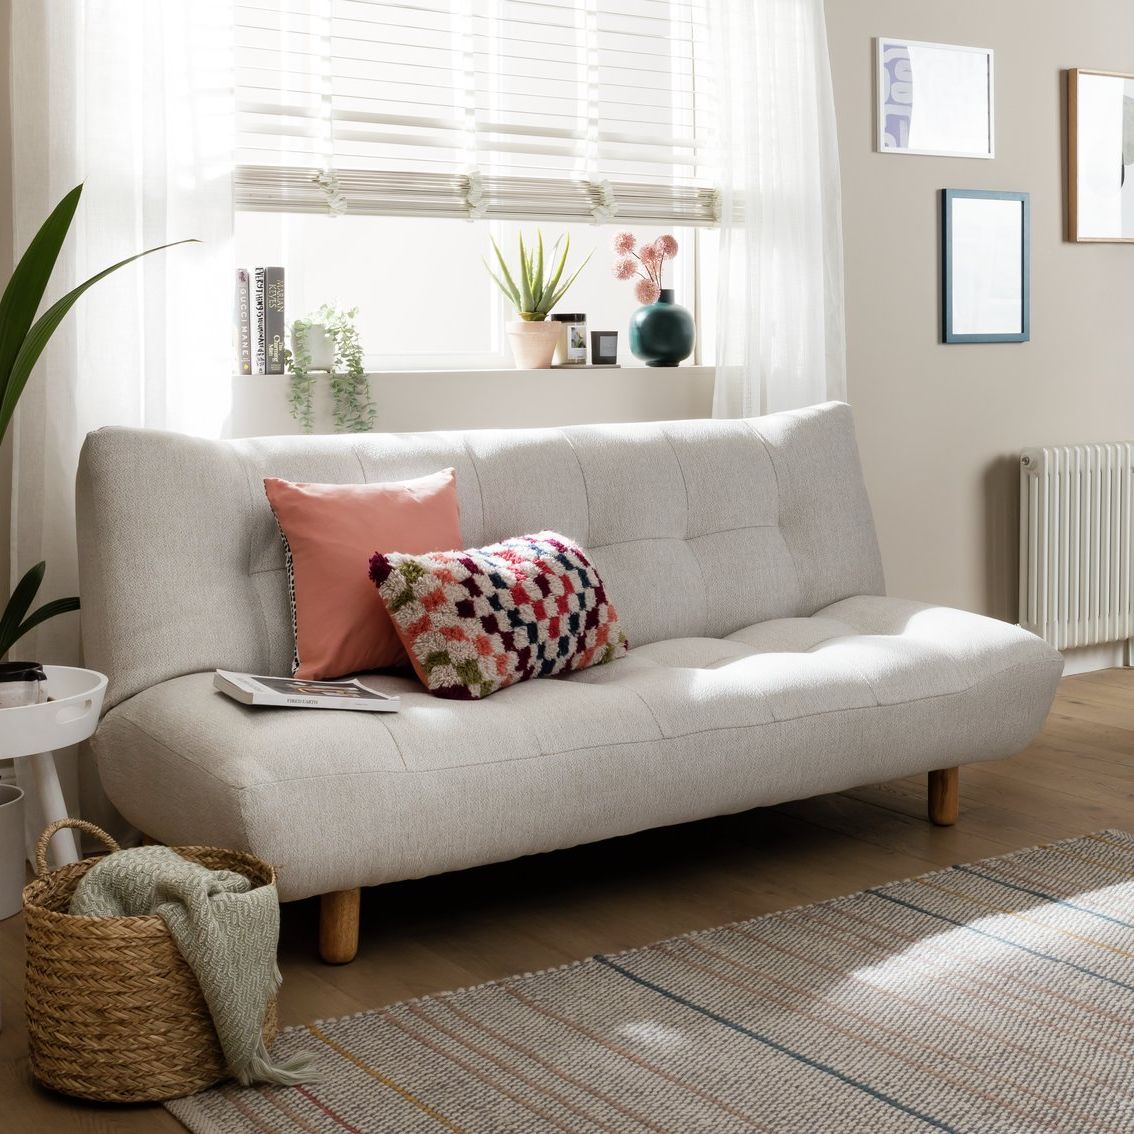
Next’s Palma sofa bed has been one of the brand’s bestselling overnight hosting solutions for a while now, and it’s easy to see why.
Stylish, multifunctional, and reasonably priced, it’s little wonder this fold-out bed gives many of the best sofa beds on the market a run for their money.
However, Next just upped the ante even further by adding *hidden storage* to this popular buy. To my mind, that makes this space-saving sofa bed even more of a game-changer for a small home.
Latest Videos From
Next
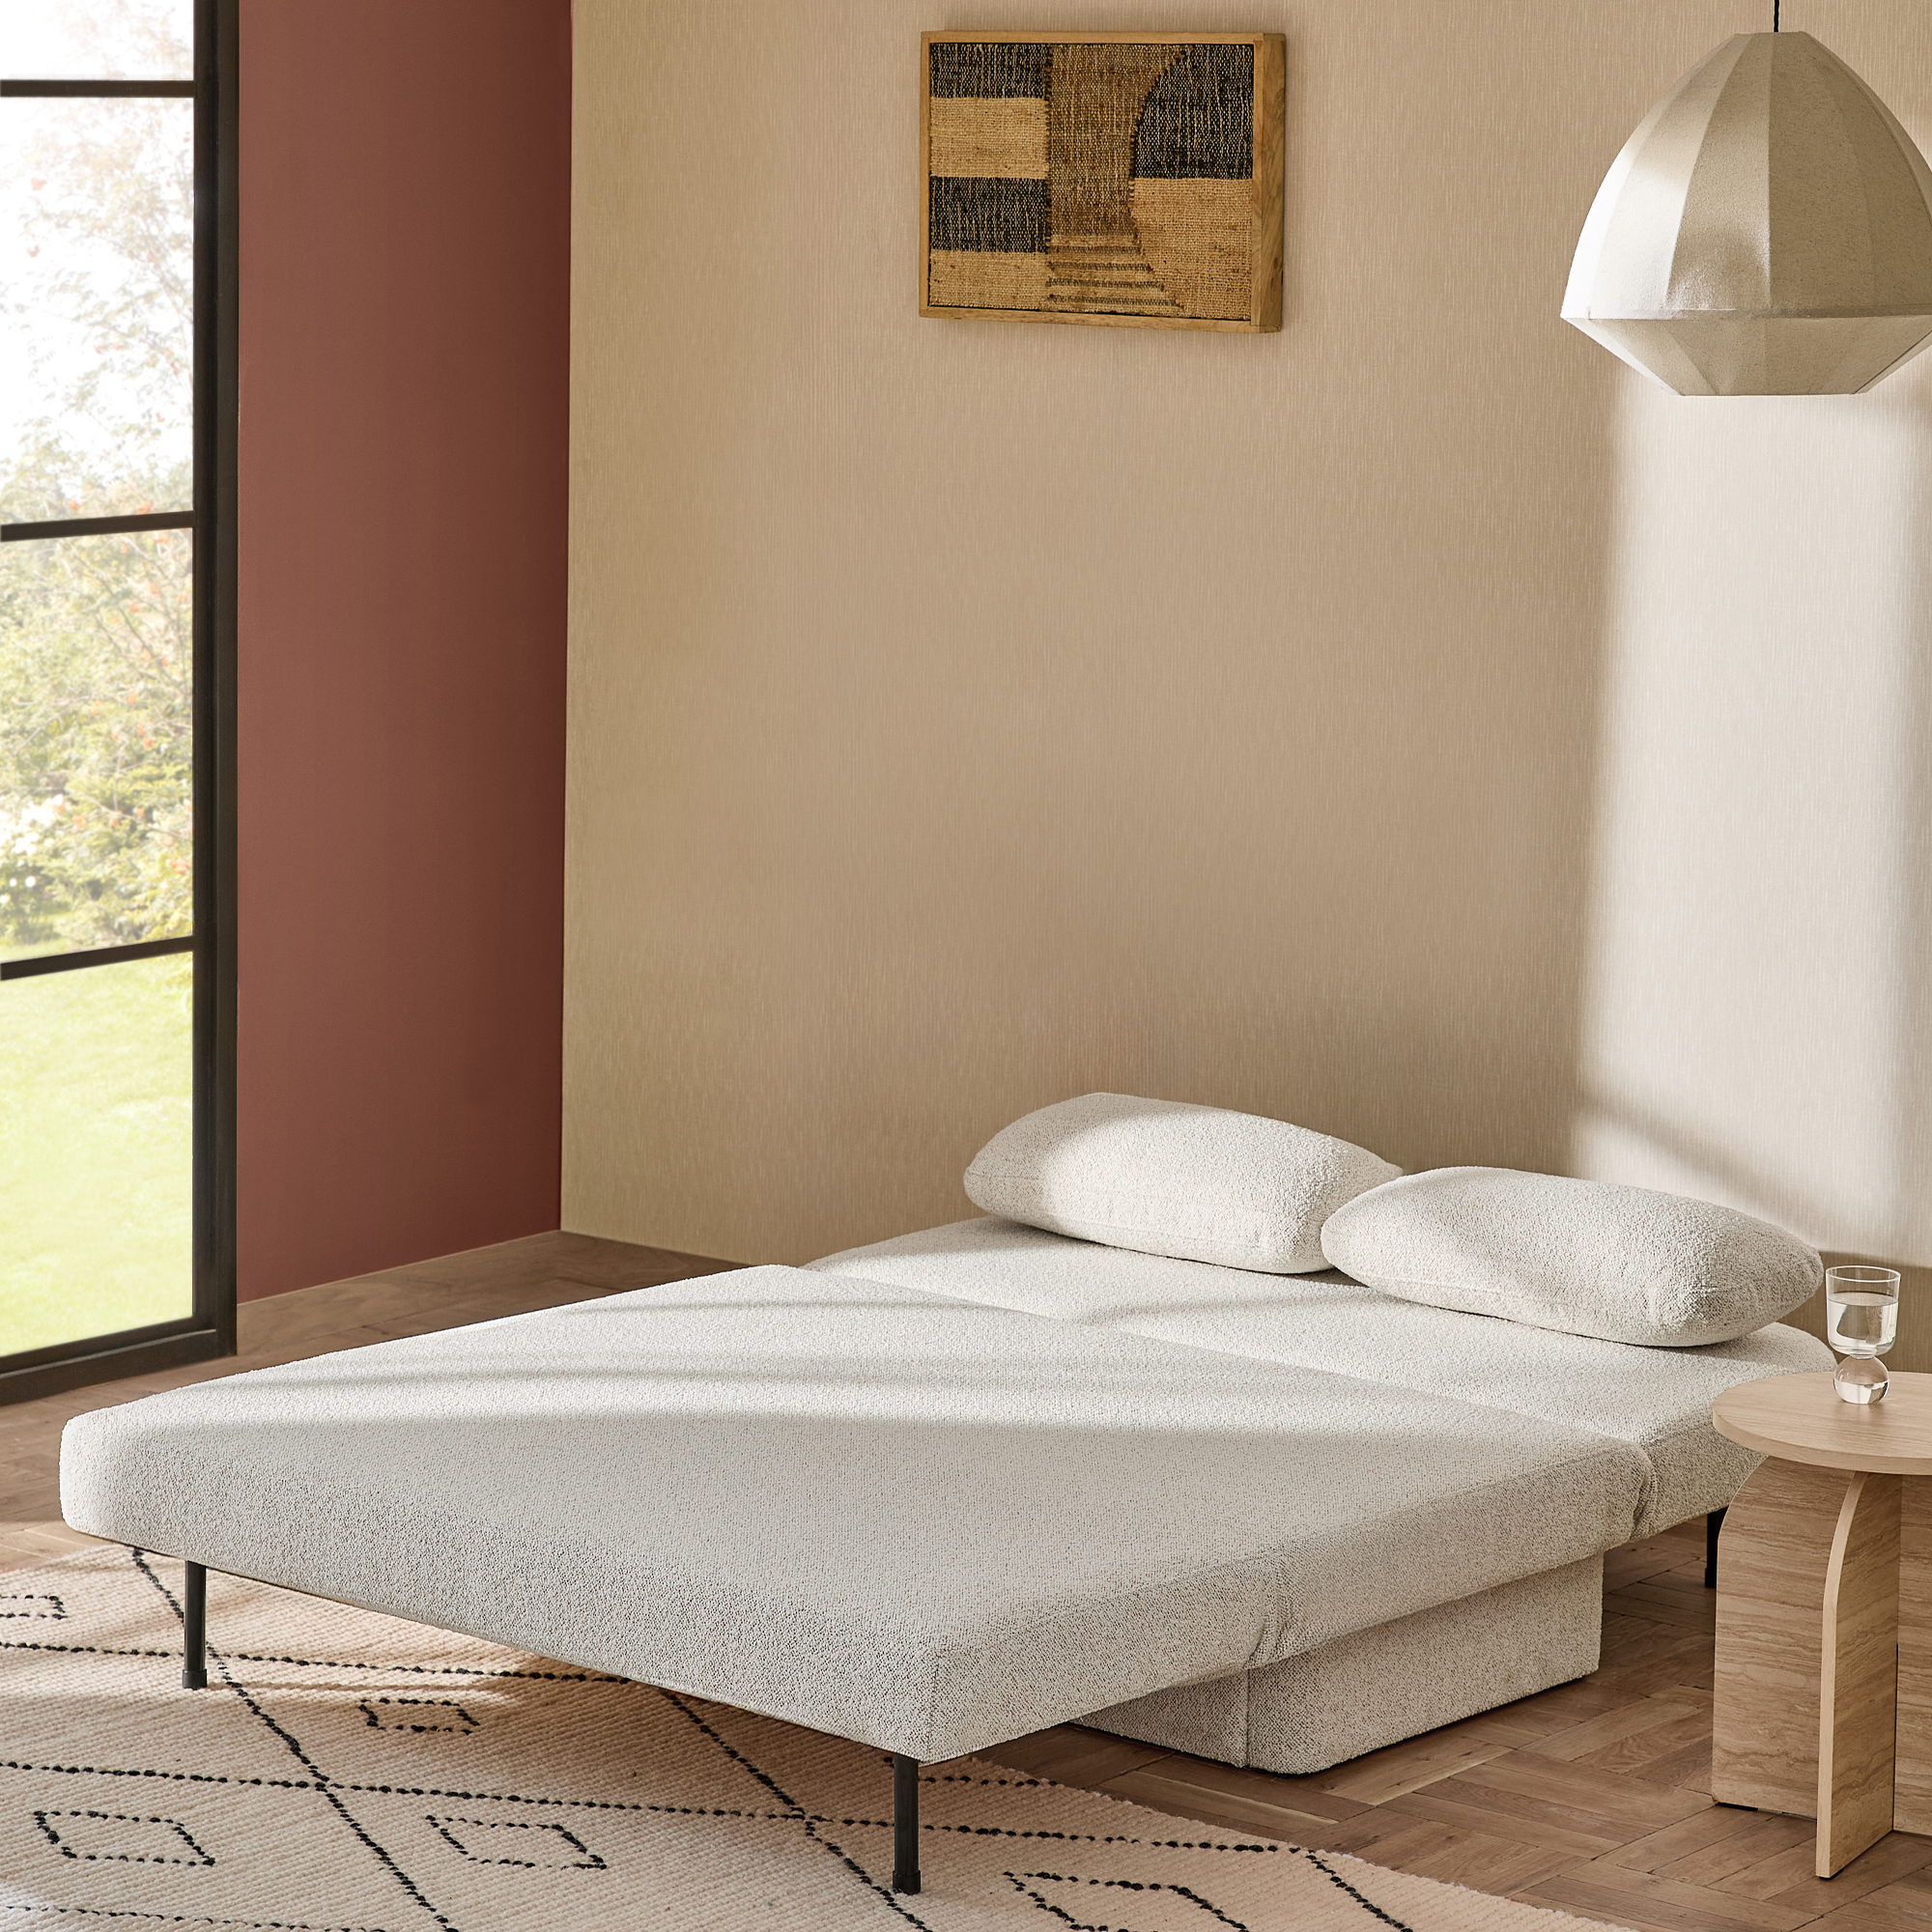
Palma Double Storage Sofa Bed
The Palma sofa bed is already a great option if you want to host overnight guests but don’t have much floor space.
It’s a fold-out design, which means it concertinas up into a two-seater sofa in seat form, but, once extended, creates a double-bed-sized sleeping area. And the two-seater model’s compact footprint means it works well in a small living room or home office.
(Image credit: Next)
However, when I bought my first sofa bed, the one thing I hadn’t factored in was how much space the extra guest bedding would take up in my home.
Most sofa beds require a good mattress topper to make them more comfortable, and these can be bulky to store. Plus, there’s the extra guest duvet, pillows, and bed linen that need to be stashed somewhere.
Sign up to our newsletter for style inspiration, real homes, project and garden advice and shopping know-how
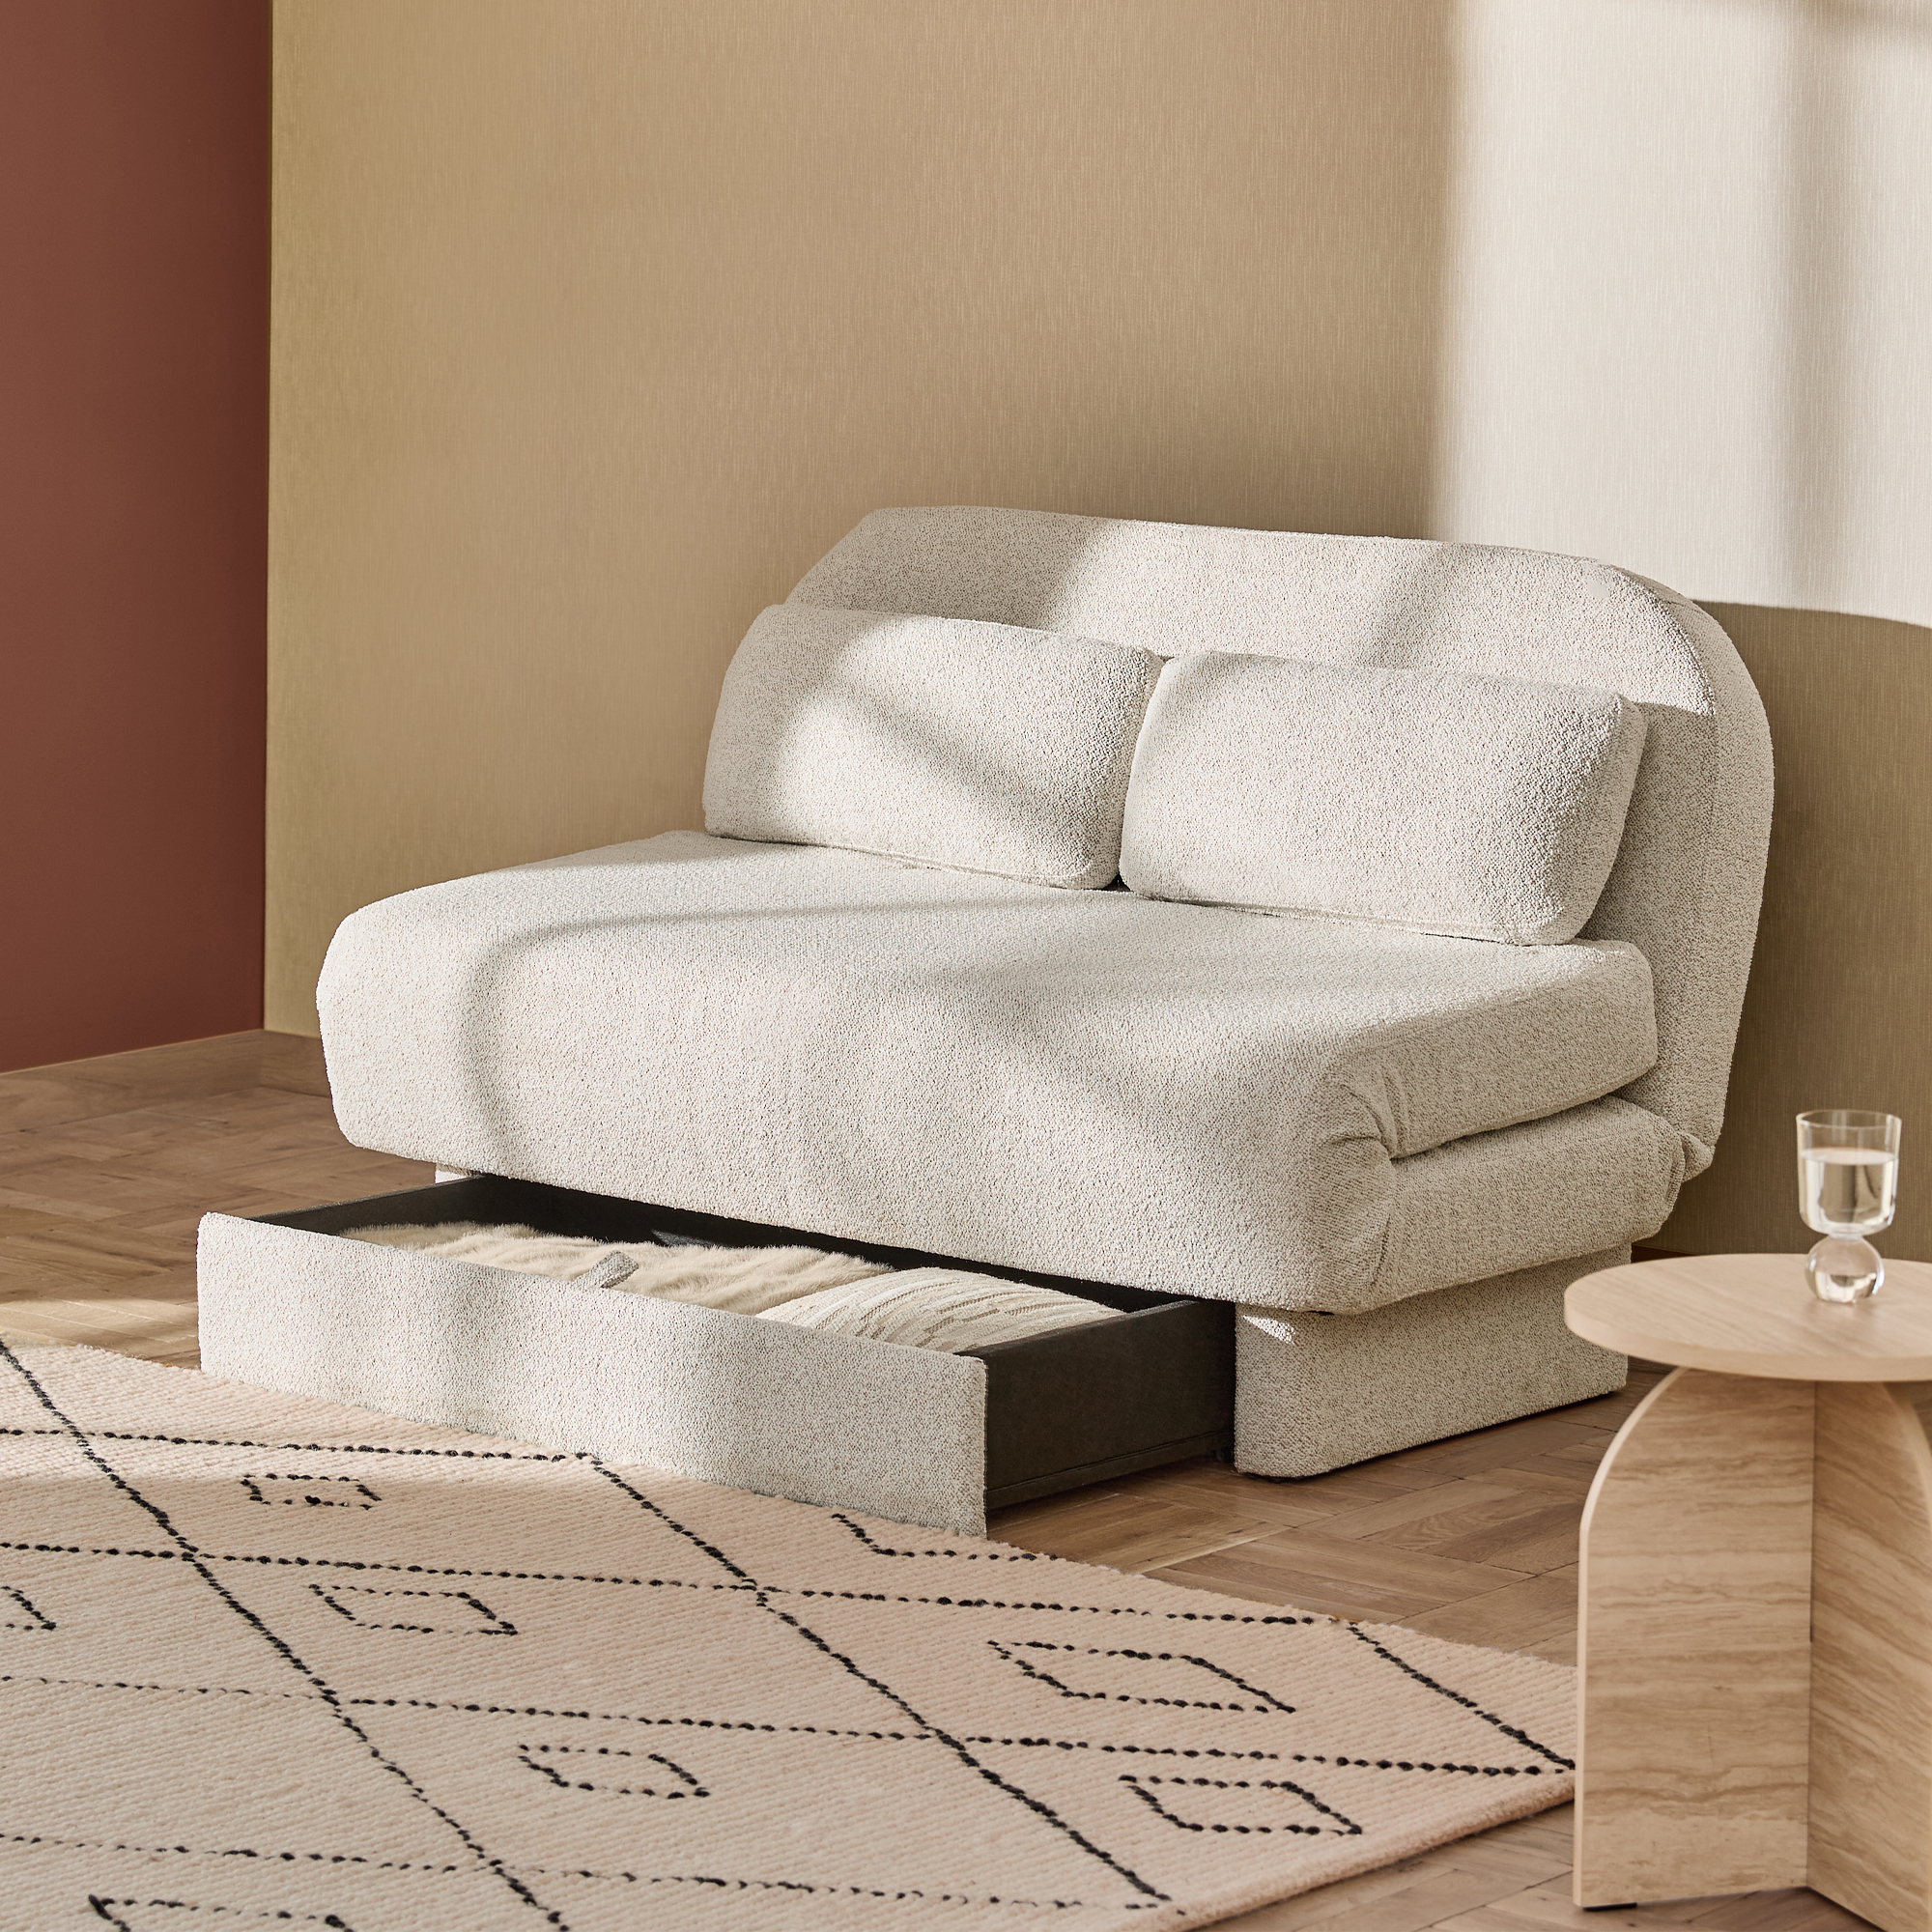
That’s why the new Palma storage sofa bed is such a dream for a small home. Unlike the original Next Palma Sofa Bed, which has stylish wooden legs beneath the seat, this new version features a hidden storage drawer at its base.
This drawer provides the ideal storage space for all your guests’ bedding – both whilst they’re staying with you, and once they’ve gone home.
(Image credit: Next)
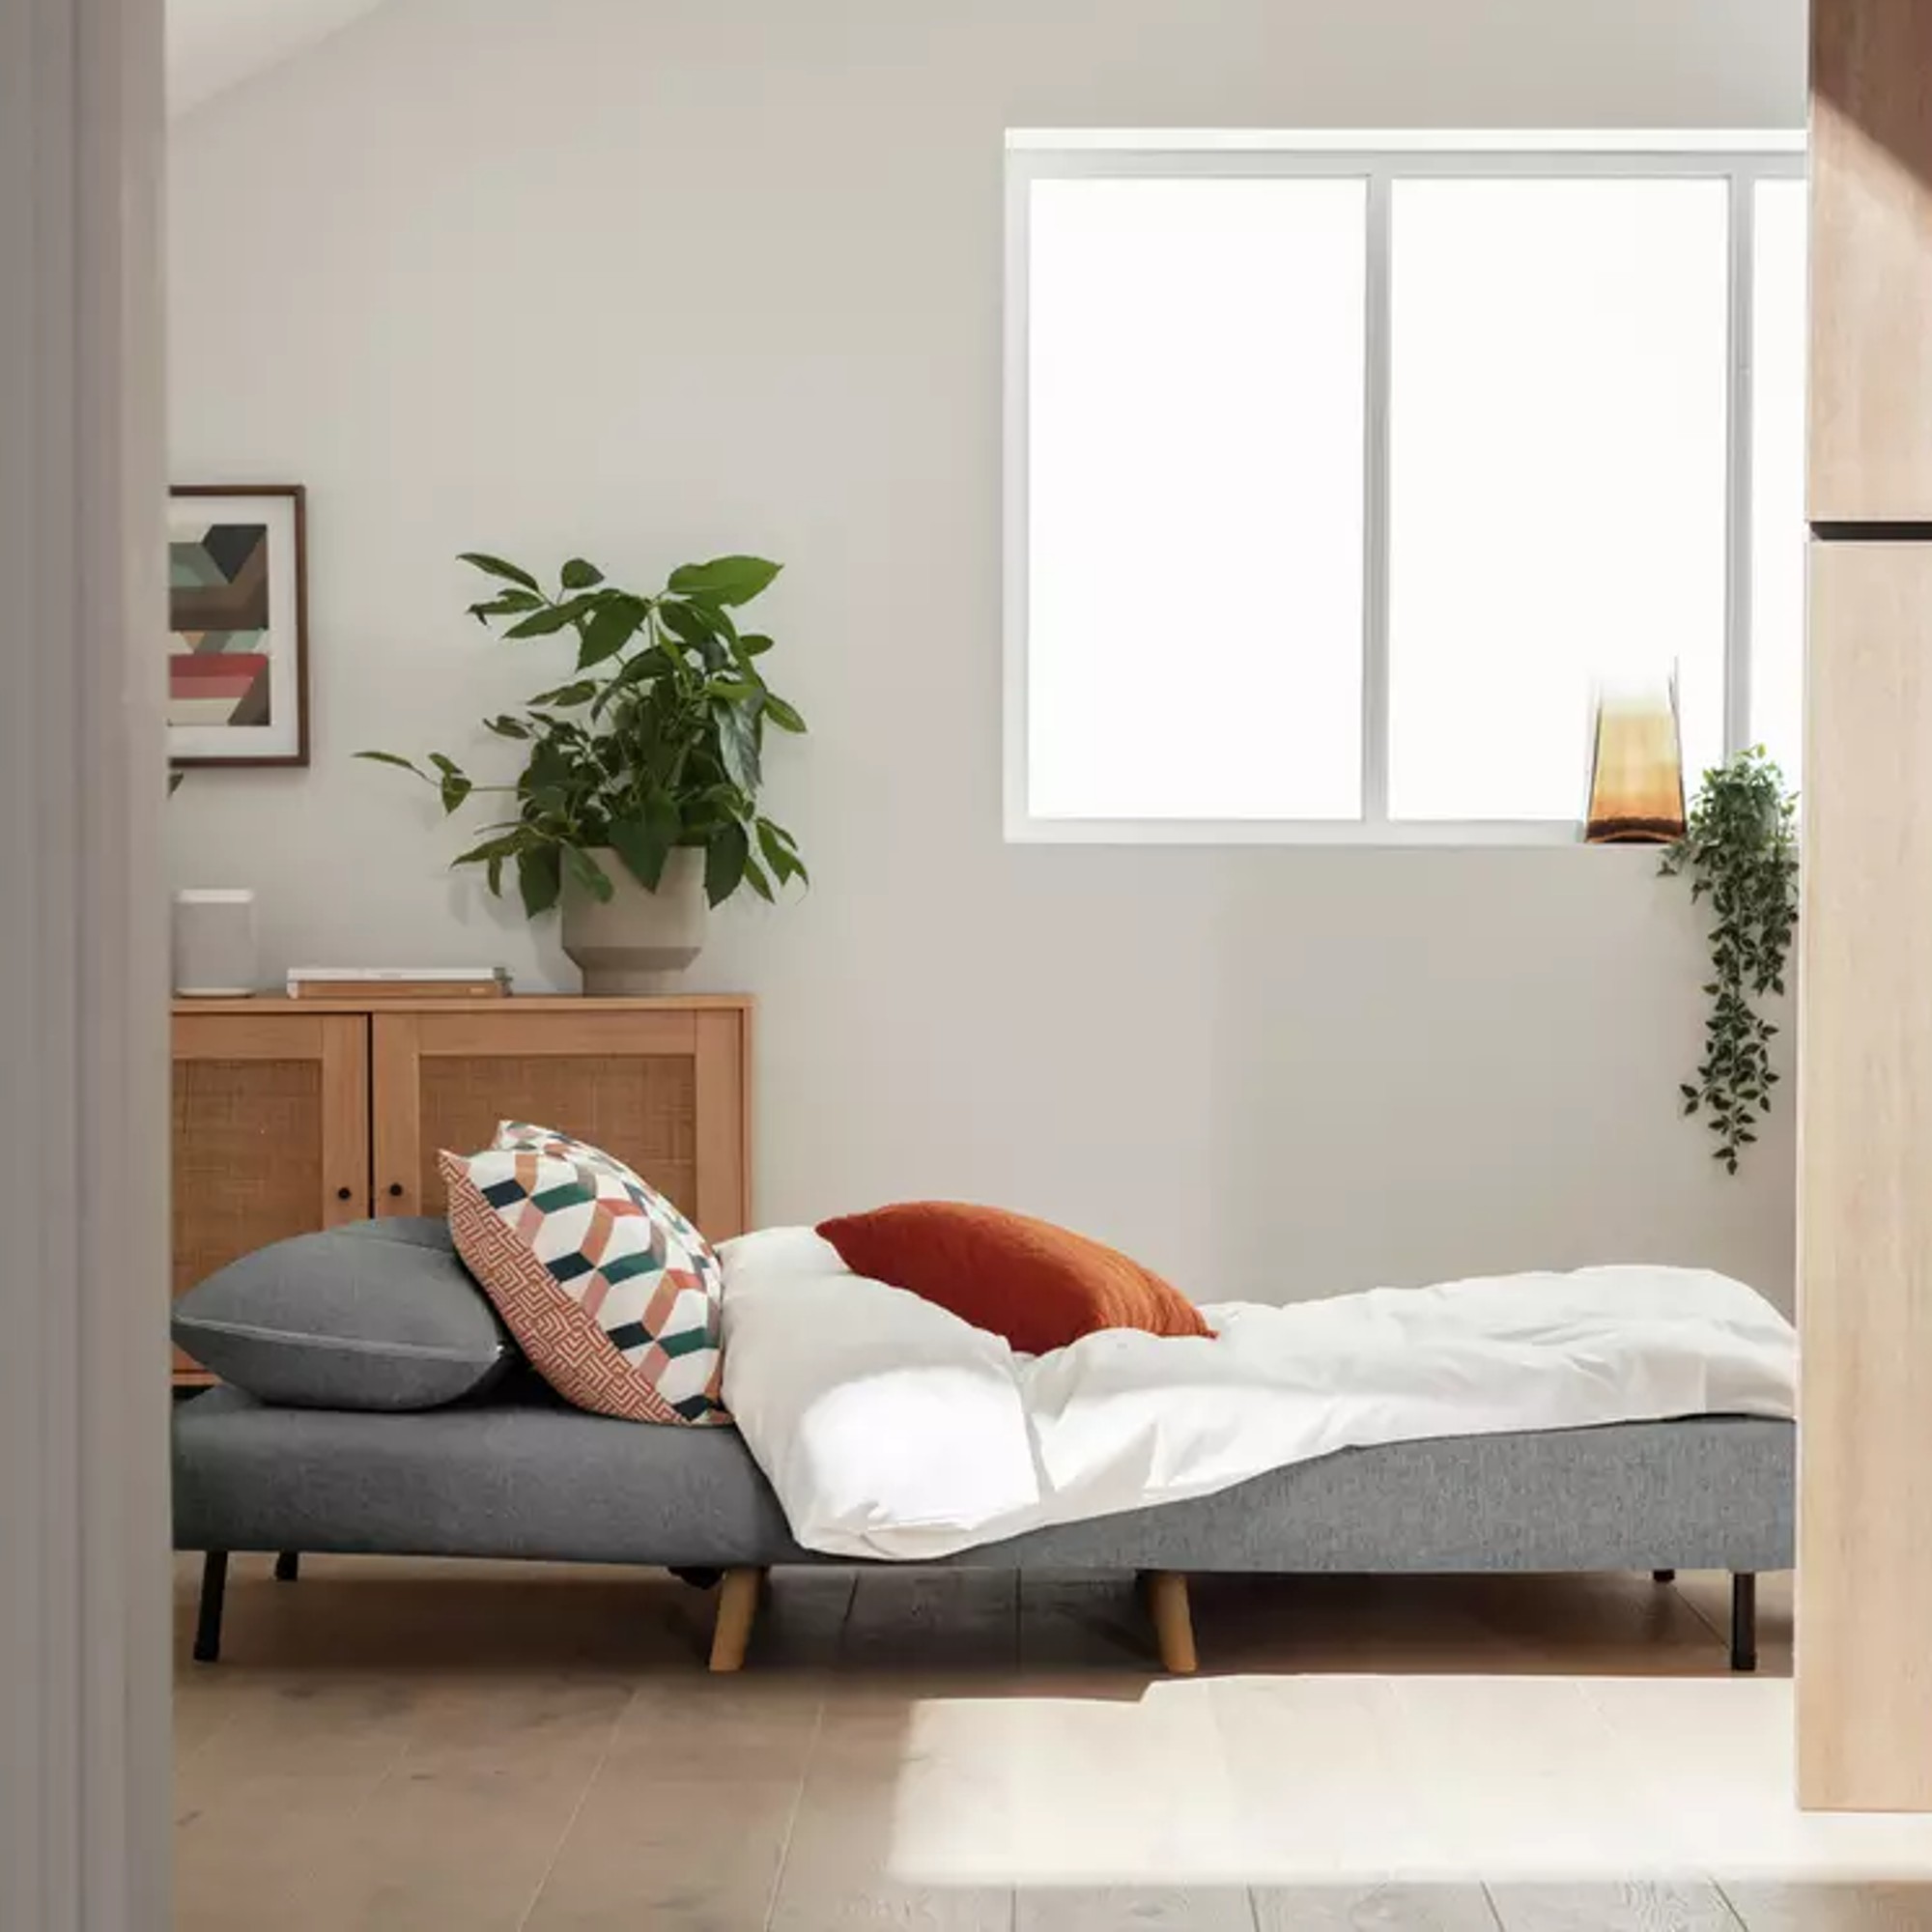
As of writing, this new launch comes in two colourways. A boucle fabric in a light ‘natural’ shade, and a deep ‘forest green’ colourway in a jumbo chenille cord.
Both make a stylish addition to any home and look set to follow in the popularity of the original Palma sofa bed, which gets rave reviews from Next shoppers.
‘We moved into a two-bedroom flat, but the second bedroom is quite tiny,’ shares one reviewer of the standard Palma sofa bed on the Next website. ‘We didn’t want a full bed to take up the entire space all the time, so got this Next sofa bed to roll out when we have guests. It looks really premium and lush!’
(Image credit: Next)
‘Excellent quality product,’ says a second reviewer. ‘Looks lovely. Like all sofa beds… firm to sit on and firm to lie on, but it is still comfortable. Very impressed with how easy it was to construct (only needed to add the legs) and the speed of delivery. Well done Next!’
And that £599 price point is definitely another big tick in the new Palma storage sofa bed’s favour.
Whilst it’s still an investment, as someone who’s spent the past five years testing the best sofa beds and best chair beds on the market, I can assure you it’s actually a very reasonable price compared to similar options. I’ve included a few alternatives below so you can compare.
Shop alternatives
Habitat
Roma Small Double Fabric Chairbed
Habitat’s Roma Chair Bed is one of the most affordable hosting solutions on the market. However, although it’s described as a small double, in reality the sleeping space is only 10cm wider than a single bed, so although its perfect for one guest, you’ll struggle to sleep two at a time like you can on the Next Palma two-seater storage sofa bed.
Habitat
Kota 3 Seater Boucle Clic Clac Sofa Bed
If you want a little more sleeping space, then Habitat’s three-seater Kota sofa bed is another very affordable alternative. However, it’s very generously proportioned in sofa form and takes up a lot of space in a small home. There’s also no hidden storage, so bedding will need to be stashed elsewhere.
Innovation Living
Cubed 140 Sofa Bed
A bestseller at John Lewis, the Innovation Living Cubed 140 Sofa Bed, is another great buy for a small home. It has a compact footprint and comes flat-packed, which can make getting it upstairs to a home office much easier. It also has hidden storage in its base, but the downside is it costs a *lot* more than Next’s Palma sofa bed.
Don’t get me wrong; I love my dog. But one thing I could definitely do without? The pet hair that seems to get everywhere. In fact, I’m convinced that my carpets, rugs and upholstery are now 70% pet hair, which is why I was incredibly eager to see if Joseph Joseph’s new CleanTech 3pc Pet Hair Cleaning Tool Set (£28 at Amazon) would help me out.
I already own one of the best vacuum cleaners for pet hair and celebrate all of its pet-hair-busting qualities, but anyone with pets will know getting rid of pet hair isn’t as simple as it seems. Fluff bunnies seem to congregate in every corner, soft furnishings attract hair like magnets, and it’s impossible to vacuum every single strand, as these hairs are often invisible to the naked eye.
So, when I learned that Joseph Joseph had expanded its ridiculously successful CleanTech range to include pet hair cleaning tools, I knew I had nothing to lose. I immediately snapped up a set and put it to work in Barney’s playground (AKA my home), and, spoiler alert, it’s a game-changer.
Latest Videos From
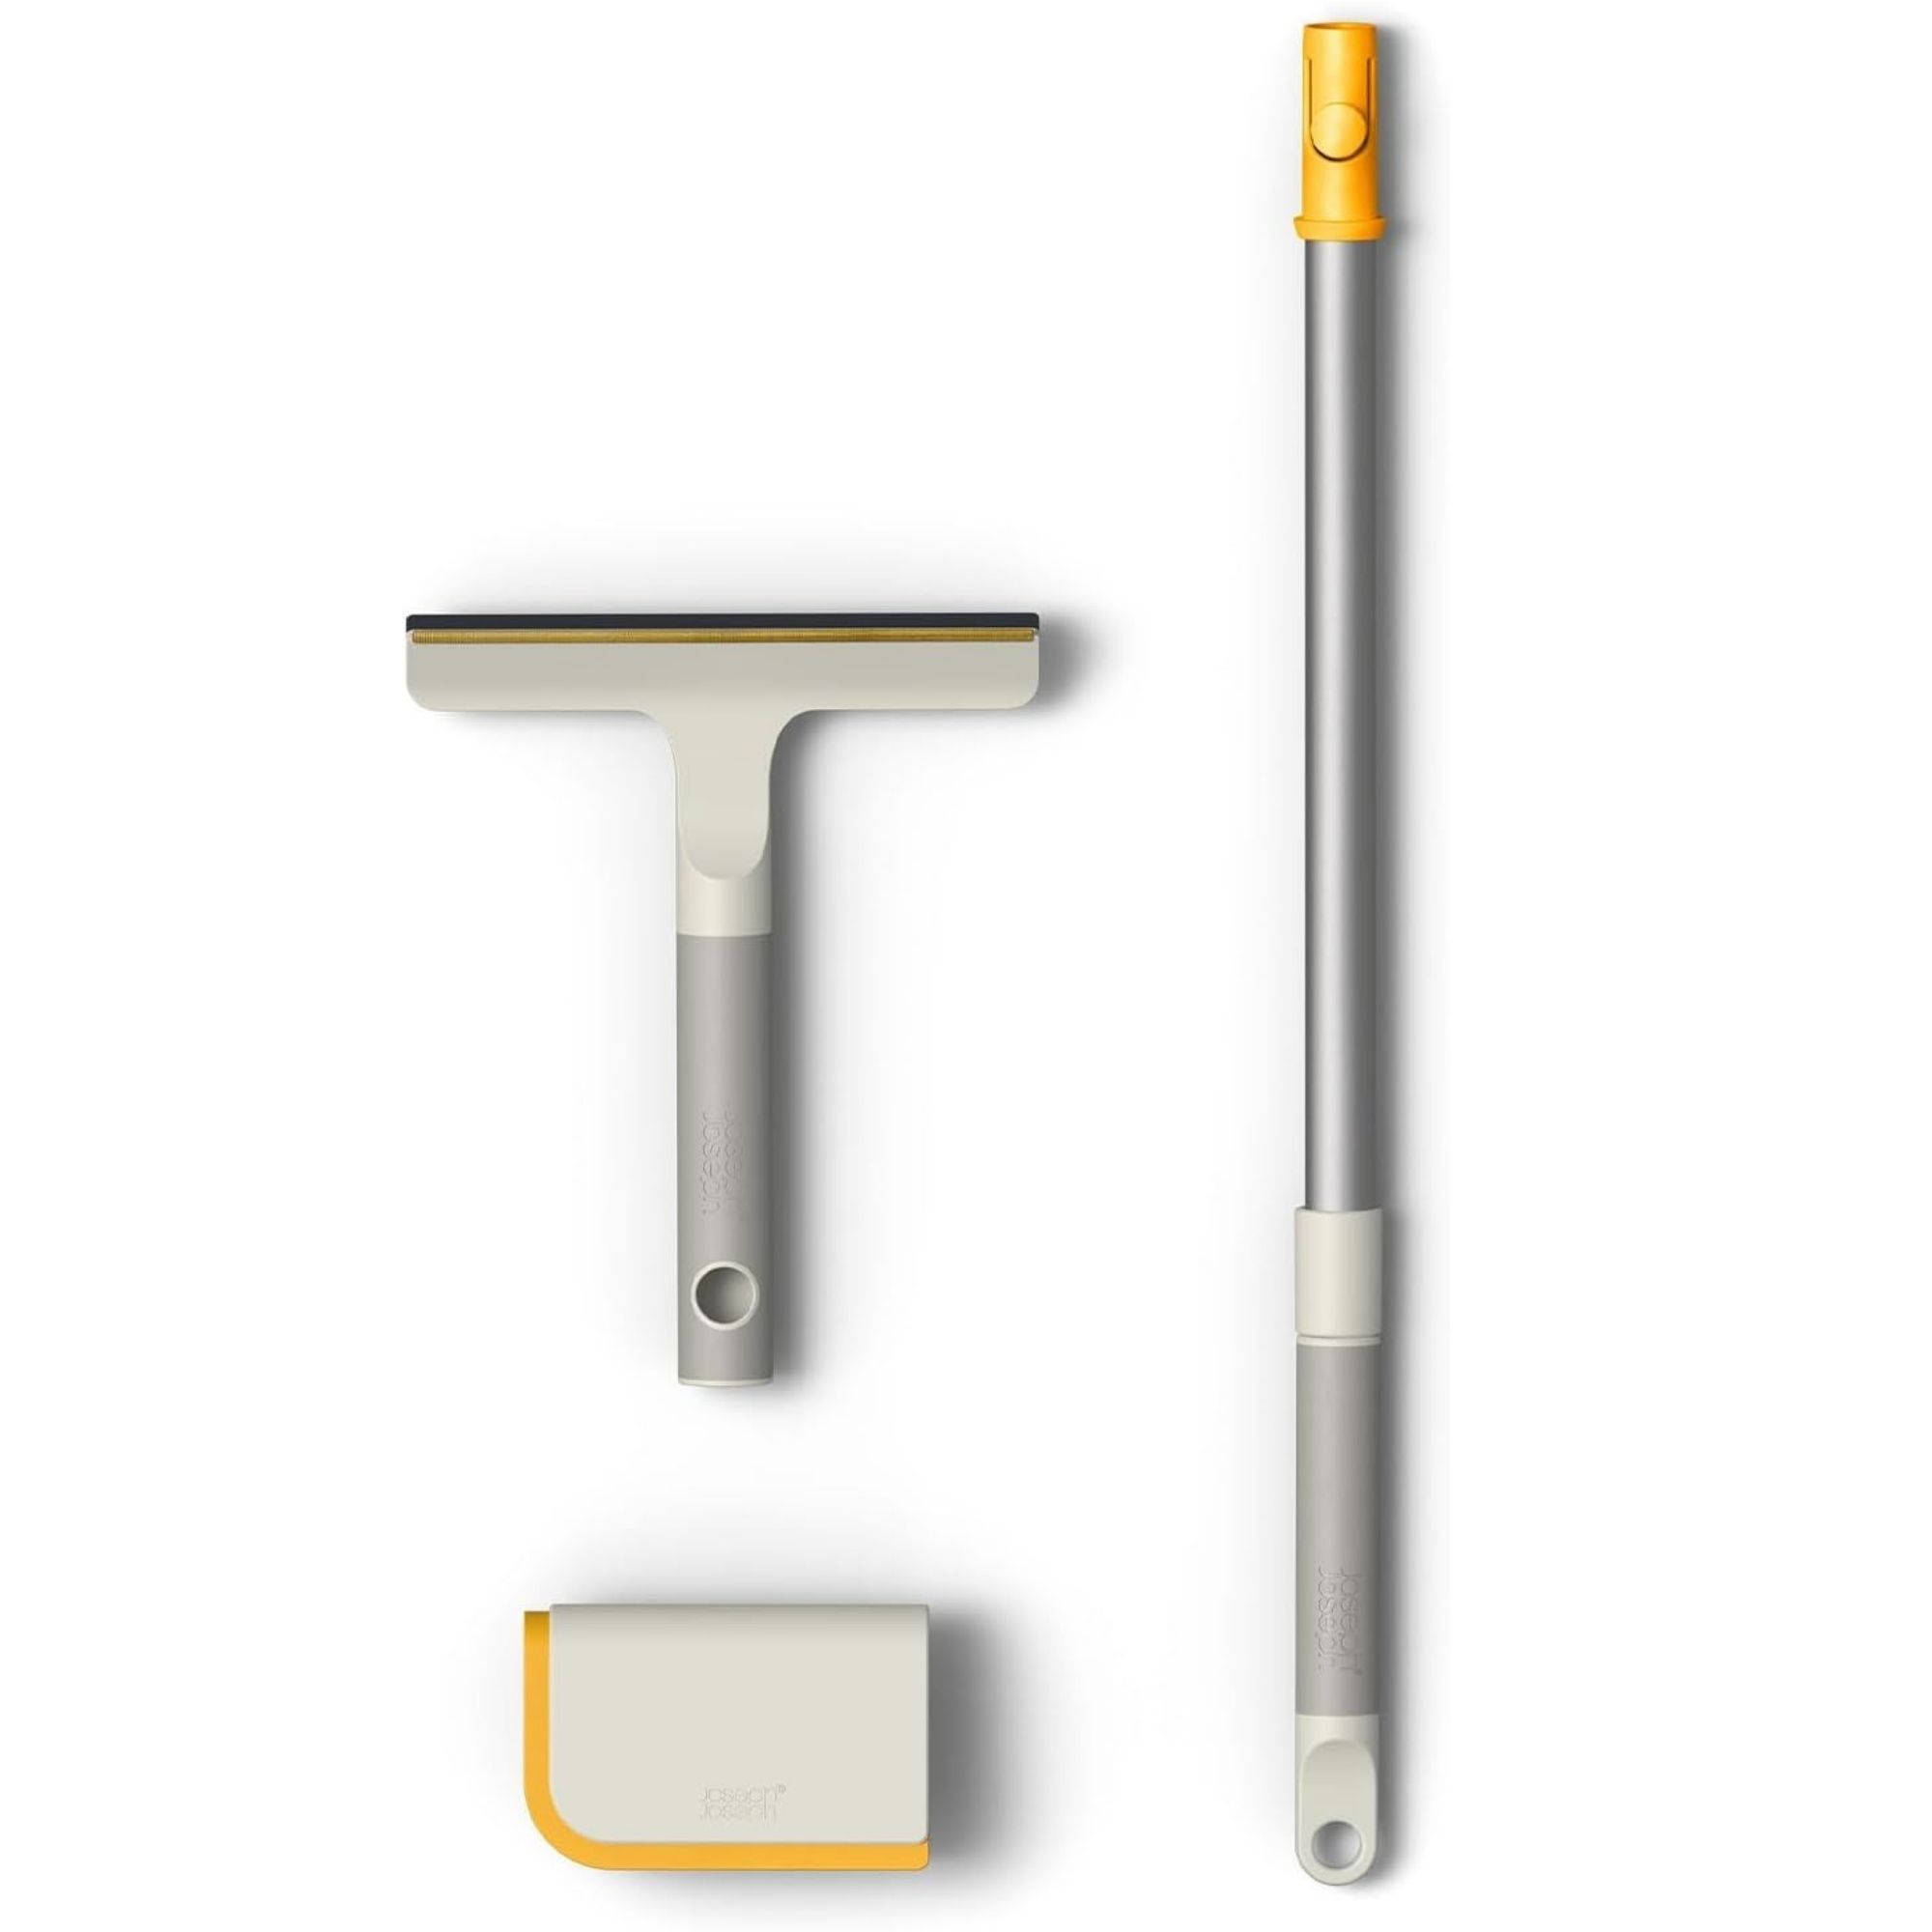
Joseph Joseph CleanTech 3pc Pet Hair Cleaning Tool Set
The 3-piece Joseph Joseph set is ideal for pet owners – or even long-haired humans!
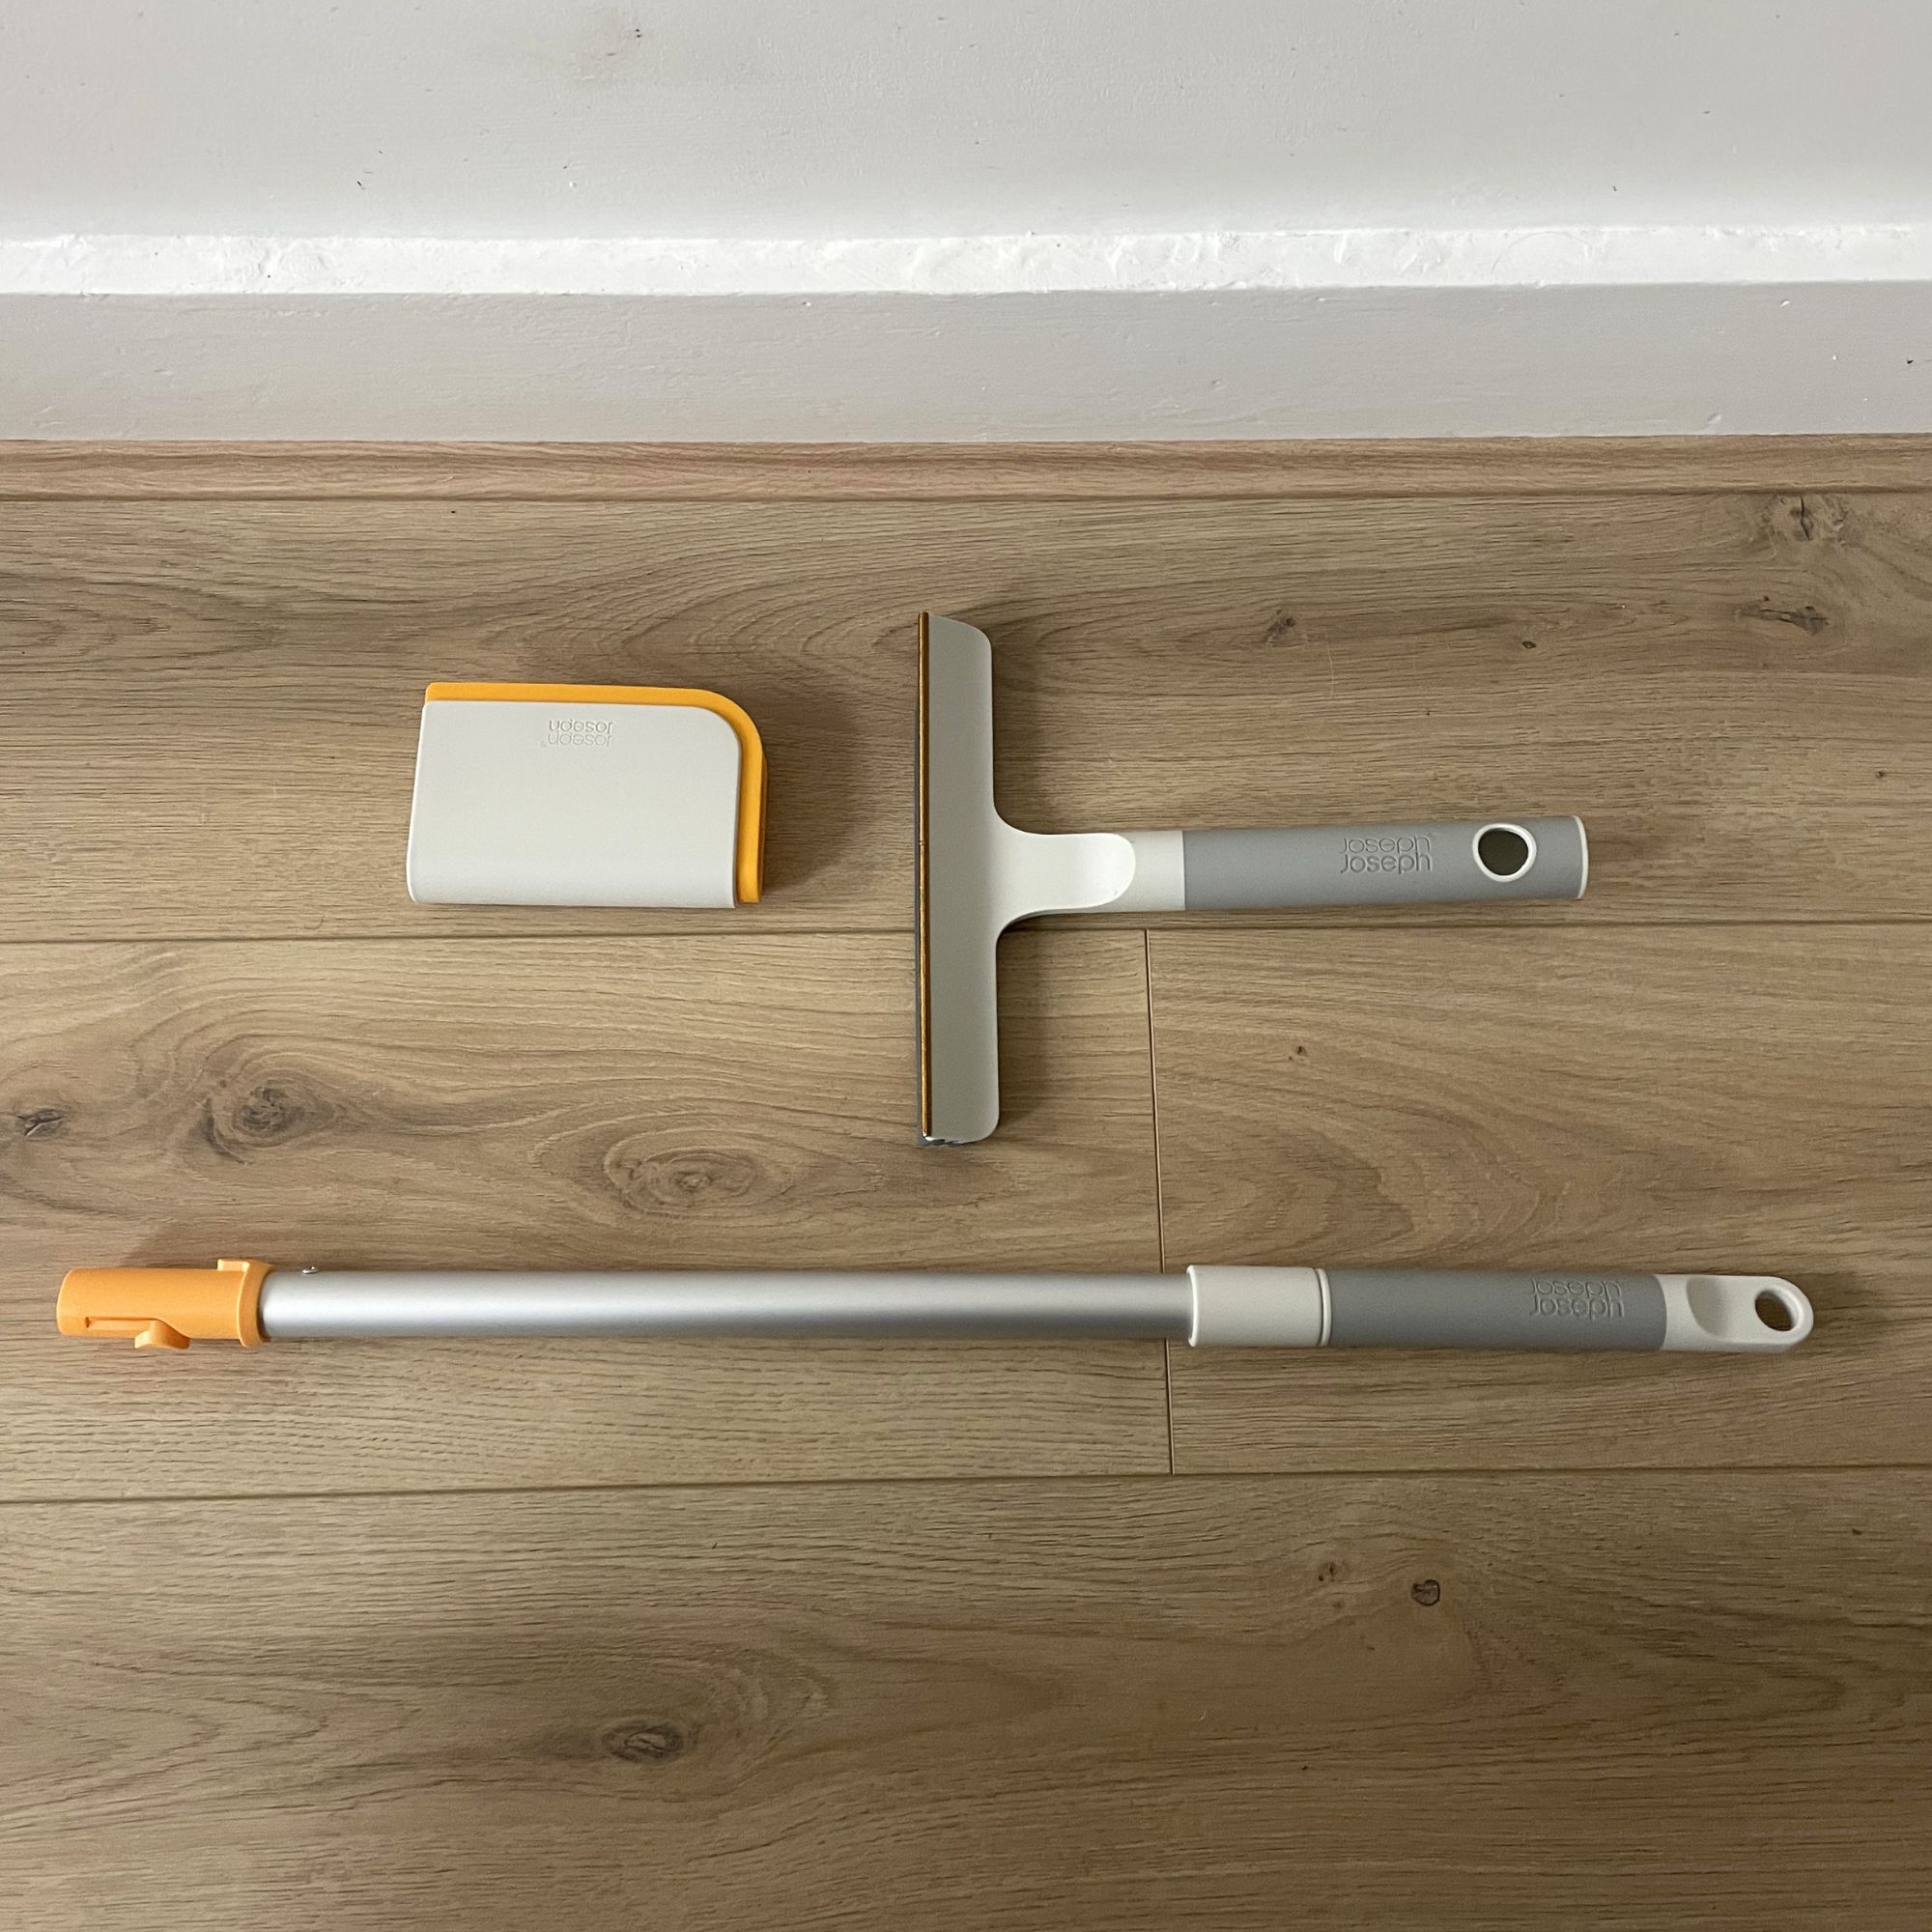
The Joseph Joseph CleanTech 3pc Pet Hair Cleaning Tool Set consists of three components: the carpet-cleaning tool, designed to remove pet hair from carpets; the upholstery tool for softer furnishings; and the extension pole.
I decided to use the upholstery tool first, as Barney likes to sleep everywhere but his actual dog bed – like my fabric sofa footstool and the sofa bed in my home office. And while the grey footstool didn’t look like it was covered with hair, a few swipes of the plastic upholstery tool proved that it was hiding a very hairy secret.
This was all thanks to the rubber edge, which gently picks up hair without damaging fabrics. And due to the claw-like design of the upholstery tool, you don’t even have to touch the hair as you pick it up and deposit it in the bin. Yes, it really is that clever.
And the results were equally as horrifying on my velvet sofa bed, which was covered in tiny, thin dog hairs that quickly bundled together into one giant hairball. It even allowed me to scrape and remove a lot of pet dander and dust from the sofa, which I then vacuumed up using the handheld part of my vacuum cleaner (the Shark PowerDetect Speed, in case you were wondering).
Sign up to our newsletter for style inspiration, real homes, project and garden advice and shopping know-how
(Image credit: Future PLC/Lauren Bradbury)
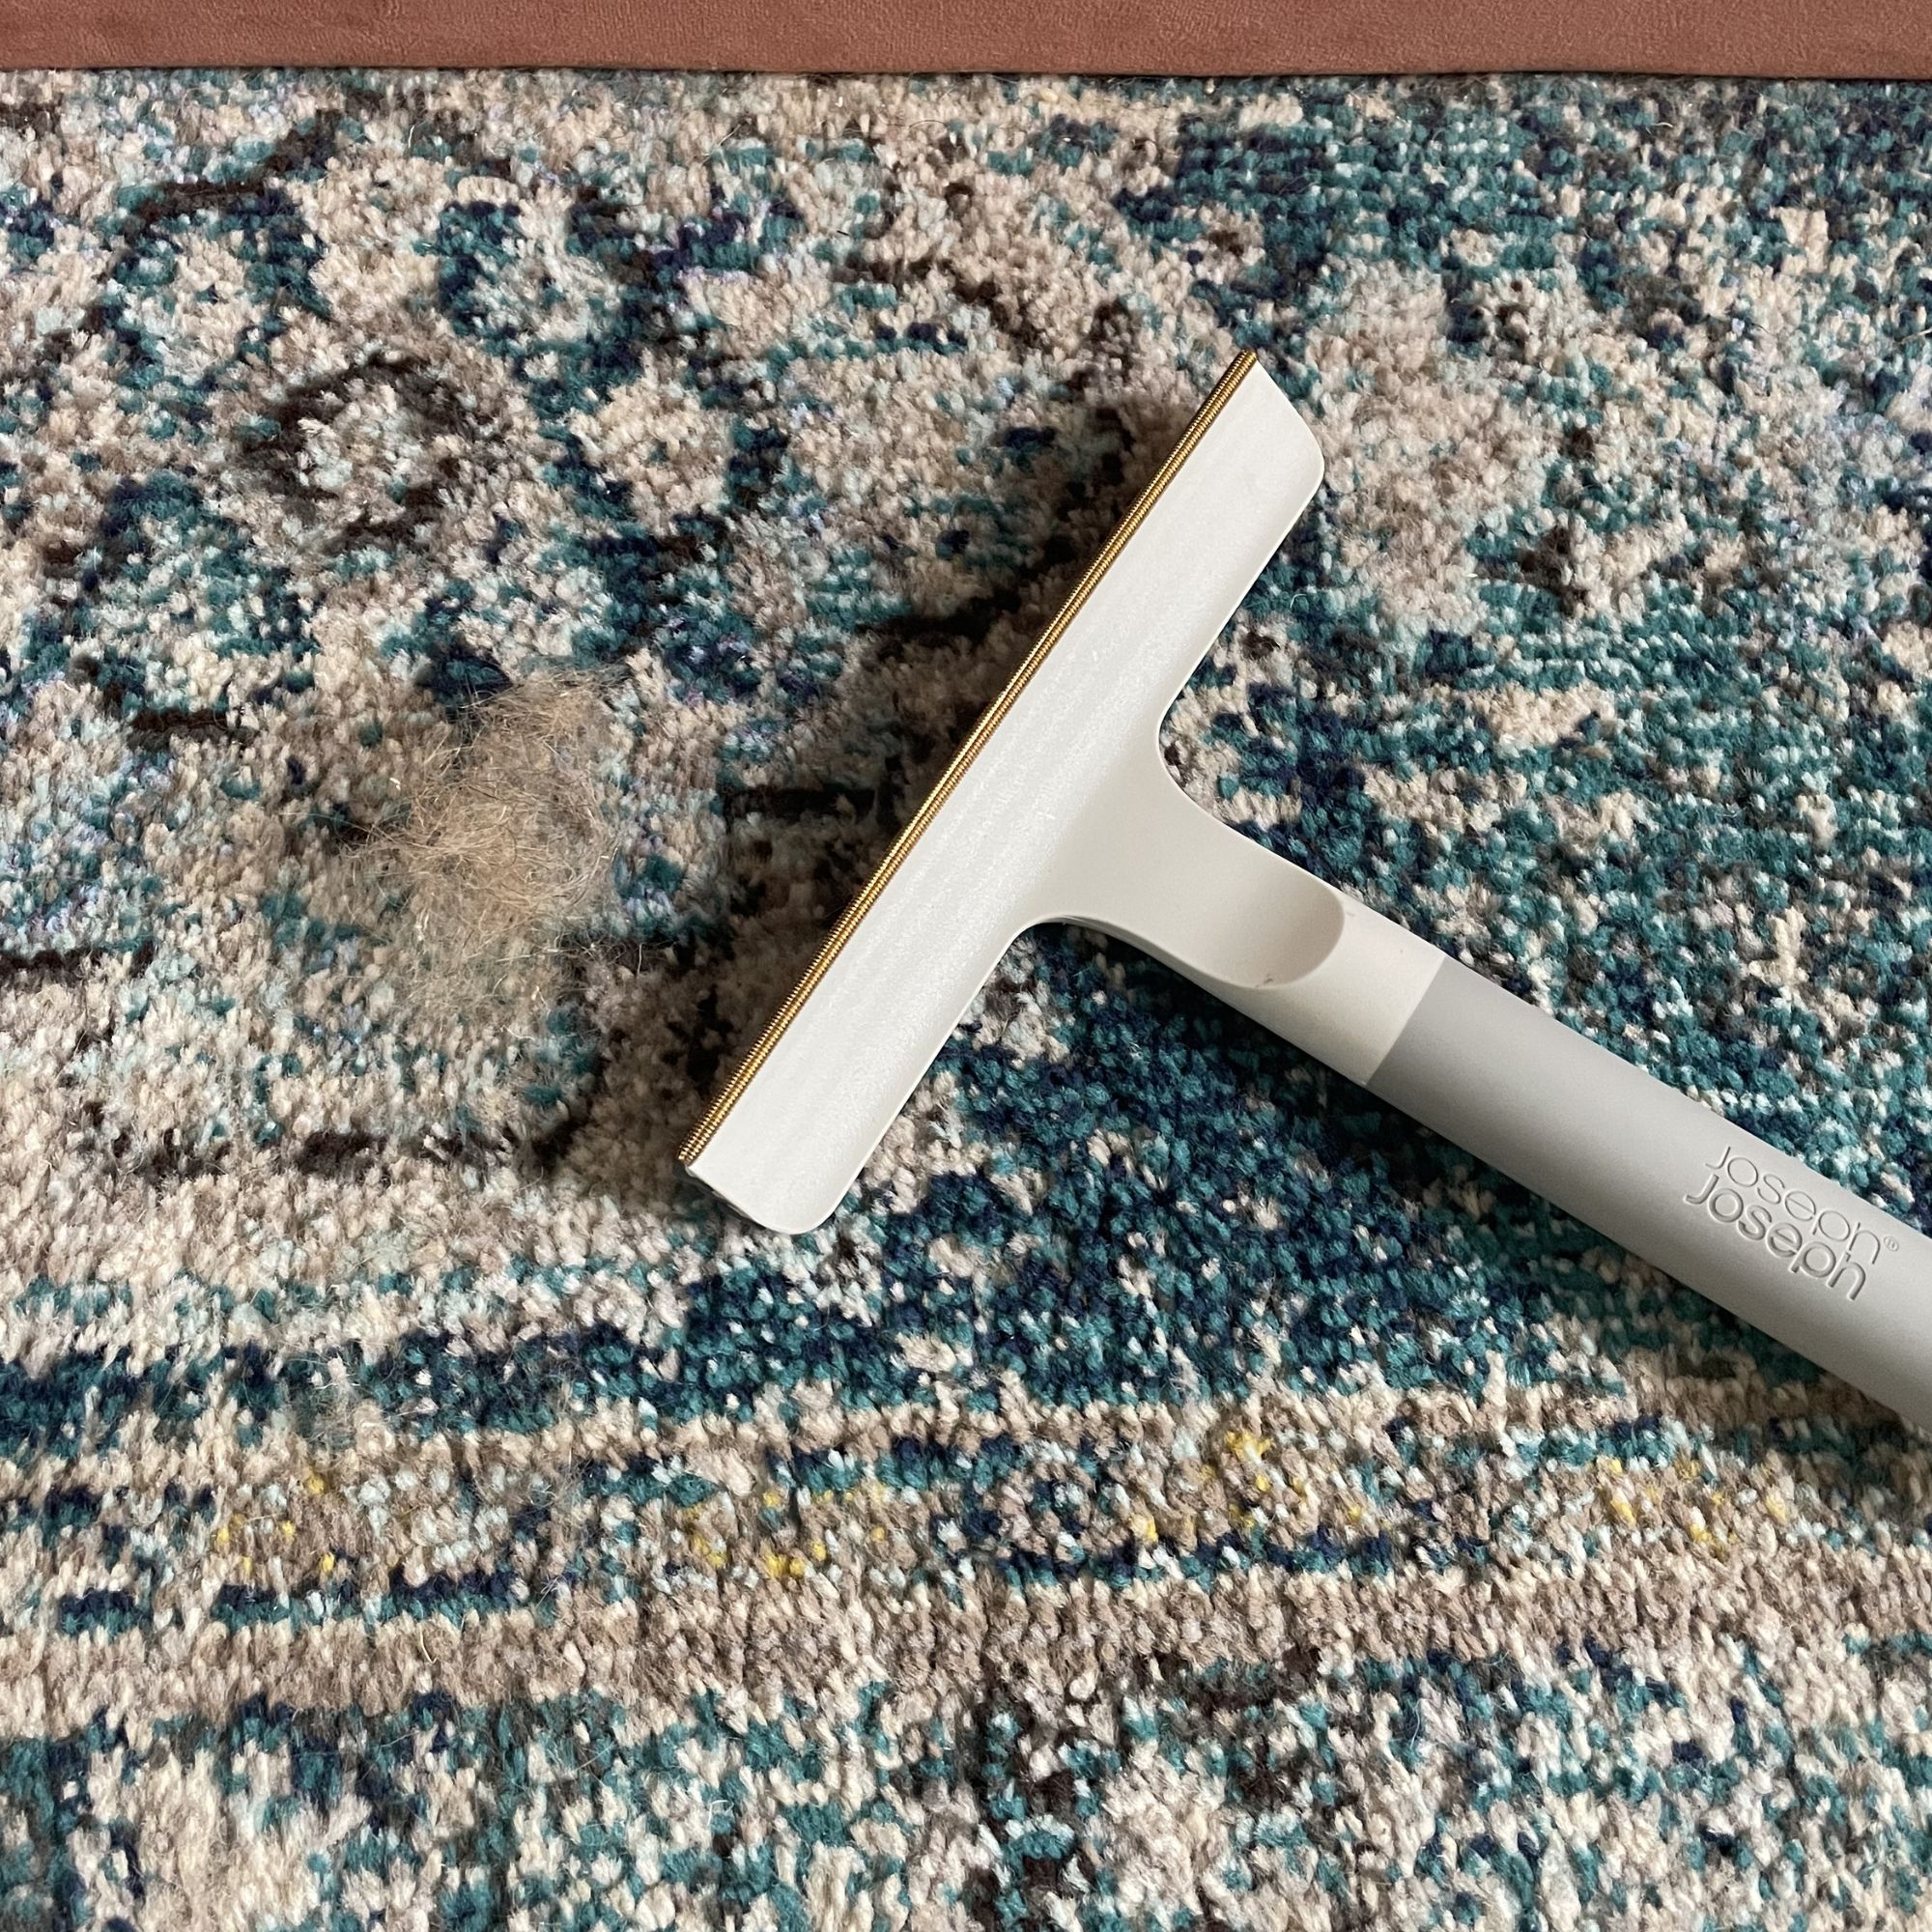
As I wanted to test the entire set, I grabbed the carpet-cleaning tool and used it on the rug my dog often sleeps on at night. This is something I’ve begun carpet scraping recently anyway, as the intricate pattern makes it impossible to see hidden pet hairs. But even though I’d recently used a carpet scraper, the Joseph Joseph pet tool still managed to highlight a small dog’s worth of hair embedded within the fibres.
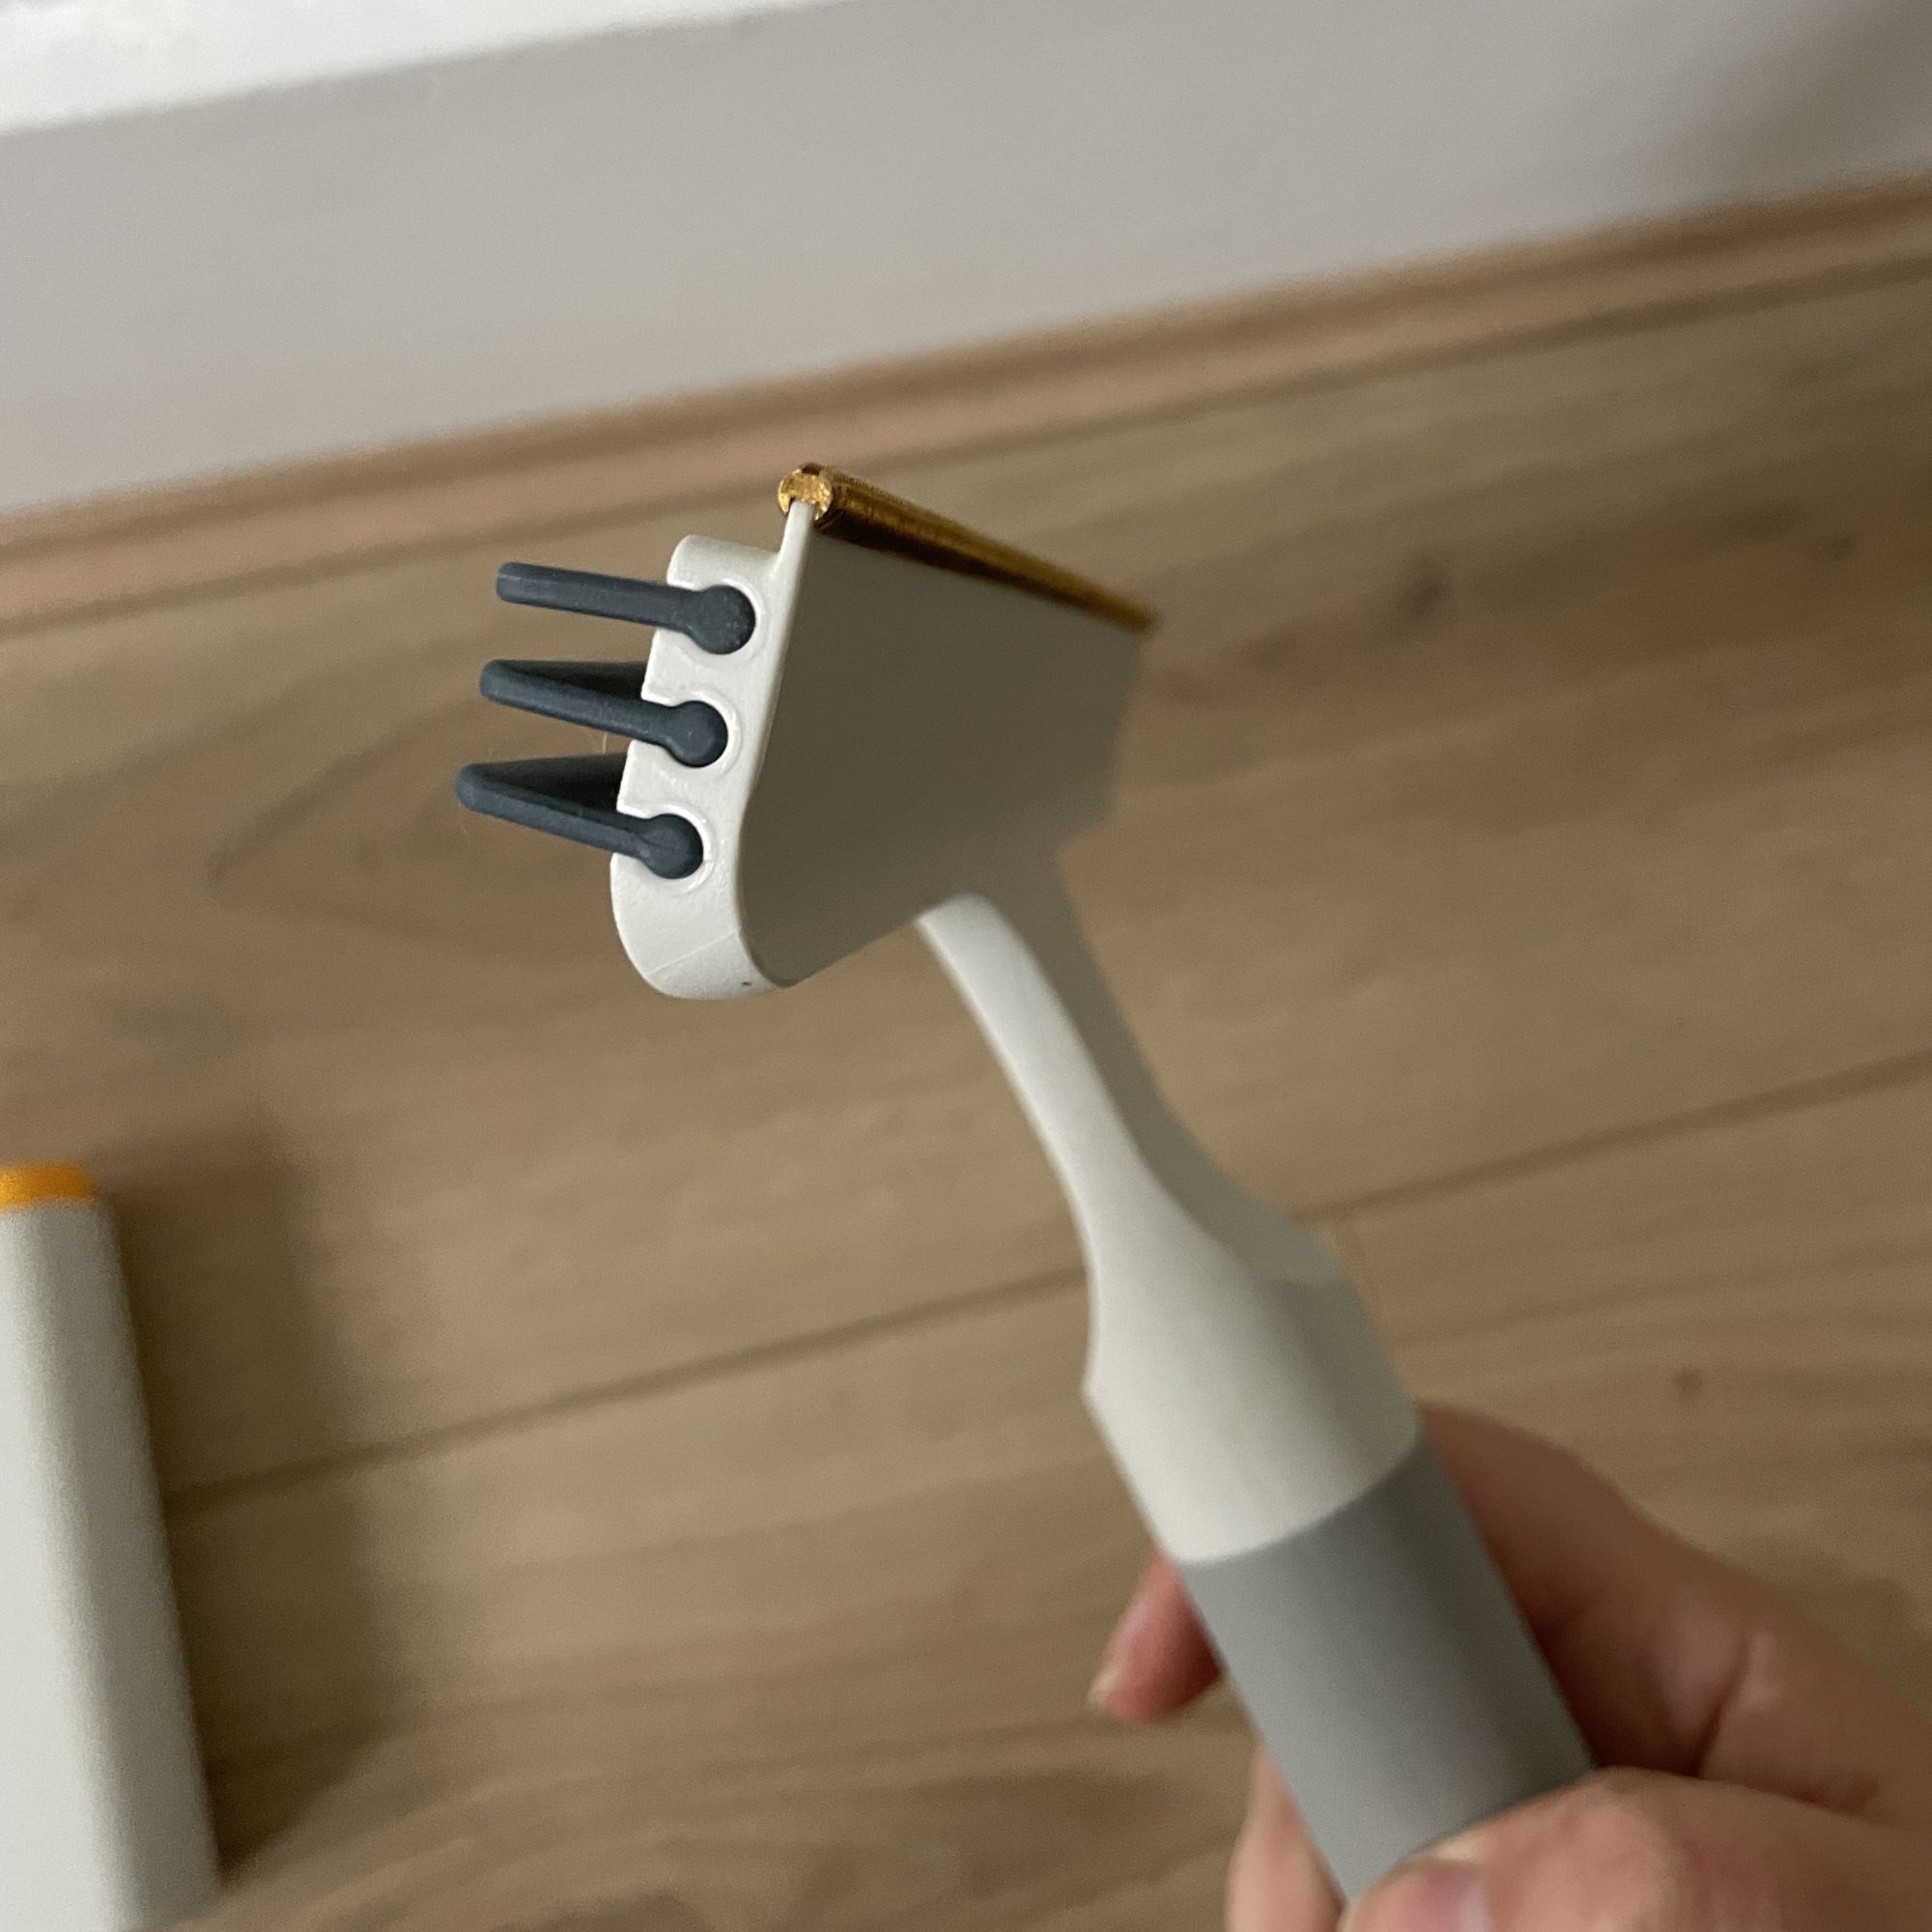
In my eyes, it’s the dual-sided nature of the carpet scraper that makes it a winner. On one side, you have rubber blades for woven rugs and longer-pile carpets, but on the other side, there’s a brass comb that helps you scrape shorter-pile carpets. This way, you can tailor your cleaning to the surface you’re working on while also protecting it from damage.
(Image credit: Future PLC/Lauren Bradbury)
Personally, I found that using both worked wonders for my carpeted stairs in particular. I used the comb to agitate the carpet fibres and get right into the tread, then used the rubber blades to gather all the agitated hair into one ball that can be picked up and popped in the bin.
The bonus of the carpet scraper tool is that you can also attach the extension pole, which is helpful if you can’t (or simply don’t want to) bend down – or you want to clean a larger area in one fell swoop.
My only slight niggle is that I’ve run out of space in my storage organiser for all the CleanTech products I have now, so it would have been nice to see Joseph Joseph try to merge the carpet and upholstery tools into a single product. But perhaps I’m asking too much there.
Especially for the bargain price of just £28!
Alternative Joseph Joseph CleanTech tools I rate
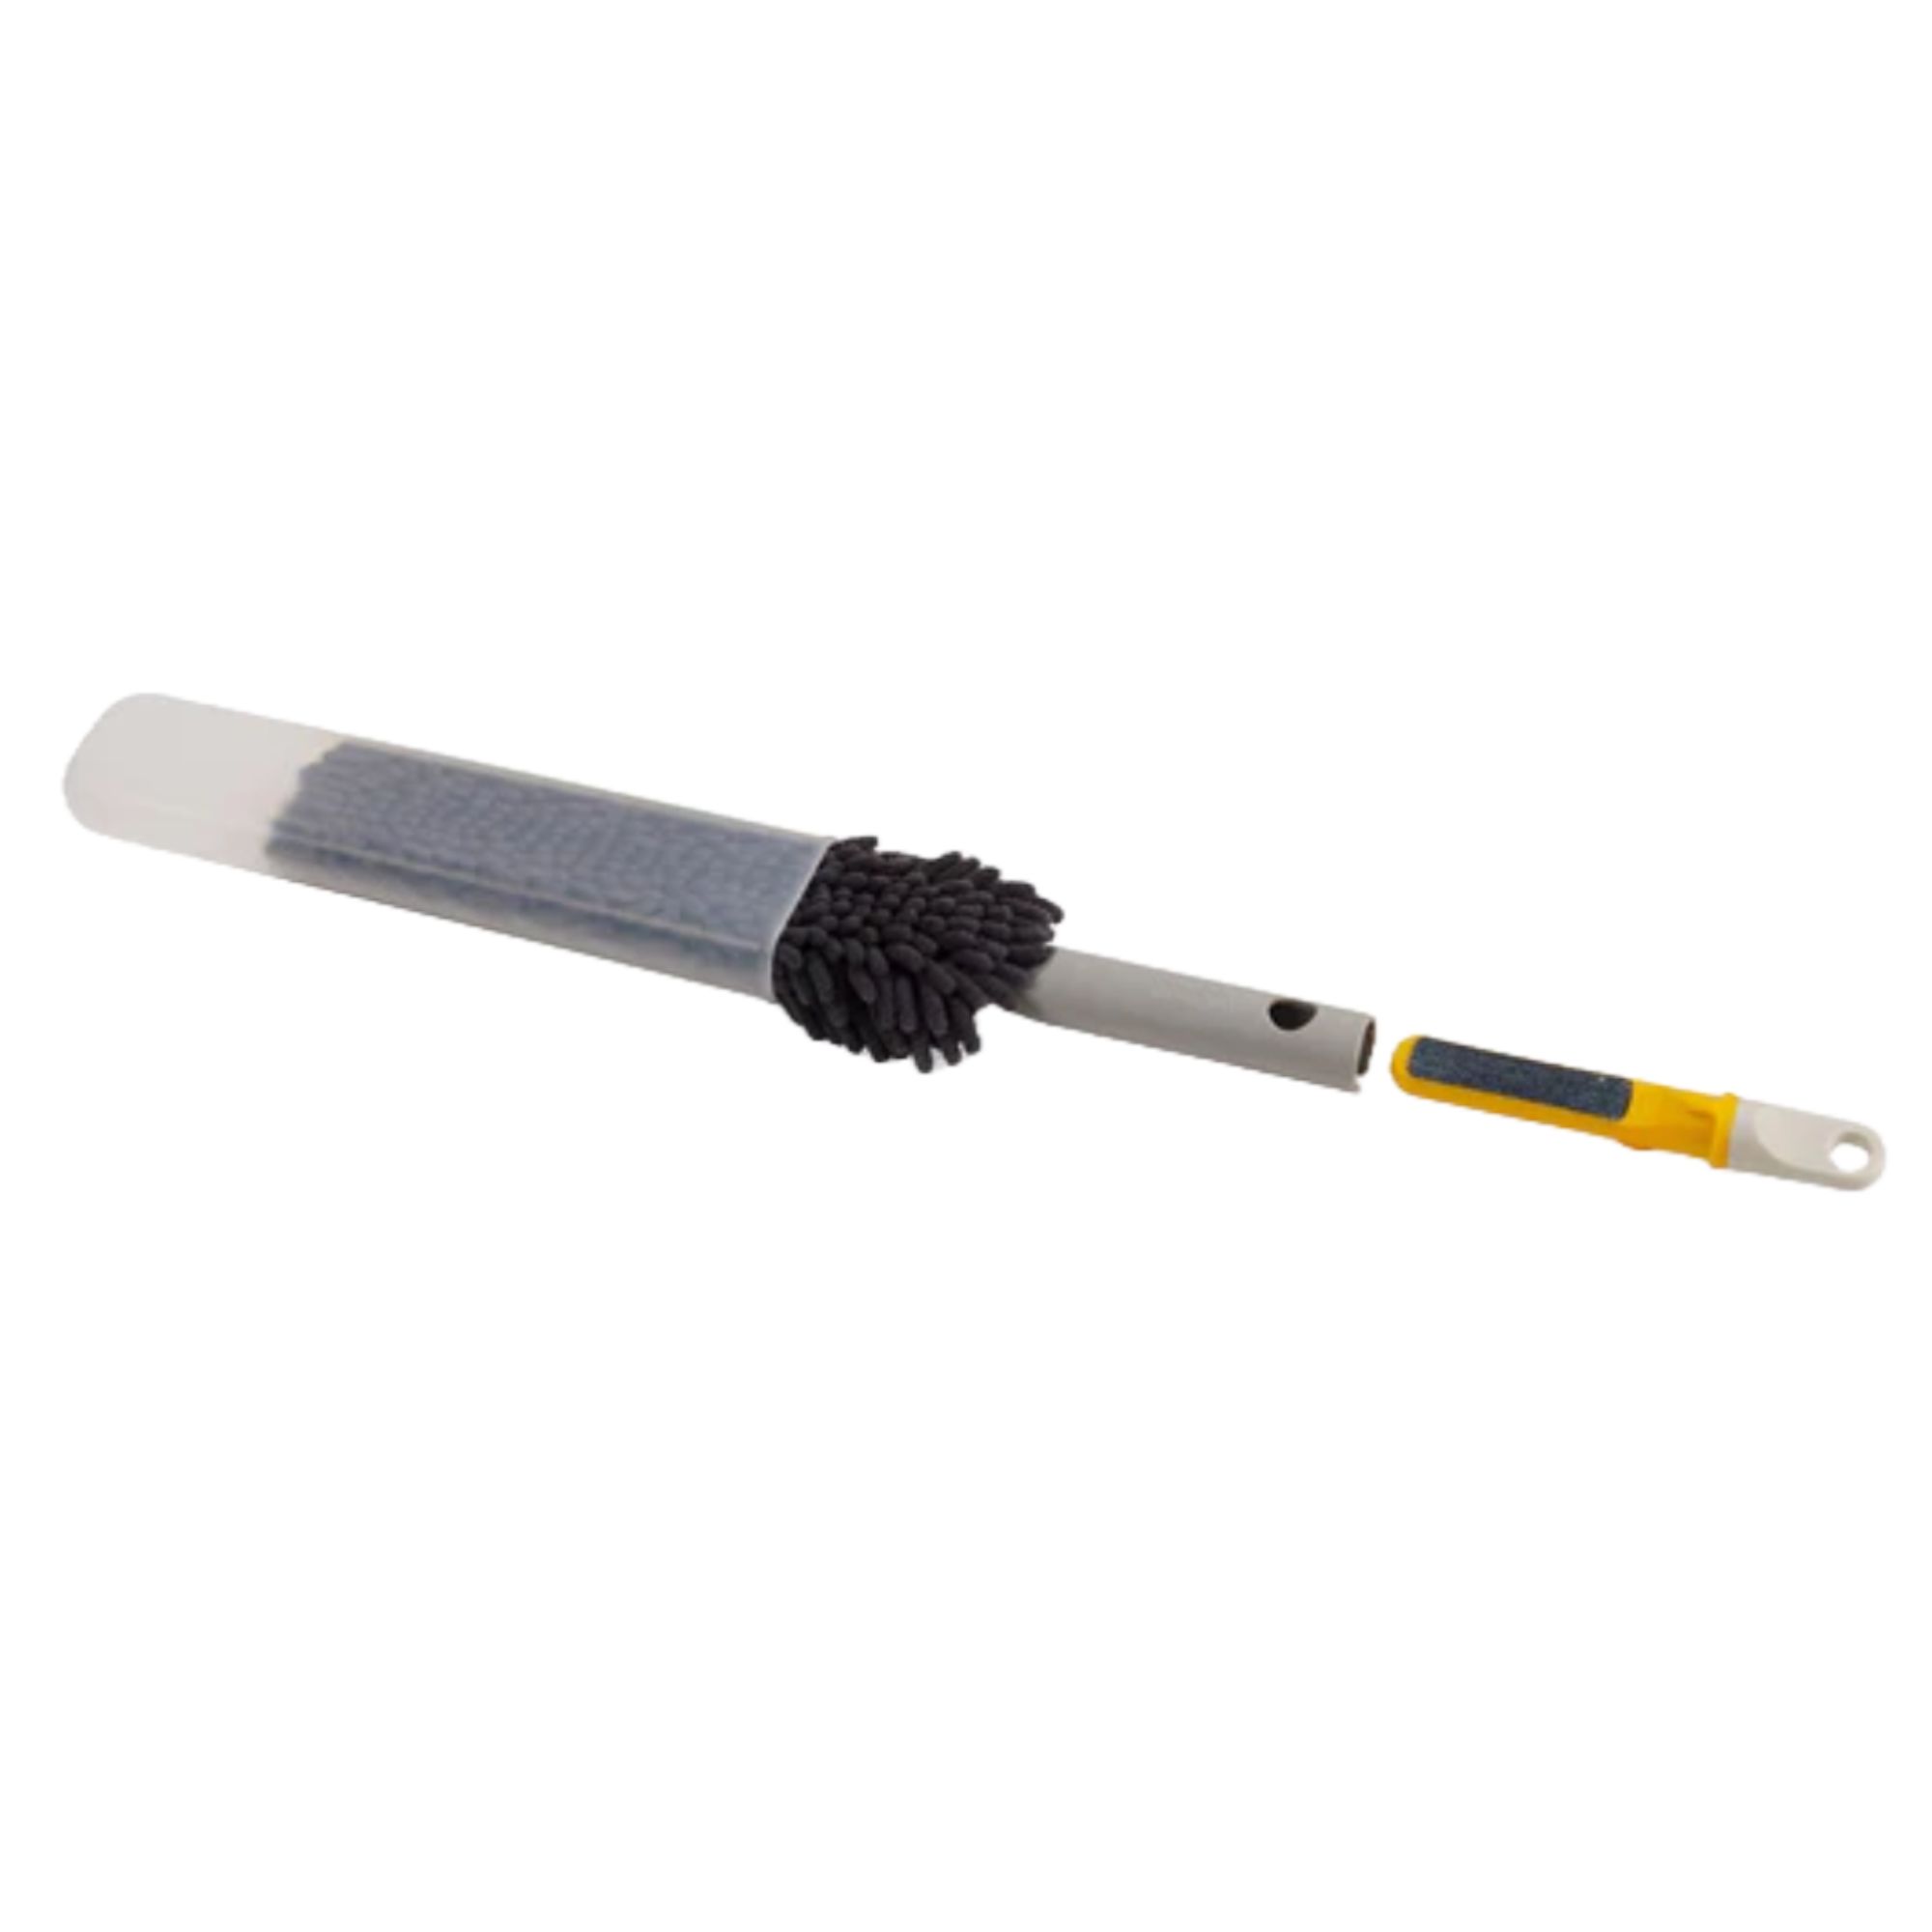
Joseph Joseph CleanTech 3-in-1 Duster with Storage Cover
Featuring a microfibre side for flat surfaces and a noodle fabric side for uneven areas, this duster even has an integrated dust-removal tool for a clean house – pets or not.
Joseph Joseph CleanTech 3-in-1 Spot Cleaning Tool
If you struggle to clean the tight spaces in your home, this cleaning tool is perfect for the job. The 3-in-1 design has flat bristles, V-shaped bristles, and an integrated scraper for dirtier areas.
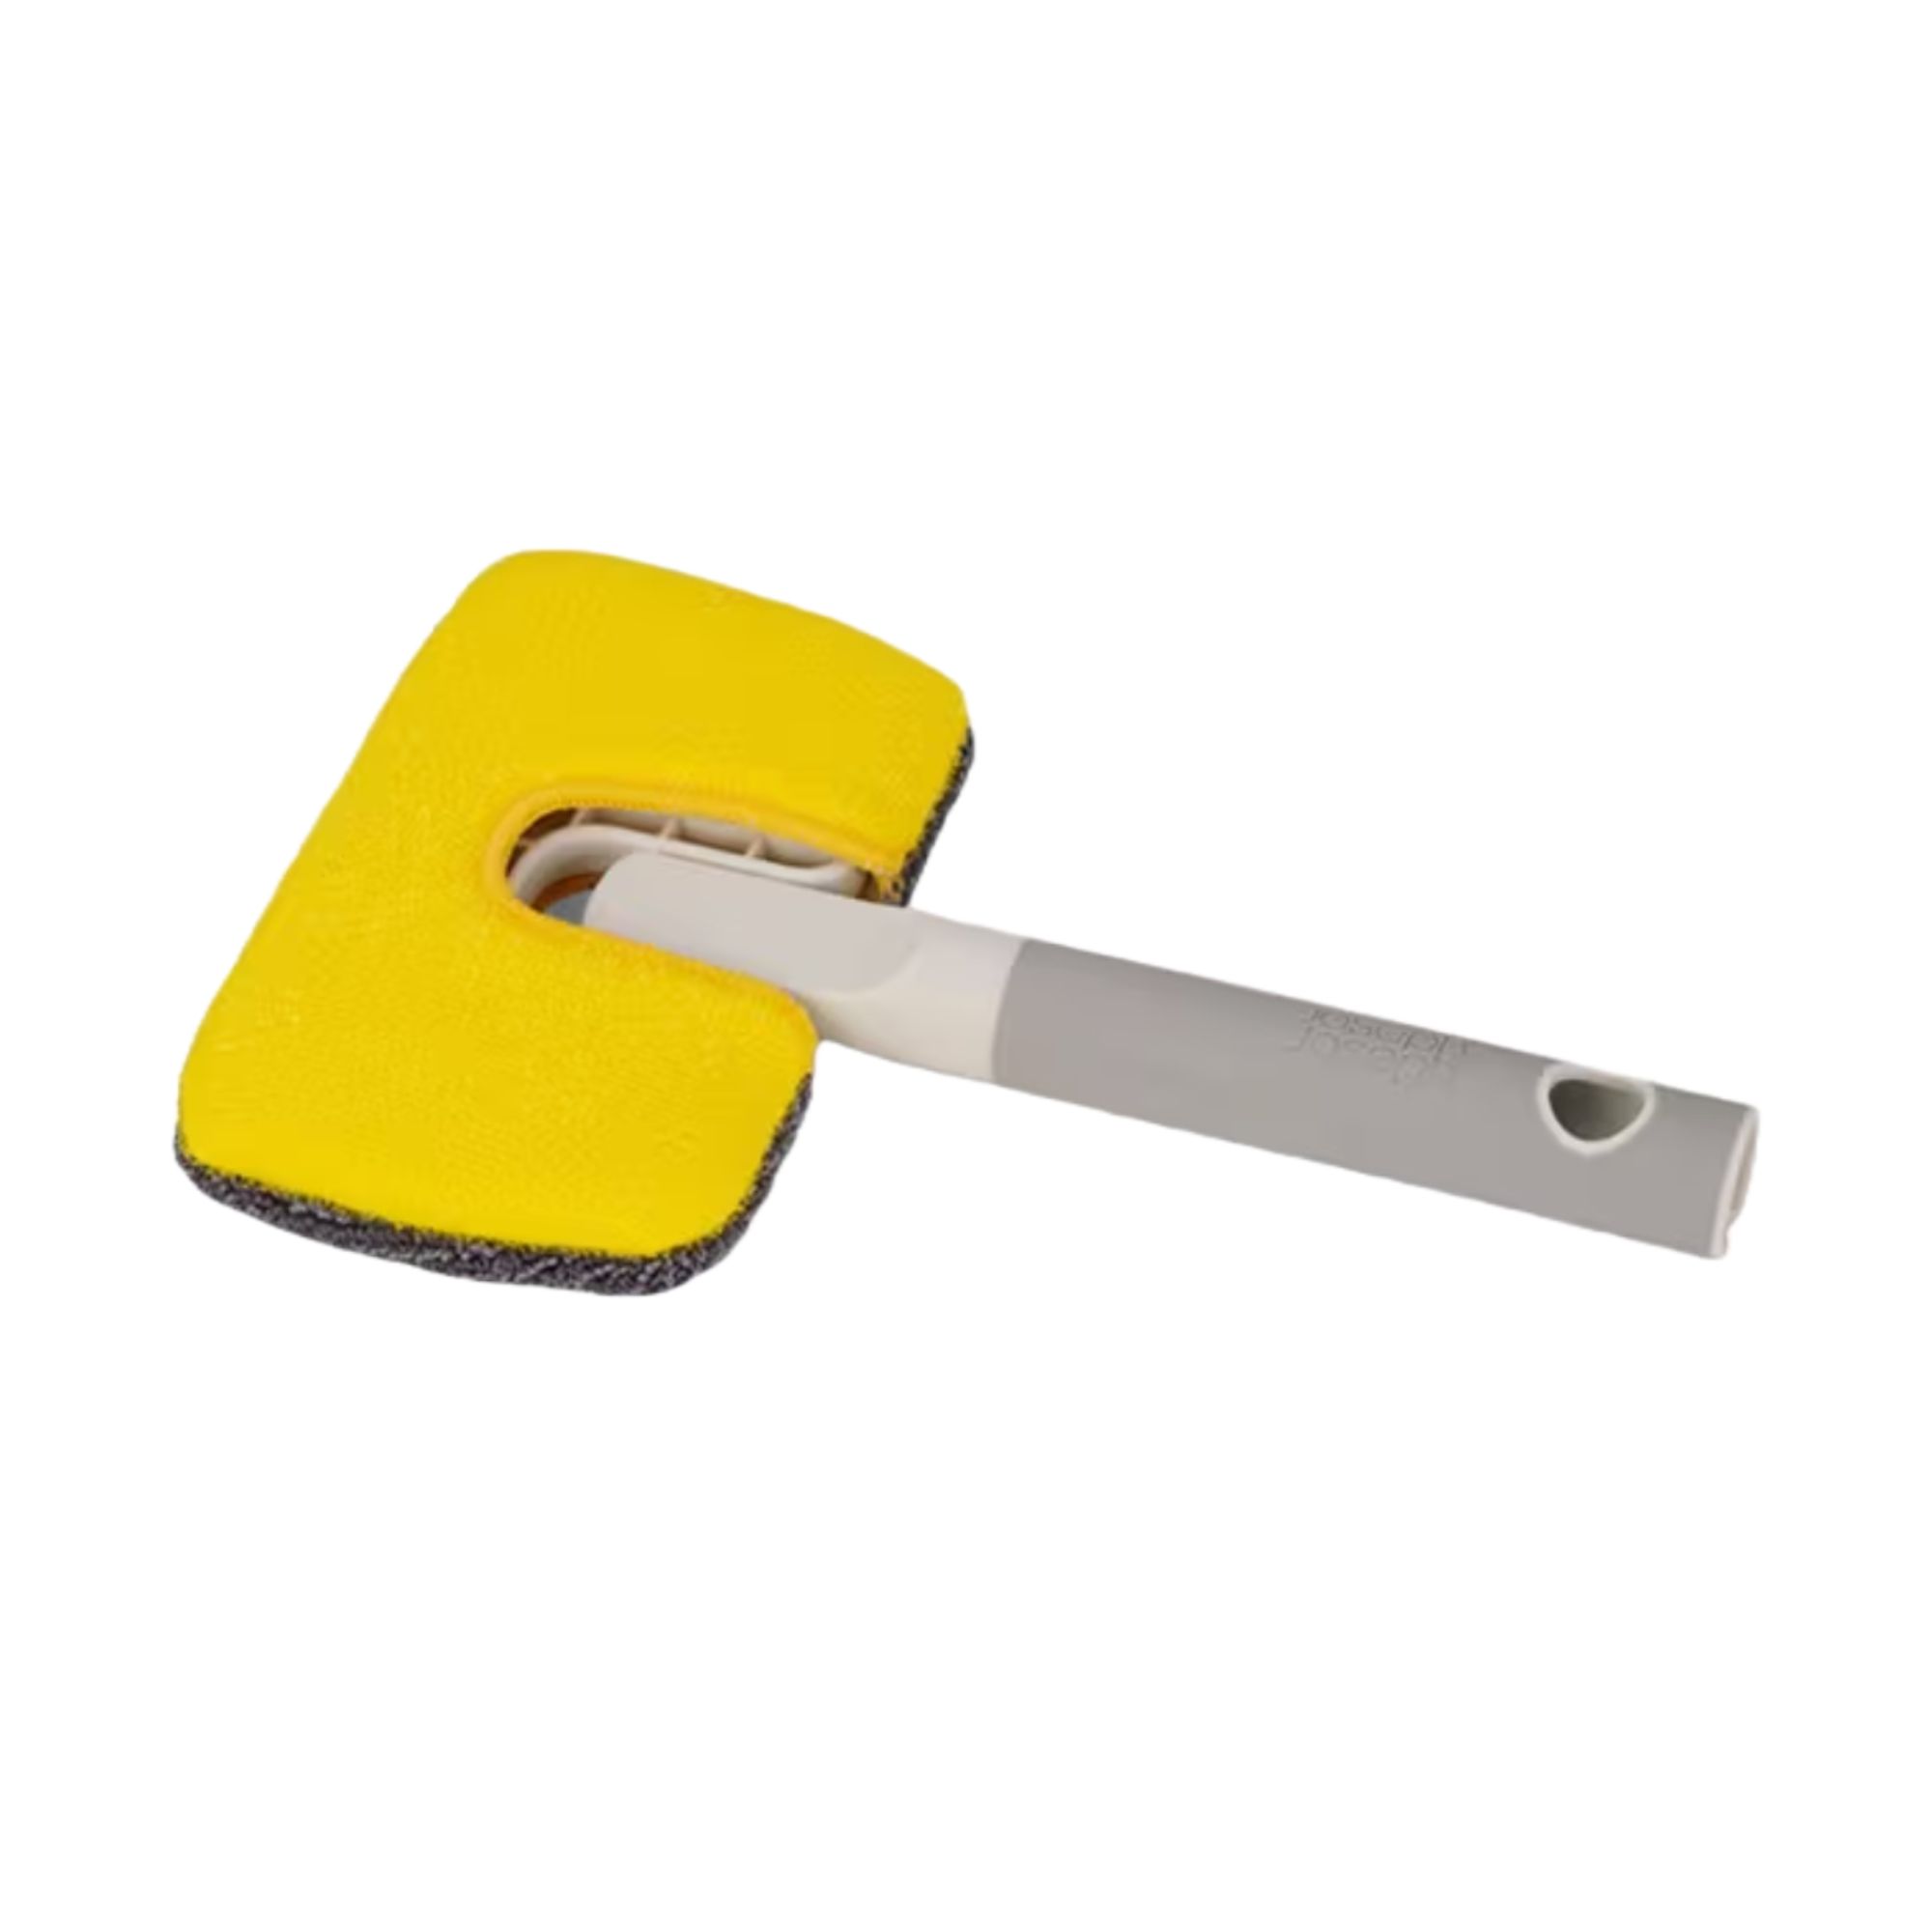
Joseph Joseph CleanTech 2-in-1 Surface Scrubber Tool
I refuse to have a home filled with pet hair, and now I’ve got my trusty Joseph Joseph pet hair cleaning set to help me.
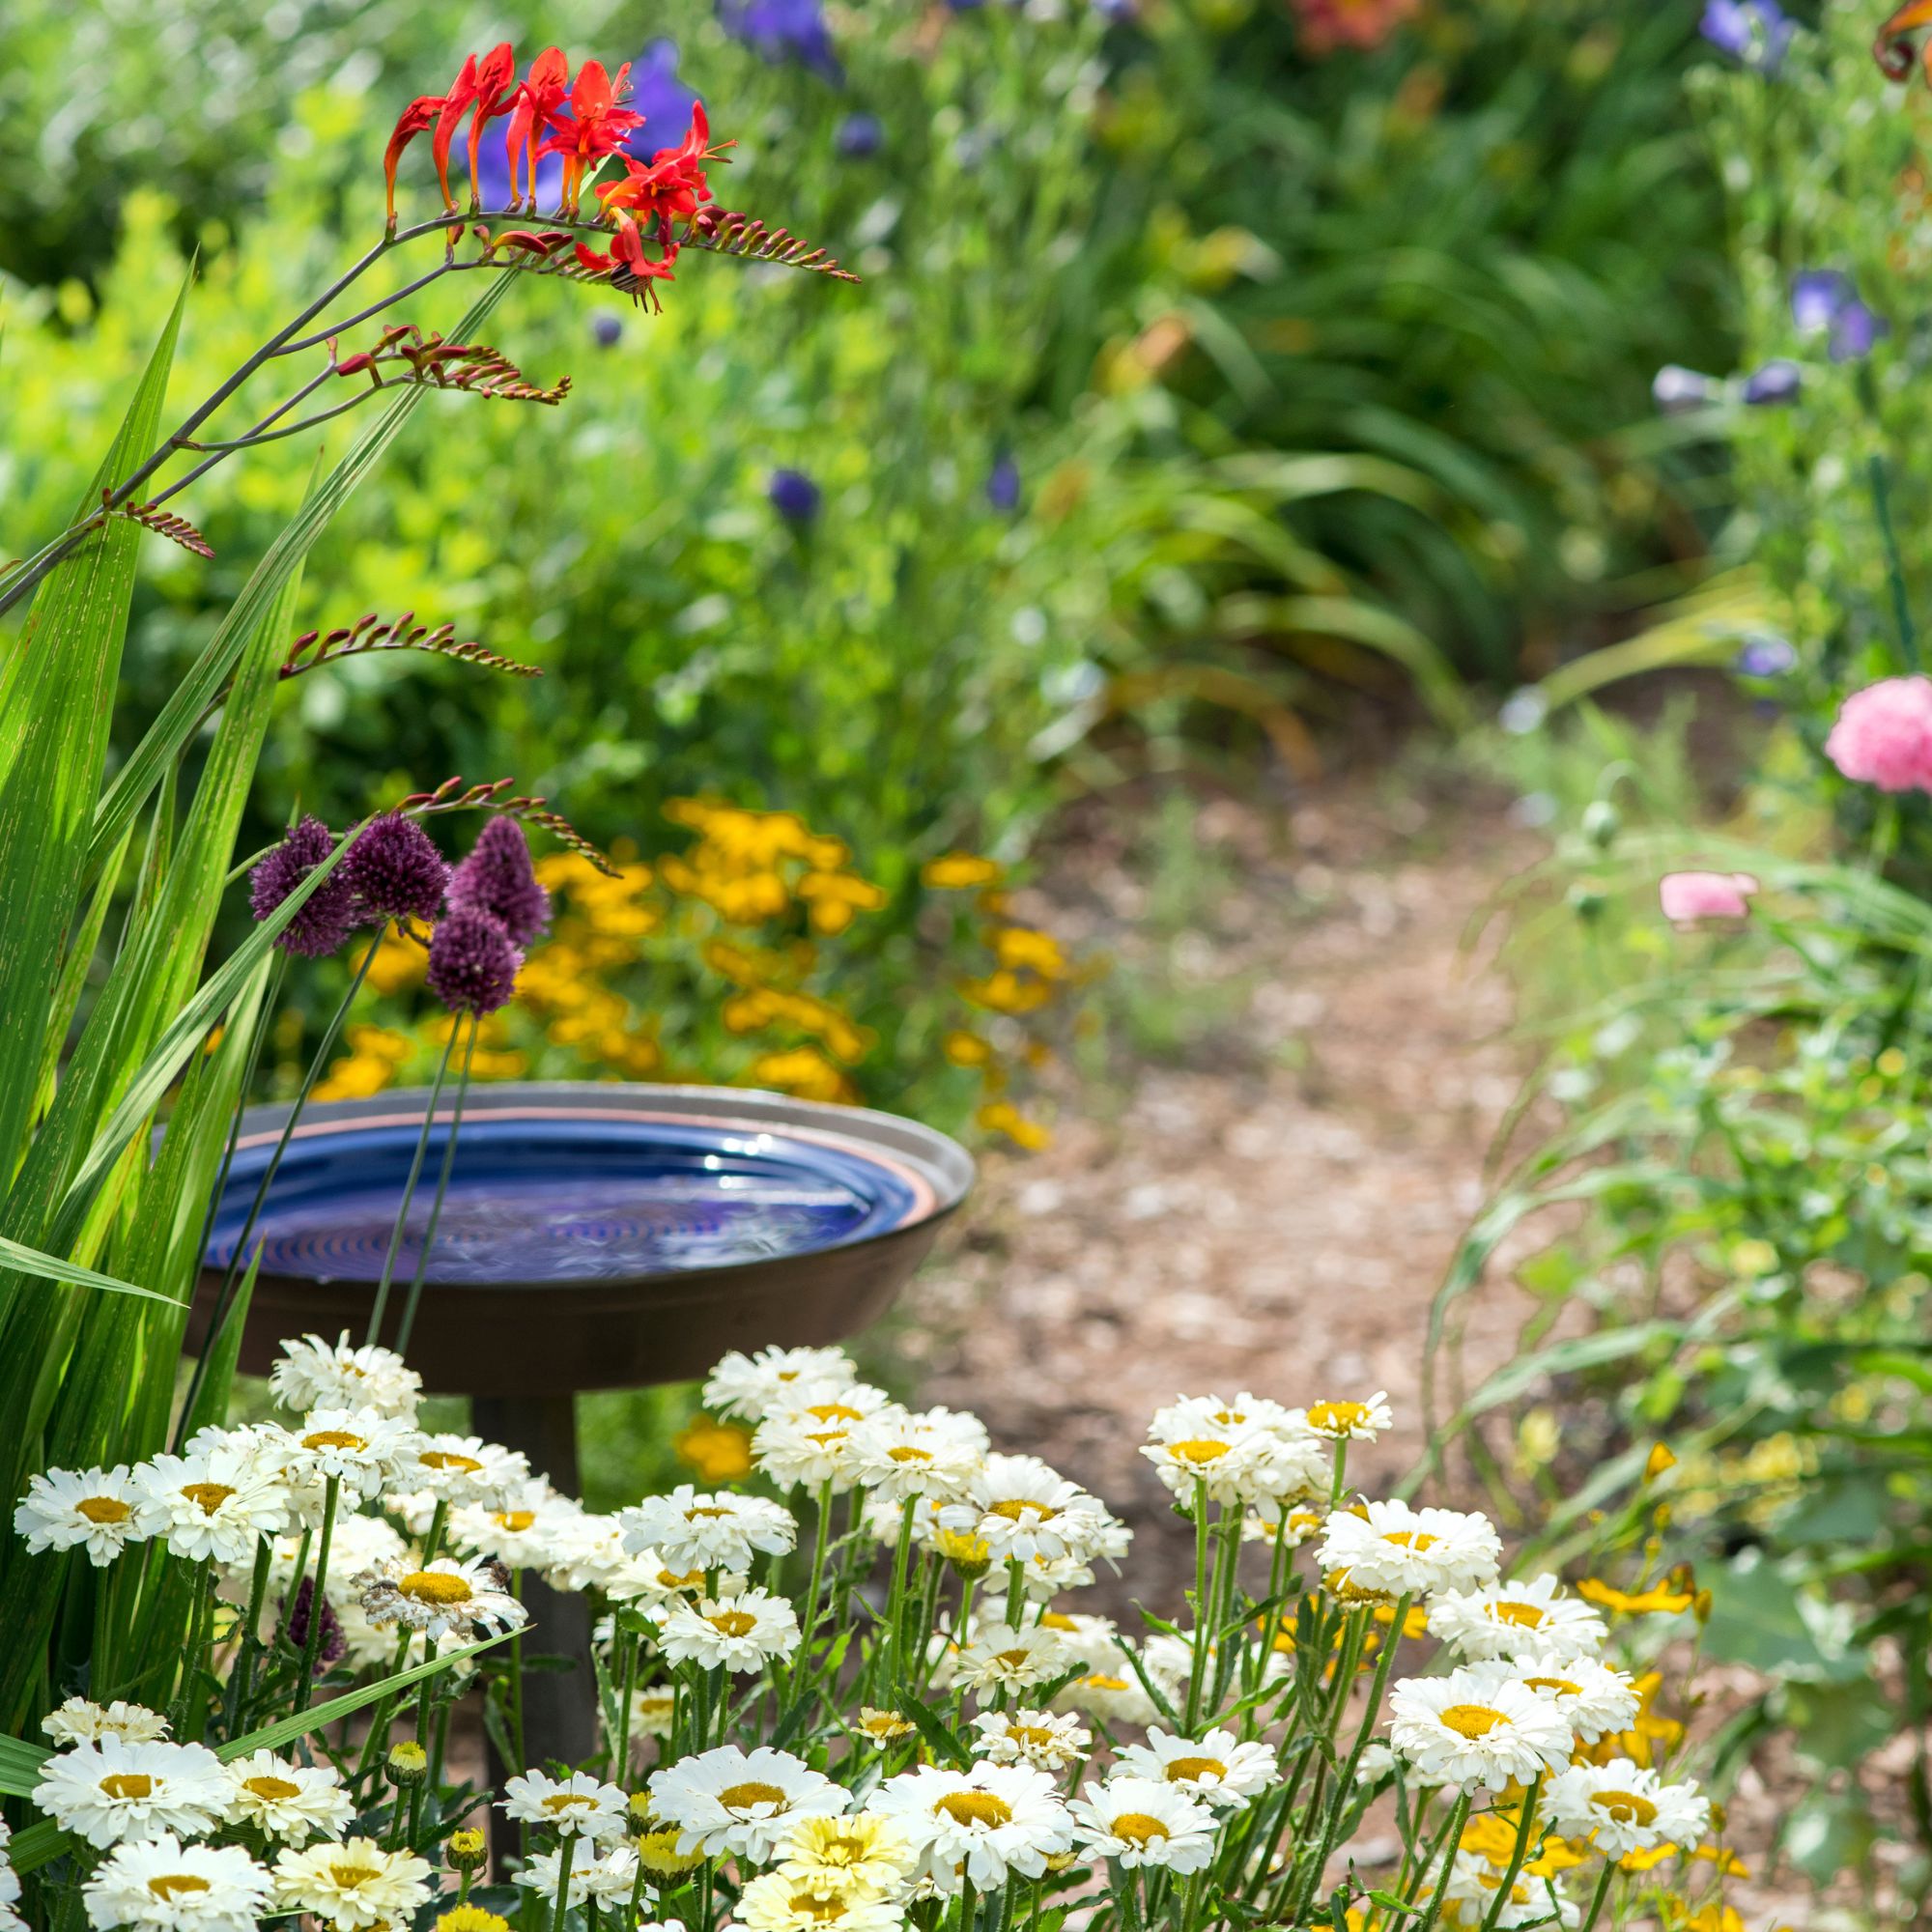
In summer, leaving out a fresh water source for birds, often via a bird bath, is one of the easiest ways to support them. However, wildlife experts have revealed three places you should never put a bird bath, and where it should be positioned instead.
If you want to attract birds and other garden wildlife, many experts preach the importance of having a fresh water source, so birds can drink, bathe and cool down easily. Essentially, if you want to help birds in hot weather, you need a bird bath.
But just as bird feeder placement is important, the placement of a bird bath can make the difference between birds using it or not. And putting your bath in one of these three places can be a big bird bath mistake.
Latest Videos From
What you need
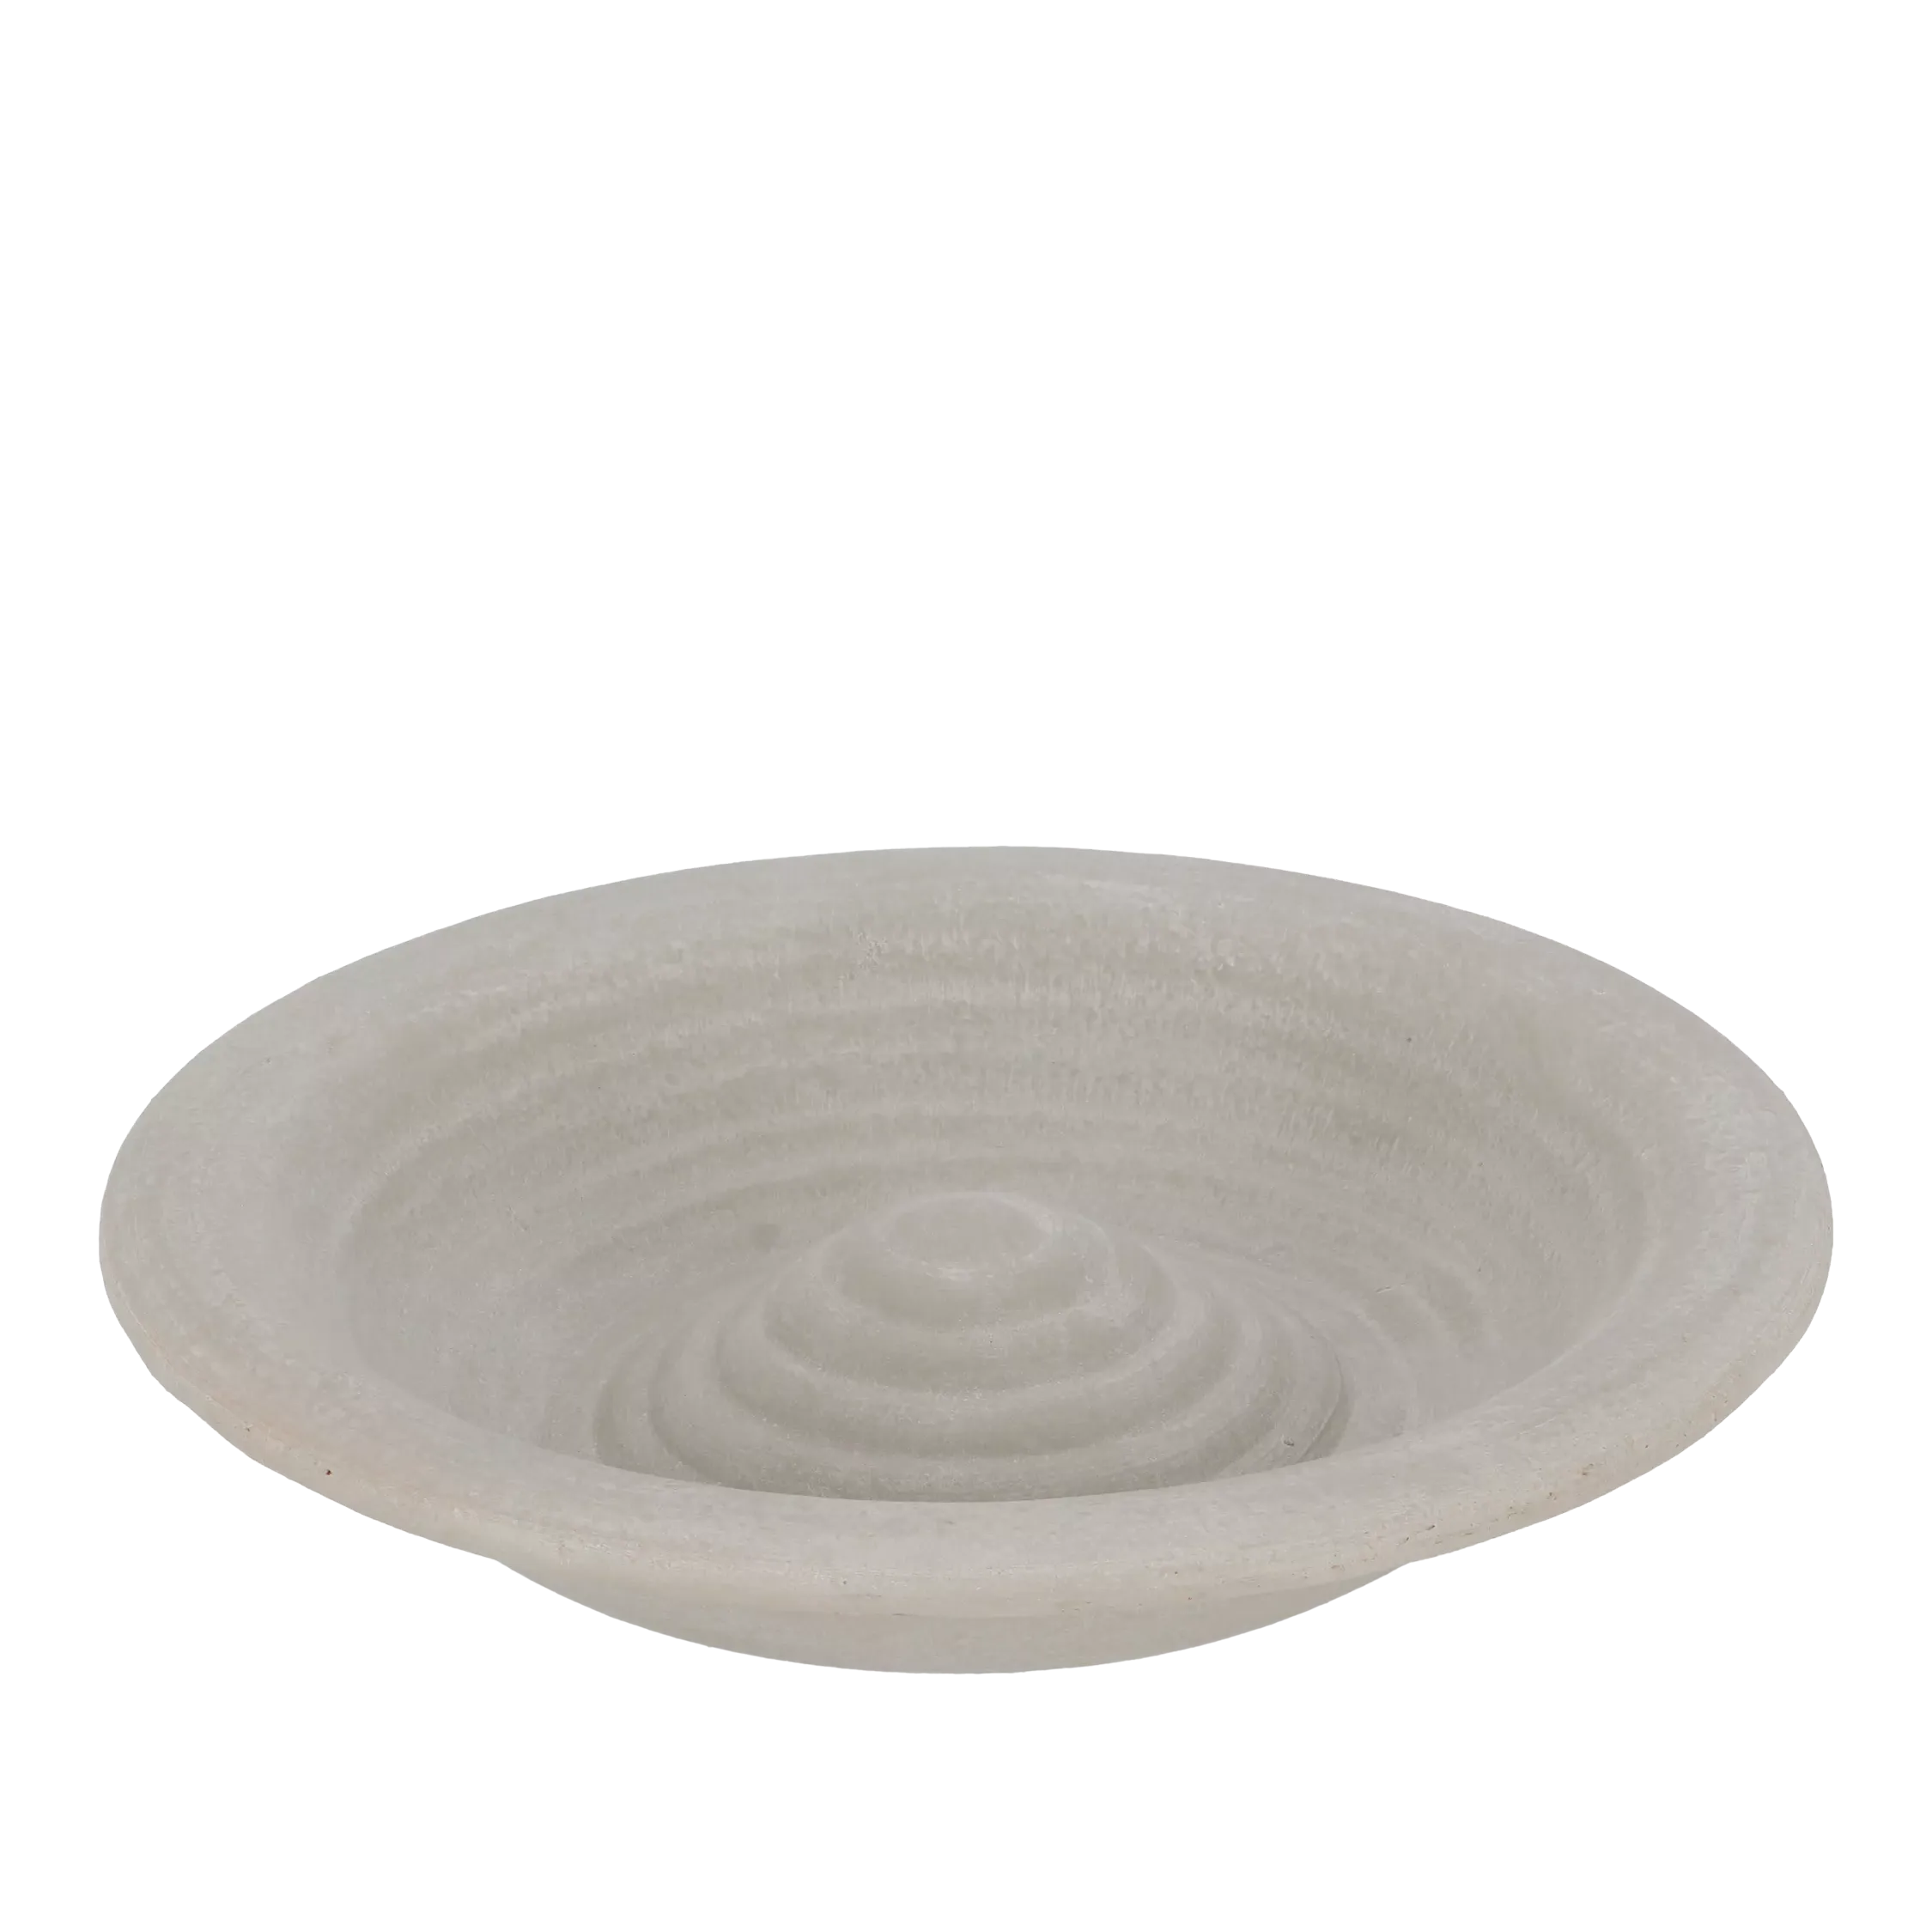
Fallen Fruits
Ceramic Bird Bath, Grey
Oypla
Oypla Traditional Ornamental Pedestal Garden Water Bird Bath (bronze)
B&Q
Terrastyle Glazed Bird bath (H)48cm
1. Directly under trees
While it may be tempting to put a bird bath directly under trees, due to the shade potential, this can actually create more problems for birds.
(Image credit: Getty Images/Gail Shotlander)
‘Leaves, twigs, berries and bird droppings quickly find their way into the water, causing it to become dirty and potentially encouraging the growth of bacteria and algae,’ says Danny Yeoman, wild bird expert for Pets Corner and developer of Peter & Paul Wild Bird Foods.
‘Trees can also provide convenient perches for larger birds, which may result in the bath becoming contaminated more quickly. A little shade is beneficial, particularly during hot weather, but I would position a bird bath close to a tree rather than directly underneath it.’
2. Next to dense shrubs
Another mistake is to place your bird bath too close to dense shrubs, which could be housing potential predators, such as cats.
Sign up to our newsletter for style inspiration, real homes, project and garden advice and shopping know-how
‘It’s important that birds feel safe when drinking and bathing, as these are both vulnerable times for them. A bath that is positioned too close to dense cover can make it easier for predators to approach unnoticed, reducing the time birds have to react and escape,’ explains James Ewens, wildlife expert at Green Feathers.
However, birds don’t like being too exposed, so you don’t want to put your bath in a completely open area, such as your lawn. Instead, it should be placed a few feet away from shrubbery, so birds can retreat when they need to.
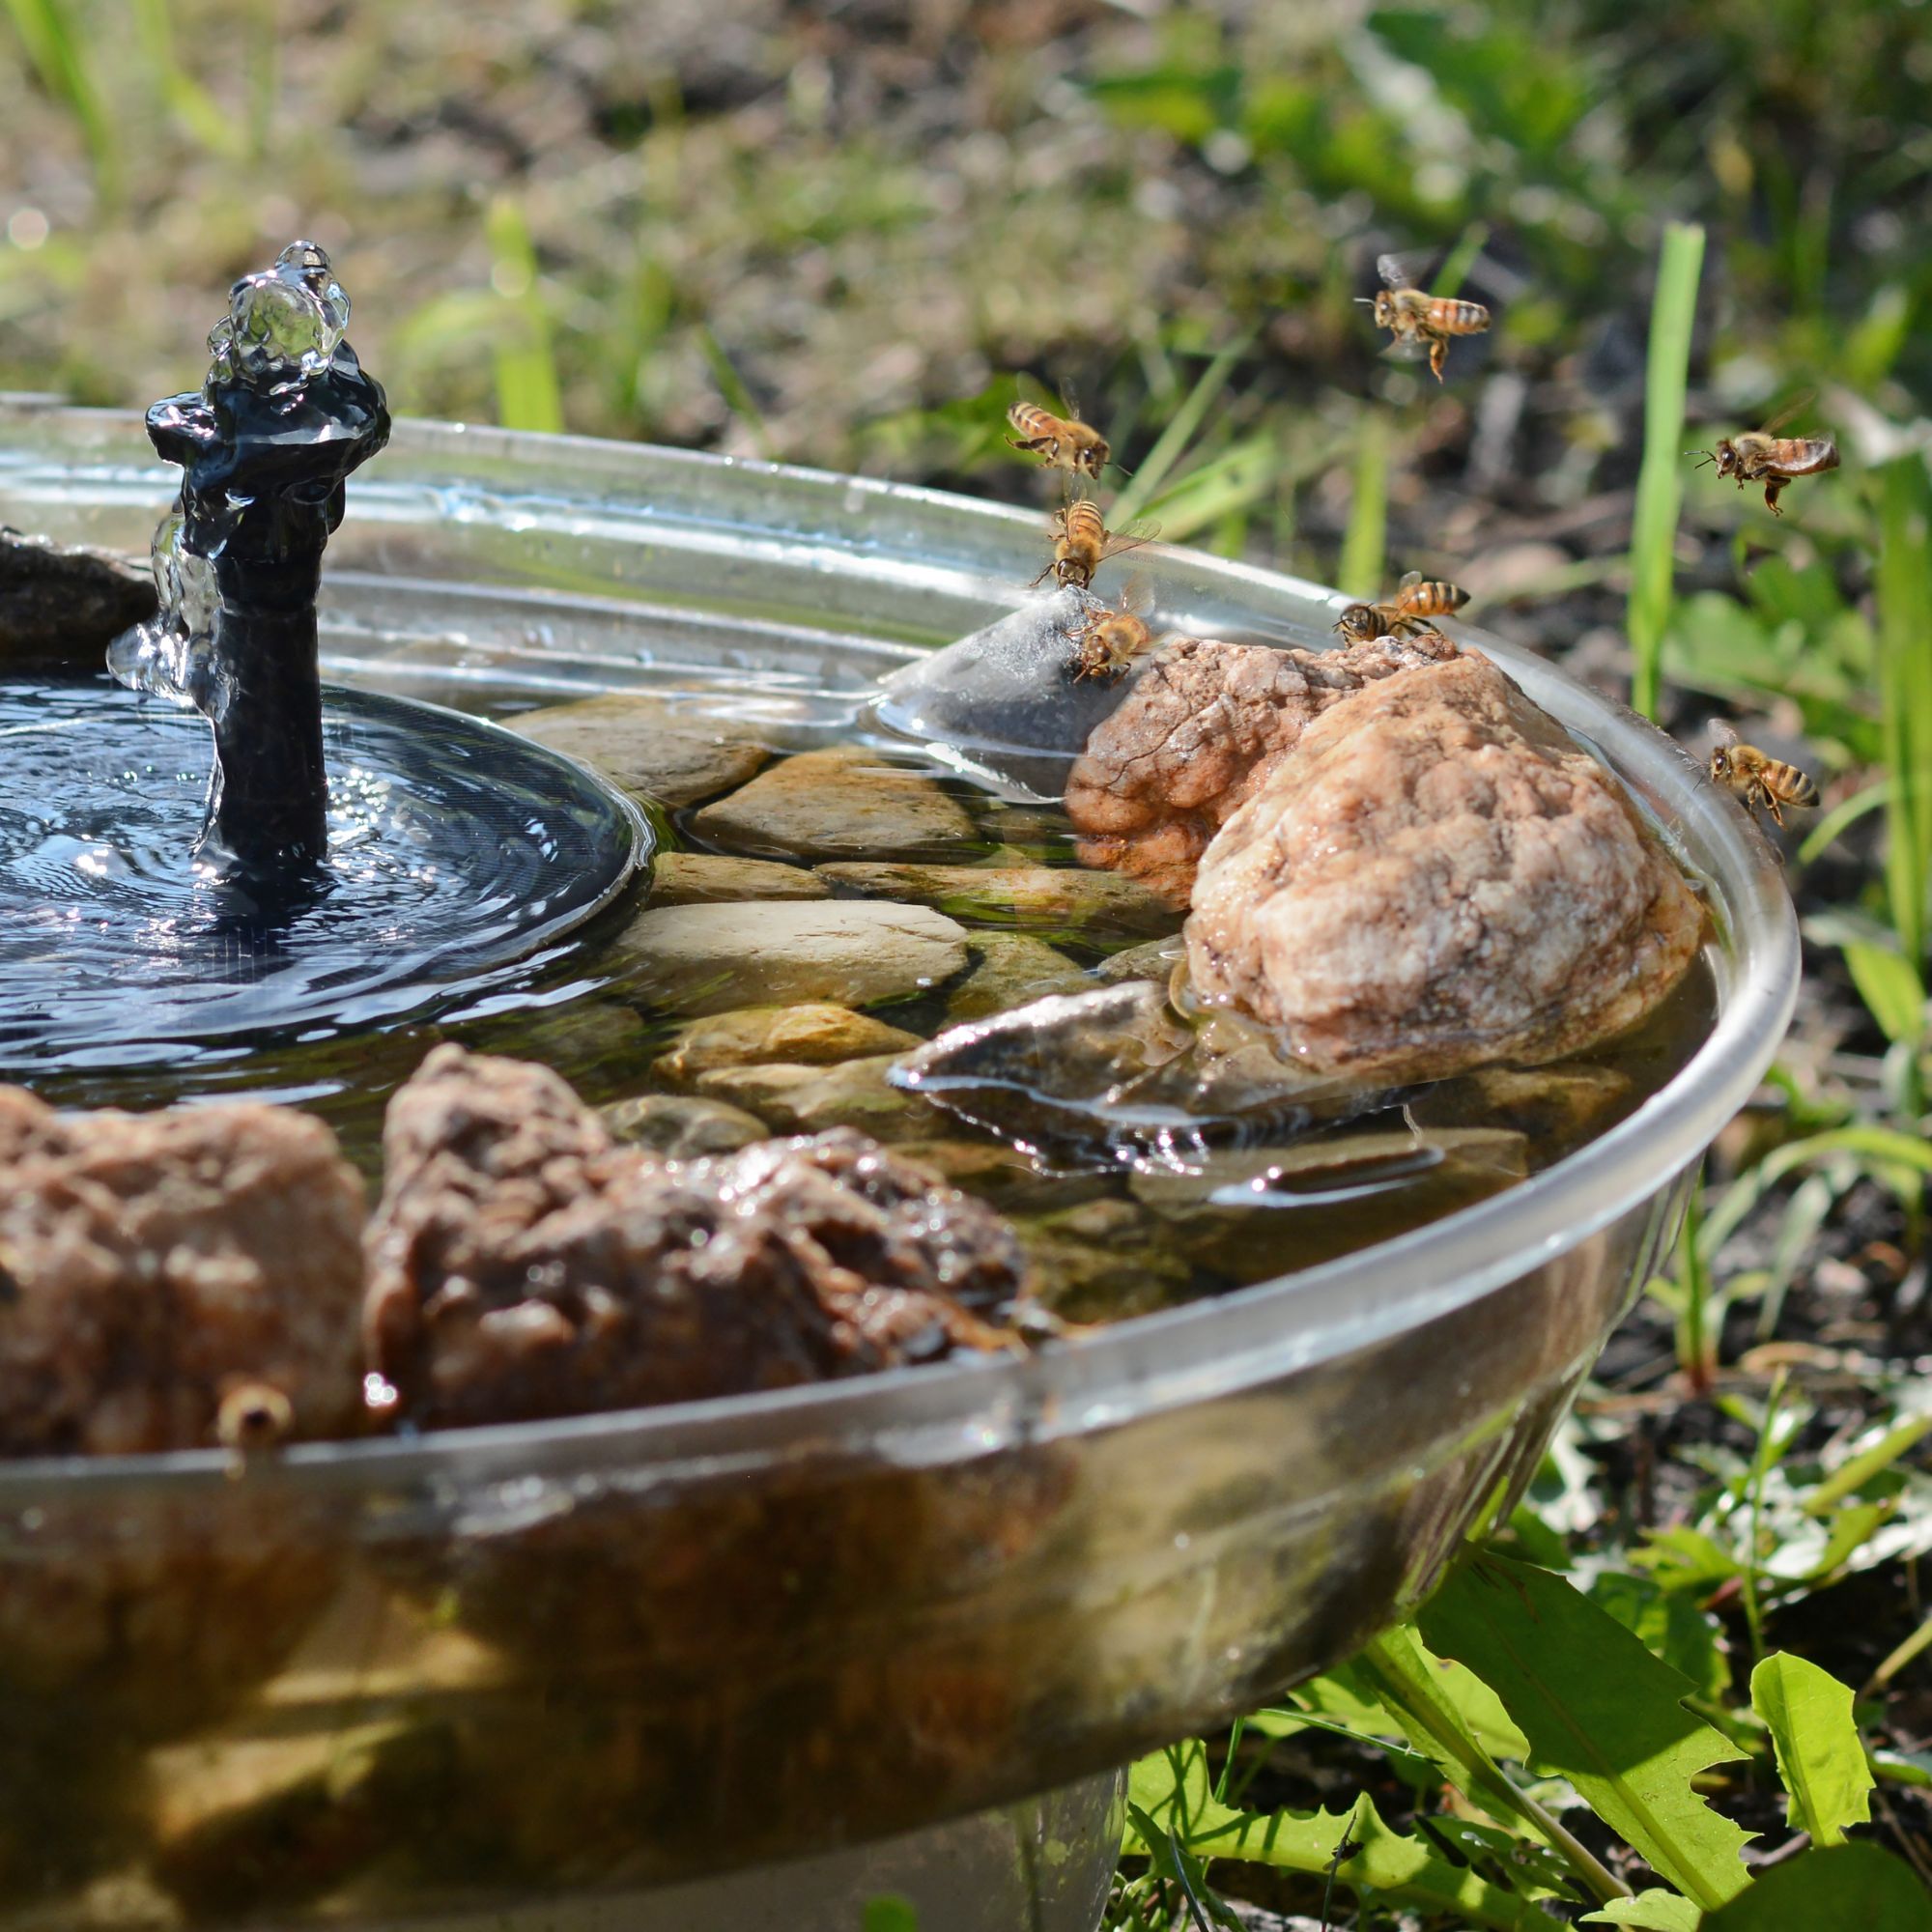
3. In direct sunlight
Lastly, you should avoid placing a bird bath in direct sunlight. In hot weather, the water can heat up too much, becoming undesirable to birds. It can also encourage excess growth of algae, which is not only unsightly but is also unhygienic and harmful to birds.
(Image credit: Getty Images/HelenL100)
‘A little sunshine is absolutely fine, but a bird bath that spends the entire day baking in direct sunlight can quickly become less appealing,’ says Danny.
‘Water evaporates faster, algae can grow more readily, and the bath may require constant topping up during hot spells. A position that receives morning sunshine and some shade later in the day is often ideal. It helps keep the water cooler and fresher for longer.’
Where to put a bird bath
‘The ideal bird bath is positioned where birds can easily spot approaching danger, where the water remains reasonably cool and where it can be cleaned and refilled regularly,’ says Danny.
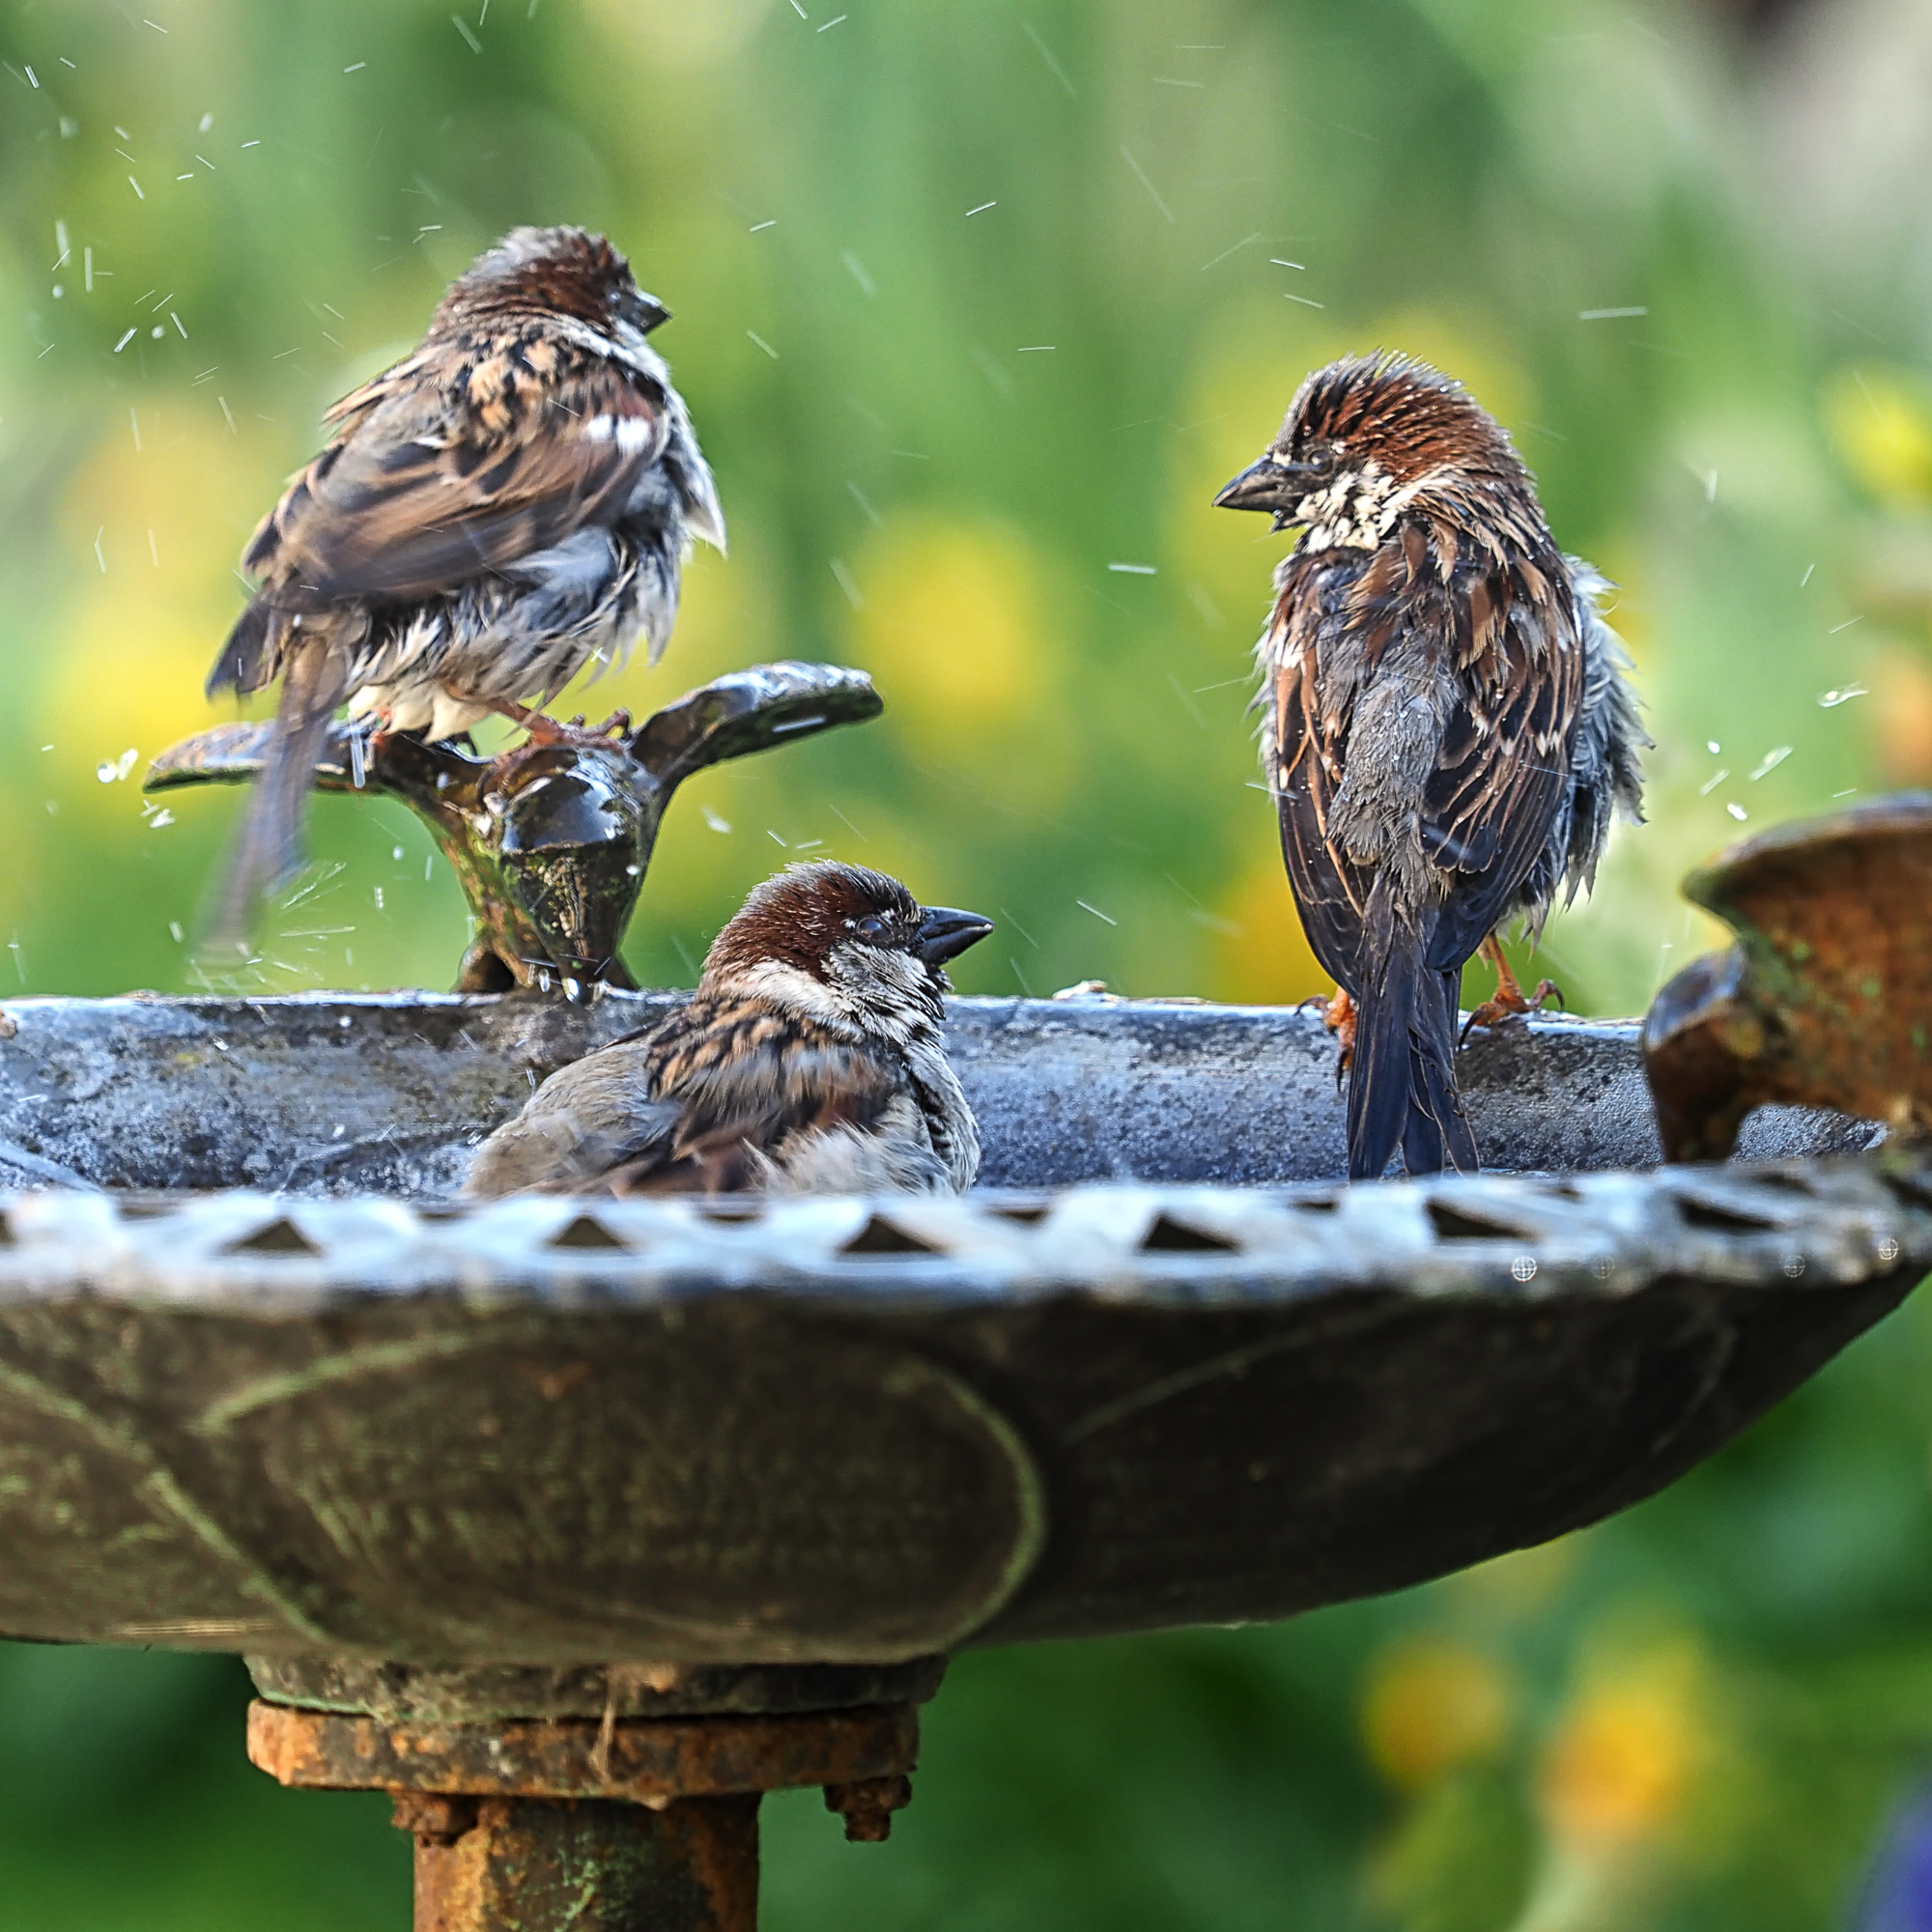
‘If you provide fresh water in a safe location, you’ll often be surprised by how many species visit. Blackbirds, robins, sparrows, starlings, thrushes and even birds that rarely visit feeders will often stop by for a drink or a bath. Food may attract birds to your garden, but clean water is often what keeps them coming back.’
(Image credit: Getty Images)
You want to put your bird bath somewhere that is both safe and private for birds to retreat to.
But don’t forget to make sure you can see your bird bath from your garden seating areas – it would be a shame to miss witness visiting birds enjoying it!