A duplex looks simple on paper. Split the block, build two homes, done. In reality, you’re designing two separate lives that share a wall, a street frontage and usually a driveway, and the decisions you make early shape how both homes feel for decades.
Whether you plan to live in one side and rent or sell the other, house extended family, or develop purely as an investment, the planning stage is where a good duplex is won or lost. Here’s what to think through before anyone draws a final plan.
Table of Contents
Start with the block, not the floor plan
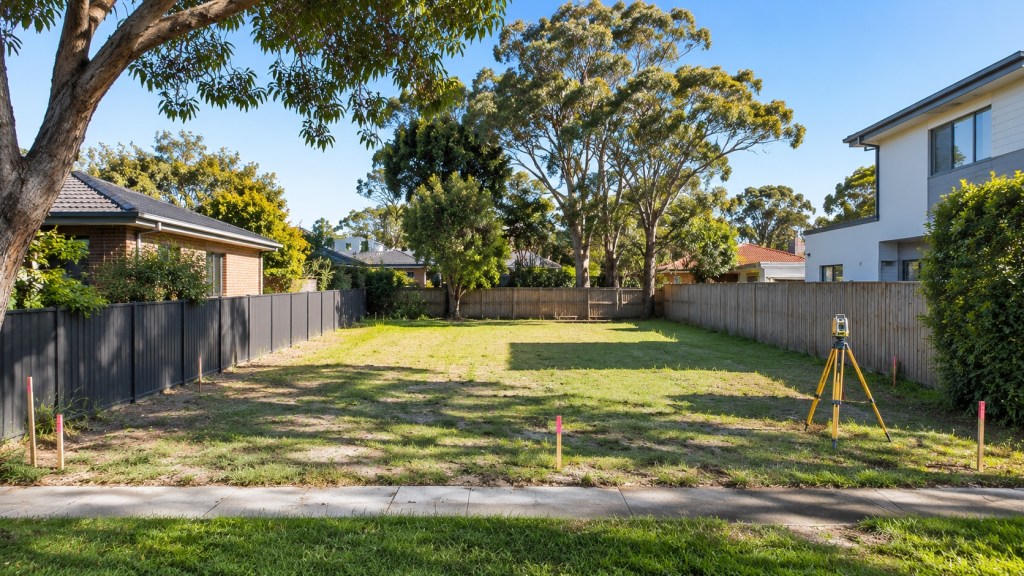
It’s tempting to fall in love with a floor plan you’ve seen online, but the block decides almost everything. Frontage width, orientation, slope, easements, trees and the position of the sewer line all limit what’s possible.
Orientation is the big one. On a block facing north to the street, both homes can usually get decent northern light into their living areas. On an east or west facing block, a side-by-side duplex often means one home gets the better deal unless the design works hard to balance it.
Walk the site at different times of day. Notice where the afternoon sun lands, which neighbours overlook you, and where noise comes from.
Side by side or front and back?
Side-by-side duplexes are the most common layout in Sydney suburbs. Each home gets its own frontage, its own garage and usually a similar sized yard. They’re generally easier to sell as two equal products.
Front-and-back layouts can make sense on deep, narrow blocks. The rear home often gets more privacy and a quieter yard, while the front home gets the street appeal. The trade-off is the long driveway, which eats into landscaping and needs careful thought about lighting, drainage and how it feels to walk down at night.
The best layout is simply the one that suits your block and your end goal.
Designing for privacy between the two homes
Privacy is the thing people underestimate most. Two households a wall apart need to feel like they have their own homes.
A few design moves make a real difference:
Mirror the floor plans thoughtfully. Put living areas next to living areas and bedrooms next to bedrooms where you can, rather than one side’s kitchen backing onto the other side’s main bedroom.
Use the garages and wet areas as buffers. Laundries, bathrooms, robes and garages along the party wall soak up a lot of noise.
Stagger windows and outdoor spaces. If both alfresco areas sit side by side with nothing between them, nobody gets a private dinner outside. A garden wall, a planter box with decent screening plants, or simply offsetting the two areas goes a long way.
Specify the party wall properly. Fire and acoustic separation between the dwellings is a compliance requirement, but going beyond the minimum on acoustic insulation is often money well spent for comfort and resale.
Getting light into both sides
Duplexes are typically narrower than a freestanding home, so natural light needs planning rather than hoping. Highlight windows, skylights and well-placed courtyards can bring light into the middle of a long floor plan without compromising privacy.
Raking ceilings or a void over the living area can make a narrow home feel far more generous. Upstairs, a light well over the stair is a simple trick that brightens the whole core of the house. Every skylight and void needs careful waterproofing and insulation, so raise them with your builder early rather than adding them late.
Materials and façade: one building or two?
Some owners want the two homes to read as one cohesive building, with matching brick, render and roof lines. Others prefer each side to have its own identity, with different cladding colours or entry details, so buyers or tenants feel they’re getting something individual.
A middle path often works best. Keep the overall form, roofing and main materials consistent so the building looks considered from the street, then let entries, front doors, letterboxes and landscaping give each home its own personality.
Inside, choose finishes that are durable and easy to maintain, especially if one or both sides will be rented. Hard-wearing flooring, quality tapware and sensible benchtop choices will age better than trend-led finishes that date quickly.
Budget tips that actually help
Building two homes at once lets you share site costs, structure and trades, but a duplex budget can still blow out if the planning is loose.
Lock in your design before you build. Changes during construction cost more on a duplex because they often affect both homes.
Repeat where it makes sense. Mirrored or near-identical layouts simplify ordering, framing and services.
Don’t skimp on the invisible stuff. Drainage, waterproofing, insulation and acoustic separation aren’t glamorous, but they’re expensive to fix later.
Allow for site costs. Demolition, excavation, retaining, tree removal and service connections can be significant, and they’re easy to underestimate when you’re focused on the homes themselves.
Keep a contingency. Every build has surprises, especially on older blocks with unknown ground conditions.
Approvals in NSW: CDC or DA
In NSW, a dual occupancy can usually go down one of two approval paths.
A Complying Development Certificate (CDC) is the faster route where your project meets set planning standards, such as those under the Low Rise Housing Diversity Code. It’s assessed against clear rules, often by a private certifier, and suits straightforward designs on compliant blocks.
A Development Application (DA) goes through your local council and is assessed on merit. It takes longer and can involve neighbour notification, but it gives more flexibility if your design or site doesn’t tick every CDC box. Blocks with heritage considerations, flood or bushfire constraints, or unusual shapes often end up on the DA path.
Which route applies depends on your zoning, lot size, frontage and the specifics of the design. Rules also change, so get current advice for your particular block before committing to a design. Experienced dual occupancy home builders can usually tell you fairly quickly which pathway looks likely and what that means for your timeline.
Bringing it together
A well-planned duplex should feel like two genuine homes, each with its own light, privacy and sense of arrival. Get the block analysis, layout and approvals sorted early, spend wisely on the things you can’t see, and give each side a bit of personality. Do that, and you’ll end up with homes people actually want to live in, whether that’s you, your family or the next owners.
Whether you’re preparing to sell your home or simply want to make it more attractive and comfortable, thoughtful interior improvements can make a noticeable difference. From refreshing a tired kitchen to updating your colour scheme, relatively simple changes can help create a more welcoming property that appeals to potential buyers.
However, not every home improvement will increase your property’s market value, and expensive renovations don’t always deliver the best return. The key is to focus on practical upgrades that improve functionality, presentation and energy efficiency without spending more than you’re likely to recover.
Here are four interior design and home improvement ideas worth considering if you want to enhance your home’s appeal and potentially increase its value.
Table of Contents
Renovate Your Kitchen
Kitchen renovations are among the top home improvement projects that can make your property sell for more than its asking price. This is because many potential buyers prioritize the kitchen when looking for a suitable home. The following kitchen upgrades can help boost your home’s worth:
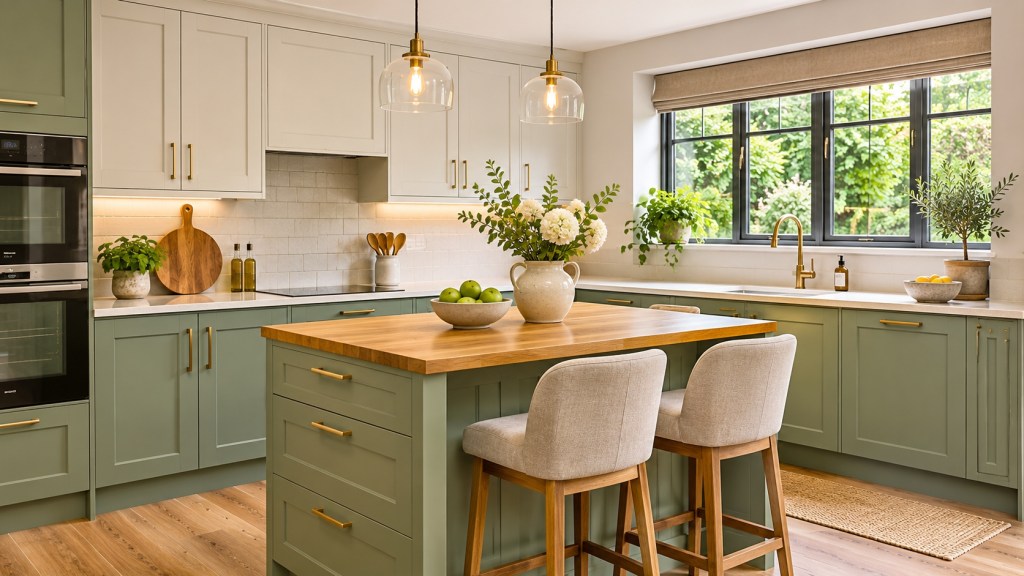
Refinish and reface the existing cabinets: Giving your current cabinets a fresh coat of stain or paint and adding new hardware can cost-effectively elevate your kitchen’s look while raising your property’s overall value
Upgrade the countertops: Updating to quartz, laminate, or granite countertops improves your space’s aesthetic appeal and makes your home sell for more
Invest in new appliances: Upgrading your kitchen appliances may be able to get you a higher ROI when selling
Add a kitchen island: It serves as a multi-functional space that can also provide more counter space and storage when fitted with drawers
If you own an old home, you should be wary of asbestos when renovating. Asbestos was commonly used in kitchens in homes built before the 1980s. Since asbestos resists heat, fire, and moisture, manufacturers mixed it into many building products and appliances.
If there is asbestos present, and you suspect you inhaled a significant amount of asbestos dust in previous renovations, you should see a doctor and a lawyer. A lawyer from a reputable lung cancer law firm can advise you on how to document the exposure and file for compensation in case you or another family member is found with lung cancer down the road.
Before committing to a complete kitchen renovation, consider whether smaller improvements could achieve a similar visual effect. Repainting existing cabinets, replacing dated handles, updating the splashback and improving lighting can transform the appearance of a tired kitchen without the expense of replacing everything. If the existing layout works well and the units are structurally sound, retaining them may offer better value than starting from scratch. It’s also worth choosing finishes with broad appeal rather than highly personalised designs, particularly if you’re planning to sell soon.
Replace Your Furniture & Styling
The way you furnish and style your home can significantly influence how prospective buyers perceive it. Although replacing freestanding furniture won’t usually increase your property’s actual market value, attractive, well-presented rooms can make your home more appealing and help buyers imagine themselves living there.
You don’t necessarily need to invest in expensive new furniture to make an impact. Instead, focus on simple improvements that make your interiors feel fresh, comfortable and spacious.
Update tired furniture: Consider reupholstering worn chairs, replacing dated furniture handles or refreshing wooden pieces with paint to give them a new lease of life.
Choose appropriately sized furniture: Oversized sofas and bulky cabinets can make rooms feel smaller than they are. Well-proportioned furniture helps highlight the available space and creates a more balanced layout.
Improve furniture arrangements: Position sofas, chairs and tables to create comfortable seating areas and clear pathways through each room.
Introduce attractive accessories: Fresh cushions, throws, rugs and carefully chosen decorative pieces can make a room feel more inviting without requiring a substantial investment.
Reduce clutter: Removing unnecessary furniture and personal possessions helps rooms feel larger, brighter and easier for potential buyers to visualise as their own.
If you’re preparing to sell, concentrate on presenting your existing furniture in the best possible way before spending money on replacements. Thoughtful styling and furniture arrangements can improve first impressions, strengthen your property’s appeal and potentially help attract more buyer interest.
Paint Your Property’s Interiors
Painting your interiors is crucial when preparing your house for the market. It not only boosts your property’s appeal but also adds to its value. The best areas to paint for increased home value include:
Entryway
Kitchen and bathroom
Accent walls
Ceilings
Closets
Outdated wallpapers and more
Color choice is a major consideration when painting your home to increase value. When choosing paint colours, think about how the rooms connect and how much natural light they receive. Warm whites, soft greiges and gentle earthy neutrals can create a welcoming backdrop that works with different furniture styles. However, neutral doesn’t have to mean colourless. A carefully chosen muted green, dusty blue or subtle accent colour can introduce personality without overwhelming the space. Whatever colours you choose, good preparation and a professional-looking finish are just as important as the shades themselves.
Make Your Home More Energy-Efficient
Energy efficiency is an increasingly important consideration for homeowners and prospective buyers, particularly when household running costs are high. Improvements such as better insulation, efficient heating controls and upgraded windows can make a property more comfortable and less expensive to run. Some upgrades may also improve its market appeal, although the effect on resale value will depend on the property and the cost of the work involved. Before investing in major improvements, consider which measures will deliver the greatest practical benefit for your particular home.
To make your home more energy-efficient, consider the following upgrades:
Energy-efficient windows and doors: Investing in energy-rated doors and windows not only enhances your property’s thermal performance but could also boost its resale value
Solar panels: Installing solar panels in your home cuts your energy costs and carbon footprint. These savings translate to increased property value
Energy-rated appliances: Energy-efficient appliances not only make your home more attractive to potential buyers but also contribute to increased property value. When selecting appliances, such as washing machines, dishwashers, dryers, central air conditioners, and more, check the energy rating labels
Insulate your home: Adding insulation to your home increases comfort while cutting greenhouse gas emissions and heating and cooling expenses
Upgrade to LED lighting: Replacing traditional incandescent or halogen bulbs with energy-efficient LED alternatives is a simple, affordable way to reduce electricity consumption. LEDs also last considerably longer, reducing the need for frequent replacements. Consider installing dimmer switches and motion sensors in suitable areas to avoid unnecessary energy use.
Install a smart thermostat: Smart thermostats and programmable heating controls allow you to manage your home’s temperature more efficiently. Features such as heating schedules, remote adjustments and room-by-room temperature control can help reduce wasted energy while maintaining a comfortable living environment.
Draught-proof your home: Small gaps around windows, external doors, skirting boards and other openings can allow warm air to escape and cold air to enter. Adding appropriate draught seals, weatherstripping and door brushes is a relatively inexpensive way to improve comfort and reduce heating costs without undertaking major renovations.
Upgrade your heating and cooling systems: If your existing heating or cooling equipment is old or inefficient, upgrading to a modern, appropriately sized system could reduce energy consumption and improve comfort. Depending on your property and location, options might include a high-efficiency boiler, an air-source heat pump or an energy-efficient air conditioning system. Consider installation costs, insulation levels and your home’s existing heating arrangements before choosing a replacement.
Improve your window treatments: Thermal curtains, insulating blinds and well-fitted shutters can help reduce heat loss through windows during colder months. In warmer weather, suitable blinds and curtains can also limit excessive solar heat gain, helping maintain comfortable indoor temperatures. These additions can improve a room’s appearance while providing a relatively affordable energy-saving benefit.
Which Home Improvements Should You Prioritise?
Before spending money on home improvements, take a realistic look at your property’s current condition and the expectations of buyers in your local area.
Start by addressing obvious maintenance problems, such as damaged flooring, peeling paint, broken fittings or signs of damp. These issues can make a property appear poorly maintained and may discourage buyers, even if the rest of the interior looks attractive.
Next, focus on improvements that offer a noticeable visual or practical benefit without requiring a major investment. Fresh paint, improved lighting, tidy storage and a well-presented kitchen can all help create a positive first impression.
More expensive projects, such as replacing windows or completely renovating a kitchen, deserve careful consideration. Compare the likely costs with the value of similar properties nearby, and consider asking a local estate agent which improvements buyers are most likely to appreciate.
The aim isn’t necessarily to create the most luxurious home on the street, but to make sensible improvements that suit the property’s style, condition and likely market.
Improvement
Typical investment
Main benefit
Repainting walls
Low
Fresher appearance and broader buyer appeal
Updating furniture and styling
Low–medium
Better presentation
Refreshing kitchen cabinets
Low–medium
Modernised kitchen without full replacement
Replacing kitchen worktops
Medium
Improved appearance and practicality
Improving insulation
Low–high
Greater comfort and potentially lower energy bills
Replacing windows
High
Better thermal performance and appearance
Installing solar panels
High
Potential long-term energy savings
If your property needs several updates, it’s worth identifying the most urgent work first rather than concentrating exclusively on cosmetic changes. Our guide to handling a home that needs too much work explores how to prioritise repairs and improvements.
Endnote
Improving your home’s appeal and potential resale value doesn’t always require an extensive renovation or a large budget. Sometimes, relatively modest changes, such as repainting tired walls, refreshing kitchen cabinets or rearranging furniture, can make a surprisingly noticeable difference.
The most worthwhile improvements are those that address genuine shortcomings, enhance everyday comfort and make the property more attractive to prospective buyers. Before investing in expensive upgrades, consider your budget, the condition of your home and what buyers in your area are likely to value.
By concentrating on practical, well-planned improvements rather than unnecessary spending, you can create a home that’s more enjoyable to live in today and better presented when it’s time to sell.
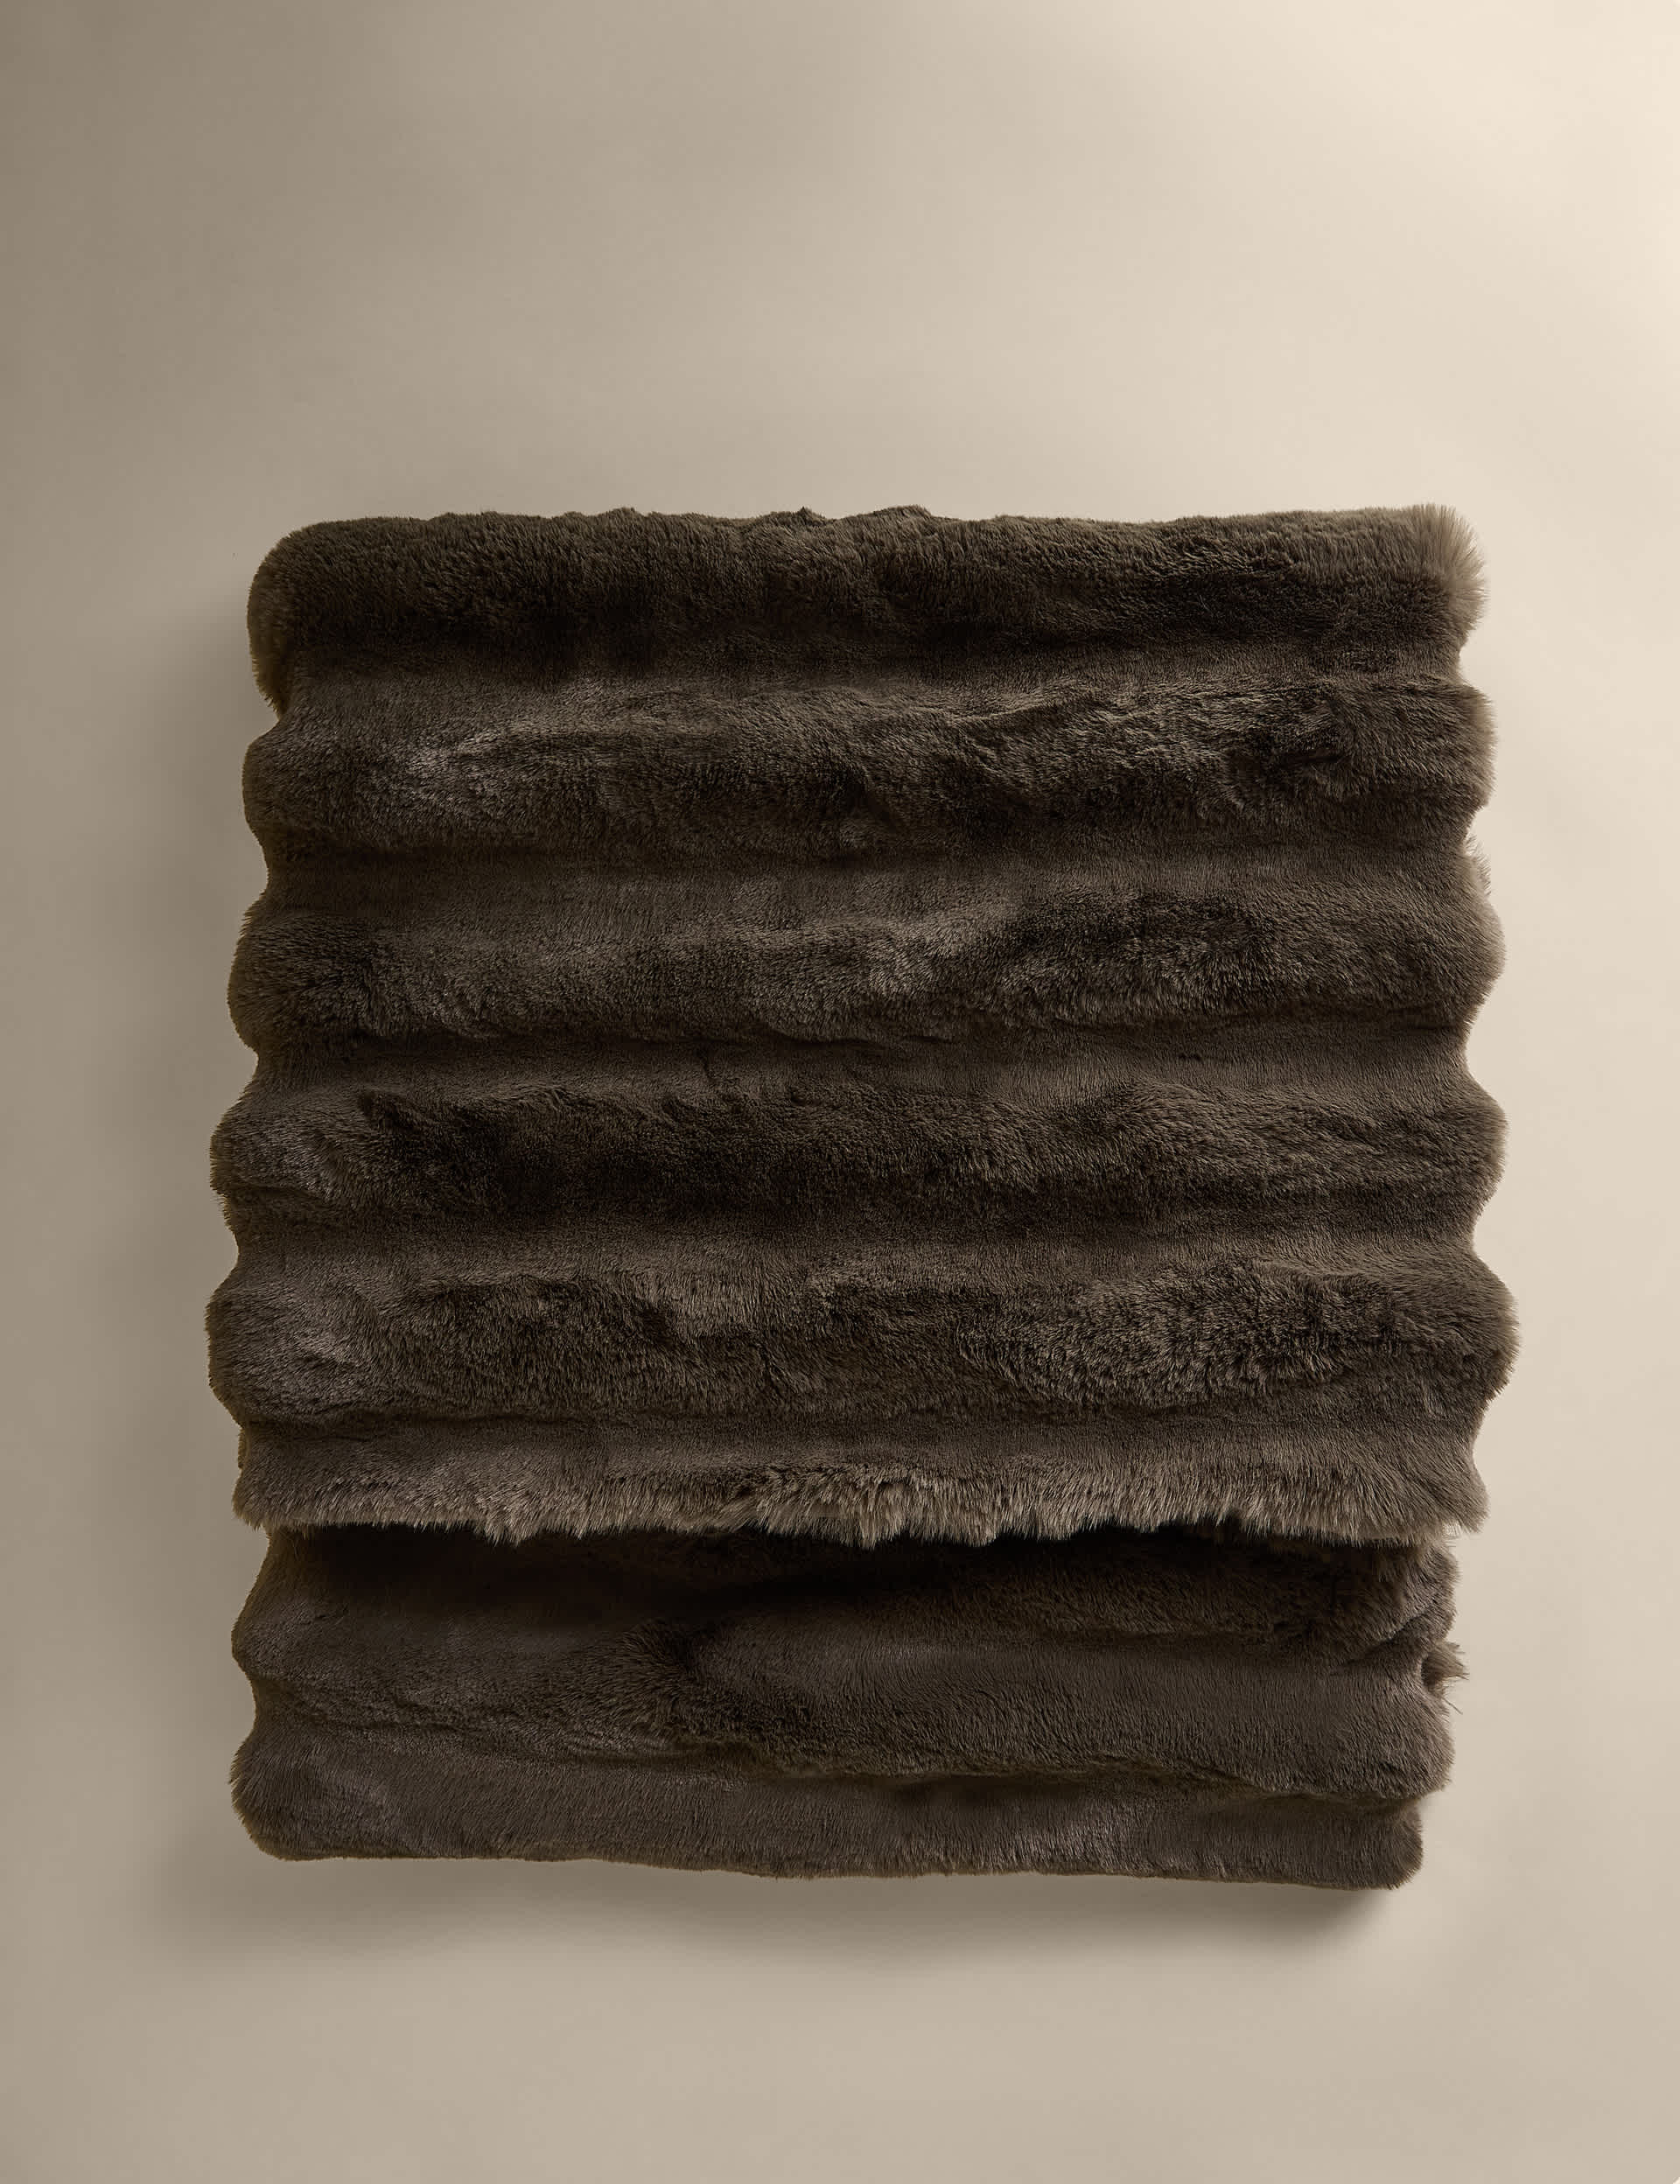
M&S has just dropped its winter collection of super-soft faux fur bedding, and if last year is any indication, I think this cosy, luxurious bedding set will sell out in record time.
A reversible bedding set with soft fleece on one side and luxurious faux fur on the other, as far as I’m concerned, this duvet set is the *ultimate* cosy bedtime treat.
What’s more, the M&S Supersoft Faux Fur Bedding Set is now just £28 for a single. Personally, I think that’s a lot of good reasons to snap up this bedtime treat before it flies off the shelves.
Latest Videos FromIdeal Home
M&S
Supersoft Faux Fur Bedding Set
As Ideal Home’s Sleep Editor, I’ve spent the last five years testing bedding from all the major (and minor) high street names, and when it comes to where to buy bedding, M&S is always one of my top recommendations.
But the brand’s Supersoft Faux Fur bedding is in another league. When it launched last year, it was the first time I’d ever seen a faux fur *duvet cover*, and as the cold weather hit, I wasn’t surprised to see it fly off the shelves.
(Image credit: M&S)
And it seems I wasn’t alone in being impressed by it. If my memory serves me correctly, by the end of November last year, stock of this luxurious bedding set was already sold out online.
Sign up to our newsletter for style inspiration, real homes, project and garden advice and shopping know-how
‘Lovely snuggly bedding, warm and comfy!’ raves one five-star reviewer on the M&S website. ‘Very cosy and so, so soft.’ ‘Beautifully soft and cosy duvet set,’ confirms another happy owner. ‘It’s a very nice colour too, exactly what I hoped for.’
‘Absolutely amazing quality,’ sums up another five-star review, ‘feels so cosy with the winter weather coming around. Really recommend.’
(Image credit: M&S)
What’s more, this year it isn’t just the faux fur duvet set on offer. M&S already has plenty of other cosy fleece and super soft faux fur bedding hitting the shelves, and I have no doubt there’s more to come.
I’ve rounded up some of the best winter buys below, but if this luxe snuggly bedding catches your eye, I recommend moving fast whilst it’s still in stock.
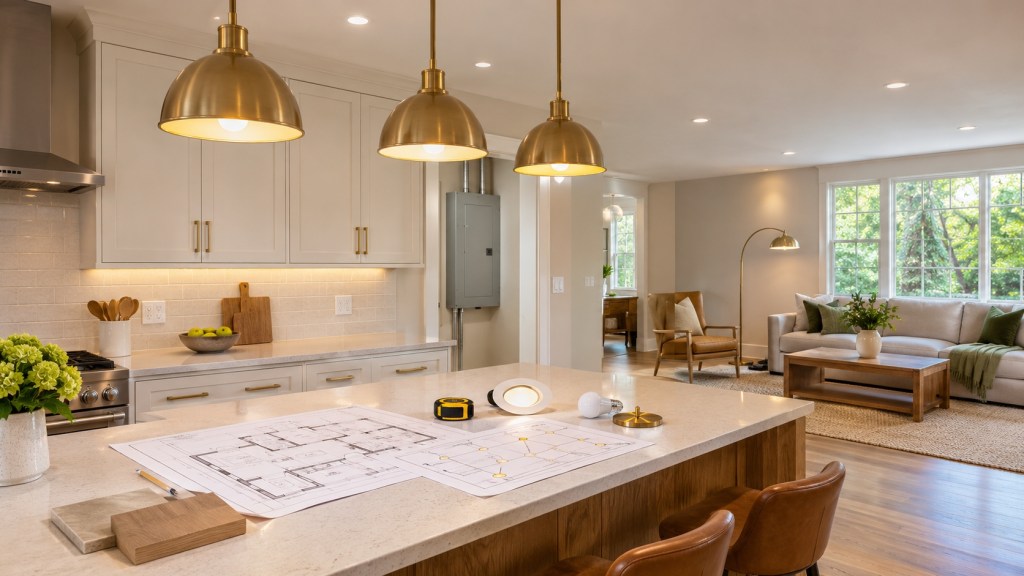
Most renovation plans start with what you can see: a new pendant over the kitchen island, recessed lights in the living room, extra outlets along a home office wall, maybe a charger in the garage. What rarely makes the mood board is the gray metal box in the basement or garage that has to feed all of it. If that box is old, full or undersized, even the best fixture plan can run into trouble before the first wire is pulled. This guide explains what an electrical panel upgrade actually involves, how to tell whether your home needs one, and how to fit it into the rest of a remodel.
Table of Contents
What Is an Electrical Panel Upgrade?
An electrical panel upgrade replaces the main service panel and the connection that feeds it, so a home can safely carry its present and future loads. It does not rewire the branch circuits inside the walls. That narrow scope makes it easy to plan around, because each step is sequenced and has to clear a check before the next one starts.
Service size is the main decision. Homes are typically served at 100, 200 or 400 amps, and 200 amps is treated as the modern standard for single-family homes. A larger service gives you room for added lighting circuits, a kitchen refresh, a workshop or an EV charger without constantly trading one load against another.
What Are the Signs Your Home Needs One?
Look for these before you finalize a renovation plan:
A fuse box instead of breakers
No spare breaker slots for new circuits
Breakers that trip frequently
Flickering lights
Buzzing from the panel
A panel that feels warm to the touch
Any one of these is worth a professional look, and several together are a strong hint. They matter most when you are adding lighting, outlets or fixtures, because every new circuit needs somewhere to land. A panel with no open slots forces compromises, and a panel that already runs warm is not the place to add more demand.
How Does the Upgrade Work, Step by Step?
Guides from electricians such as Veteran Electric break the job into four stages: assessment, permitting, installation and inspection. The order matters, and your remodel schedule should respect it.
Stage
What happens
Assessment
Load calculation, service entrance and grounding reviewed
Permitting
Permit pulled and utility meter work arranged
Installation
New panel, meter socket and grounding, typically one day
Inspection
City or county sign-off before power is restored
The assessment comes first because a load calculation adds up what the home actually draws, so the service size comes from numbers instead of guesses. Most residential panel upgrades finish in a single day. Older wiring found along the way, such as aluminum or knob-and-tube, is normally flagged and quoted separately from the panel work, so it helps to know in advance that a renovation behind the walls may uncover it.
Which Code Requirements Show Up During the Work?
Electrical work runs on written procedure. The rulebook is the National Electrical Code (NEC), revised every three years, with the 2023 edition the most recent full edition adopted in many jurisdictions. You do not need to memorize it, but a few rules explain why your electrician does certain things the same way every time.
Surge protection is one. Since the 2020 edition, NEC section 230.67 has required a surge-protective device for services supplying dwelling units, including when a service is replaced. Whole-home units are hardwired at the panel and are typically rated 50kA to 80kA. If you have invested in new lighting controls, smart fixtures or a home theater, that protection sits upstream of all of it.
EV charging is another. Under NEC Article 625, charging equipment counts as a continuous load, which means its branch circuit is sized at 125 percent of the charger’s rated load. A charger is often the single biggest new demand a homeowner adds, so it is worth raising during the assessment instead of after the panel is installed.
The same logic of safe, repeatable steps applies to the work itself. A circuit is de-energized and verified dead before anyone touches it, and the crew calls out hazards before they become problems. Those habits are why a tidy panel is a good sign about the job as a whole.
Who Signs Off Before the Power Comes Back On?
The city or county inspector signs off on the work, and the local electric utility handles the meter disconnect and reconnect around it. A licensed electrician normally coordinates that visit, pulls the permit and books the inspection as part of the job, so you are not left scheduling three parties on your own.
Permitting is not uniform across the Kansas City metro. Requirements differ among Clay, Platte and Jackson counties and on the Kansas side of the state line, and much of the local housing dates to the mid 1900s. If your house is one of those older homes, local rules and original wiring are both worth asking about early.
Power is not permanently restored until the inspection clears. Assessment, permit, installation and inspection cannot be shuffled, which is the plainest kind of checklist and the reason a well-run job feels uneventful.
How Should You Sequence a Panel Upgrade With a Remodel?
Timing is where homeowners save the most hassle. A few practical guidelines:
Do the assessment first. Before you order fixtures or lock in a layout, have the load calculation done so you know what the service can support.
Upgrade the panel before the walls close. If a renovation will open drywall anyway, that is the moment to add circuits for lighting, outlets and appliances.
Ask for the scope in writing. A careful electrician starts every job with an assessment and puts the scope in writing before work begins, instead of quoting a flat rate sight unseen. That written scope tells you the objective, the steps and what is and is not included before anything is touched.
Plan for one day without power. Most upgrades finish in a day, but the home will be without electricity while the work is underway, so schedule around refrigerators, work from home days and any contractors on site.
Keep the inspection date on the calendar. Painters, flooring crews and cabinet installers can work around it, but power is only restored for good after sign-off.
Make the Panel Part of the Design
A panel upgrade is a small project in the story of a remodel, but it follows the same pattern as every good renovation: assess, plan, build, verify. Treat it as part of the design instead of an afterthought, and the lighting, outlets and fixtures you choose have a solid foundation. Before you commit to the next big upgrade at home, open the panel door, count the open slots and ask whether the box behind the walls is ready for the plans on your wish list.
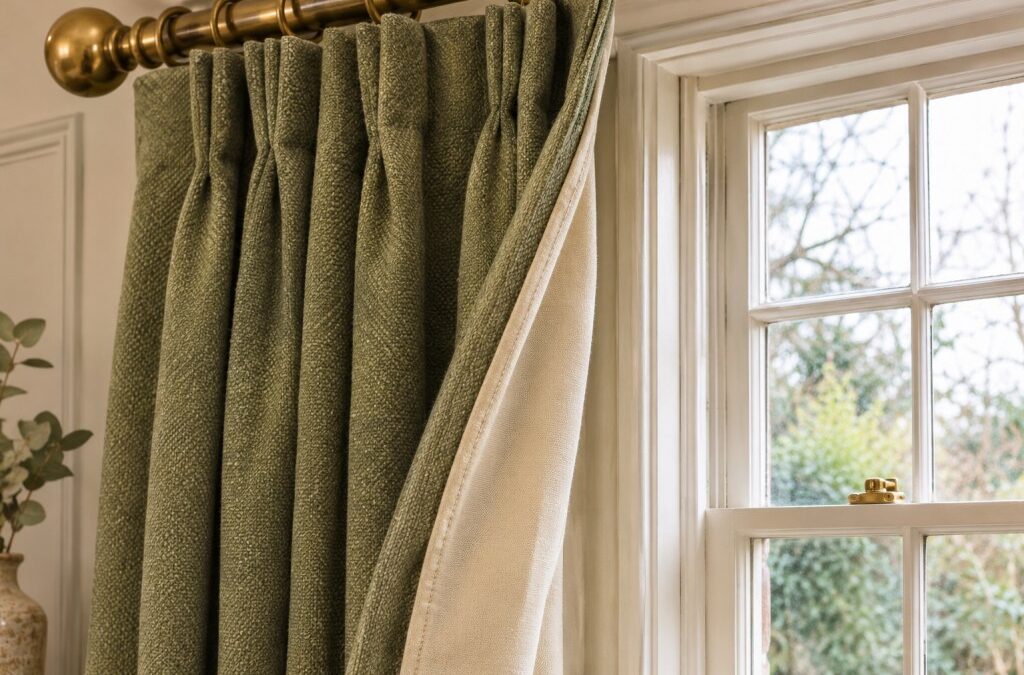
In a period home with original sash windows, curtains, blinds and shutters do more than decorate a room. They also change how much heat escapes through the window.
That is not guesswork. Researchers have measured how much heat curtains, blinds and shutters stop from escaping through a traditional sash window. This guide sets out what they found, so you can choose a dressing for both looks and comfort.
Table of Contents
What the Research Tested
The main study was carried out for English Heritage, now Historic England, by Glasgow Caledonian University. Researchers fitted different dressings to an 1880s timber sash window and measured the heat lost through it. The results were published in 2009.
Historic Environment Scotland publishes its own figures, and they do not always match. Where the two differ, both are given below, because results depend on the dressing, how it fits and the window it is tested on.
Curtains
In the English Heritage tests, heavy curtains cut heat loss through the whole window, including the frame, by 41%.
Historic Environment Scotland gives a lower figure. It says heavy, lined curtains can reduce heat loss by 14%, and describes them as a good alternative to shutters.
Both sources agree on timing. Curtains help most when they are closed at night.
Blinds
The type of blind made a large difference in the tests. Measured across the whole window, the researchers found:
A plain roller blind cut heat loss by 38%
A “thermal” honeycomb blind cut heat loss by 51%
A roller blind with a reflective, low-emissivity film facing the window cut heat loss by 57%
Fit matters too. The report notes that when the blind was fitted tightly, the window’s heat loss fell further than with a loose fit.
The direction of the film also matters. A blind with the reflective film facing into the room performed less well than one with the film facing the window.
Shutters
Shutters gave the best whole-window result of the dressings tested on their own, just ahead of the reflective blind. In the English Heritage study, shutters cut heat loss through the whole window by 58%. The shutters tested were three-panel shutters made from plywood, fitted with draught strip around their edges for a tight fit.
Historic Environment Scotland puts the saving from timber shutters at 51%. It calls using shutters one of the best ways to reduce heat loss at night.
Its advice depends on what your home still has:
if your shutters are ill-fitting, consider having them restored
if the original shutters have been removed, it is possible to have new shutters made
The best results came from using more than one layer. In the English Heritage tests, a low-emissivity blind used with shutters reduced heat loss through the glass by 83%.
Historic Environment Scotland reports a similar pattern. It says heat loss can be reduced by more than 75% when secondary glazing is used with blinds and shutters.
Start With Draughts
The dressing tests measured heat lost through the glass and frame. Draughts around the sashes are a separate problem, and Historic Environment Scotland describes draught-proofing as the most effective way of keeping warmth in, and says it should be your first goal.
It explains that draught-proofing a sash window involves removing a small amount of timber from the frame and replacing it with tubing, brushes or small metal fins. It lists lower heat loss, better noise insulation and less dust among the benefits, with no change to how the windows look. It also cautions that slender frames may be weakened by the work.
A specialist in timber sash windows can check the frames before any work starts.
Going Further: Secondary Glazing
If you want more than a dressing can offer, secondary glazing adds a second pane on the inside of the window. Historic Environment Scotland says it can reduce heat loss by 63%, and that it can be removed in warmer months when it is not needed.
In the English Heritage tests, low-emissivity secondary glazing cut heat loss through the whole window by 58%. Used with shutters, the saving rose to 62%. The report advises that secondary glazing should be closed tight in cold weather to limit condensation on the original window.
Before You Make Changes
Keep some ventilation. Historic Environment Scotland says some ventilation is good, both to limit condensation and to keep open fires, stoves and gas appliances safe.
Listed buildings. In England, the Planning Portal says listed building consent is needed for any significant works, internal or external. Check with your local planning authority before fitting shutters or secondary glazing.
Leasehold. The Planning Portal also notes that a leaseholder may first need permission from the landlord or management company.
Choosing the Right Dressing
The research gives a clear order of results. Curtains and plain blinds help, insulating and reflective blinds help more, and shutters gave the best whole-window result of the dressings tested on their own. Both sources say dressings help most when they are closed at night.