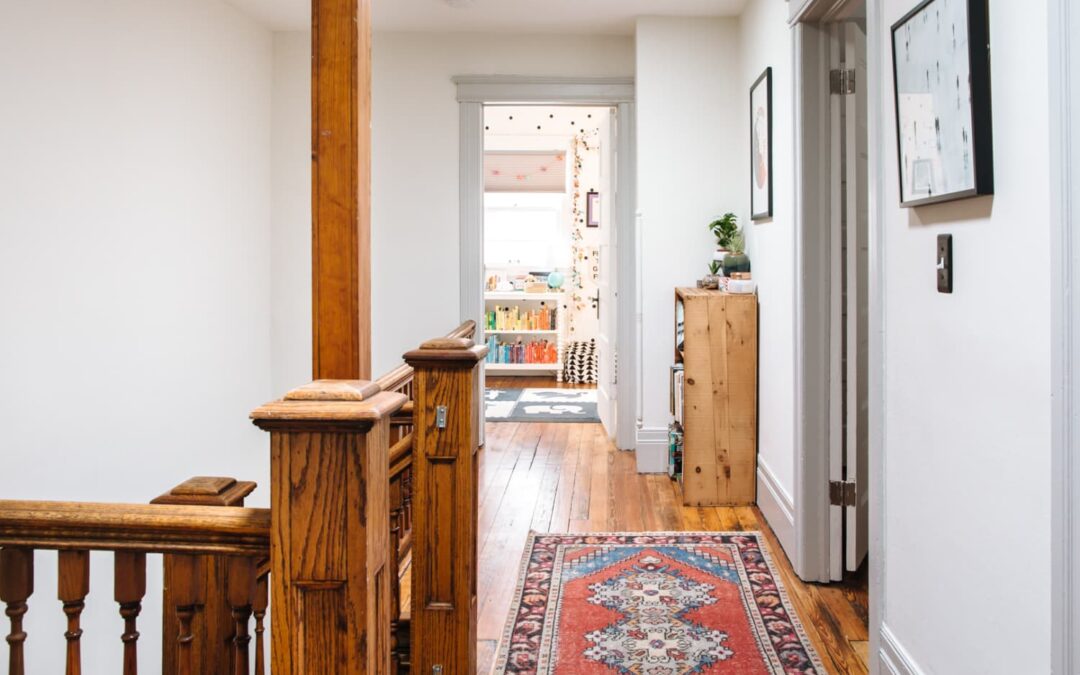
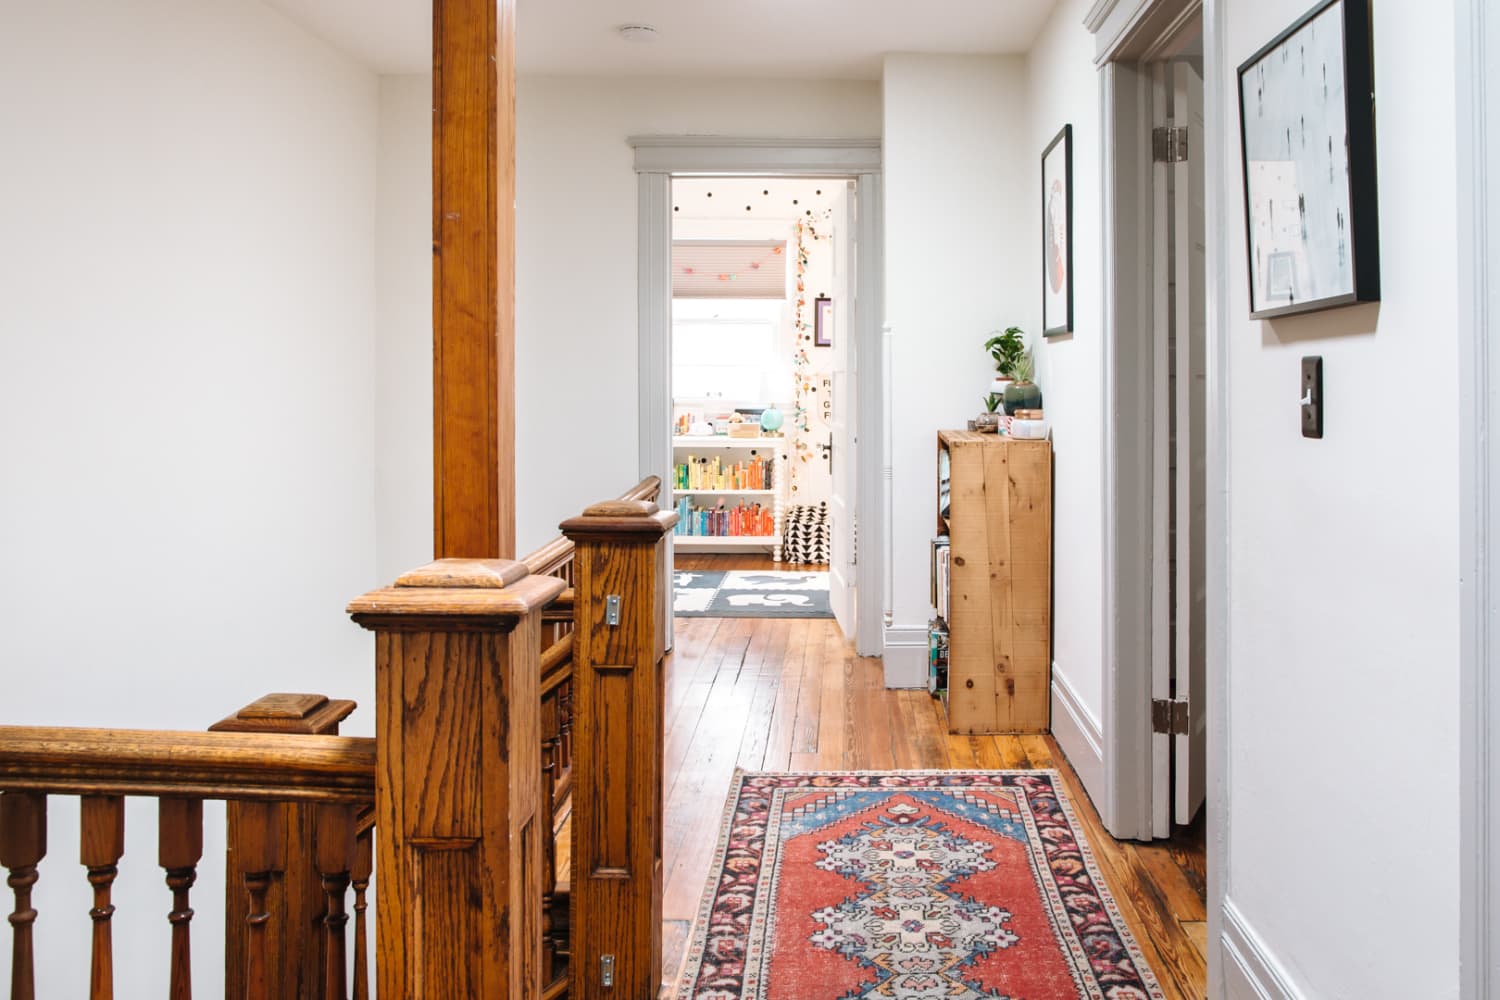
When I pore over home decor images online, the most beautiful spaces, no matter their aesthetic, often have a finishing touch in common: an interesting door with great hardware.
My husband and I have put a lot of time and energy into upgrading our beach town apartment. Everything from the kitchen counter to the bathroom mirrors were low-cost builder grade and lacked personality when we first moved in. At this point, we’re finished with all the big renovations (bathroom, kitchen, patio, and laundry room).
And seeing how nice those spaces are now, the cheap builder doors looked out of place and extra-dated. They were hollow core, plain white doors that were painted and repainted many times over. They were pretty thin and would rattle with the slightest breeze, and the noise really bothered me. Having just finished the kitchen renovation, I had some left over budget (and energy, surprisingly) to tackle replacing the interior doors.
I did a fair bit of research on what style I wanted and how it would fit with the laid back vibe of the beach style we created through the rest of the spaces. I narrowed it down to a shaker style with its simple, yet classic design.
Up next was working the replacement of six doors into the leftover budget. To plan this out, I had to decide what kind of replacing I could do. With interior doors, there are a couple options.
There are pros and cons to both, but I ended up going with a slab replacement for budget reasons and because some of our door frames were really thin and cornered up next to each other. It would have ended up being a lot more work to get everything to fit just right in these types of corners. Buying a slab door was much cheaper than the pre-hung door, and I could comfortably fit the six doors in the budget — plus the unlacquered brass door handles I had my eyes on.
Here’s how I upgraded my doors using the pre-existing frames:
First, I made sure I had the right materials.
I had to make sure all of my materials were the right size and came in on time. When researching how to replace doors, I landed on a super helpful YouTube video that took me specifically through replacing slab doors. It involved trimming down the door with a circular saw, routing the spaces for the hinges, and drilling the holes for the handles. I already had a circular saw, a router, and a set of drill bits.
Once everything was installed, it was time to paint. Since the new slab doors came primed already, I didn’t have to do that part, and I just chose the color I painted my walls, Valspar’s Swiss Coffee white in eggshell. I used almost exactly 1 gallon at $75. After two coats of paint, everything was done!
All in all, this project took me about one full weekend and cost $2,114. Although it was a bit of a shock to look at the price tag all together, it came out to about $230 per room and boosted the style of every room. Not to mention, they’re much sturdier than the old doors. The unlacquered brass door knobs tie in with the brass I used in the laundry and kitchen renovations as well.
I’m a fairly skilled DIYer (see: my kitchen renovation, laundry renovation, and back patio), and my project took one day for the total install and one day for painting. But this is also a project that you could outsource.
Personally, I plan on holding onto our townhouse and not selling, so it was easy to make the upgrade choice based on my personal preference, but replacing your doors is also something you might consider if you’re selling.
Doors are so noticeable because it’s the first thing a visitor (or buyer) will see walking down a hallway or up to a room. Solid wood doors are something you can also immediately feel when you open them. It is an upgrade that could make a big impact in the sellability of your home. It sounds so simple, but installing new doors gave a new and fresh look to the whole inside.