In this special New Year’s Eve episode, we’re playing back some of our favorite segments from the past year. (3 Echoes Content Studio)
In this special New Year’s Eve episode, we’re playing back some of our favorite segments from the past year. We wish you a happy new year and hope you look at 2023 as an opportunity for you to get things done around your home.
Cutting crown molding is easy when you use our Simple Solution. (DepositPhotos)
Cutting Crown Molding: To make miter cuts in crown molding, turn a panel upside down on the miter saw table. This allows the angled back edges to rest against the fence and the table during cutting.
Holding the molding in the right position while you make a cut is the difficult part.
The solution is to hot glue a piece of 1-by-2 wood to the saw table so it acts as a cleat to hold the molding in the proper position.
Use plastic liners in your apron to easily switch between nails and screws. (3 Echoes Content Studio)
Easy Nail Apron Liners: Make interchangeable liners for your nail apron or tool pouch out of one-quart plastic motor oil bottles.
Cut off the spout, wipe the bottle clean, fill it with nails or screws, and slip the liner into the apron pouch.
Fill up several bottles with various types and sizes of fasteners, so you can quickly and easily switch them in and out without having to dump out the apron.
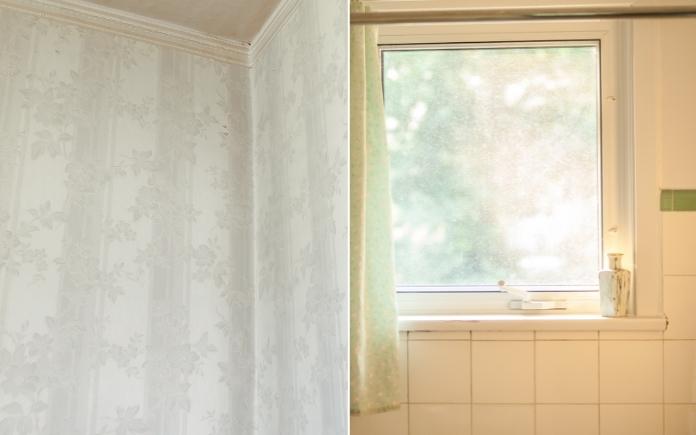
This week, learn how to clean old wallpaper and protect a wood-framed shower window from water damage. (Sandy Knollenburg/simplyzel, Getty Images)
Hour 1
In Hour 1, hear our suggestions for matching wood posts to vinyl, cleaning old wallpaper, and more.
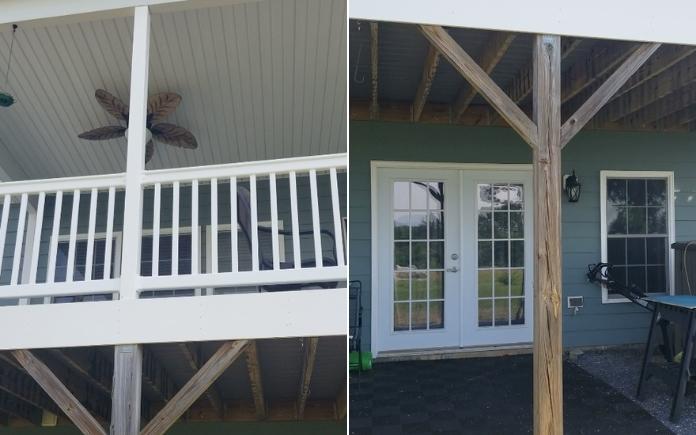
Matching Wood Posts to Vinyl
Matching these wooden support posts to the vinyl posts is as easy as applying a coat of paint. (Photos by Doug May)
Doug May has a great view of the Blue Ridge Mountains on his covered back porch. But, the view of his porch isn’t as pleasing.
“The upper part has vinyl sleeves over the top of the posts. Everything’s covered and it’s nice and smooth and white. But down below, it’s just pressure-treated wood, with all the cracks and gaps,” Doug says.
He wants the wooden support posts on the ground to match the white vinyl posts on the porch above. What’s stopping him from covering the wood posts with vinyl is the diagonal wood braces. He’s worried about the hassle of connecting the many vinyl pieces on the diagonals and sealing them.
“What I want is the smooth look and feel of the vinyl on the posts below. Is there a way to do that?” Doug asks.
Vinyl sleeves are expensive! If you want the posts to match, try this budget-friendly option:
First, clean the wood posts and apply a coat of primer.
Then, use auto body filler (like Bondo) to skim out the cracks. Once that dries, lightly sand the posts.
Then, caulk the areas where the diagonal braces meet the vertical posts.
Finally, apply two coats of acrylic latex paint.
Once you do this, no one will know one set of posts is vinyl and the other set isn’t! The acrylic paint will give it a glossy look and seal the joints.
If you decide you want to cover the posts with vinyl, remove one post at a time, including the diagonal supports, and attach the vinyl sleeves to each piece.
Miter cut the ends of the sleeves to fit the diagonal brace posts, and thoroughly caulk each seam so water doesn’t get in.
Don’t caulk the bottom of the diagonal brace pieces where the wood meets the post. If water were to get inside the vinyl, you want it to be able to drain out and dry.
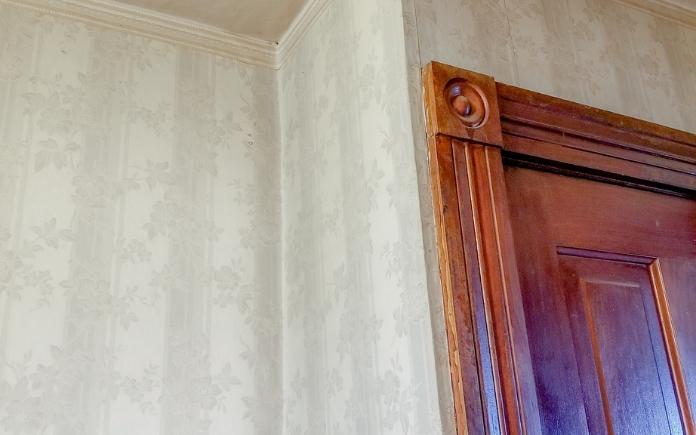
Original wallpaper keeps an old home’s character true to its age. (Photo by Sandy Knollenburg)
How to Clean Old Wallpaper
Sandi Knollenburg bought a 100-year-old farmhouse in Bloomington, Ill., five years ago, and she’s been renovating it little by little.
Right now, she’s working on the stairwell area. The walls that extend from the first floor to the second are covered in wallpaper from the 1960s. She loves the pattern, and the wallpaper is still in pretty good shape! All it needs is a good cleaning.
She asks, “What’s the best way to clean and preserve the wallpaper?”
Most modern wallpapers have an acrylic or latex coating that makes them washable and, in some cases, scrubbable. Older wallpaper is just plain paper, so you don’t want to get it wet. If you do, it will peel off the wall.
Try these options to remove the dirt and dust:
Wipe the wallpaper with a large, dry sponge.
Use a vacuum cleaner.
Attach a microfiber cloth to a Swiffer-type mop for hard-to-reach spots.
To remove skids and scuffs, use a gum eraser. You can buy these at an art supply store. Another option is a dry Magic Eraser. If that doesn’t work, lightly dampen it.
Hour 2
In Hour 2, learn how to prevent wood rot in a shower window, remove sediment from water, and more.
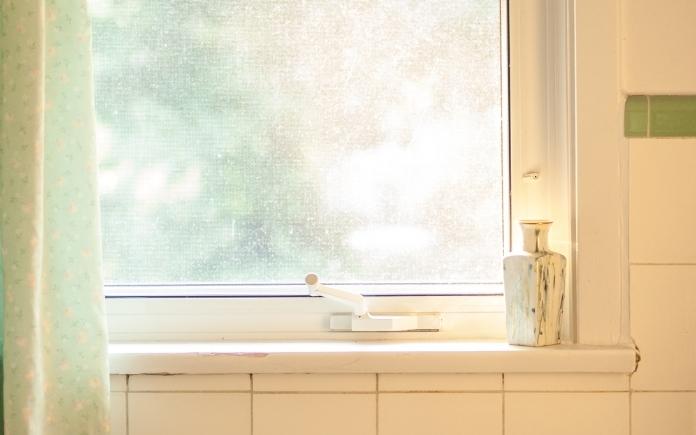
Worried about water damaging a wood-framed shower window? Protect it with tile. (simplyzel, Getty Images)
Protecting a Wood Window Frame in a Shower
A caller needs advice on tiling around a window in his shower. The wood frame sticks out slightly, so he can’t tile over it.
“What do you do to treat that to make it so that the water is not damaging that wood and causing wood rot, and more importantly that water is not getting behind that and causing damage to the shower?” he asks.
A lot of older houses have this problem. Typically, at one point in time, the bathroom had just a tub with a window above it. Then somewhere along the way, a shower was installed.
I’ve seen a lot of homeowners put a shower curtain over the window but rarely does that last long.
To protect the wood frame from water damage, encapsulate the window frame with the tile.
Before you lay the tile, be sure to caulk and paint the frame. Bring the tile up to the wood and then overlap extra tile over the window frame. This will protect the frame from the water and give it a nice, pronounced look.
If water can still hit it directly, install a waterproof window.
To completely eliminate any chance of rood rot, remove the window and replace it with a vinyl one.
Sick of sediment in your water? It’s time for a new water filter. (pixelshot)
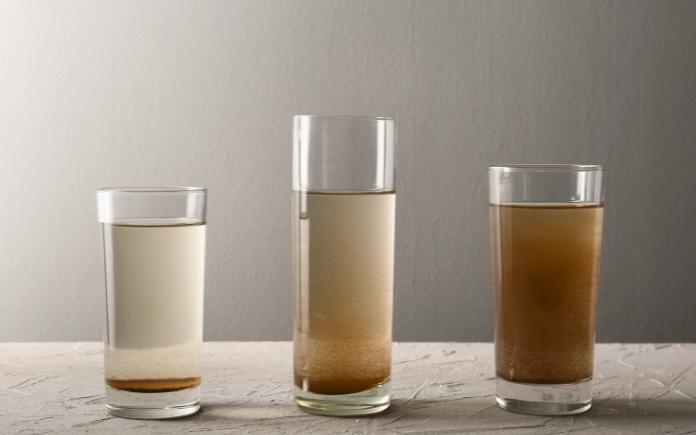
Sediment in Water
Pablo Sandoval in Willow Creek, Calif., is sick of sediment in his water. His home draws water from a deep well and all wastewater flows into a septic tank.
“For most of the year, the water supply is good, but every summer we have a problem with sediment that clogs aerators at sinks and showerheads. Plus, the washing machine takes forever to fill with water. What can we do to alleviate these issues?” he asks.
Sediment problems are more frequent in the summer because water levels are usually lower. There’s less water but the same amount of sediment in the system, so it finds its way to the pump and into your house.
You’ll need to have a well water contractor take a look at your pump. You might need a new screening.
Also, here are two options to consider:
Have a water well contractor install a sand separator on your pump. This device uses centrifugal force to push dirt, sand and debris outward to the separator wall and downward in a spiral motion. The cleaned water then rises and returns back to your plumbing system.
If your home’s primary entrance is in the garage, then you’ll want Chamberlain’s new garage door opener with an integrated camera. Learn More >>
Simple Solutions
This Simple Solution keeps you from constantly refilling your kitchen soap dispenser. (3 Echoes Content Studio)
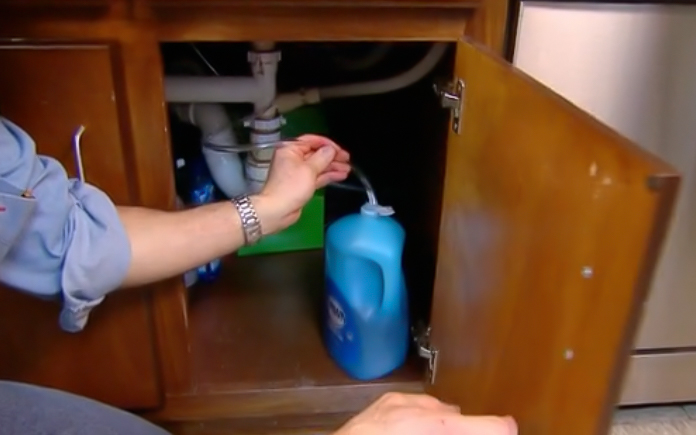
Improved Soap Dispenser — Kitchen-sink soap dispensers hold such a small amount of liquid soap that it requires you to constantly refill the reservoir bottle. Here’s a better option:
Lift off the hand pump from the dispenser, pull off the plastic fill tube, and replace it with a long flexible quarter-inch-diameter tubing.
Feed the opposite end of the tubing down through the hole in the sink deck and place it in a large jug of liquid soap.
Now you’ll never have to refill the dispenser; simply replace the soap jug once it’s empty.
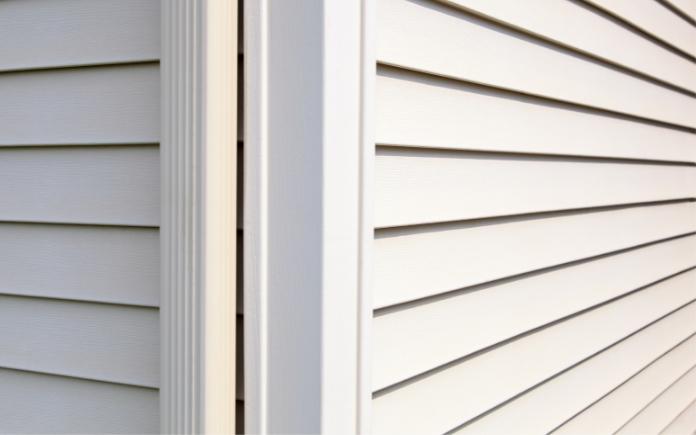
If you’re installing gutters on vinyl siding, run the drill in reverse for smooth holes. (Garrett Aitken, Getty Images)
Smooth Cut in Vinyl Siding — When using a hole saw to drill through vinyl siding, run the drill in reverse. That way, the hole saw will create a nice clean hole with no rough edges.
Once you cut through the siding, switch the drill to forward and bore through the wall sheathing.
Other Products & Links Mentioned
Further Reading
Radio Show & Podcast: Send us your question!
If you have a comment, general question about home improvement, or something we’ve featured on Today’s Homeowner, please fill in this form:
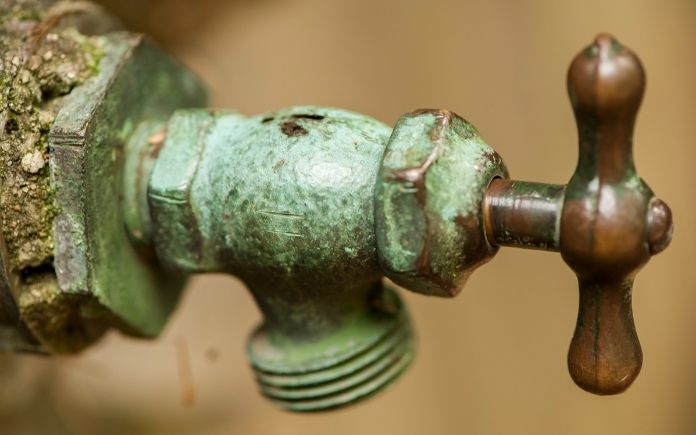
It’s normal for a copper pipe to develop a green patina over time. When copper is exposed to air and water, it oxides and turns a light green color.
However, if there is a lot of buildup and corrosion, it might corrode the copper.
To clean it, mix together one teaspoon of salt, a cup of vinegar, and enough flour to make a paste. Scrub it on the copper pipe to remove the buildup.
Skip to [43:42] for the full segment on the Today’s Homeowner Radio Show.
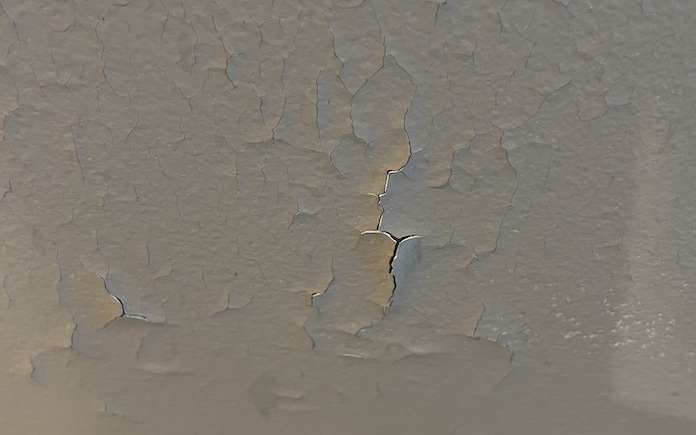
Solving the Mystery of Cracking Paint
The paint keeps cracking on the walls in Judy Stringer’s condo. (Photo by Judy Stringer)
Paint on every wall in Judy Stringer’s Orange Beach, Ala., condo is cracking. The cause of the paint cracking is perplexing.
It happens in every room.
She’s tried sanding and repainting it using a bonding primer. That didn’t work.
She keeps the air conditioner on consistently, so there’s not a moisture problem.
Also, she’s spoken to her condo association, and none of the other neighboring condos have this problem.
To us, this sounds like an adhesion problem. The fact it’s happening on all the walls and no other neighbors have a problem indicates it’s a not paint problem.
The original wall surface was probably not prepped correctly before it was painted.
Judy tells us that after Hurricane Sally hit the Alabama Gulf Coast in 2020, there was damage to a bedroom window. A contractor replaced some drywall around it and painted it. Now, this is the only spot in the condo where the paint does not peel.
This is an indication that the problem is with the drywall.
Fortunately, you don’t have to replace all the drywall. You can veneer over it with quarter-inch drywall one room at a time.
Skip to [17:36] for the full segment on the Today’s Homeowner Radio Show.
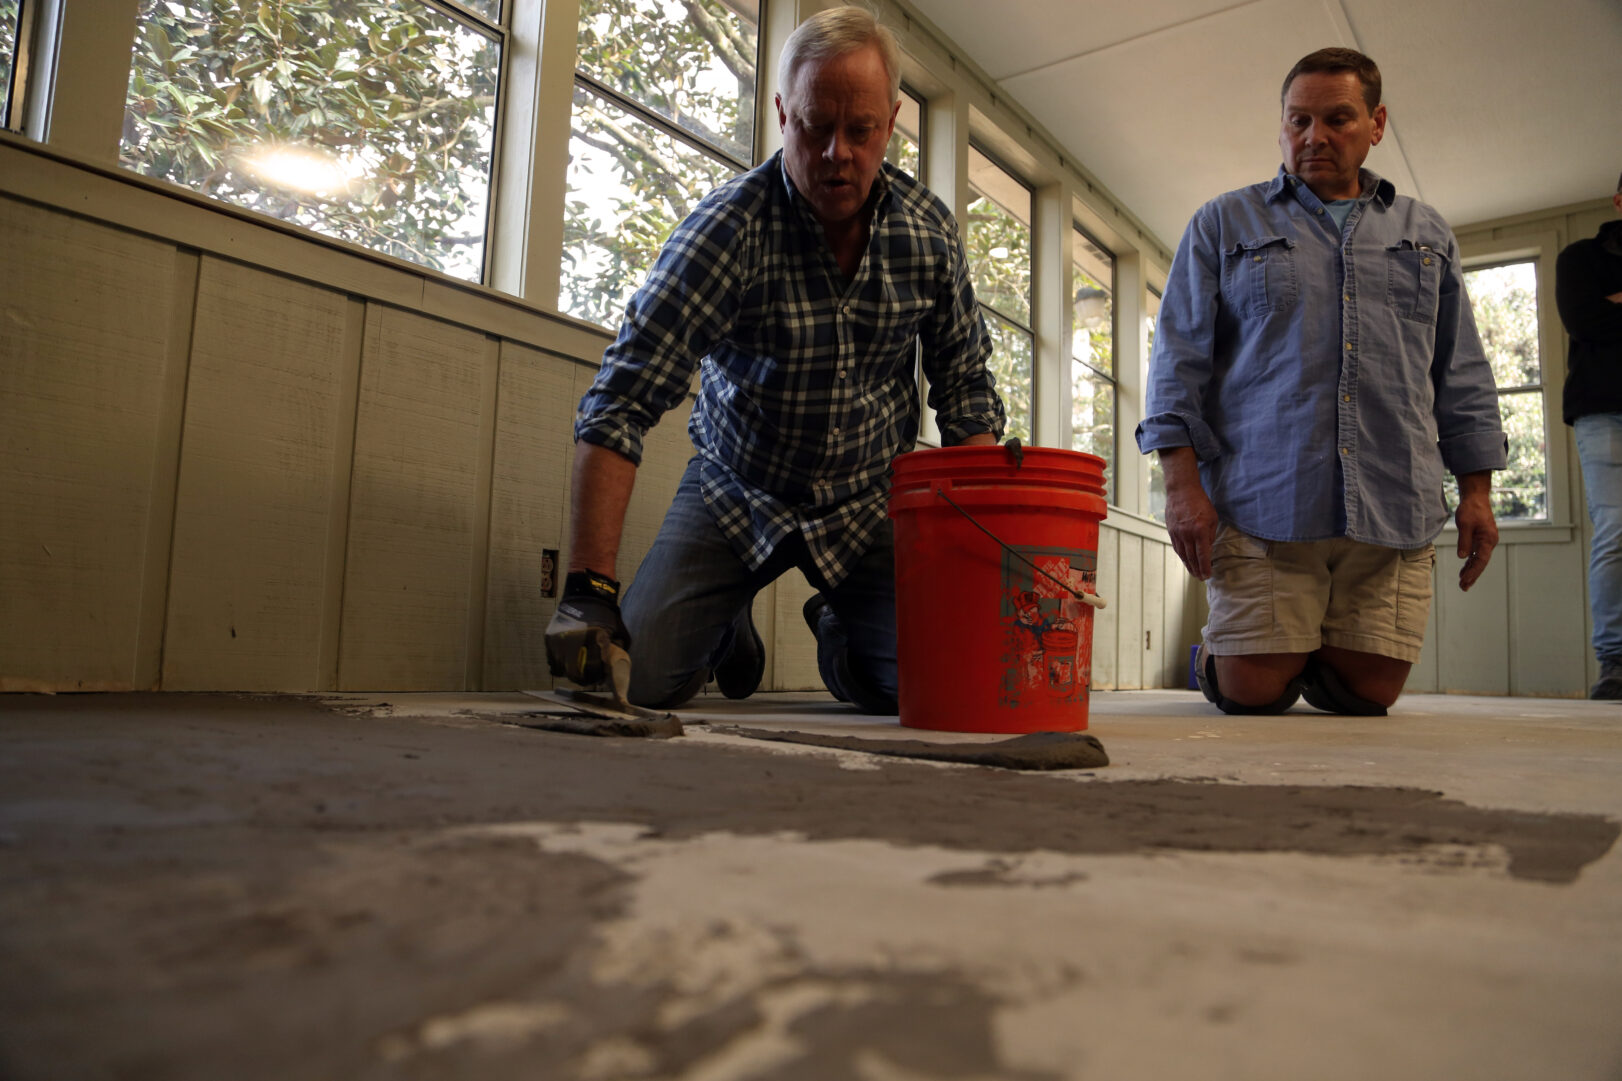
Q&A With Quikrete
Outdoor living rooms are one of the hottest summer trends right now. (DianaLundin/Getty Images Signature)
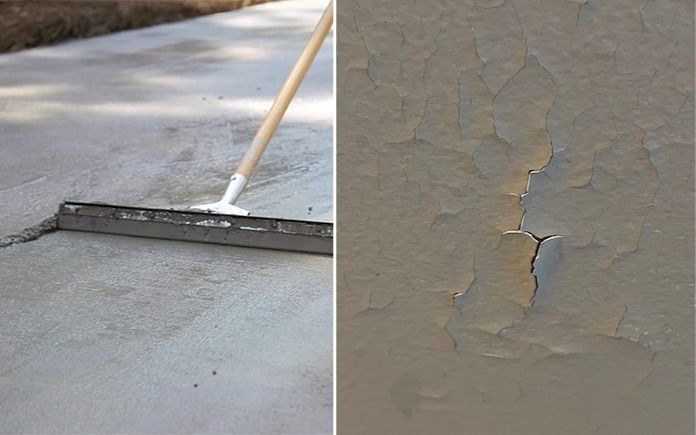
Question: My wife wants to make our patio into a fancy outdoor living space with new furniture and an outdoor kitchen. We have enough space, but the concrete itself looks terrible. It’s full of little divots and rough places where you can see the rocks in it. Do we need to just bust it up and start over or is there a way to fix it? — Burt from North Carolina
A resurfacer will make concrete floors look brand new.
Answer: Even though concrete is a durable material, over time with traffic, weather and chemicals the surface can lose its luster.
But there’s an easy solution.
The folks at Quikrete make a product called Re-Cap Concrete Resurfacer that’s designed to solve your problem exactly. It can be applied as thin as sixteenth of inch or as thick as a half-inch.
First though, you’ll want to fix any deep pits or cracks using Re-Cap in a thicker consistency and let that cure for about 24 hours before applying Re-Cap to the entire surface.
Then, you simply spread it out over the whole patio with a squeegee and any small divots will be filled in. As it dries, you can add a slip-resistant surface by gently pulling a push broom across the re-surfacer.
Once it’s dry, your patio will look like a brand new slab with consistent color and texture throughout. Learn more about Re-cap at quikrete.com.
Skip to [1:10:43] for the full segment on the Today’s Homeowner Radio Show.