Fallen trees can cause thousands of dollars in damage during natural disasters.
It’s storm season, and as soon as a tornado or hurricane strikes, clean-up begins.
Often, storm clean-up requires participation from volunteers who supplement the work of experts in removing miles of debris. Many are weekend warriors who have never tackled such an immense task – and may never have used a chainsaw in such rigorous circumstances.
Those brave volunteers need some guidance on how to prepare for, use and maintain a chainsaw during intense storm clean-up efforts.
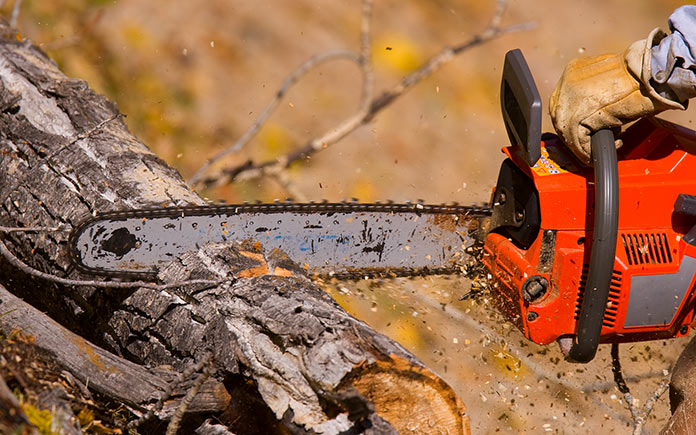
A good chainsaw is the best tool to clean big debris such as limbs and fallen trees.
Jared Abrojena, an Antioch, California-based certified treeworker and certified arborist, addresses the topic in layman’s terms. The 2015 ISA Tree Climbing World Champion, Abrojena is an expert on how to trim and fell trees. He often shares insights from his own experience working with a team of arborists to clean hundreds of fallen trees on the grounds of the Augusta National Golf Club in Georgia, just weeks before the 2013 Masters.
Abrojena’s nine necessary tips – if followed – ensures that the work of brave storm clean-up volunteers is safe and effective. They are:
A worker demonstrates proper safety when using a chainsaw. (DepositPhotos)
Safety first. Take some time to train before getting started. Be sure to read through the owner’s manual for the chainsaw you’ll be using.
Be prepared. This is a catch-all of tips regarding regular chainsaw maintenance and the possession of personal protective equipment (PPE).
Map it out. Assess the full scope of damage, and creating a plan for how to tackle it. The plan should include coordinating with other volunteers, divvying up the work and prioritizing
Know your limitations. Don’t volunteer for a job you’re unprepared for. There will be plenty of work to go around, so only tackle tasks that you are comfortable handling.
Buddy up. No one should trim trees by themselves, given the risk of error or injury. Pair up with another volunteer, but stay a safe distance apart when operating saws.
A good start. A chainsaw is best started on the ground, with the chain brake engaged. Don’t “cut” corners during intense, fast-paced clean-up efforts.
The right cut. To achieve the right cut, use careful pruning practices to relieve tension from a branch or tree limb.
Take it easy. You aren’t Superman, and most mistakes occur when you’re tired. Take frequent rests and stay hydrated.
Pamper your equipment. Ongoing maintenance during storm clean-up is critical, since you’ll be pushing your chainsaw hard. Pause often to clean filters and tighten chains.
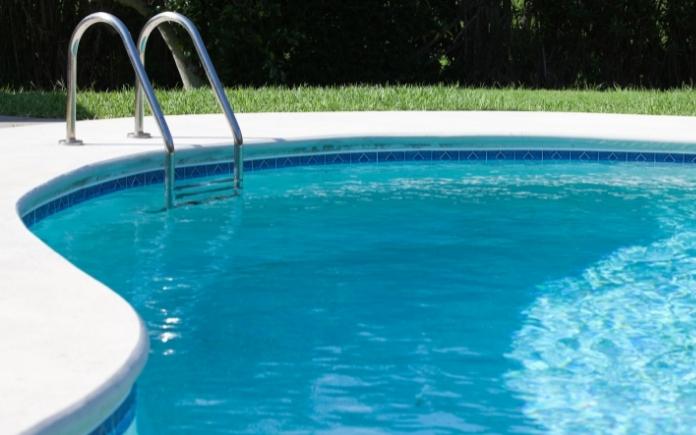
Pumice stone: To clean the buildup without using chemicals, use a pumice stone to scrub the calcium deposits away. It won’t harm pool water and its soft stone surface won’t scratch the pool coping.
Once the calcium build-up is gone, use a clear sealer to prevent it from coming back.
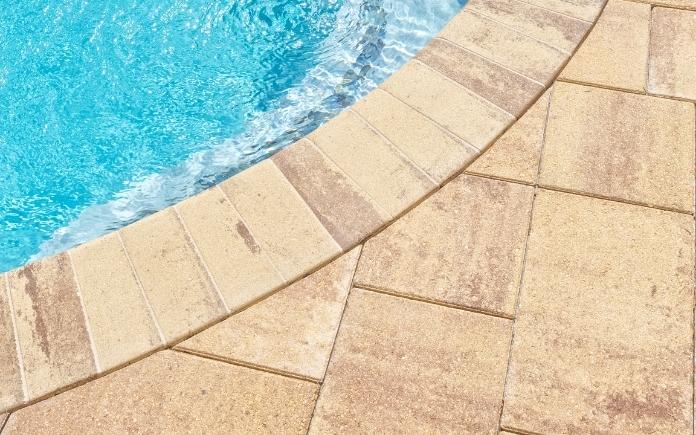
Concrete is the most cost-friendly material for pool coping. (edenexposed, Getty Images Signature)
FAQ About Pool Coping
What is the best coping to put around a pool?
Tile, brick, stone, concrete, composite, or even wood are used for pool coping. The most commonly used material is sandstone because of its non-slip properties.
Is pool coping expensive?
Pricing depends on the material used. Sandstone, the most common pool coping material, costs $40–$55 per linear foot. Conversely, cantilevered concrete coping typically costs $6–$10 per linear foot.
What goes between pool coping and concrete/pavers?
Whatever material you choose for your pool coping, the installation is basically the same. The coping is caulked or filled with elastomeric sealant onto the concrete surrounding the pool. An elastomeric sealant allows for some expansion and contraction, so the pool coping won’t crack during temperature shifts.
Skip to [25:05]for the full segment on the Today’s Homeowner Podcast.
Also on this episode:
Best New Product
Samsung’s new Smart Washer learns your laundry routine and washes clothes faster than ever! Learn more>>
Simple Solutions
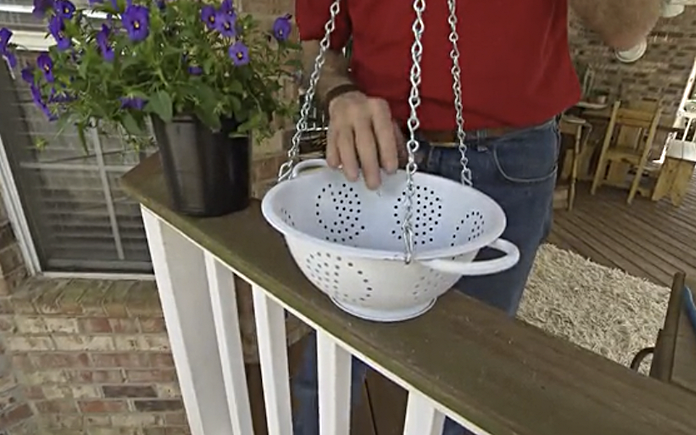
Give an old metal colander a new purpose by turning it into a hanging planter.
Hanging Colander Planter — Make a unique hanging planter out of a metal colander!
Start by drilling three holes evenly spaced around the rim of the colander.
Next, spray paint the colander to match the house trim.
Then, hang it with three 16-inch chains and S-hooks.
Line the colander with landscaping fabric or coffee filters before adding soil and plants.
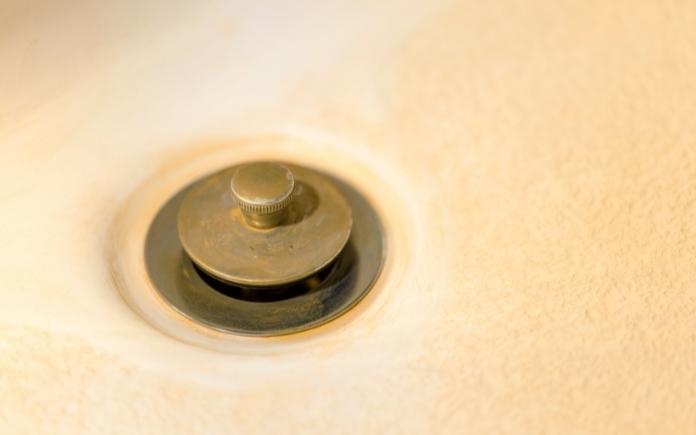
Remove hard water stains with household items you have on hand. (skhoward, Getty Images Signature)
Tub-Stain Remover — This recipe is great for removing stains from tubs, sinks and toilets.
Mix equal amounts of cream of tartar and baking soda with enough lemon juice to make a paste.
Rub the mixture into the stain with your fingers or a soft cloth.
Let sit for a half-hour, then rinse with water.
Other Products and Links Mentioned
This page contains affiliate links. If you purchase a product from these links, we will earn a small commission at no additional cost to you.
Further Reading
Ask a Question! (Podcast)
Ask a question and we could answer it on the “Today’s Homeowner Podcast!” We also may use it on our nationally syndicated radio broadcast or on todayshomeowner.com.
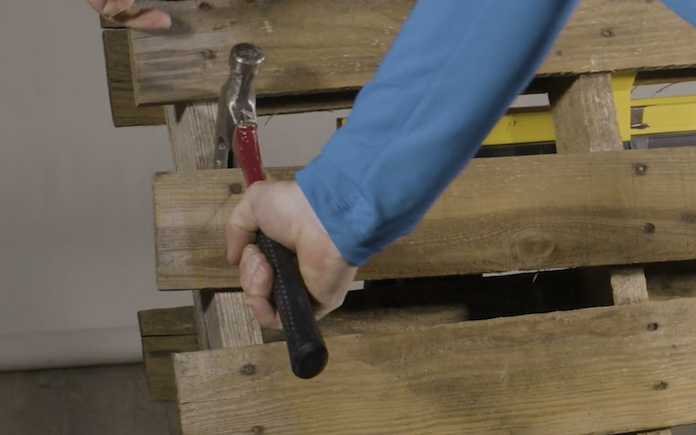
Using a crowbar and hammer, remove every other horizontal pallet board to provide access, and equal spacing, between the remaining boards.
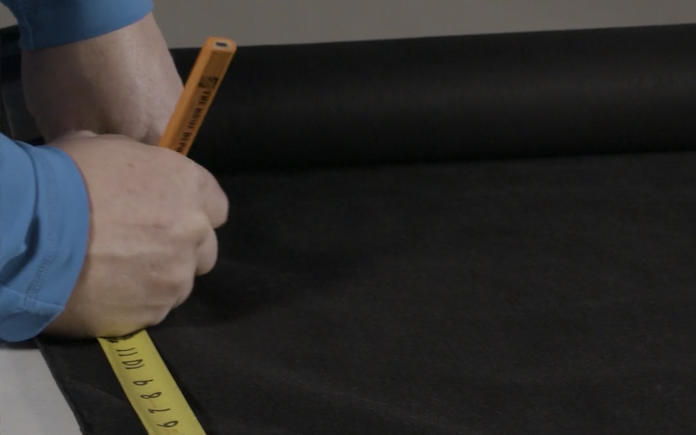
Measure spaces between the uprights for width. Then, measure the fabric height, allowing the fabric to be attached on the top of a board, down the length of that board and to the back, and back up the length of the adjacent board on the backside.
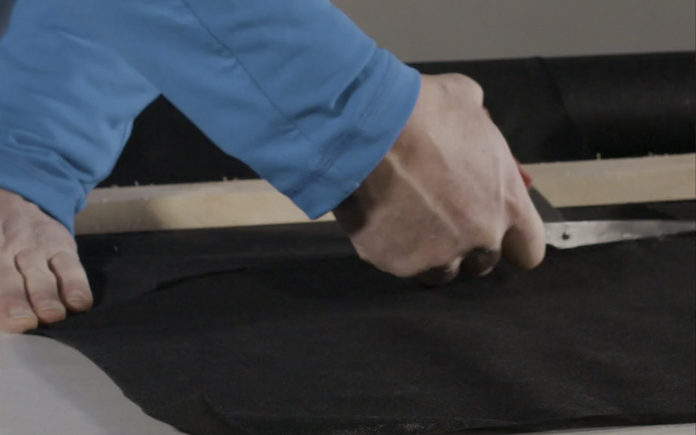
Cut the landscape fabric to the length and width of each section.
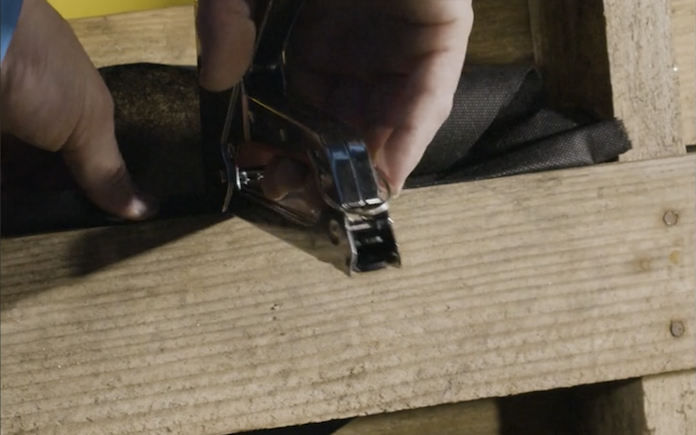
Use the staple gun to attach the fabric to the top of the frontside board —folding the fabric 1/2-inch and stapling through the fold for added strength.
Then, attach the fabric to the back of the backside board—running it along the side and over the top of the board, leaving enough fabric to create a trough between the boards.
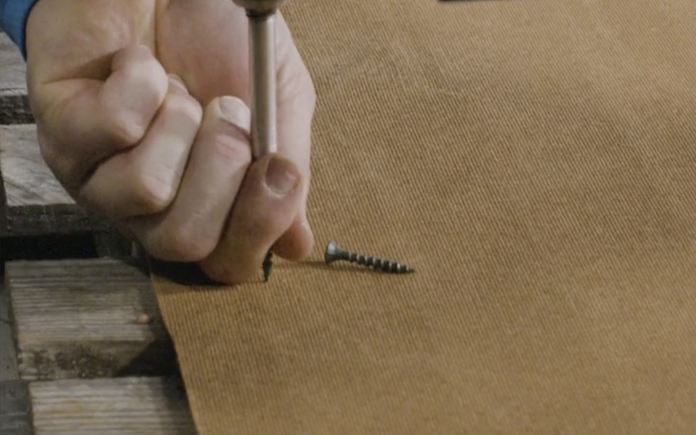
Take the backer board, line it up with the corners of the back of the pallet, then screw it into place.
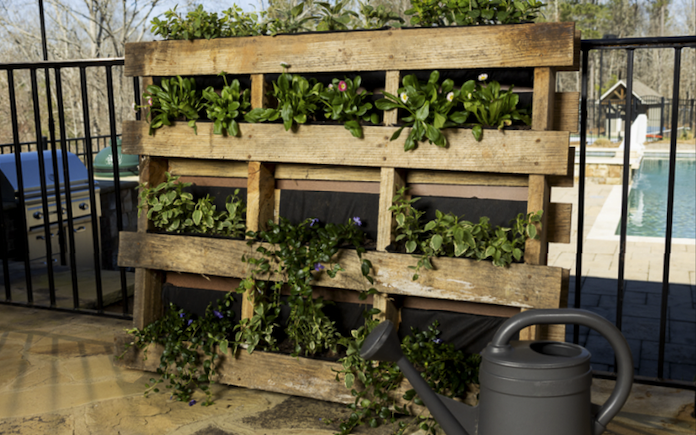
That’s all there is to it! This quick and easy build is a great way to provide some depth and breadth to your garden, as well as grow fresh herbs in unexpected spaces.
Looking to breathe new life into your outdoor spaces? Then, look no further than simple, cost-effective DIY projects. Exmark’s Done-In-A-Weekend project series will help you enjoy a better backyard life!
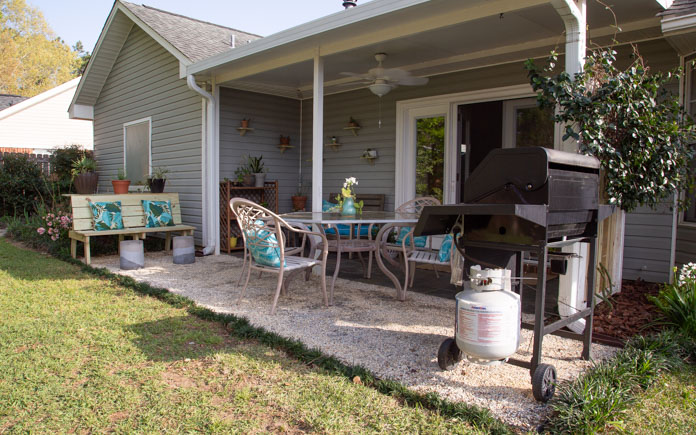
This week we’re helping a blended family expand their patio to better meet their needs.
Eric and Corrina love spending time outdoors with their children, but their patio space just wasn’t enough to make their family feel together during “get-togethers”
Their grill is separated from the main seating area, and Corrina’s container plants make the limited patio space feel cluttered.
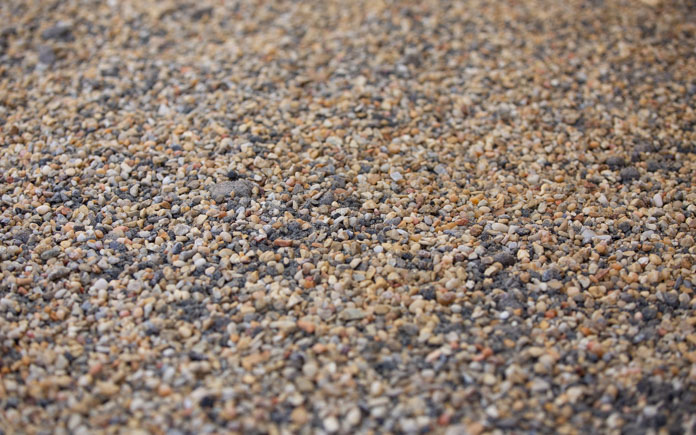
Pea gravel is an excellent alternative to pavers for expanding patio space.
Expand Patio with Pea Gravel
To double the size of this patio without using concrete or pavers, we use pea gravel.
The existing patio is slanted downward away from the home for drainage, so with our pea gravel landing, we can make it almost level with the ground. The pea gravel will hold the drainage water well. Plus, the water will be moving slowly, so it will prevent any erosion.
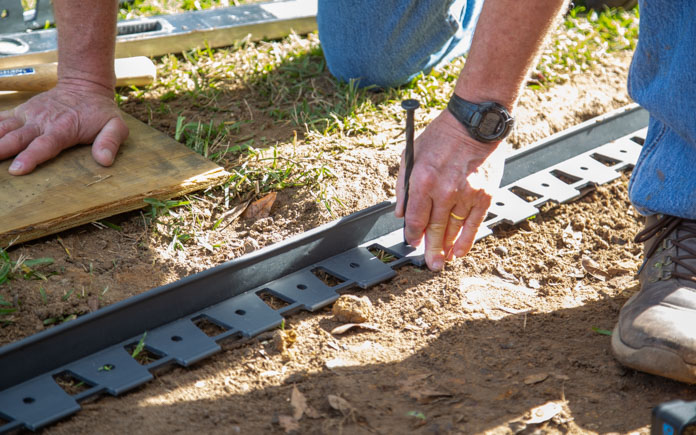
This plastic edging will keep our pea gravel in place.
First, we lay plastic edging to frame our expanded patio area. This plastic edging is usually used with pavers, but we’re switching it up to work with our pea gravel. The smooth ridge will keep the pea gravel in place so it won’t spill out into the yard.
We use a mallet to drive landscaping spikes into the edging to keep it in place.
Once the edging is in place, we fill the space with Pavestone paver base and tamp it down.
We then sprinkle the pea gravel across the paver base so we can create a uniform surface. The pea gravel is part of the decorative feature of this patio, so we don’t want to rush it.
Once we have an even spread of pea gravel, we tamp it down into the paver base.
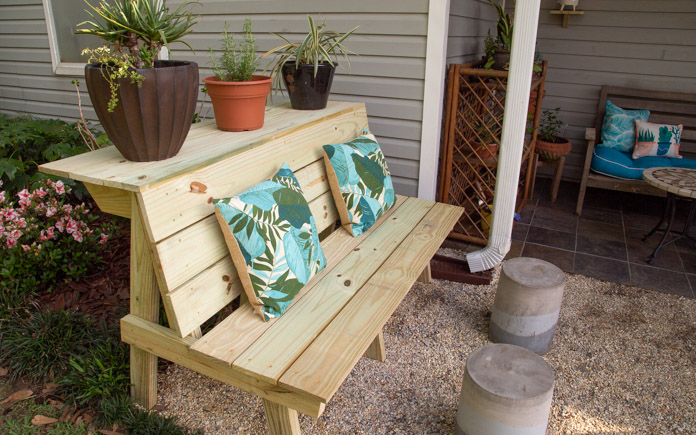
This combination planter bench provides sitting space for people and plants!
Build Plant Shelf Bench
To create more seating and also more space for Corrina’s plants, we build a custom plant shelf bench.
The bench is constructed like a regular wood bench, but we add a shelf to the back for container plants.
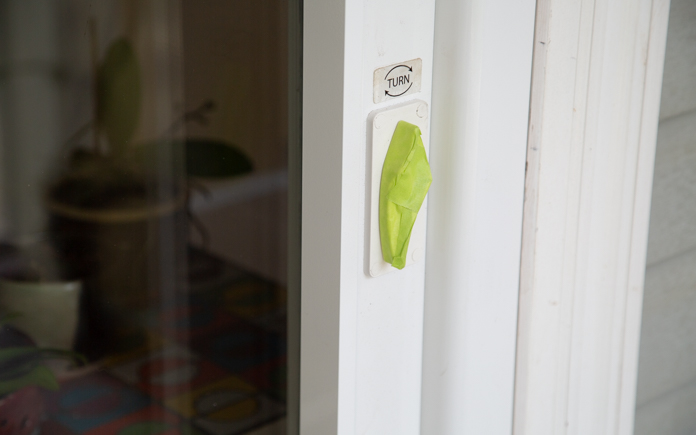
Retractable screen doors neatly tuck away when not in use.
Install Retractable Screen Door
Our solution to Eric’s aversion to bugs is installing a retractable screen door from Wizard Screens on the French doors.
Retractable screen doors mount to the side of a door frame with a track at the top and bottom to guide the rolled screen. The screen door can be pulled out to allow fresh air into your home when needed, and then rolled back out of the way when not in use.
These screens keep mosquitoes away without obstructing the outside view.
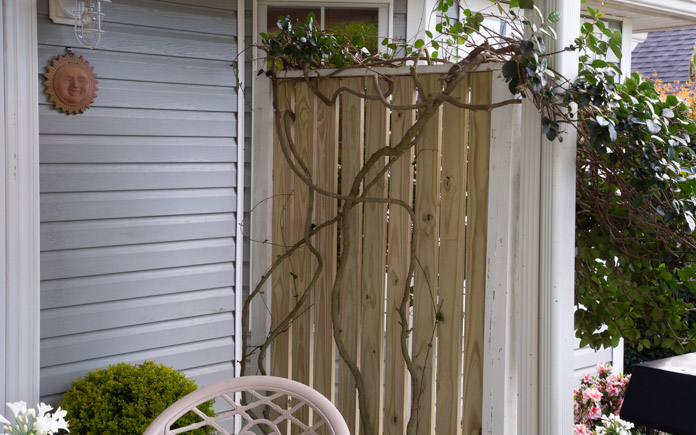
Vertical wood slats add more privacy than lattice.
Replace Lattice
The jasmine growing around the lattice on the patio no longer needs the lattice for support, so we replace it with vertical wood slats to add more visual appeal and privacy.
We also:
Cleaned existing patio tiles
Replaced the ceiling fan and light fixture
Diverted the downspouts away from the patio
Planted flowering plants near the house from Southern Patio
Now, there’s room for all on this expanded patio!
Post-Production Thoughts
Eric and Corrina’s backyard is beautifully accented with all kinds of plants. But they couldn’t fully enjoy it because their patio was cramped and cluttered, to the point that the grill had to be moved out into the yard. They rarely opened the french doors because it invited in the bugs, and everything was a little dated.
But now, we’ve doubled the size of their patio with a unique drainable surface. Plus, we maximized the space by relocating Corrina’s container plants to a new combination bench and plant shelf. More shelves on the wall display the smaller pots and the new vertical slat trellis provides privacy and support for Corrina’s jasmine vine.
Plus, Eric and Corrina can enjoy their patio from the inside “mosquito-free” thanks to their new retractable screen.
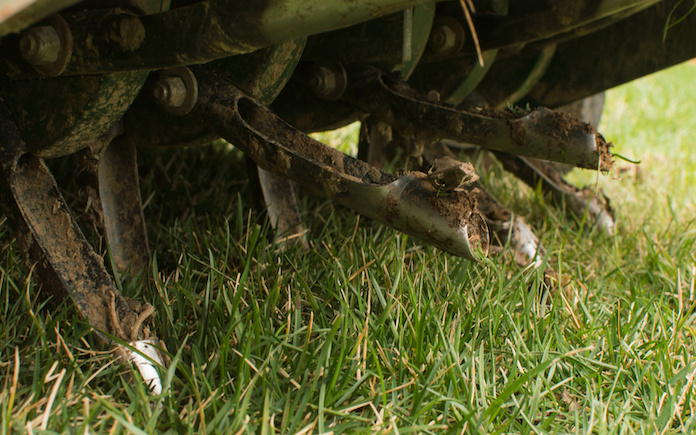
Lawn plug aerators are a great way to give your yard some breathing room, but they damage sprinkler heads. (stock.adobe.com)
A lawn plug aerator is an efficient tool to keep your lawn healthy and looking great. But before you start poking holes to give your grass some breathing room, it’s important to protect your sprinklers.
About Lawn Plug Aerators
A lawn plug aerator penetrates the lawn’s surface and removes a core (or plug) of grass and soil. This loosens up the soil and allows the grassroots to breathe. The tool is also used for fertilizing and seeding.
These kinds of aerators are great for large yards with highly compacted soil. For smaller lawns, a spike aerator is the best option.
Despite their high performance with one job (aeration), lawn plug aerators have one big downside. If you’re not careful, they can easily tear up your underground sprinkler system.
How to Protect Sprinklers from Aerators
Before you use a lawn plug aerator, go to the home center and buy some flags.
Then, turn on your sprinkler system and find all the sprinkler heads throughout the yard. Mark them with the flags so you know which areas to avoid while aerating.
Lawn plug aerators typically don’t penetrate far into the soil — they usually just go about three inches deep.
Most irrigation lines are at least 5-6 inches deep. To be sure you don’t do any damage, you can dig around a sprinkler head until you reach the drainage line and measure the depth.
Finally, while aerating, be cautious and leave plenty of room around the sprinkler heads.
Skip to [21:27]for the full segment on the Today’s Homeowner Podcast.
Also on this episode:
Best New Product
This DeWalt Compact Impact Driver makes working in cramped spaces easy! Learn more>>
Simple Solutions
Fast Fix for Stripped Screw Holes — Here’s a quick and clever way to fix a stripped screw hole using a cable tie (a.k.a.: zip-tie).
First, remove the screw from the stripped hole, then snip off the end of a cable tie, which is smooth. For this tip, you need to use the ridged part of the cable tie.
Press the snipped end of the cable tie into the hole until it bottoms out.
Then, cut the cable tie to length, matching the depth of the screw hole. Put the piece of cable tie into the stripped screw hole, then drive in the screw.
The ridges in the cable tie give the screw something to bite into, securely holding the screw in place.
Homemade furniture polish — Make an affordable, nontoxic furniture polish by mixing 1 cup white vinegar, 1/4 cup olive oil, and 1/8 cup of lemon juice.
Pour the solution into a plant mister and spray it onto wood surfaces. Rub in circles with a dry cotton cloth to remove dust, dirt and grime.
Then, use a second cloth to polish the surface in straight lines parallel with the direction of the wood grain.
Q:I’m installing a new mailbox. How deep and wide should I dig the hole, and how do I mix the concrete for it?
A: For a mailbox post, you’ll typically use a 4-by-4 or 6-by-6 post. You should dig the hole at least three times wider than the post and at least two feet deep.
At least a third of the post should be below ground. The United States Postal Service requires mailboxes to be 41-45 inches above the ground, so take this into consideration when buying the post.
To set the post with concrete, use a bag of Quikrete Fast-Setting Concrete Mix. Just pour the dry concrete mix into the hole and pour water on top until the mix is saturated. Watch how to do this here.
You can also try Sika PostFix. It’s a two-part expanding polyurethane foam that fills the post hole and hardens in three minutes. All you have to do is roll the bag to mix up the foam, snip off the corner, and pour it into the hole.
Skip to [29:20]for the full segment on the Today’s Homeowner Podcast.
Other Products and Links Mentioned
Further Reading
Ask a Question! (Podcast)
Ask a question and we could answer it on the “Today’s Homeowner Podcast!” We also may use it on our nationally syndicated radio broadcast or on todayshomeowner.com.