The durable, black stainless-steel rectangle design fits in smaller spaces, so packing it to travel is so easy!
Plus, it has built-in handles, so transporting it from your car to your hangout spot is simple!
You can breathe easily around this fire pit because it’s designed specifically for a low-smoke experience.
This fire pit might be small but it has a large flame design for a four-foot heat radius, so your guests don’t have to pack around it to feel the warmth.
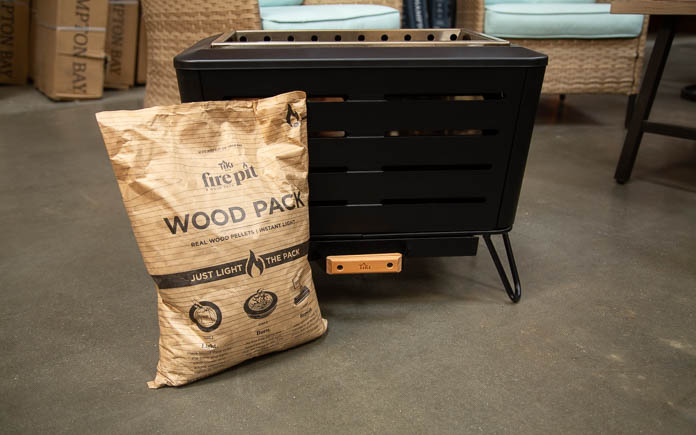
TIKI’s portable fire pit comes with a wood pack that creates instant light and burns for about 30 minutes. (3 Echoes Content Studio)
Easy to Maintain
A removable ash pan makes cleaning this fire pit hassle-free.
You can use traditional firewood or a TIKI Wood Pack, which creates instant light and burns for approximately 30 minutes per pack.
TIKI’s portable fire pit includes a stand and comes with a fabric cover to help protect it from the elements when it’s not in use.
Watch the video to learn all about this Best New Product!
No matter how well you build a wooden fence gate, they all share a common problem over time — the tendency to sag over time.
A sagging gate doesn’t just make your fence look old and unattractive — it’s also a hazard for children and pets.
Wide gates are no exception, and possibly are more susceptible to sagging. For example, this fence gate is five and a half feet wide, and I’ve tried everything over the years. I replaced the hinges with larger hinges. I installed the steel braces in each corner. Still, it didn’t work.
Instead of fighting gravity, prop the sagging gate up when it’s closed or open with a caster.
The caster is made from a simple two-by-four pressure-treated block. Here’s how to build it:
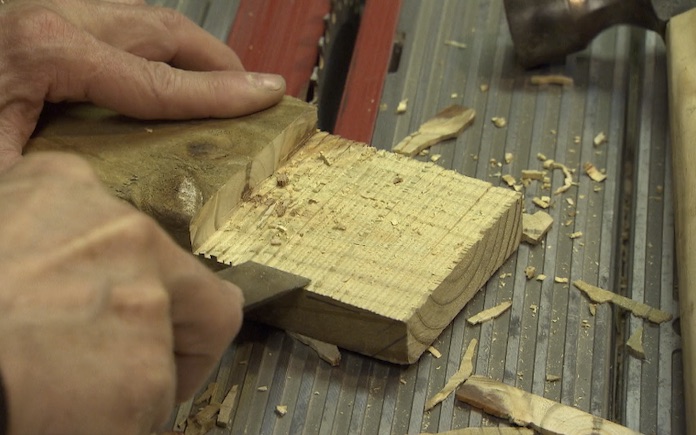
A wood scraper smooths the edges of the two-by-four so it rests neatly against the horizontal fence gate support board. (3 Echoes Content Studio)
Cut a notch in the back of the two-by-four pressure-treated board to create a shoulder so it rests under the horizontal rail of the gate.
Cut the notch wide enough for the caster wheel to roll without any blockage. (3 Echoes Content Studio)
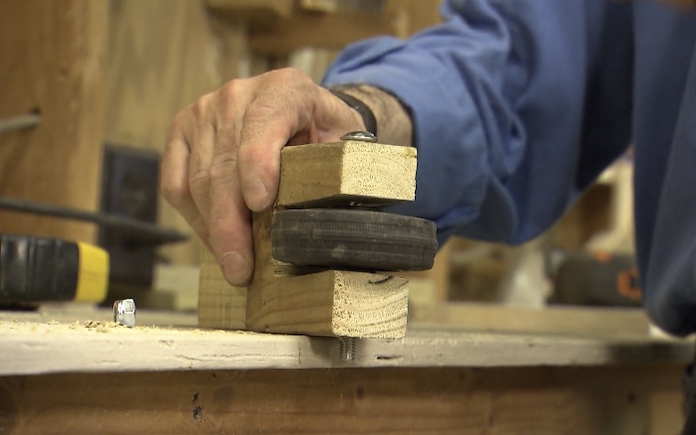
Then, cut another notch in the bottom to hold the caster. Drill a hole through the notch for a coverage bolt to go through to secure the caster to the block.
The notch on the back of the two-by-four keeps the caster wheel from sticking too far out from the gate. (3 Echoes Content Studio)
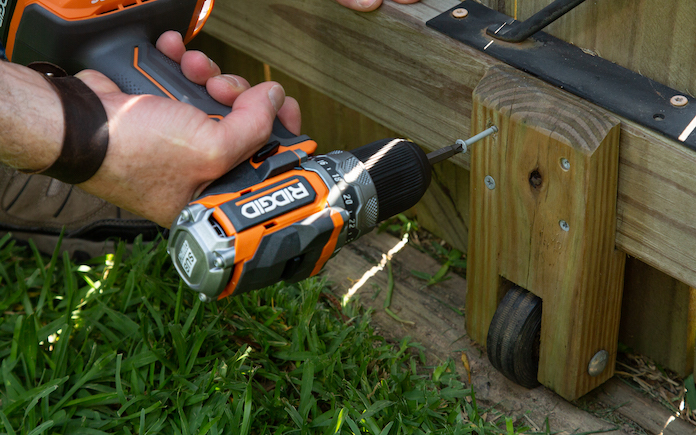
Finally, secure the caster block to the horizontal support board with four two-inch long galvanized screws.
Now when the gate is open or closed, the caster, not the hinges, completely supports it.
A wall fountain gives you the relaxing feeling of sitting next to a babbling brook right outside your home.
By installing a ready-made one like this one, you don’t have to rework any plumbing in your home. All you need to do is decide on the location, drive in a mounting screw, and hang the fountain.
However, if you don’t have an electrical outlet nearby, you’ll need to have one installed for your wall fountain to work.
Electrical work is best done by professionals. Here’s what they’ll do to set up an exterior outlet.
Installing an Exterior Electrical Outlet
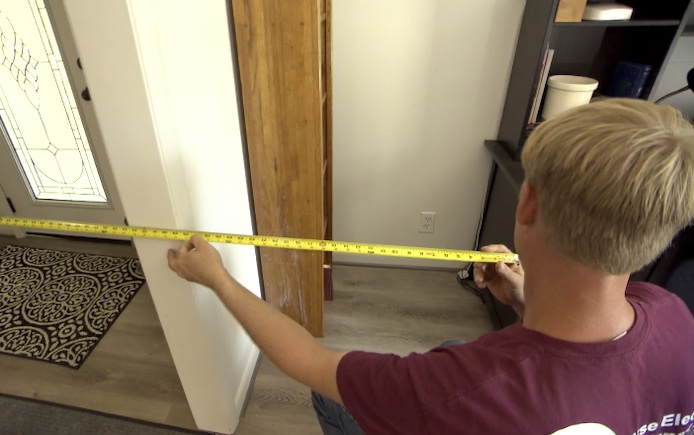
The fountain will be hung on the other side of this wall, so we can use the wires from this outlet to power an exterior outlet. (3 Echoes Content Studio)
The electrician will find an interior outlet near where you want the exterior outlet to be. He’ll use the wires from this outlet to power the exterior outlet.
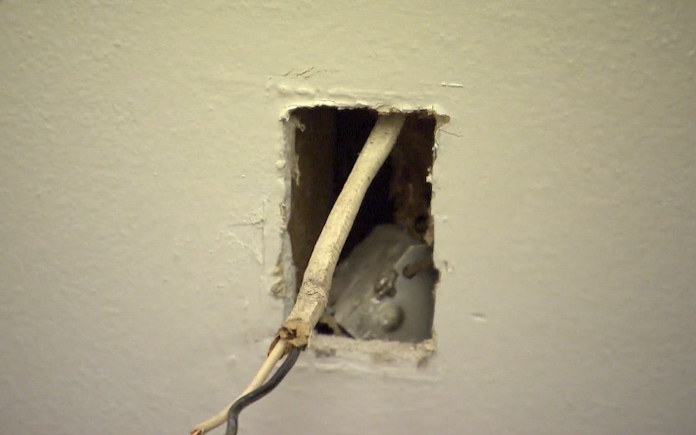
To access the wires, the electrician must first remove the electrical box. (3 Echoes Content Studio)
With the power turned off, he’ll disconnect the outlet and remove the box.
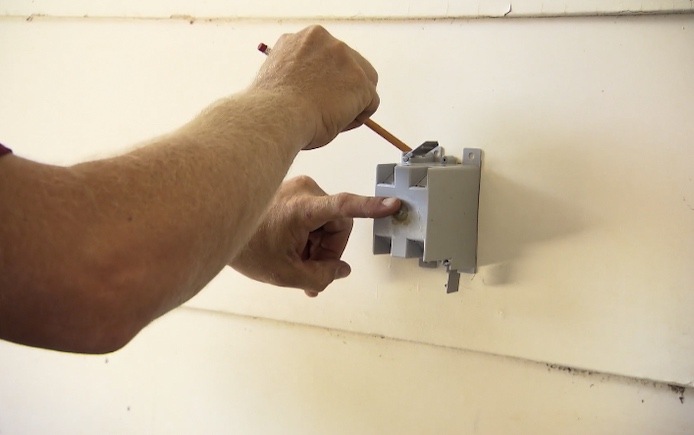
To mark the location for the new exterior outlet, the electrician uses a pencil and the electrical box. (3 Echoes Content Studio)
Next, the electrician will mark the location of the new box with a pencil. Make sure the electrician centers the box under the wall fountain.
The electrician runs the wire through the electrical box to connect it to the wall. (3 Echoes Content Studio)
After cutting a hole for the exterior electrical box, he’ll fish a new wire through that hole over to the inside box location.
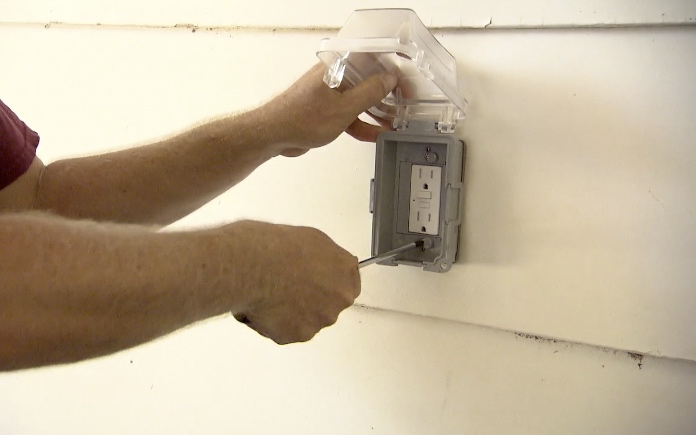
A ground fault circuit interrupter outlet like this one constantly track electrical current flow; if they detect a change, they immediately cut power to the outlet. (3 Echoes Content Studio)
Finally, the electrician will secure and wire the new box with a ground fault circuit interrupter outlet, which the local building code requires for outside locations.
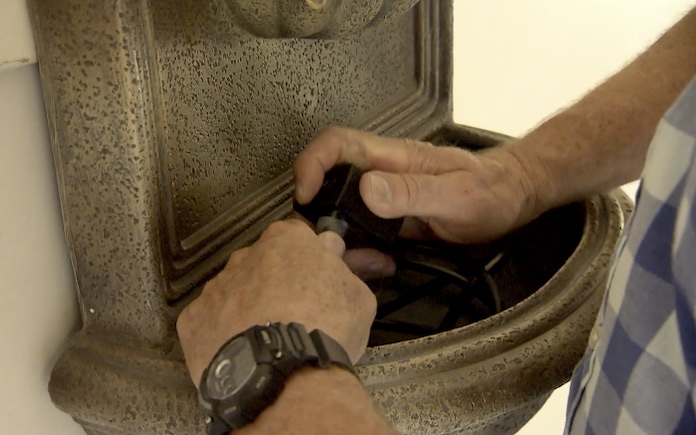
Once the electrical work is complete, all that’s left to do is connect the wall fountain’s pump and fill it with water before plugging it into the new outlet.
Now, we can begin enjoying the relaxing sound of water falling gently.
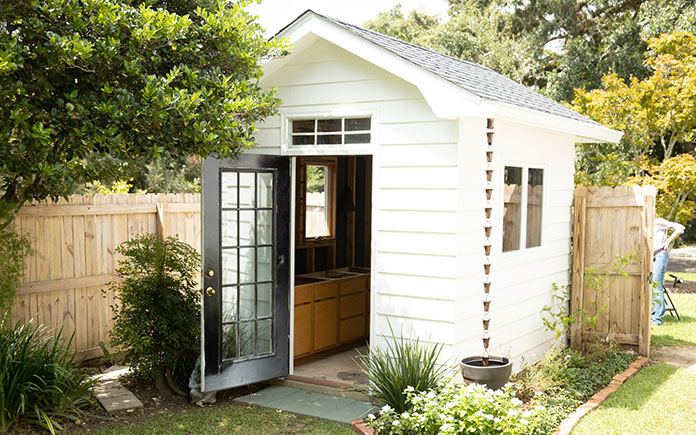
We’re transforming a shed into an art studio for homeowner Linda Johansen.
Linda is native to Mobile, Ala., and has settled in Fairhope, Ala., after adventuring around the world with Delta Airlines. She has gradually redone her home one room at a time but needs a little help with her shed — and we’re happy to help!
Linda’s shed has great potential for an artist’s oasis!
Preparing the Shed
For prep, we didn’t have to do too much. Linda helped us out by cleaning out as much as she could so we could get right to the renovation.
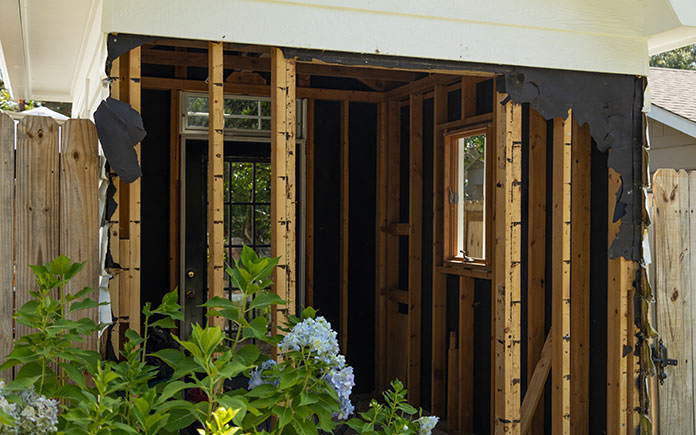
We start by removing the siding that faces the street to close up the door. By closing up the door, both security and more room for Linda’s shed.
By removing the siding, we can now close up the door to create more space.
We also remove the small concrete ramp leading to the door. It’s rare if the slab of the concrete floor and the ramp are poured at the same time. Since there’s no line between the ramp and the concrete slab, I’m using a saw to score it so the ramp has a clean break.
Chelsea and Linda get busy sanding the cabinets.
Refinishing the Cabinets
Linda has the original kitchen cabinets that came with her home. Like us, Linda hates to waste perfectly good furniture. So instead of getting rid of the kitchen cabinets, we’re refinishing and putting them in Linda’s she-shed!
The new color Linda chose for her cabinets makes the space pop.
Chelsea and Linda took to sanding the old cabinets and painting them a fun shade of blue. This shade of blue is actually color matched from one of Linda’s pillows and makes the space pop more!
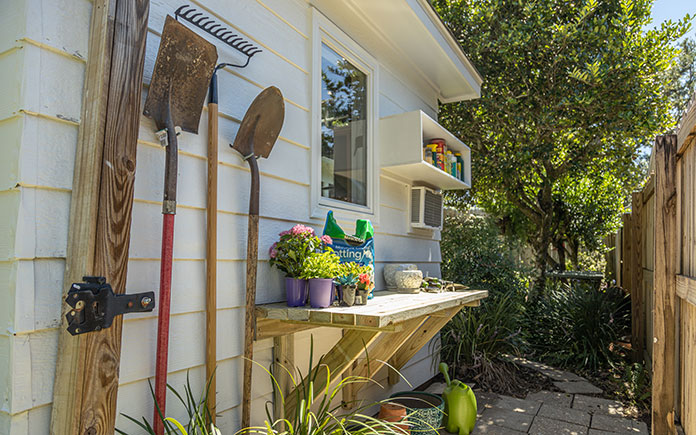
The new potting bench adds more character to Linda’s she-shed!
Adding a Potting Bench
To add more of Linda’s personality to the shed, we’re building a free-standing potting bench. It enhances the appeal of the shed from the outside while also allowing storage for Linda’s garden tools.
With the potting bench in place, Linda’s shed is now a home for all of her hobbies!
“Today’s Homeowner” hosts Danny Lipford and Chelsea Lipford Wolf, pictured with Linda Johansen.
Production Thoughts
When we first saw Linda’s shed it was attractive on the outside but had yet to reach its potential on the inside. Linda needed a space for her creative side to paint and garden as she pleases.
By covering up the door facing the street, we created more wall space for functionality. The refinished cabinets add a pop of color and creativity to this artist’s shed. And the potting bench on the side of the shed adds even more of Linda’s personality to her hobbies!
Other Tips from this Episode
Products Featured in this Episode
This page contains affiliate links. If you purchase a product from these links, we will earn a small commission at no additional cost to you.
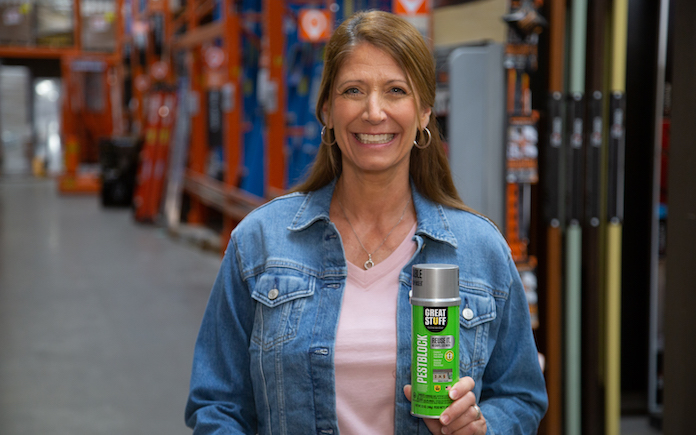
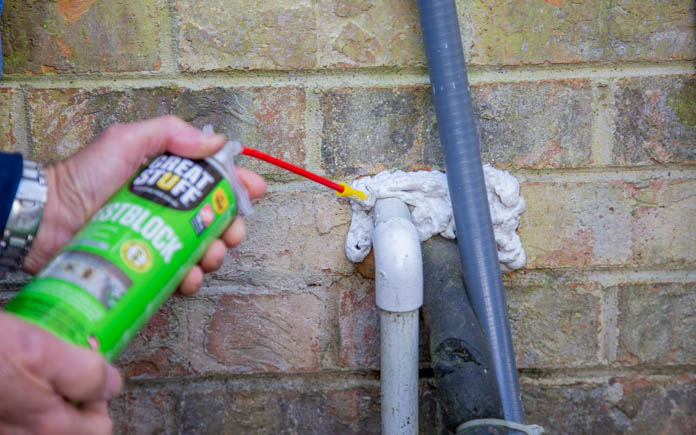
Spray foam is an economical way to fill gaps around your home, but applying it can get messy. The folks at Great Stuff have solved this sticky situation with their new Pestblock Insulating Spray Foam Sealant, which features a Smart Dispenser straw.
This page contains affiliate links. If you purchase a product from these links, we will earn a small commission at no additional cost to you.
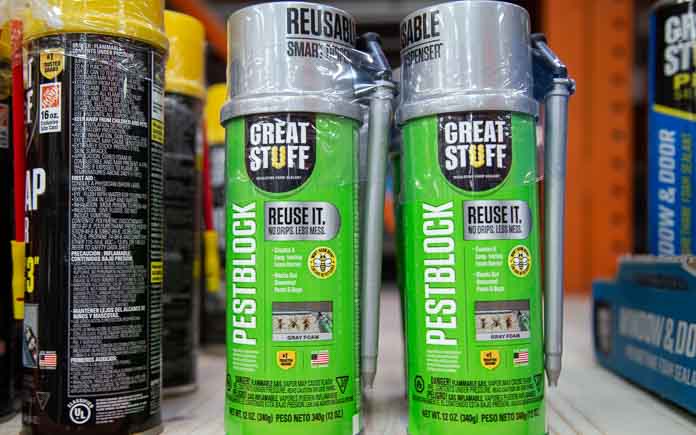
Small straws on expandable foam cans make it harder to control the amount you apply. (BanksPhotos, Getty Images Signature)
The Problem With Expandable Foam Sealant
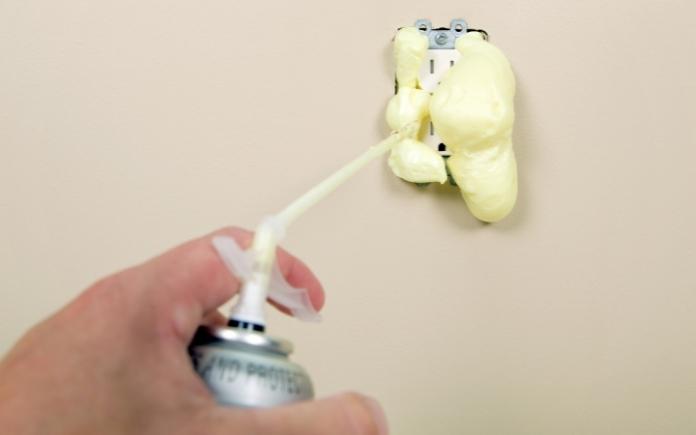
Small straws on most canned expandable foam sealants make them harder to control. Foam spurts out in bits, and drips quickly clog the straw.
Even if you use an extension tube, it can easily slide off and release foam everywhere except where it’s needed.
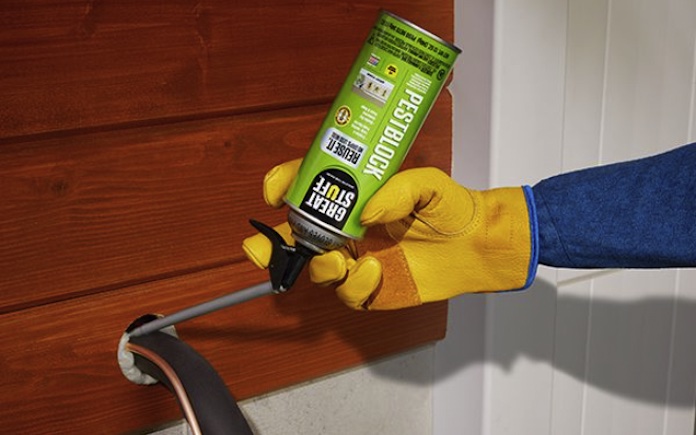
Great Stuff’s Smart Dispenser allows for more precise application. (greatstuff.dupont.com)
Most foam sealants are a “one and done” application, so you need to use the whole can in one go.
Great Stuff Pestblock Insulating Spray Foam Sealant can be reused for up to 30 days with the straw left attached to the canister. Just clean the tip after your first use, then you can save the rest for another project!
It’s tack-free in five to 15 minutes and trimmable in one hour. And once it’s dry, you can sand, paint, and stain it to match the surroundings.
Great Stuff’s Pestblock formula is specifically designed to block out spiders, ants, cockroaches, mice and other pests from entering your home without pesticides. So no bees are harmed!