In this episode of “Ask Danny,” Tracey Amadio offers her tips and tricks for painting.
In Episode 3 of “Ask Danny,” painting expert Tracey Amadio shares her tips and tricks for getting the perfect paint job.
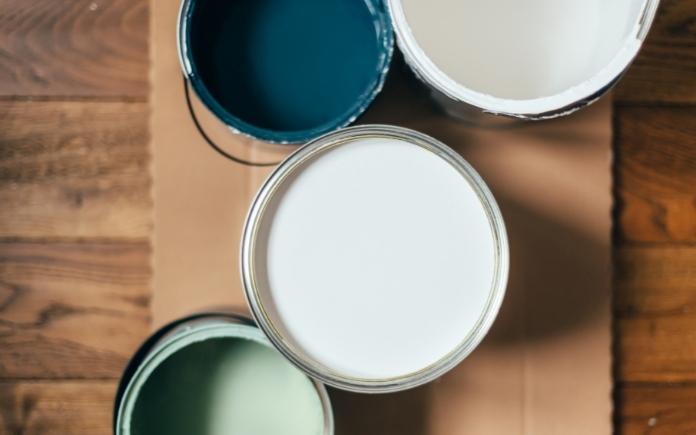
Tracey Amadio, a.k.a. the “Queen of Painting Everything” is passionate about painting! (Courtesy Tracey Amadio)
About Tracey Amadio
Tracey Amadio is passionate about painting. She uses expertise from her home improvement career to teach DIY projects, home design, and painting techniques on her website Porchdaydreamer.com.
Tracey’s fans have crowned her the “The Queen of Painting Everything” because there’s nothing she won’t paint!
Her superpower of color memory and long history of color trend analysis is combined to find the perfect paint colors for you.
Her mission is to take the pain out of painting and decorating with her easy-to-understand tutorials.
Tracey was named a 2021 Better Homes & Gardens Stylemaker and her work has been featured in HGTV, Better Homes & Gardens, Good Housekeeping, Country Living, Apartment Therapy and more.
Color pigments, additives, resins and carriers determine the price of paint. (annastories)
Paint Prices
Why is some paint much more expensive than other brands and types?
Tracey: Price matters… to a point.
Many homeowners only focus on the paint color and don’t think about what’s mixed in with the color pigments. Resins, additives and carriers — like water and oil — are key ingredients that will make paint more expensive.
Higher-quality pigments and resins will make the cost go up, but you’ll have better coverage. The middle price point is the best option to choose.
Remember: Quality perception is dictated by the person who’s using the paint. A professional may want a thinner paint because they’ll be using a sprayer, but a homeowner typically wants a thicker paint because they’ll be covering a wall with another color or painting a piece of furniture.
Spending a little extra on that better paint is going to give you an easier application and fewer brush strokes. Also, the paint will dry to a better, more durable finish.
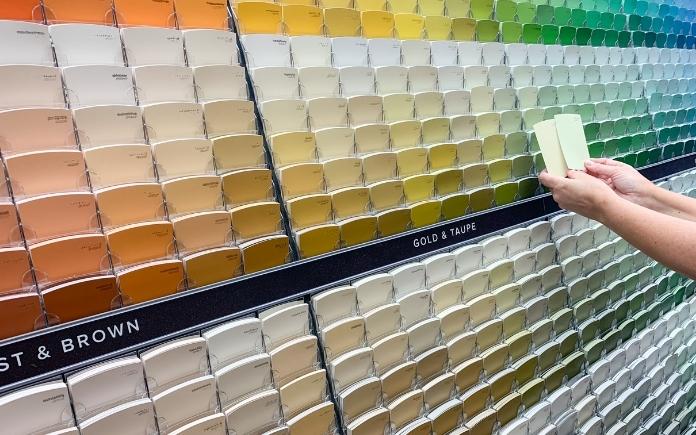
Picking a paint color can be overwhelming. Find an object to start your color palette and work from there. (Feverpitched, Getty Images)
Picking a Color
Can you offer some guidance on how to choose a paint color?
Tracey: When picking a paint color, start with the color you want to base your palette around. It could be a piece of fabric, a rug, a plate, anything that helps you hone onto the color you want.
Take it to the store with you to choose the right paint. Also base it on the amount of light in the room, if it a darker too choose a lighter paint color and sop forth.
I have a free guide you can download. 6 easy steps to picking a paint color.
Also, consider the lighting in the room you’re painting. If you have a dark room, lighter paint, if you have a light room, you can go with a darker paint color, a mid-value paint is going to be best for most people.
After you have an idea of what color you want, buy a foam board and paint it with samples so you can move it around the room to see if it will work for you.
Take your time deciding before you pick a color. See how the color samples look at different times of the day.
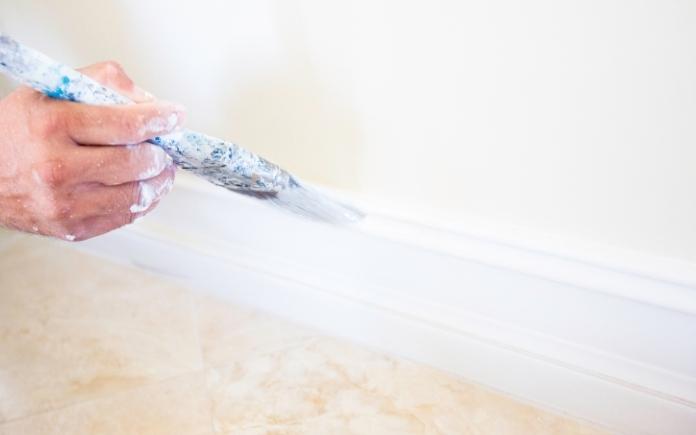
A satin or semi-gloss sheen is best for trim and molding. (JodiJacobson, Getty Images Signature)
Choosing Sheen
What are the different types of sheen, and how should you pick one?
Tracey: I used to work at a paint desk, and I would often see the “deer in headlights” look when I asked what sheen a person wanted.
Sheen matters! It’s actually more important than color.
There are five types of sheen: flat, eggshell, satin, semi-gloss and high-gloss. To determine what sheen you need, consider the room or project you’re painting.
If you’re painting a ceiling, you want a low-reflective paint to hide any imperfections, especially where the joints match up. A flat sheen is best for this.
For walls, you want a higher sheen, like eggshell. Cooking splatters and accidental spills happen, so you need a finish that’s cleanable.
When you scrub a flat paint, it burnishes it and makes it shiny. Flat paint is great for touchups but not for high-traffic areas where you need scrutability and durability.
The higher the sheen, the harder the paint will be when it dries. I typically recommended satin, at minimum, or semi-gloss for trim and molding. These sheens are still wipable but they’re more durable, so they’ll stand up to scuffing and jarring.
I don’t recommend a high-gloss paint. The more reflective a paint is, the more flaws it’s going to show. It’s also hard to apply, so I would leave that to a professional.
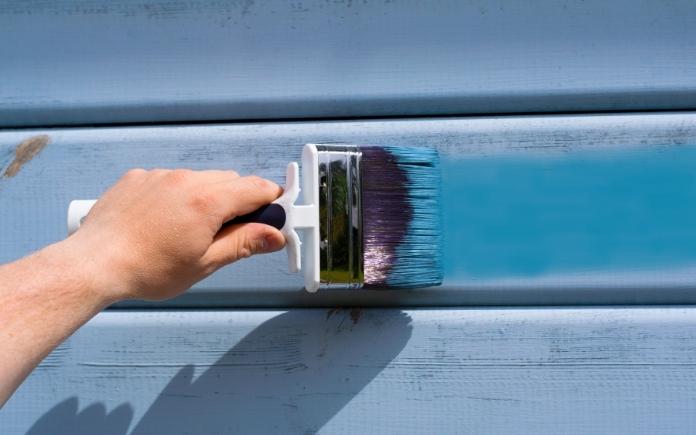
Exterior and interior paint can’t be interchanged. Always paint the outside of your home with a paint rated for outdoor use. (Susie Hedberg, Getty Images)
Exterior Painting
What temperature is best for painting a home’s exterior?
Tracey: Most of the time, exterior paint can’t be applied in temperatures under 55-50 degrees Fahrenheit. You want to paint outside when there’s low humidity and the temperature is moderate — between 55-75 degrees Fahrenheit.
Paint has a lot of water in it, so the more water in the air, the longer time it will take the paint to dry. Allow yourself three sunny days, if possible, for the paint to dry.
When painting your home’s exterior, only use paint that’s rated for exterior use. Because exterior paint has to deal with temperature changes once it’s dry, it’s fortified with special resins and pigments for special durability. It can expand and contract to a degree that interior paint cannot.
The best paint for exterior use is acrylic latex. I steer clear of oil paints for the exterior. Oil paint isn’t easy to clean, and if you’re using a white oil paint, it will yellow over time because of the oil in it.
Now, there is oil-enriched enamel paint that is water-based, so it’s easy to clean with soap and water like acrylic latex. This paint has oil molecules suspended within it, and as it dries, those molecules activate to act like oil paint. The end result is a surface that’s hard and durable with all the benefits and flexibility of latex paint.
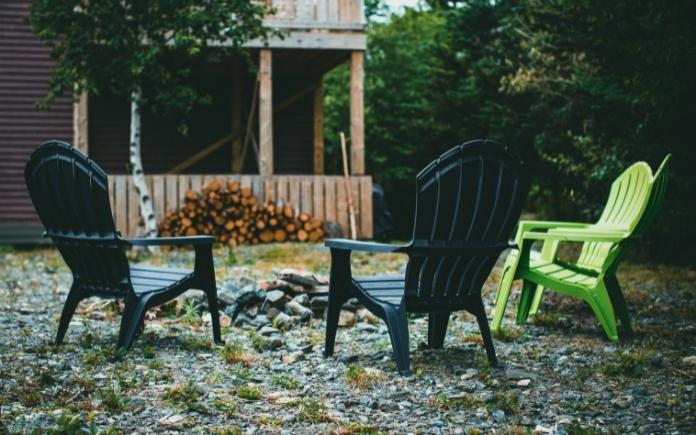
Refresh plastic outdoor furniture with a new coat of paint. (Jonathan Cooper/Pexels)
Painting Plastic
How do you paint plastic outdoor furniture?
Tracey: I take a dual approach to painting plastic furniture. Apply a bonding primer spray first, then cover it with a regular spraypaint.
(travellinglight, Getty Images)
Even Experts Make Mistakes
Tracey: Even though I’m a paint expert, I sometimes go online to see what other people in the painting world are doing.
About a year ago, I decided to paint my stair risers, which were stained and heavily polyurethaned.
One blogger recommended liquid sandpaper, and I thought that could save me a step. I taped off the risers, applied the liquid sandpaper and then painted on top of that.
When the paint was still damp, I pulled the tape off at a 90-degree angle. A full piece of film peeled right off the stair riser, and the entire job was ruined!
I learned a tough lesson: Trust my gut and go with what works. Use a deglosser, then use a bonding primer, then apply the paint.
My paint has stayed put and is vacuum-cleaner proof as well!
Sand away any imperfections before painting wood. (3 Echoes Content Studio)
Tracey’s Tips
Never ignore proper surface preparation. If you do, the paint will come off. Get the surface nice and clean and sand any failing areas.
Use stain-blocking bonding primer if painting over a stain. If you don’t, the stain will rise up to the surface and create color inconsistencies.
Pay attention to the re-coat time. A lot of people think dry time and recoat time are the same. Typically, recoat time is longer than dry time. If you don’t wait the proper amount of time recommended by the manufacturer, the paint will stick to itself and never fully dry. You end up with really tacky, sticky paint that’s almost impossible to fix.
Want to incorporate a creative pattern to a room? Hang wallpaper!
Pick a bold pattern for an accent wall or encase a whole room for an almost instant transformation.
There are two types of wallpaper: Pre-pasted and unpasted.
Pre-pasted wallpaper has adhesive applied to the back of it. To activate, simply wet the back and begin to apply the wallpaper to the wall once it’s sticky.
Unpasted wallpaper requires you to add the adhesive to the back in order to paper to the wall (or in this case the wall) in order for the wallpaper to stick.
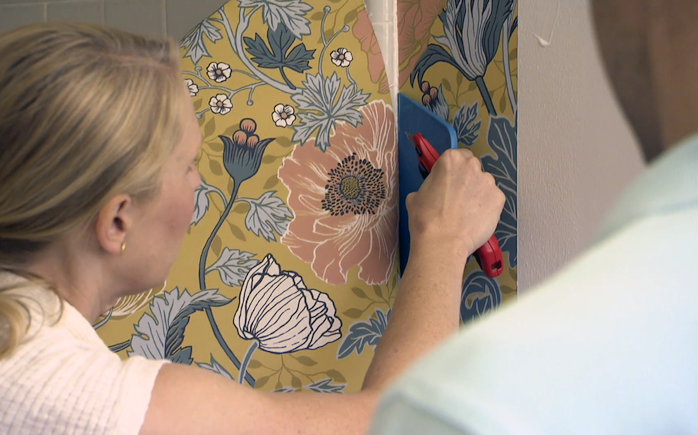
Before you begin hanging wallpaper you’ll want to establish a plumb line adjacent to a corner. This straight, vertical line marks where the ends of two pieces of wallpaper will meet. Mark this line in an inconspicuous spot so the transition from one sheet of paper to the next is not as noticeable.
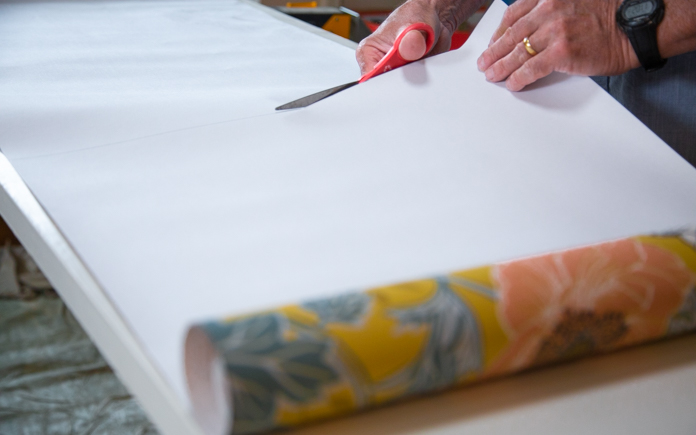
Cutting wallpaper is much like cutting gift wrap. You’ll need a sharp pair of scissors. (3 Echoes Content Studio)
2. Prep Wallpaper
Cut the paper itself an inch or so longer than the vertical dimension so it can be cut top and bottom.
Tip: Roll the paper backward before you hang it so it lays more flat on the wall.
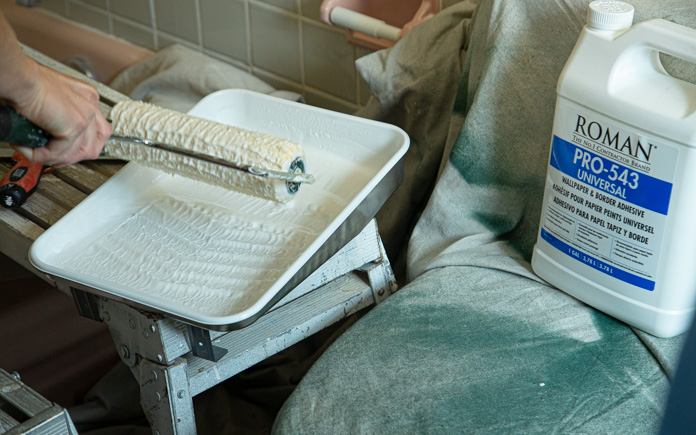
Some wallpaper has self-adhesion and others require you to put the glue on the paper or wall while installing. This wallpaper specifies for the glue to be applied to the wall, rather than the paper, before hanging.
Use a paint roller to roll the glue onto the wall, and apply the first sheet of wallpaper.
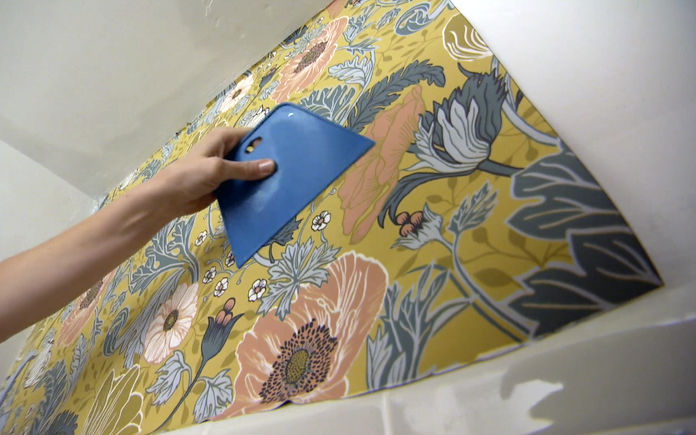
A smoother removes air bubbles and keeps the wallpaper surface even. (3 Echoes Content Studio)
4. Remove Bubbles
To remove air bubbles while you’re hanging the wallpaper, use a smoothing tool.
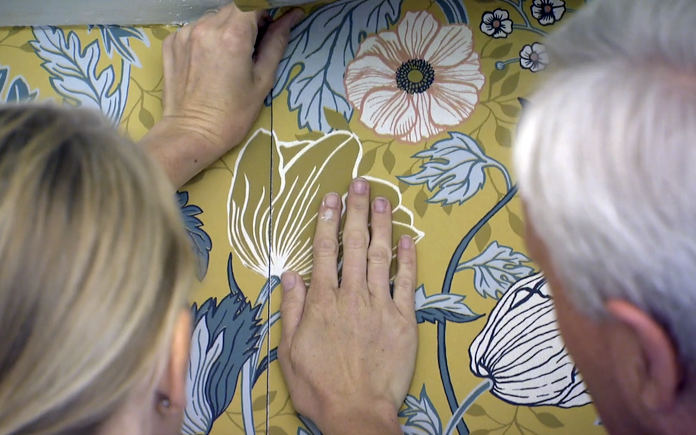
Pay close attention to the pattern so you’ll have a seamless transition from one sheet to the next. (3 Echoes Content Studio)
5. Match Pattern
Because there’s a pattern on this paper, we have to match up the pattern for each new piece. We line it up and mark the point where the top meets the ceiling so we can cut it to the proper length.
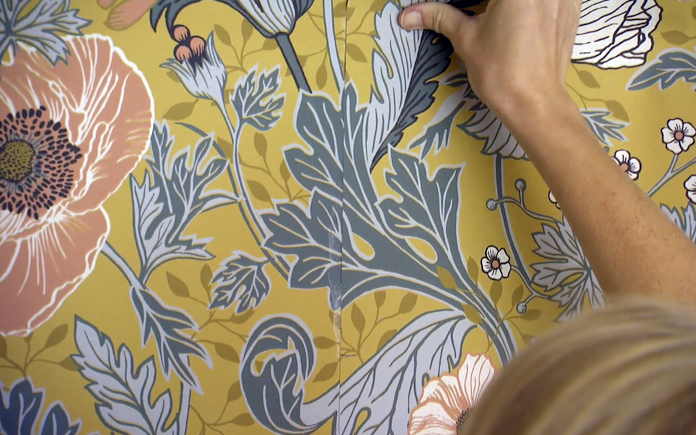
A slight overlap will accommodate any shrinkage after the glue dries. (3 Echoes Content Studio)
6. Overlap Seams
Overlap the seams by a little less than an eighth of an inch. This will eliminate any gaps if the wallpaper shrinks as the glue dries.
To trim any excess wallpaper, use the smoothing tool as a straight edge along the top and bottom of each piece. This gives the paper a clean, sharp look to complete the installation.
Over the years, I’ve shared more than 500 Simple Solutions — many of them have to do with painting specifically painting neatly.
And over time, many Today’s Homeowner fans have shared their own solutions on how to make painting easier.
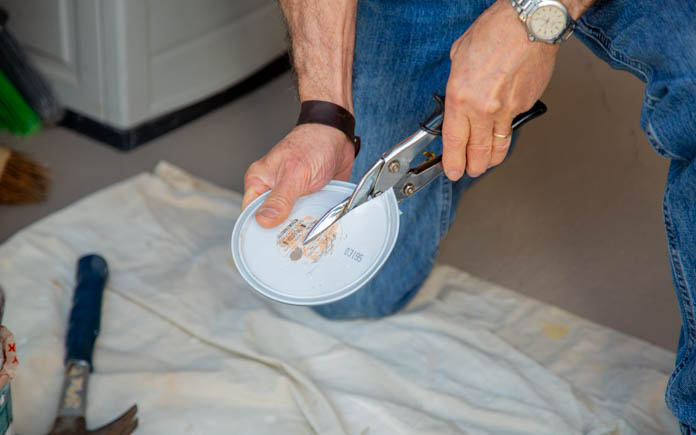
This tip from John from Clancy, Montana, will help you paint neatly from a can using a paintbrush.
The challenge when dipping a paintbrush in a can is how to keep the paint from dripping around the rim. Not only do you waste paint, but you also make a mess on the outside of the paint can and the surface underneath it.
To prevent any paint from dripping down the side of the can, create a built-in paint scraper in the center of the can. Here’s how to do it:
With help from our friends at The Home Depot, we’ve compiled this list of timely chores to keep your house clean and comfortable.
Listen to this special-edition Today’s Homeowner Podcast, and follow along below, to learn all about the top summer home maintenance projects!
Changing the air conditioner filter makes your AC work better to keep you cooler. (3 Echoes Content Studio)
1. Change AC & Heating System Filters
Regularly changing your HVAC system’s filters is important because a dirty filter will slow down and strain your system. It should take about two to three minutes to take out your old filter and put in a new one.
Also, once your filter is out, go ahead and vacuum the cavity in case of dust build-up.
Your AC drain line can get blocked with mold and mildew, causing its pan to overflow. Flush it with bleach twice during the summer, when it’s working at its hardest.
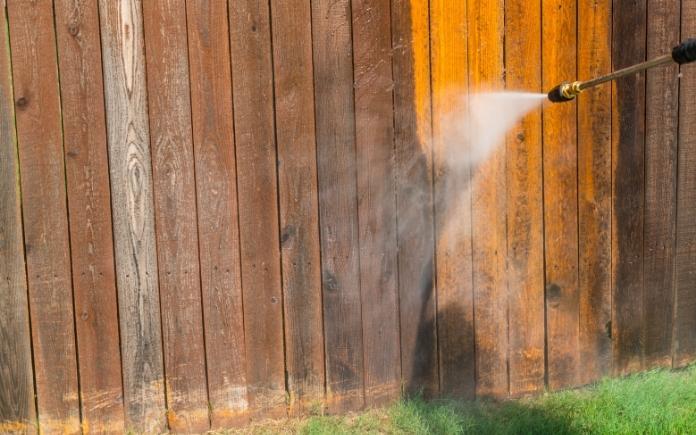
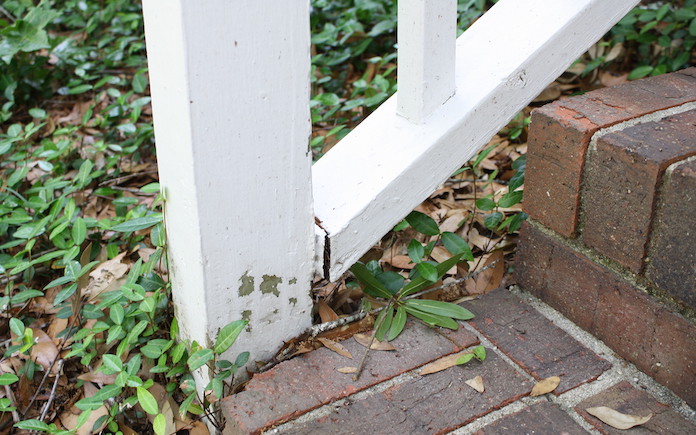
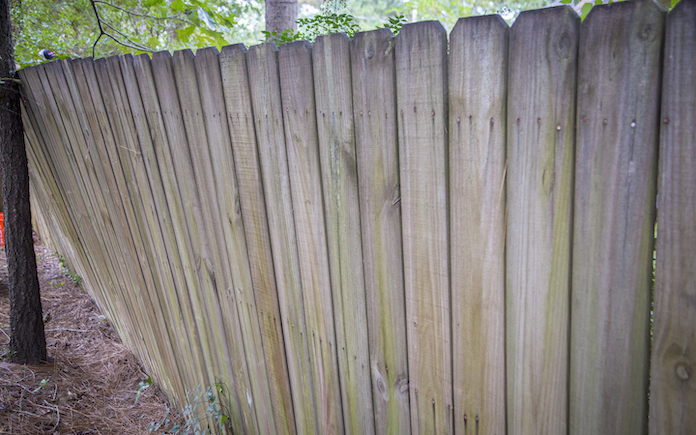
3. Check for Loose Railings or Damage on Wooden Decks
Changing weather can take a toll on your deck. Nails and screws can loosen during the temperature change and splinters can pop up once the heat rises.
Inspect and repair any damage to your deck so you can have some safe fun in the sun. Top it off with a coat of sealer to keep it protected all summer long.
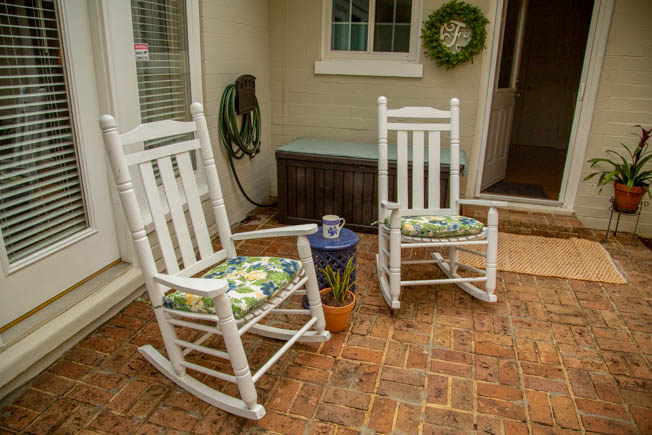
Check for any loose parts or rot (if it’s wood). If you have cushions, be sure to wash them. In addition, if your cushions get wet from rain, be sure to hang them out to dry on a sunny day to avoid mold.
If you do this on a regular basis, it makes it a lot easier to keep everything clean.
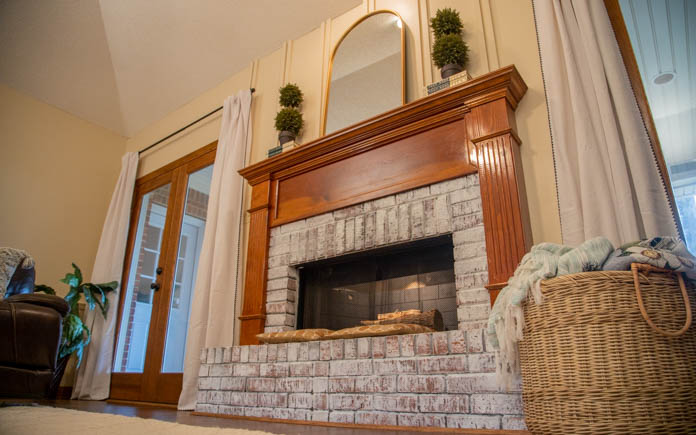
Your fireplace will be ready for winter if you have it inspected this summer. (3 Echoes Content Studio)
7. Have Chimney Inspected & Cleaned
Now’s a great time to have a professional inspect your fireplace and chimney because you aren’t using them during the summer.
Plus, you’ll have more time for repairs if needed.
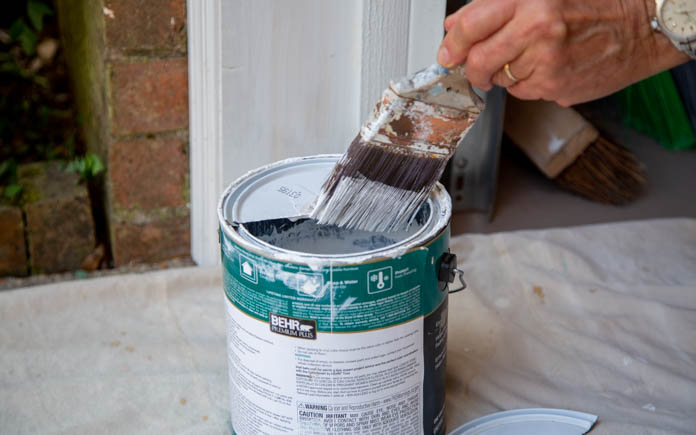
Scrape off peeling paint and put on a fresh coat for an exterior refresh. (mehampson, Getty Images)
8. Scrape Loose Paint from Siding & Trim
Boost your home’s curb appeal by freshening up siding. Scrape away any loose paint, sand if needed, then prime and paint on a fresh coat.
If it’s an older paint, be sure to test it for lead as a precaution.
Mix 1 teaspoon of baby shampoo to 1 gallon of water, or 1-1/2 cups of vinegar to 1 gallon of water, and wipe windows down with newspaper for a streak-free shine.
Involve family members and tag-team to speed things up! Have one person clean the windows inside while another cleans the outside.
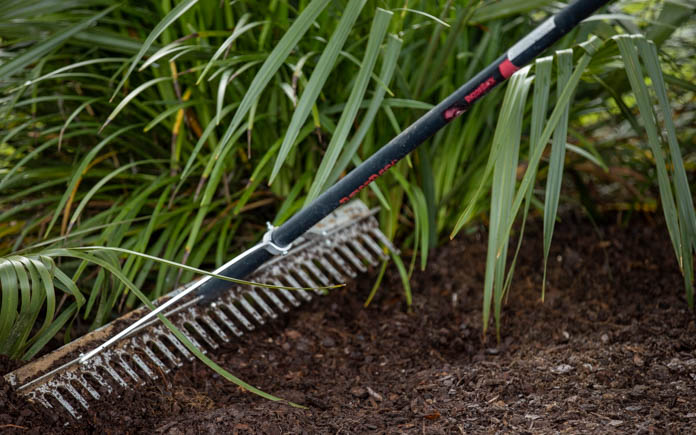
Finally, summer blooms are burgeoning! Now is the perfect time to pull any weeds from garden beds and prevent further weed growth by adding 2 to 3 inches of mulch.
Listen to this special-edition Today’s Homeowner Podcast for more summer home maintenance tips!
A sofa arm tray keeps everything you need in the living room within close reach.
Let’s face it, your couch can easily swallow everyday items if you lack table space to keep them stable and in view. Remotes mysteriously vanish moments after you set them down, and phones slip between cushion gaps.
From reading glasses to snacks, and everything in between, a sofa arm tray can keep these items in plain sight and easily accessible. Plus, it’s the perfect spot to set down a drink so you don’t have your hands full while lounging in the living room.
This is especially useful if you use your hands a lot while talking — it eliminates any chance for your drink to spill during a spirited conversation!
You can easily build this small sofa arm tray in less than a day. And, depending on how long it takes the finish to dry, you can enjoy its convenience and receive compliments from friends in no time!
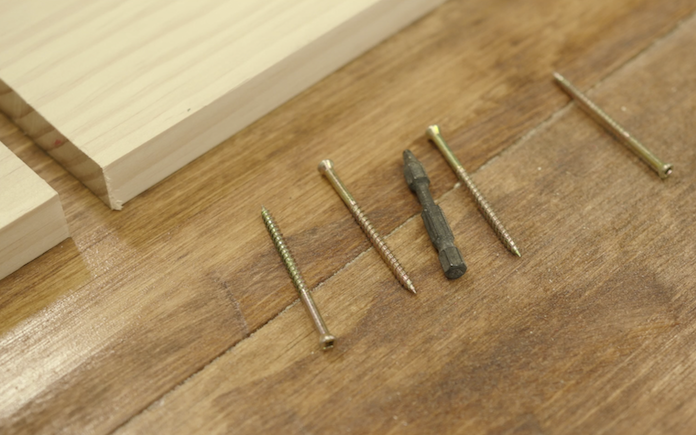
Materials
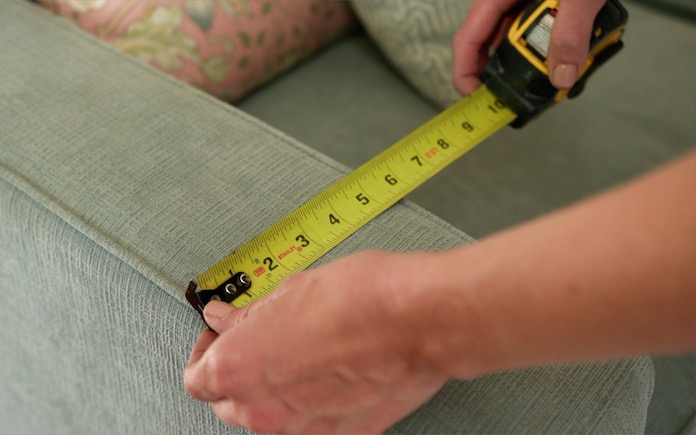
Determine the Size
First, you’ll need to measure the width of the armrest where you’ll use the sofa arm tray.
Then, measure the distance from the top of the armrest to the cushion.
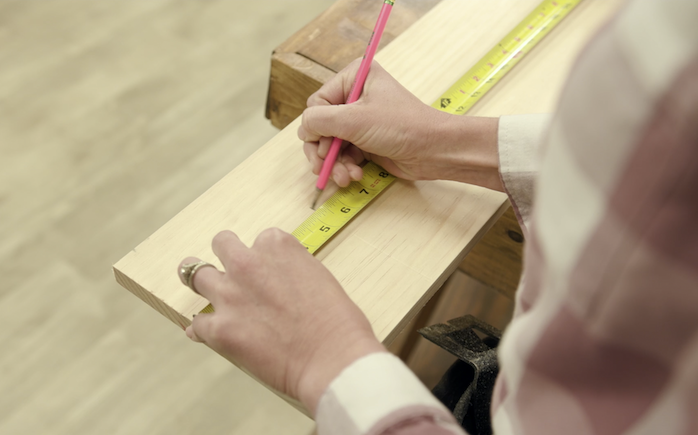
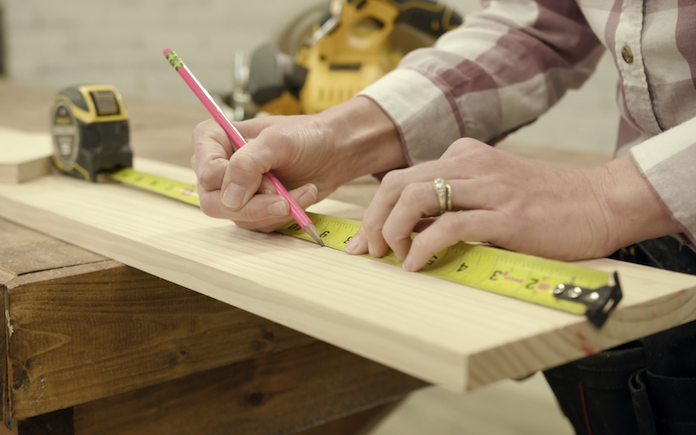
Cut Wood Pieces
From a piece of 1-by-8 board, cut one piece 1 1/2 inches wider than the armrest and one piece the same length as the distance to the cushion.
Then, cut a third piece 2 1/2 to 3 inches longer than the cushion height. This piece will go on the outside.
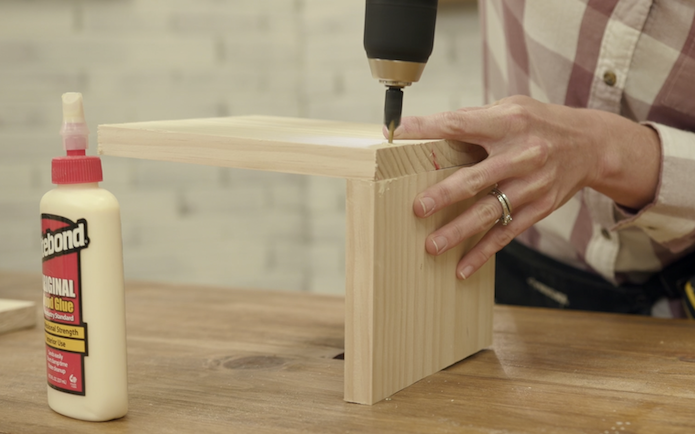
Assemble Sofa Arm Tray
You’ll need some 3-inch trim screws, a countersink drill bit, and some wood glue for assembly. Glue the pieces together with Titebond Original Wood Glue to quickly bond them together. This makes the tray sturdier and drilling the screws easier.
Use the countersink bit to drill a pair of pilot holes in each location before you drive in screws to secure the joint.
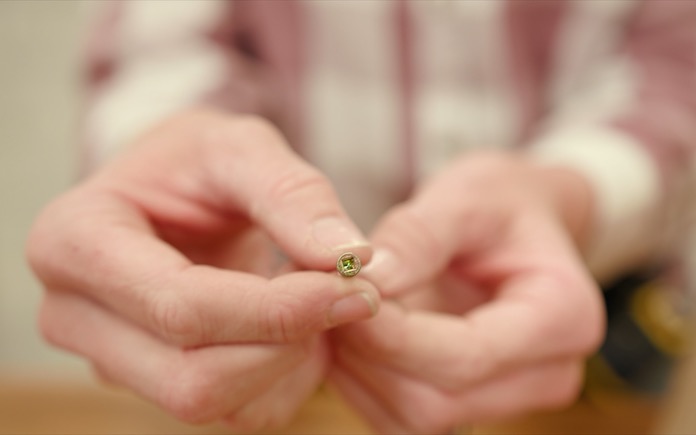
Trim screws have a tiny head, so once they’re in place, they’re nearly invisible.
Repeat this process with the other leg.
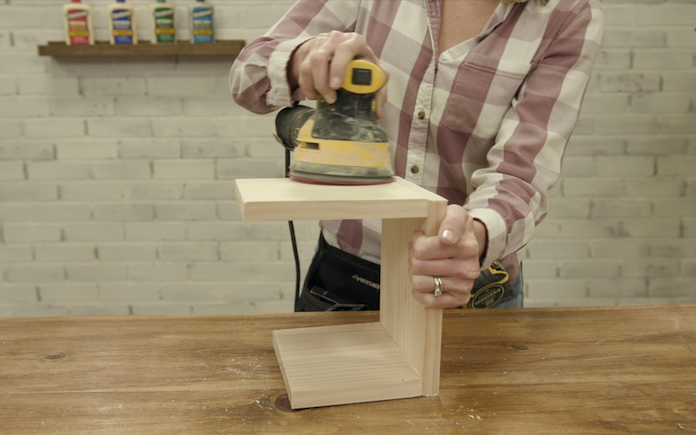
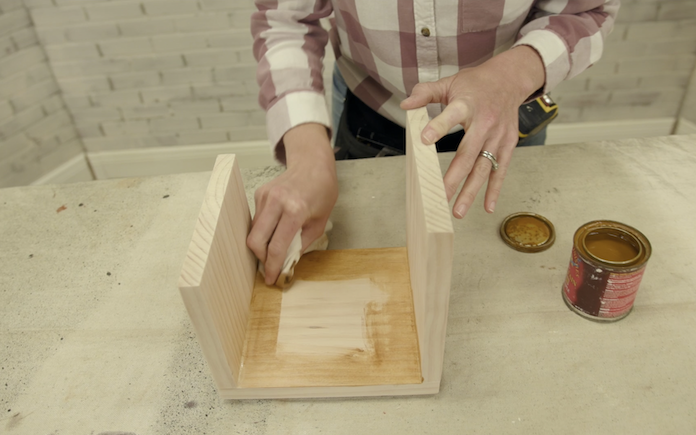
Add the Final Touches
After you’ve assembled the sofa arm tray, sand the edges for a smooth finish.
Next, apply a coat of wood stain with a cotton cheesecloth.
Once the wood stain is dry, brush on a coat of clear polyurethane sealer. A water-based polyurethane sealer should dry in about two hours, whereas an oil-based one will take at least eight hours.
After your sofa arm tray is dry, unwind in your living room with your essentials in sight!