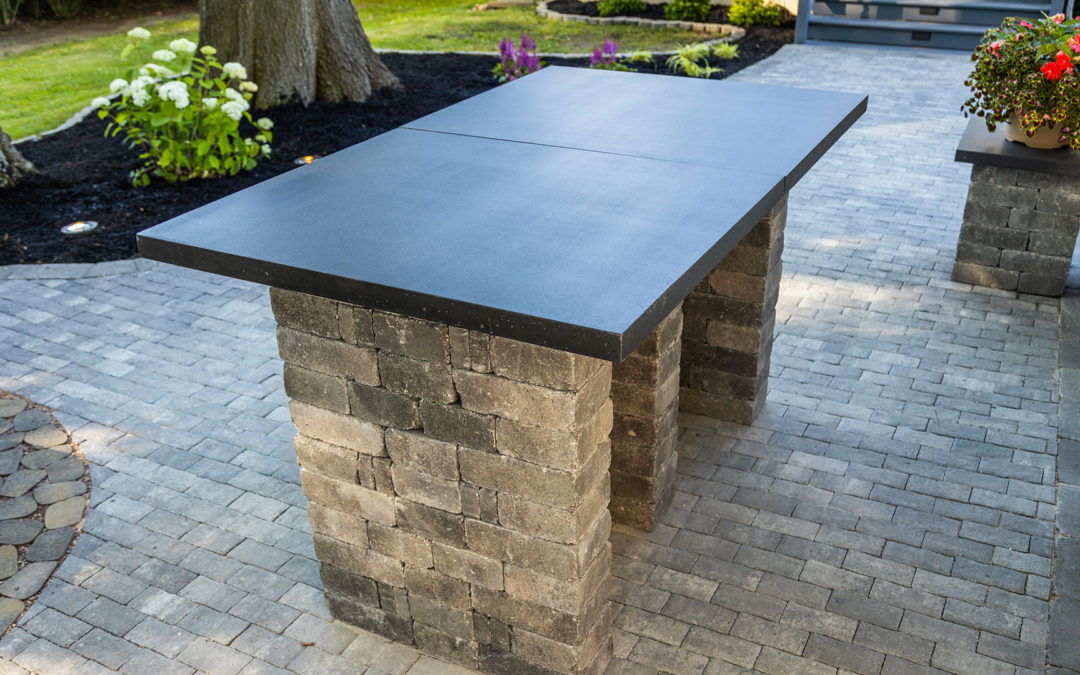
If your outdoor space needs a countertop, look no further than concrete mix to make one that’s stylish and will stand the test of time.
Concrete is durable and easy to clean, which makes it the perfect building material for a countertop, especially one that you will use outdoors.
So, whether you need a prep station for grilling or an outdoor table for eating, concrete is a great material.
Steps to Make the Countertop
Shape the forms. A sheet of melamine is perfect for the base because of its smooth surface. Screw strips of vinyl molding to the melamine for the edges, and then seal the seams with caulk. Also, coat the entire piece with lubricant so the concrete will release easily.
Add color. Stir in Quikrete Liquid Cement Colorto a bucket of water before mixing in some Quikrete Countertop Mix, as directed. Next, mix all of this thoroughly and add steel reinforcement to the melamine mold before pouring.
Pour the concrete. Now for the fun part. Pour the concrete mix into the mold — the steel reinforcement will need to be lifted up from the bottom of the mold before smoothing the top off-level with the top of the mold. Tap around the edges with a rubber mallet or hammer to release air bubbles.
Let this dry for a few days and then you have a ready-to-install concrete countertop!
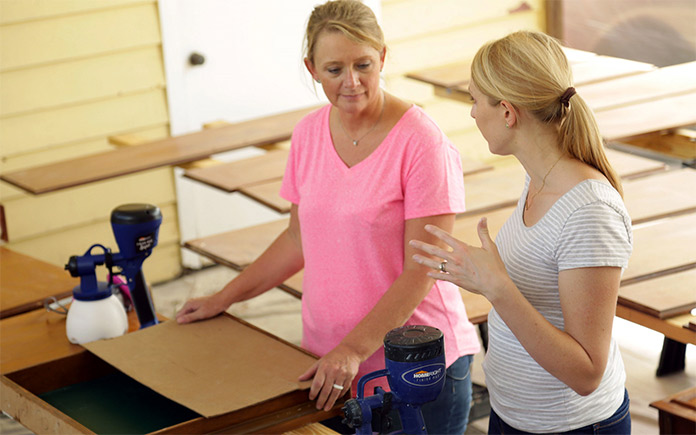
You can easily update your kitchen cabinets by painting them. However, a good paint job depends on a great prep job. Prepare the surface properly so the paint will adhere and not peel or chip over time.
While you can paint cabinets with a brush, a sprayer is faster and leaves a smoother surface.
Sanding kitchen cabinets before painting them is important to ensure the paint will adhere to them.
Preparing the Surface
Before you can start painting the kitchen cabinets, you need to prepare the surface. Prepping usually is the longest part of the job, and it’s the most important part to ensure the finishing coats properly cover the cabinets.
1. Remove doors and drawers: Take the doors and hardware off the cabinet boxes and remove drawers and hardware from the cabinets. You will paint the doors and drawers separately.
2. Place the doors on sawhorses. Spreading the doors on two-by-fours stretched between sawhorses will allow you to prep and paint without moving the doors.
3.Clean the Cabinets: Clean all surfaces thoroughly with a household cleaner to remove any grease or grime.
4. Sand the Cabinets: Lightly sand all the surfaces. If the old finish is in good condition, you don’t have to sand it down to bare wood, just until it’s smooth and free of gloss.
A pad sander with 220-grit paper will make quick work of the flat areas and a sanding sponge is ideal for curved edges and recesses. The goal here is to rough up the surface enough to accept the primer.
If there is any greasy residue left after sanding, mineral spirits will remove it.
5. Remove the dust: Vacuum off any sanding dust, and then wipe the cabinets down with a clean, damp cloth.
Before you prime and paint your kitchen cabinets, make sure you know who’s doing what, if you’re working in pairs or groups. In addition, wear the proper safety gear, such as safety glasses and a respirator.
Priming and Painting the Kitchen Cabinets
1. Prime the cabinets: Apply an oil-based, stain-blocking primer to the cabinets. Oil-based primers adhere and block stains better than latex primers.
We’re using a high-volume, low-pressure spray gun to apply both the primer and paint. These sprayers are inexpensive and user-friendly but the operator should be protected by a respirator.
When you spray paint, it’s important to keep the spray tip a consistent distance from the surface and make slow passes back and forth. Each pass should begin and end beyond the edge of the door so there’s no buildup of paint on the edges.
We’re using the same sprayer on the cabinet boxes inside since the floors are covered and the room is sealed.
In this case, we’re painting the inside of the cabinets to avoid overspray marks or the need to mask each opening of the cabinets.
2. Cover imperfections. After the primer dries, fill any holes or dents with a two-part auto body filler. After the filler has hardened, sand it smooth with the surface. You also may need to putty nail holes or caulk cracks and seams.
3. Paint the cabinets: Use a high-quality woodwork enamel paint on your kitchen cabinets. You can use oil or latex paints, though they each have their advantages and disadvantages:
Oil-based paint has a smoother surface and dries harder than latex; but it requires a solvent like mineral spirits for clean-up, has a strong odor, and slowly dries.
Latex paint cleans up easily with water, comes in low and no VOC (volatile organic compounds) formulas, and dries quickly; but it shows brush marks more, is softer, and tends to imprint, allowing items placed on shelves to stick unless shelf paper is applied.
I prefer a medium gloss (such as semigloss or eggshell) paint for kitchen cabinets, though high gloss holds up well. Avoid using flat paint on kitchen cabinets, since it doesn’t clean as well.
Apply the paint, sanding lightly between coats. Spraying the doors horizontally reduces the risk of drips, which can mar the finish.
Allow the two coats of finish paint to dry thoroughly before handling the doors and replacing the hardware.
If you’re changing hardware, consider buying new hinges with the same footprint as the old ones. This will simplify installation and hide any indentations left by the old hinges.