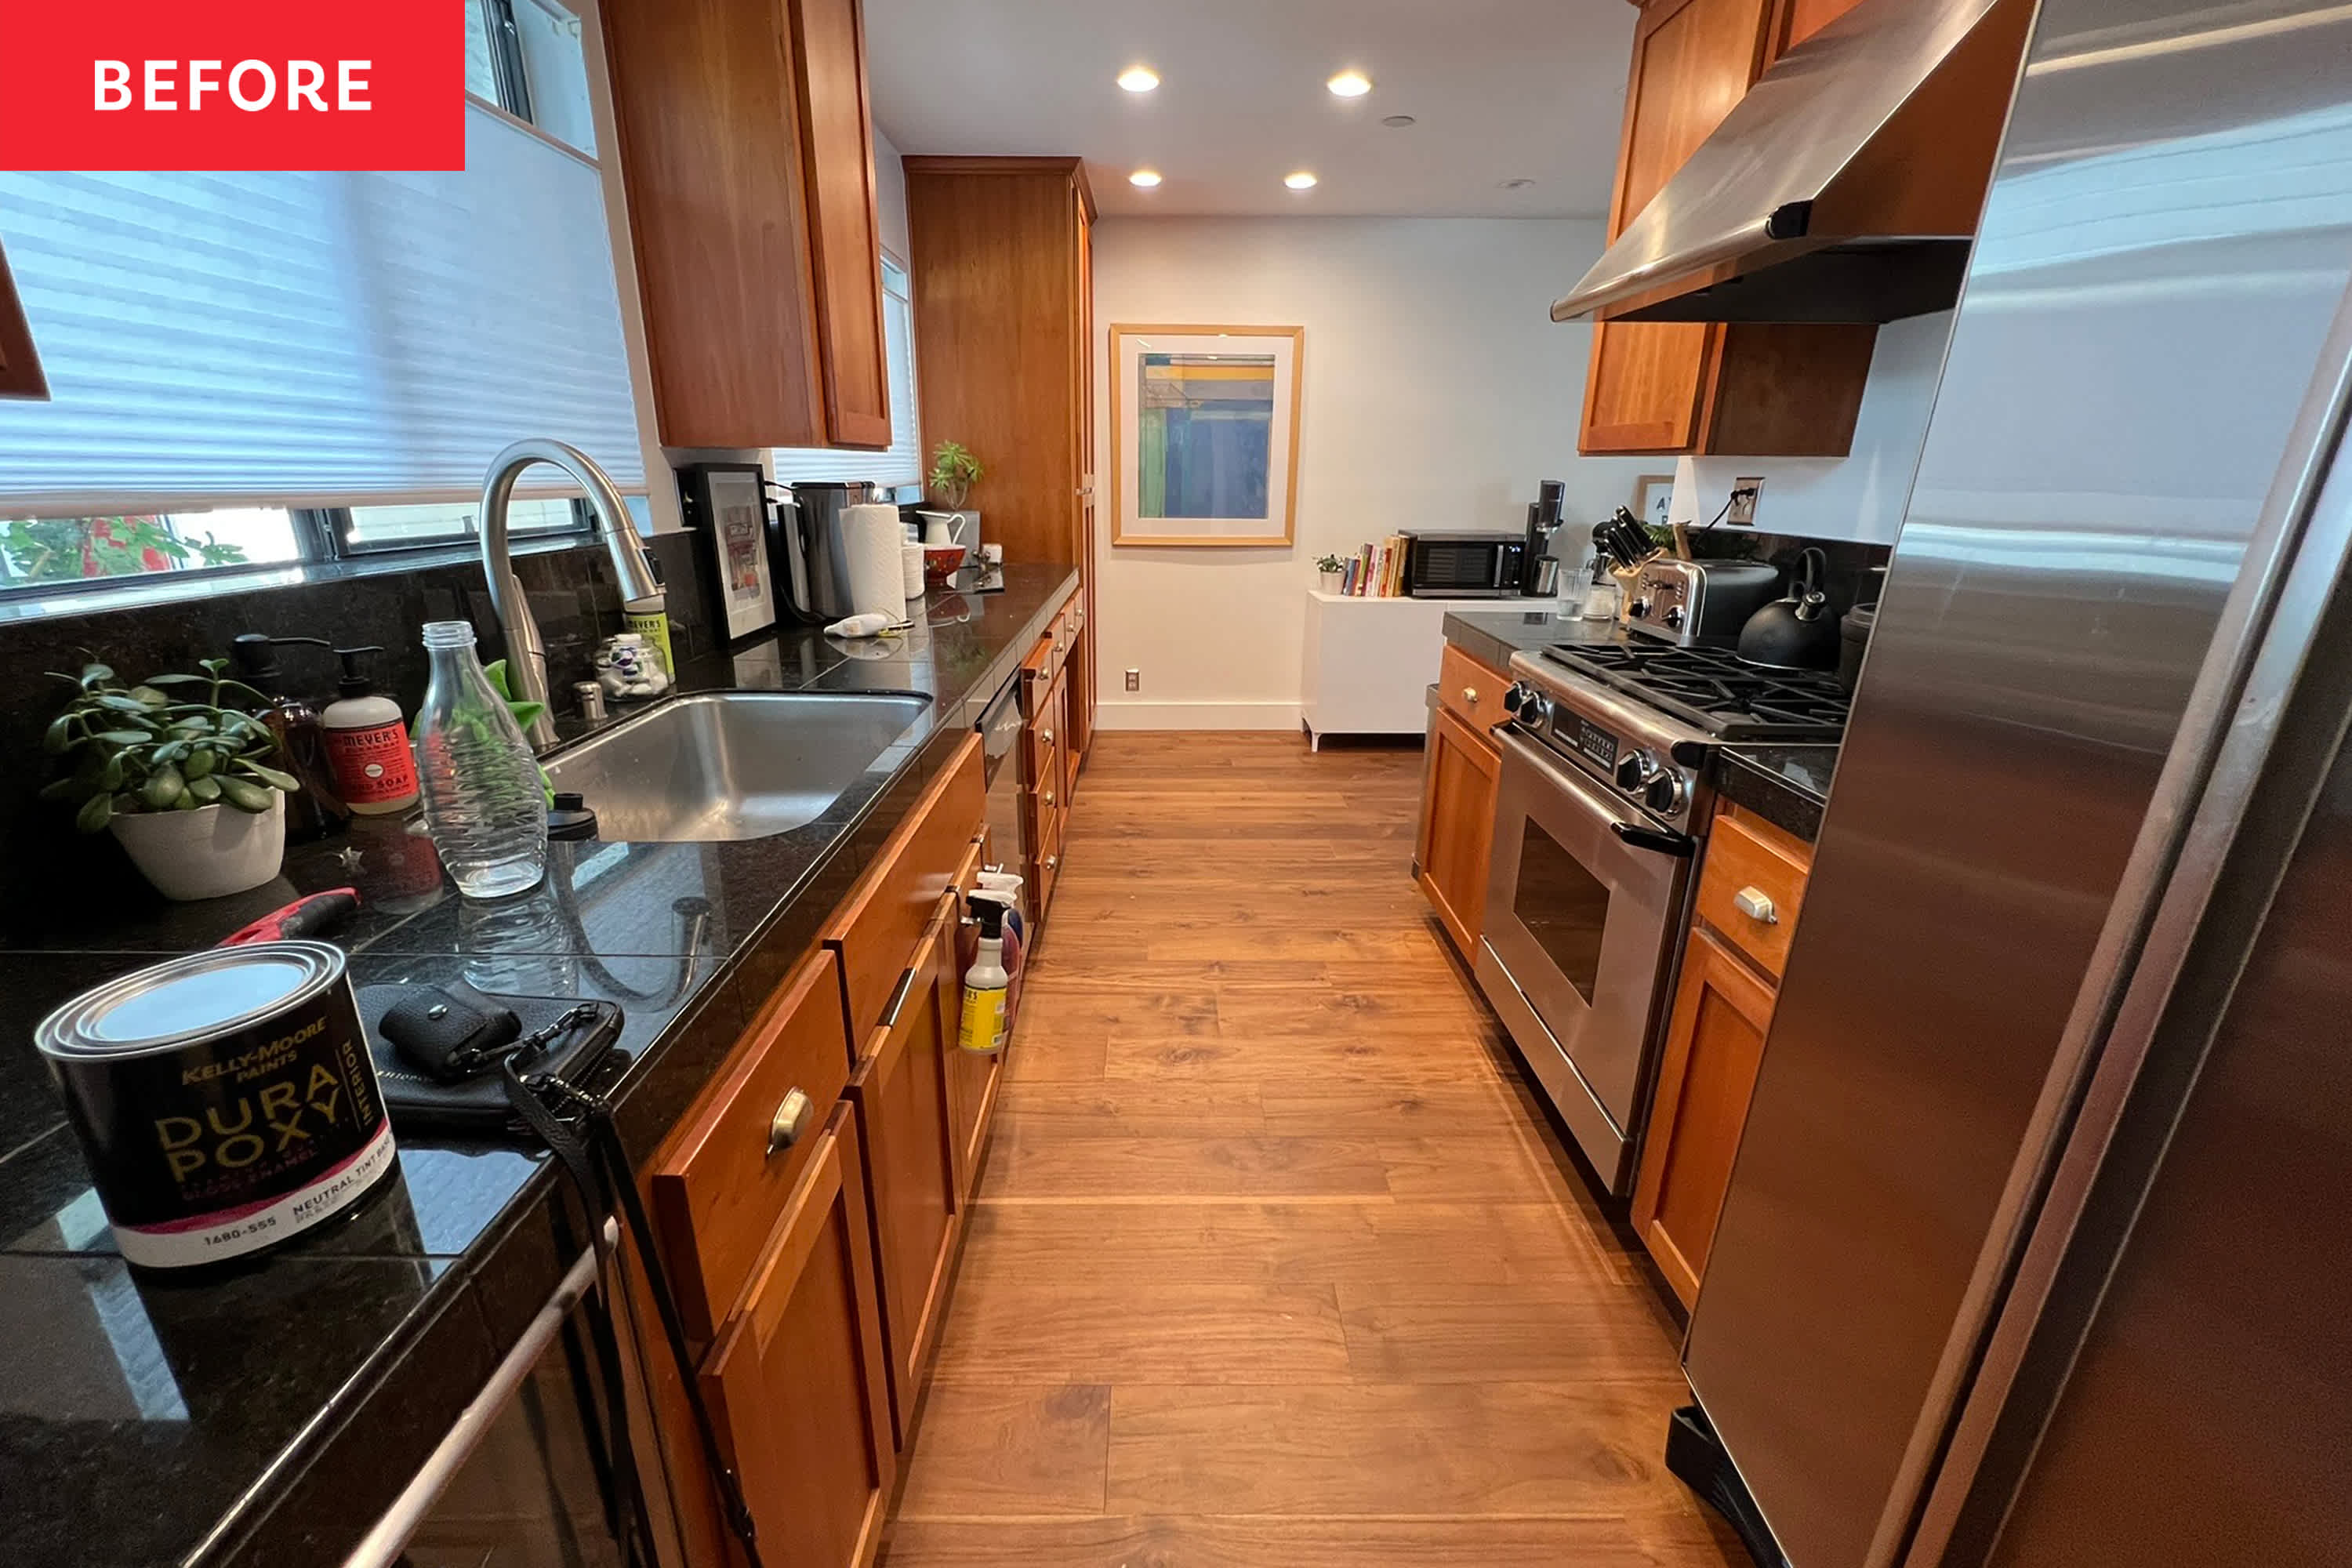
This Dark, Drab Kitchen Looks Unrecognizable After One Fresh Paint Job
A DIY backsplash adds to the airy, spacious feeling, too. READ MORE…
2-Day Shipping on most products. Shop Now!
A DIY backsplash adds to the airy, spacious feeling, too. READ MORE…
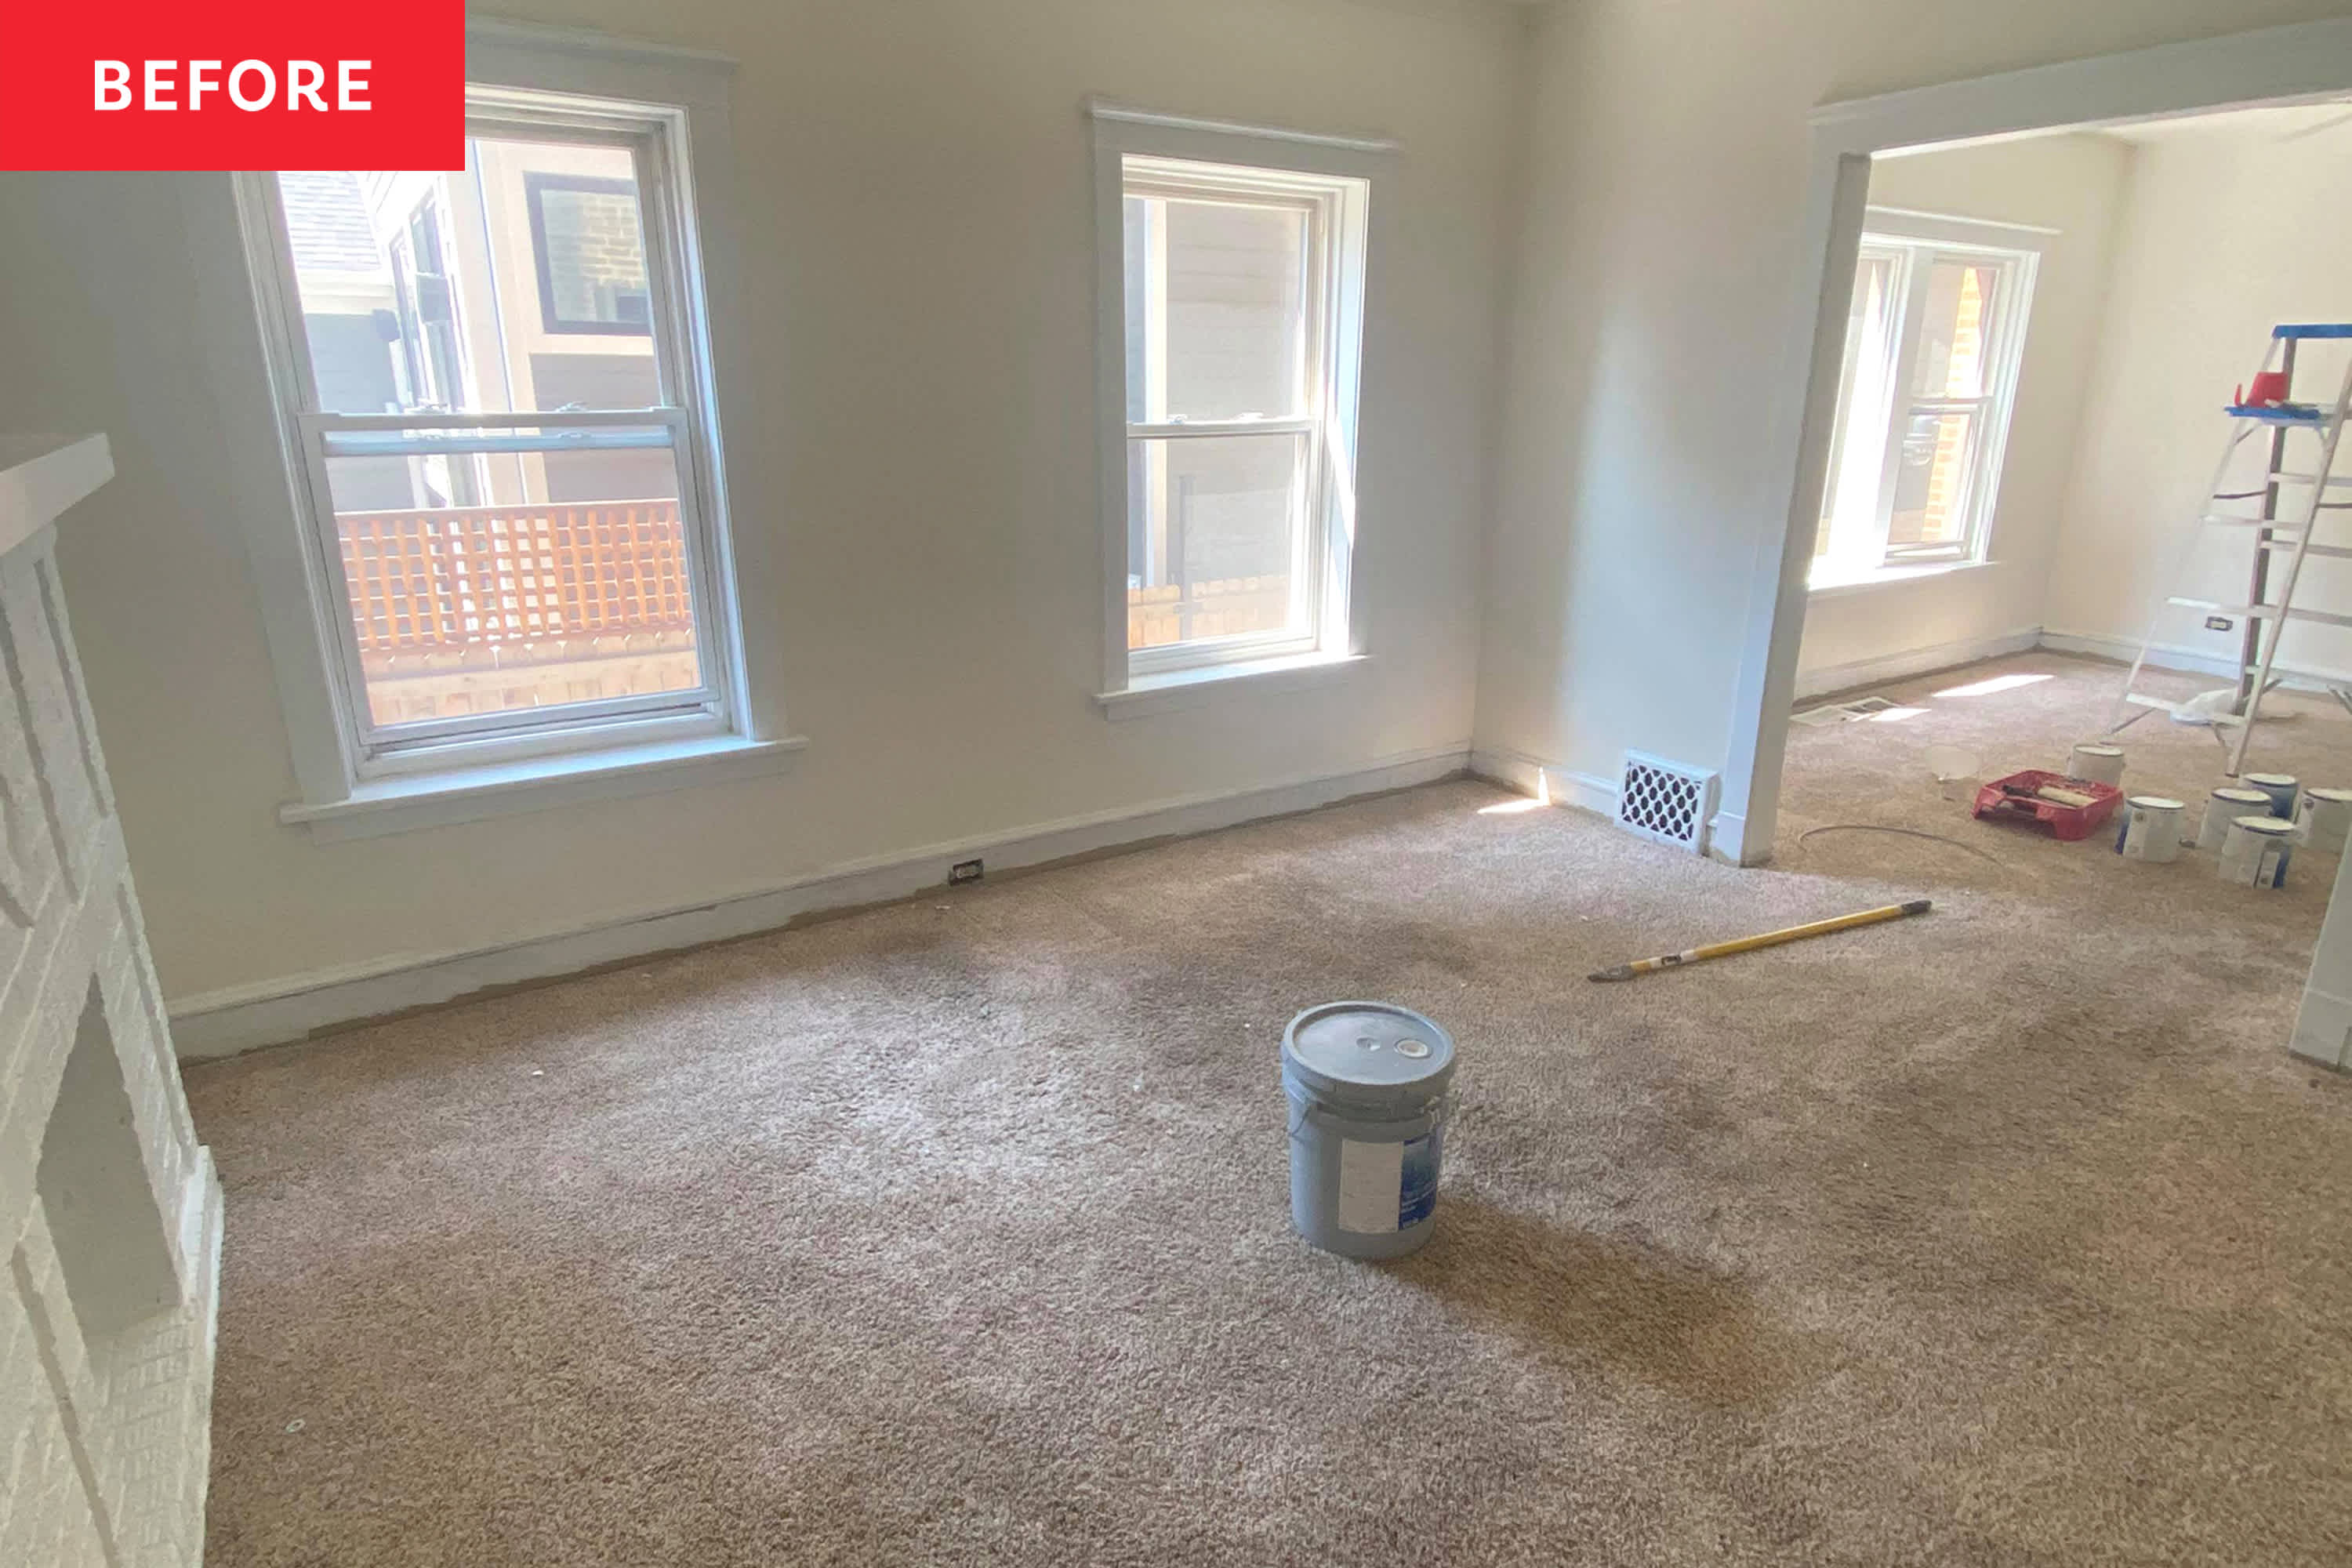
A new wall color is never a bad idea.
READ MORE…

I organize the Before & After series and cover DIY and design. I joined AT in October 2020 as a production assistant. I have an MA in Journalism from the University of Missouri and a BA in Journalism from Belmont University. Past editorial stops include HGTV Magazine, Nashville Arts Magazine, and local magazines in my hometown, Columbia, Missouri.
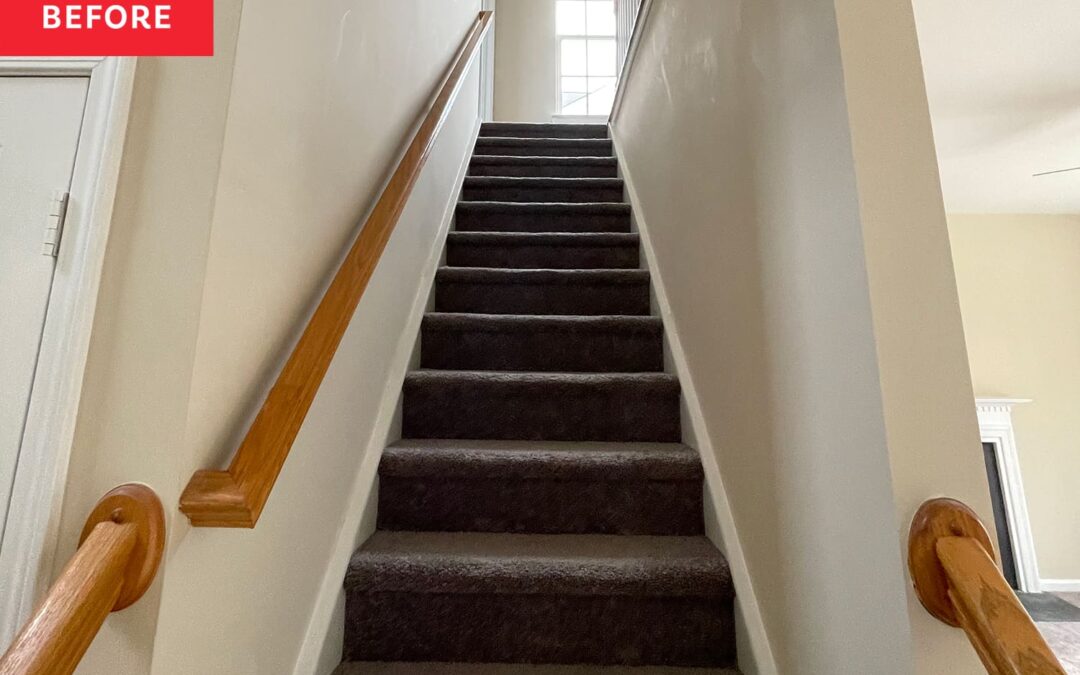
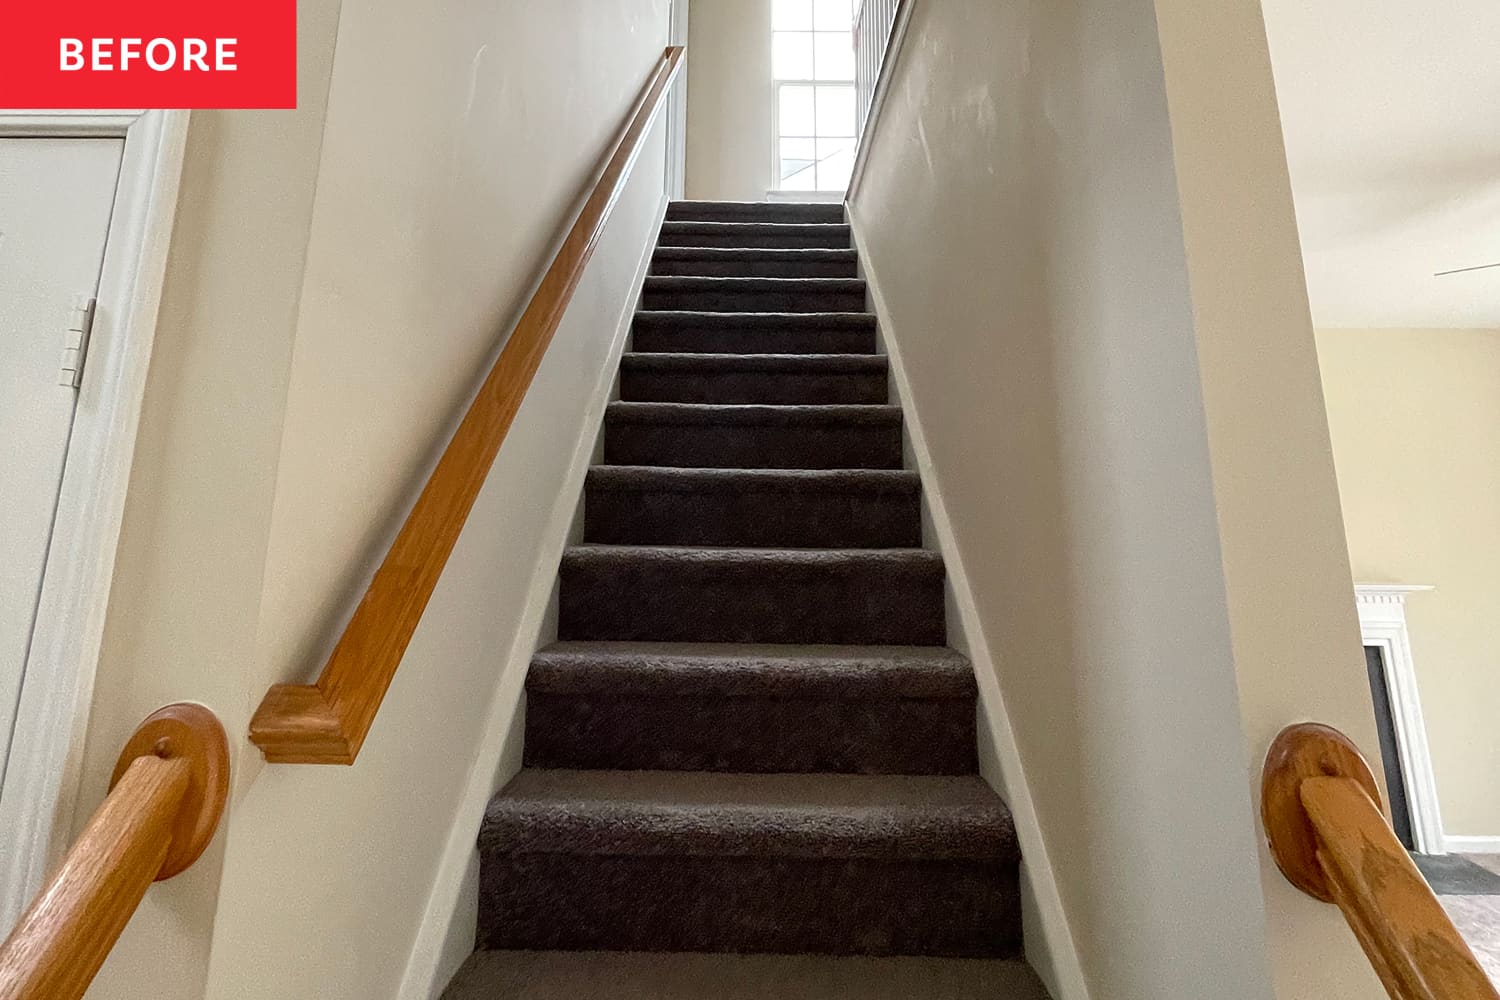
To make the staircase the statement Matthew and his husband were after, Matthew bought some green tiles that caught his eye at Lowe’s. “I knew immediately what I was going to do with them,” he says. “Everyone thought the idea of tiling a staircase was crazy, but I told them to trust the process.”
And trust the process they did; Matthew’s husband and a friend, Sarah, actually installed the tile over a holiday break when Matthew had to work. And it seems the tile was truly meant to be, because not a single piece had to be cut to size! “The tiles across fit perfectly, and they were the exact height that we needed,” Matthew says. “The tile at first seems to make the biggest difference, but in my mind, as soon as the honey-colored wood tone was gone, the space immediately felt better,” Matthew says.
And you definitely already have everything you need.
READ MORE…