This week, we’re transforming a dull dining room into a diva den.
Homeowner Robin Stafford hasn’t used this room for dining since she moved into her home, so we’re going to turn it into a unique space for her to relax and unwind with her daughter.
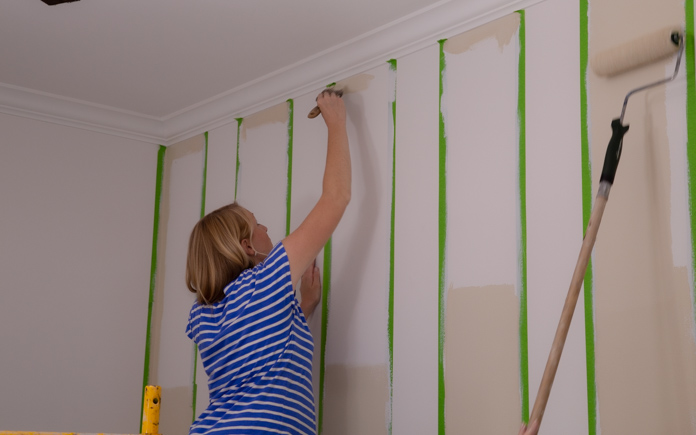
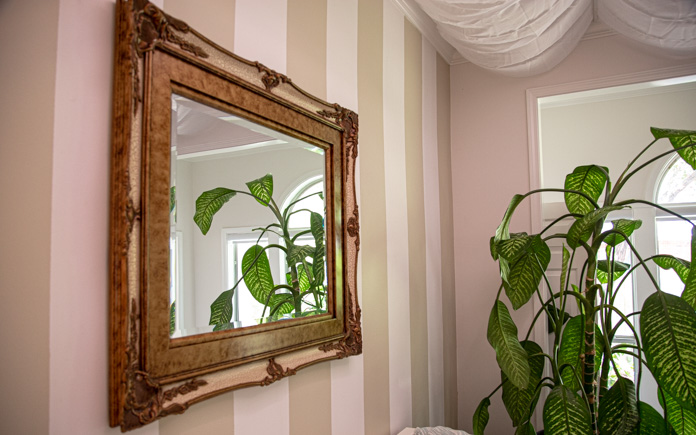
Vertical stripes draw the eye up and highlight the room’s tall ceilings. (3 Echoes ContentStudio)
Paint Accent Wall
To create a focal point for the room, we paint a vertical striped accent wall. The vertical stripes draw your eyes up the wall and call attention to the tall ceiling.
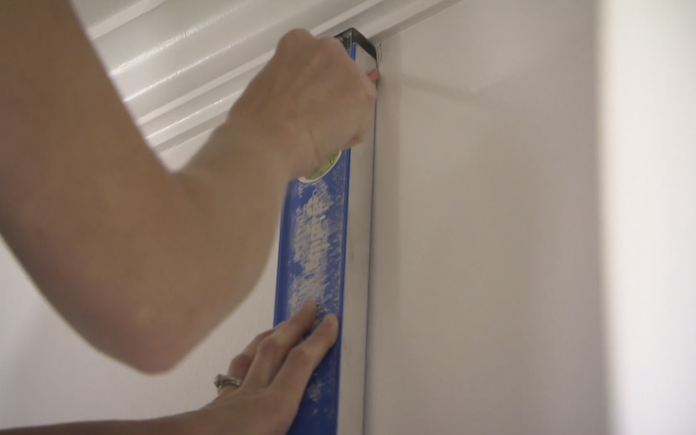
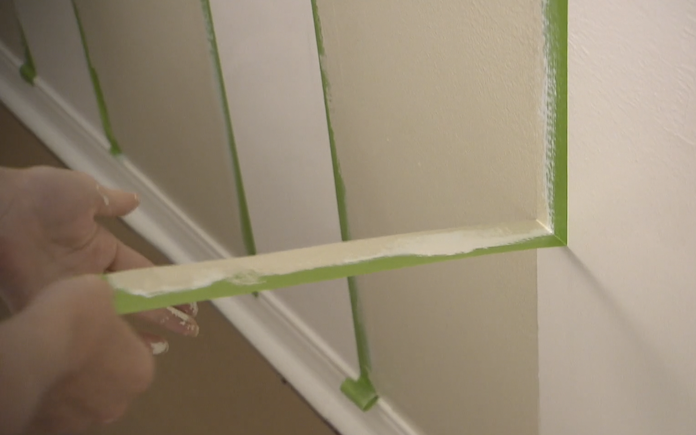
Next, we measure out the width of our stripes and mark the lines with a pencil. Then, we use a level to create straight vertical lines for the tape to go over. we tape our vertical stripes on the wall.
For the stripe colors, we’re going with tan and white. To make painting easier, we mark the slats for the tan stripes with an “x.”
Pulling the tape while the second coat of paint is still wet makes for clean lines. (3 Echoes Content Studio)
We use painter’s tape to mark off the stripes on the wall. After the tape is in place, we use the wall color to seal off the tape so none of our stripe color gets underneath.
We then apply two coats of our stripe color and remove the painter’s tape.
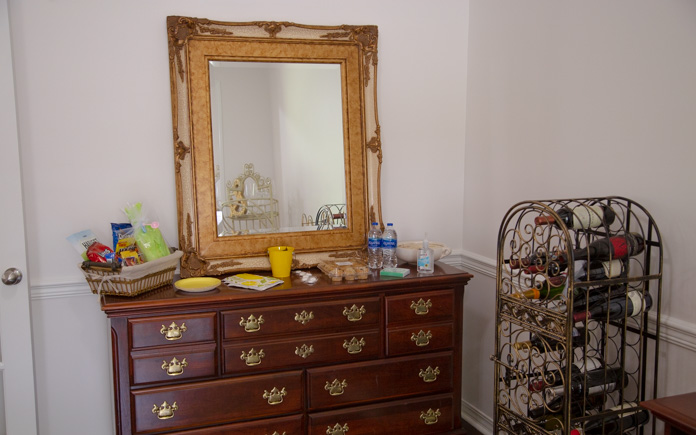
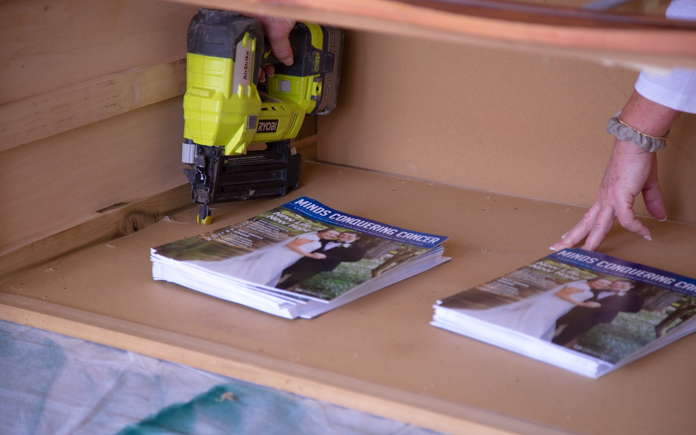
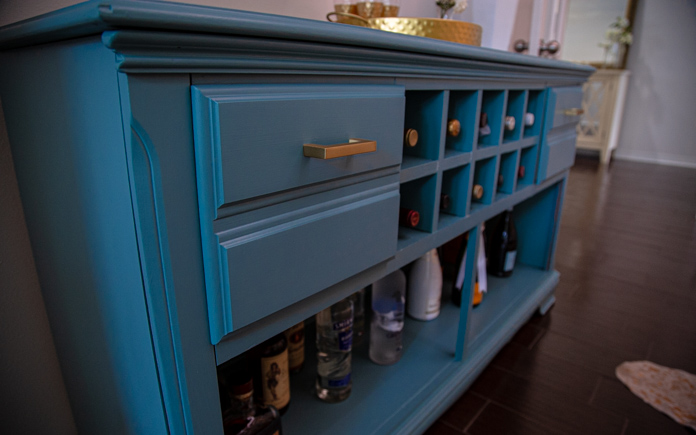
Robin has a dresser she inherited from her mother that we’re able to reuse and reconfigure for a bar.
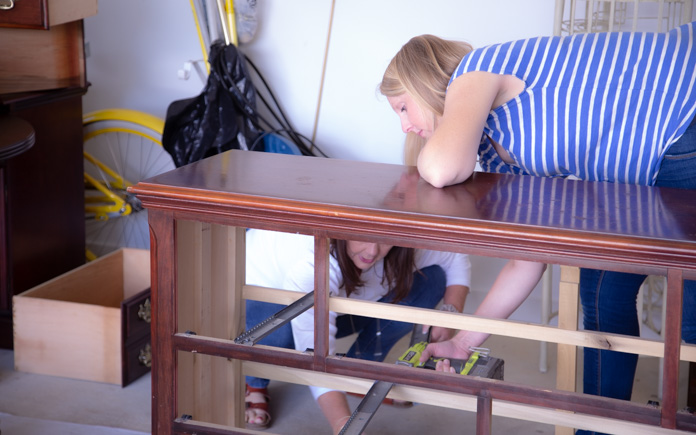
We remove the bottom two drawers to create a large bottom shelf for bottles. Then, we take out the large top middle drawer and convert that space into a wine rack.
Robin’s formal dining room had great natural light, tall ceilings and plenty of space, but it had no real purpose. So, it became a catch-all for furniture that had no other home. Because it was right next to the front door, it was the very first thing her guests saw.
But now, the room has a purpose and personality.
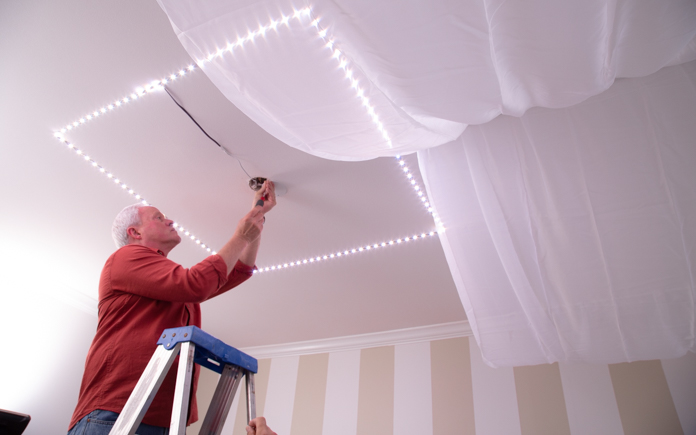
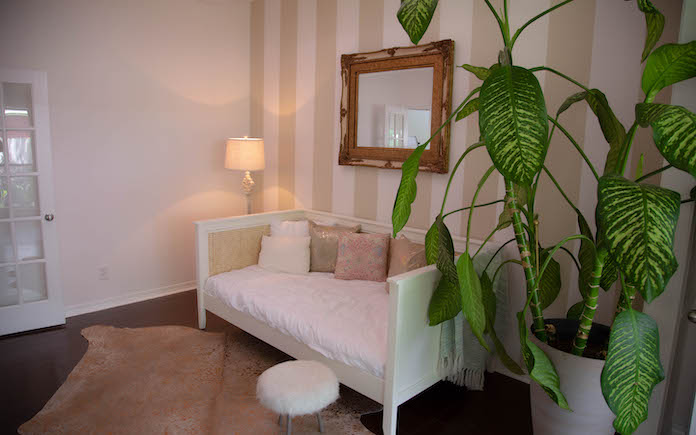
The bold stripes on the accent walls draw you in and accentuate the height of the ceiling, which makes a statement of its own with the soft LED lights filtering through the sheer drapes. This ceiling makes it clear this room is designed for relaxation.
Of course, the custom day bed fits in perfectly with that scheme. It’s simple, comfortable, and complements the striped wall behind it. The dresser-turned-bar adds a pop of color to the room and pays homage to Robin’s mother while it serves a very practical purpose.
Other Tips From This Episode
Products Featured in This Episode
Materials for Day Bed
This page contains affiliate links. If you purchase a product from these links, we will earn a small commission at no additional cost to you.
Garages make for great storage space, but they can quickly become cluttered.
Russ and Raelyn Watkins have a spacious two-car garage, but the space has filled up over time. Walking from their car to the door has become an obstacle.
The garage is the most-used entrance in their home, so making sure the pathway is clear for the family and visitors is a top priority.
The space between the two garage doors is perfect for stacking storage totes.
Build Storage Shelf for Plastic Totes
The space between the two garage doors is perfect for a shelf to hold some plastic storage totes.
We start designing the shelf to custom fit the space, which is about two feet wide between the doors. We measure out the shelves to fit the height of the storage totes. The shelf is long enough to fit five storage totes long and two stacks high. This two-tote height is perfect for adding a counter on top to provide a surface for extra workspace.
To build this storage shelf, it’s essentially just building a frame to fit the totes and then putting the plywood on top of it. We measure the legs to space it up properly, so the totes can easily be taken in and out.
After it’s assembled, we give it a nice coat of paint with a paint sprayer.
We place the wall shelf at just the right height to fit an extra tote on top of the fridge.
Build Shelf Above Fridge
Next, we add some storage space up high with a wall shelf. We mark on the wall how high we need our shelf to be so we can accommodate some storage space on top of the fridge.
Next, we mark our studs for attaching the shelf. Almost every wall on a home has 16-inch centers — so the 2-by-4 studs are spaced 16 inches apart.
We find the first stud and use this formula as a guide to mark the rest of the studs. This speeds up the process because we don’t have to use a stud finder to find each one.
These custom corbels are easy to make and look better than standard metal shelf brackets.
Instead of using metal shelf brackets to install our shelf, we take a 1×12 and cut it at a 45-degree where the grain is vertical to make a triangle corbel.
To give the shelf and corbels extra support, we add a 1×4 cleat. We leave some space at the top of the corbels so the cleat will slide under the trim beneath the shelf.
The corbels slide neatly into the trim underneath the shelf.
After the shelf is assembled, we paint it to match the plastic storage tote shelf.
Although these J-hooks are meant for plumbing, they’re a perfect fit for storing tailgating chairs and brooms!
Utilize Wall Space
The hooks on the walls came with the house when the Watkins family bought it. They don’t work with their family’s storage needs, so we create a new system that’s perfectly tailored for them.
Use a level to make sure the J-hooks are even.
Our solution for storing the Watkins’ tailgating chairs is hanging them on the wall with J-hooks. These hooks are actually meant for hanging pipes, and you can find them on the plumbing aisle.
To get more chairs on the wall and also add some visual variety, we staggered them on the wall.
We also:
Painted the walls
Changed the opening direction of the door
Moved the refrigerator
Restored garage floor
Removed blinds and installed window film
Post-Production Thoughts
Russ and Raelyn’s garage was like many people’s — a place where things got dropped when there was nowhere else for them. Without adequate shelving, the floor filled up fast, and walking through the garage was a little like an obstacle course. And, the dingy walls and cobweb-covered windows didn’t make the chore any easier.
Now, the garage is light and bright thanks to the great new color on the walls and the crisp, clean window film on the windows.
The freestanding shelf between the doors holds tons of smaller items, thanks to the transparent storage bins, while the long shelf on the wall is ready to handle lots of long-term storage.
The camping chairs now have their own designated spot, off the floor so there’s no more obstacle course.
In fact, the new arrangement freed up so much space that Raelyn can park closer to the door to the house and still leave room for the mower.
Other Tips From This Episode
Products Featured in This Episode
This page contains affiliate links. If you purchase a product from these links, we will earn a small commission at no additional cost to you.
Frosted window film provides the privacy you need and the natural light you want.
It mimics the look of specialty glass without the added cost and is a perfect solution for spaces where blinds aren’t ideal, like in garage and bathroom windows.
Most of the time, blinds in garage windows are rarely opened. Because of this, they create a perfect environment for dust to collect, and even worse, for spiders to nest.
In a bathroom, moist air can morphe blinds, plus you don’t want to forget to close them when you hop into the shower.
Applying this is easy — here’s how to do it:
First, thoroughly clean the window.
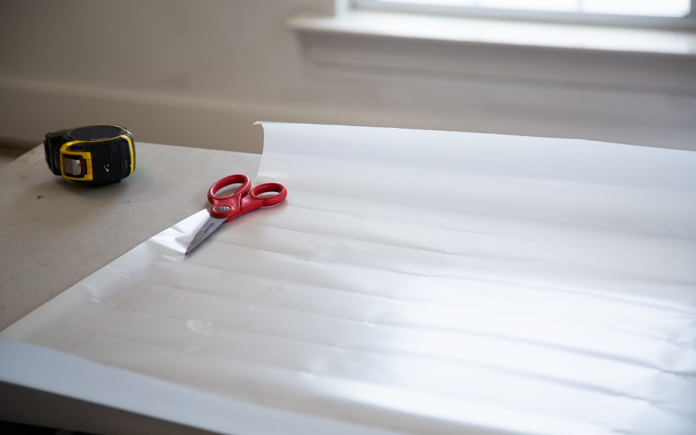
Next, measure the windows and cut the frosted window film slightly larger than the window’s dimensions.
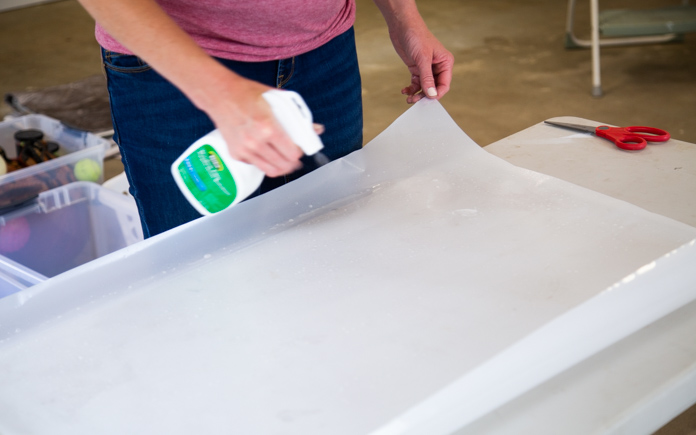
Remove the liner and spray the surface of the film and the window itself with the application solution.
Now, place the film on the window.
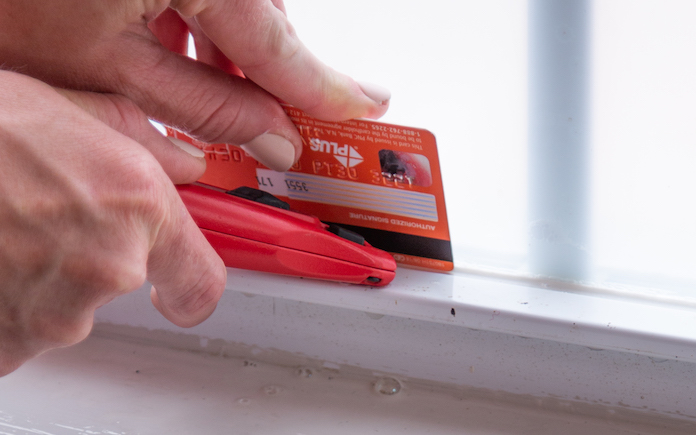
The window film solution allows it to be adjusted to fit in the center of the pane. When the position is right, use a small squeegee or a credit card to force out the application solution and any small air bubbles.
Tip: Work from the center outward in all four directions. This will push the air bubbles out faster.
Finally, use a razor knife to trim the overhanging edges flush with the edges of the window.
Now, not only do you have privacy and natural light, but you also have. protection from harmful UV rays that can fade interior surfaces.
NOTE: Frosted window film may cause problems on insulated glass and could void the warranty on windows or doors.
This page contains affiliate links. If you purchase a product from these links, we will earn a small commission at no additional cost to you.
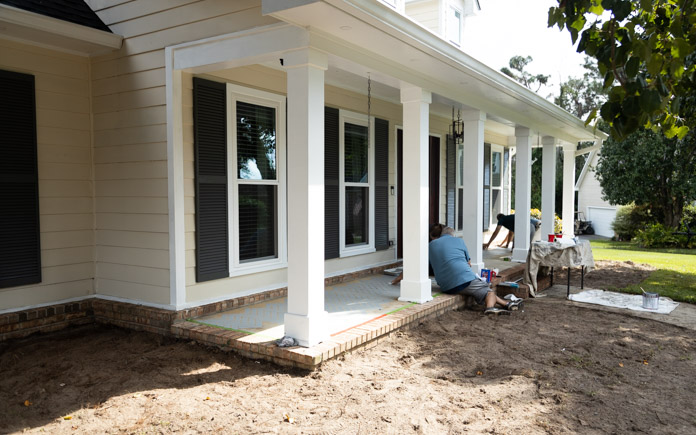
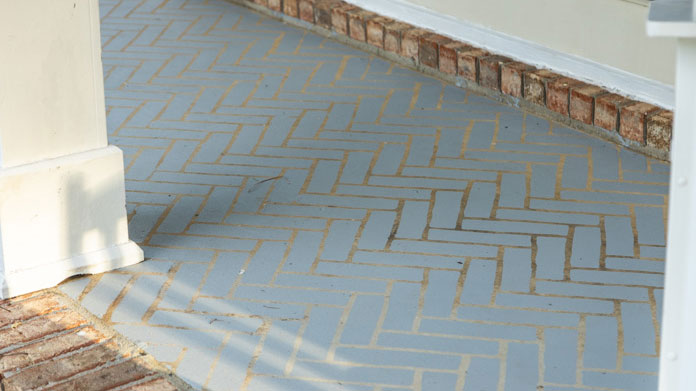
If you want to give your concrete porch some extra flair, paint a pattern on it! Using a stencil makes this a do-it-yourself friendly project.
You don’t need special skills or tools to tackle this project, but do you need patience and time, because attention to detail is a must!
Materials Needed
Stencil kit
Paint
Paint roller
Tape
1. Pick a Pattern
Before you begin, find a pattern you like. The stencil kit we’re using on this project includes two pattern types: a smaller version for edges and a larger version for wide-open spaces.
Registration marks on the stencil edges ensure proper alignment for the next application.
The key to painting an even pattern is to perfect the stencil’s position.
2. Perfect the Position
Remember that attention to detail? It starts before you even paint a thing!
Precision is key, so it’s important to carefully tape the stencil in the middle of the space, and then work toward the edges.
Working from the inside out helps to keep the pattern even across the entire surface.
When you paint over the stencil, do so in one direction — never back and forth.
3. Paint, Paint, Paint
Paint over the surface in one direction. We’re using a One Part Epoxy Coating designed specifically for concrete.
To avoid bleed-through, remove the excess paint from the roller each time you dip it in the tray. It’s also a good idea to wipe the paint off the underside of the stencil after each application.
For sharp pattern edges and a clean look, take your time while applying, removing and painting the stencil.
This formerly plain concrete floor now has some style, and the transformation cost less than $100!
Costs
It doesn’t cost much to transform an old, worn-out concrete porch into a stylish surface for gliders, rocking chairs and outdoor sofas.
Here’s what you can expect to pay for this project:
You can easily update your kitchen cabinets by painting them. However, a good paint job depends on a great prep job. Prepare the surface properly so the paint will adhere and not peel or chip over time.
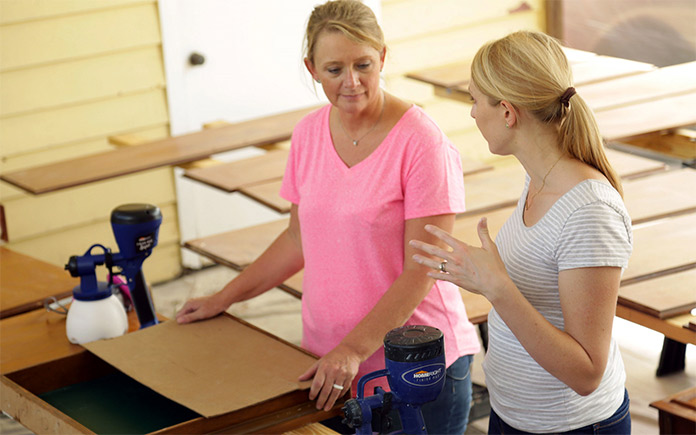
While you can paint cabinets with a brush, a sprayer is faster and leaves a smoother surface.
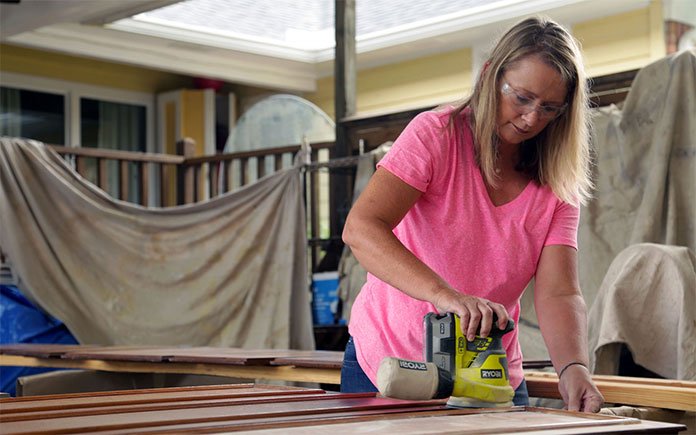
Sanding kitchen cabinets before painting them is important to ensure the paint will adhere to them.
Preparing the Surface
Before you can start painting the kitchen cabinets, you need to prepare the surface. Prepping usually is the longest part of the job, and it’s the most important part to ensure the finishing coats properly cover the cabinets.
1. Remove doors and drawers: Take the doors and hardware off the cabinet boxes and remove drawers and hardware from the cabinets. You will paint the doors and drawers separately.
2. Place the doors on sawhorses. Spreading the doors on two-by-fours stretched between sawhorses will allow you to prep and paint without moving the doors.
3.Clean the Cabinets: Clean all surfaces thoroughly with a household cleaner to remove any grease or grime.
4. Sand the Cabinets: Lightly sand all the surfaces. If the old finish is in good condition, you don’t have to sand it down to bare wood, just until it’s smooth and free of gloss.
A pad sander with 220-grit paper will make quick work of the flat areas and a sanding sponge is ideal for curved edges and recesses. The goal here is to rough up the surface enough to accept the primer.
If there is any greasy residue left after sanding, mineral spirits will remove it.
5. Remove the dust: Vacuum off any sanding dust, and then wipe the cabinets down with a clean, damp cloth.
Before you prime and paint your kitchen cabinets, make sure you know who’s doing what, if you’re working in pairs or groups. In addition, wear the proper safety gear, such as safety glasses and a respirator.
Priming and Painting the Kitchen Cabinets
1. Prime the cabinets: Apply an oil-based, stain-blocking primer to the cabinets. Oil-based primers adhere and block stains better than latex primers.
We’re using a high-volume, low-pressure spray gun to apply both the primer and paint. These sprayers are inexpensive and user-friendly but the operator should be protected by a respirator.
When you spray paint, it’s important to keep the spray tip a consistent distance from the surface and make slow passes back and forth. Each pass should begin and end beyond the edge of the door so there’s no buildup of paint on the edges.
We’re using the same sprayer on the cabinet boxes inside since the floors are covered and the room is sealed.
In this case, we’re painting the inside of the cabinets to avoid overspray marks or the need to mask each opening of the cabinets.
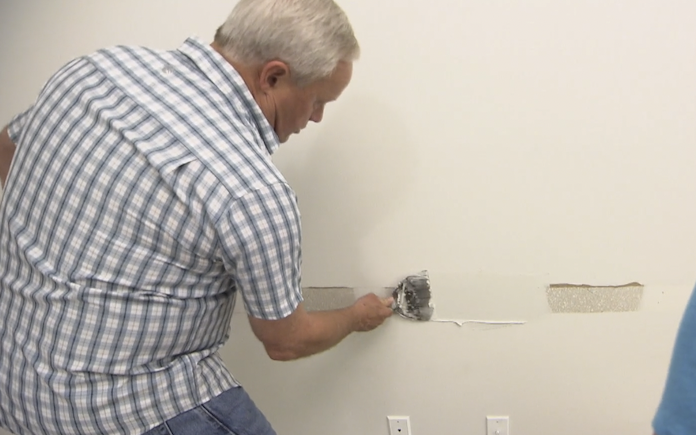
2. Cover imperfections. After the primer dries, fill any holes or dents with a two-part auto body filler. After the filler has hardened, sand it smooth with the surface. You also may need to putty nail holes or caulk cracks and seams.
3. Paint the cabinets: Use a high-quality woodwork enamel paint on your kitchen cabinets. You can use oil or latex paints, though they each have their advantages and disadvantages:
Oil-based paint has a smoother surface and dries harder than latex; but it requires a solvent like mineral spirits for clean-up, has a strong odor, and slowly dries.
Latex paint cleans up easily with water, comes in low and no VOC (volatile organic compounds) formulas, and dries quickly; but it shows brush marks more, is softer, and tends to imprint, allowing items placed on shelves to stick unless shelf paper is applied.
I prefer a medium gloss (such as semigloss or eggshell) paint for kitchen cabinets, though high gloss holds up well. Avoid using flat paint on kitchen cabinets, since it doesn’t clean as well.
Apply the paint, sanding lightly between coats. Spraying the doors horizontally reduces the risk of drips, which can mar the finish.
Allow the two coats of finish paint to dry thoroughly before handling the doors and replacing the hardware.
If you’re changing hardware, consider buying new hinges with the same footprint as the old ones. This will simplify installation and hide any indentations left by the old hinges.