Quikrete’s calculators eliminate any guesswork when purchasing building materials for home projects. (Photo provided by Quikrete)
Concrete is a cornerstone element for any home project.
For many homes, it’s literally the foundation upon which they are built. Concrete is also a key ingredient of hardscape elements to enhance your backyard; it provides a solid entrance with driveways and walkways; and it securely sets posts for fences or mailboxes.
Here’s how Quikrete’s calculators do the math for you and make home improvement projects easier.
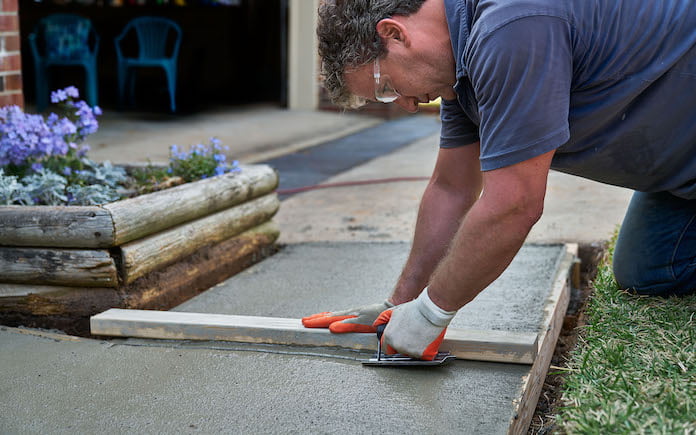
For concrete slabs, big or small, Quikrete’s concrete calculator tells you the precise amount you’ll need.
Concrete Slabs
Whether you need a slab for a concrete driveway or shed foundation, Quikrete’s concrete calculator tells you how many bags of mix you’ll need to get the job done — eliminating any worry of being short a bag or buying too many.
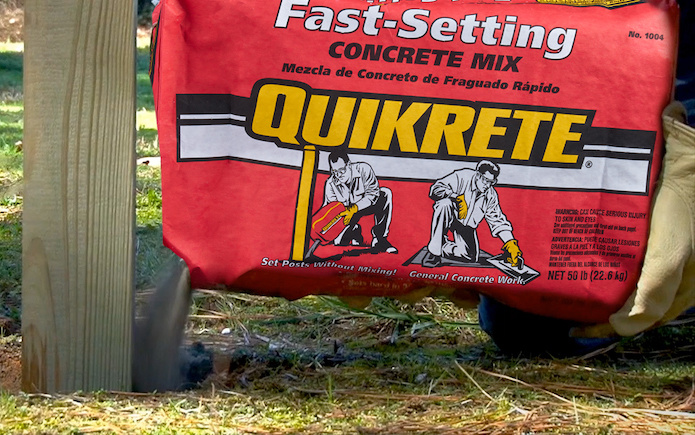
First, choose the desired product — popular options include Quikrete’s Concrete Mix (for larger slabs) and Fast-Setting Concrete Mix in the red bag (for smaller slabs).
The calculator determines the amount you need for a 4-inch or 6-inch slab. Just enter your slab’s square footage and it will tell you how many 40-, 50-, 60- or 80-pound bags you’ll need.
Calculate how many bags you’ll need here. All you need to do is enter the depth of the hole. The calculator will generate the number of bags you need for various post and hole diameters.
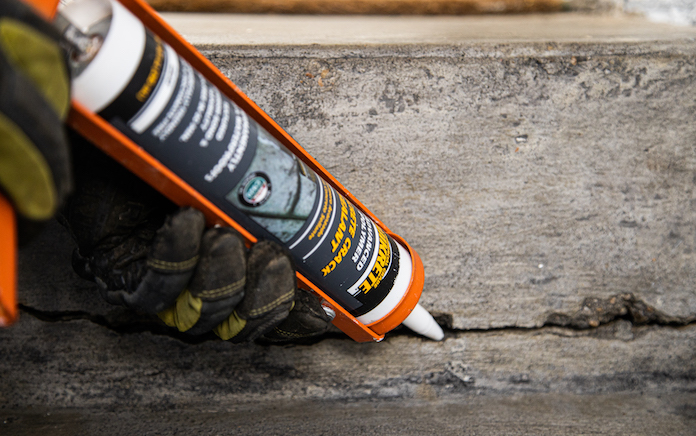
Over time, cracks and crevices will creep up on your concrete. To maintain your concrete surface’s structural integrity and prevent additional damage, repair those cracks with a concrete crack sealant.
Simply enter the approximate length of the crack you will be repairing in feet, and Quikrete’s Concrete Crack Sealant Calculator will tell you how many 10.1-ounce tubes you will need for your project.
When building a paver patio, don’t end up short on sand. Quikrete’s paver sand calculator tells you how many bags you’ll need to fill every square inch.
Just enter the size of the area you need to cover in square feet. The calculator will tell you how many bags you will need to cover the area at a 1/8-inch, 1/4-inch, 3/8-inch 1/2-inch, 3/4-inch, 1-inch or 2-inch depth.
Once you have your pavers in place, you’ll need to secure them with some polymeric jointing sand. You guessed it — Quikrete also has a calculator for that.
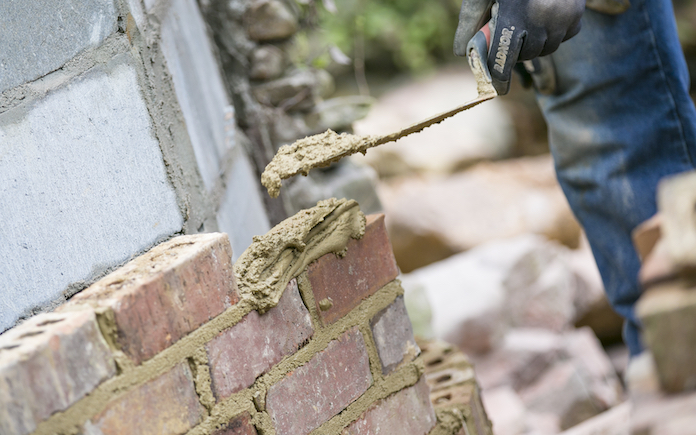
Mortar is the glue that holds bricks together. Whether you’re building a retaining wall or a privacy concrete block wall for your garden, you’ll need some.
And Quikrete has a mortar mix calculator to tell you how much you’ll need. Just enter the number of bricks or concrete blocks you plan to use for your project.
The calculator will tell you the number of 60-pound or 80-pound bags of Quikrete Mortar Mix you need to construct your project with a ⅜-inch mortar joint.
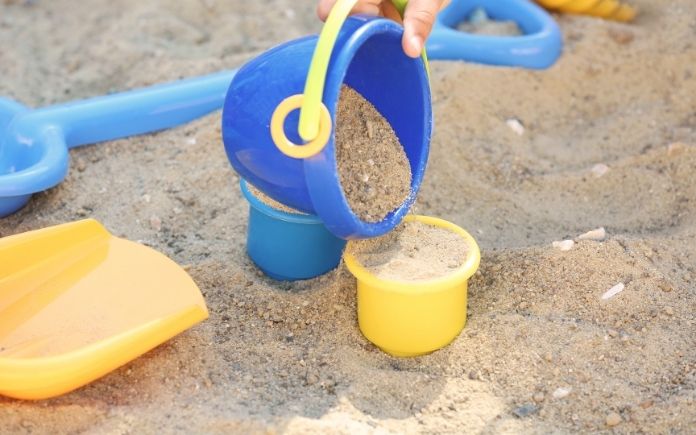
Building a backyard playground for your child? Quikrete has a calculator to tell you how many bags of sand you’ll need to fill a sandbox. (pixelshot)
Other Material Calculators
Still have a question after you’ve calculated how much material you need? Quikrete has a live chat function on its calculator webpage, so you can talk one-on-one with an expert, ensuring your project will be completed to perfection.
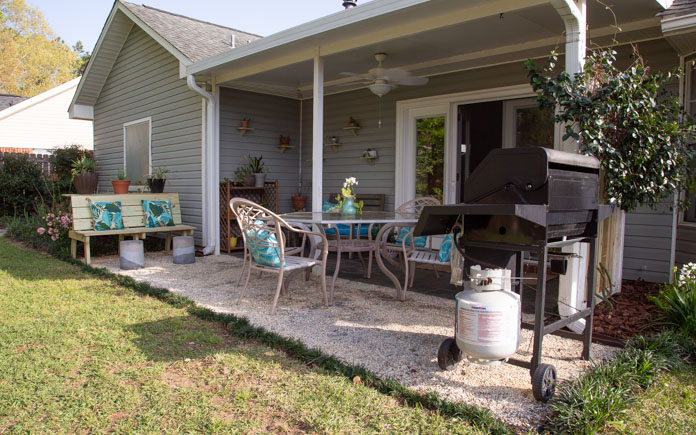
This week we’re helping a blended family expand their patio to better meet their needs.
Eric and Corrina love spending time outdoors with their children, but their patio space just wasn’t enough to make their family feel together during “get-togethers”
Their grill is separated from the main seating area, and Corrina’s container plants make the limited patio space feel cluttered.
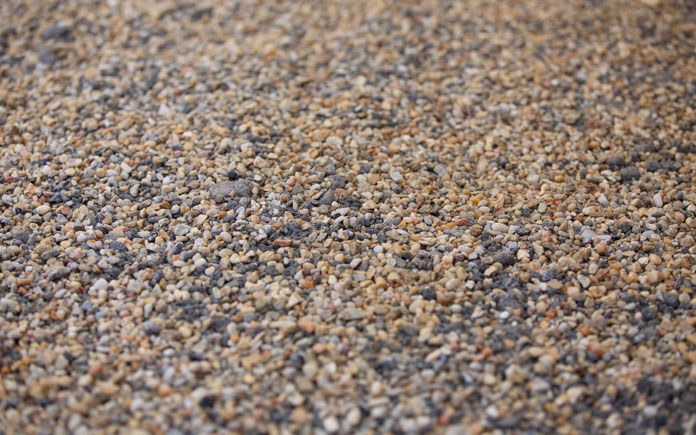
Pea gravel is an excellent alternative to pavers for expanding patio space.
Expand Patio with Pea Gravel
To double the size of this patio without using concrete or pavers, we use pea gravel.
The existing patio is slanted downward away from the home for drainage, so with our pea gravel landing, we can make it almost level with the ground. The pea gravel will hold the drainage water well. Plus, the water will be moving slowly, so it will prevent any erosion.
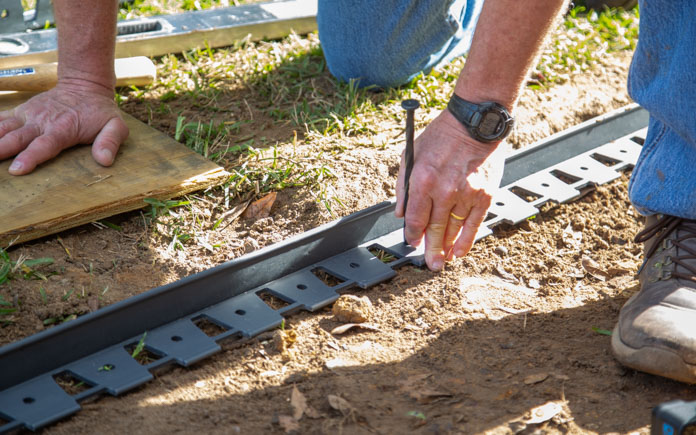
This plastic edging will keep our pea gravel in place.
First, we lay plastic edging to frame our expanded patio area. This plastic edging is usually used with pavers, but we’re switching it up to work with our pea gravel. The smooth ridge will keep the pea gravel in place so it won’t spill out into the yard.
We use a mallet to drive landscaping spikes into the edging to keep it in place.
Once the edging is in place, we fill the space with Pavestone paver base and tamp it down.
We then sprinkle the pea gravel across the paver base so we can create a uniform surface. The pea gravel is part of the decorative feature of this patio, so we don’t want to rush it.
Once we have an even spread of pea gravel, we tamp it down into the paver base.
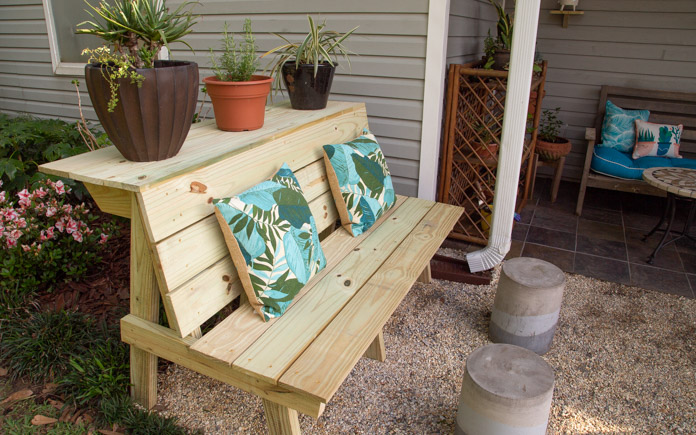
This combination planter bench provides sitting space for people and plants!
Build Plant Shelf Bench
To create more seating and also more space for Corrina’s plants, we build a custom plant shelf bench.
The bench is constructed like a regular wood bench, but we add a shelf to the back for container plants.
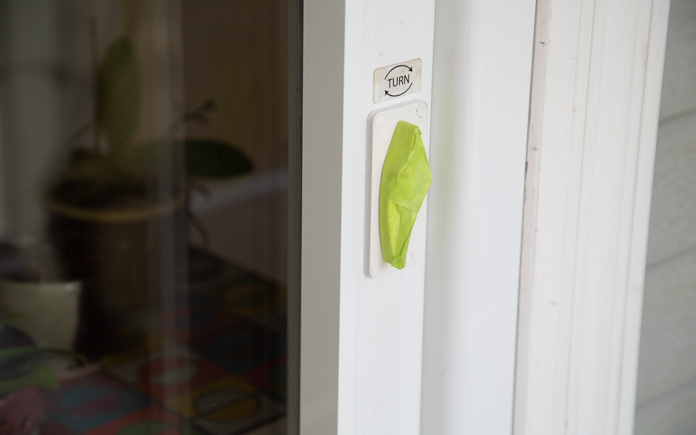
Retractable screen doors neatly tuck away when not in use.
Install Retractable Screen Door
Our solution to Eric’s aversion to bugs is installing a retractable screen door from Wizard Screens on the French doors.
Retractable screen doors mount to the side of a door frame with a track at the top and bottom to guide the rolled screen. The screen door can be pulled out to allow fresh air into your home when needed, and then rolled back out of the way when not in use.
These screens keep mosquitoes away without obstructing the outside view.
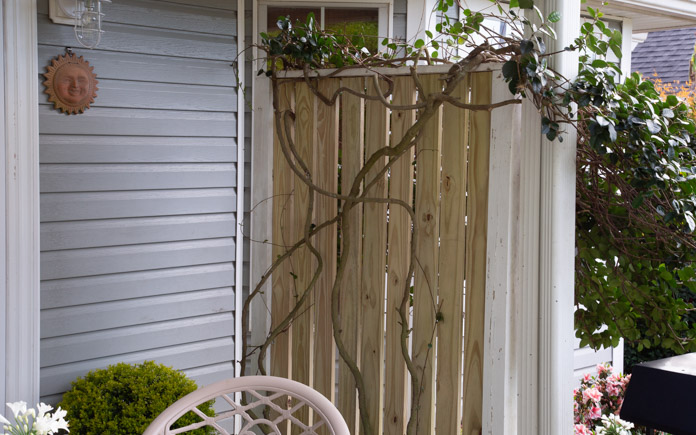
Vertical wood slats add more privacy than lattice.
Replace Lattice
The jasmine growing around the lattice on the patio no longer needs the lattice for support, so we replace it with vertical wood slats to add more visual appeal and privacy.
We also:
Cleaned existing patio tiles
Replaced the ceiling fan and light fixture
Diverted the downspouts away from the patio
Planted flowering plants near the house from Southern Patio
Now, there’s room for all on this expanded patio!
Post-Production Thoughts
Eric and Corrina’s backyard is beautifully accented with all kinds of plants. But they couldn’t fully enjoy it because their patio was cramped and cluttered, to the point that the grill had to be moved out into the yard. They rarely opened the french doors because it invited in the bugs, and everything was a little dated.
But now, we’ve doubled the size of their patio with a unique drainable surface. Plus, we maximized the space by relocating Corrina’s container plants to a new combination bench and plant shelf. More shelves on the wall display the smaller pots and the new vertical slat trellis provides privacy and support for Corrina’s jasmine vine.
Plus, Eric and Corrina can enjoy their patio from the inside “mosquito-free” thanks to their new retractable screen.
Jerry and Shay’s backyard is big enough for them to enjoy, but something is missing. Their small patio offers little space for entertaining guests, and their old firepit is secluded from any seating.
But that’s OK. Because when your patio is tiny, just create another one! That’s just what we’re doing on this episode of Today’s Homeowner.
The Projects
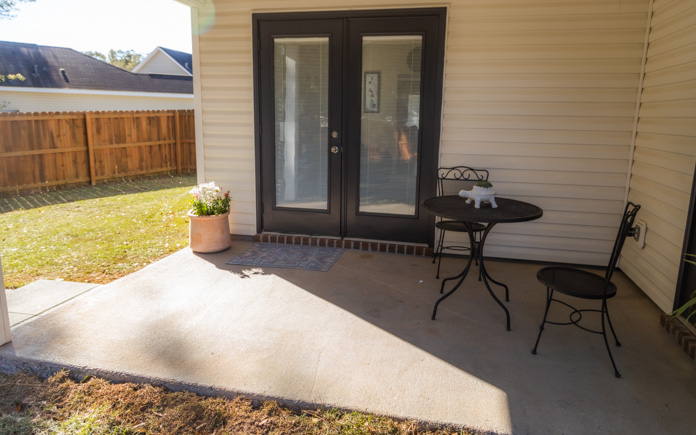
This patio is small but in good shape. Fresh paint and concrete stain brighten its appearance to better match the new patio.
We pressure wash the concrete pad and then stain it to better match the new paver patio. To apply the stain, we use a pump sprayer with circular motion, and then roll the stain to get it deep into the surface.
Before we can create a paver patio, we have to define the space.
Laying Out the New Patio
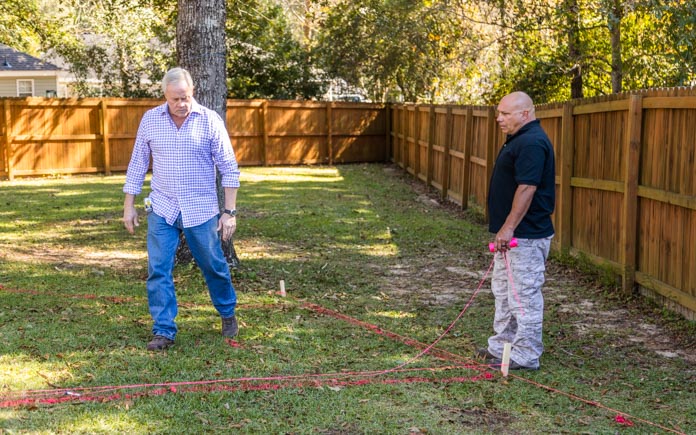
The first step to building a new paver patio is creating the layout. We determined where we wanted the fire pit and used a string and spray paint to find a radius for the paver patio surrounding it.
Once the layout was complete, we removed the grass with a rented sod cutter. Because the backyard had a slight slope to it, we needed a short retaining wall on the lower side of the space to create a graceful transition from the existing patio to our new one.
First, we had to dig a trench for the retaining wall. Next, we poured paver base into the trench and tamped it down. Compacting paver base deep into the dirt ensures the patio will have a strong foundation.
A retaining wall is a must for installing patios in sloped backyards.
Building a retaining wall isn’t the most glamourous part of the project, but it’s necessary. We used Pavestone Rumblestone Pavers for our wall.
To cut our pavers to the size we needed, we rented a concrete saw from The Home Depot. If you only plan to use an expensive tool once, it just makes sense to rent instead of buy.
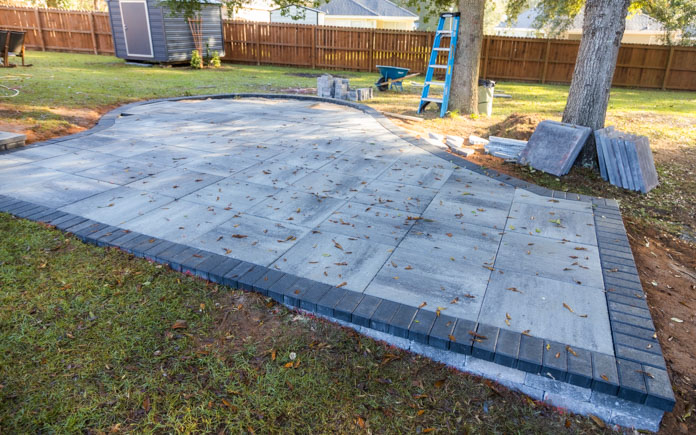
Large 2-by-2-foot pavers make this patio feel more spacious and look luxurious.
Build New Patio
After lining the patio with pavers, we prep the area for laying down slab pavers.
First, we compact the dirt and spread paver base. We then lay metals pipes before laying sand down to ensure the sand is a consistent depth throughout to support the heavy 2-by-2-foot pavers.
We added two steps from the existing patio to lead down to the new one. Both steps must be the same size, so we have to cut down some of the concrete on the existing patio.
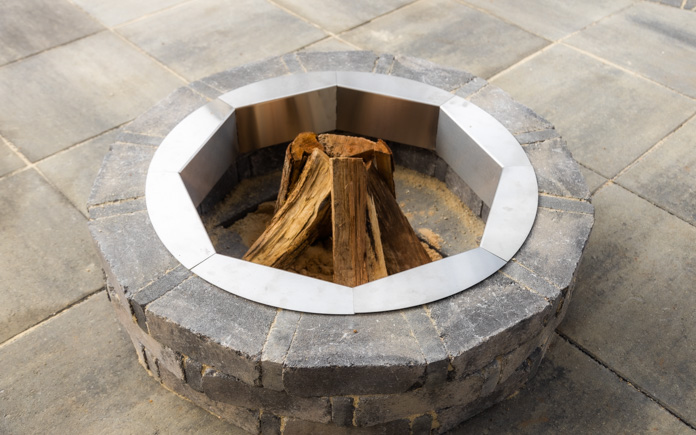
Jerry and Shay’s new firepit is now the focal point of their patio.
Once the pavers are complete, we sweep sand into the joints and we’re ready for the new fire pit. We used a Pavestone Rumblestone Fire Pit Kit, and assembled the fire pit in less than 20 minutes!
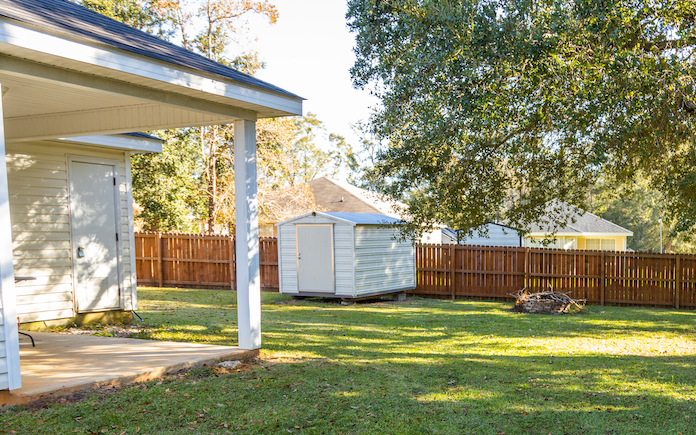
The shed in the backyard felt too out of place, so we painted it to tie into the house instead of standing alone.
To tie the shed to the patio, we used the same color to paint the back doors and trim.
We also:
“Today’s Homeowner” hosts Danny Lipford and Chelsea Lipford Wolf, pictured with homeowners Shay and Jerry.
Post-Production Thoughts
Jerry and Shay have a beautiful backyard with great shade trees and lawn. But the old fire pit had seen better days and the existing patio offered few opportunities to enjoy the outdoor space. It was too small for entertaining and the monotone color palette lacked any real interest.
Now, the whole backyard has come alive with the addition of a big new patio that complements the shape of the trees while it enjoys its shade.
Large-format pavers make the patio seem larger than it actually is and the new fire pit is the ideal spot for entertaining.
There are two large steps that create a graceful transition to the old patio, which has been revived with a new shade of stain and a bold color on the doors.
That same color on the storage shed plus some simple landscaping have transformed this yard into a spot you just can’t wait to enjoy.
Ingredients are key when it comes to purchasing good-quality paint.
A thin film of good paint, only a few thousandths of an inch thick, protects, seals, hides, decorates and is not hazardous to the user. It gives surfaces long-term protection at a very moderate price, for some.
It’s in millions of homes and businesses, in nearly all rooms. So, what’s in that paint you’re putting on your walls?
Here are the three main ingredients you should know about!
Pigment
Pigment is the ingredient most people first consider when purchasing paint. It provides the texture, color and hiding properties of the paint.
Pigments actually used to be pretty dangerous and included: lead, chromates and asbestos. Dangerous pigments are in very rare use and are outlawed in most places. Titanium dioxide and iron oxides are safe, high-grade pigments and are found in better quality paints. Clay and silica are also used but don’t hold up as well.
Cheaper pigment materials cannot be ground as finely as the better pigments can be ground. You can actually tell whether paint is good or not by rubbing it between the tips of your thumb and index finger. If it feels gritty, it more than likely contains either a cheap pigment or lot of cheap filler — like clay.
Paints with cheaper pigment materials will not normally last as long as paint that contains mostly titanium dioxide or iron oxides, which tests very smooth to the touch.
Binder
The paint ingredient that holds everything together is called the binder.
Linseed oil is usually the binder in oil-based paint, which is frequently mixed with one or more other vegetable oils.
However, in water-based paint, one popular binder is polyvinyl acetate (white glue). Also, there is a latex undercoating called PVA which is short for Poly Vinyl Acetate.
Solvent
The solvent in water-based paint is water. In oil-based paint, the solvent is thinner (petrochemical distillate).
When the water is evaporating out of latex paint and when the thinner is evaporating out of oil base paint both processes are referred to as drying. Before they evaporate, the solvents keep their respective pigments and binders in solution and help them penetrate deeply into the surface.
After the solvents have evaporated, they leave a thin hardened layer of pigment and binder that we know as paint.
Other Paint Qualities
There are other additives that help flow, reduce bubbles, control consistency, etc., but remember good paints are not gritty.
Here’s another test you can make. Apply a spot of good paint to any surface. Apply a spot of cheap paint next to it. Once the it has dried completely, put a drop of food coloring onto each spot. The good paint will hold the food coloring together. The cheap one will allow the food coloring to spread.
As most people know, one home improvement project often leads to another. After Lisa Young and her husband repainted their home exterior, suddenly the concrete perimeter foundation looked ugly. That’s when Young found SpreadStone™ Decorative Concrete Resurfacing Kits and got hooked on Daich Coatings DIY projects.
For the foundation perimeter, she chose the Lake Rock color of SpreadStone. Once that was complete, she moved on to revitalizing her front patio.
“I love the results and had fun using the Daich Coatings product for the foundation,” says Young, a resident of Boulder Creek, Calif. “I wanted to achieve different colorations, so I bought several individual containers to ‘mix and match’ my own color combinations. By using the bone primer and dolphin, ivory and cool grey, I was able to get the variety of realistic colors I wanted.”
Creating a Flagstone Patio
For her project, Young started with assistance from her husband for the pressure washing — then she did the remainder of the project herself.
“After laying on the primer, I used painter’s tape to create the grout lines,” says Young. “First I rolled on, then troweled on, the SpreadStone. I wanted the texture of a flagstone finish.”
Relying on YouTube online tutorials, Young says the project was exceptionally easy. “The hardest part was actually laying the flagstone-shaped lines with the painter’s tape,” relates Young. “I was just impatient to get to the fun part!
“I used the roller for the first layer of SpreadStone, alternating colors. I then used a plastic trowel to add layers and texture. Finally, once that was dry I used a satin acrylic sealer. The result is stunning. It matches a similar flagstone in our backyard.”
Project = High ROI
The pre-mixed, factory-tinted SpreadStone coating system locks onto concrete to create a surface with a stunning decorative appeal and outstanding performance. Every kit (available in two sizes, to cover either 100- or 400-square-feet of space) contains primer, base coat, accent coat, clear sealer, stone texture roller and quarter-inch grout line stencil tape. Individual quart-, gallon- and 5-gallon containers of the textured coating are available in 11 different colors.
“The cost versus value is incredible for the kit,” says Young. “To be able to transform the patio in a weekend for such a low cost, especially when compared to other options, is so worth it. I’d totally rate this as a ‘steal of a deal!”
And how does Young rate the finished product? “It’s a definite 10!” says Young. “The neighbors like it, and the realistic flagstone look has truly enhanced the overall curb appeal of our home. Next up, I’m moving indoors to use a SpreadStone™ Countertop Kit on our kitchen backsplash tiles!”