With help from our friends at The Home Depot, we’ve compiled this list of timely chores to keep your house clean and comfortable.
Listen to this special-edition Today’s Homeowner Podcast, and follow along below, to learn all about the top summer home maintenance projects!
Changing the air conditioner filter makes your AC work better to keep you cooler. (3 Echoes Content Studio)
1. Change AC & Heating System Filters
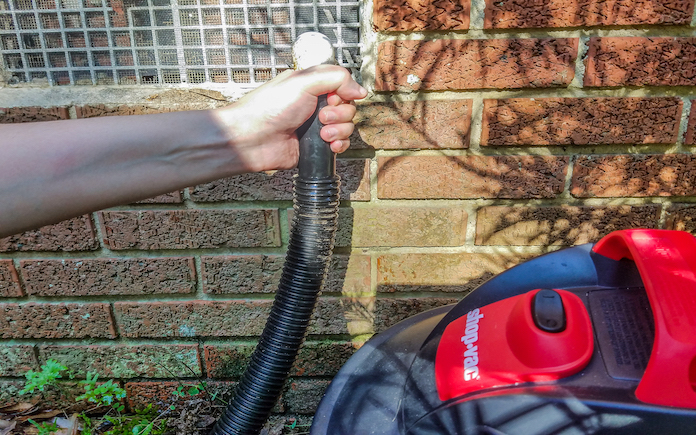
Regularly changing your HVAC system’s filters is important because a dirty filter will slow down and strain your system. It should take about two to three minutes to take out your old filter and put in a new one.
Also, once your filter is out, go ahead and vacuum the cavity in case of dust build-up.
Your AC drain line can get blocked with mold and mildew, causing its pan to overflow. Flush it with bleach twice during the summer, when it’s working at its hardest.
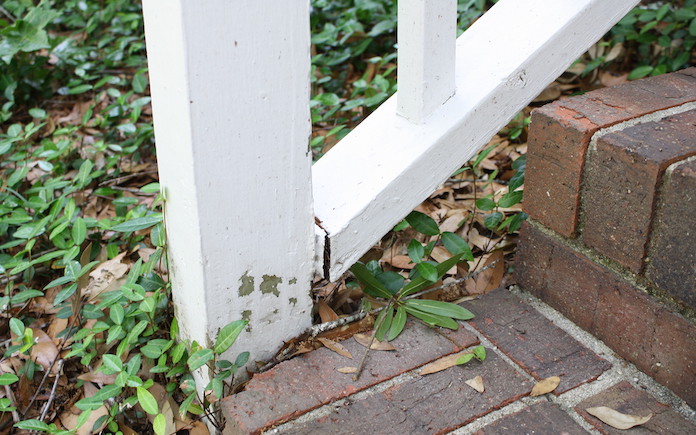
3. Check for Loose Railings or Damage on Wooden Decks
Changing weather can take a toll on your deck. Nails and screws can loosen during the temperature change and splinters can pop up once the heat rises.
Inspect and repair any damage to your deck so you can have some safe fun in the sun. Top it off with a coat of sealer to keep it protected all summer long.
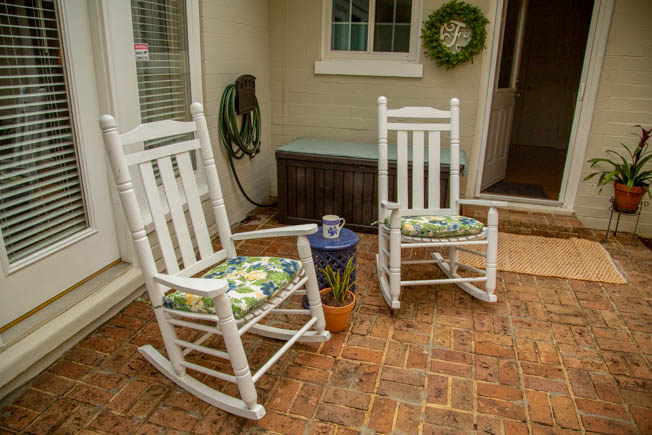
Check for any loose parts or rot (if it’s wood). If you have cushions, be sure to wash them. In addition, if your cushions get wet from rain, be sure to hang them out to dry on a sunny day to avoid mold.
If you do this on a regular basis, it makes it a lot easier to keep everything clean.
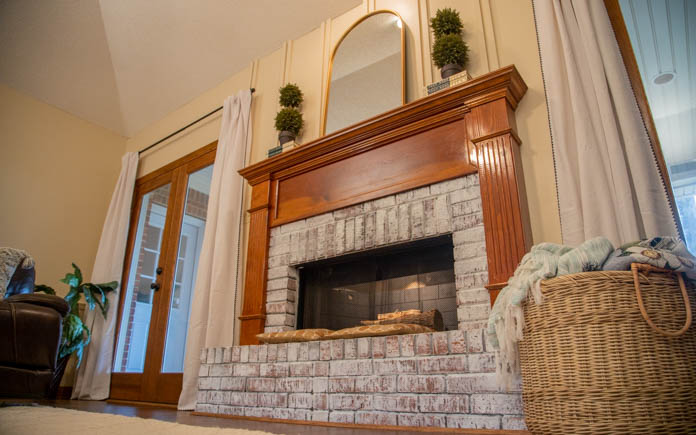
Your fireplace will be ready for winter if you have it inspected this summer. (3 Echoes Content Studio)
7. Have Chimney Inspected & Cleaned
Now’s a great time to have a professional inspect your fireplace and chimney because you aren’t using them during the summer.
Plus, you’ll have more time for repairs if needed.
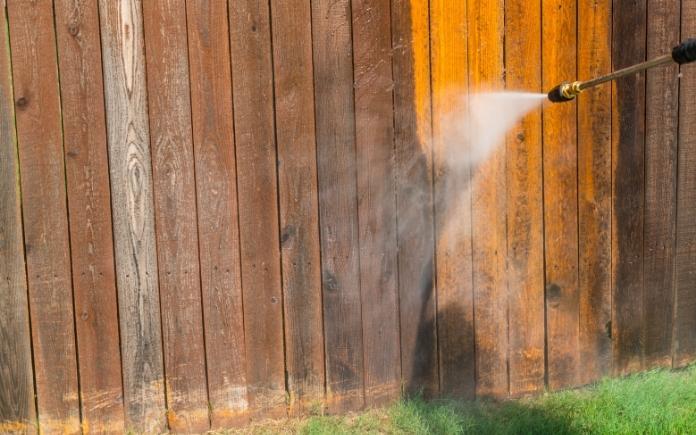
Scrape off peeling paint and put on a fresh coat for an exterior refresh. (mehampson, Getty Images)
8. Scrape Loose Paint from Siding & Trim
Boost your home’s curb appeal by freshening up siding. Scrape away any loose paint, sand if needed, then prime and paint on a fresh coat.
If it’s an older paint, be sure to test it for lead as a precaution.
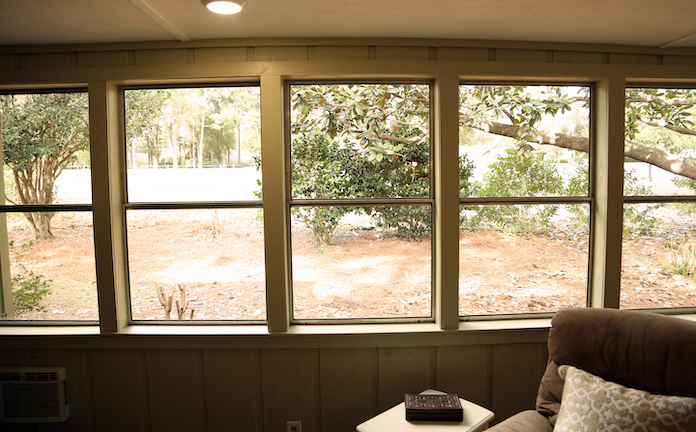
Mix 1 teaspoon of baby shampoo to 1 gallon of water, or 1-1/2 cups of vinegar to 1 gallon of water, and wipe windows down with newspaper for a streak-free shine.
Involve family members and tag-team to speed things up! Have one person clean the windows inside while another cleans the outside.
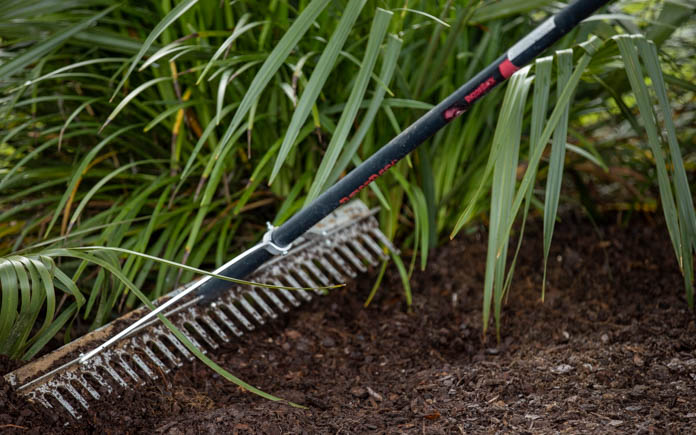
Finally, summer blooms are burgeoning! Now is the perfect time to pull any weeds from garden beds and prevent further weed growth by adding 2 to 3 inches of mulch.
Listen to this special-edition Today’s Homeowner Podcast for more summer home maintenance tips!
Quikrete’s calculators eliminate any guesswork when purchasing building materials for home projects. (Photo provided by Quikrete)
Concrete is a cornerstone element for any home project.
For many homes, it’s literally the foundation upon which they are built. Concrete is also a key ingredient of hardscape elements to enhance your backyard; it provides a solid entrance with driveways and walkways; and it securely sets posts for fences or mailboxes.
Here’s how Quikrete’s calculators do the math for you and make home improvement projects easier.
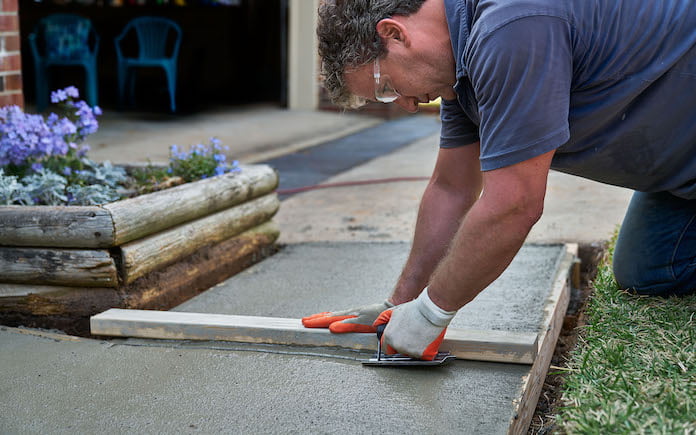
For concrete slabs, big or small, Quikrete’s concrete calculator tells you the precise amount you’ll need.
Concrete Slabs
Whether you need a slab for a concrete driveway or shed foundation, Quikrete’s concrete calculator tells you how many bags of mix you’ll need to get the job done — eliminating any worry of being short a bag or buying too many.
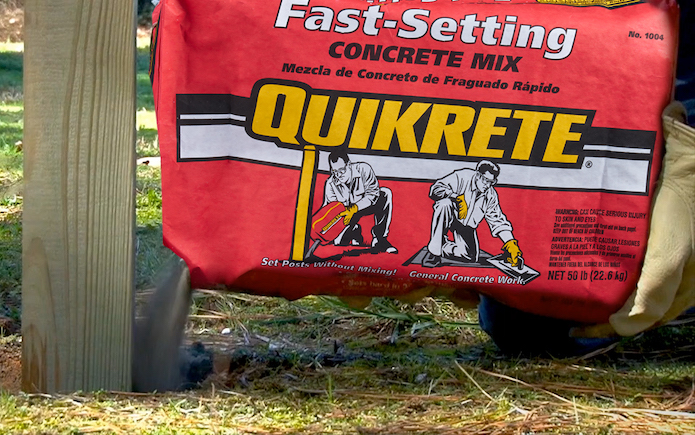
First, choose the desired product — popular options include Quikrete’s Concrete Mix (for larger slabs) and Fast-Setting Concrete Mix in the red bag (for smaller slabs).
The calculator determines the amount you need for a 4-inch or 6-inch slab. Just enter your slab’s square footage and it will tell you how many 40-, 50-, 60- or 80-pound bags you’ll need.
Calculate how many bags you’ll need here. All you need to do is enter the depth of the hole. The calculator will generate the number of bags you need for various post and hole diameters.
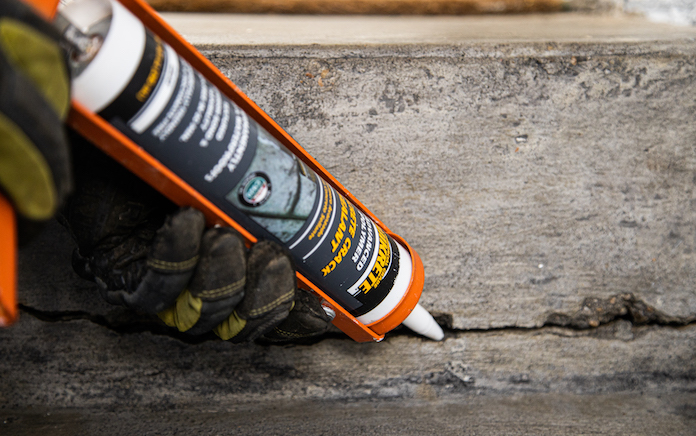
Over time, cracks and crevices will creep up on your concrete. To maintain your concrete surface’s structural integrity and prevent additional damage, repair those cracks with a concrete crack sealant.
Simply enter the approximate length of the crack you will be repairing in feet, and Quikrete’s Concrete Crack Sealant Calculator will tell you how many 10.1-ounce tubes you will need for your project.
When building a paver patio, don’t end up short on sand. Quikrete’s paver sand calculator tells you how many bags you’ll need to fill every square inch.
Just enter the size of the area you need to cover in square feet. The calculator will tell you how many bags you will need to cover the area at a 1/8-inch, 1/4-inch, 3/8-inch 1/2-inch, 3/4-inch, 1-inch or 2-inch depth.
Once you have your pavers in place, you’ll need to secure them with some polymeric jointing sand. You guessed it — Quikrete also has a calculator for that.
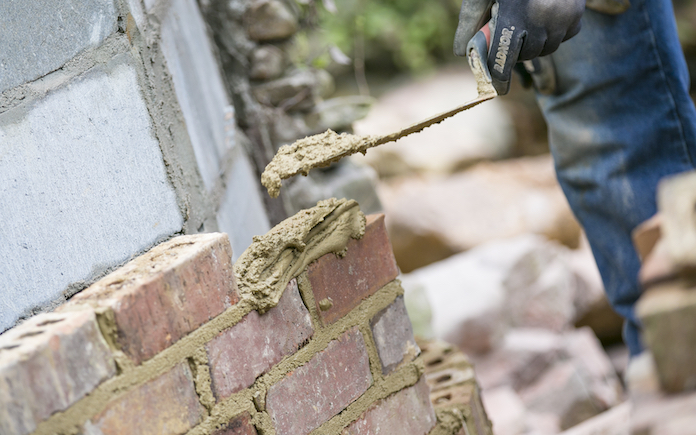
Mortar is the glue that holds bricks together. Whether you’re building a retaining wall or a privacy concrete block wall for your garden, you’ll need some.
And Quikrete has a mortar mix calculator to tell you how much you’ll need. Just enter the number of bricks or concrete blocks you plan to use for your project.
The calculator will tell you the number of 60-pound or 80-pound bags of Quikrete Mortar Mix you need to construct your project with a ⅜-inch mortar joint.
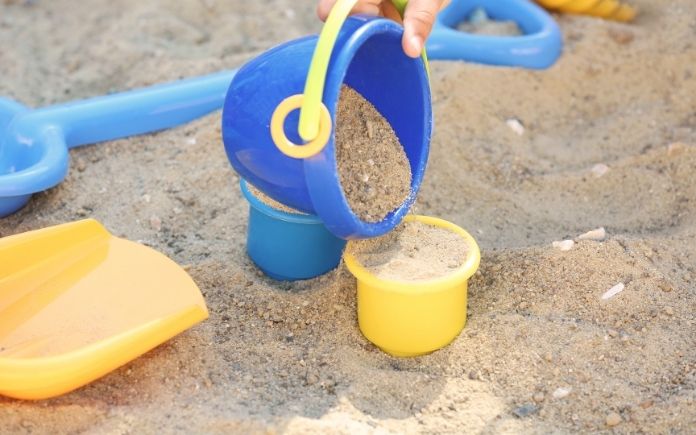
Building a backyard playground for your child? Quikrete has a calculator to tell you how many bags of sand you’ll need to fill a sandbox. (pixelshot)
Other Material Calculators
Still have a question after you’ve calculated how much material you need? Quikrete has a live chat function on its calculator webpage, so you can talk one-on-one with an expert, ensuring your project will be completed to perfection.
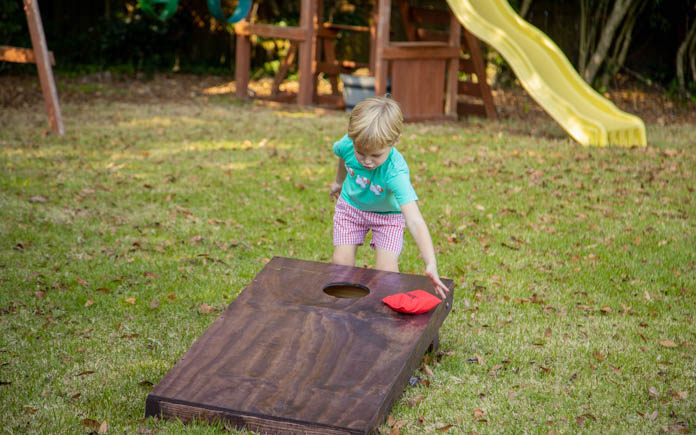
Cornhole, a game that’s been around for centuries, is a popular pastime for tailgate entertainment or backyard fun. You just need a cornhole board and some bags — and a free afternoon with family or friends!
As the story goes, Matthias Kuepermann found a group of boys throwing stones into groundhog holes for fun. Worried for their safety, he crafted the cornhole board, replacing groundhog holes with wooden boxes with round holes and stones with bags filled with dried corn.
Because of its simplicity, the game hasn’t evolved much. These days, the corn-filled bags are sometimes replaced with plastic and resin beads. But some die-hard cornhole enthusiasts insist on using real corn kernels.
Players in the United States even compete at state and national levels. And now, there are efforts to make the cornhole game an Olympic sport.
You can build a cornhole board for your backyard. The process is simple, but it might require a few specialty tools if you don’t already have them on hand!
Whether you’re passing time in the backyard or competing for bragging rights, the cornhole game is a fun activity for all ages.
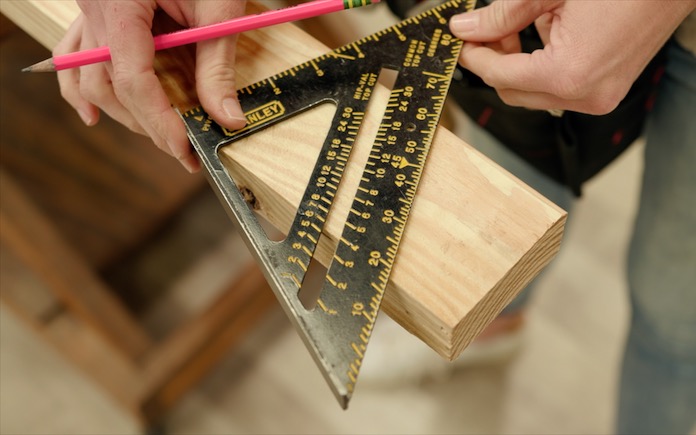
Use a carpenter square to get accurate angles for your cornhole game’s leg pieces.
Cut the Cornhole Board’s Wood Pieces
Using a carpenter or speed square, mark 25 degrees and cut along that angle. Then mark a straight line 12-and-1/4 inches from the angle’s long side. Repeat this three more times to create your boards’ legs.
For the frames, you’ll need four straight cuts at 21 inches and four straight cuts at 48 inches.
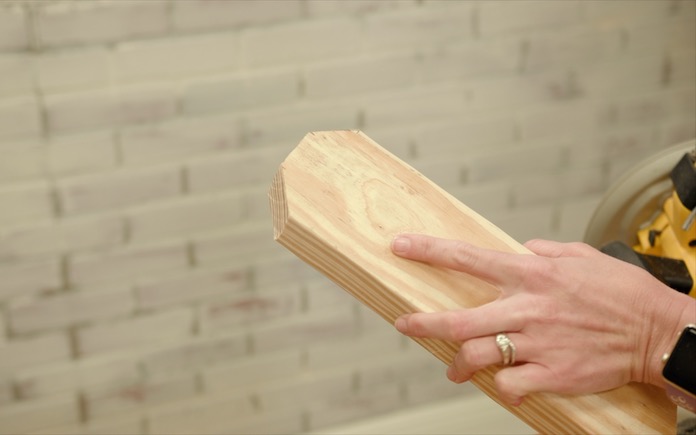
The 45-degree cuts on the leg pieces will make them easier to fold
Now back to your leg pieces. You need to cut them on the square side to make them easier to fold and unfold. Mark 1 inch in from each side and 1 inch down on each side. Connect those marks with a straight edge to draw a 45-degree angle on each corner. Cut the two triangles on each leg.
Lay your cornhole game frame on a waist-high table for easy drilling.
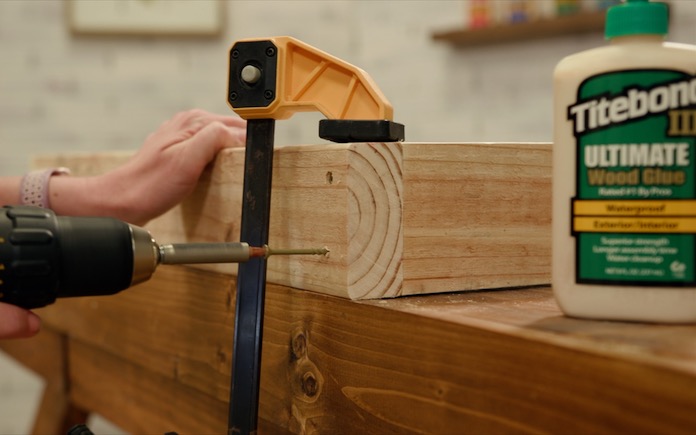
Assemble the Frame
To mark the hole for the legs to attach to your frame, measure 1 and 3/4 inches from one side and 1 and 3/4 inches from the short end. Drill all the way through with a 3/8-inch drill bit. Then set aside.
Titebond III Ultimate Wood Glue will keep your frame in place and add some waterproofing to your cornhole game.
To lay out your frames, lay two 48-inch pieces parallel to one another and set the 21-inch pieces at the ends, between them. Apply a bead of wood glue rated for exterior use, like Titebond III Ultimate Wood Glue, and attach the pieces together with 3-inch screws.
Apply more wood glue around the top of your new frame, and set the 2-by-4 sheet of plywood in place. Attach it with 1-and-1/2-inch screws through the plywood into the frame below.
To create the hole for the bean bags, mark 9 inches from one end, then measure and mark the center of the board near that 9-inch mark.
Using a 6-inch hole saw, cut a hole with your mark at the center. A hole saw this large can be a little tricky, so take your time!
Flip the board over to attach the legs.
Folding legs will save storage space.
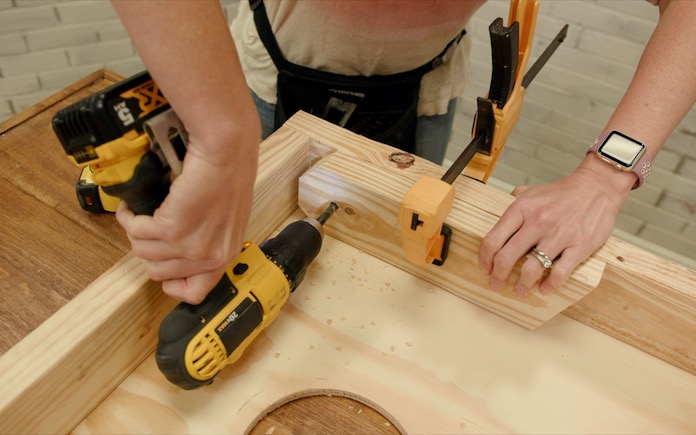
Attach the Legs
On the end of your board with the hole, set your legs in either corner with the longer part of the angle on top. Clamp the leg half an inch from the end and use the existing hole in the leg to drill a 3/8-inch hole through the frame. Then sand the ends of the legs to round the cut angles.
Next, slide a carriage bolt through the hole from the outside, then one washer, a wood leg, another washer and finally the nut. Hand tighten.
Repeat as necessary until both of your cornhole boards are assembled!
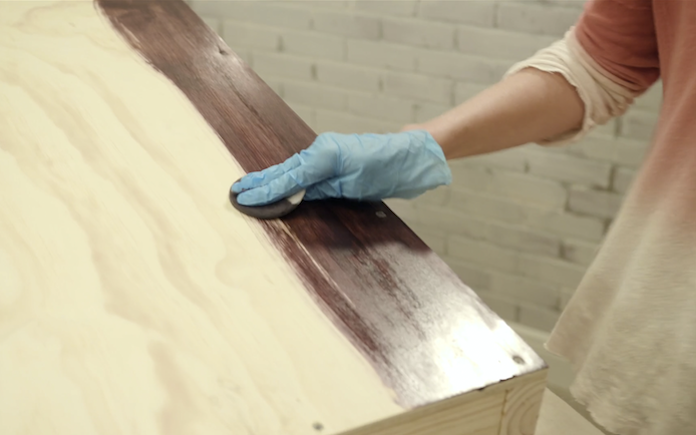
Stain your cornhole game for a finished look or customize it by painting it with your team colors.
Start with 150- or 180-grit sandpaper. Once you’ve sanded all of the surfaces, step it up to a 220- or 300-grit sandpaper to create that smooth, slick surface that’s synonymous with cornhole boards!
Staining: In long, even strokes rub your wood stain with the grain of the wood. Follow with a clean rag to wipe up the excess stain. Once it has dried for a few hours, start applying a clear topcoat, like spar varnish, that is safe for outdoor use.
Let the coat completely dry before sanding with 220-grit sandpaper, wiping clean and applying another clear coat. Repeat for a third time.
Painting: If you’re choosing to paint your boards, select an exterior semi-gloss paint and make sure your design covers all the wood on the top so the surface will be appropriately slick. Several coats might be required.
Once your topcoat or paint is dry, you’re ready to start keeping score!
To get your backyard ready for more summer fun, add some hanging string lights. Use planters or shepherd’s hooks to keep the good times going past sundown.
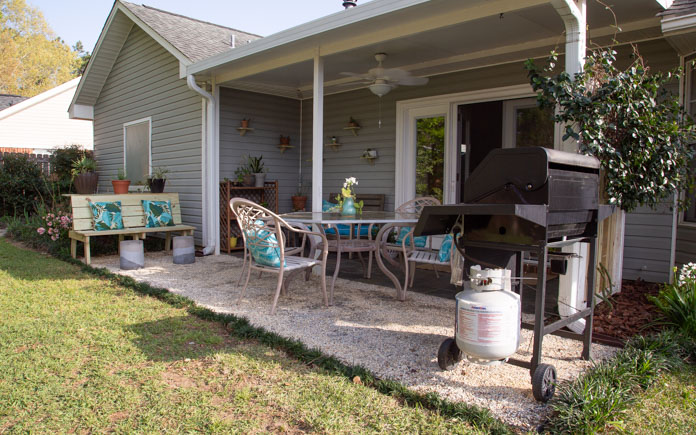
This week we’re helping a blended family expand their patio to better meet their needs.
Eric and Corrina love spending time outdoors with their children, but their patio space just wasn’t enough to make their family feel together during “get-togethers”
Their grill is separated from the main seating area, and Corrina’s container plants make the limited patio space feel cluttered.
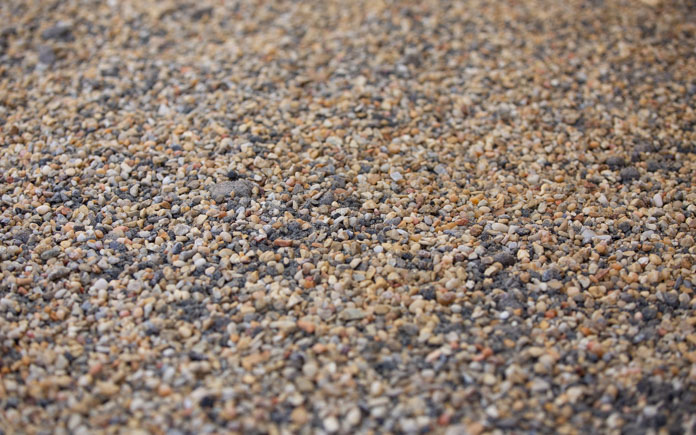
Pea gravel is an excellent alternative to pavers for expanding patio space.
Expand Patio with Pea Gravel
To double the size of this patio without using concrete or pavers, we use pea gravel.
The existing patio is slanted downward away from the home for drainage, so with our pea gravel landing, we can make it almost level with the ground. The pea gravel will hold the drainage water well. Plus, the water will be moving slowly, so it will prevent any erosion.
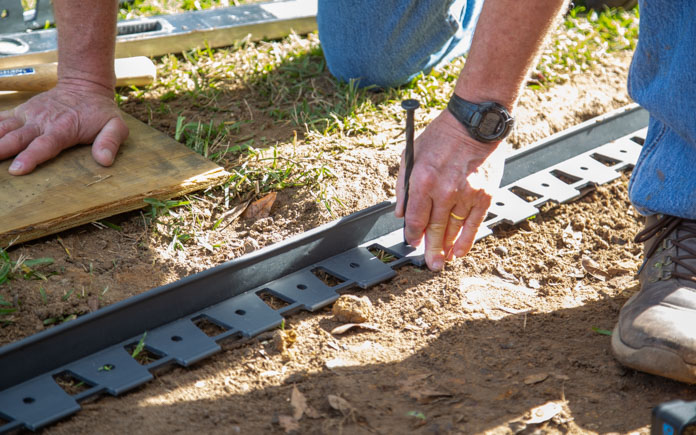
This plastic edging will keep our pea gravel in place.
First, we lay plastic edging to frame our expanded patio area. This plastic edging is usually used with pavers, but we’re switching it up to work with our pea gravel. The smooth ridge will keep the pea gravel in place so it won’t spill out into the yard.
We use a mallet to drive landscaping spikes into the edging to keep it in place.
Once the edging is in place, we fill the space with Pavestone paver base and tamp it down.
We then sprinkle the pea gravel across the paver base so we can create a uniform surface. The pea gravel is part of the decorative feature of this patio, so we don’t want to rush it.
Once we have an even spread of pea gravel, we tamp it down into the paver base.
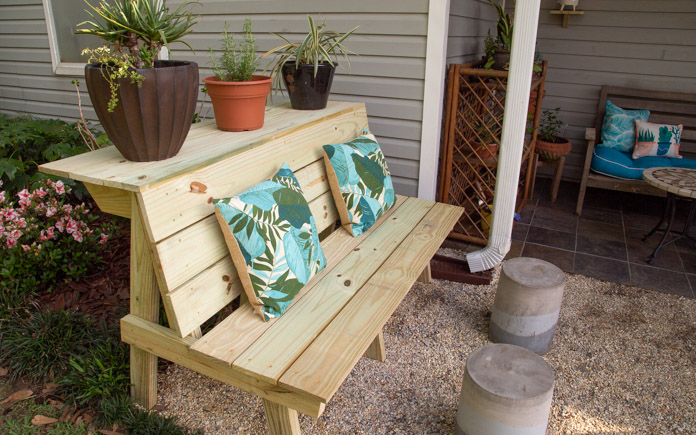
This combination planter bench provides sitting space for people and plants!
Build Plant Shelf Bench
To create more seating and also more space for Corrina’s plants, we build a custom plant shelf bench.
The bench is constructed like a regular wood bench, but we add a shelf to the back for container plants.
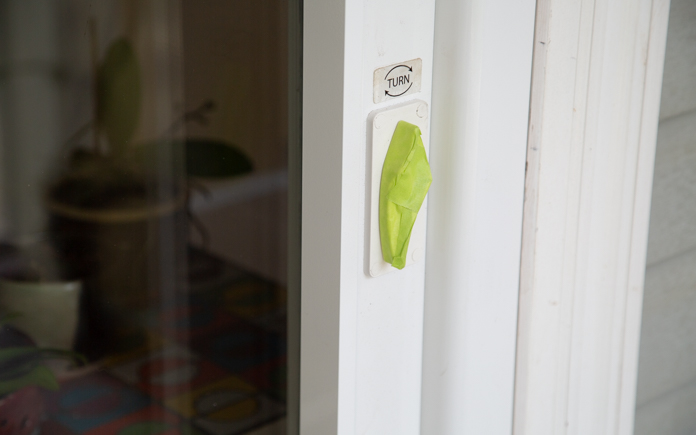
Retractable screen doors neatly tuck away when not in use.
Install Retractable Screen Door
Our solution to Eric’s aversion to bugs is installing a retractable screen door from Wizard Screens on the French doors.
Retractable screen doors mount to the side of a door frame with a track at the top and bottom to guide the rolled screen. The screen door can be pulled out to allow fresh air into your home when needed, and then rolled back out of the way when not in use.
These screens keep mosquitoes away without obstructing the outside view.
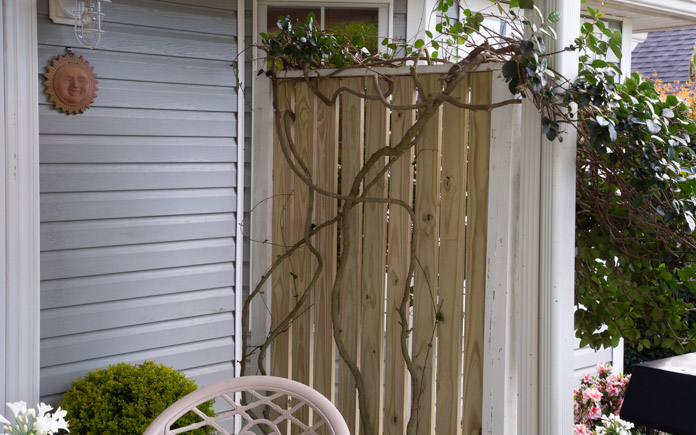
Vertical wood slats add more privacy than lattice.
Replace Lattice
The jasmine growing around the lattice on the patio no longer needs the lattice for support, so we replace it with vertical wood slats to add more visual appeal and privacy.
We also:
Cleaned existing patio tiles
Replaced the ceiling fan and light fixture
Diverted the downspouts away from the patio
Planted flowering plants near the house from Southern Patio
Now, there’s room for all on this expanded patio!
Post-Production Thoughts
Eric and Corrina’s backyard is beautifully accented with all kinds of plants. But they couldn’t fully enjoy it because their patio was cramped and cluttered, to the point that the grill had to be moved out into the yard. They rarely opened the french doors because it invited in the bugs, and everything was a little dated.
But now, we’ve doubled the size of their patio with a unique drainable surface. Plus, we maximized the space by relocating Corrina’s container plants to a new combination bench and plant shelf. More shelves on the wall display the smaller pots and the new vertical slat trellis provides privacy and support for Corrina’s jasmine vine.
Plus, Eric and Corrina can enjoy their patio from the inside “mosquito-free” thanks to their new retractable screen.
As most people know, one home improvement project often leads to another. After Lisa Young and her husband repainted their home exterior, suddenly the concrete perimeter foundation looked ugly. That’s when Young found SpreadStone™ Decorative Concrete Resurfacing Kits and got hooked on Daich Coatings DIY projects.
For the foundation perimeter, she chose the Lake Rock color of SpreadStone. Once that was complete, she moved on to revitalizing her front patio.
“I love the results and had fun using the Daich Coatings product for the foundation,” says Young, a resident of Boulder Creek, Calif. “I wanted to achieve different colorations, so I bought several individual containers to ‘mix and match’ my own color combinations. By using the bone primer and dolphin, ivory and cool grey, I was able to get the variety of realistic colors I wanted.”
Creating a Flagstone Patio
For her project, Young started with assistance from her husband for the pressure washing — then she did the remainder of the project herself.
“After laying on the primer, I used painter’s tape to create the grout lines,” says Young. “First I rolled on, then troweled on, the SpreadStone. I wanted the texture of a flagstone finish.”
Relying on YouTube online tutorials, Young says the project was exceptionally easy. “The hardest part was actually laying the flagstone-shaped lines with the painter’s tape,” relates Young. “I was just impatient to get to the fun part!
“I used the roller for the first layer of SpreadStone, alternating colors. I then used a plastic trowel to add layers and texture. Finally, once that was dry I used a satin acrylic sealer. The result is stunning. It matches a similar flagstone in our backyard.”
Project = High ROI
The pre-mixed, factory-tinted SpreadStone coating system locks onto concrete to create a surface with a stunning decorative appeal and outstanding performance. Every kit (available in two sizes, to cover either 100- or 400-square-feet of space) contains primer, base coat, accent coat, clear sealer, stone texture roller and quarter-inch grout line stencil tape. Individual quart-, gallon- and 5-gallon containers of the textured coating are available in 11 different colors.
“The cost versus value is incredible for the kit,” says Young. “To be able to transform the patio in a weekend for such a low cost, especially when compared to other options, is so worth it. I’d totally rate this as a ‘steal of a deal!”
And how does Young rate the finished product? “It’s a definite 10!” says Young. “The neighbors like it, and the realistic flagstone look has truly enhanced the overall curb appeal of our home. Next up, I’m moving indoors to use a SpreadStone™ Countertop Kit on our kitchen backsplash tiles!”